Week 7 Challenge - Assembly Workbench
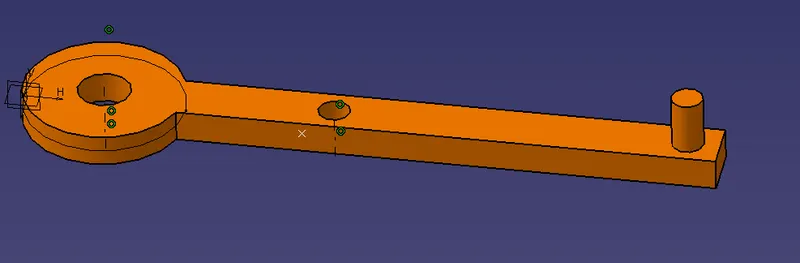
STEP 1: DRAW INDIVIDUAL PARTS OF THE PRODUCT.
First, we have to sketch the individual parts and extrude them according to the given dimensions.
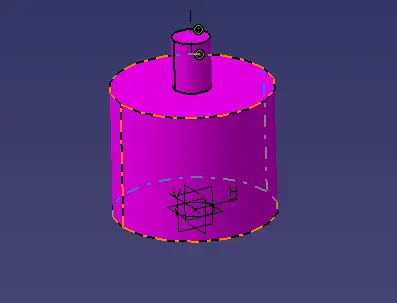
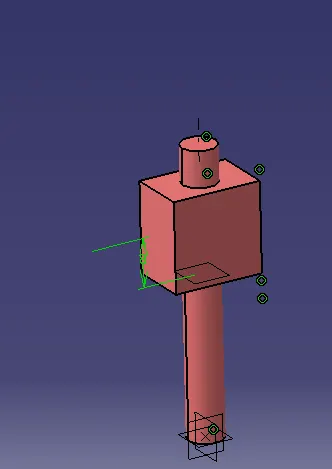
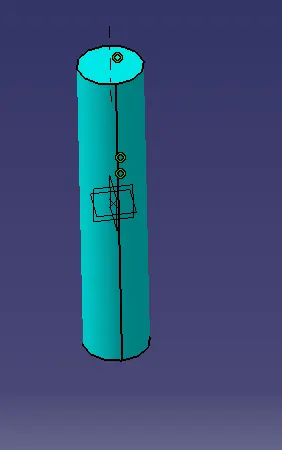
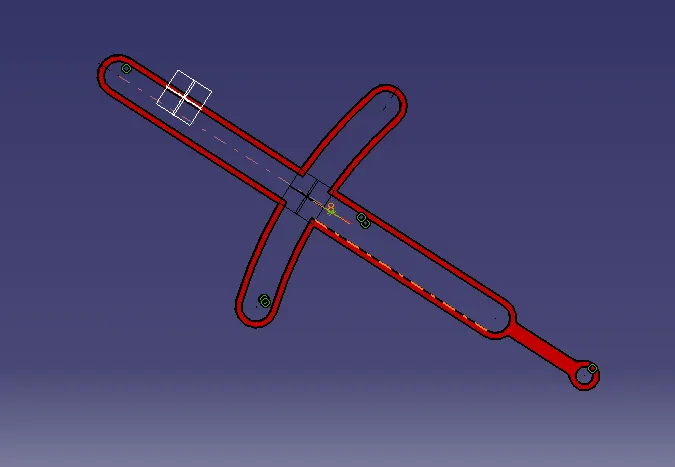
[1] [2] [3] [4]
[5]
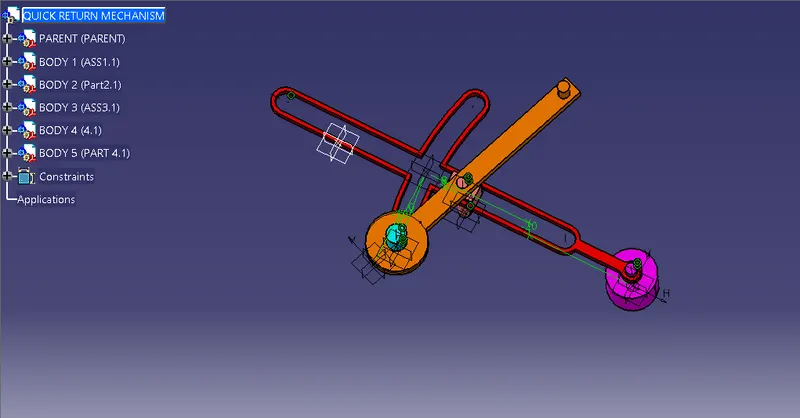
STEP 2: ASSEMBLY OF PARTS USING PRODUCT WORK BENCH.
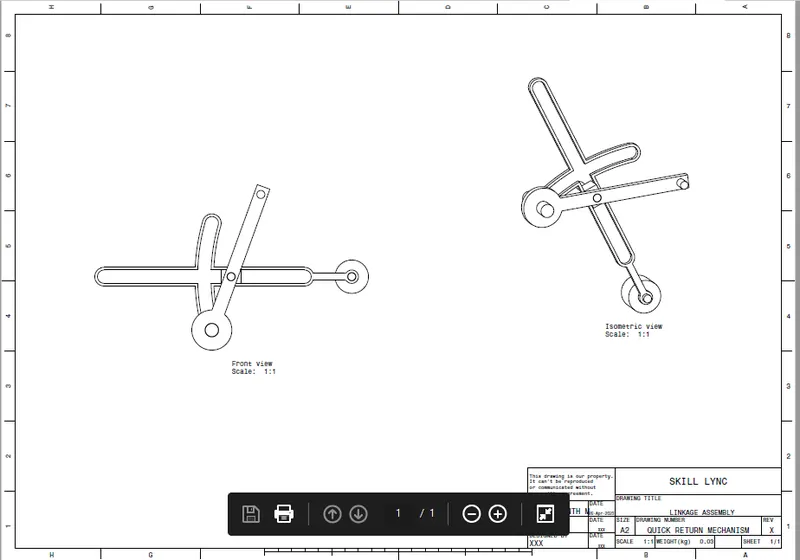
Now, Using the assembly workbench import all the parts to one sheet and using the constraints and offset commands
we have to assemble the parts one by one.
STEP 3: DRAFTING
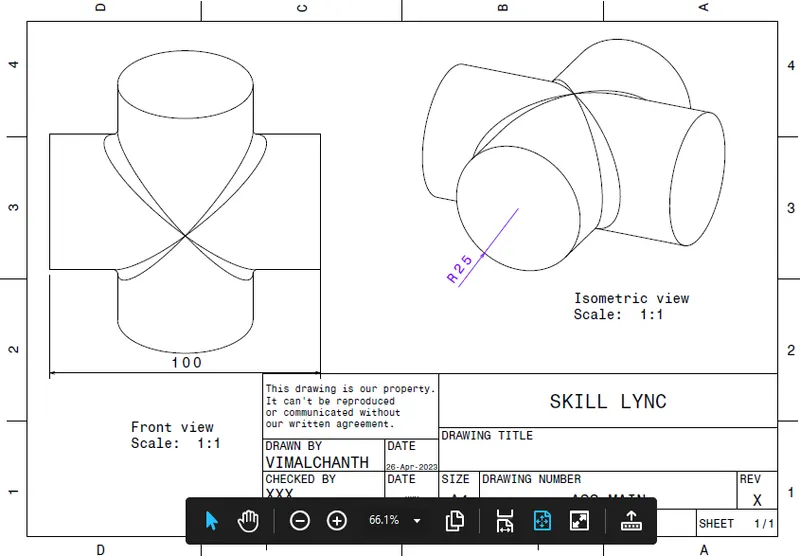
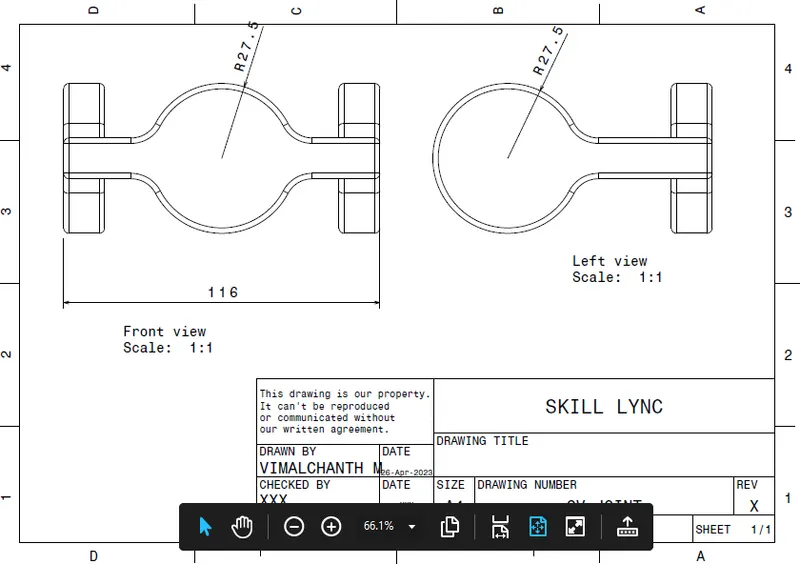
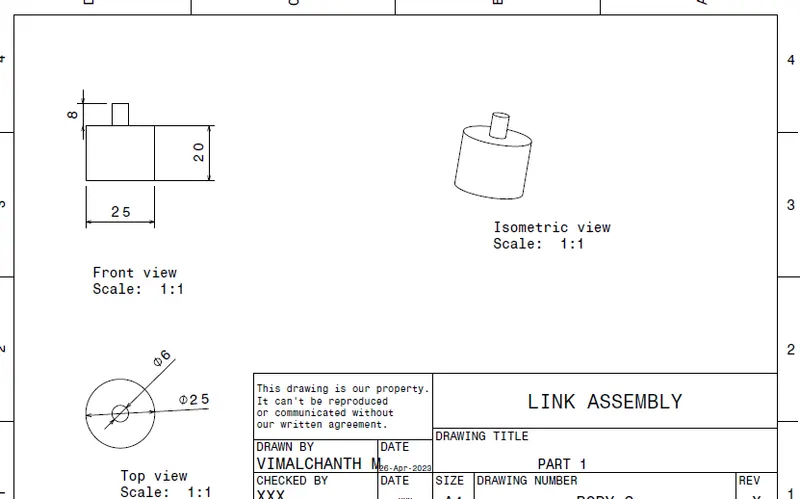
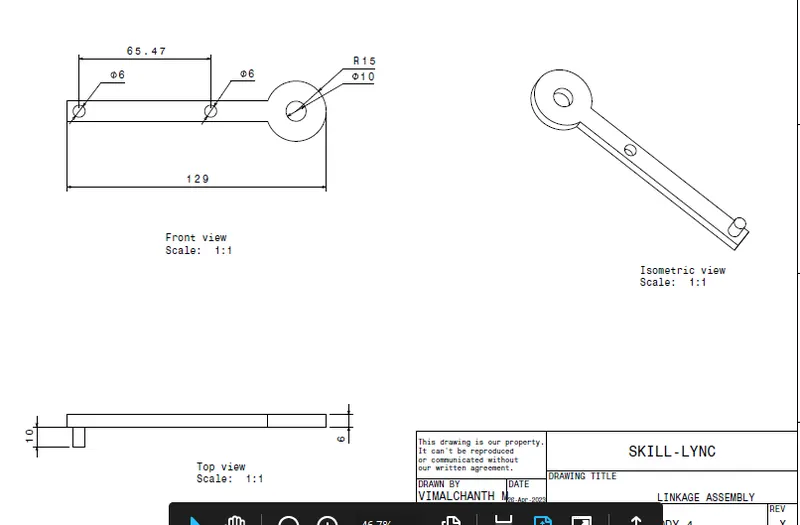
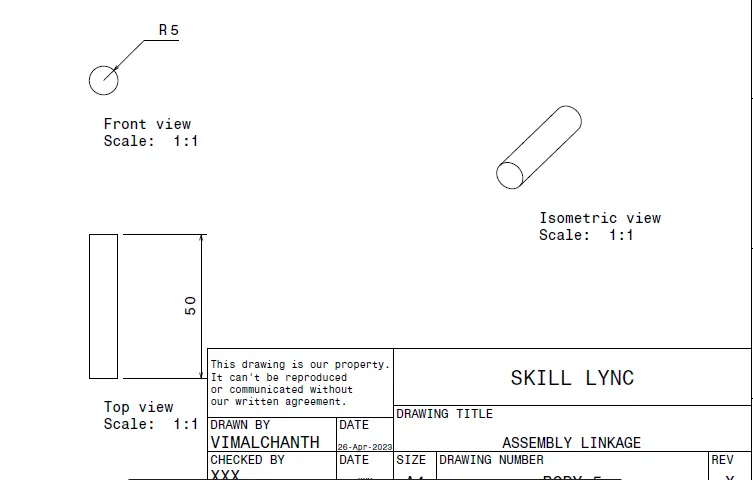
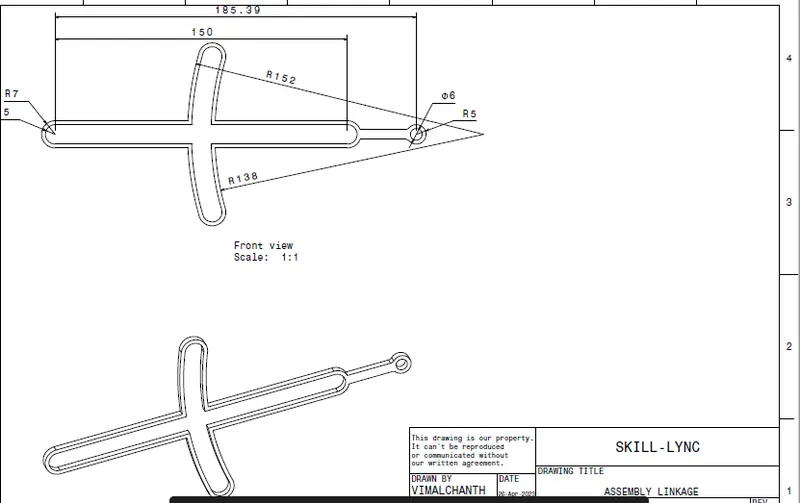
- Now using the drawing workbench, We have to import the individual parts to the drawing sheet.
- Then using the import command and projection view and isometric view commands.
- We have to import the parts in 2D for a better understanding of the drawing.
- Now using dimensioning commands, we have to give dimensions to the parts.
- It will help others to understand the drawing and dimensions better.
MODEL 2
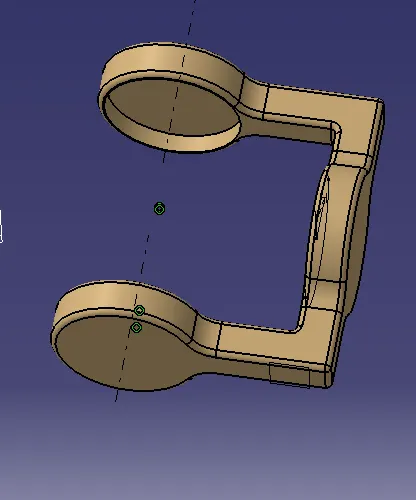
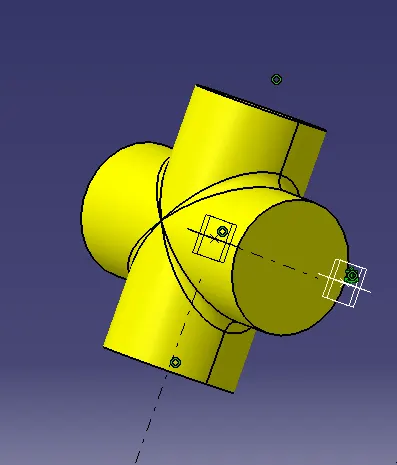
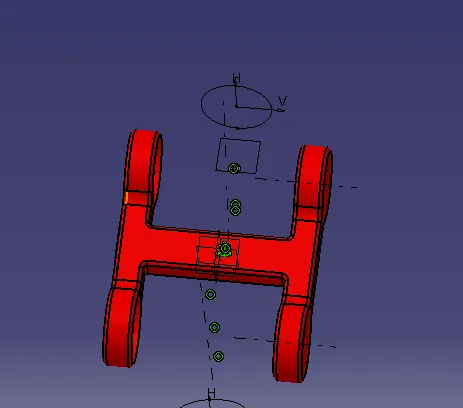
STEP 1: DRAW INDIVIDUAL PARTS OF THE PRODUCT.
First, we have to sketch the individual parts and extrude them according to the given dimensions.
STEP 2: ASSEMBLY OF PARTS USING PRODUCT WORK BENCH.
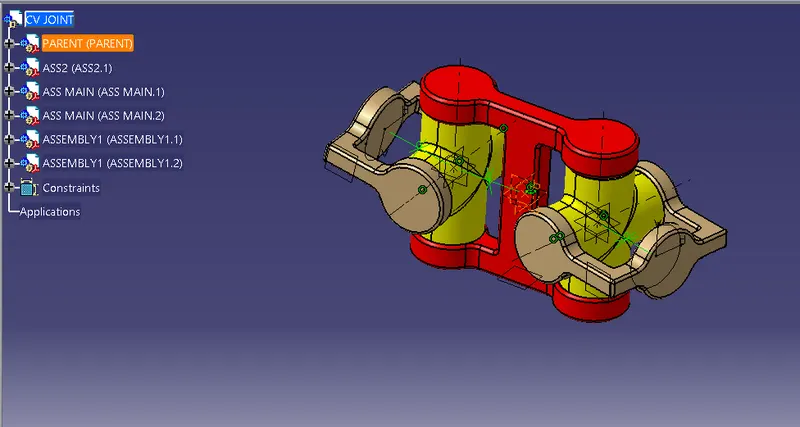
Now, Using the assembly workbench import all the parts to one sheet and using the constraints and offset commands
we have to assemble the parts one by one.
STEP 3: DRAFTING
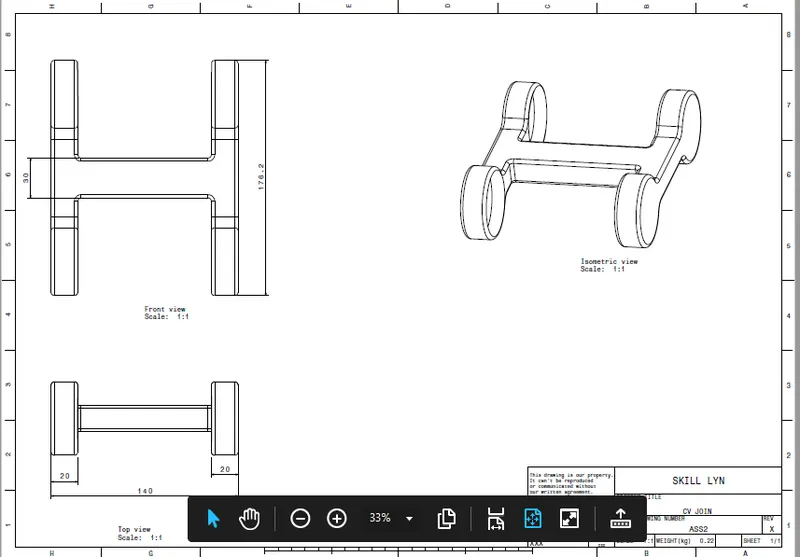
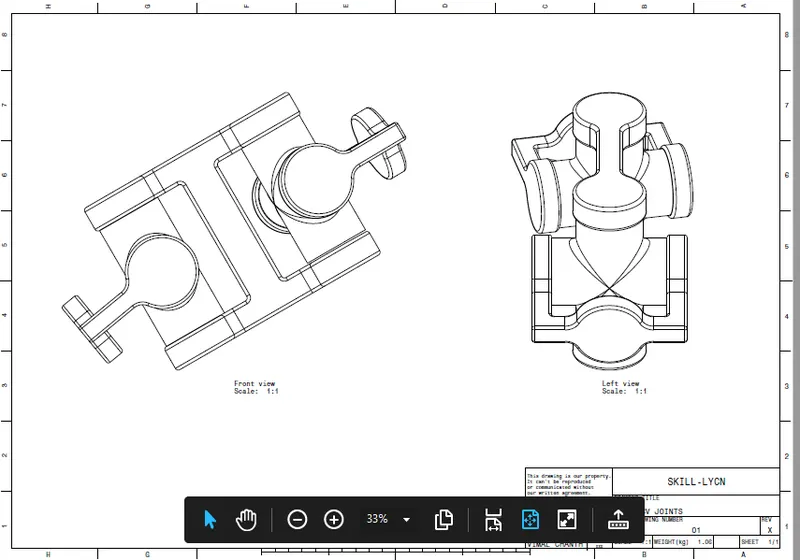
- Now using the drawing workbench, We have to import the individual parts to the drawing sheet.
- Then using the import command and projection view and isometric view commands.
- We have to import the parts in 2D for a better understanding of the drawing.
- Now using dimensioning commands, we have to give dimensions to the parts.
- It will help others to understand the drawing and dimensions better.