Week 7 Challenge
Objective of this challenge is to understand the concept of modelling of industrial structures using staad pro. Know how to create node points and draw the beams. Understand how apply the specification and member property of the model structure. Also know how to create groups of the members in staad pro.
1. Modelling of a structure Procedure:
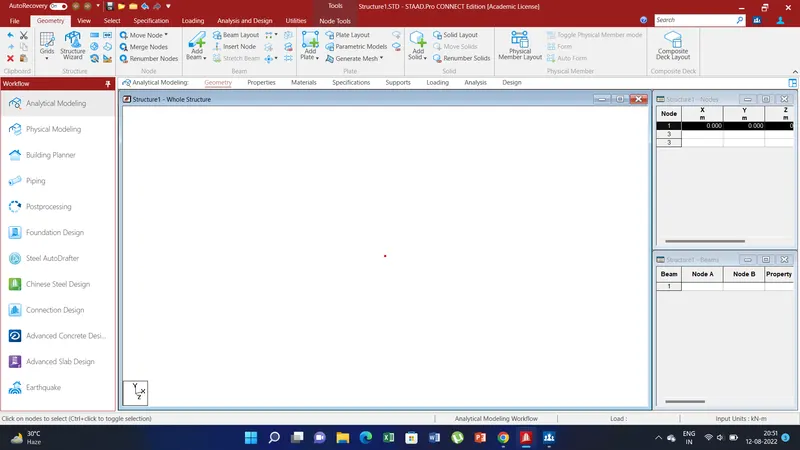
a) First create a new file as analytical model and than select the metric unit and than save the file at appropriate location.
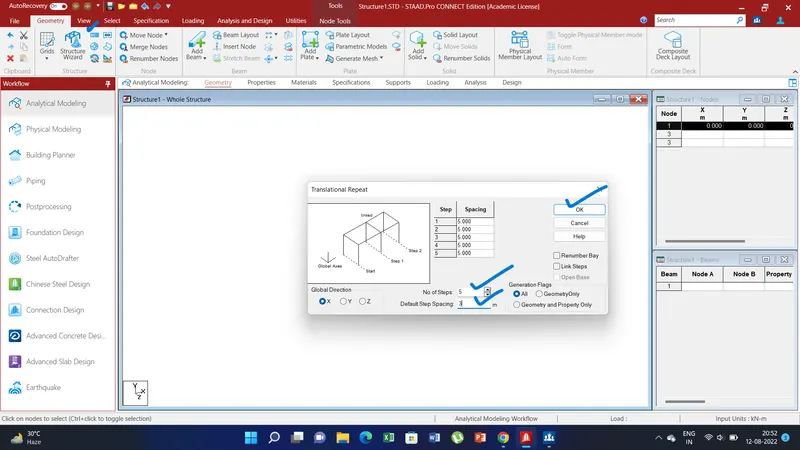
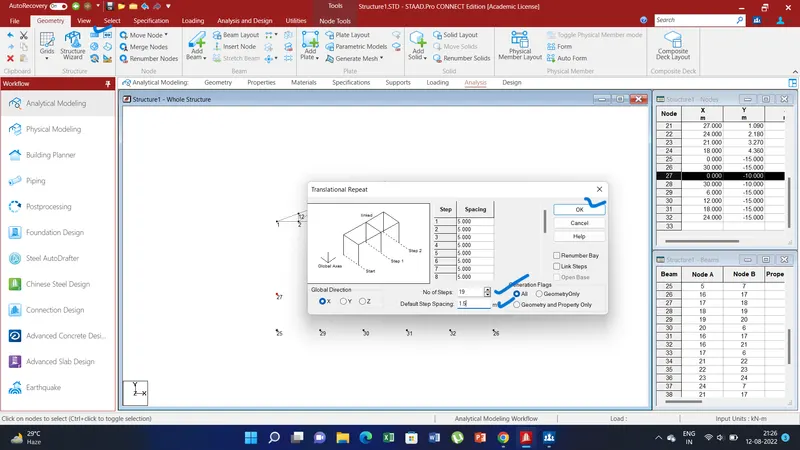
b) Now create a node at structure node in the right corner and insert the value for x,y,z as 0,0,0. Now a node will be created. After that under the select tab option click on the node cursor and than select the created node. Than go to the geometry tab and select the transitional repeat. Now a pop up window appears there put the value for number of steps and spacing for each step. And click ok.
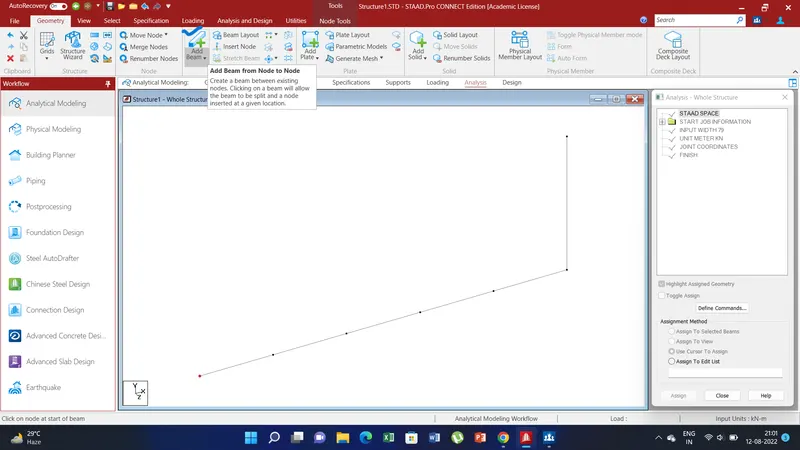
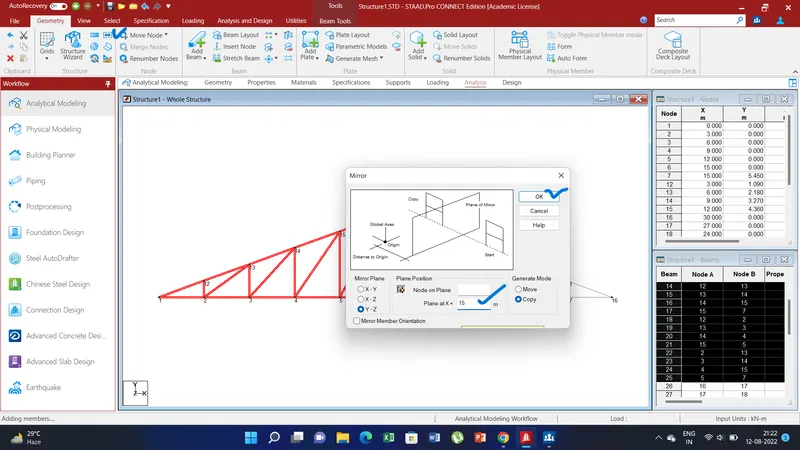
c) Now at X axis at distance 15 mtr select the node and again create the transitional repeat along Y axis. at spacing of 15 mtr. which has been calculated by Tan20 x 15 mtr. =5.45 mtr. Now using add beam option link all nodes to nodes to create the beams. Also create the similar structure by just following the mirror option under the geometry tab. at x plane as 15 mtr by selection the whole structure and than click ok.
d) Similarly create the other nodes as per given structure in the question and create the beams for columns floor beams etc by repeating the above steps.
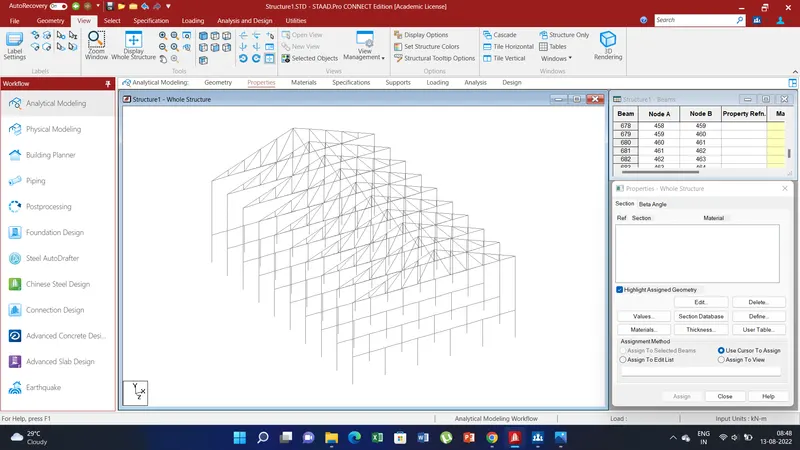
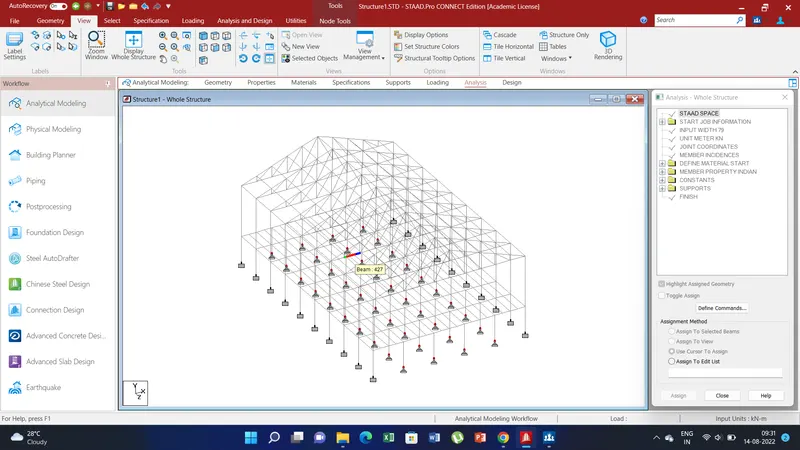
e) After creating the single bay structure as per given question now we need to create similary bay structure at an distance of 5 mtr appart from each other. For this select the whole structure. and againg go to the transitional repeat option at the geometry tab. For 50 mtr span of building create the no. of steps as 9 and spacing as 5. and click ok. Now all the bays are created.
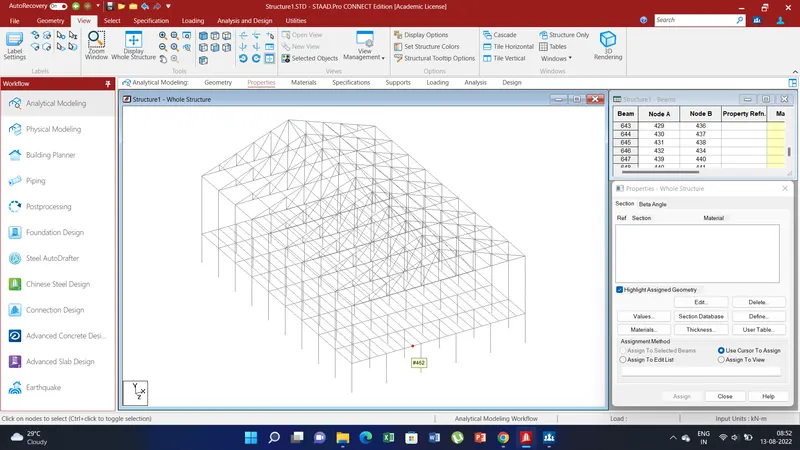
f) For purlin link the from node to node for the top chord by add beam option under the geometry tab. In this way the purlins are created. this can also be done by selecting all the nodes of top chord and click on the attach beam option.
g) For the floor beams create the beams by joining node to node for the bays which is at 5 mtr from base. All the floor beams will be created.
2. Applying Specification and member property for modelled structure
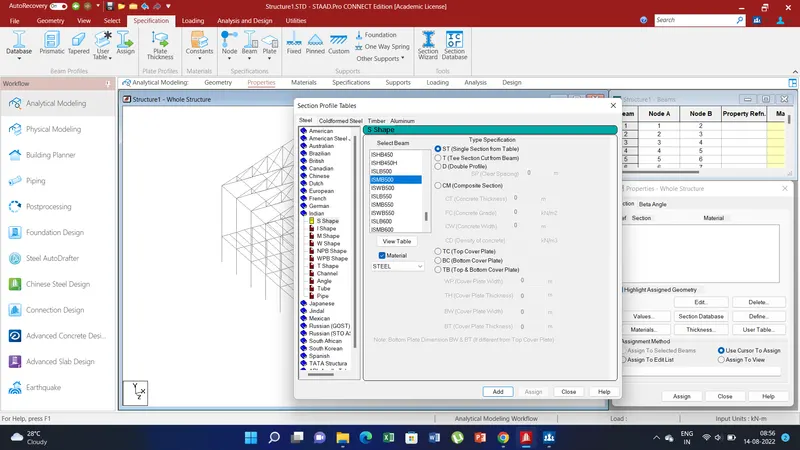
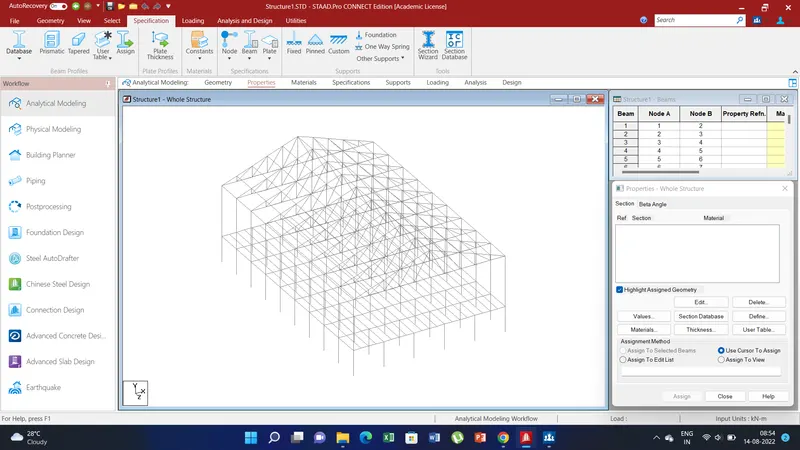
a) Go to Specification tab than a pop up window appears on the right side there click on the section database.
b) Create the section data base as per the qs. a pop up window appears after clicking on the section data base there select the type Indian and select the type of beams as per given in question and than add.
c) Similary do for all the other type of sections that are needed.
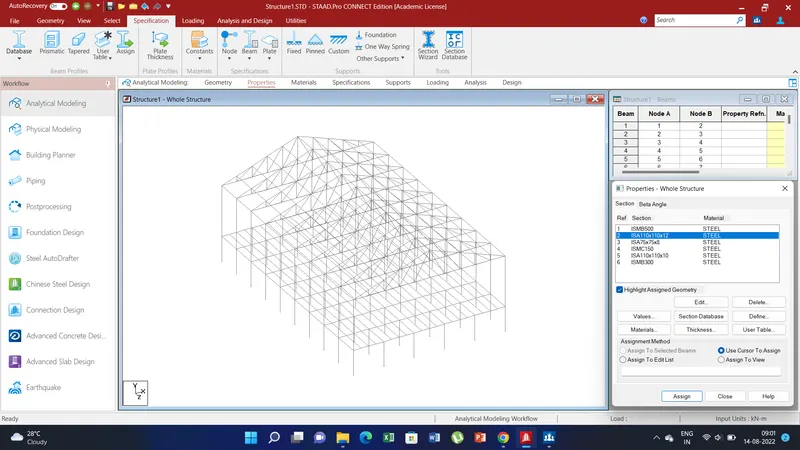
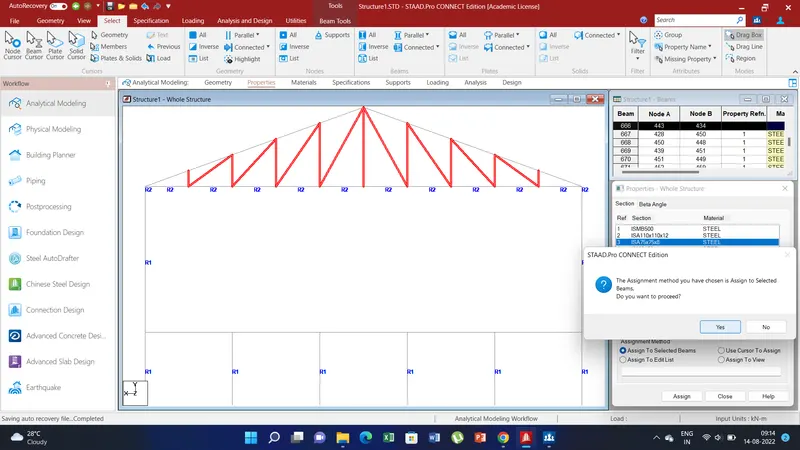
d) Now select the section from the properties windows that is to be assigned for the respective beam.
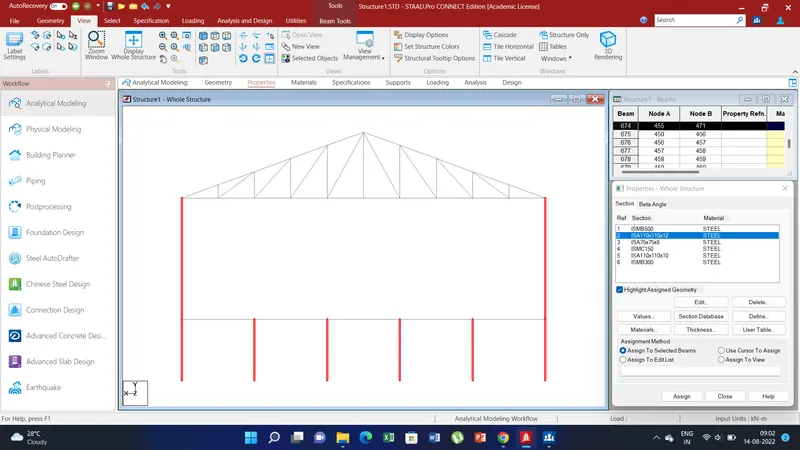
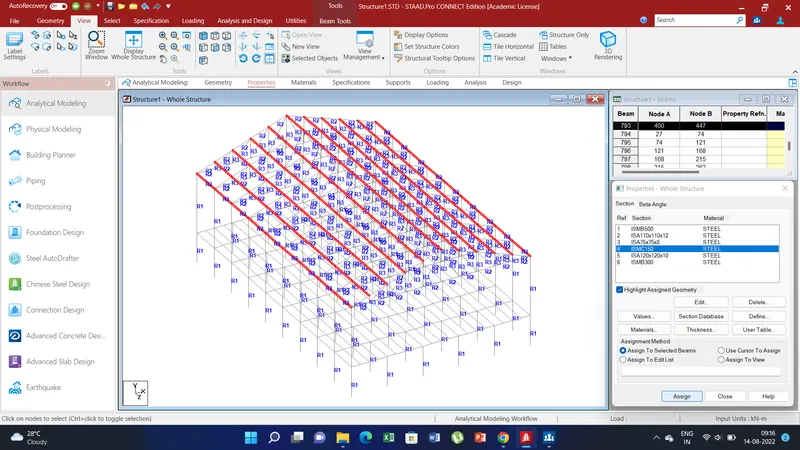
e) Select the beams for example for column select the columns and assign the section ISMB 500 select the assign to selected beams and than click on the assign. Similarly this way assign all the other beams as per question.
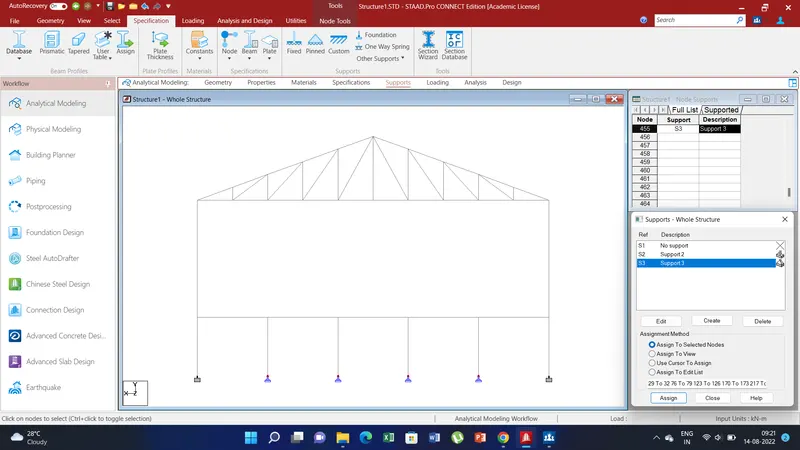
f) For Supports go to the support option than a popup window appears there create support type will be fixed and create another support type will be pinned.
g) After that using node cursor select the nodes of the bottom of the column where the supports are to be assigned. End column assigned as fixed support and intermediate columns are assigned as pinned.
3. Creating a group
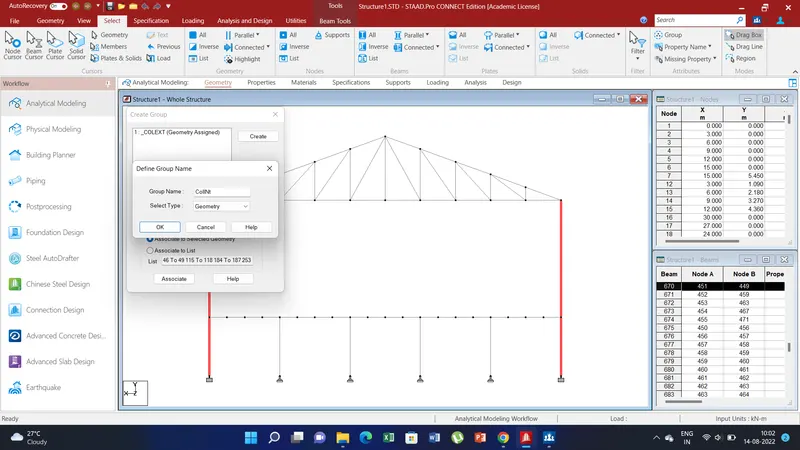
a) For creating groups go to the Select tab and under the select tab in the ribbon go to group icon at the right top corner.
b) Now create the group as per given in the question. Like ColExt, IntCol, Topchord etc. as geometry.
c) Select the exterior column than associate them as colext. Similarly do for the other groups also.
d) In this way groups can be created and when we select the group that entire group will be selected for that member.
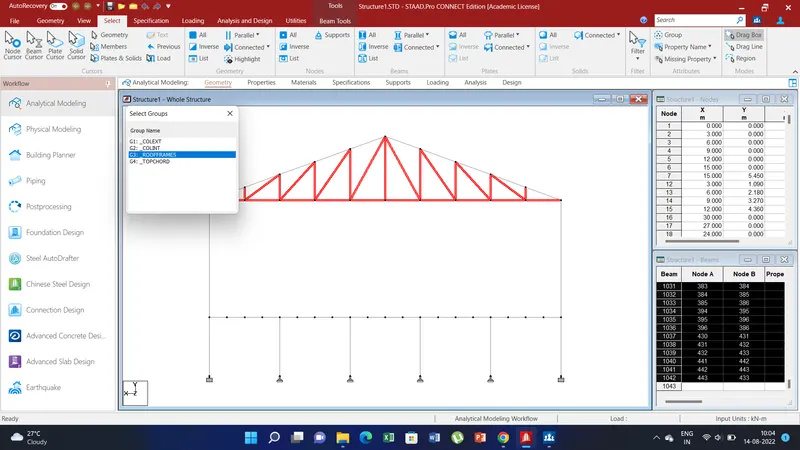
Result: Thus in this challenge we have understood how to model a structure using staad pro for example here we have created a multi bay truss structure having floor units with primary and secondary beams.
Also understood how to apply the specification for the members and how to create and apply supports. And we have also created groups of the members as per question.