Week 7 Challenge
Plastic Component
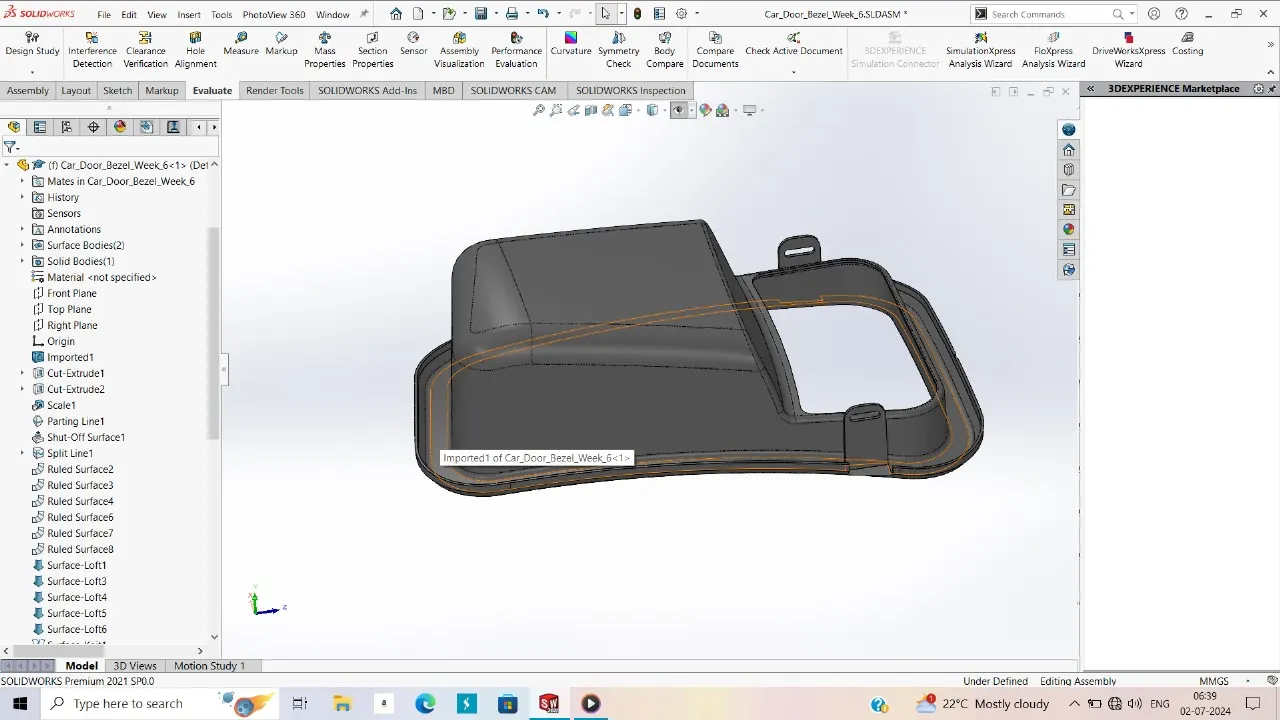
To create the core and cavity we have take step as follow
Step 1 :- Decide tooling direction
In it we can decide the movement of core and cavity of the mold.Basically the side which having the more ribs taken as the core.
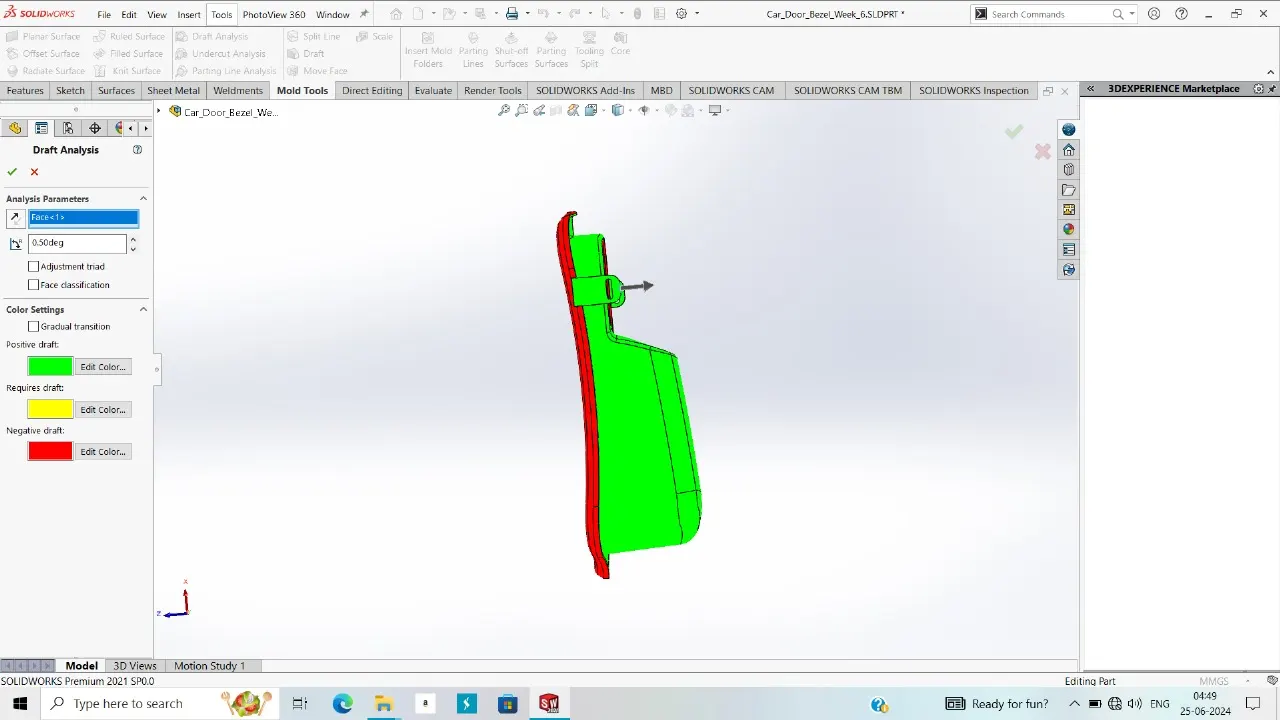
Step 2 :- Draft Analysis
In the case we have to check the draft given to the side of the object so that any defect is not inserted and smooth movement of core to eject the part from the core.
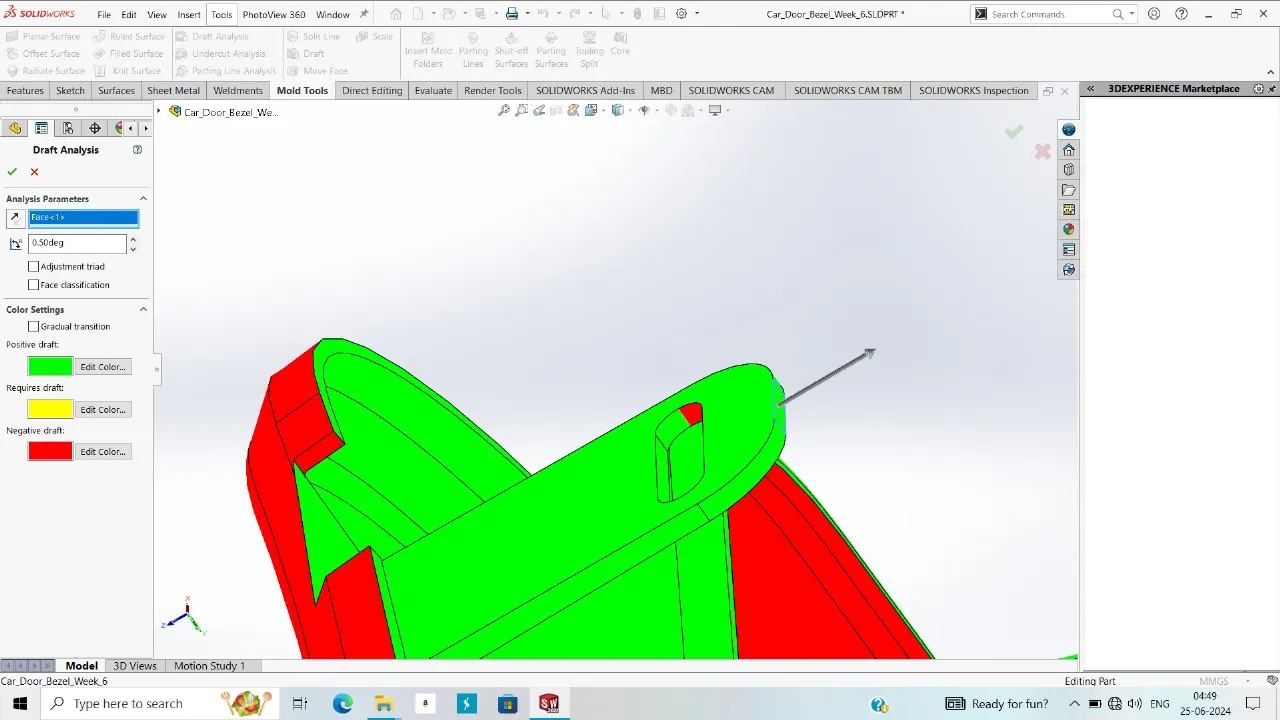
Step 3 :- Decide Core & Cavity
The side which having the more ribs taken as the core and the other has cavity. It decide by the software it self but some time it may be wrong so check it.
Step 4 :- Scale the part or object
Use the scale command to increase the size of the model to accurate after the shrinkage of material which is injected inside the mold.
Here the material is considered as ABS which has shrinkage 6% so,
0.6/100 +1 = 1.006 is the scale factor or value.
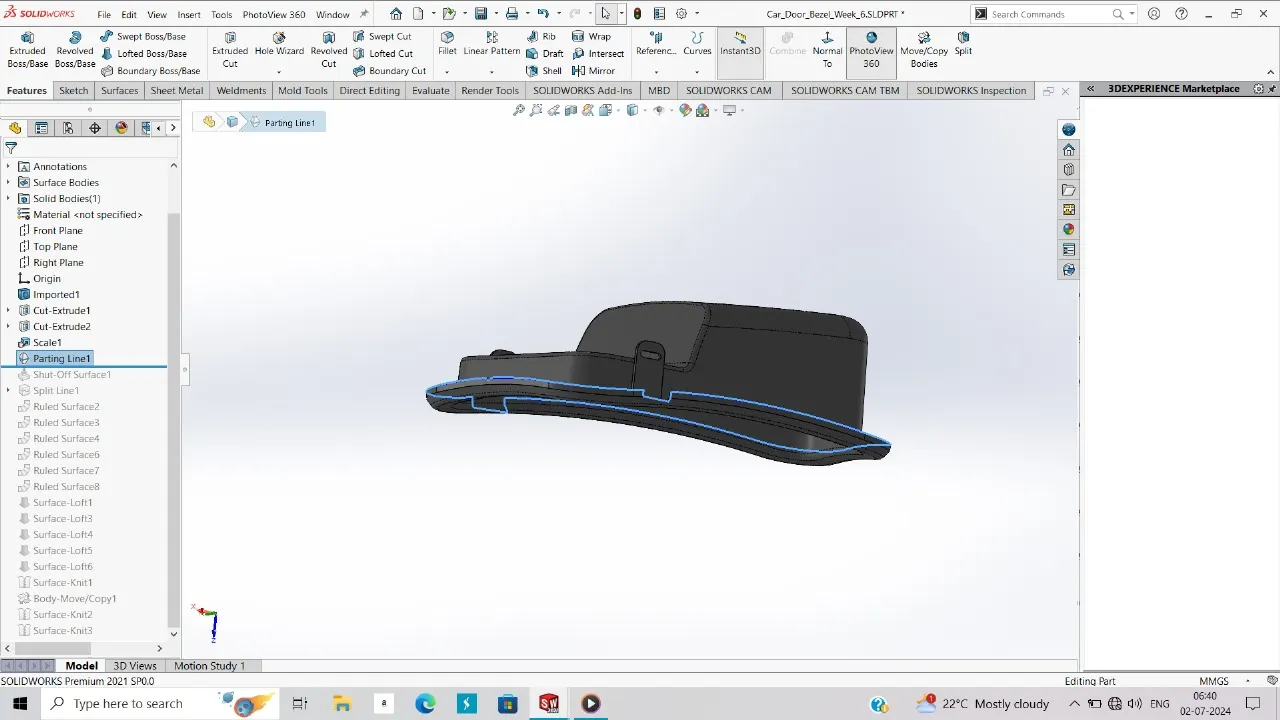
Step 5 :- Parting line
This are the line which devide the part into two equal part.which are use to make the parting surface.
Step 6 :- Shut off surface
This are use to close the hole and create the core and cavity surface as a closed figure. Before using it check where core and cavity is meet at the surface.
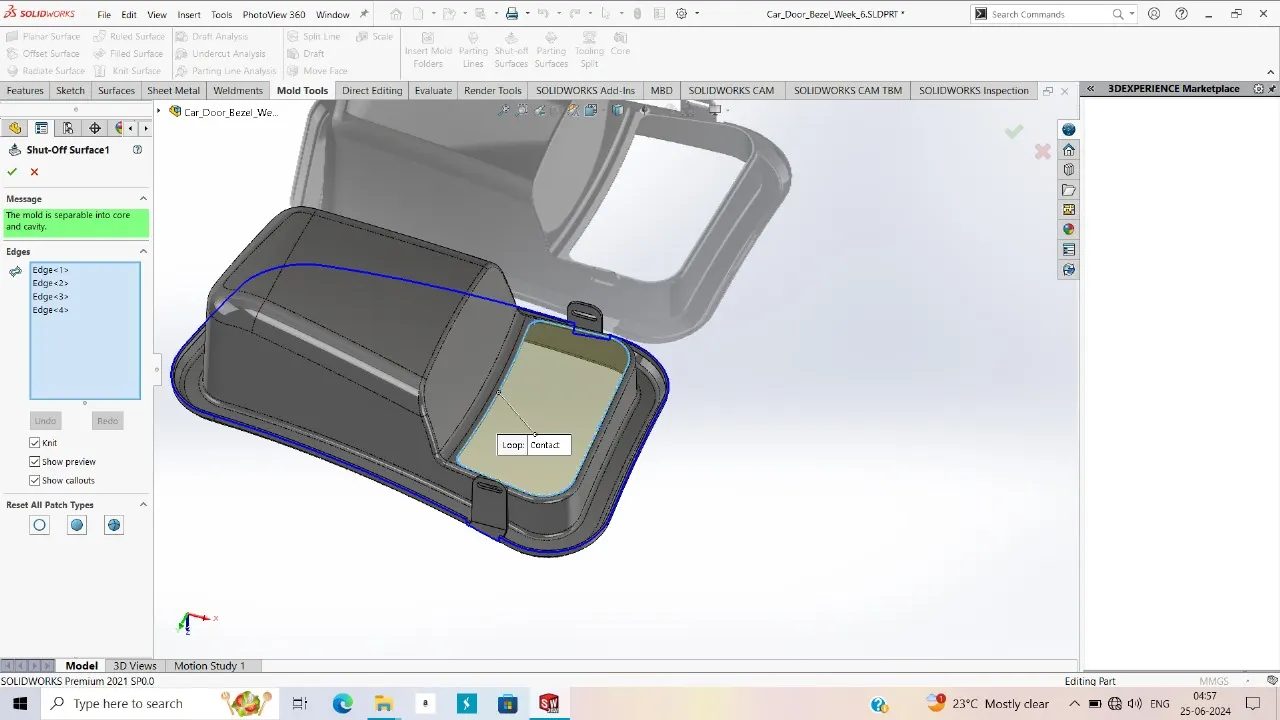
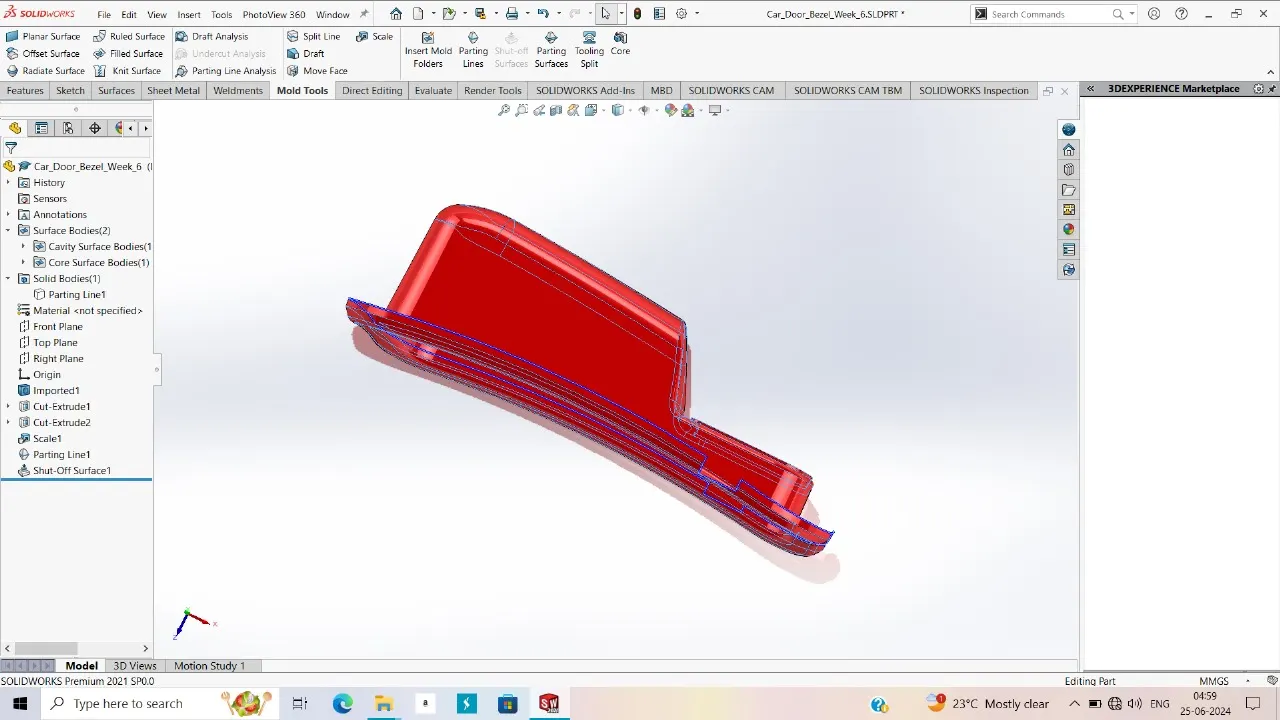
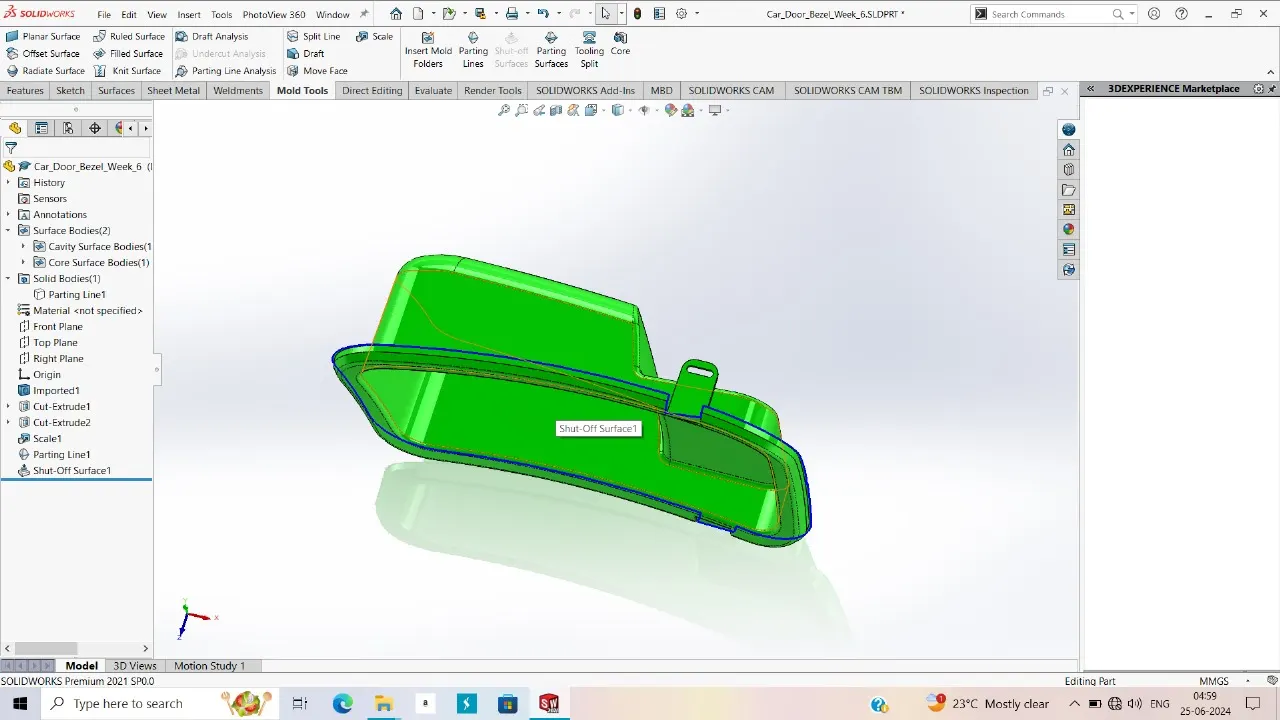
Step 7 :- Parting Surface
Create surface using the parting line and surface tools and note that the parting line and parting surface are on the same plane.
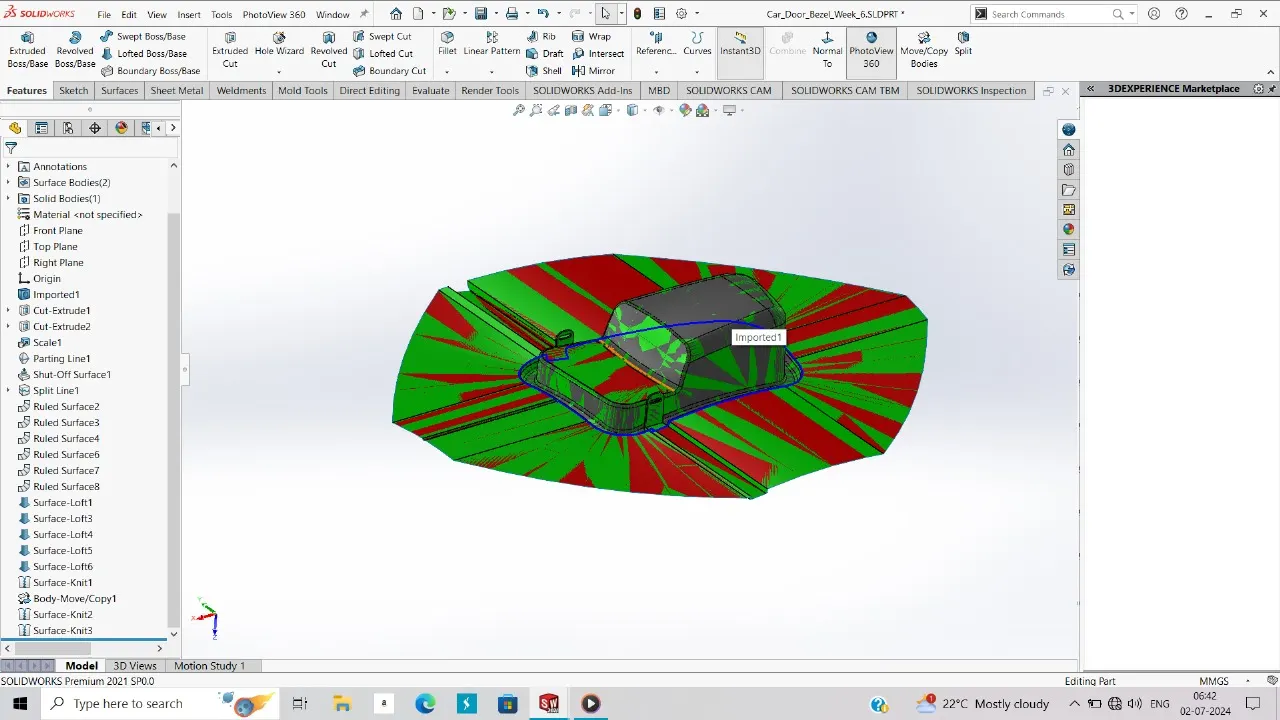
Step 8 :- Final core and cavity surfaces
Merge the parting surface with the core and cavity to create final core and cavity surface.
copy the parting surface and then Knit this surface with core and cavity.
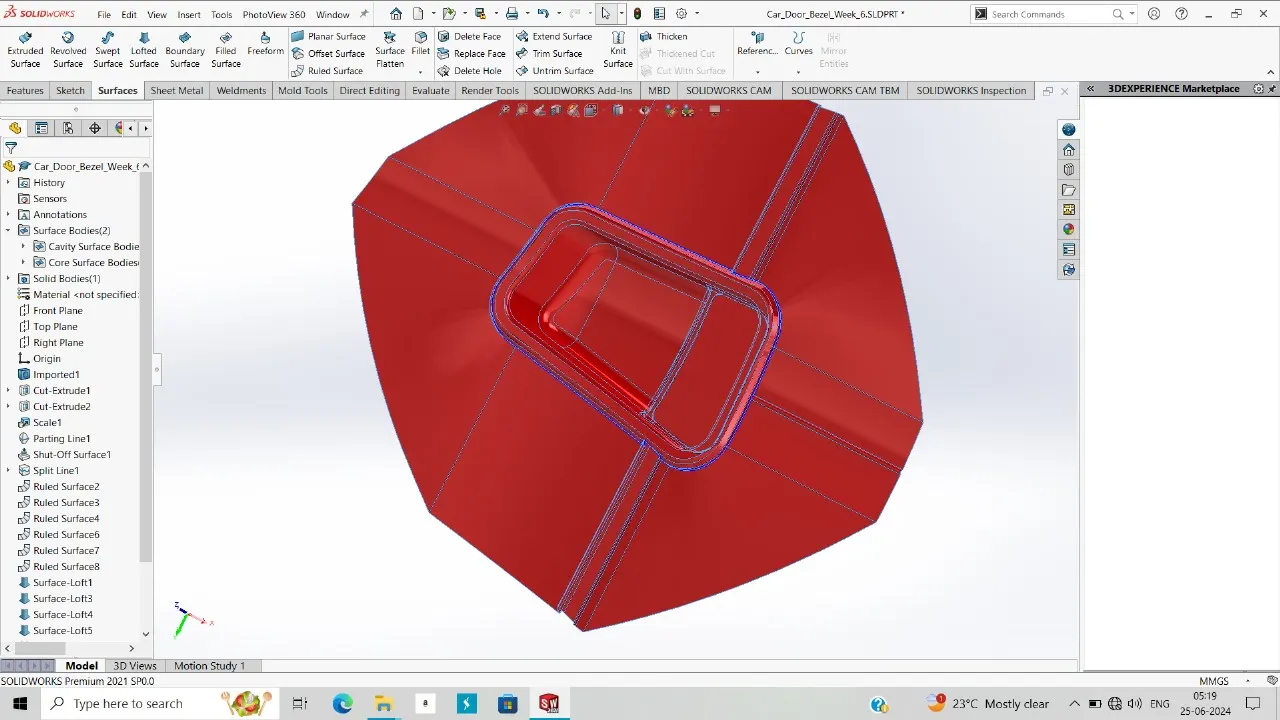
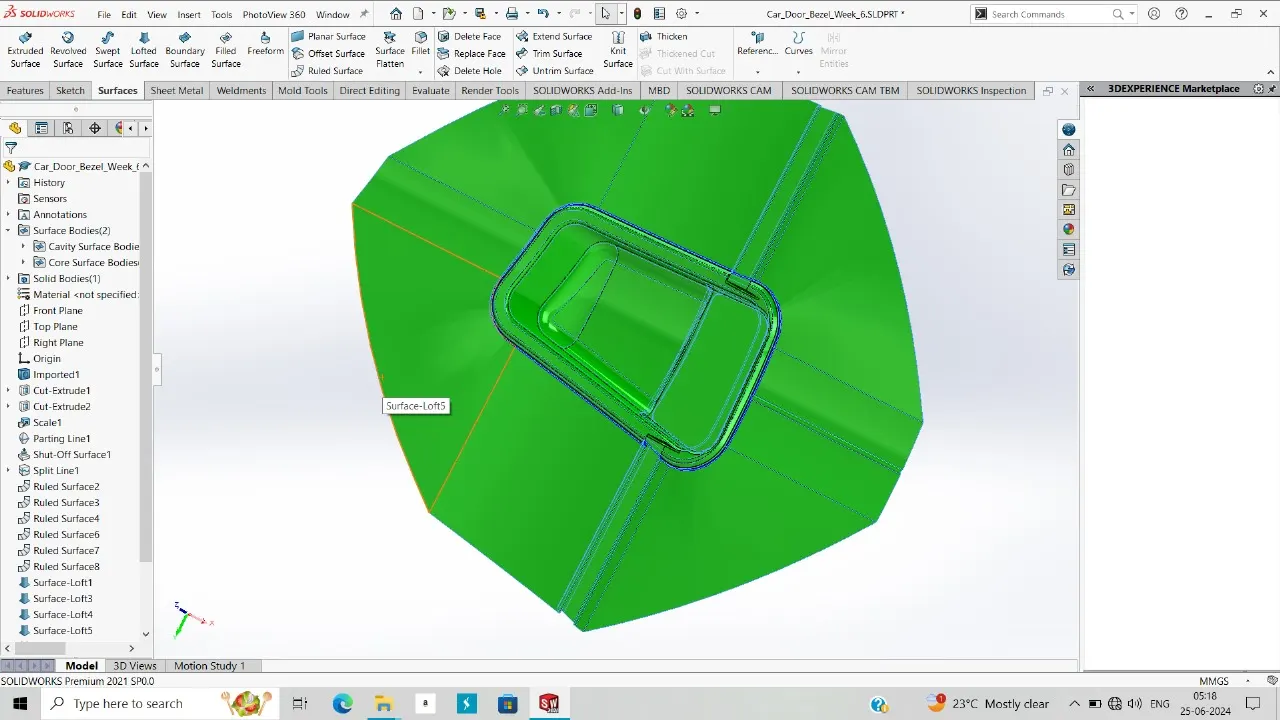
Step 9 :- Core and cavity Blocks
Create cuboid and cut it with core and cavity surface to obtain the core and cavity blocks. Before cutting the block copy it so it can be used two time to create the core and cavity.
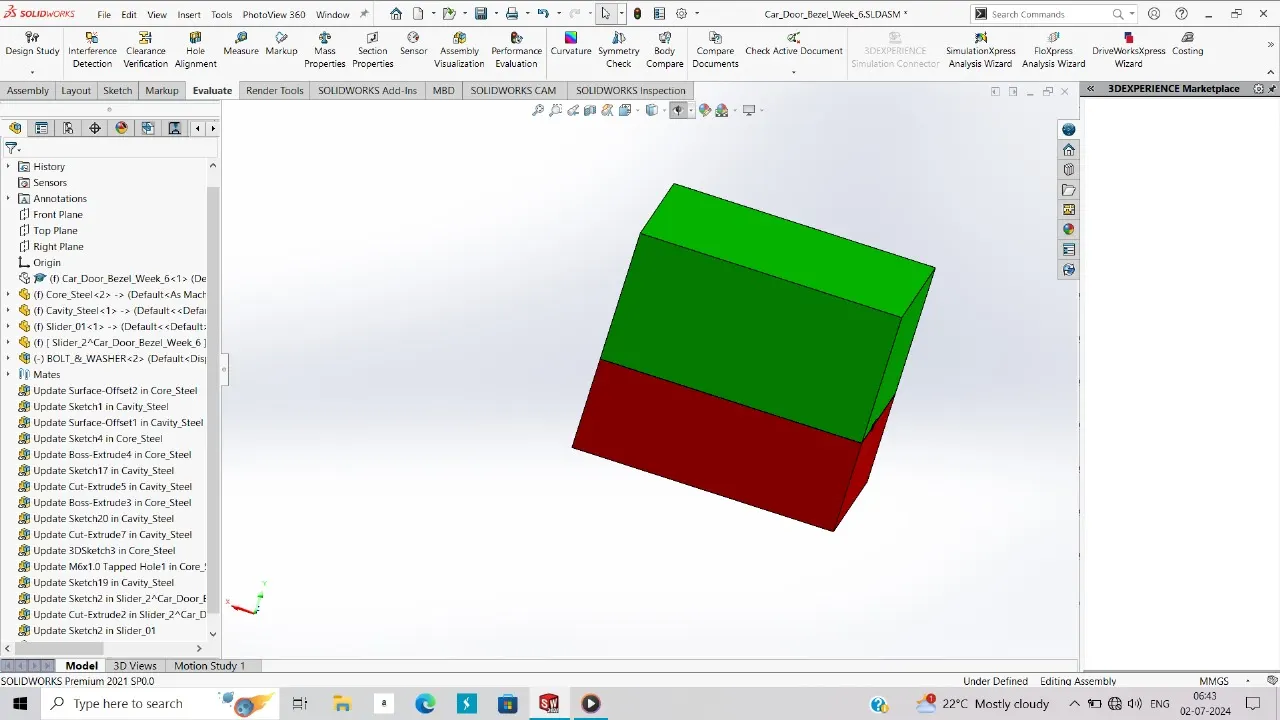
In this way our core and cavity blocks are made.
After creating the mold core and the cavity we must create the Slider we have given with the runner location, so we don’t have to create the runner an ejector in this case. We can see we have change the model for slider the some edges are in the middle of slider path so we have to change this.
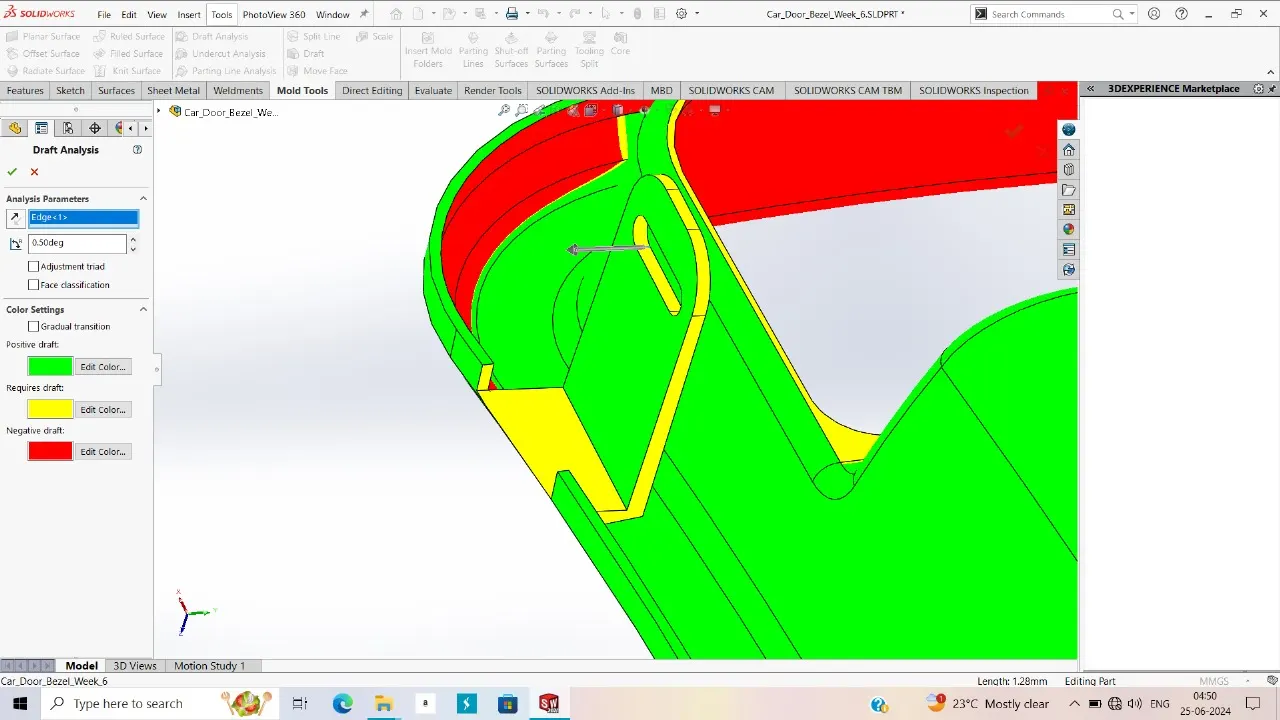
So for creating the slider we have done the draft for the slider direction as you can see :
For creating the slider we have define the path for the slider and the locking with the slider ejecting length generally it is more than 40mm should be enough. We have to create the two sliders for this case.
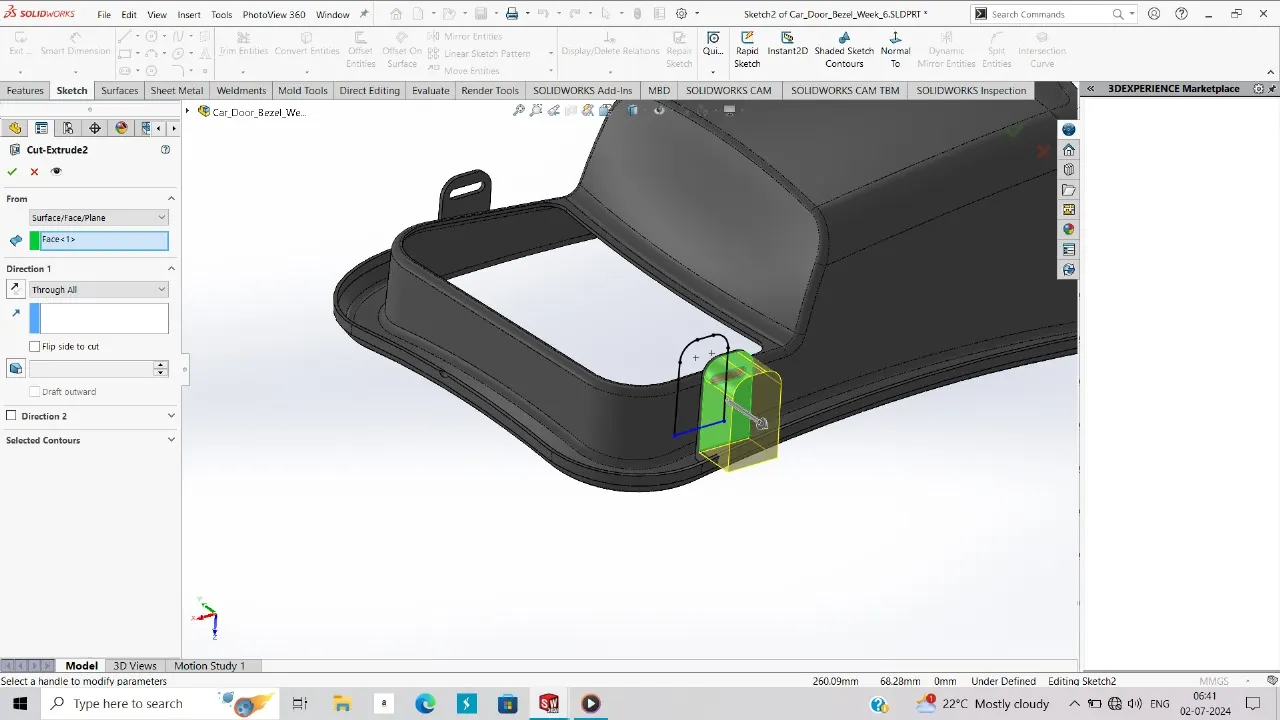
After creating slider we have make sure this area should be remove from the core and cavity easily so we have change the core and the cavity block.
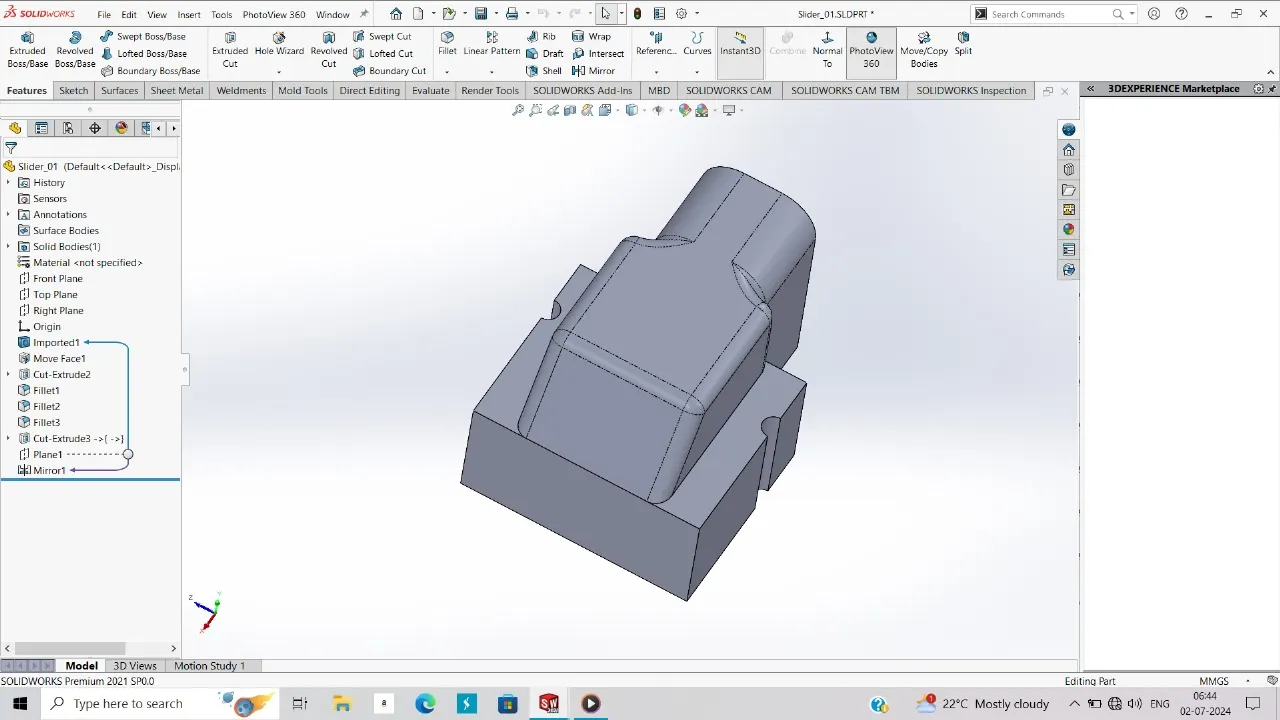
Make sure that we have sufficient Space for the washer and bolt to be insert in the block also we need to maintain the sufficient space for the fingertip which is going to be insert on the slider top face generally it should be more than the diameter of the fingertip and this are std. but in this case we don’t have data.
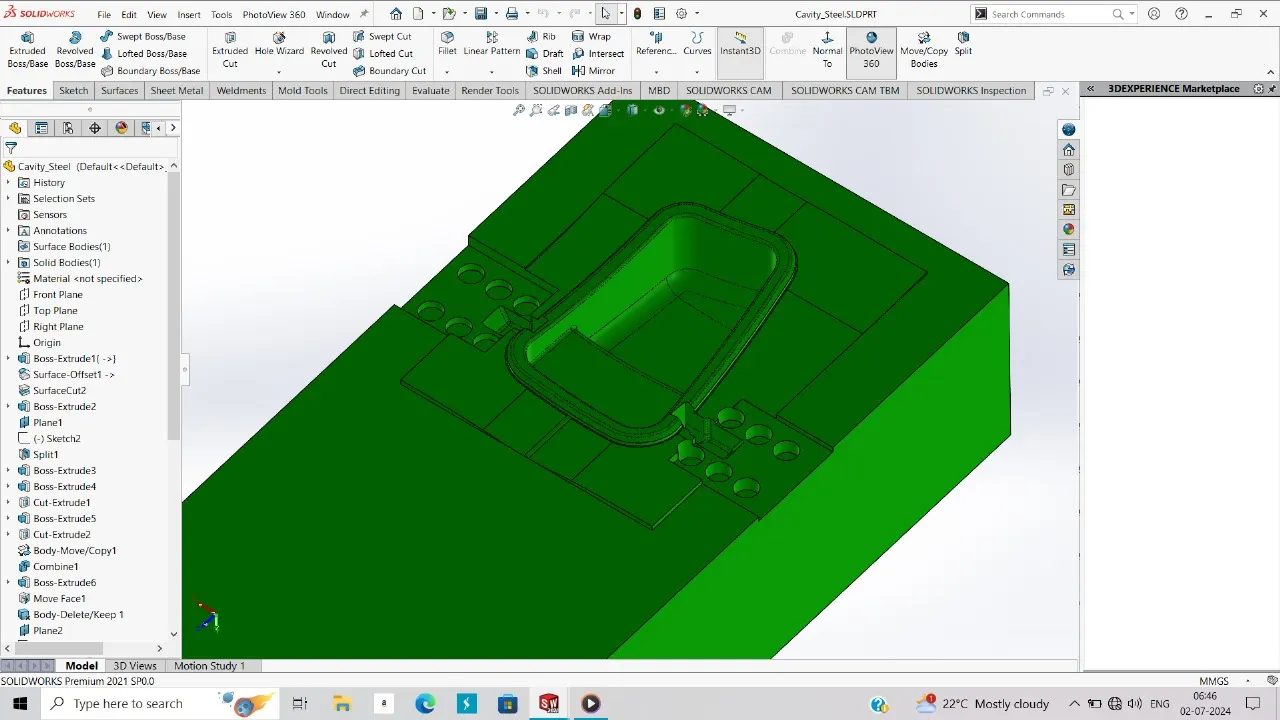
After creating the slider make sure to give the fillets for slider as well as to the core and cavity block generally fillets don’t have std. but as you see more the radius of fillet better to make the slider, core and cavity because the more the radius we can use the much bigger tool to do the operation and it is easy to do the work.
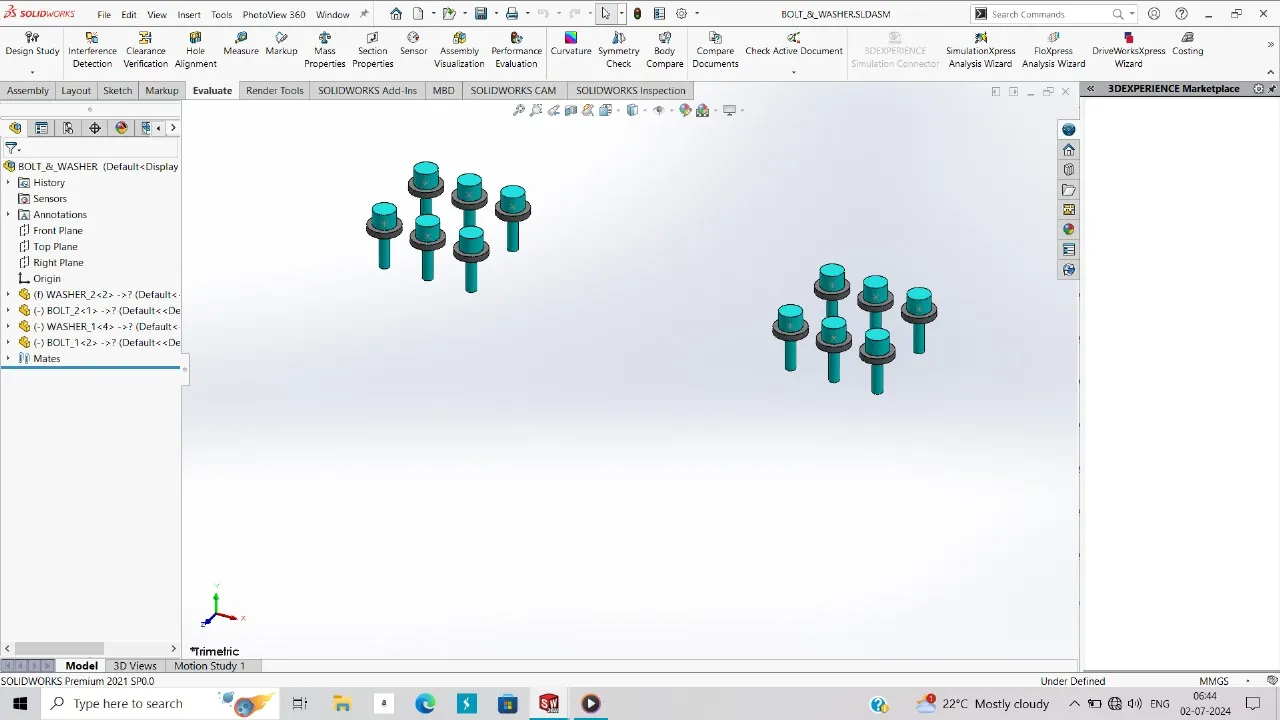
Then we have create the locking mechanism for the slider so that when we release the cavity from the core slider also going back when mold is solidified so it should be easy to remove the part but we should know the when it is ready to remove for that we need to add the locking mechanism.
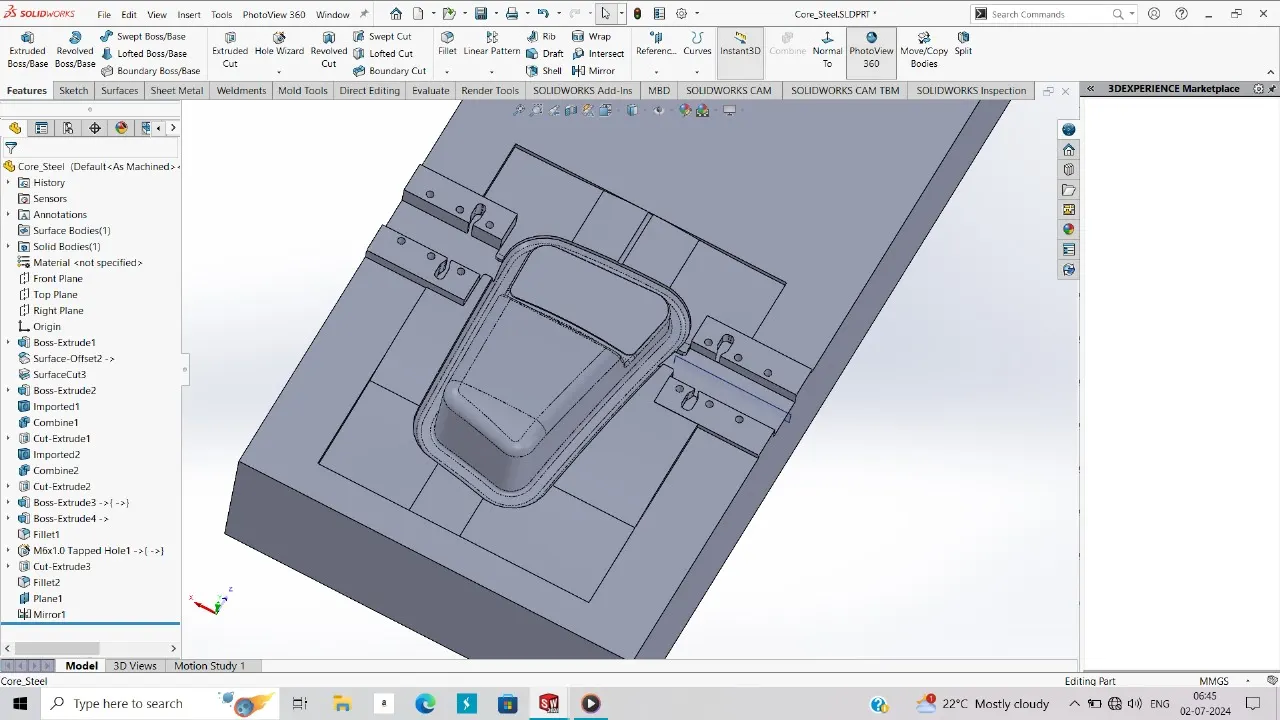
The position of the locking is defined by the length of start of slider to the length of at the end of slider. EX. If it is 40 then we must create the hole or slot on slider at 40 mm and then add hole on core from the slider so that when slier completely out of the part we can eject the part from the mold.
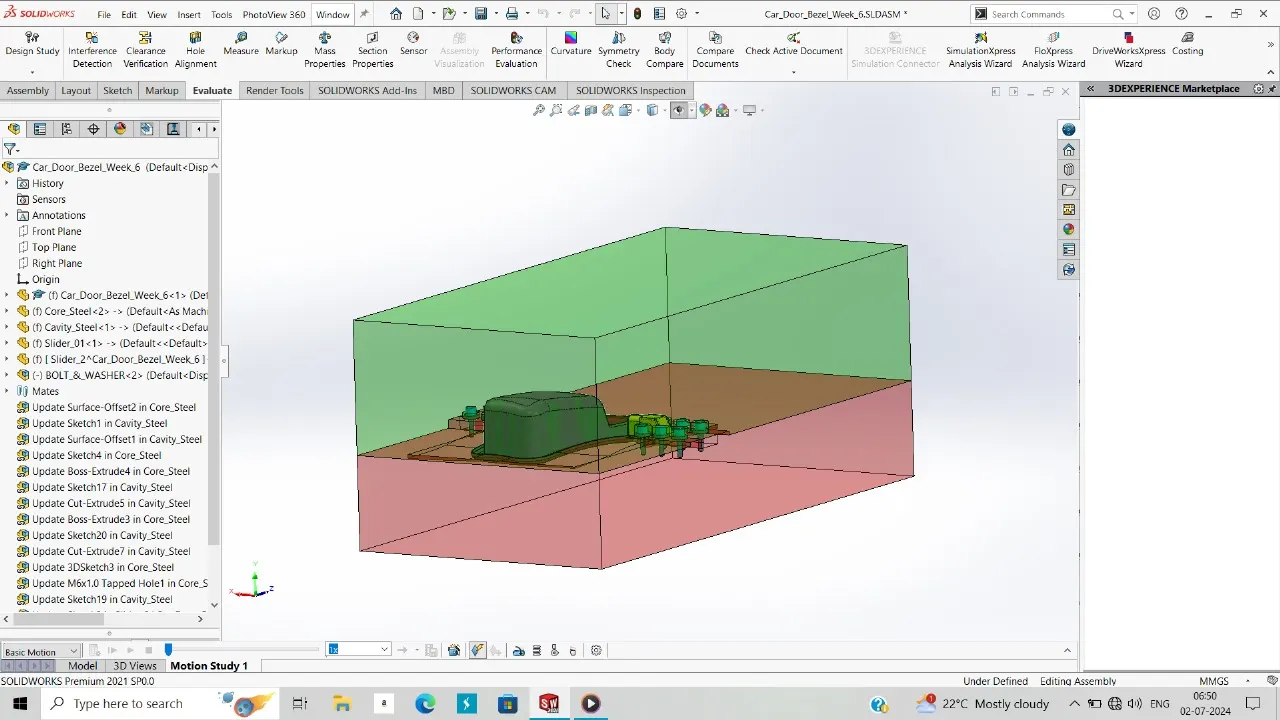
In this way we have create the Mold Block of core and cavity for car bezel.