Week 7 Challenge
1)
AIM: To model a structure in staad for given details
- Bay spacing 5 m
- Span of Truss 30m
- Shape of Truss - Pratt Truss
- Slope of truss 20 degrees
- Height of the column 15m
- Floor beams at 5m from base
- secondary beam at 1.5 c/c
- Length of the building 50m
- column supporting floor beam @ 6m c/c along the frame
PROCEDURE:
Step 1: open staad pro software .go to new option ,select the folder where you want to save the file and fill the necessary details, also select the metric units as measurements are given metric units
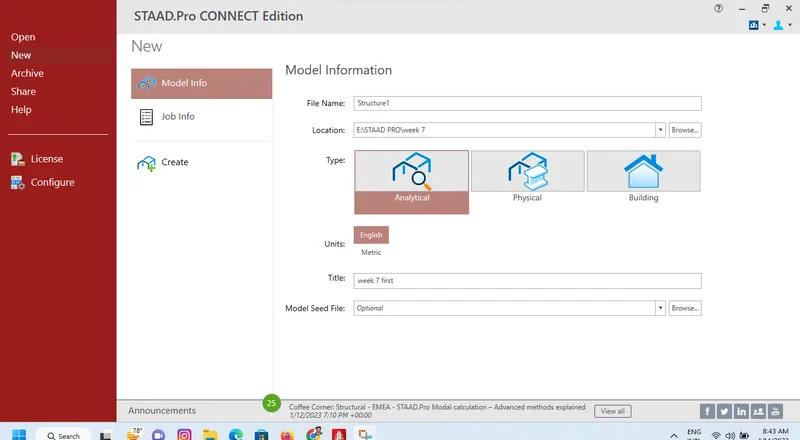
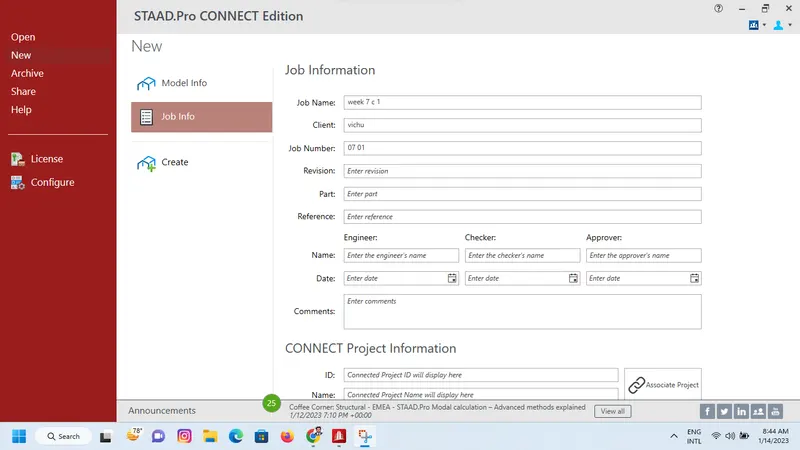
step 2: Now ,click the create option to start modeling the structure . add the nodes to create the basic main frame structure .
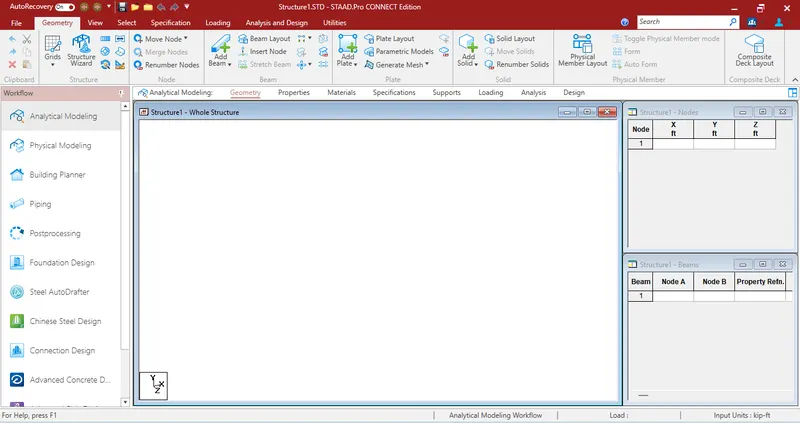
step 3: go to geometry tab and select add beam option , now select the nodes to add the beams between the nodes.
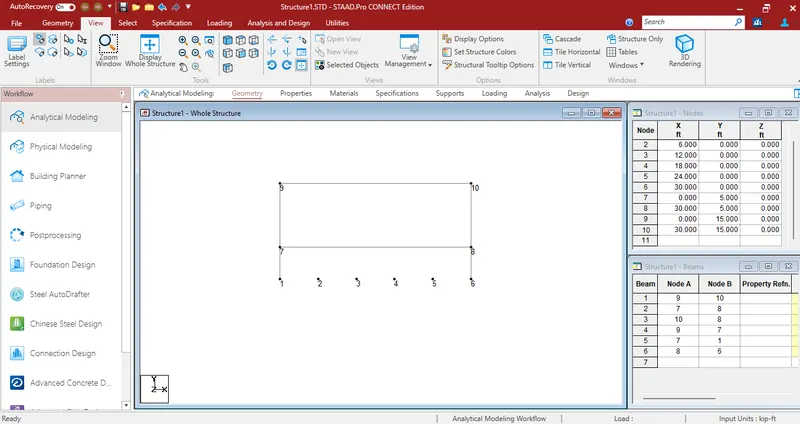
step 4: Add nodes to create a floor beam using the insert nodes option . add nodes at a regular spacing of 1.5 m
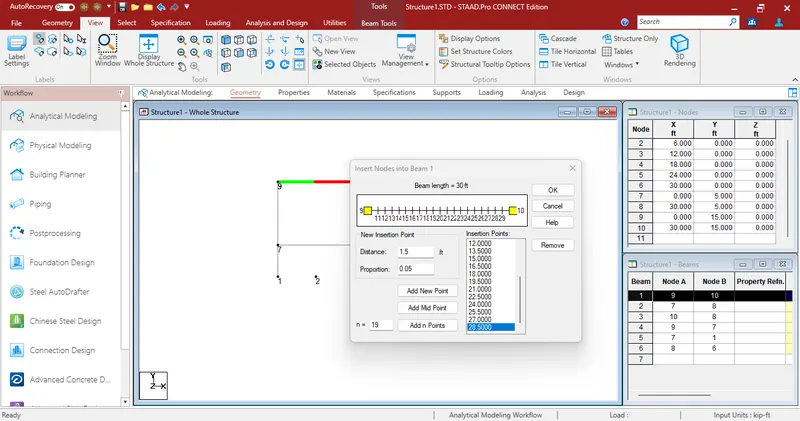
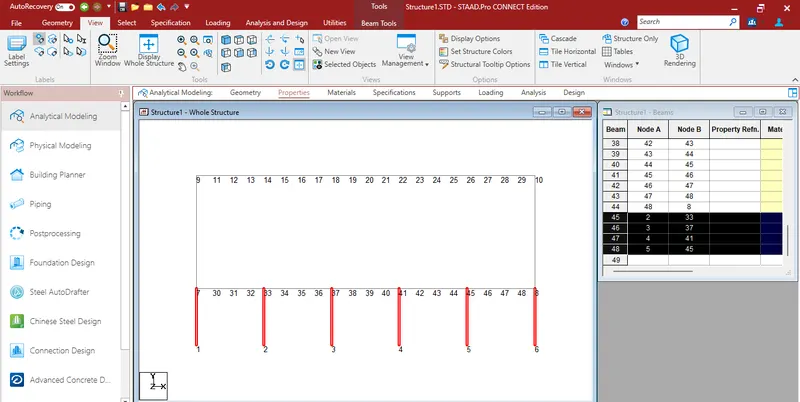
step 5: similarly add columns between the floor beam and supports
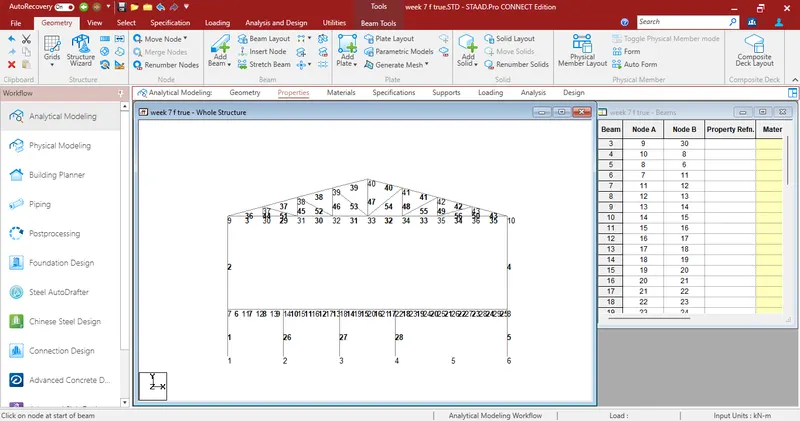
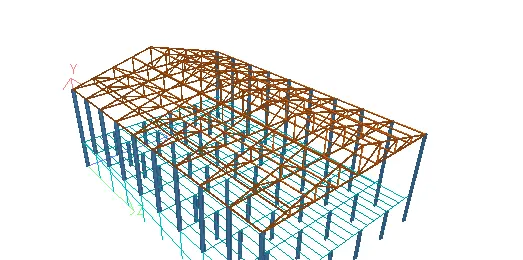
step 6: now create a roof truss using the structure wizard and maerged it with staad pro model as below
step 7 : now using translational repeat , create multiple frames along the length. dont forget to check link steps and open base
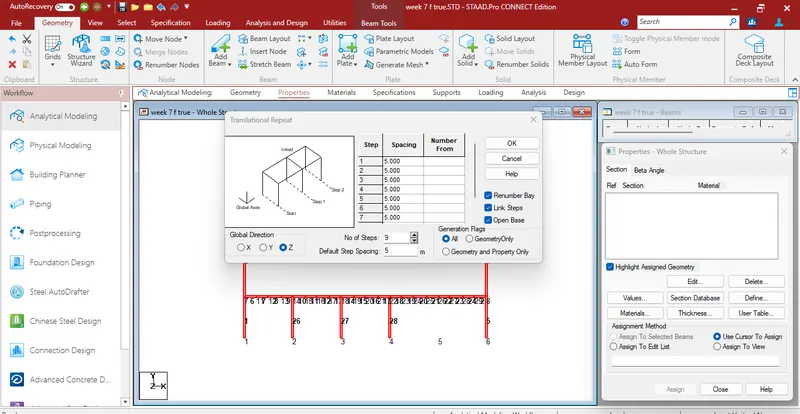
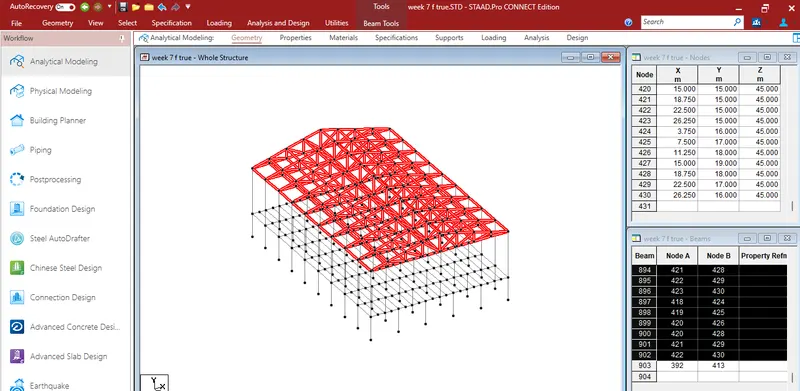
result: structure is modeled as per requirements
2)
AIM: To apply specification and member property for modeled structure as per given specifications:
- columns -ISMB 150
- truss -top & bottom chord -ISA 120 X 120 X 10
- Floor primary beams -ISMB 300
- secondary beams -ISMBC 150
- FLOOR beam supporting columns ISMB 300
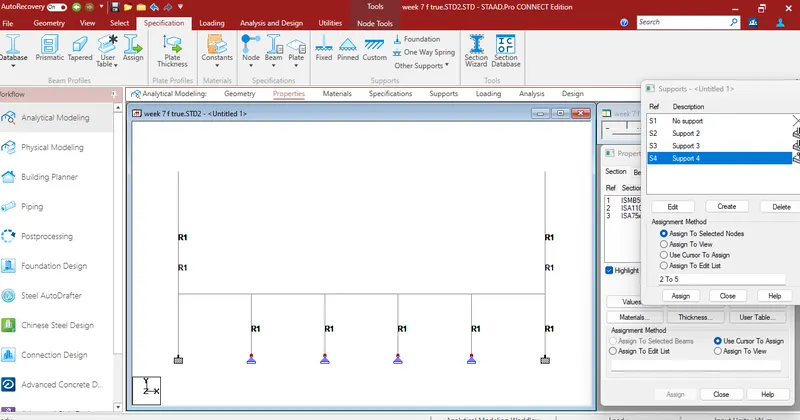
- Assume the bottom of the main column as fixed support & intermediate floor beam supporting column as pinned
- orient the angle sections by applying a beta angle
step 1: now select the structural elements for which we want to add the specification and properties . go properties option, select the required section from the database .select the suitable and applied to selected beams.
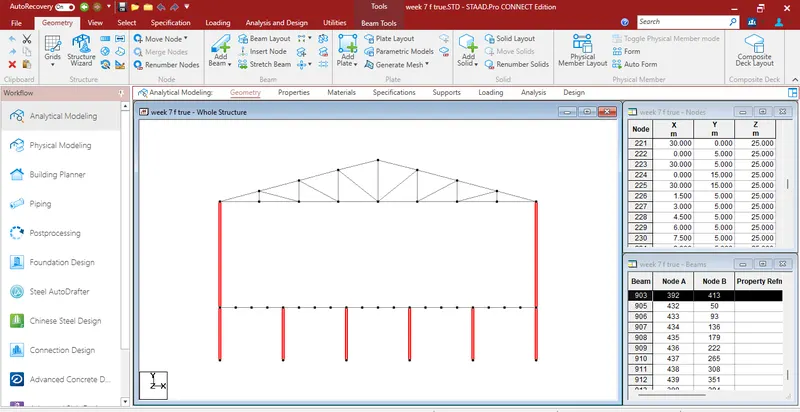
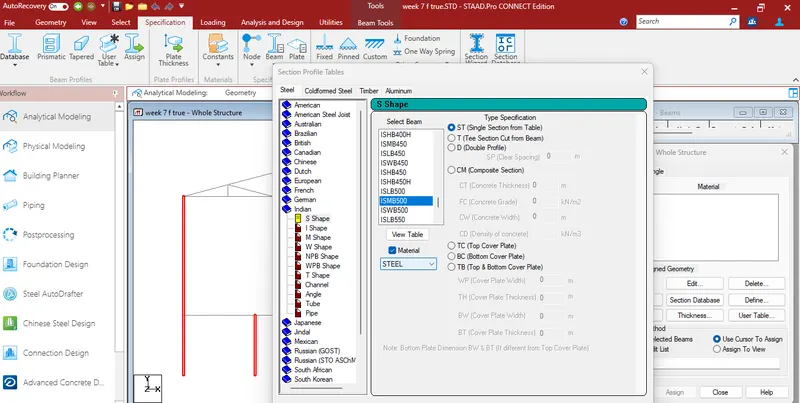
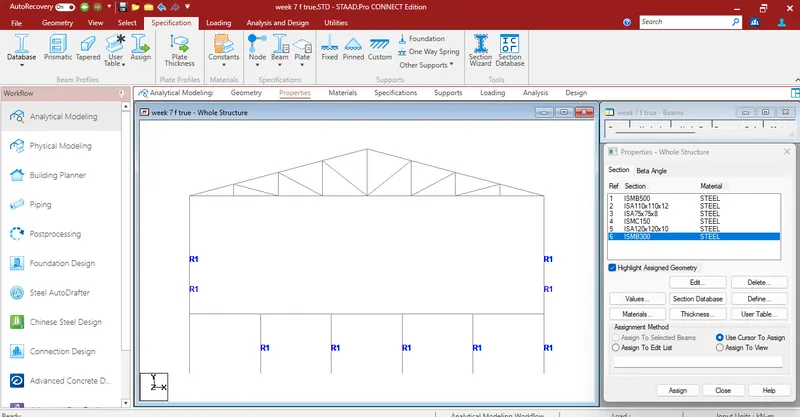
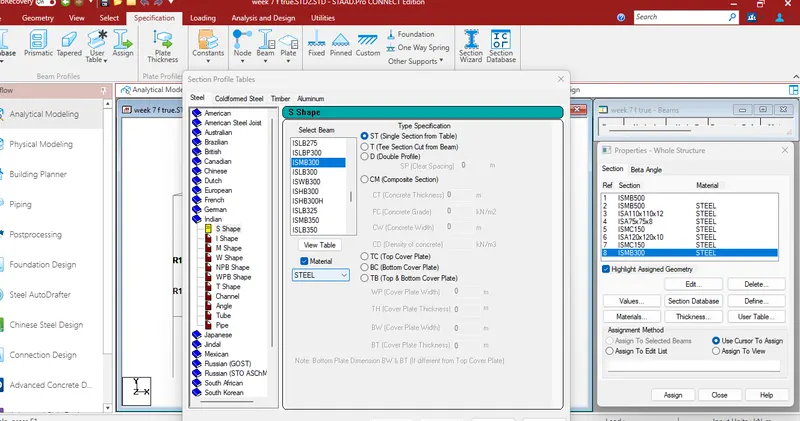
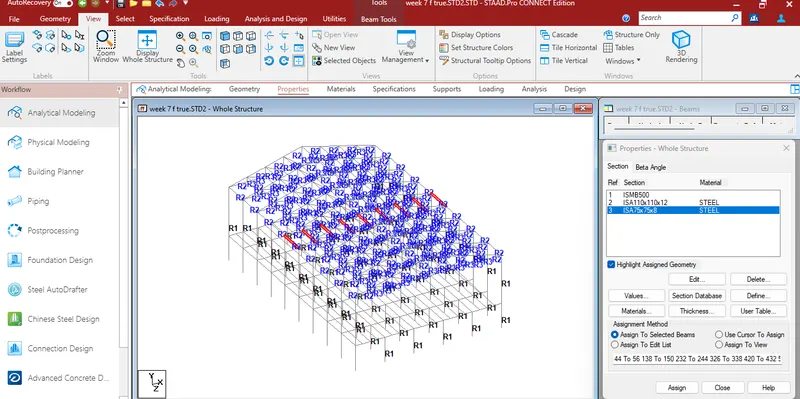
STEP 2: SIMILARLY add all material and section to members.
step 3 : add supports at bottom of columns
step 4: now assign the beta angle to orient angle section . on the property option , select the angle that you want to orient and click on the beta angle, enter the value of the beta angle to orient the angle section
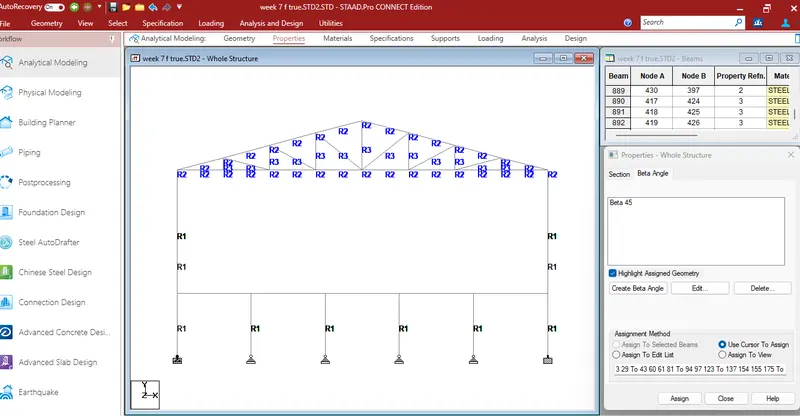
result : all the properties of the structural elements have been assigned and the angle section has been properly oriented using the beta angle section
3) AIM: To form a group for the following members for the following members
- external column
- internal columns
- roof frames
- the top chord of the truss
- primary beams
- secondary beams
procedure :
step 1: go to the select tab and select the group option create groups name and select the type as a beam
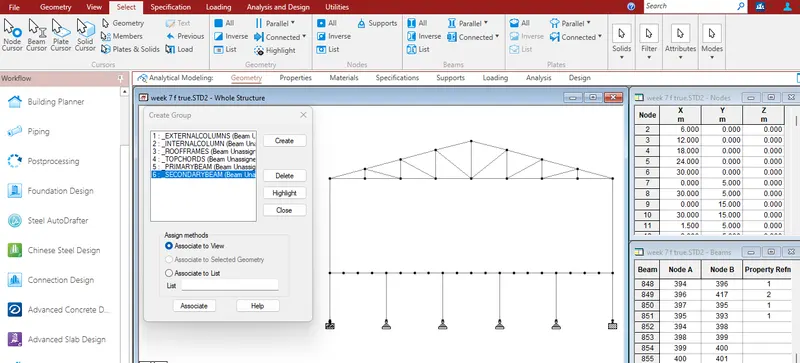
STEP 2 : NOW add elements to their respective groups
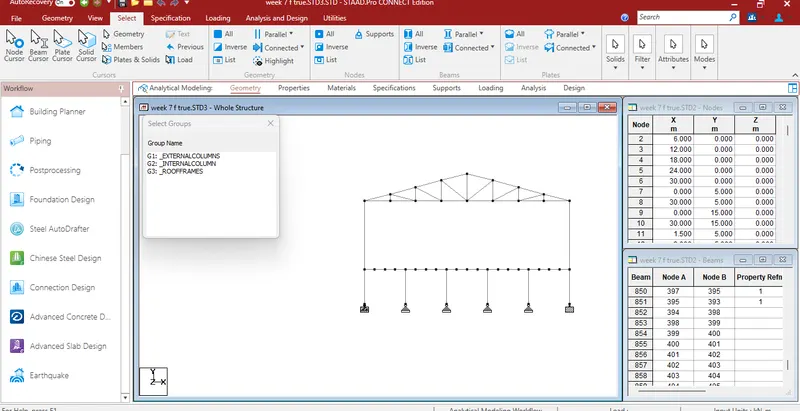
result : all the respective structural elementts have been associated with their respective group