3D Creation of Celing, Roof, Architectural plan, Structural plan, Sectional view, Elevation view and Camera specific view for a house plan using REVIT
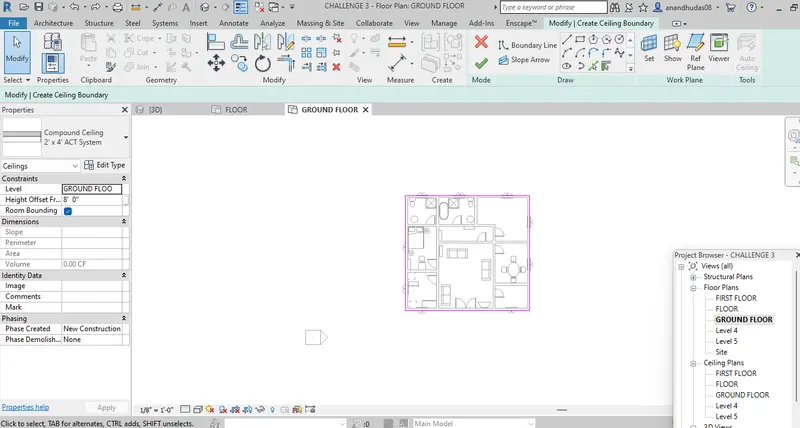
1 AIM & INTRODUCTION: Creating a ceiling
PROCEDURE: go to the level select ceiling from architecture choose the boundary and thickness and create the ceiling
RESULT: ceiling is created succesfully in the desired plan
REPORT FORMAT
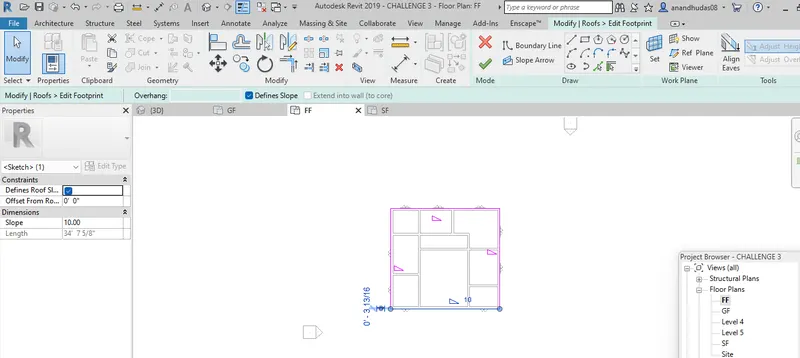
2 AIM & INTRODUCTION: Creating a roof and change slope to 10degree
PROCEDURE IN DETAIL: OPEN plan choose the top layer from floor plan select roof from architecture tab make sure that define slope is enabled and make it to 10
RESULT: created a roof and changed its angle of slope to 10
REPORT FORMAT
3 AIM & INTRODUTION : show the paln into architectural and structural palns
PROCEDURE IN DETAIL:for architectural view -open plan -view-plan view-floor plan(here i am using it is of your own choice)-edit type-ok-ok
for architectural view: -open plan -view-plan view-structural paln-choose a ground floor-ok-ok
RESULT: WE HAVE SUCCESFULLY OBTAINED ARCHITECTURAL PLAN AND STRUCTURAL PLAN
REPORT FORMAT:
architectural plan 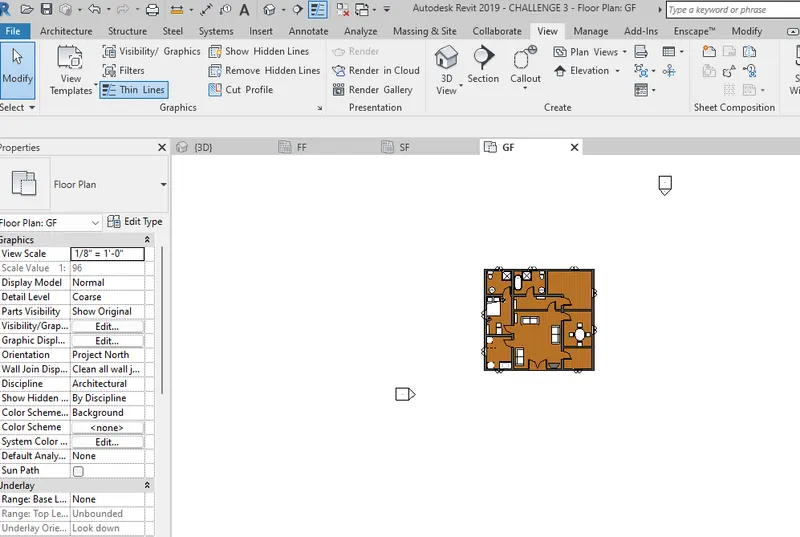
structural plan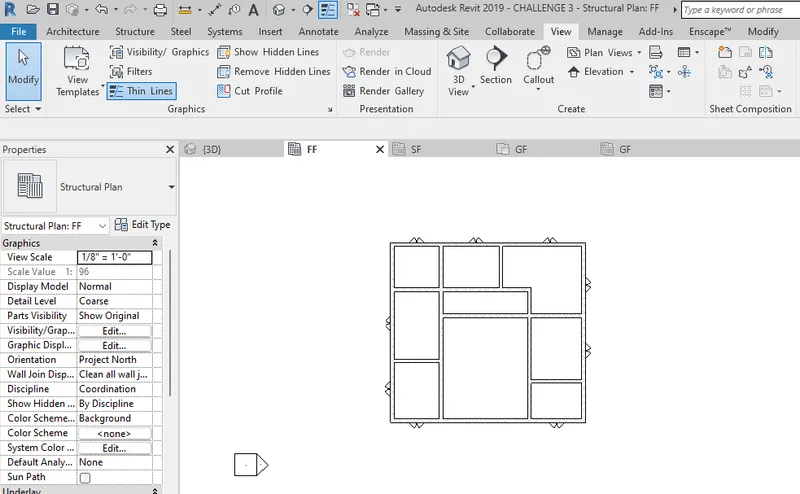
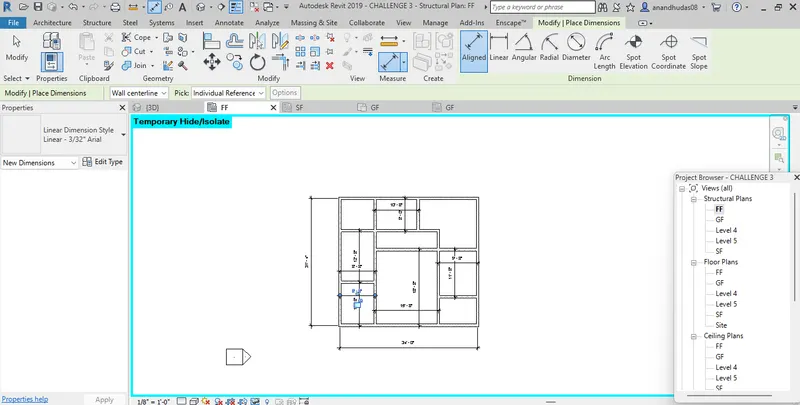
4 AIM & INTRODUTION:Adding annotations for architectural and structural plans
PROCEDURE IN DETAIL:open the plan select the architectural that is the the floor plan choose the desired floor go to annotate tab select linear measure all the distances by clicking in the excat boundaries and mark the dimensions
open the plan select the structural plam project browser choose the desired floor go to annotate tab select linear measure all the distances by clicking in the excat boundaries and mark the dimensions
RESULT: PROVIDED annotations for both architectural and structural plan succesfully
REPORT FORMAT 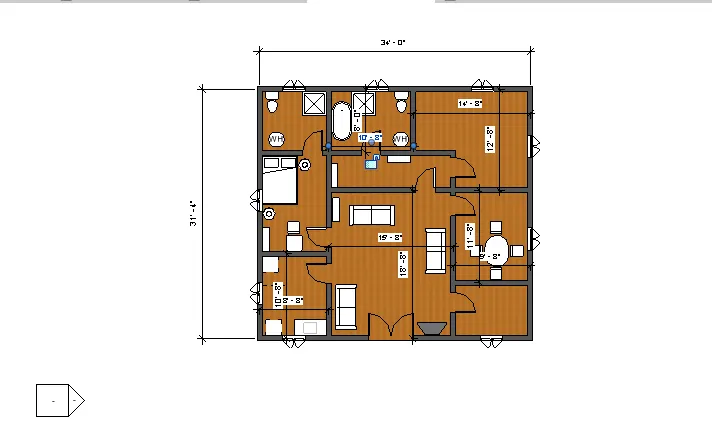
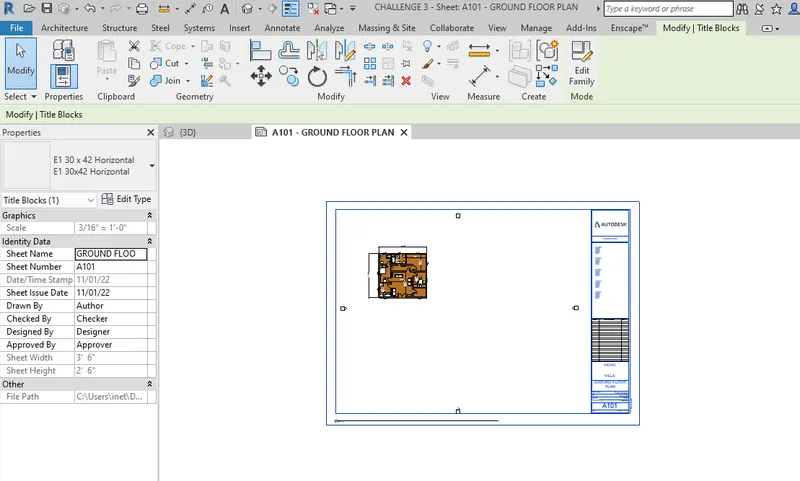
5 AIM & INTRODUCTION: create a sheet and appropriate views
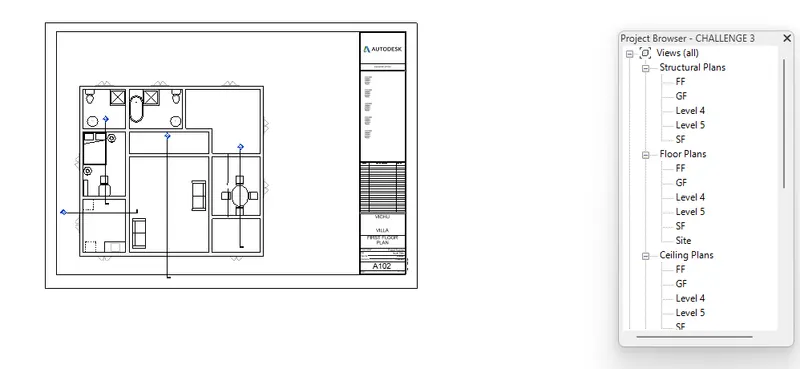
PROCEDURE IN DETAIL:VIEW-SHEET-SELECT THE PAPER SIZE -OK- DRAG A LEVEL AND RENAME THE SHEET AND REPEAT THE PROCESS FOR NEXT SHEET FOR NEXT LEVEL
RESULT:created a sheet with appropriate views perfectly
REPORT FORMAT
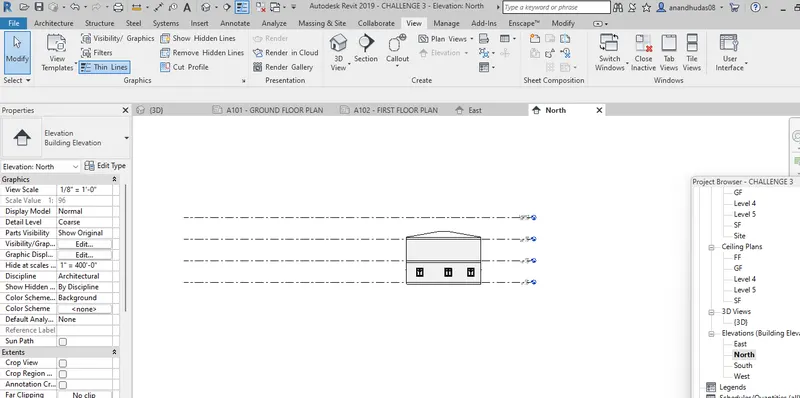
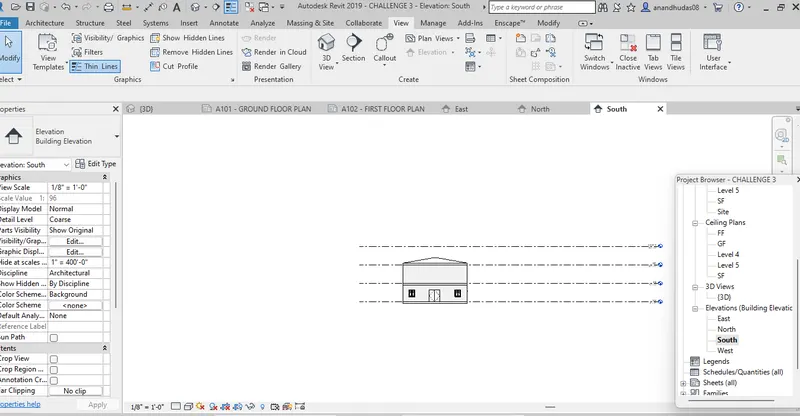
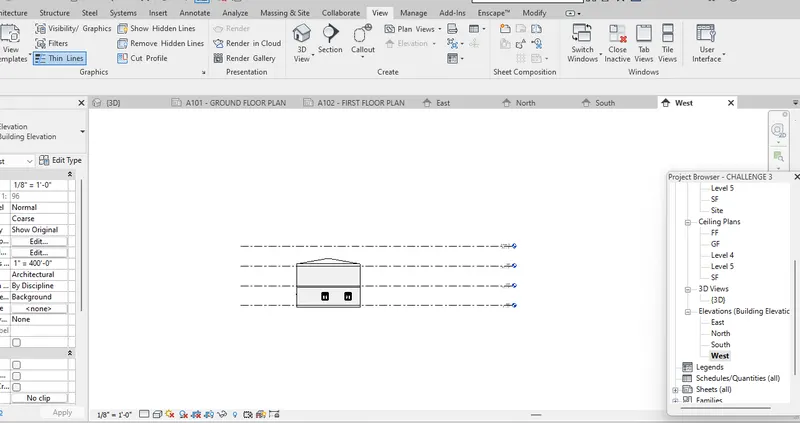
6 AIM & INTRODUCTION :CREATING ELEVATION FOR EACH DIRECTION
PROCEDURE IN DETAIL: open the plan select elevation place the elevation icon on each direction on the plan adjust the view and rename the views according to the direction and save
RESULT:CREATED ELEVATION FOR ALL THE FOUR DIRECTIONS SUCCESFULLY
REPORT FORMAT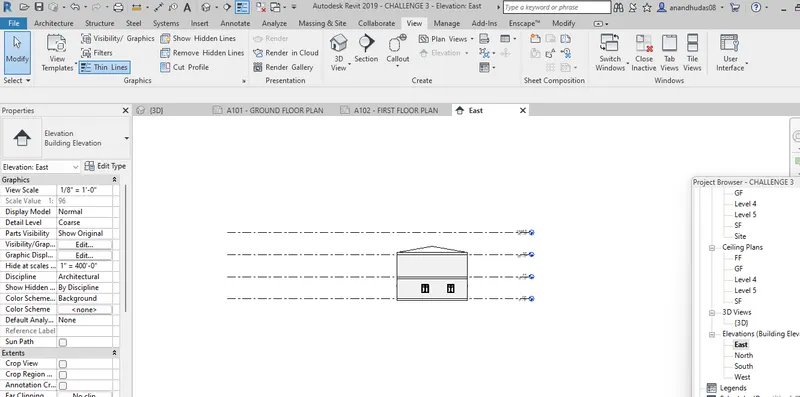
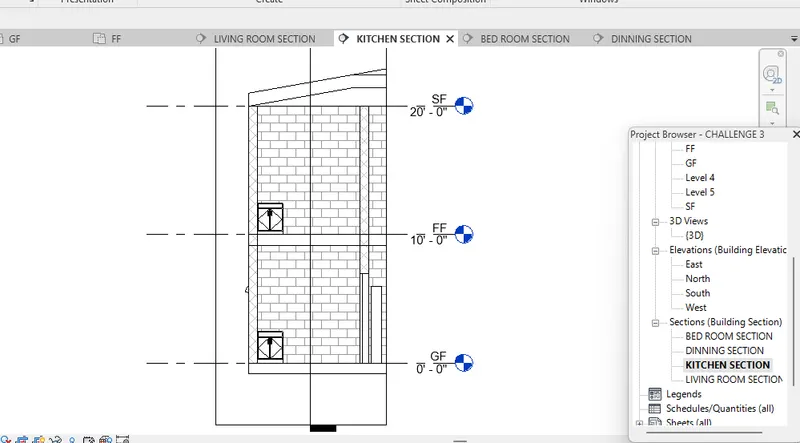
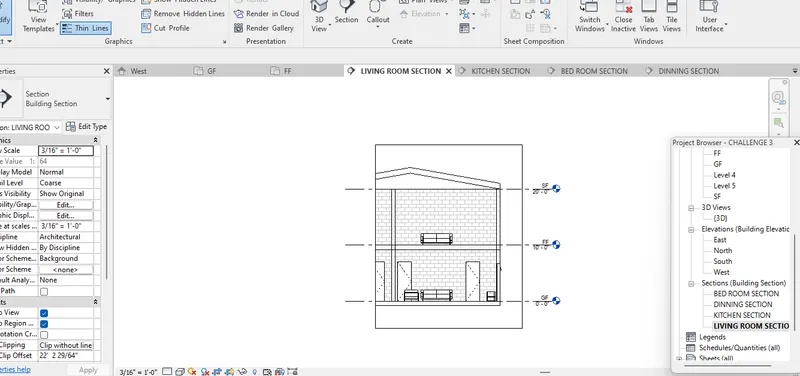
7 AIM & INTRODUCTION: creating section for each rooms
PROCEDURE: open the plan select the floor open view tab select section cut each rooms one by one rename each view from project browser in the section with desirednames
RESULT:Created section for each section in the plan succesfully
REPORT FORMAT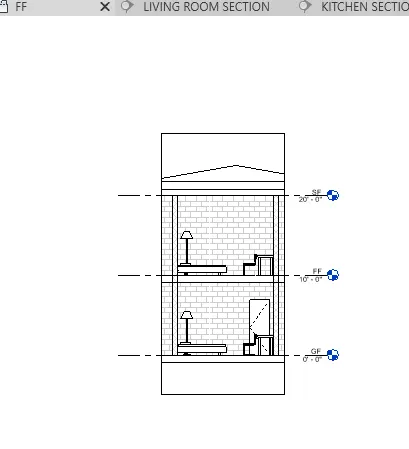
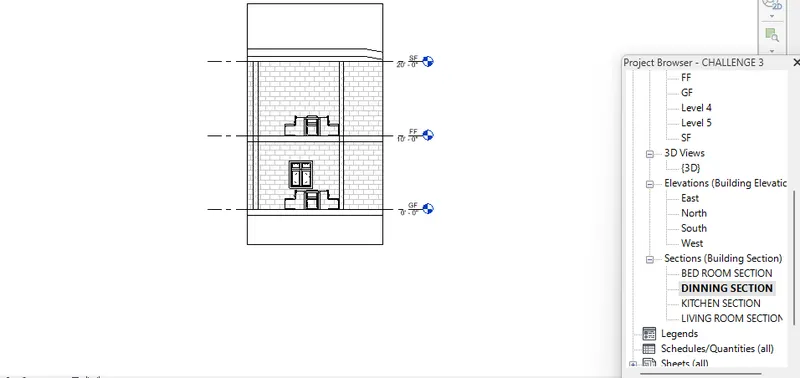
8 AIM & INTRODUCTION:Classify each views
PROCEDURE :Take the screenshot of Project browser
RESULT: succesfully classified each views in the plan as planview ,elevation view,section view
REPORT FORMAT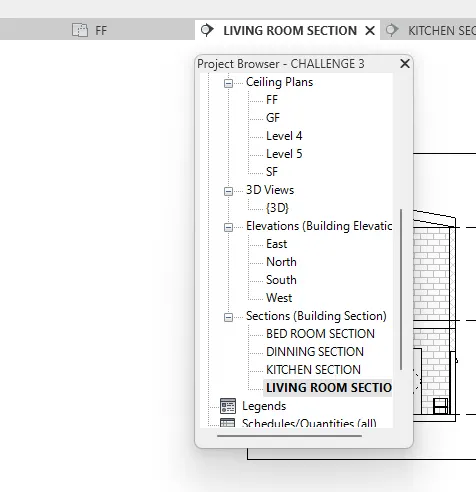
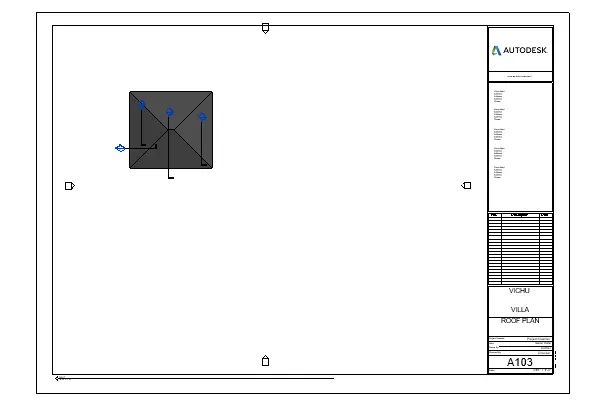
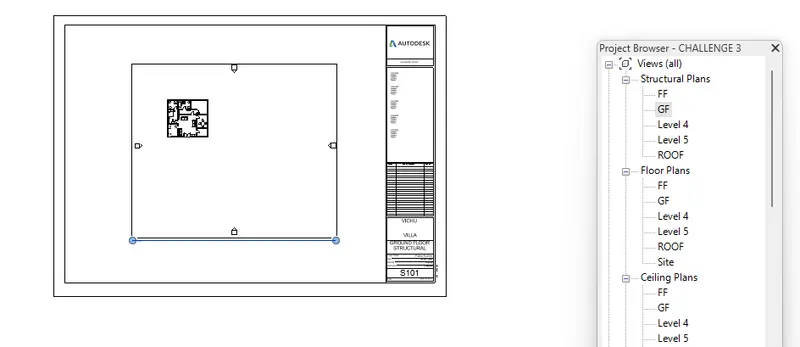
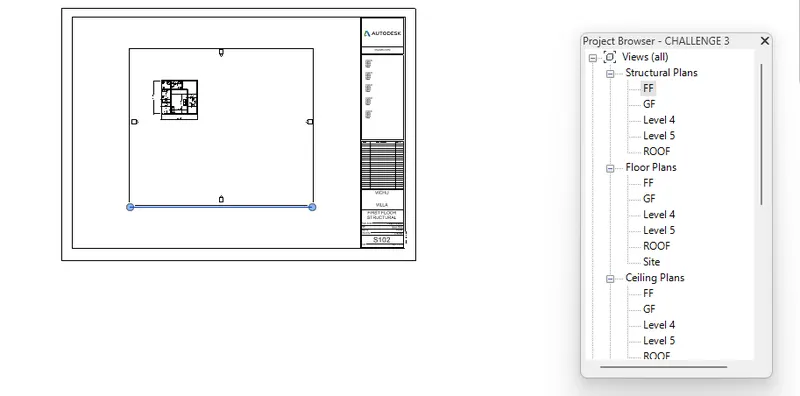
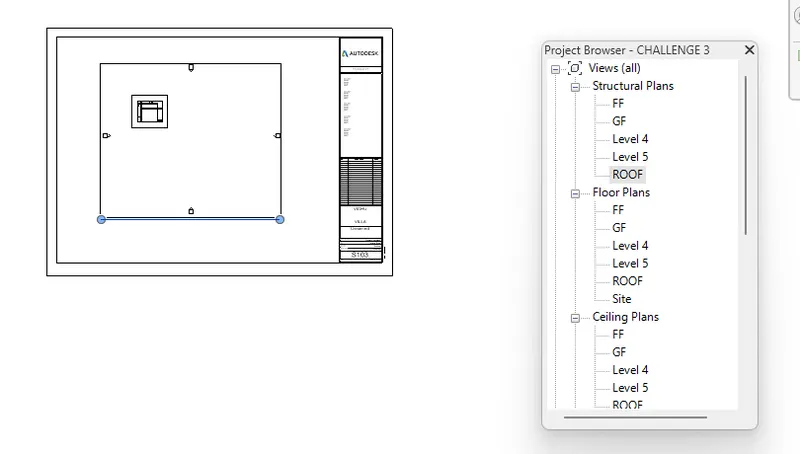
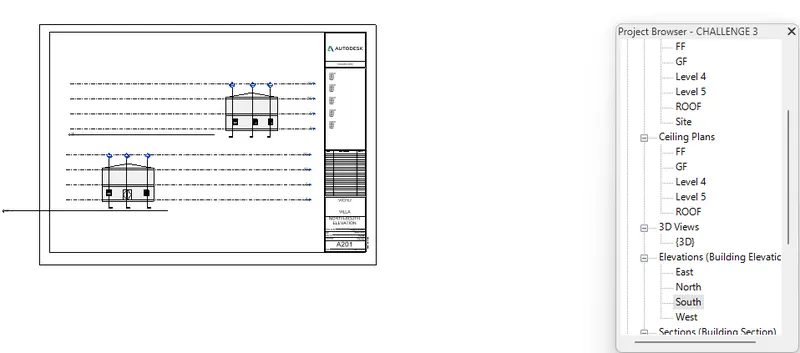
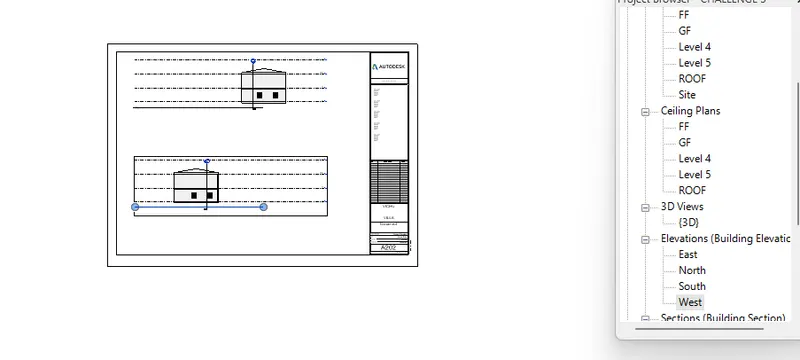
9 AIM & PROCEDURE: TO CREATE SHEET AND NAME ACCORDINGLY LIKE AS GIVEN IN THE QUESTION
PROCEDURE: OPEN PLAN select view choose the floor and rename the sheet continue the process for all the given rooms
RESULT: CREATED SHEET AND NAME ACCORDINGLY LIKE AS GIVEN IN THE QUESTION
REPORT FORMAT: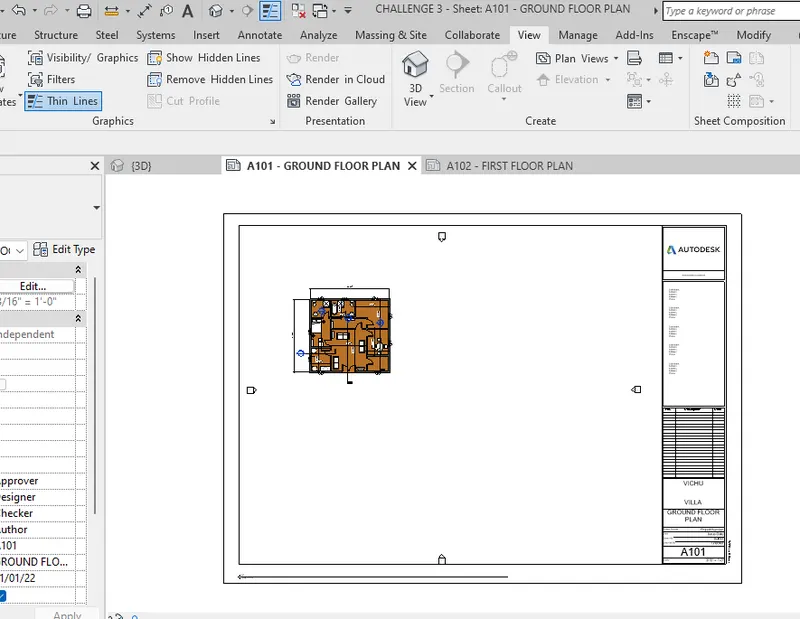
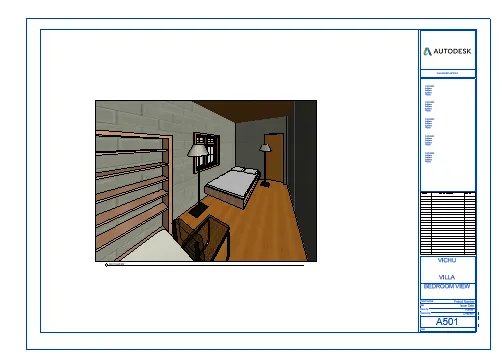
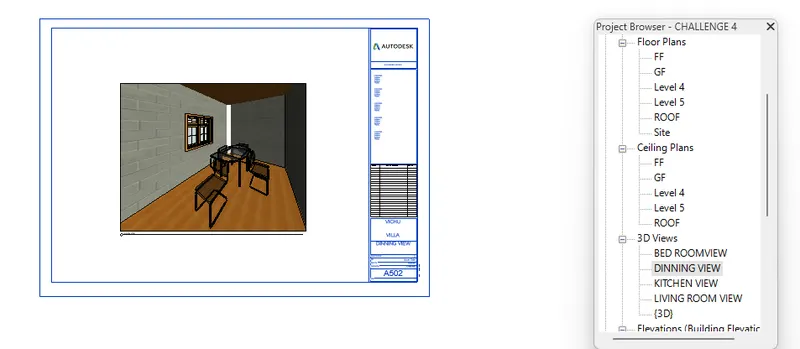
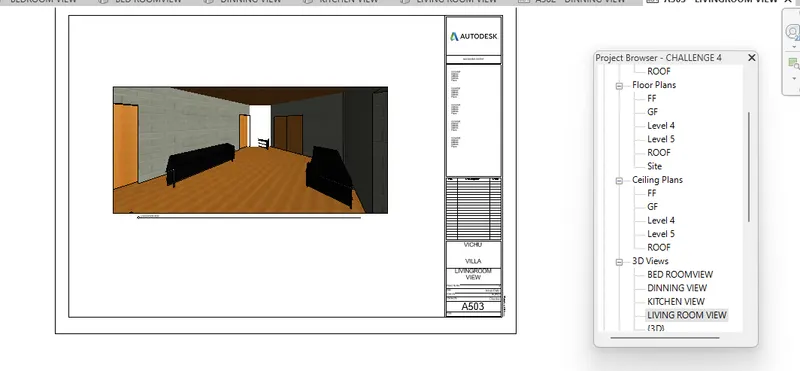
10 AIM: TO CREATE SHEETS AND PROVIDE CAMERA VIEW OF THE SPECIFIED SECTIONS
PROCEDURE: OPEN PLAN select a floor place the camera on different rooms and a make a perfect view by adjusting the view create a sheet and place the views one by one and rename the sheet according to the question
RESULT:CREATED SHEETS AND PROVIDE CAMERA VIEW OF THE SPECIFIED SECTIONS
REPORT FORMAT