Week 6-Meshing of Hood Challenge
OBJECTIVE:
To extract the midsurface of the given component and to mesh it with a target element length of 5mm and the rest of the quality criteria as follows:
| S.No | Quality Criteria | Value |
| 1 | Aspect Ratio | 5 |
| 2 | Skewness | 45 |
| 3 | Warping | 15 |
| 4 | Taper | 0.5 |
| 5 | Min. Length | 2mm |
| 6 | Max. Length | 8mm |
| 7 | Min angle Quad | 45 |
| 8 | Max angle Quad | 135 |
| 9 | Min angle Tria | 20 |
| 10 | Max angle Tria | 120 |
| 11 | Tria % | 10 |
PROCEDURE:
1. The model which has to be meshed is imported into the hypermesh application and the model is divided into sub model parts so that the element can be meshed properly and with less complex components.
2. The different components are divided into five sub parts, which are:
- Upper Hood
- Lower Hood
- Hinge-1
- Hinge-2
- Latch
3. After separating the different models, do a simple geometric cleanup of all the components individually and make sure all the components are properly done.
4.As the thickness of the component is less than 6mm we must take midsurface of the individual components for the 2-d meshing.
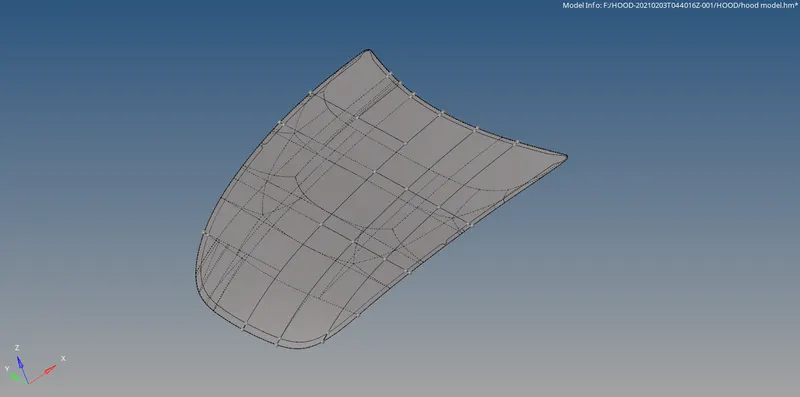
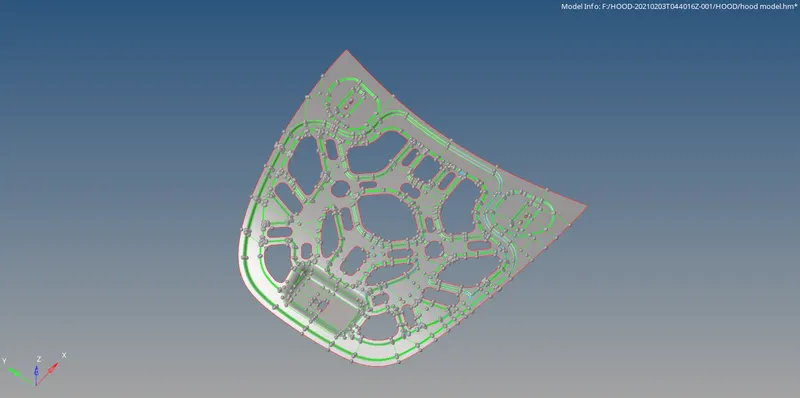
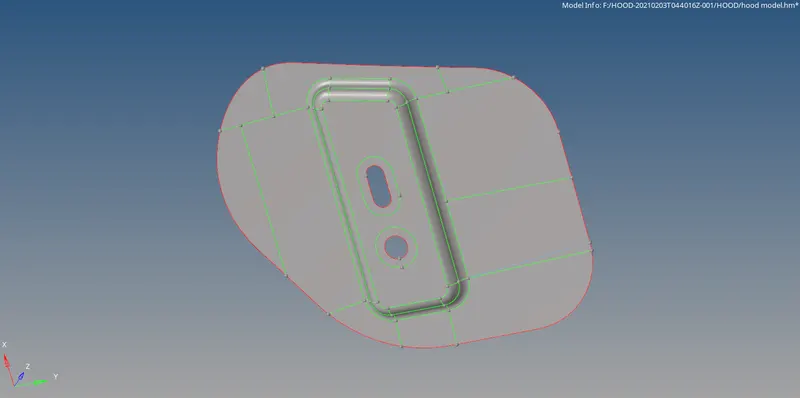
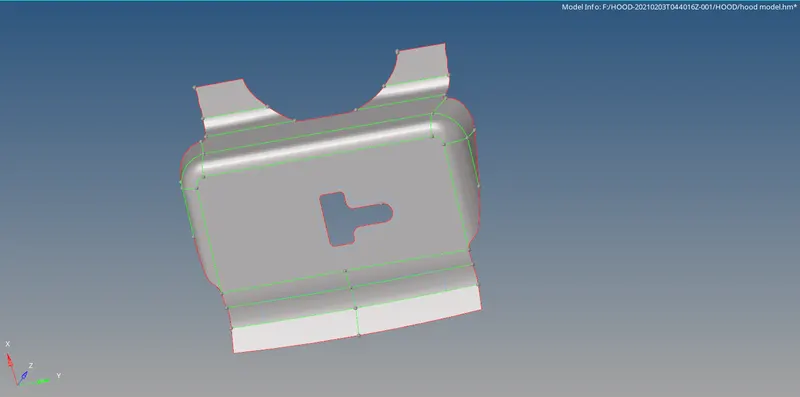
5. We can take midsurface of the components with the help of the midsurface tool which is present in the geomatry tool. Each and every model has to be midsurfaced individually so that the mesh can be properly be done.

6. With the help of the Quick Edit tool in the Geometry tool bar we must edit all the unwanted guide lines so that the mesh flow is properly done and there is no compromise in the quality of the mesh.
7. After proper geometric cleanup is done, we can start meshing the models separately which will help us to speed up the process in meshing and bring us a proper cleanup of the mesh flow and quality.
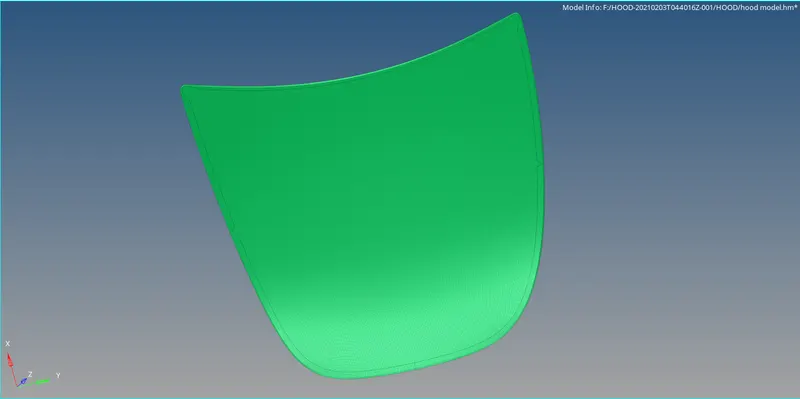
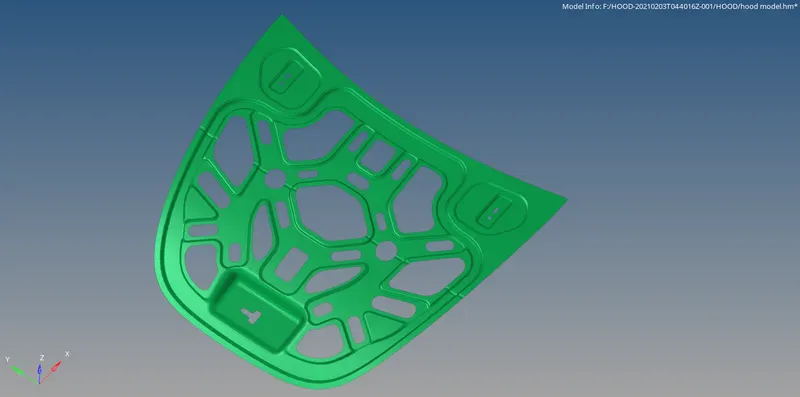
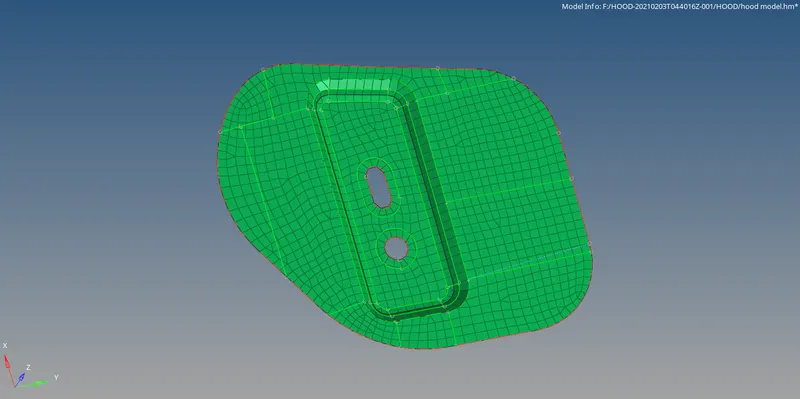
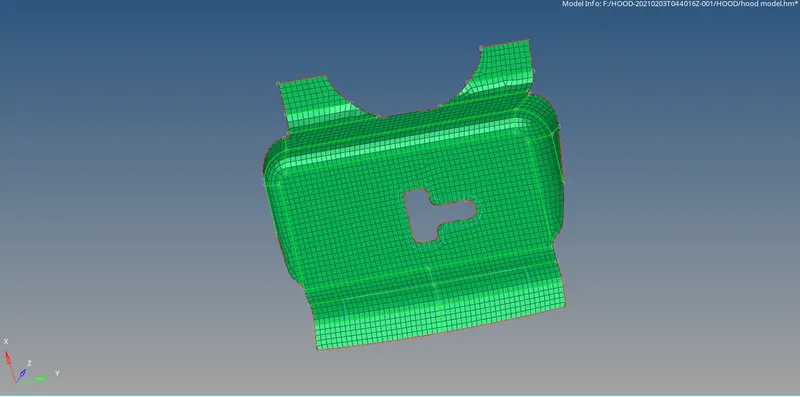
8. As our individual components are symmetric , In order to reduce the time for meshing for individual components we can divide the single components into two parts and do meshing to only one particular side.
9. With the help of the reflect option in the tools bar, we can easily reflect the meshing of one side to another side of the components which have the same base this will help us to mesh the component easily and with less time.
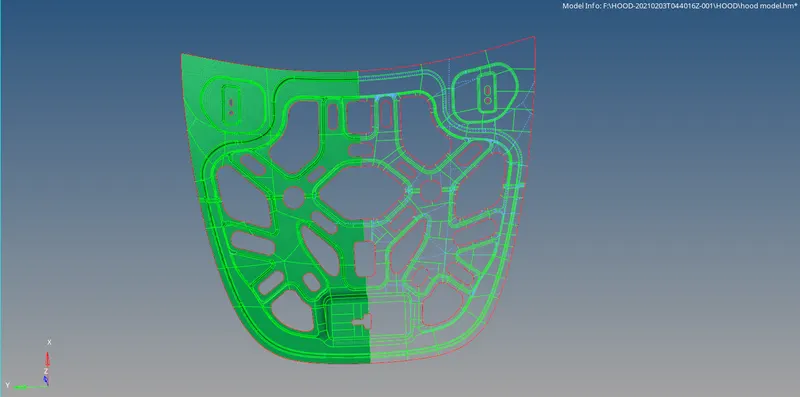
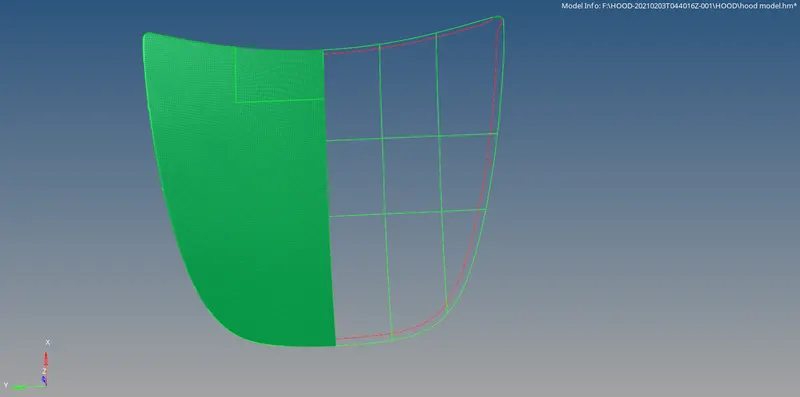
10. As there are many boundary conditions present for the model, we must set the quality criteria for the components and do the meshing according to the given conditions.
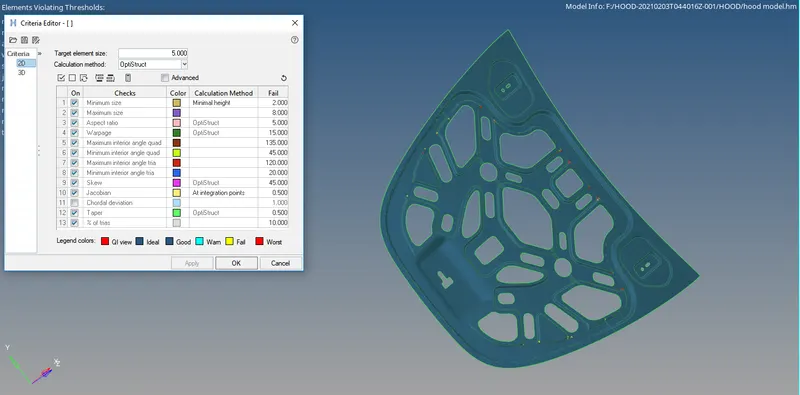
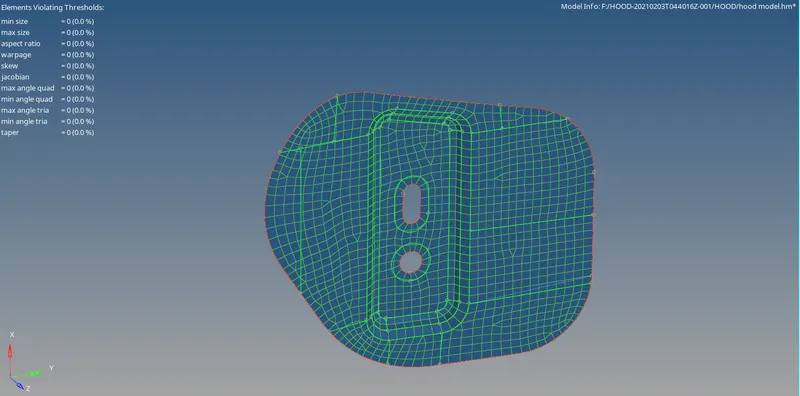
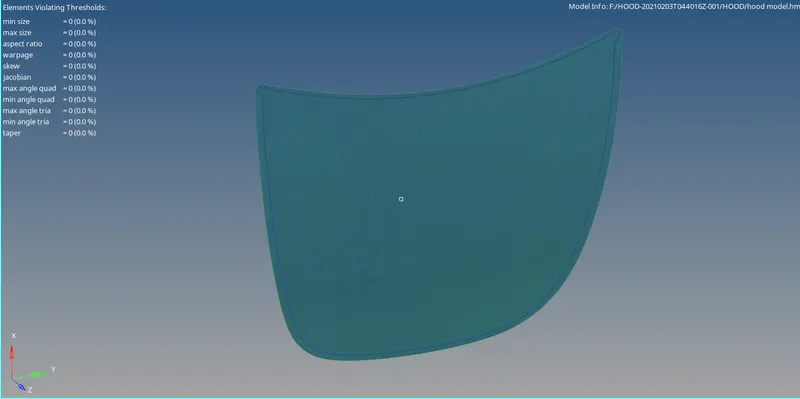
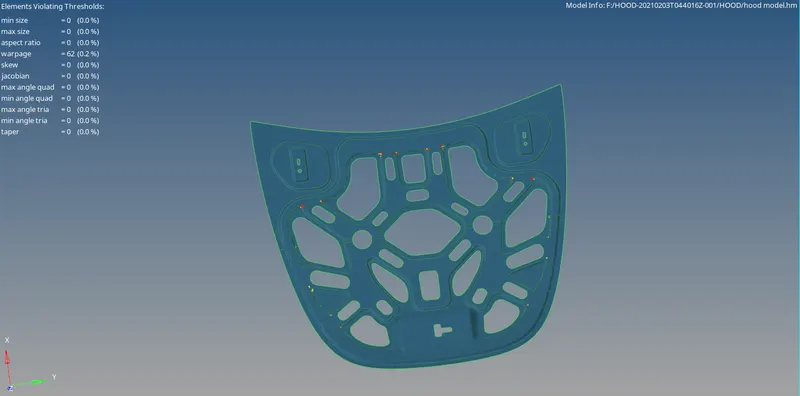
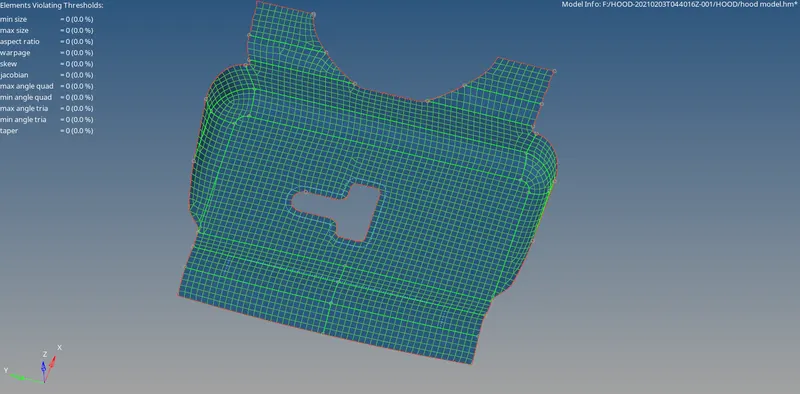
11. From the above picture, we can see that the components are under the boundary conditions and with a proper flow of the mesh.
FINAL COMPONENT:
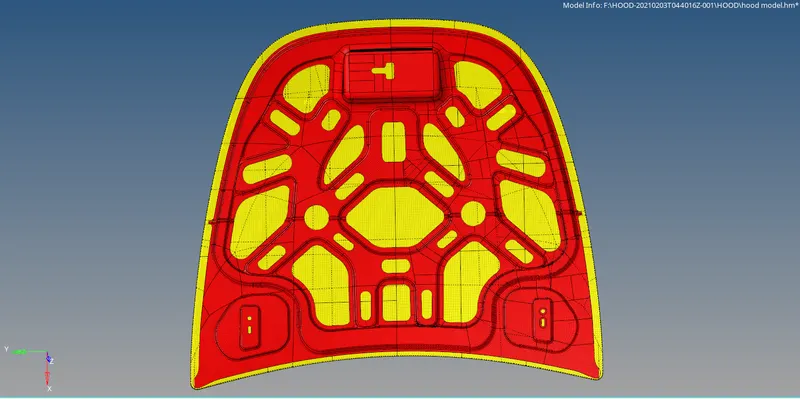
CONCLUSION:
For the given model, midsurface is taken and 2D meshing is generated in hypermesh under the given quality critira with proper flow of the mesh.