Week 6-Meshing of Hood Challenge
AIM: Meshing the given components and assigning thickness by given quality criteria.
Objective 1: Mesh the given component by given quality criteria.
Procedure:
Step1: For the given hood model there are 4 components which are
- Inner Extract
- outer extract
- latch extract
- hinge extract
For the above components select each component and clean up geometry as required better geometry by quick edit option in geometry. Toggling edges, replacing nodes, creating nodes, splitting surfaces by nodes, removing points/nodes can be useful to cleanup geometry for a component.
Step2: Generating the Mid-surface for each component.
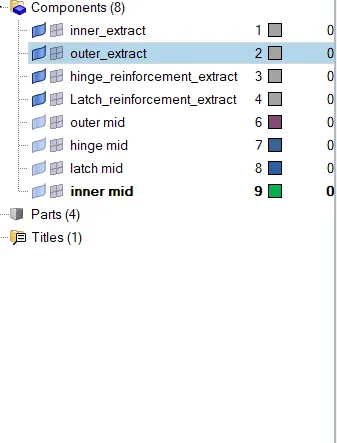
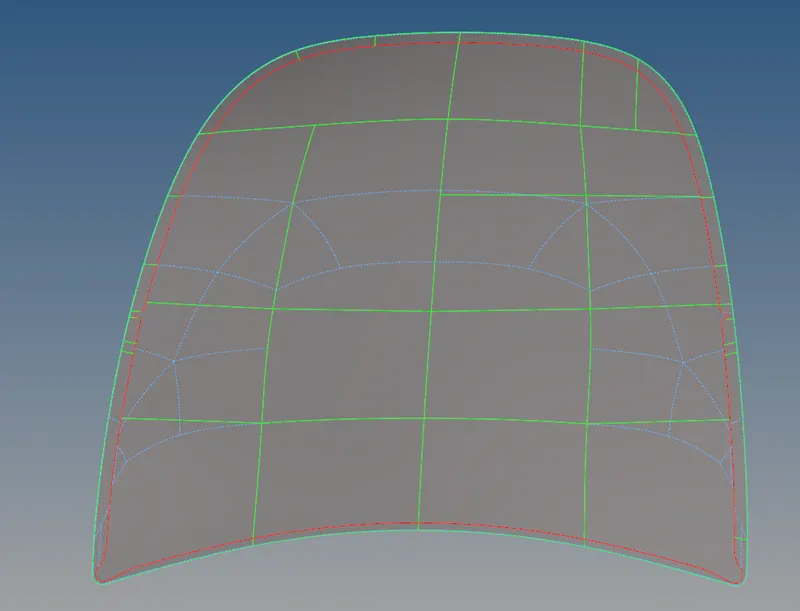
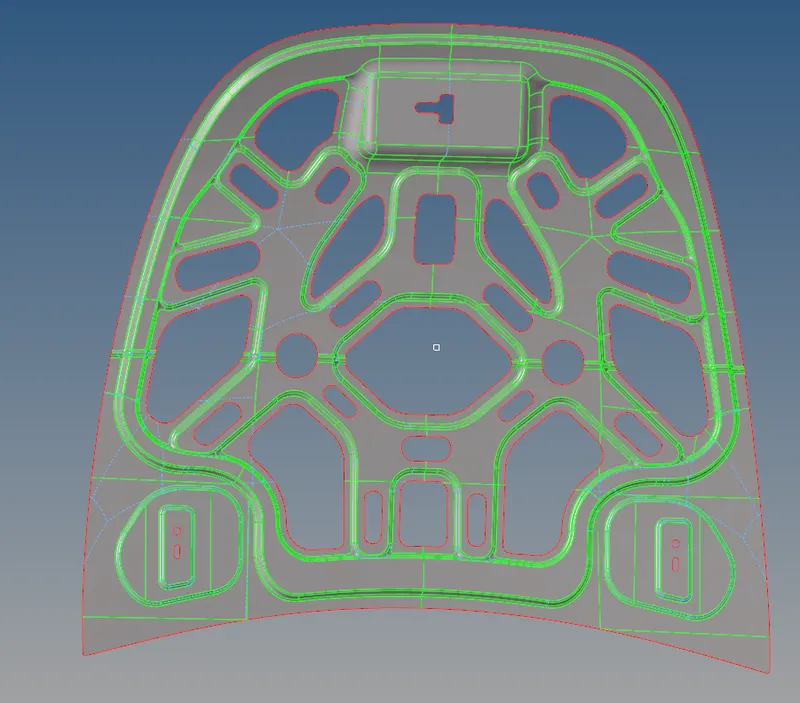
After cleaning up geometry as required surfaces, generate the mid-surface using Mid-surface tool in geometry panel. Use auto extraction option to generate the mid-surface as per each component. Components after generating the Mid-surfaces are
Step3: Create 2D mesh for each component.
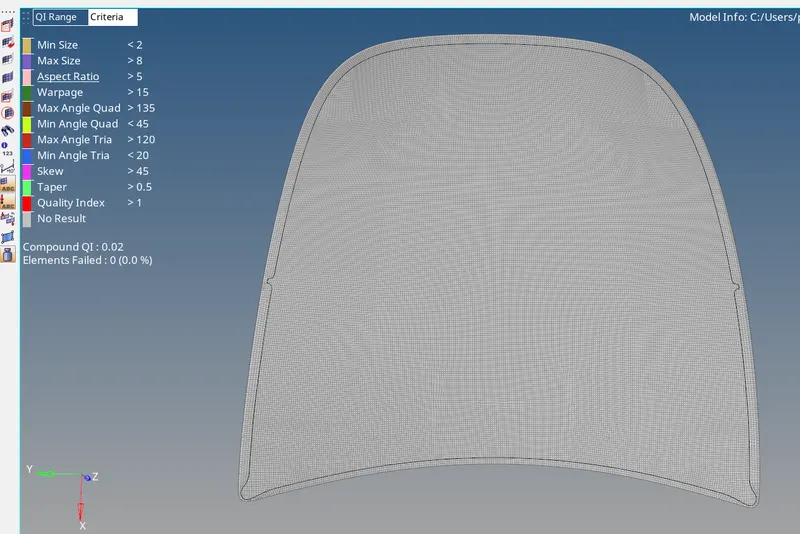
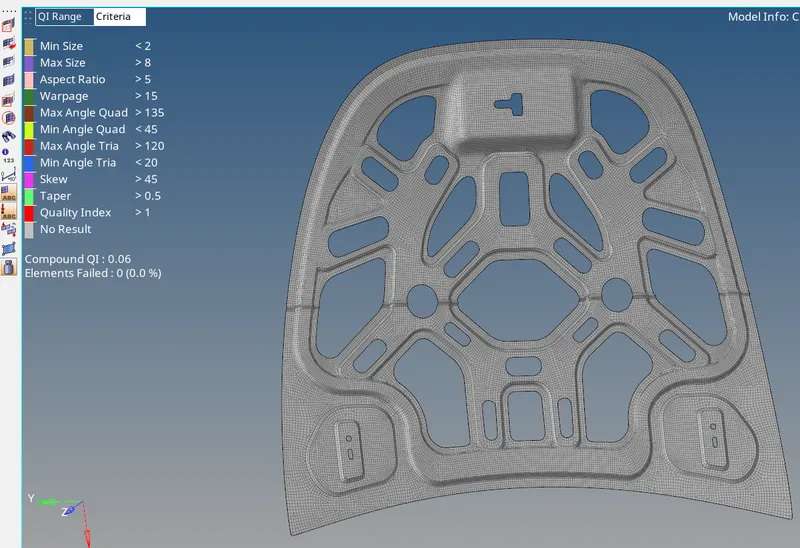
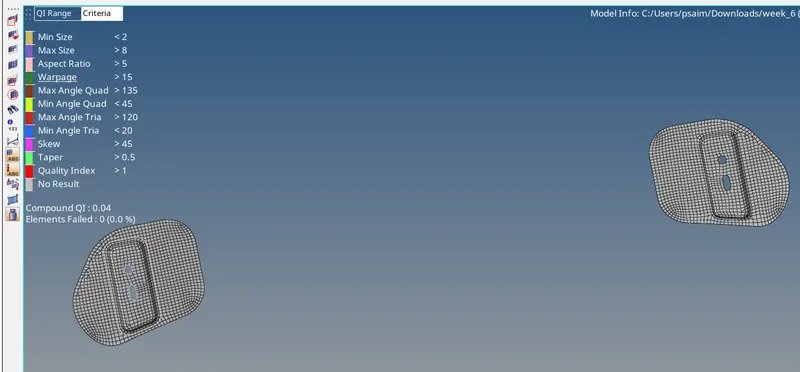
In 2D panel select automesh and assign the target element size as 5 units for meshing each surfaces.Select the 'mixed' type of meshing while selecting a surfaces. And add an option of align,size parameters while meshing of each surfaces so that there are no free edges while meshing several surfaces in a component. and mesh the surfaces one by one adjacent to each surfaces. Meshing a surfaces is known to be better if there are as less number of tria-s in a surfaces. Mesh several times for a group of elements in order to develop the better mesh.
Step4: Selecting the geometry color mode
Geometry color mode is a feature in order to view the elements of meshed surface in a color of the surface in elements. Use topology for viewing of the colored elements.
Step5: Checking the element quality criteria.
In the second bar of panel at bottom use 'by element quality criteria' and assign the given values of qulaity criteria for the meshed elements in a given components. the values of qulaity criteria are as shown below.
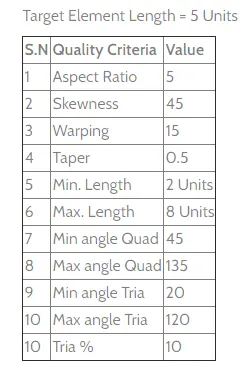
To add the values in criteria go to main tool bar on top>preferences>criteria file settings>and edit the given values in criteria and save file for the whole working model.
Step6: Optimising faulty elements for meshed elements.
In 2D panel go to 'quality index', in order to optimise the faulty elements, select appropriate cleanup tools to optimise the nodes,elements,edges, and even dragging tria elements, splitting the edges as well.
Step7: Projecting the elements to surface/lines.
For projecting the elements to line or a surface go to 'tool' panel and select 'project' tool option and select nodes, to lines, and vector,mid point to project in a particular line.
Step8: Finding edges in a meshed surfaces
In order to find the free edges in different surfaces presented whike meshing use (Shift+F3) keys to find the free edges. By selecting the component and tap on 'find edges' to figure the edges. There by giving tolerence vaule we will get to the equivalance nodes and nodes are connected by setting the equivalance.
Step9: Smoothing the elements
When group of elements are not alligned properly by its shape or size parameters, selecting those elements and smoothing accordingly will decrease its irregularities.
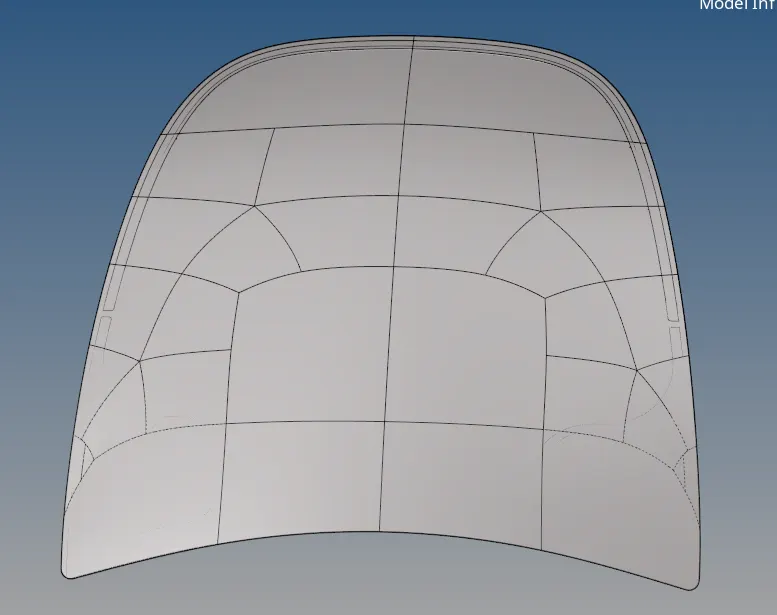
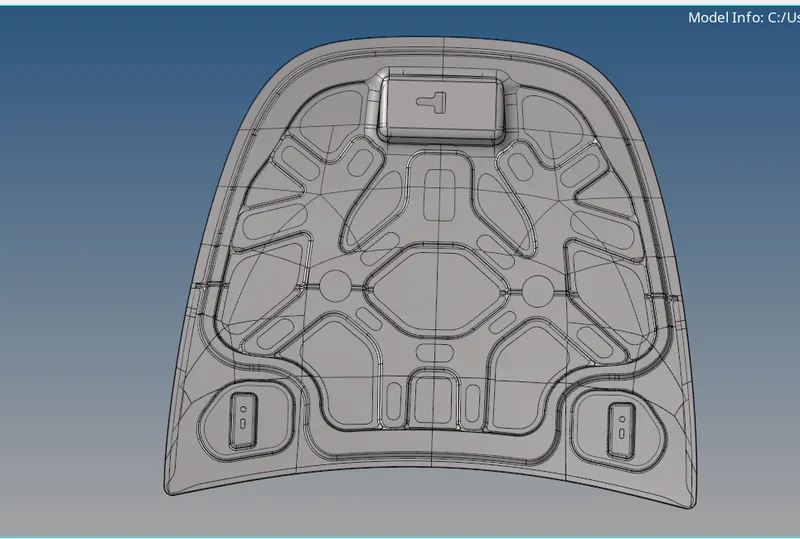
Given hood model images:
Result images of each component:
Mid-Surface of Outer Extract:
Meshed Outer Midsurface:
Mid - Surface of Inner Extract:
Meshed Inner Mid-surface:
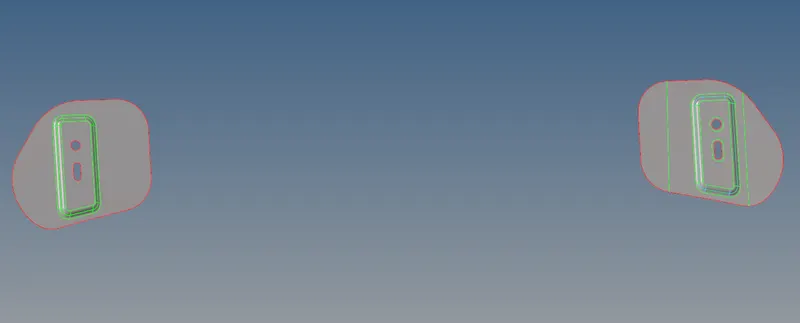
Mid - Surface of Hinges:
Meshed Hinges Mid-surface:
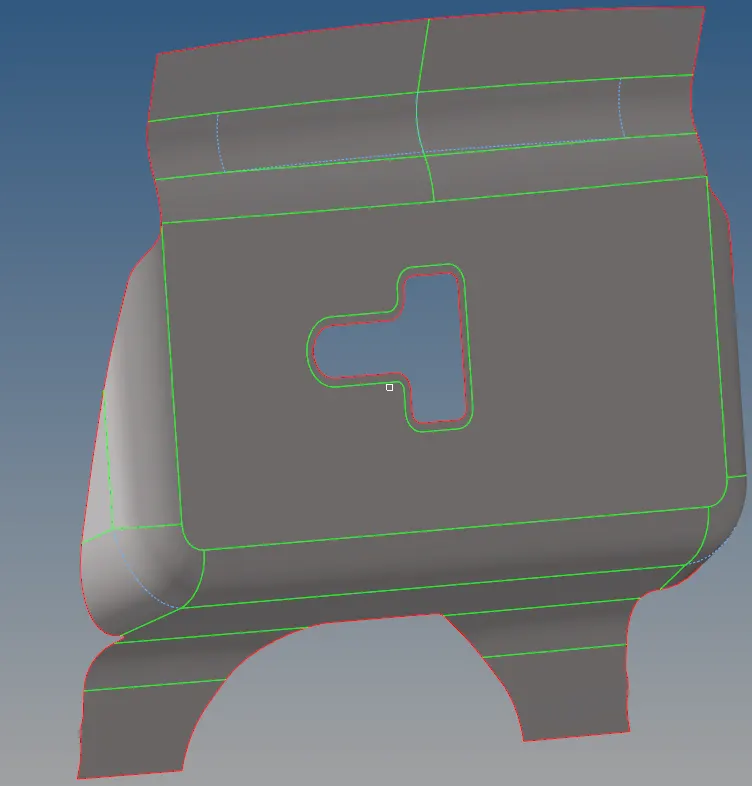
Mid-Surface of Latch:
Meshed Latch Midsurface:
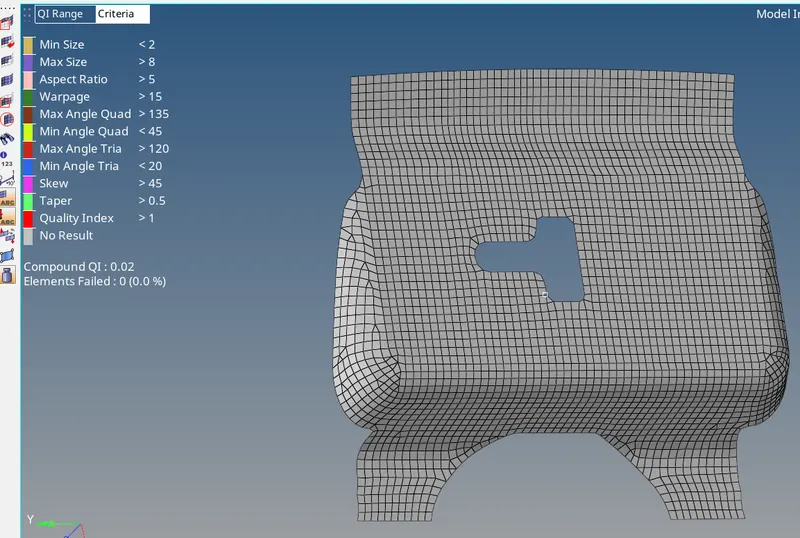
CONCLUSION: Thus the given model Hood and its components are meshed with target element size of 5 and where each components has 0 failed elements in it with given quality criteria.