Week 6-Meshing of Hood Challenge
objective:
to extract the 1.midsurface and 2. geometry cleanup and 3.meshing and 4.assigning thickness to the given inner hood component by giving mentioned quality criteria.
procedure:
- the given cad model is shown below.
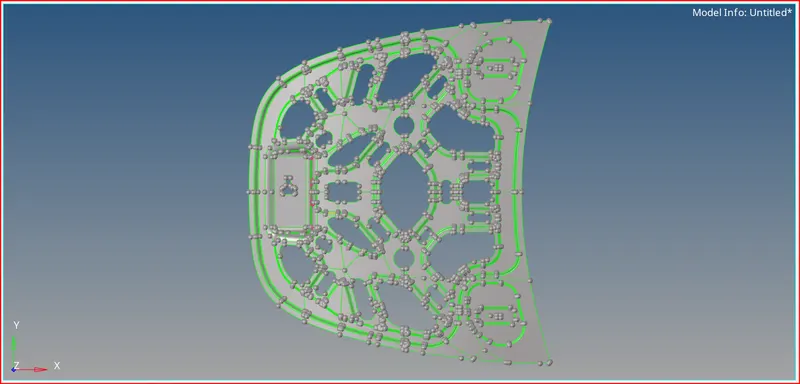
1) extracting midsurface:
- the thickness of the given component is uniform.
- so i go with the skin offset option (geometry ---> midsurface ---> extraction options ---> skin offset )

- the below image shows after extraction of midsurface.
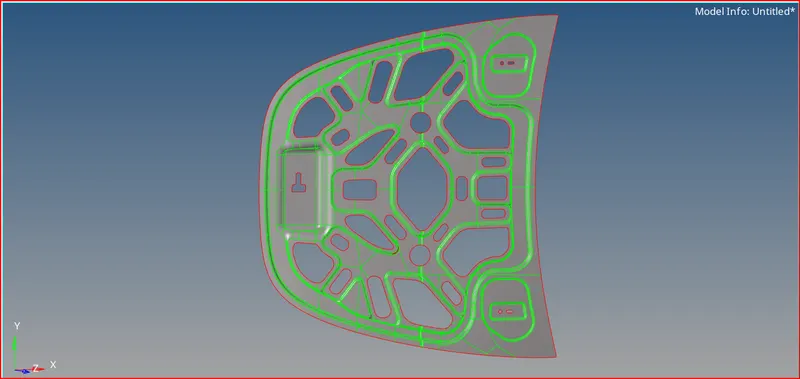
2) geometry cleanup:
- after creating midsurface we have to clean our geometry, that in the sense we have to clear the unwanted lines, surfaces to get the better result of our mesh.
- if we observe the we know that major part of the component is in symetric shape.
- so lets delete one part and create mesh and after we can make duplicate.
- this is just because of makeing easier to mesh the given component.
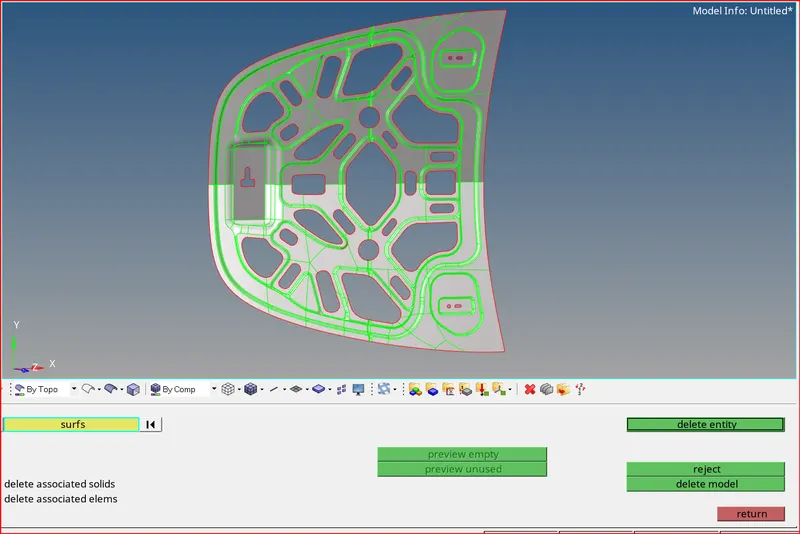
- i have selected the half symetric area to delete, by using delete option (f2).
- the following image is after deleted the symetric part.
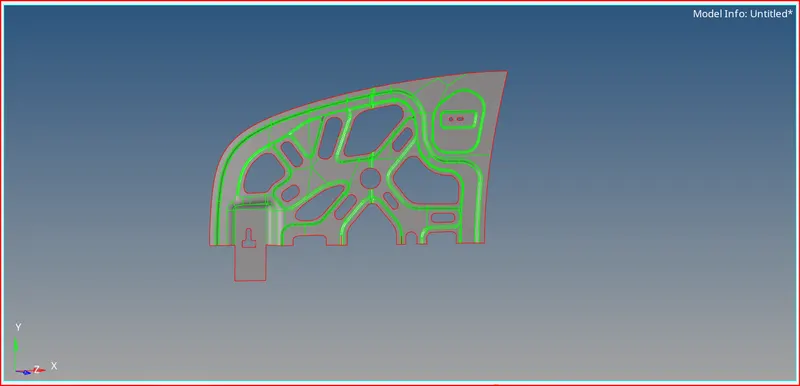
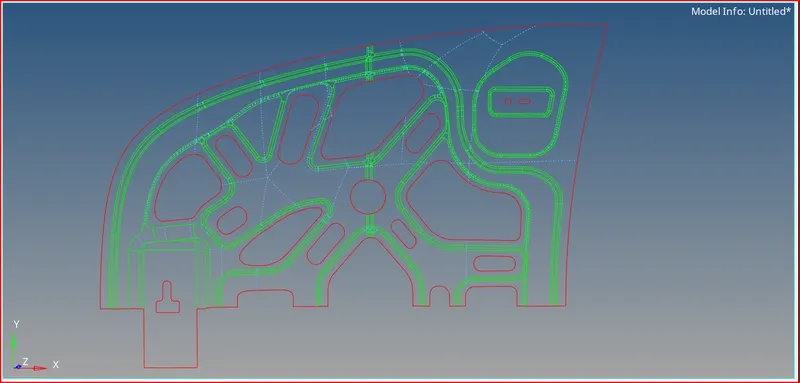
- now lets make some geometry cleanup.by toggling some unwanted lines and minium distance lines.
- the following image shows that toggled unwanted lines and created missing surface.
- to visualize you i have kept in wire frame mode.
3) giving the quality criteria:
- the given quality parameters are as follow.
- element size is alredy mentioned as 5units.
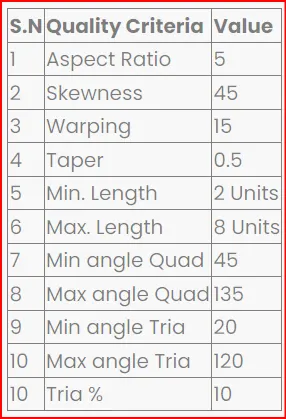
- the given quality parameters must enter to the quality criteria in hypermesh window.
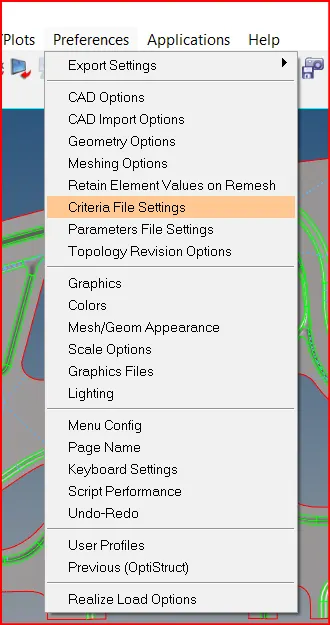
- in preferences we have criteria file settings as shown below.
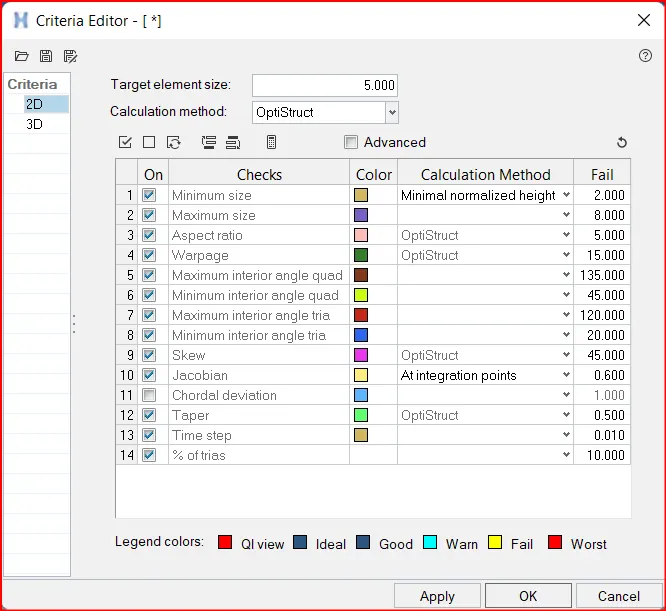
- after opening file we can get criteria file. and after giving the quality parameters shown below.
4) meshing the model:
- we have taken element size is 5units & selected the mesh type as mixed.
- we use automesh, rebuild mesh, edit element, element cleanup,smooth,replce, quality index which are in 2D panel and tools like project,translate,edges which are in tool panel.

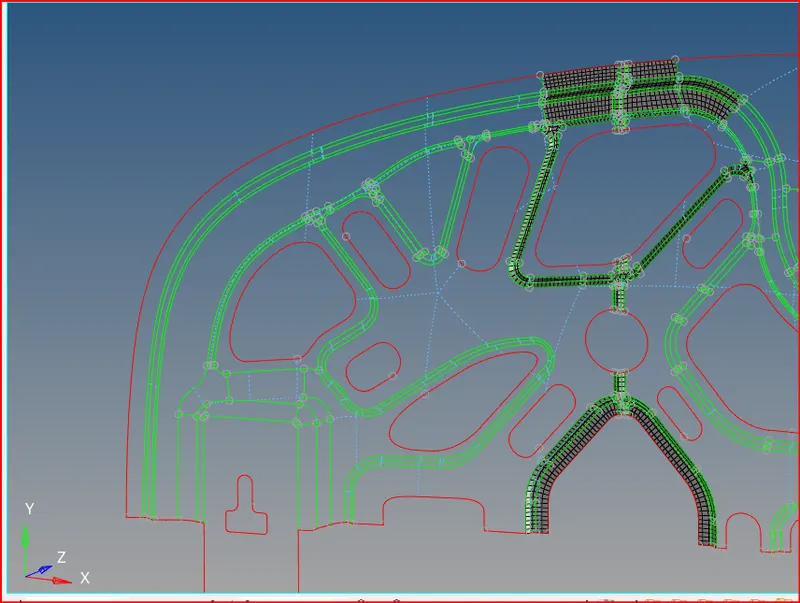
- in automesh we need to get click on flow & map and link opposite edges with AR and by selecting the surface we can mesh the surface.
- better to go by part by part to get better result in mesh flow.
- in the above image we are meshing the difficult areas or curved shape parts
- we must mesh the model from inner to outer to eleminate the trias and to get the better result of mesh flow.
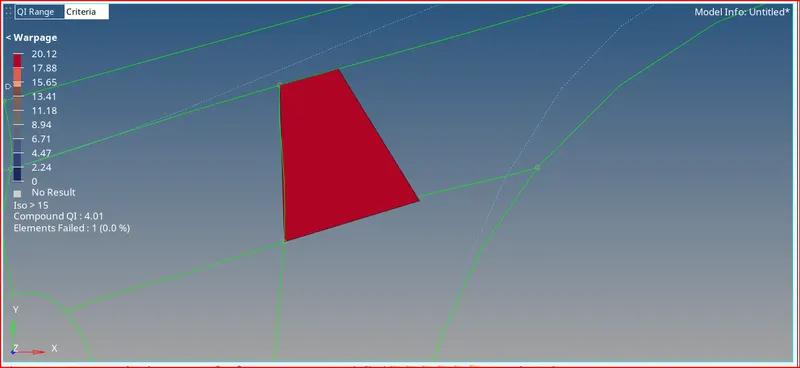
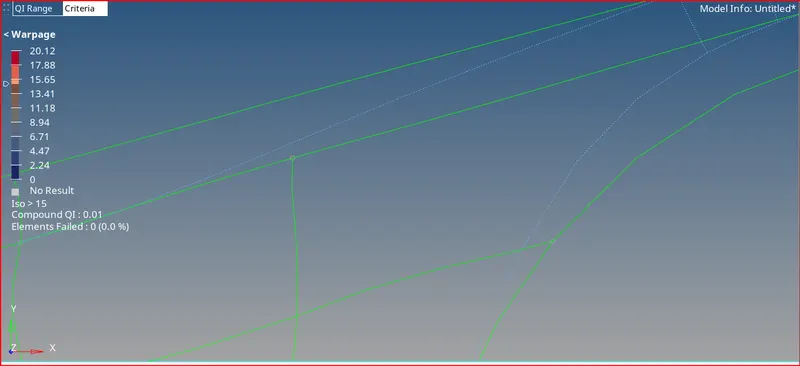
- the below images are some which not following quality criteria and its below showing the corrected mesh.
damaged image:
corrected image:
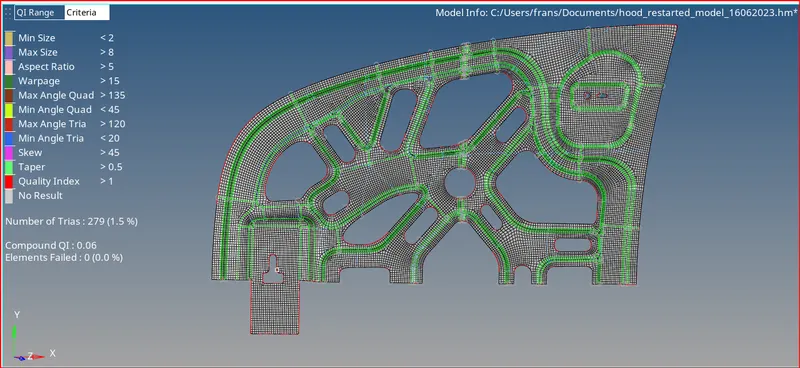
one symetric part meshed image:
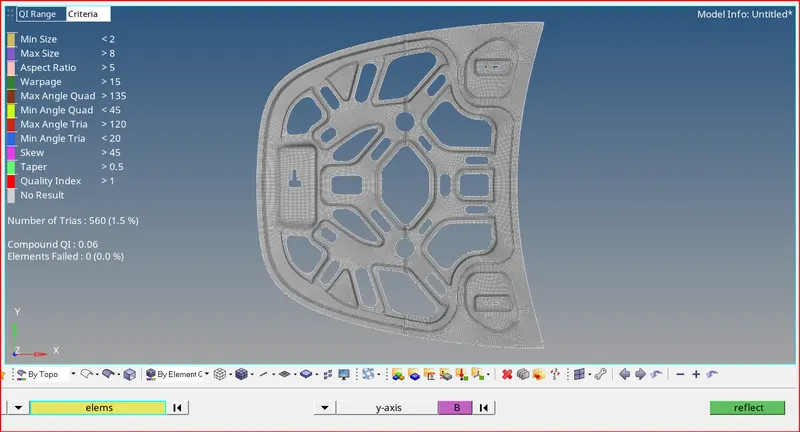
reflecting the mesh :
- here we have only one portion of the entire model to get the mesh of entire model we can reflect this mesh.
- the pathway to reflect the mesh is as follow,
- tools --> reflect --> select elements in the left bar --> select elements by displayed --> remove the non-symetric portion of the model by using subract from the selection option, which is below to the add to selection option. --> after that select y-axis in the right bar --> and to the base B we can select the edge point of the midsurface.
- then we get the reflction of mesh.
- the reflected mesh image is as follow;
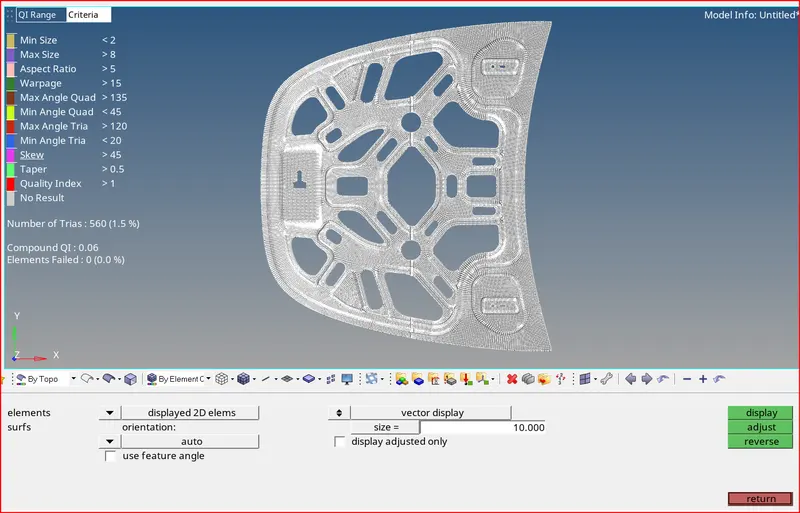
checking the normals:
5) assigning thickness:-
- first create a material and property.
- asiagn steel matierial to the material component.
- in the thickness property details assaign the steel material and thickness T as 0.75mm.
- because, the thickness of the given model is 0.75mm.
- now, assaign this material and thickness properties to the middle surface.
- when we switch on the 2d traditional and detailed representation. we can see the thickness to the mesh.
conclussion:
with this we have completed the meshing the given hood model and assigned the thickness 0.75mm to the mesh.