Week 6-Meshing of Hood Challenge
Report on Meshing of Hood Challenge
Aim :- Mesh the component (Hood) with the given Quality Criteria and assign thickness
For that we have to follow the following steps
1)First we import the geometry from import solver deck>import geometry>igs format>import
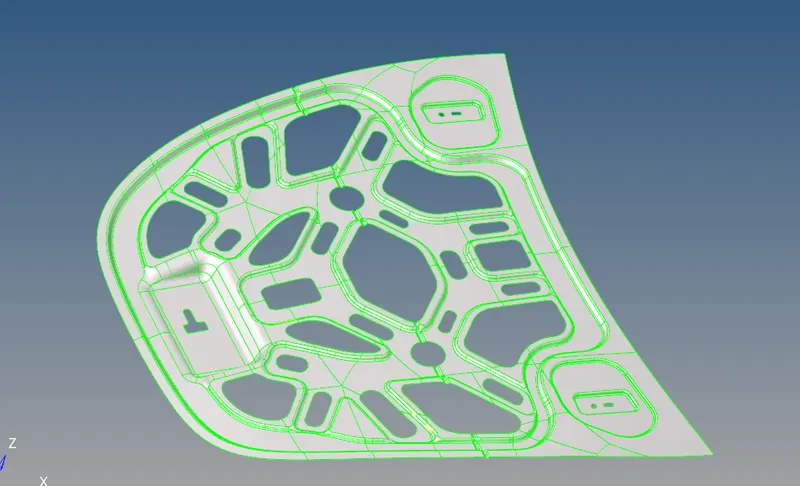
2) First we have to Rectify the Geometrical Errors for that we have to do Autocleanup with the given target element length equals to 5 units and observe the model carefully , check the connectivity and suppress the unnecessary lines and the models should have closed geometry
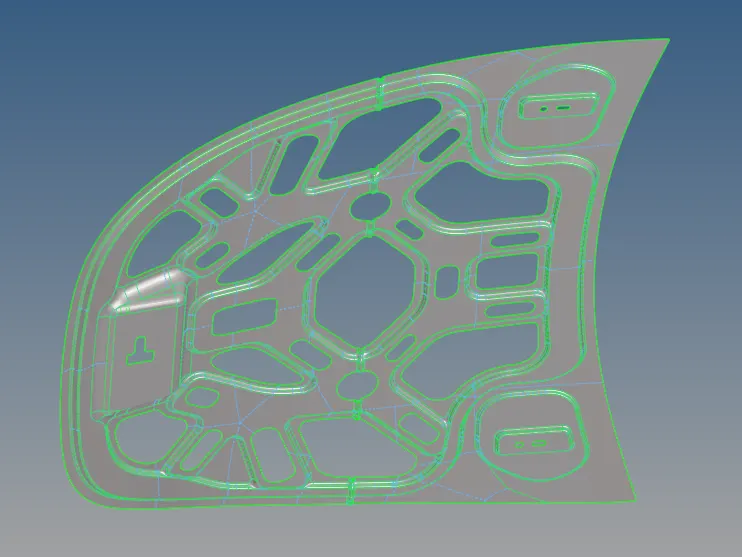
3) Now for mid surface extraction goto midsurface>auto midsurface>extraction option>offset+planes+sweep option>again click on the auto extraction>select all>midle mouse click>mid surface is generated


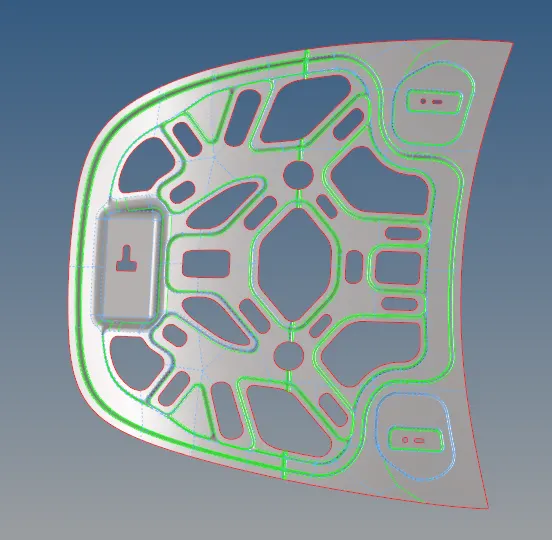
4) Now compare the mid surface with parent geometry , Here some commands are frequently used like trim option (Geom>surface edit>trim with surface>self intersecting surface), for creating surface (Geom>surfacwe>rule option>select the edges one by one along with middle mouse click), delete surface (quick edit>delete surfs), etc
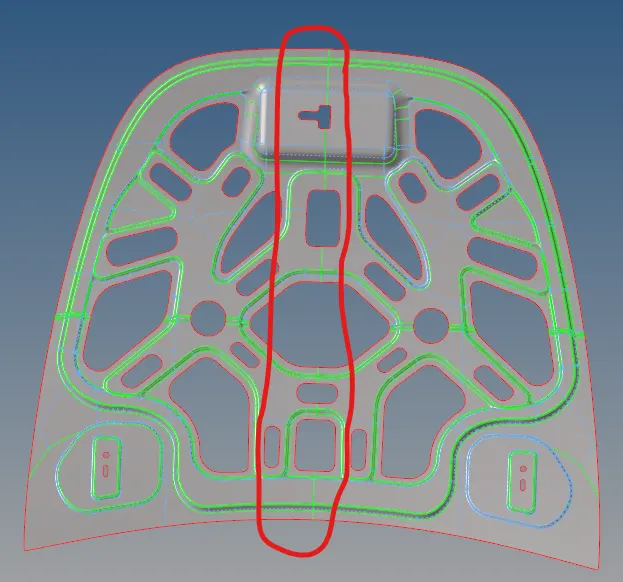
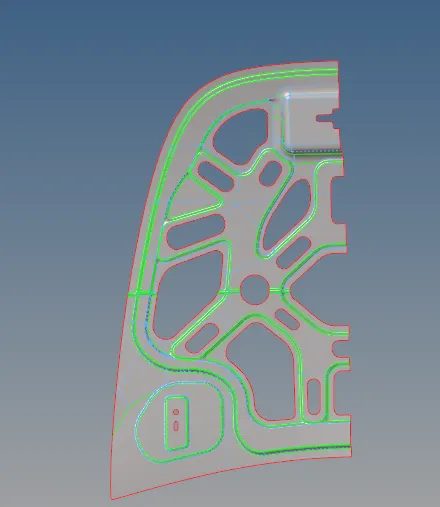
Since this model is symmetrical so we divide it in the middle by creating double cons and delete the half model working on the half of it and after meshing we can reflect it before reflect create a duplicate, copy and then reflect both mid surfaces as well as elements and compare it with parent geometry and Delete the overlaped portion and make it proper as per parent CAD model
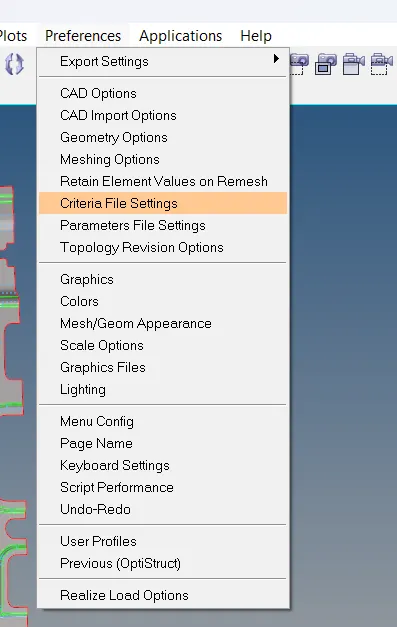
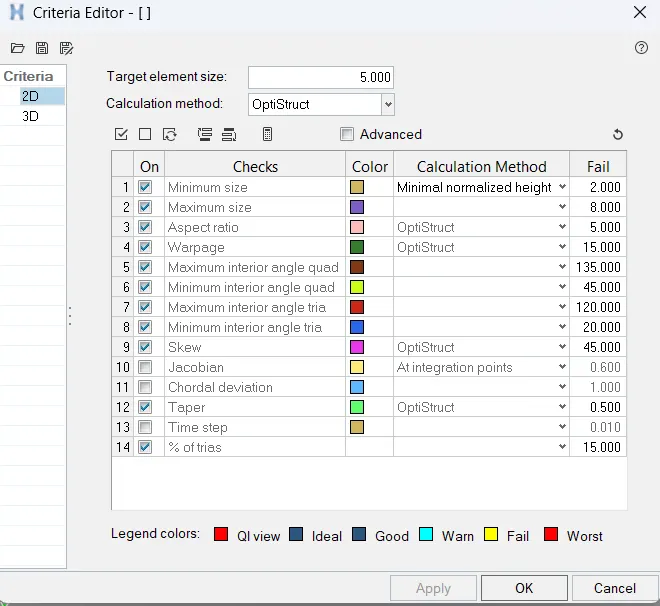
5) Enter the quality criteria goto preferences>criteeria file setting>set the value and click on apply and as well set parameter target element size equal to 5 unit
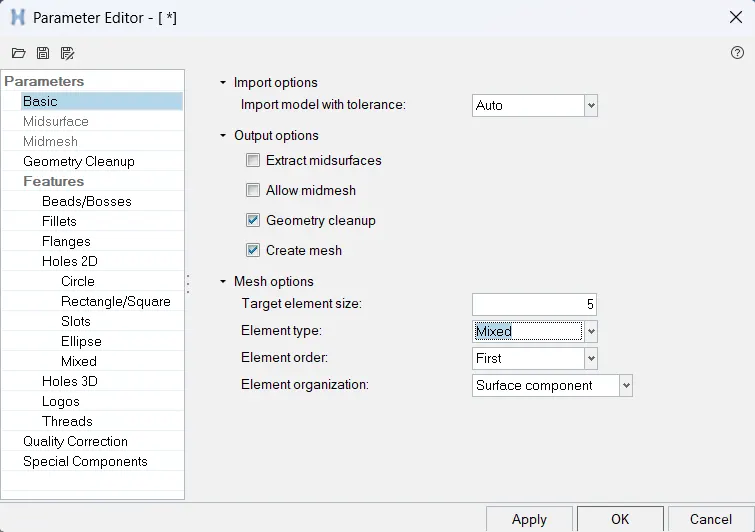
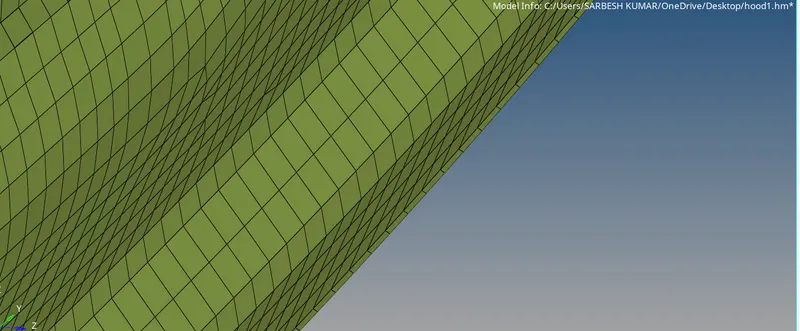
6) Now perform meshing operation one by one , create a mesh on the mid surface goto 2D>automesh>select the surface>give element size =5>click on mesh

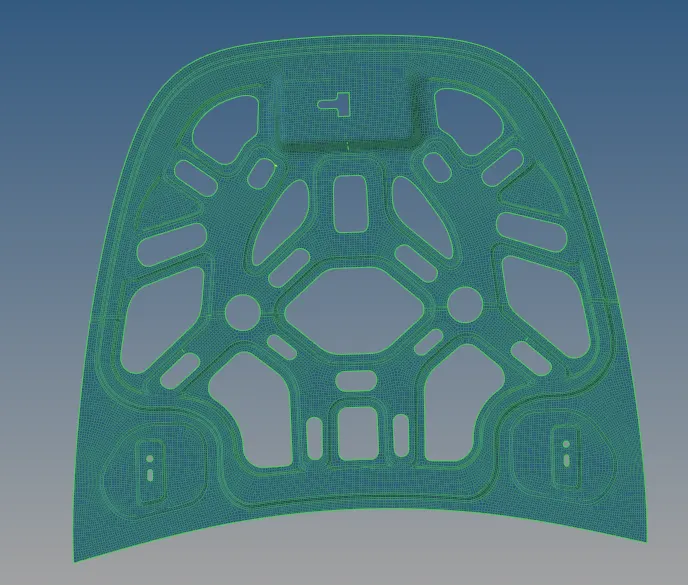
Few points must be Obey during the meshing
- No Tria element on the edges (free edge , share edge ,non- manifold edges, )
- No opposite trias in the Mesh
- Not trias should touch each other (no back to back trias)
- No trias must touch features (Embosses,Fillets , Holes, Logos, Dog Houses, Weldings etc.)
- There should be an even number of nodes on the holes opening
- No rotational quads
- No pattern Trias
7) Check mesh flow and make it proper for that some frequently used commands Rebuild mesh (2D>Rebuild mesh>select elements>click on rebuils), Edit element (2D>Edit element>create/split/combine), smooth option (2D>smooth>select element,enter iterations>smooth), quality index (2D>quality index>QI setting/cleanup tool) in quality index we have both option Quality index and cleanup tools we can use both options, in QI we can check quality criteria and we can set display thresholds, and in cleanup tools we can split,collapse, combine, optimize element node etc, we can use Replace option to connect two nodes or to remove edges





we can also use tools option to perform different operation as per our requirements like project, reflect,finding edges etc

Repeat step 7 until we got proper mesh flow
Now thickness is asign in property card, and can see this in 2D Detail representation