Project 1 - Meshing of Floor Panel
Project Report on Meshing Of Floor Panel
Aim :- For the given Floor Panel model, Take the mid surface, after checking the geometrical errors and mesh the mid surface with the given element Quality criteria. (Refer the table Below for the Quality criteria)
For the given geometry we have to set quality criteria and mesh parameter
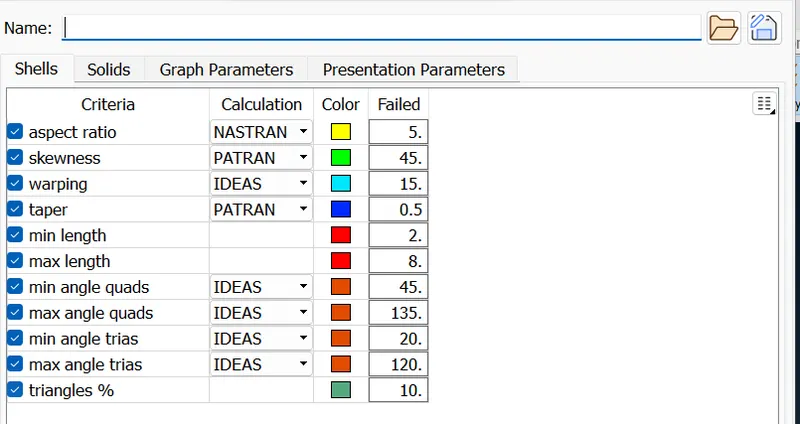
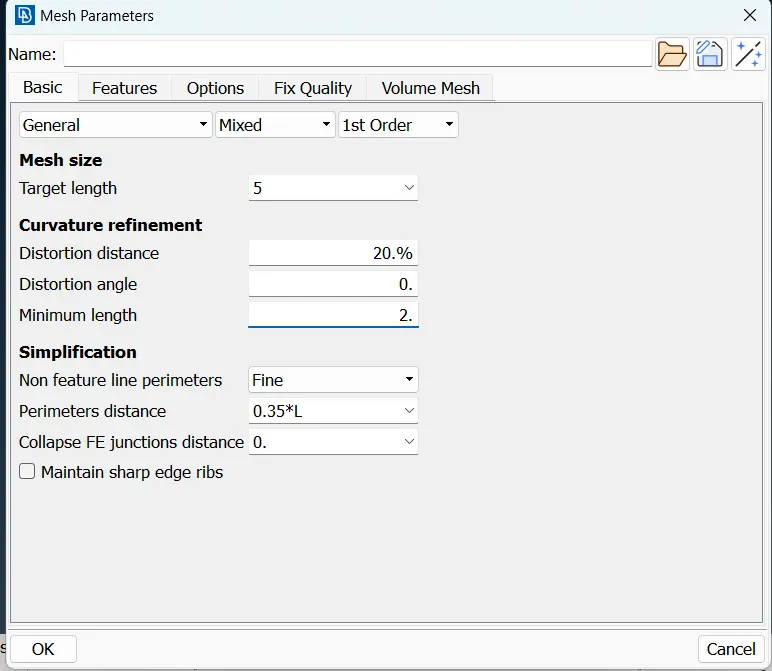
For that we have to follow the following step :-
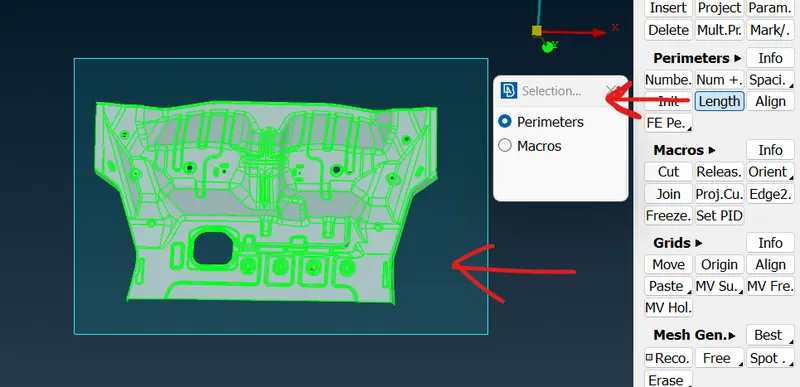
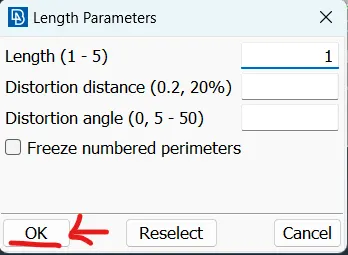
1) First we go to mesh module under this perimeter we select length option after left clicking on that option we select the whole model by middle mouse click we set a value 1 and click ok. By doing this in the geometry the distance between any two nodes will be 1 unit
2) After that again we go to check >geometry>execute there are so many errors found, one by one we resolve the errors and again go for check >geometry>execute and repeat this cycle until all the geometrical errors are eliminated
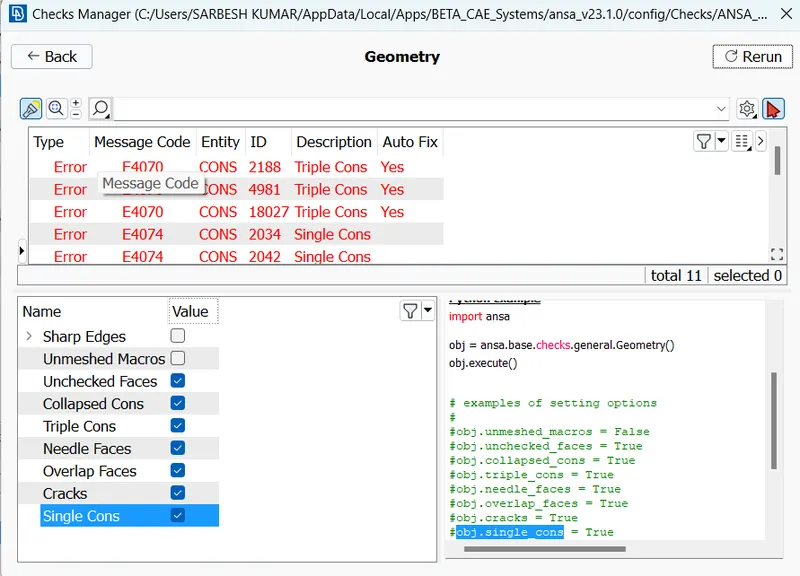
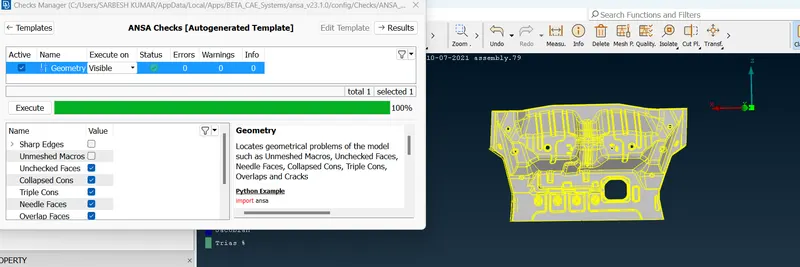
3) After geometrical cleanup, we have to do Mid-surface extraction for that we go to topo>faces>Mid-surface>skin, since our model is a single element (For the Sheet Metal, thickness throughout the same, hence we go for mid surface skin option ) hence by selecting the model by left click , pressing middle mouse button , it will take offset value automatically
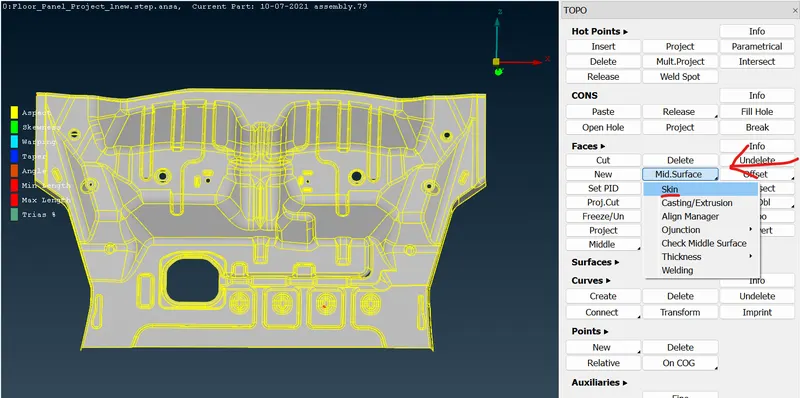
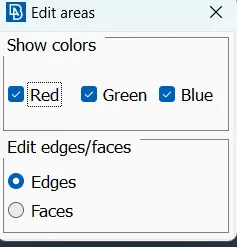
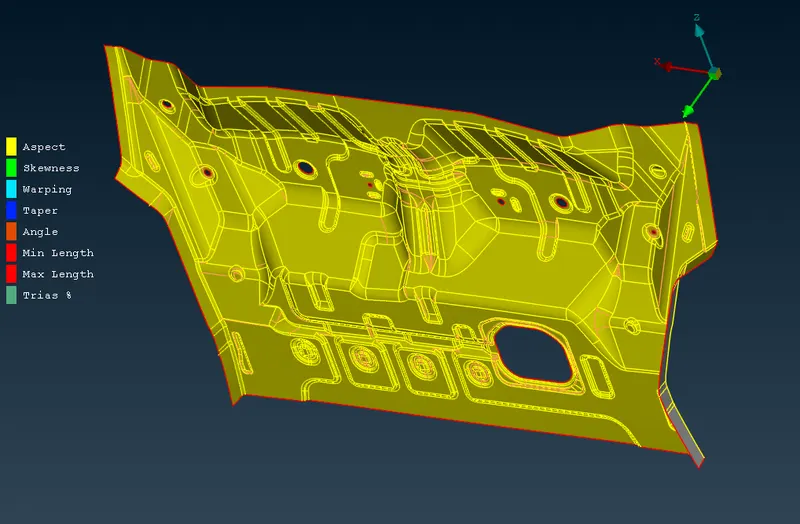
4) After that new mid surface will be created in the middle of the thickness of the plate
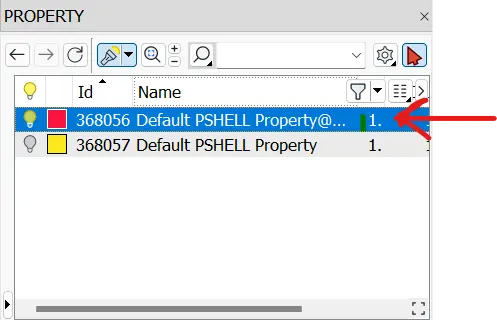
Note :- Here in mid-surface option, we got PID automatically created by ANSA itself
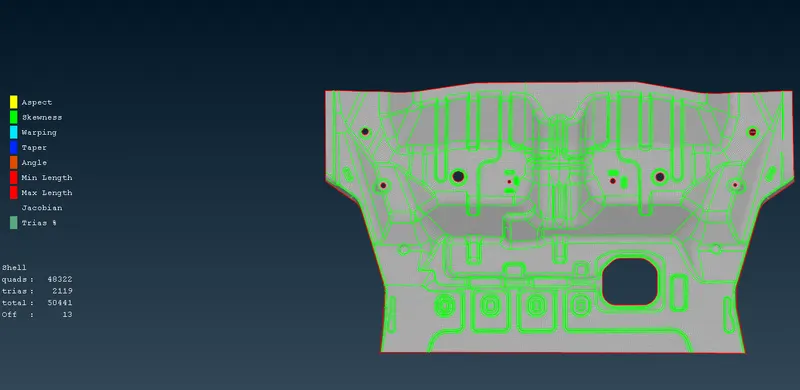
5) Now in Meshing Part we have to do proper meshing for proper mesh flow For that we have to follow the points given below
Few points must be Obey during the meshing
- No Tria element on the edges (free edge , share edge ,non- manifold edges, )
- No opposite trias in the Mesh
- Not trias should touch each other (no back to back trias)
- No trias must touch features (Embosses,Fillets , Holes, Logos, Dog Houses, Weldings etc.)
- There should be an even number of nodes on the holes opening
- No rotational quads
- No pattern Trias
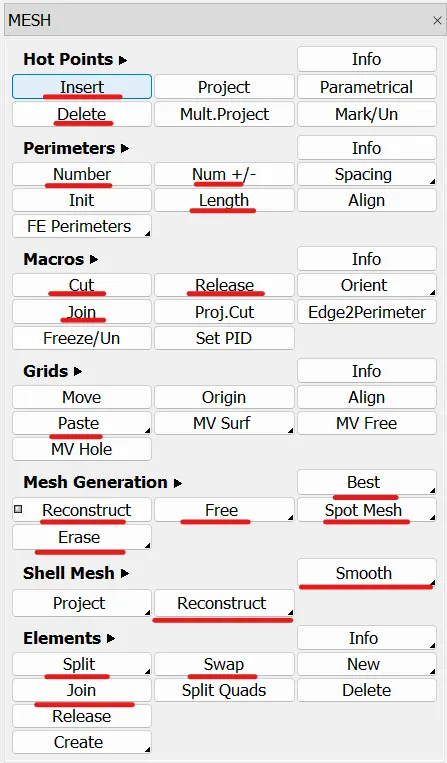
6) Before meshing first we have to do Geometry cleanup for the proper mesh flow,(In Geometry Cleanup we suppress the unnecessary cons , which nearer to each other and distance between them is less than min length) for that we use Join (mesh>macros>join), cut (mesh>macros>cut)
- after that we goto the mesh module under classic mesh Mesh>Mesh Generation>Best by clicking middle mouse mesh is generated here under Element option we are using Reconstruction (mesh>shell mesh>Reconstruction) and Smooth (mesh>shell mesh>smooth) very frequently and if there are more tria then we have to go for manually for that we use split (mesh>elements>split), swap (mesh>elements>swap), join (mesh>elements>join),
- Paste (mesh>Grids>paste) :- In this option we paste two nodes together, to move the Tria in backward direction we use this command
- Extend(topo>faces>extend):- To extend the face we use command
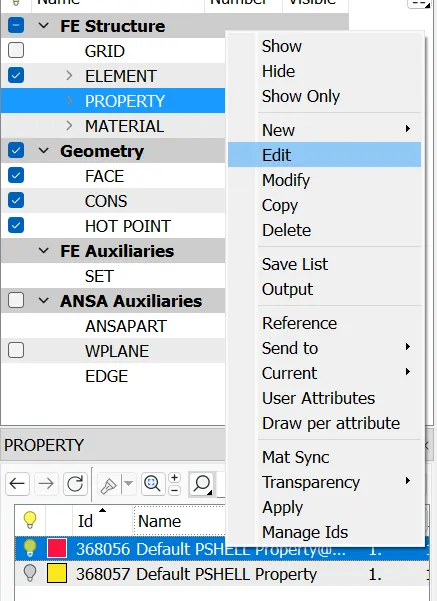
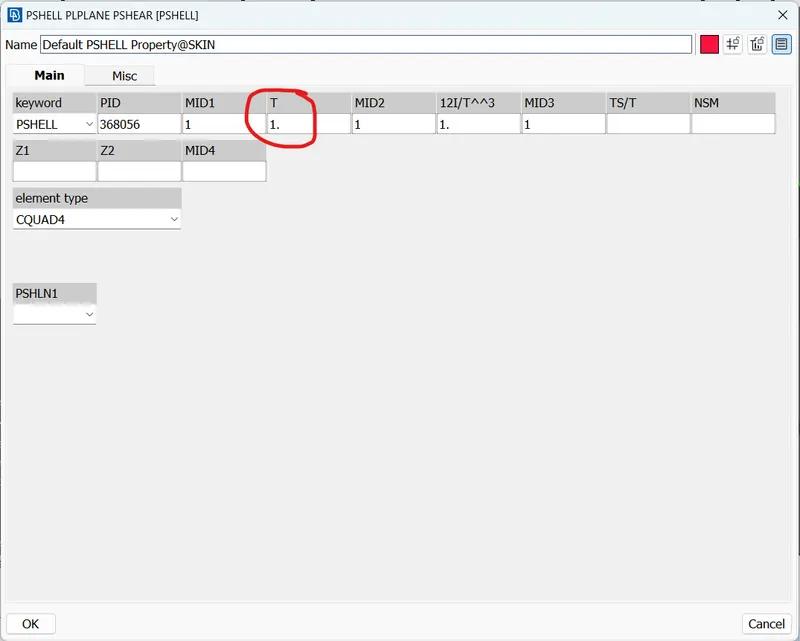
7) Now we have provide proper Thickness for that goto PID of mid surface > on left mouse click > edit>thickness
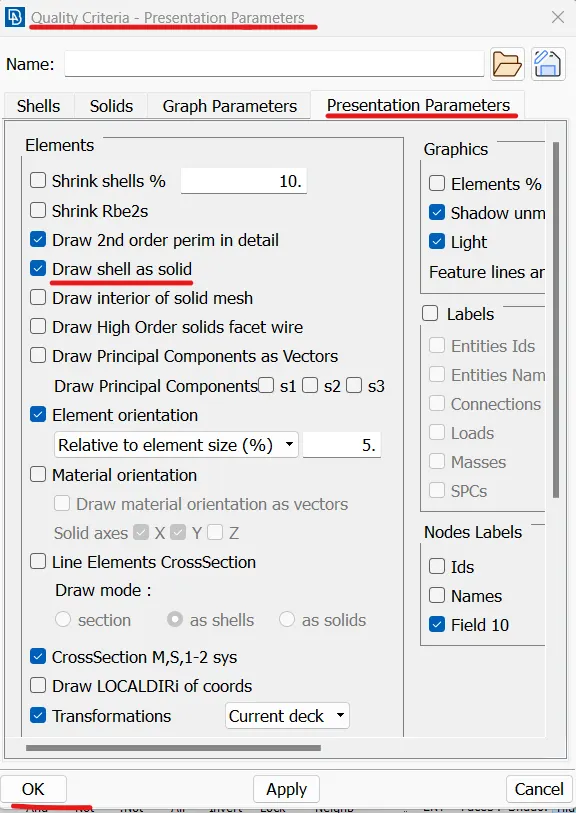
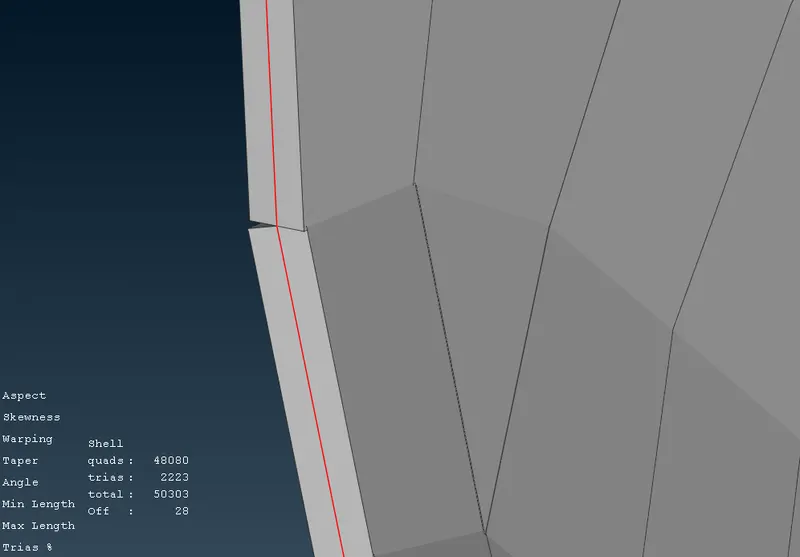
- To view thickness assign to the mid surface goto Quality Criteria> presentation parameters>cick on Draw shell as Solid
- Conclusion :- Here we can learn , How to mesh this type of model which looks simple but it has so many features, but finally we have meshed it properly