Week 6-Meshing of Hood Challenge
Objective:-
- Generating mid surface for each of the component
- Performing geometry clean up using required tools
- Generating mesh using auto mesh keeping good mesh flow and lesser number of trias
- Modification in mesh to satisfy required quality criteria
Procedure:-
1. To perform Meshing on any model in HYPERMESH we need to go through various steps to get a good quality of mesh with smooth mesh flow. For performing the mesh we need to start the process with importing the model file using Import option in FILE tab.
2. After we imported the file we press (F) button on keyboard to get our model into the frame.
3. We have the 4 components in the model so we can not work together on all 4 of them. So we need to hide all the components except any one of them to get its mid surface. Used mid surface in geometry panel to extract mid surface using Skin offset and auto extraction.
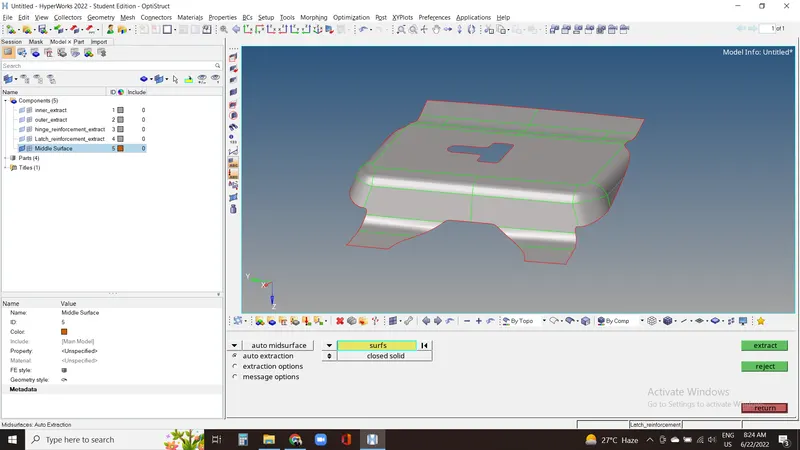
4. Perform the above step for all of the 4 components to get their seperate mid surface.
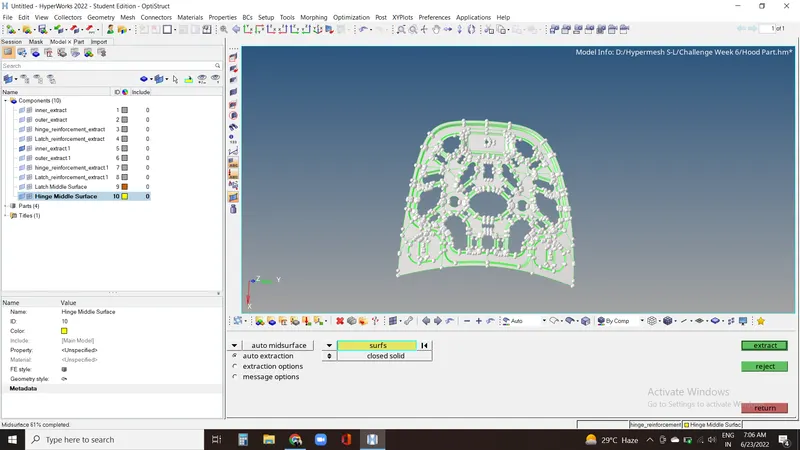
5. Now we'll perform geometry clean up to avoid failure of components in quality criteria. But for this work, instead of scoping uon all the regions and checking on every single corner we will use a method to focus only on regions with higher chances of failure in quality criteria.
For this, we'll set up quality criteria in crietria file setting in perferences tab.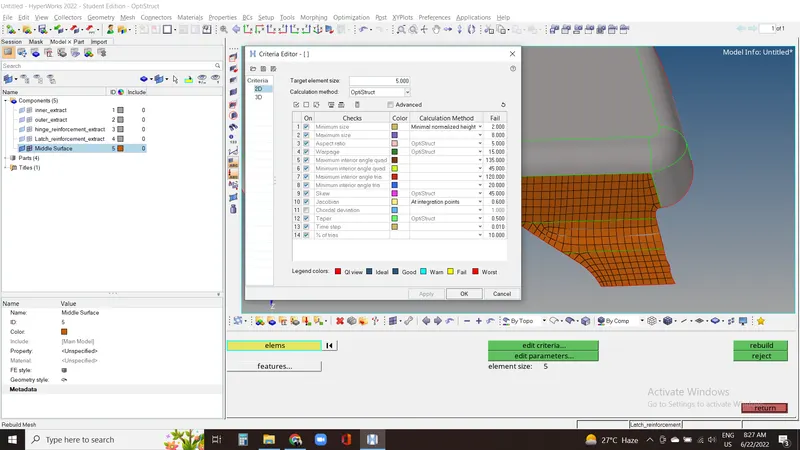
6. After this, we do rough mesh using Automesh in 2D panel with desired element size of 5 units.
Go to clean up tools in Quality index option in 2D panel and click on save failed option to save the failed elements.
Go to mask option in Tools panel. To bring back those failed elements, click on element and then retrieve. Now click on mask . and reverse all to check only the failed elements.
Go to temp nodes option in geometry panel and click on add after selecting all the elements to get the nodes on those failed regions. Purpose of these temp nodes are to just scope through all the failed regions to perform geometric clean up.
Click on unmask all and delete the entire mesh by using delete option and selecting all the elements as we don't need this mesh. This mesh was just a reference to find the regions having higher probabilty of failure in quality criteria. 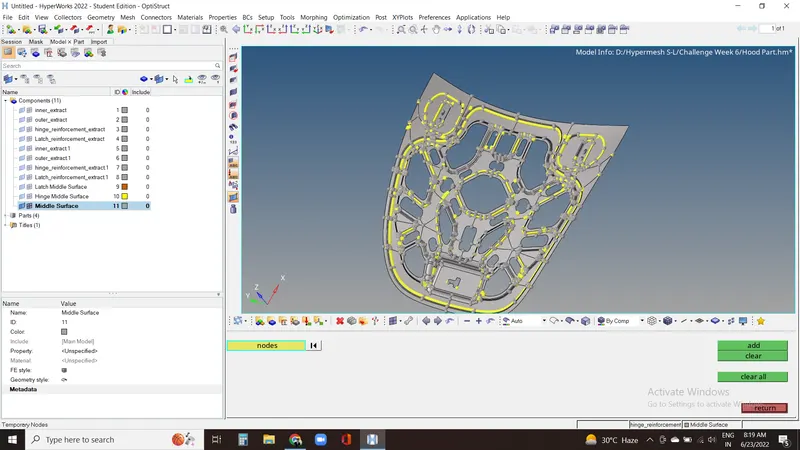
7. After knowing all the regions delete these temp nodes using clear all option in temp nodes in Geometry panel.
8. Now go to quick edit option in geometry panel and toggle all the unnecessary lines which are either on the same surface or or if there's probabilty for failure of components from minimum length or minimum angle criteria.
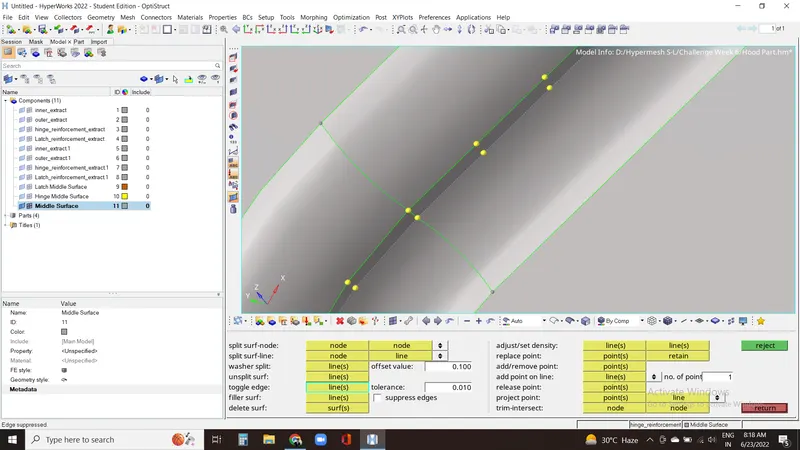
Use split surf-node and split surf-line option after toggle if necessary, particularly in regions where surfaces needs to be seperate and don't merge within each other.
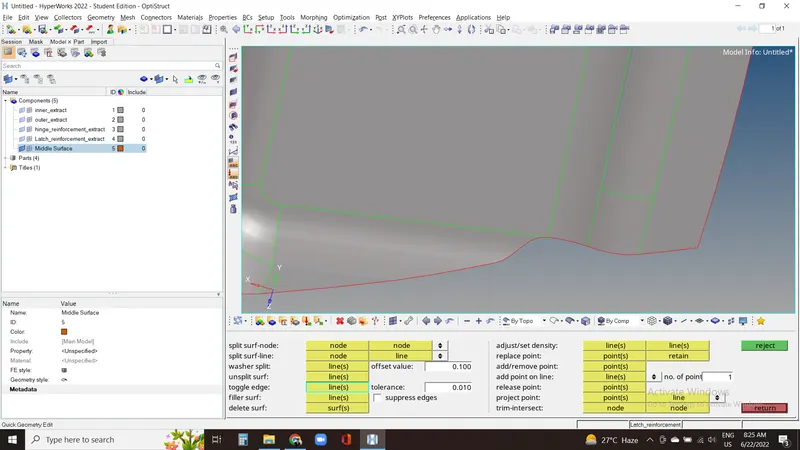
Repeat same step for all the items present on the model.
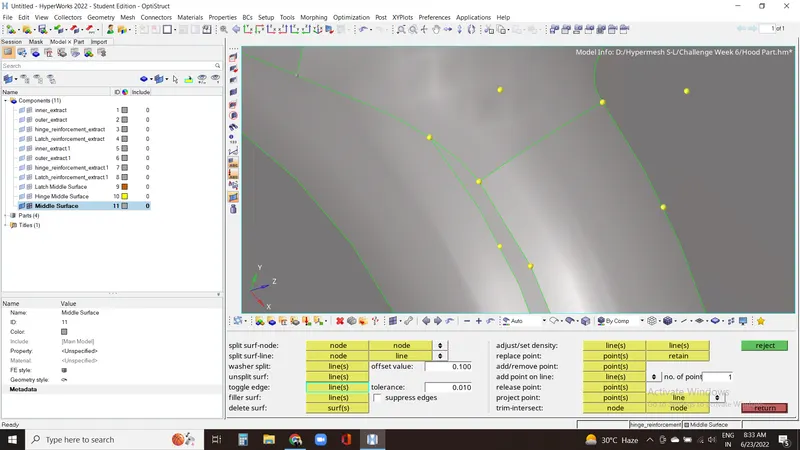
9. Now go for mesh generation on all the surface one by one on all the components. Go to Automesh option in 2D panel
keep element size as 5 units and mesh all the surfaces one by one using mixed type of elements.
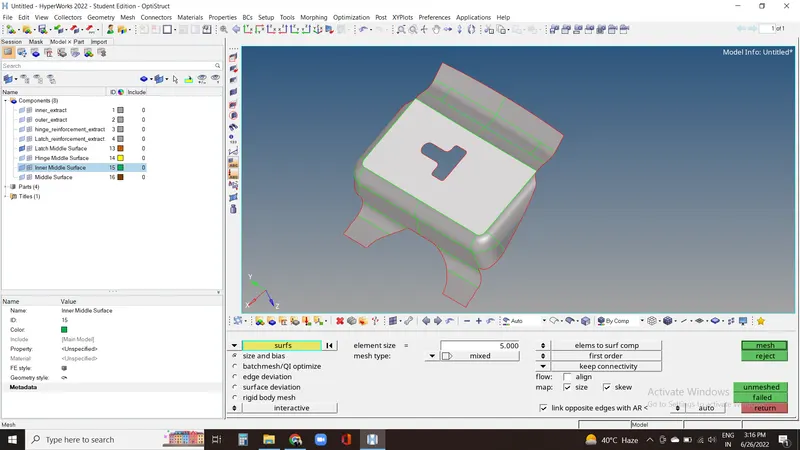
10. Now to get good mesh flow and less number of tiras, use Rebuild mesh option in 2D panel. Keep no. of nodes equal on opposite edges if the surface is close to rectangle by clicking on option - Link opposite edges with AR< and at the time meshing no. of nodes can be adjusted as per requirement.
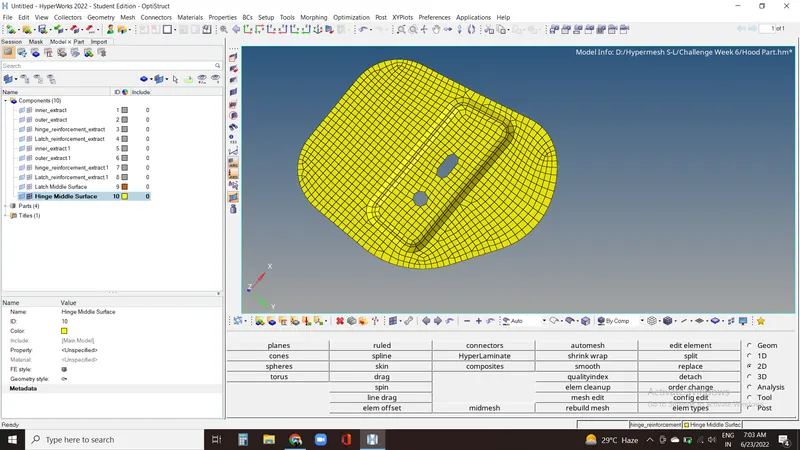
If there's no problem with the part in quality criteria then proceed for the next component.
11. If we find still find the failed elements then we need to work on them to get them fixed one by one.
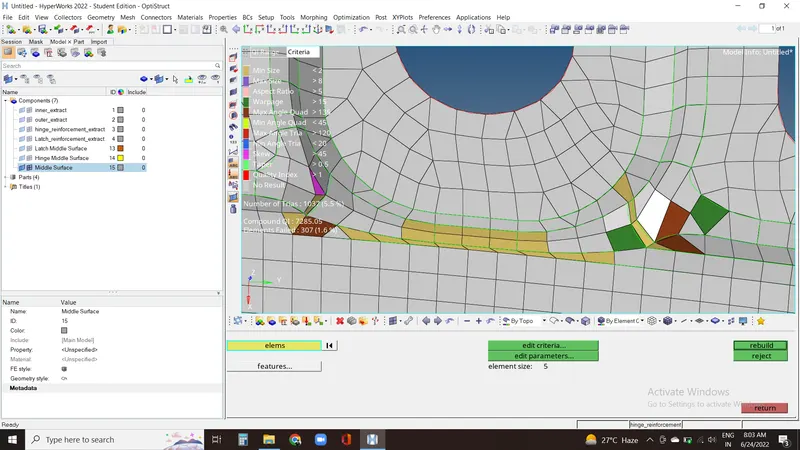
12. To fix different types of issues we need to perform different types of operations using rebuild option and quality index option. These are some issues with the elements we found mentioned below.
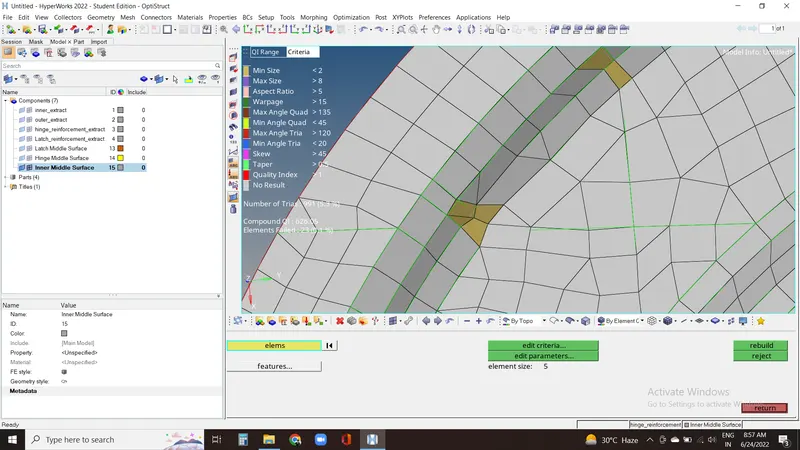
Used rebuild and smooth option to get them fixed.
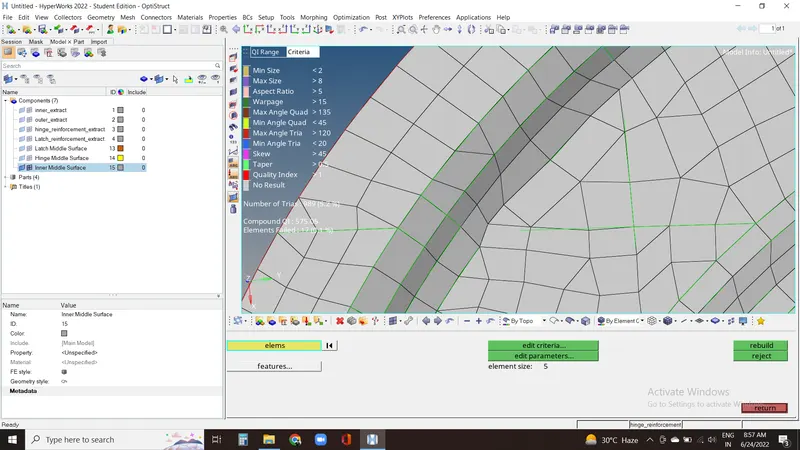
- Another error we found here is tria element on the edge which is not feasible for test purpose as trias are stiffer and divert the energy passing through the element.
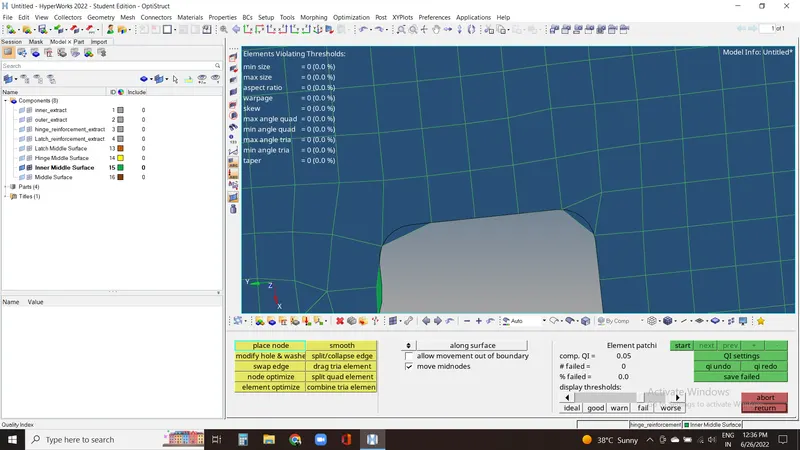
To avoid this tria element on edge we dragged tria away from the free edge.
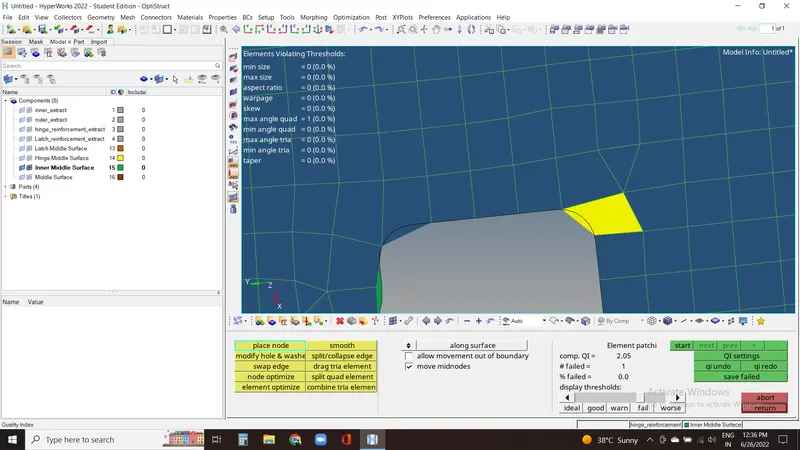
But this eventually created another error which can be fixed by using place node option or smooth or element optimize option.
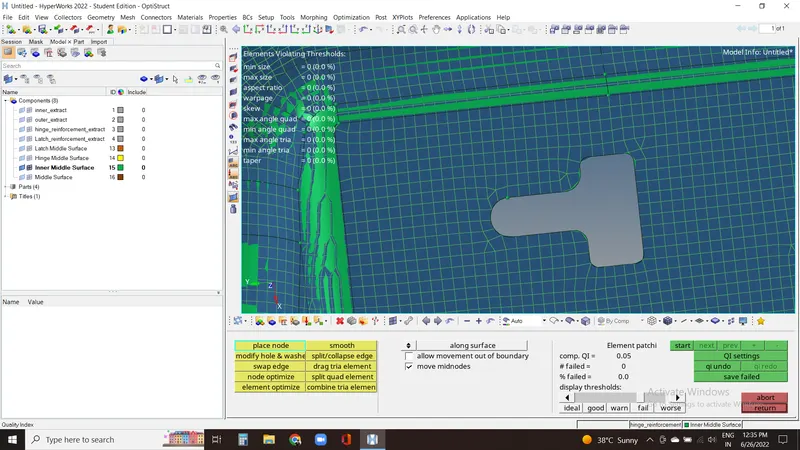
Hence we dragged all the tria elements away from the free edges.
Another error we got here is tria element with minimum length less than desired. So to solve this we used place node option and increased length of element to satisfy minimum length criteria.
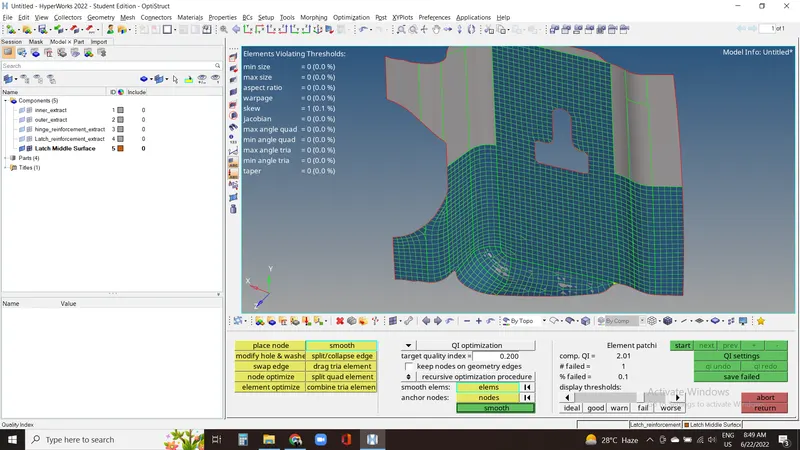
One of the Error detected was a quad element interfaring with other element, and the reason was a small line left at the time of geometry clean up, as it can be seen below.
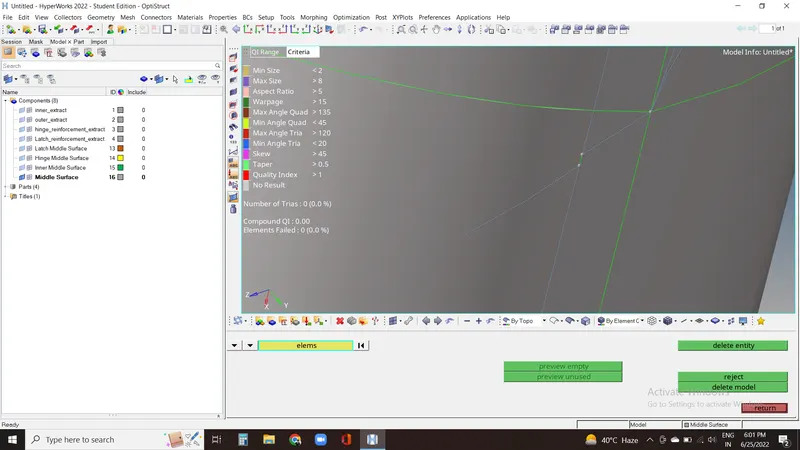
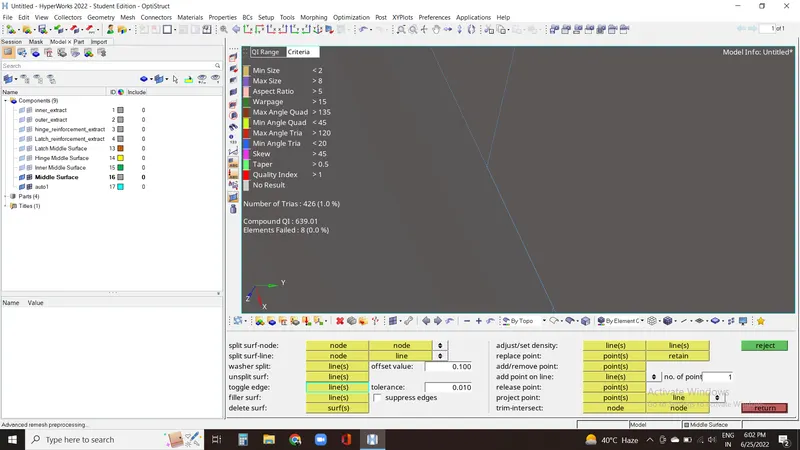
This problem is solved using toggle to suppress the line in quick edit option in geometry panel. But before that we'll need to delete the mesh components on that surface otherwise it can cause error in existing mesh.
Another error found was with some quad elements as they were failing in warpage.
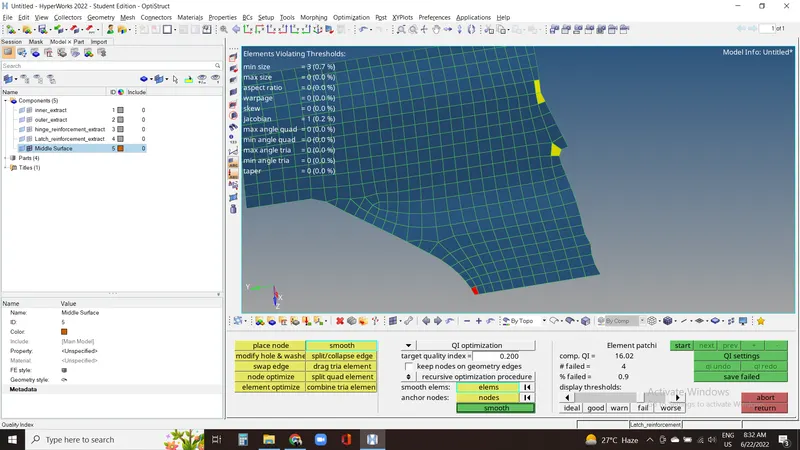
For this type of problem we can use smooth option in quality index option in 2D panel. 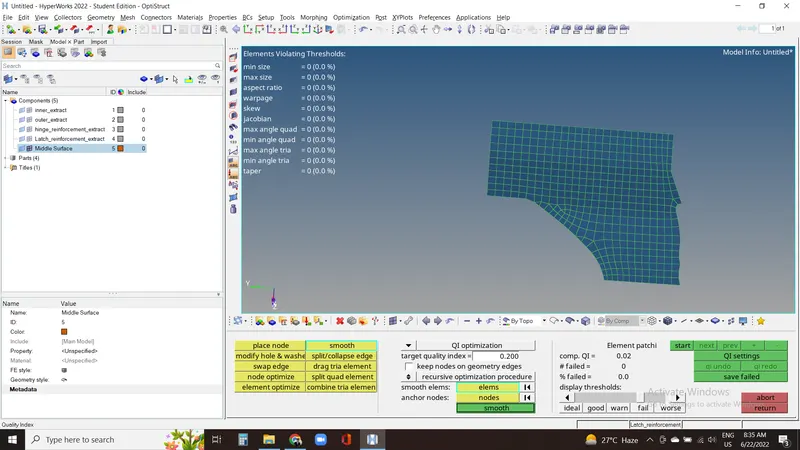
13. After fixing all the failed elements, if there are any elements present which we are not able to find due to their minute size we'll to use mask option. As here we are not able to find these two failed elements. 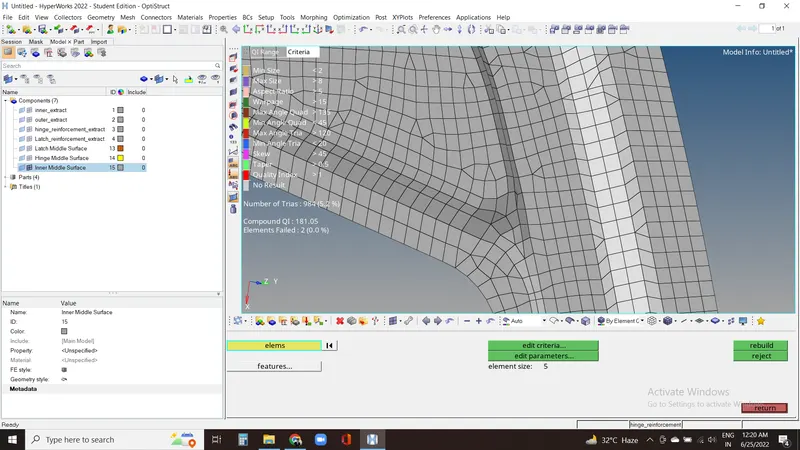
We can go to quality index in 2D panel and click on save failed. Go to mask, click on element and then retrieve(to bring back those failed element we saved). Click on mask and then reverse all. Now we are able to find these two element's location.
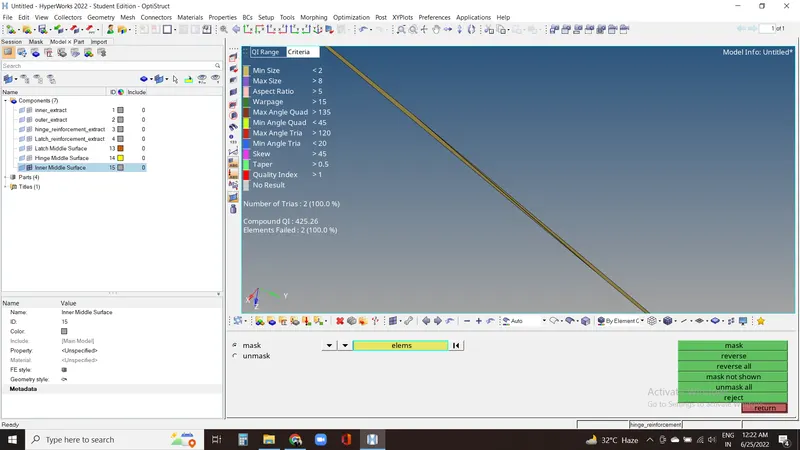
Now we go to check surface in wire frame mode(hiding the mesh elements to check properly on surface) and delete the mesh in that surface. Now go to Quick edit option in geometry panel and toggle this lines to get rid of elements with length less than minimum length criteria.
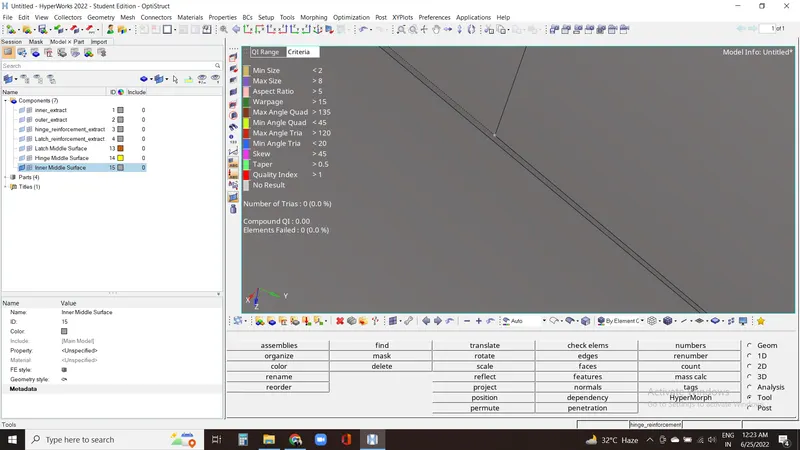
14. When all the elements pass the quality criteria then we are ready to give thickness to the mesh.
Create property defining thickness value and material. Now assign the property to all the elements. And finally our model is ready to extract.
Conclusion:-
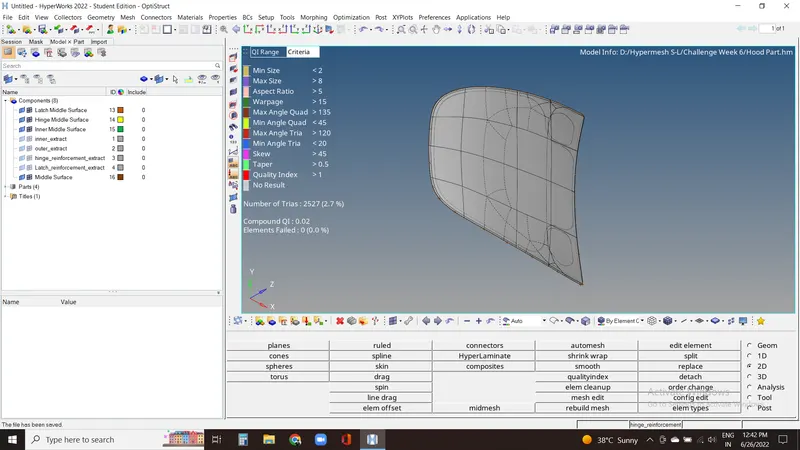
We have meshed the hood which satisfy all the set quality criteria for all the components in the hood with different mid surfaces and mesh.
Learning Outcomes:-
In this challenge we practiced mid surface generation, geometric clean up using quick edit, mesh generation using automesh. New things in this challenge were quality criteria and using rebuild mesh option and quality index for clean up tools. Overall in this challenge we came across the 2D meshing for a complex surface and are now able to perform same on various models.