Week 12:Project-1-Meshing of Door Inner Panel Challenge
Objective:-
To extract the manual mid surface and mesh the surfaces as per quality criteria and assigning thickness to the elements.
Procedure:-
1. First of all we imported the model with (.hm) extension from file-import-model. And tried to understand the model's surfaces and components. We can see that there's multiple surfaces so we need to work accordingly.
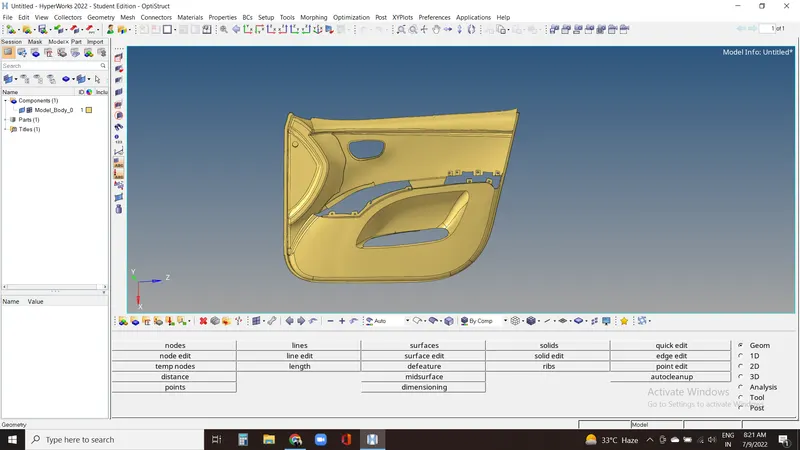
2. Now we'll check for the thickness of all the surfaces in the component and work on extraction of mid surface accordingly.
We can see here different features have different thickness which we checked from Geom-Distance-Two points.
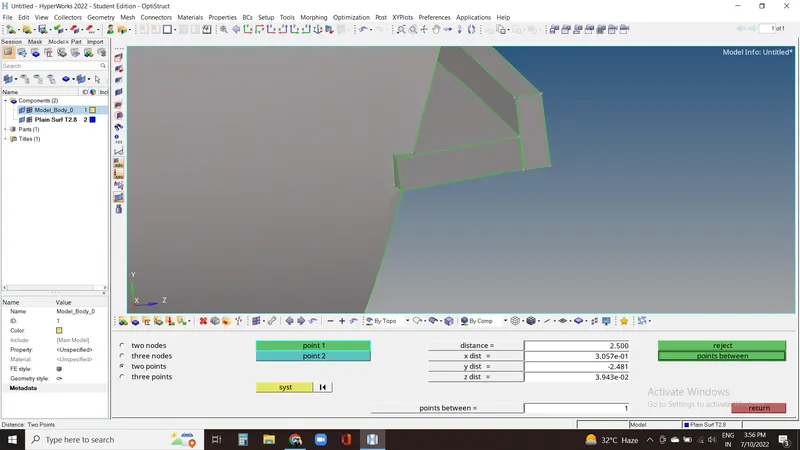
3. We we needed to extract the mid surface manually as we are unable to get mid surface from auto extraction method.
So now we'll check for main plate's thickness and using offset method, we'll proceed to get the surface.
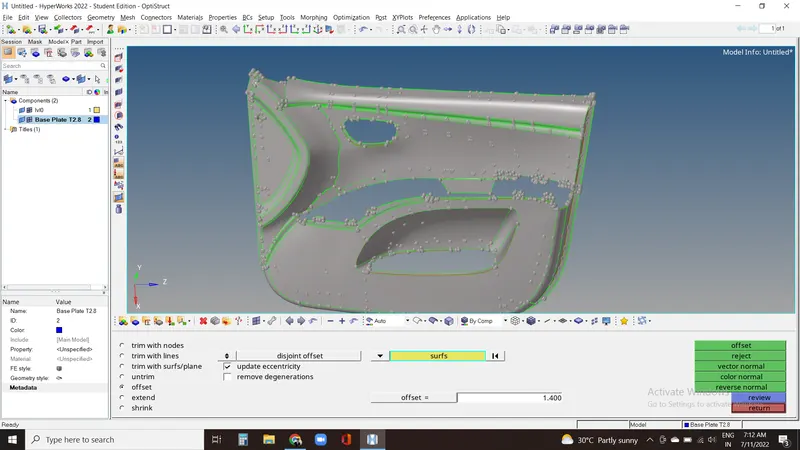
4. Now to check the direction, we can use color normal method to check for the direction of offset surface which should lie in the middle of the parent surface.
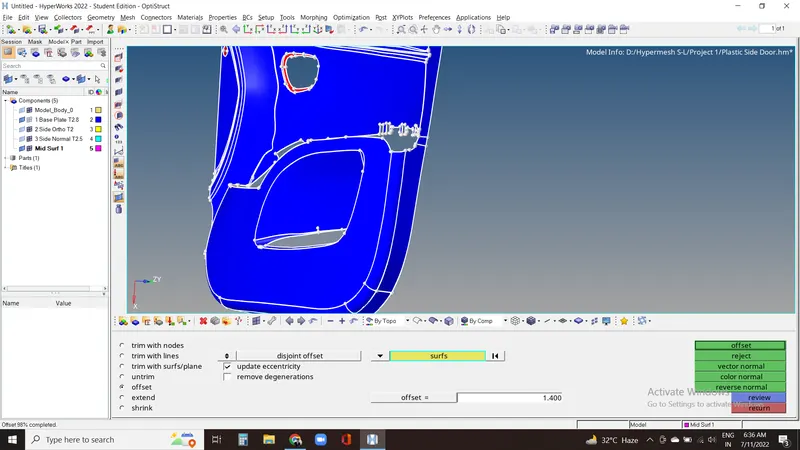
5. Now we have to trim the surface which are intersecting with each other using surface-trim with surface-Self intersecting surface.
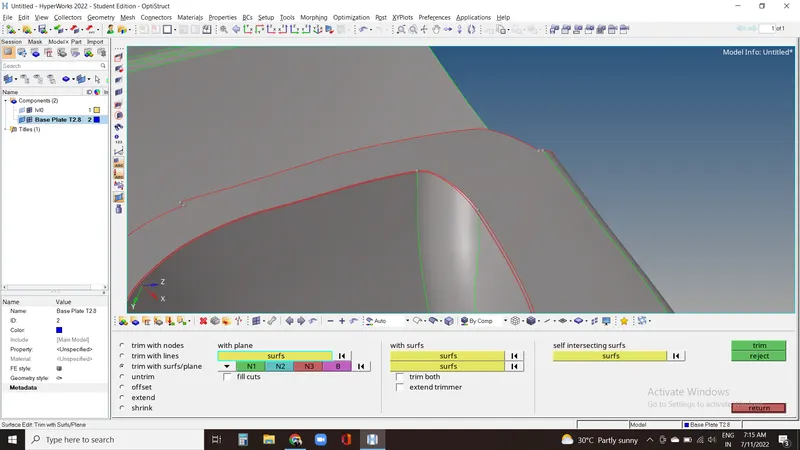
6. Now for Side surfaces there's interesction b/w the surfaces so we have to trim the surfaces using trim with surface-self intersecting surface.
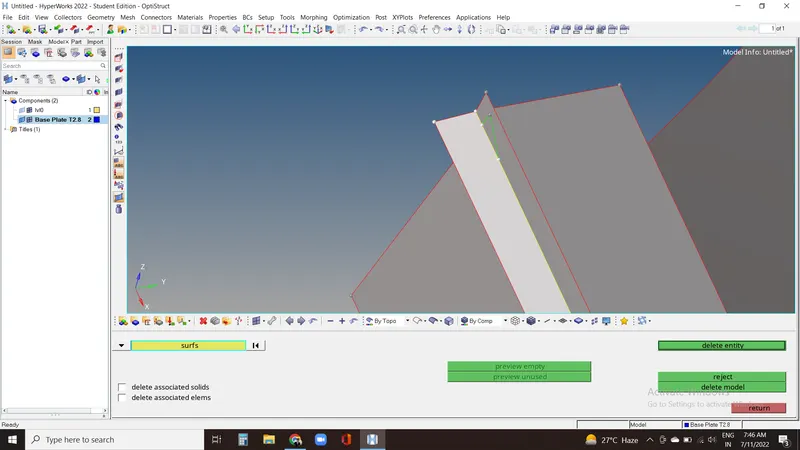
7. Now to fill this gap, first we need to creat a good geometry, thus we have to delete extra surfaces after trimming them.
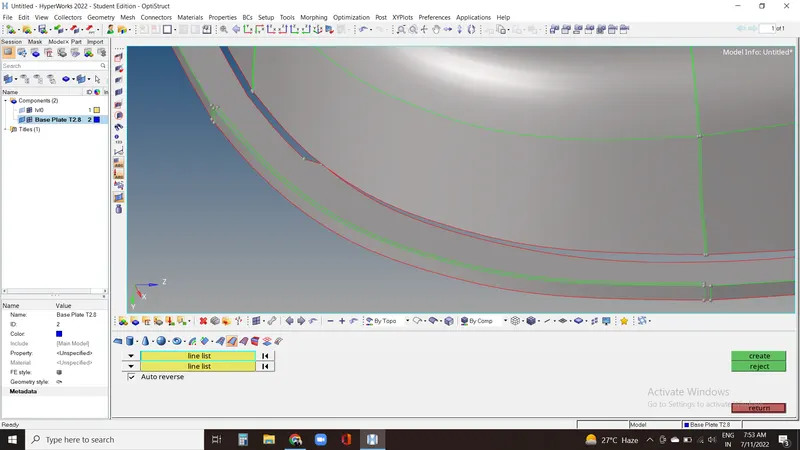
8. After getting good geometry we can proceed to get a good surface. To create the surface we can use filler option in surface in geom. panel and click on lines of both sides and create.
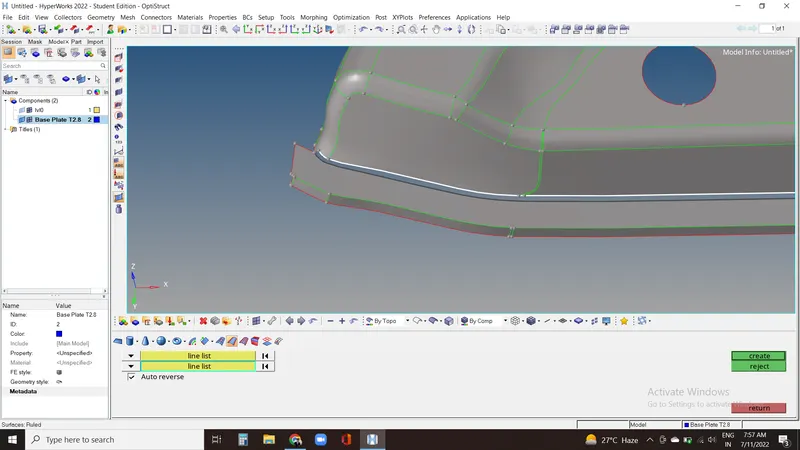
9. After getting a good surface, we will have to toggle the unnecessary lines.
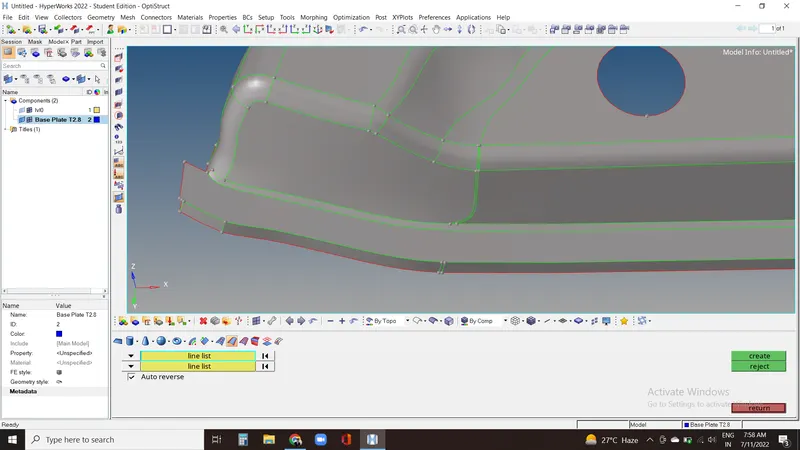
10. To get mid surface for features like this which are symmetric on both sides we can use final edit tools in mid surface option. Click on both the sides and extract the mid surface.
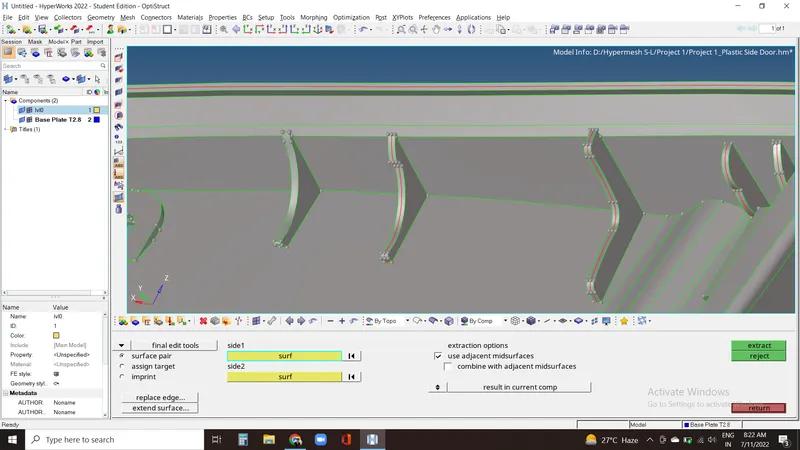
11. We need to remove the fillets from the ribs in order to get the mid surface of the ribs or also we can create the mid surface by extracting the mid line and projecting it to required surface and then creating surface using filler in surfaces option.
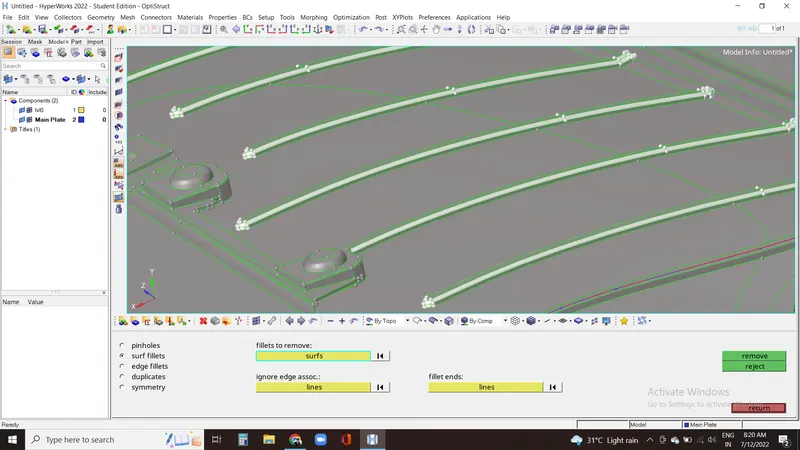
12. We can do this for all the ribs present on the body and get midsurface for all of them.
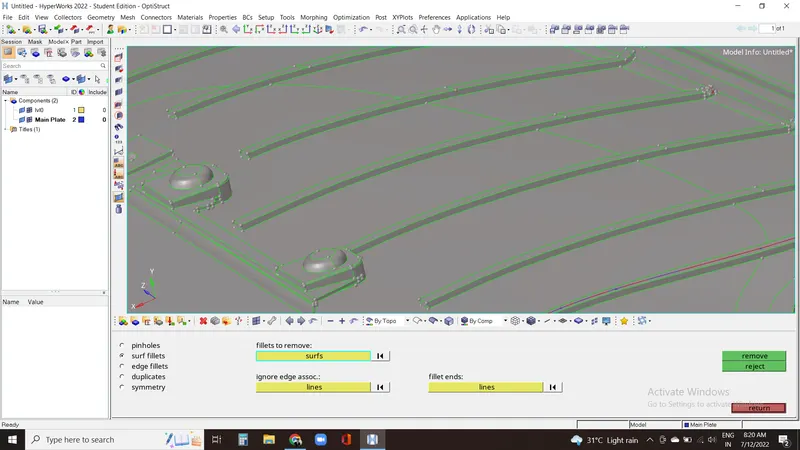
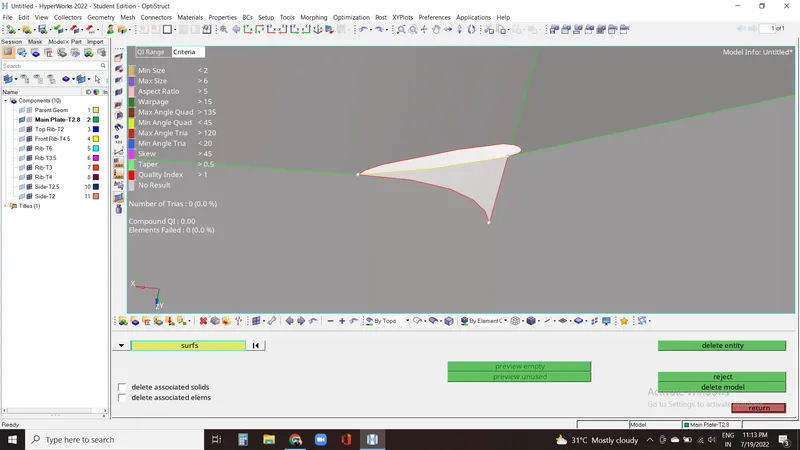
13. Now we'll have to delete surfaces like this as these are no useful to us and they create failed elements as its length is less than minimun element length.
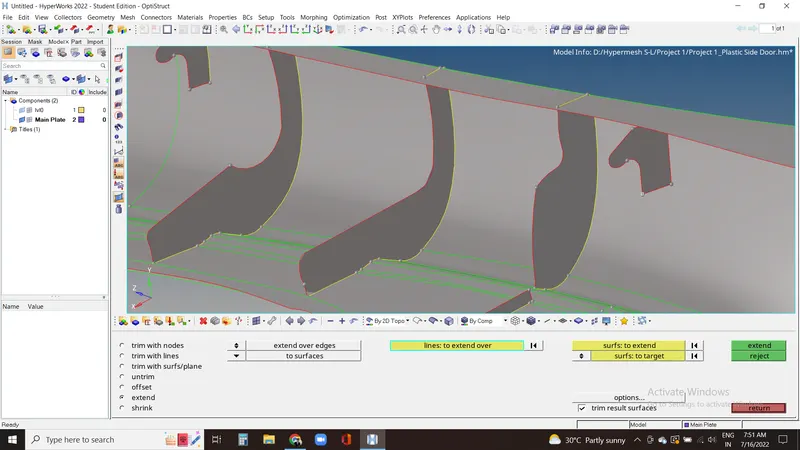
14. Now we have to extend the surfaces to the base mid surface so that there's connectivity b/w the surfaces. use surface edit- extend-lines to extend over.
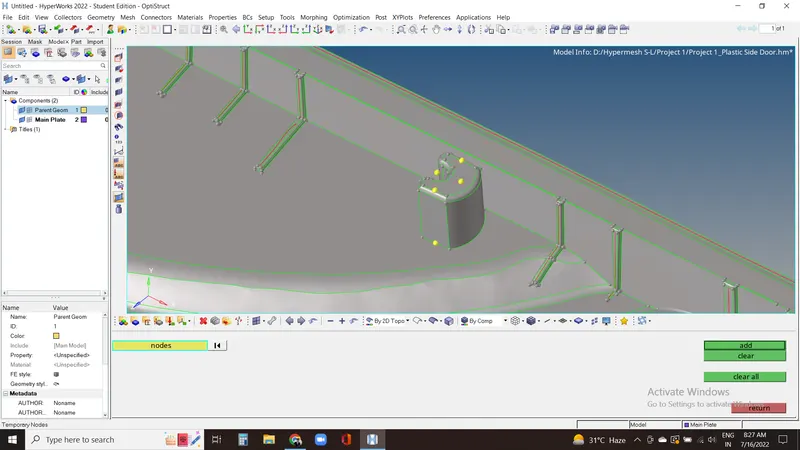
15. Now for this feature we have to extract the point on its surface to create a replica of this feature to represent it.
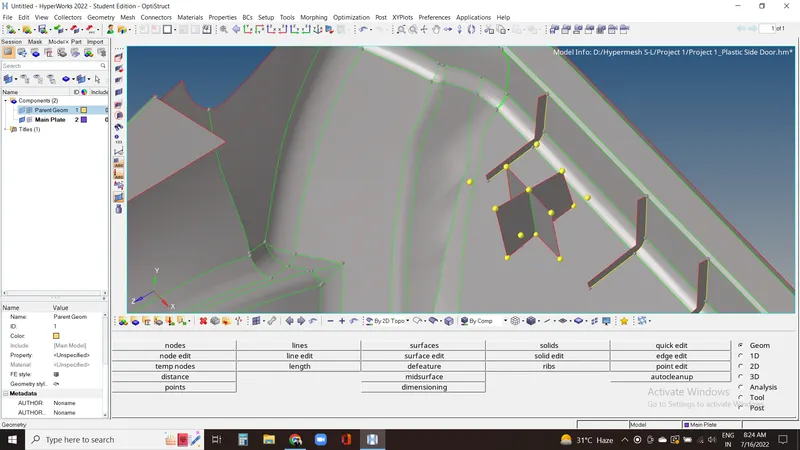
16. Here we have created + Like structure on the extact same position where those features were present in order to represent them as follows.
17. Here we have to do geometry cleanup again. We have to trim the self intersecting surfaces and delete unwanted extra surface. And finally do main geometry clean up. Will part the surfaces in various different part and toggle unwanted lines in order to get a good mesh flow.
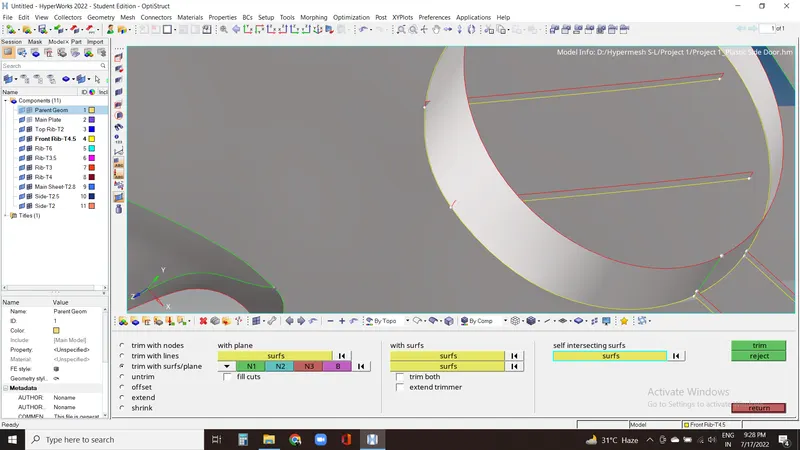
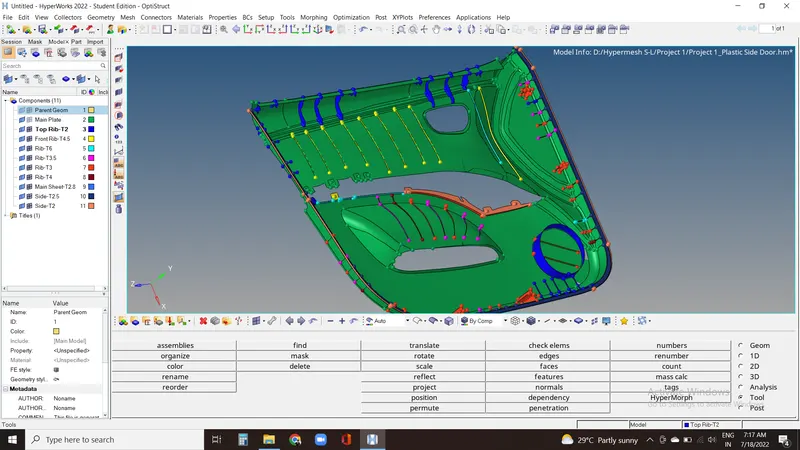
18. Now we will organize the surfaces as per the components and their thickness. Use tools-organize-selct surface and destination.
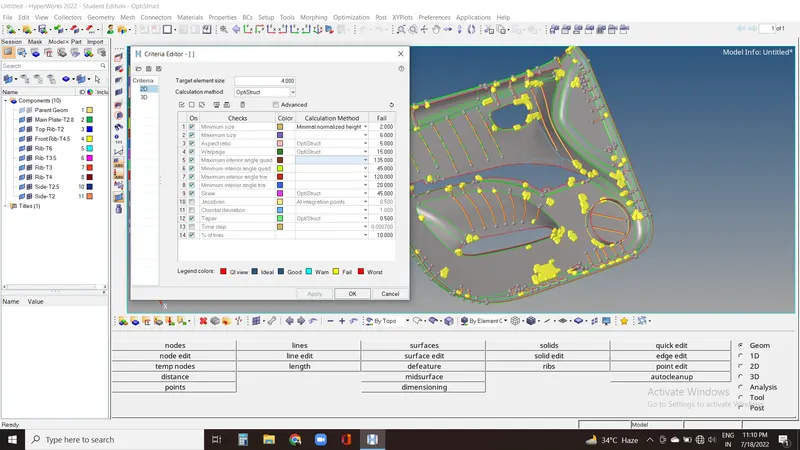
19. Now we can fill the quality criteria parameters to get the mesh accordingly. Use preferences-criteria editor.
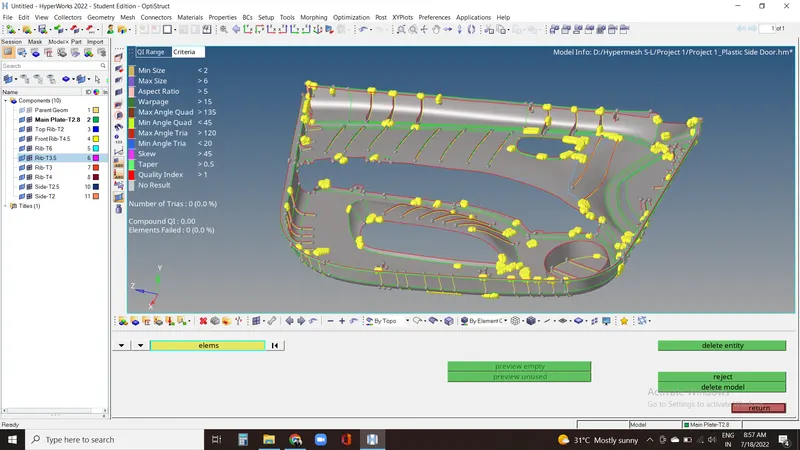
20. Now we can do a rough mesh and check where our elements are failing and do geometry cleanup accordingly if needed. here we found spots where elements may fail, and used quick edit tools to fix the surfaces.
21. Now we can go for meshing of the components. Go to 2D-automesh-Select element size as 4 and proceed for meshing.
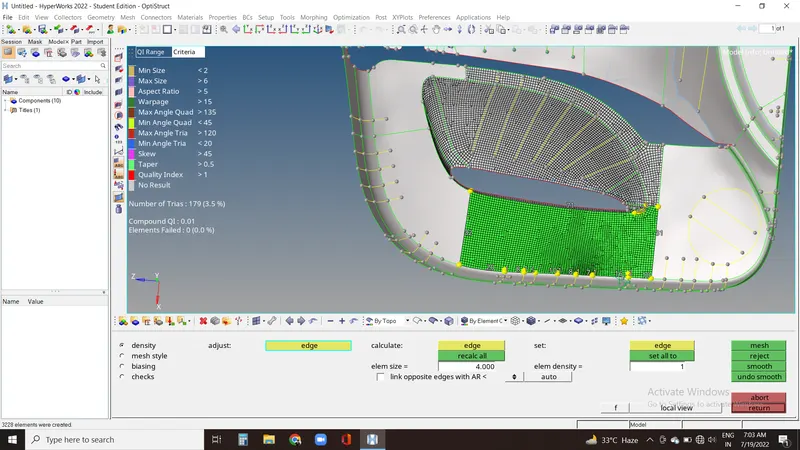
22. Mesh each component/surface one by one in order to solve issues at the same time. And keep no. of nodes as per requirement. Increase or decrese no. of nodes to get good mesh flow accordingly before accepting mesh.
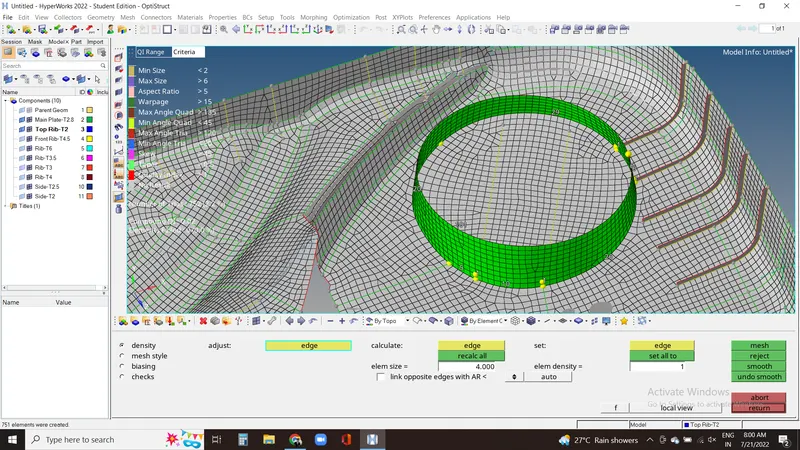
23. Here element failed due to minimun length issue. So we need to Extend the point.
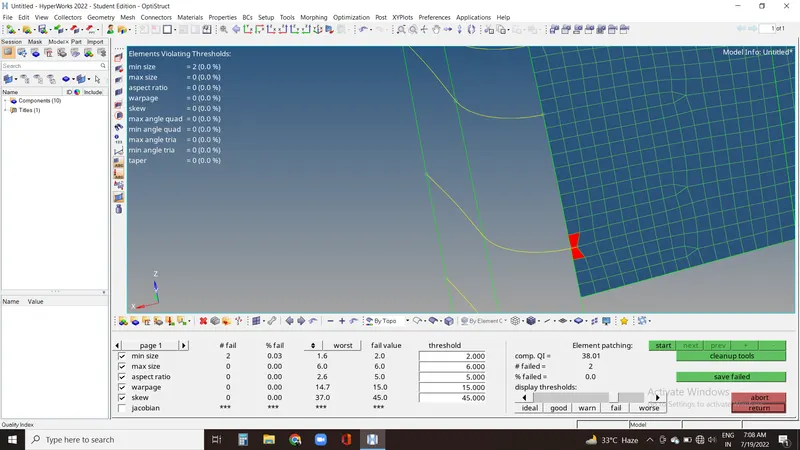
24. These elements failed due to max lenght issues so we used rebuild option to get good mesh flow.
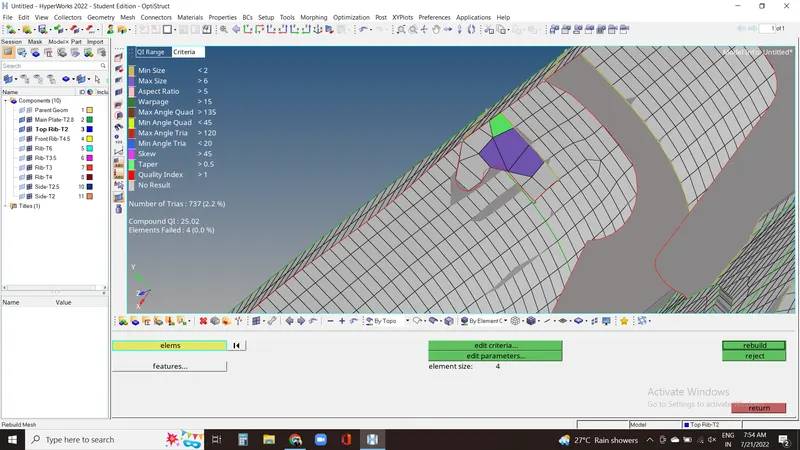
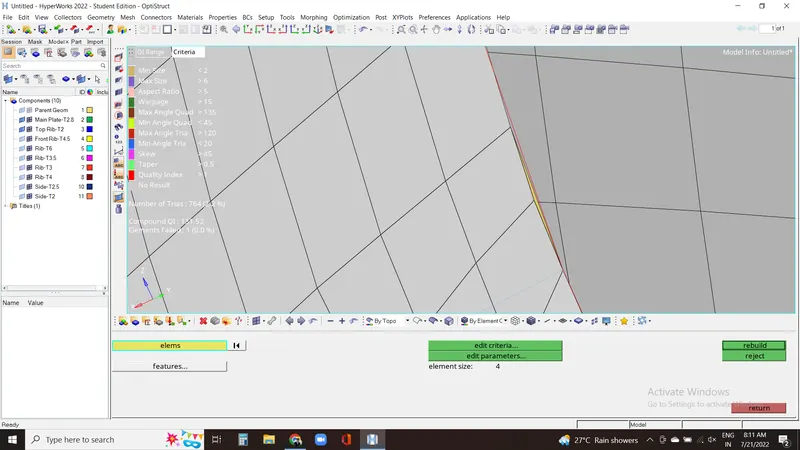
25. These were very tiny failed elements and were only visible when we masked all other elements after saving failed elements. We need to delete the points due to which these elements were created.
26. FINAL IMAGE:-
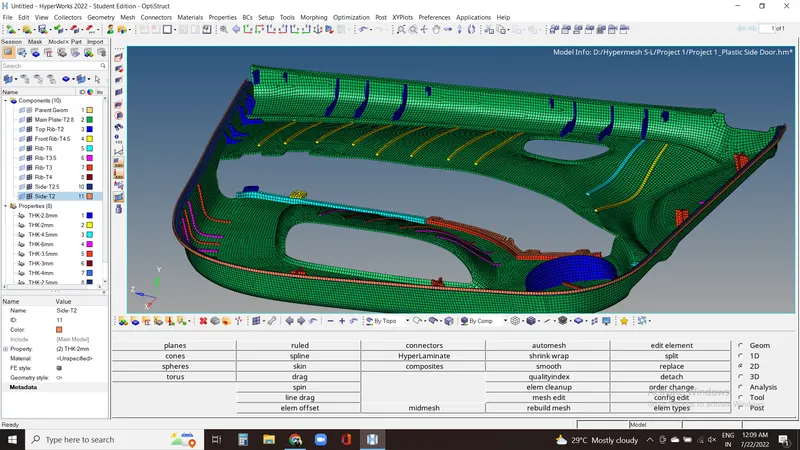
After getting mesh for all the component, create different properties for different thickness and assign the properties to the respective components. Thereafter Click on detailed 2d representation to cross check for the thickness. Now this is the final model image showing 2d detailed representation of the meshed elements.
Conclusion:-
We extracted the mid surface of elements manually and meshed the components as per quality criteria and finally assigned the thickness to the the elements as per parent/original geometry.
Learning Outcomes:-
In this challenge we learned about extracting manual mid surface of plastic component and meshing the component as per quality criteria. Also we learned about creating property and assigning it to the components and assigning thickness.