Week 6-Meshing of Hood Challenge
AIM
Mesh the following components individually and follow the quality criteria at mesh as per given data
OBJECTIVE
- Import the following geometry file and check for solid surfaces and geometrical errors
- Extarct midsurfcae of each component individually and check for geometrical errors
- Meshing of the individual component one by one and follow the quality criteria
PRODECURE
- The geometry file has to be import in the hypermesh
- Go to the Import option and then select the file which has to be imported and the type of the file which has to be imported
- After importing the geometry file change the view to the shadow mode and then check for the solid surfaces
- If there are any solid surface present we have to delete it
- After deleting the solid surface we have to check for the geometry errors
- Auto cleanup is used for the cleanup of the minor errors which cleans as per required element size
- We provide 5mm as the given data
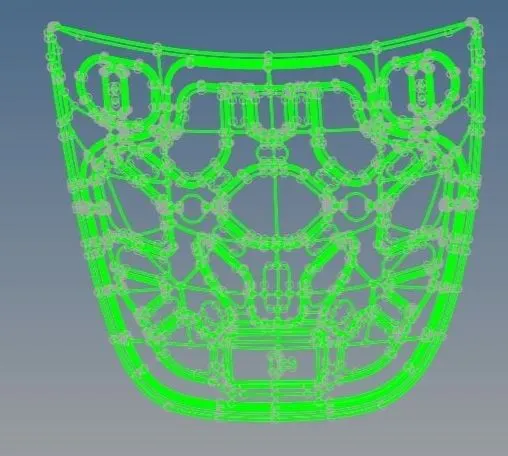
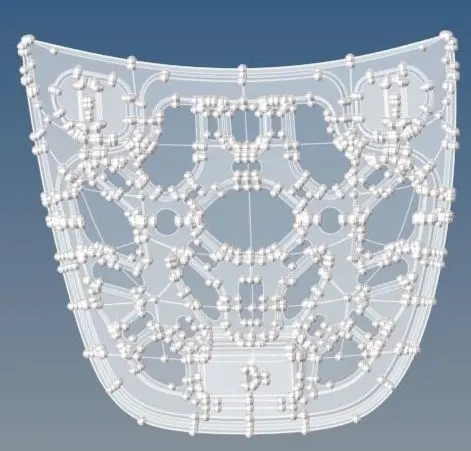
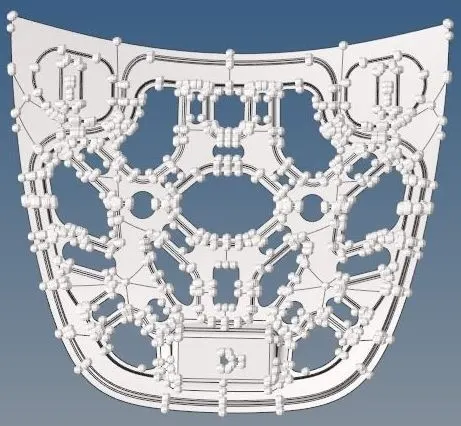
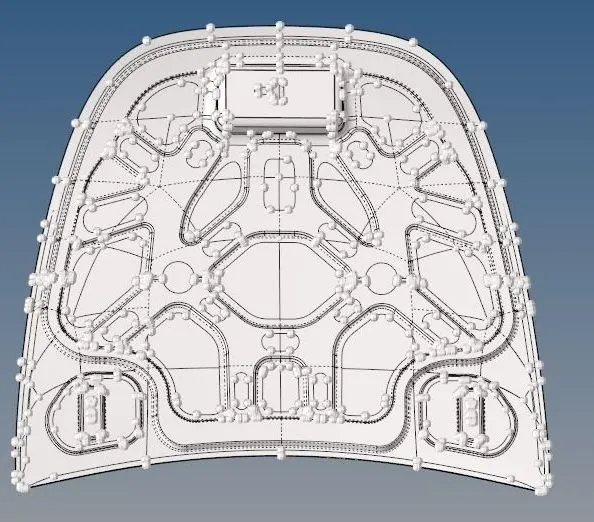
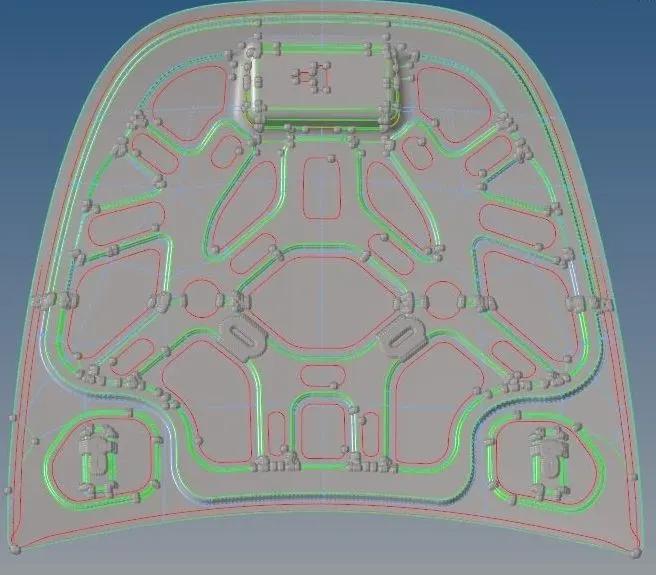
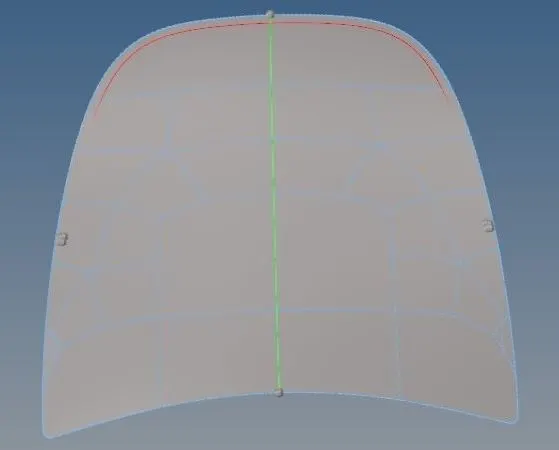
- After the geometry cleanup now we can move for the extraction of the midsurface for the components individually
- For the midsurface extraction we are using here tool auto midsurface from midsurface in the geometry tools option
- For the bettr work on the individual components midsurface seperately and easily we assigned the individual cards to the each midsurface of the indvidual component
- After that we have to check for the geometrical errors and then we can proceed for the meshing the components
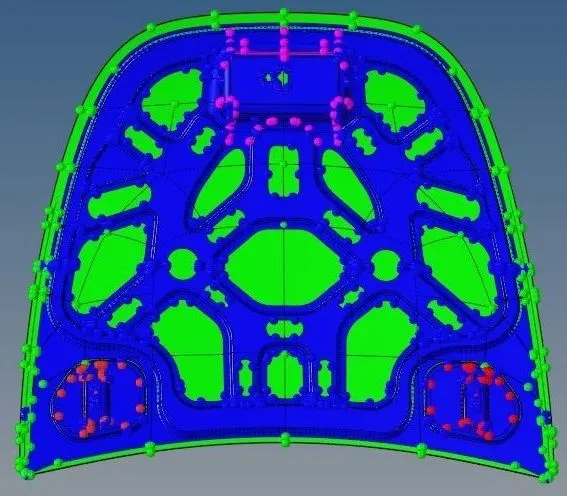
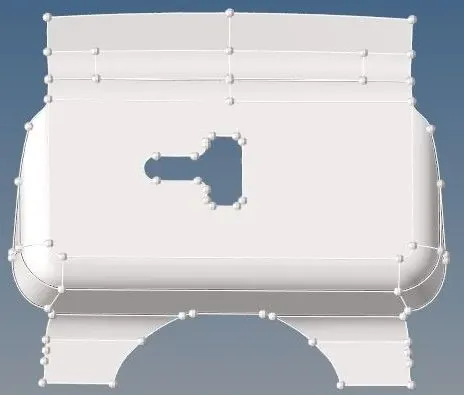
- For that we given the washer ring of the minimumlengthas per data which helps to cover that region with mesh properly
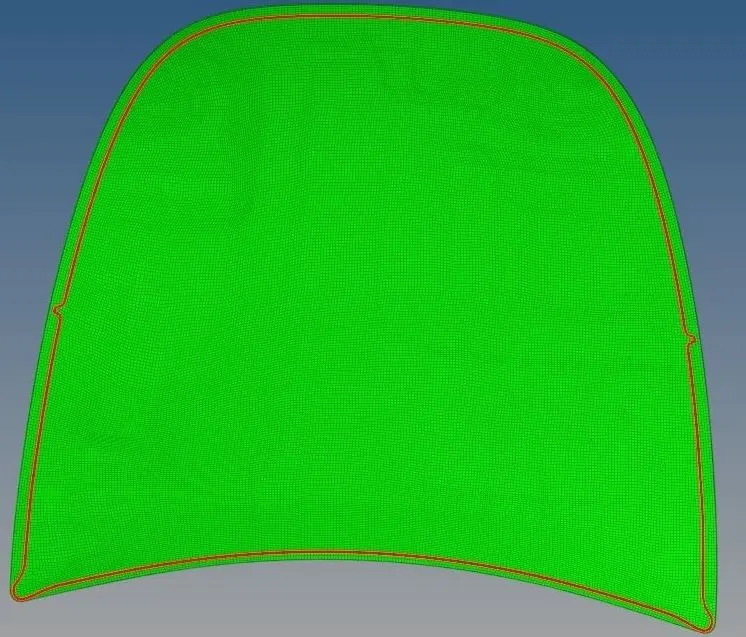
- For the meshing the components we are using automesh which works on the program best algorith and provide the mesh best as program can
- In automesh we are providing the target element size as 5mm as per the given data and the type of mesh which we need in capturing the component as per the requirement
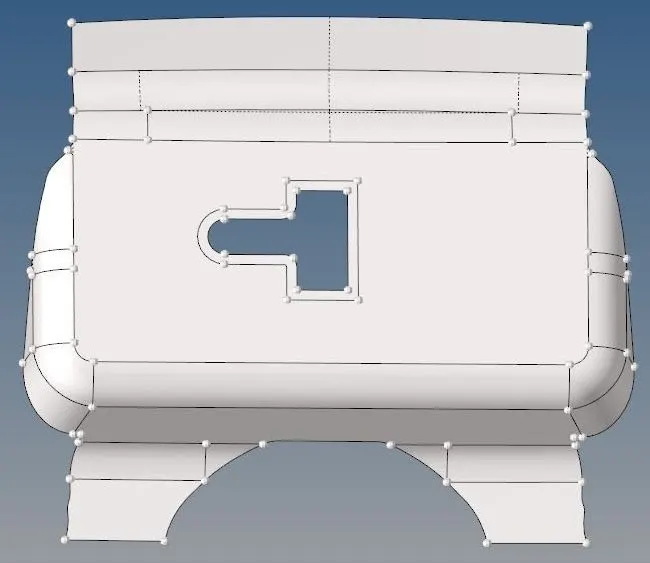
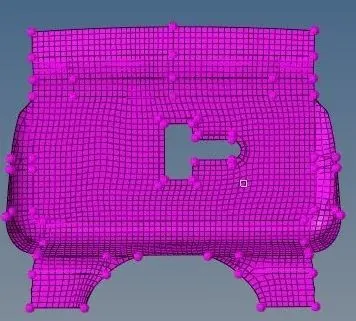
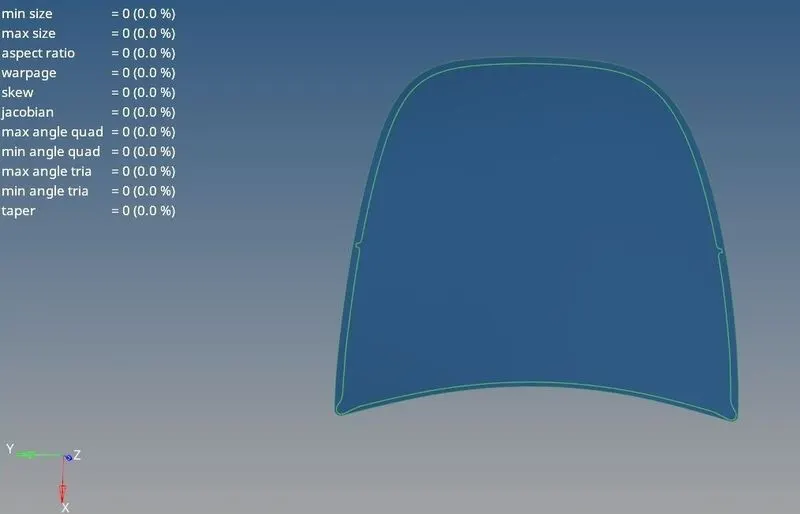
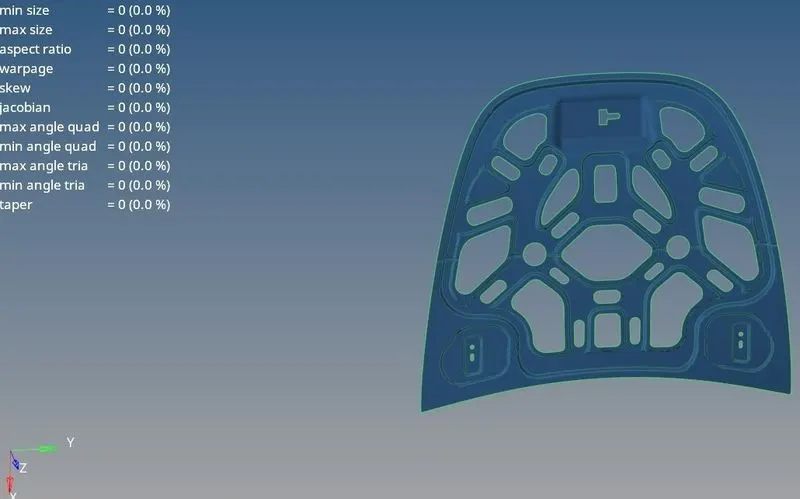
- After the meshing of component we have to check for the mesh quality criteria
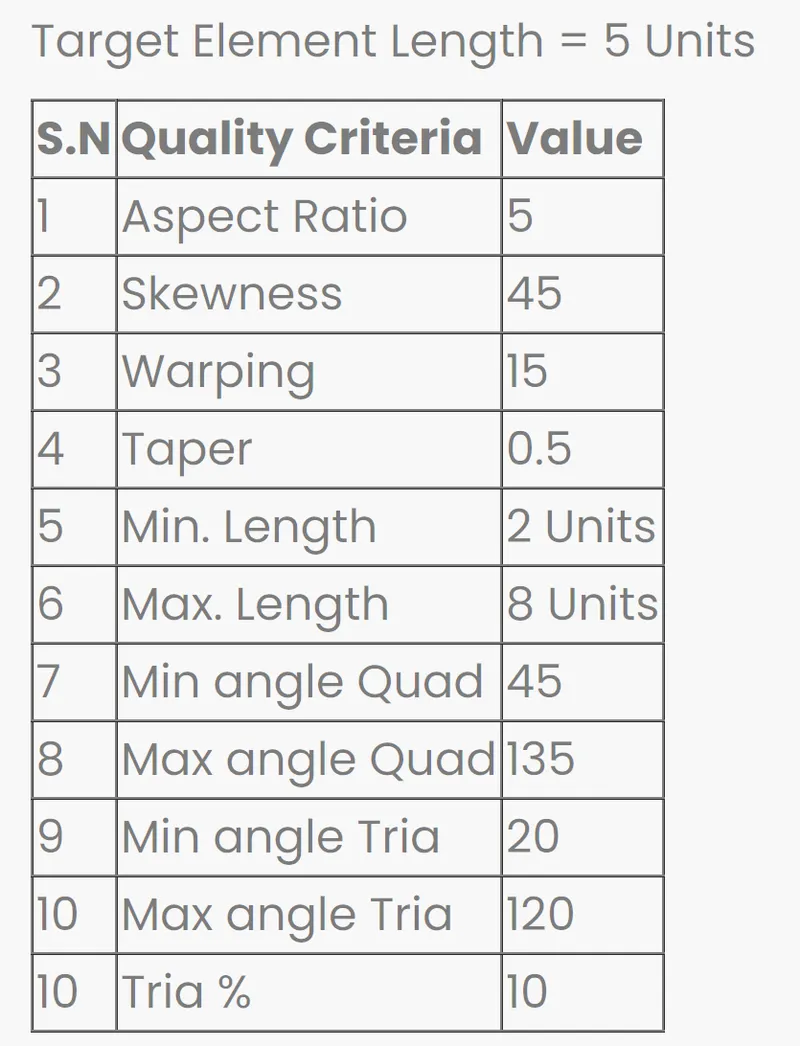
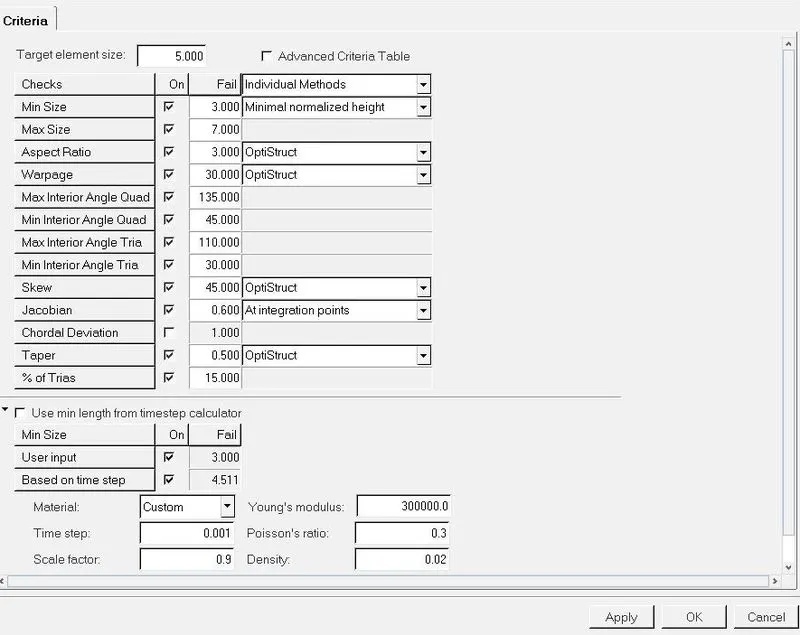
- We need to first put the values as per the given data in the criteria tab
- Apply the values of the criteria for mesh quality checking
- After the criteria filled we go to the tool quality index in 2D
- In the quality index we can see the number of elements is failed and in which category is failed
- There are some cleanup tools available in the quality index which helps to correct the elements which are failing the quality criteria
- There is another tool using here in the process of correcting failed elements elem cleanup from 2D
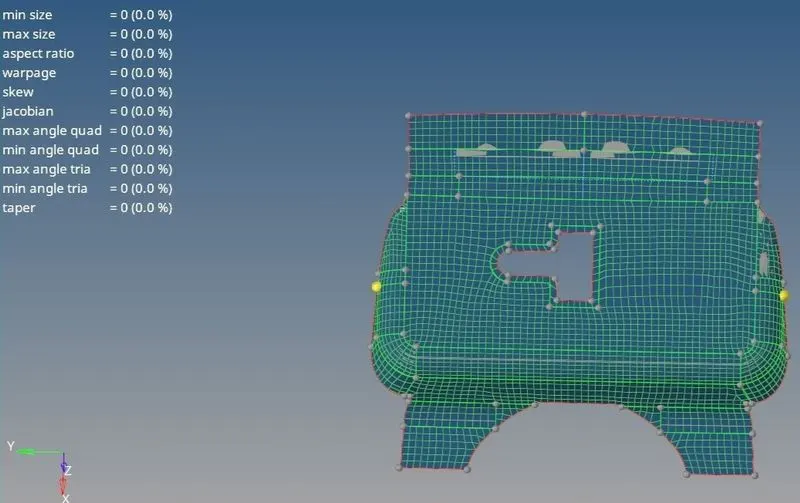
- After the quality check and the failed elements correction we are now for checking .If there is any gap is present between the nodes of elements
- To check that we have to use the tool edge from tool option
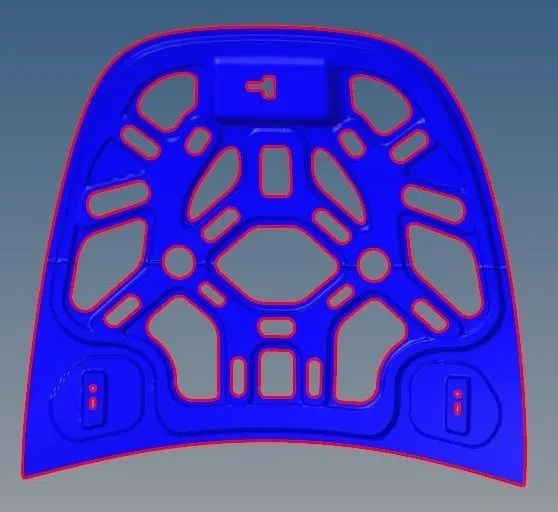
- In this you have to select the elements in which between you need to check the edge error
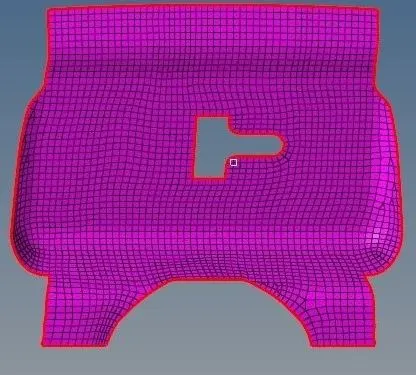
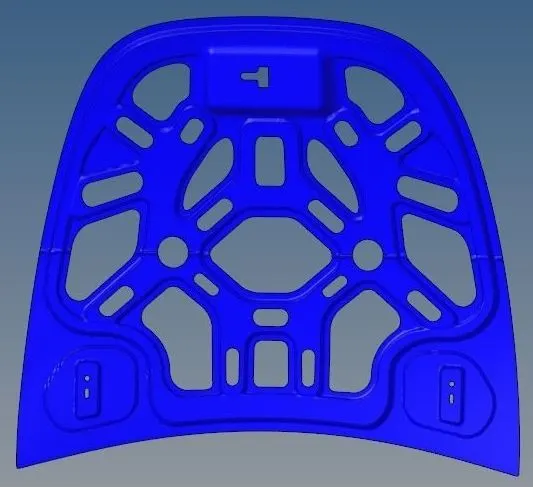
- The remaining components also go through with the geometry check meshing mesh quality criteria and the edges check
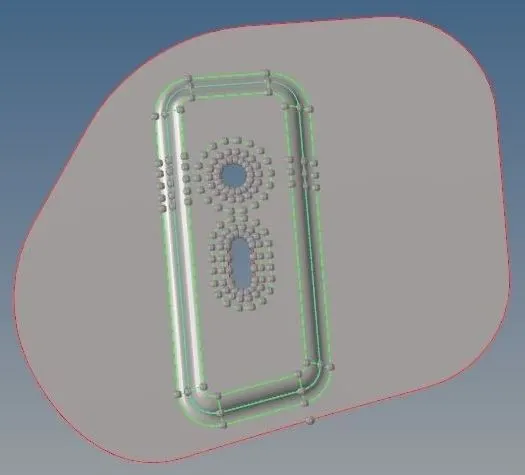
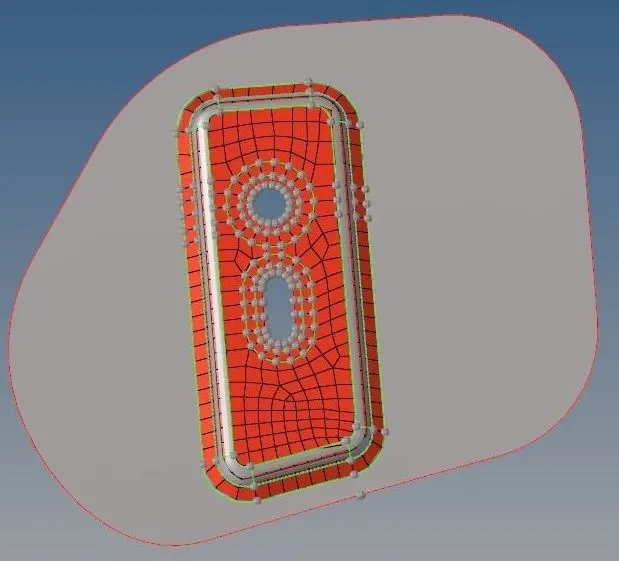
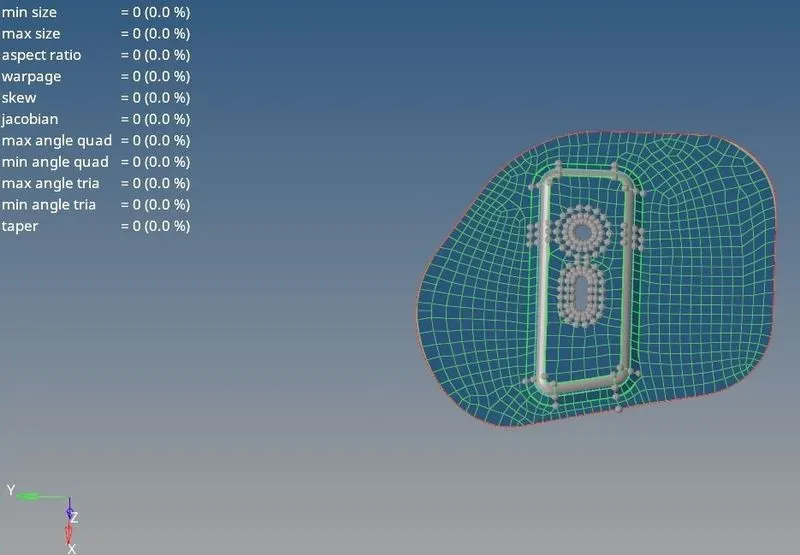
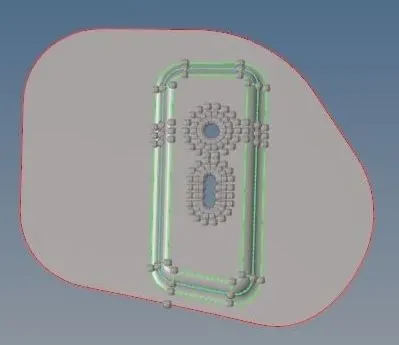
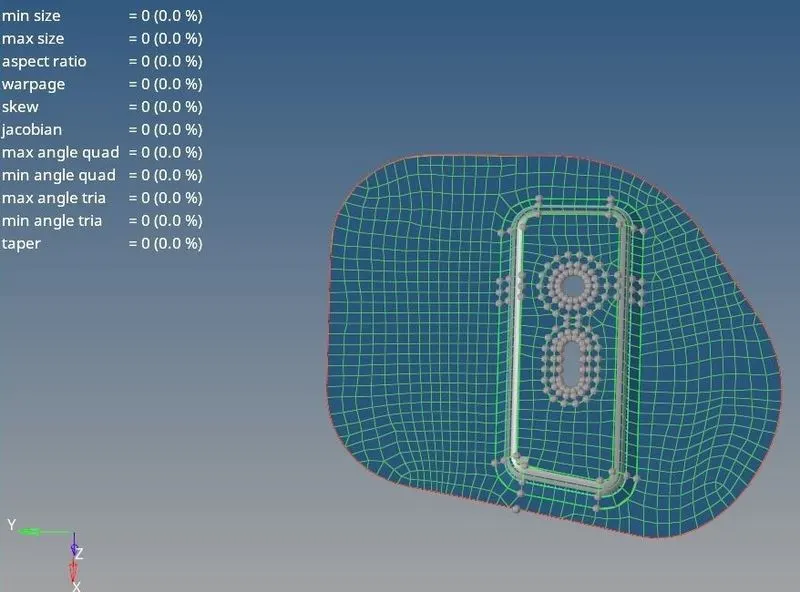
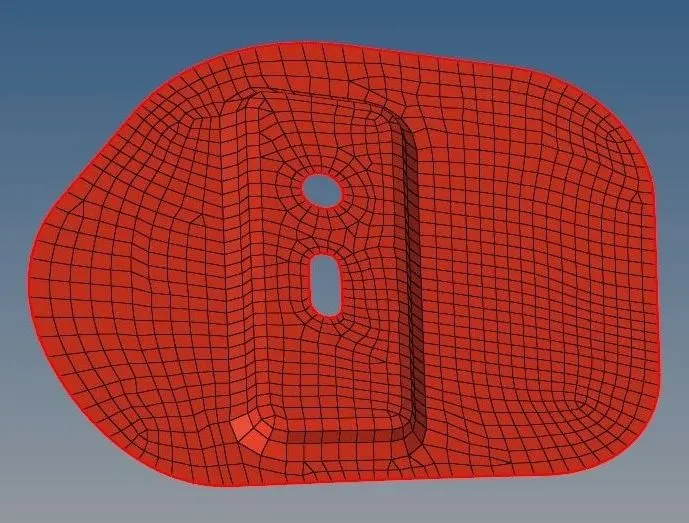
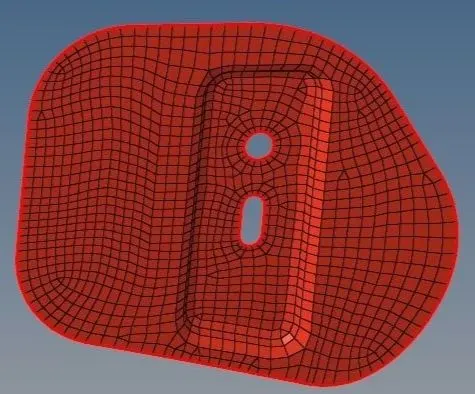
CONCLUSION
Finally the given model component has been meshed individually and also followed the quality criteria as per the given data the components are meshed properly and ready for the further prodecure.