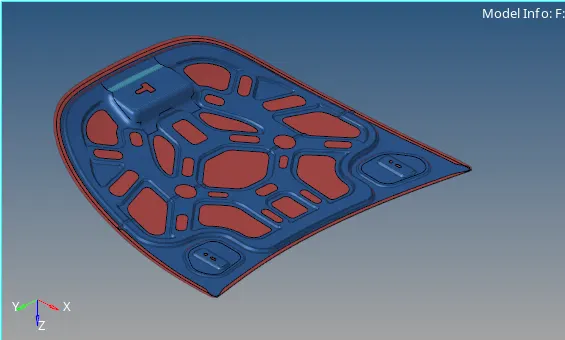
Week 6-Meshing of Hood Challenge
AIM:
Aim to Generate Mid-Surface, Create Mesh and Run Quality Checks on Hood Model
Procedure:
- opening .stp file
- Creating Mid-Surfaces
- Assigning Properties w.r.t Thickness of Different Parts
- Giving Quality Criteria
- Generating Mesh
- Improving Quality of Mesh
- Perform Quality Checks
1- Opening .stp file:
- Given File is in .stp Format
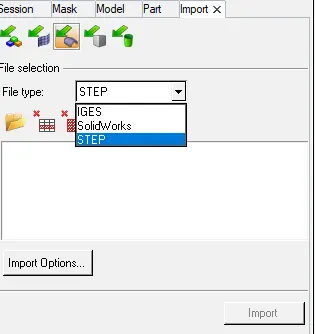
- Select STEP from list and select model
- click on import
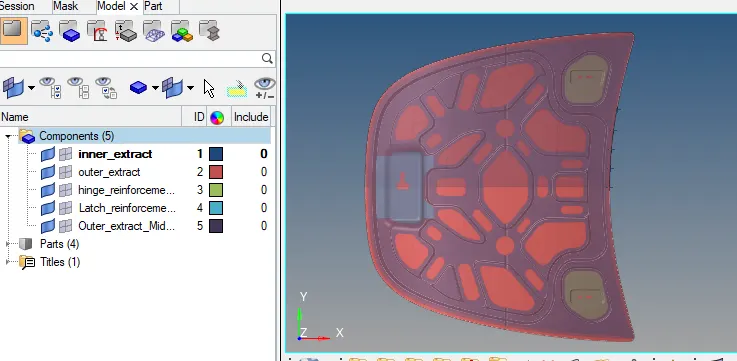
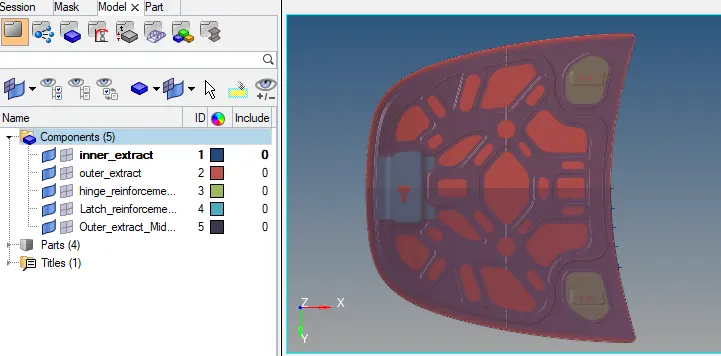
- Different Views of Model
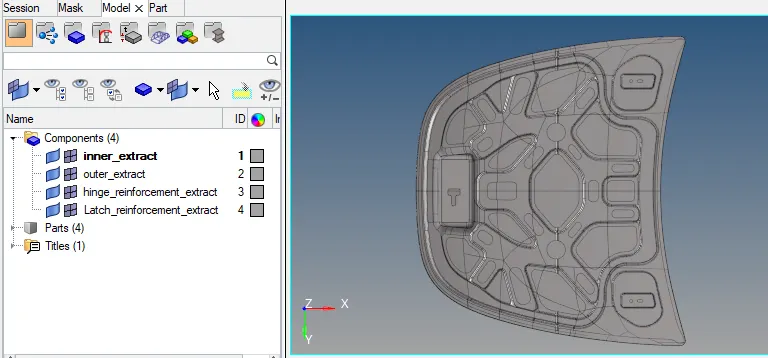
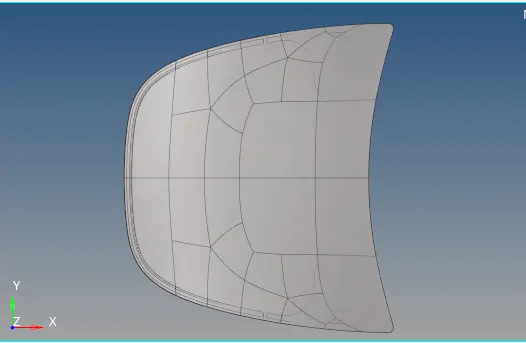
- Change color of Model Parts
2-Creating Mid-Surfaces:
- To Generate Mid-Surface use tool Geom->MidSurface

- select auto midsurface->auto-extraction->surfs->Displayed->Extract
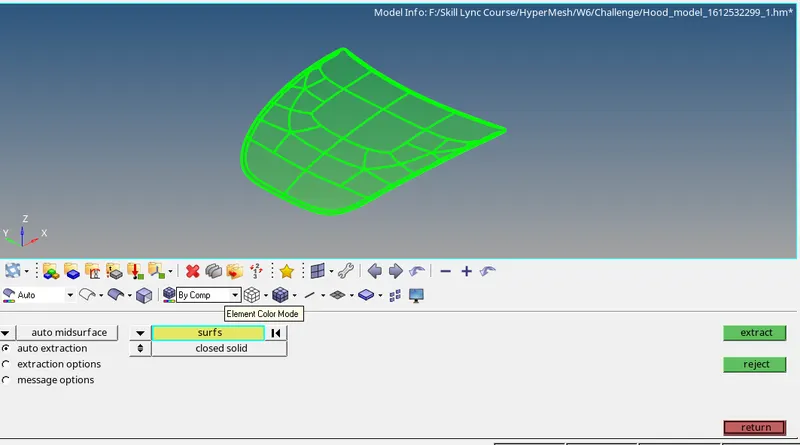
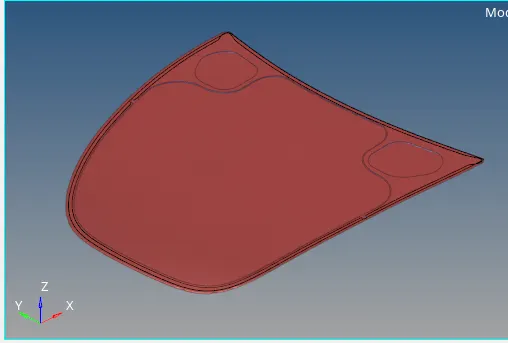
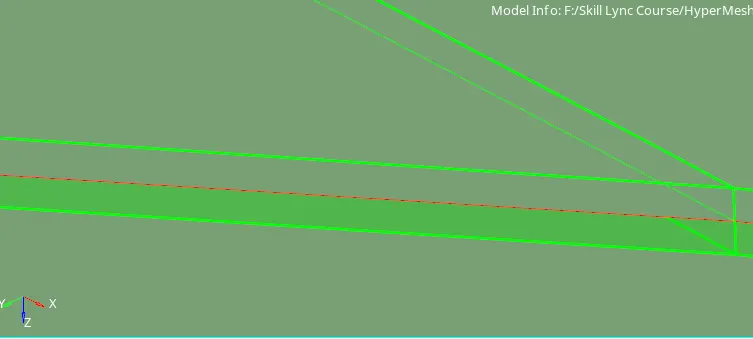
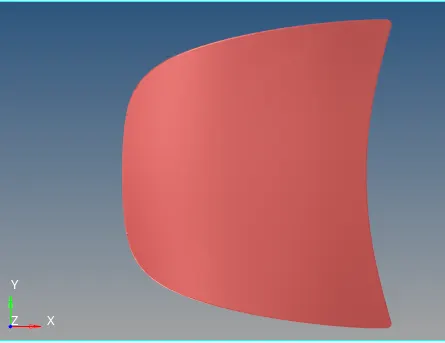
- Generated Mid-Surface Successfully and can be viewed in red Color in below image
- Repeat the same Procedure for other parts
- Run Auto Cleanup on Extracted Mid-Surface using Geom->Autocleanup Tool
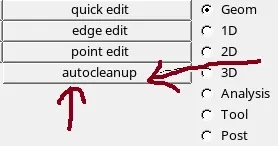
- Select Surface->Displayed->Autocleanup
- While Extracting Mid Surfaces, sometimes Geometrical errors were found
- with this HyperMesh will try to clean Geometrical errors in Mid Surface

- Repeat same process for remaining parts.
3-Assigning Properties w.r.t Thickness of Different Parts:
- Before assigning property to any component, first we need to calculate thickness of part
- now use Tool Geom->Distance->two points->select two points to calculate thickness of any part

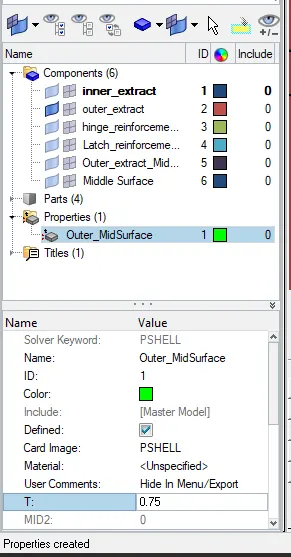
- here in this case thickness is 0.75mm
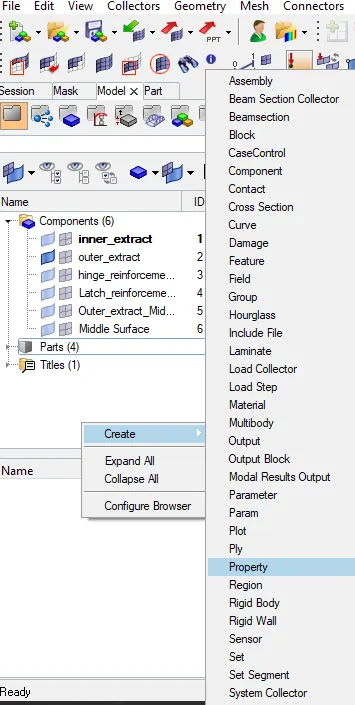
- Now Right Mouse Click on Menu tab to create new property
- Now Assign Thickness to newly created property
- Now assign The same property to component
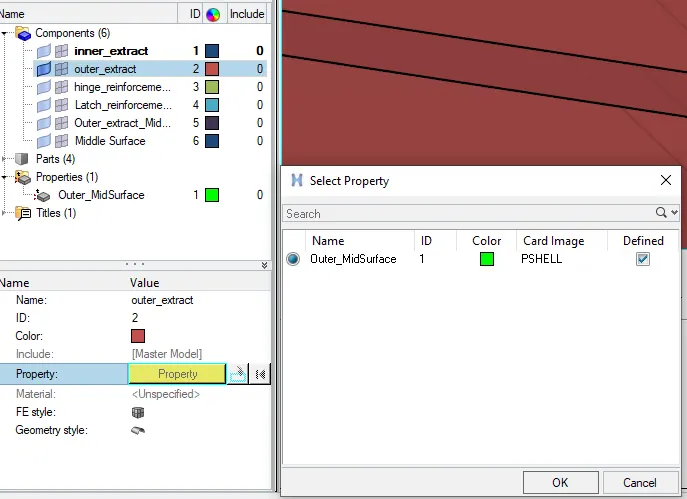
- To Assign Property select Component
- New Tab will PopUp in Status Bar Area
- click on property and select property from property Tab
- Below Image can refer
- Repeat same process for remaining parts
4-Giving Quality Criteria:
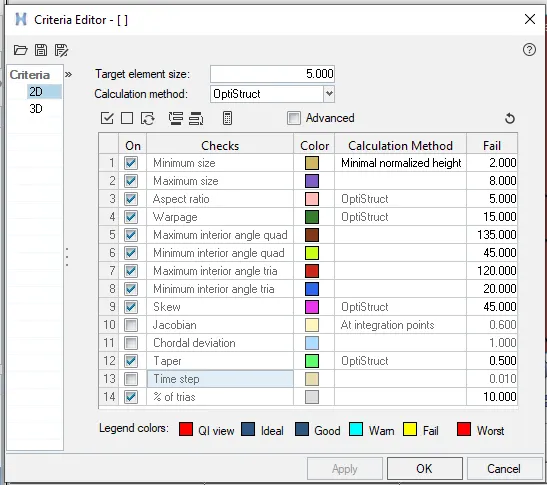
- Now before going for meshing we need to give some Quality criteria to HyperMesh
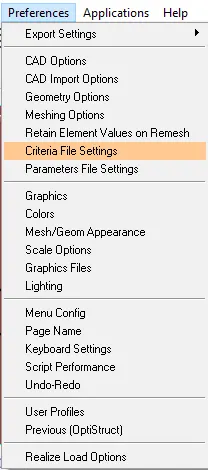
- To apply Quality Criteria go to Title bar->Preferences->Criteria File Settings
- Enter Required values and save the Criteria file for future use
- click on apply
5&6-Generating Mesh & Improving Quality of Mesh:
- Now to Generate Mesh consider only Mid-Surface
- Mesh should be generated on Mid-Surface
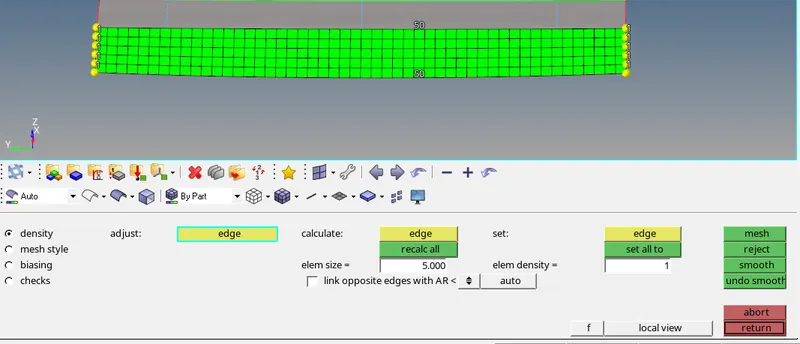
- To Mesh consider part and use Tool 2D->AutoMesh
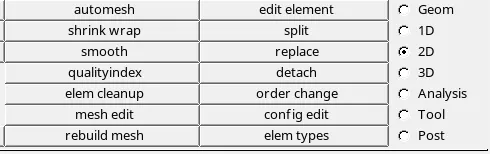
- Select surface and Click on Mesh
- Mesh will be Generated Shown Below
- To Improve Mesh Quality use tools
- a-2D->Quality Index->Cleanup Tools
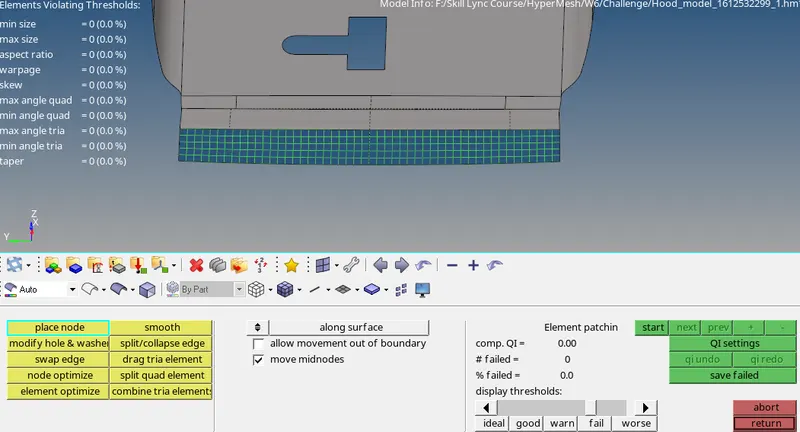
- b-2D->Rebuild Mesh>Select Elements and click on Rebuild

- Our Mesh Should Pass all Quality and there should be no Failing Quality Elements
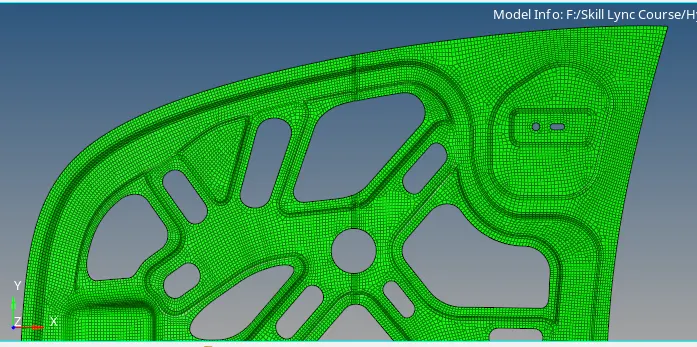
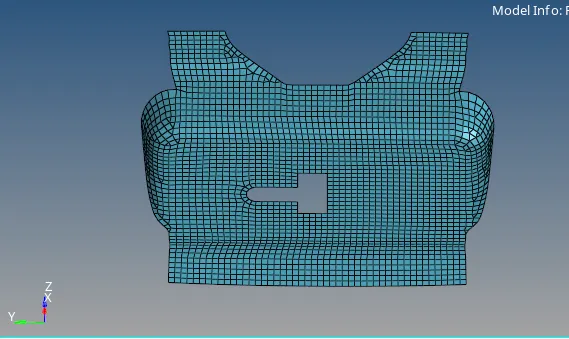
- Images of Parts After mesh
- Outer extract
- Inner Extract
- Hinge reinforcement extract
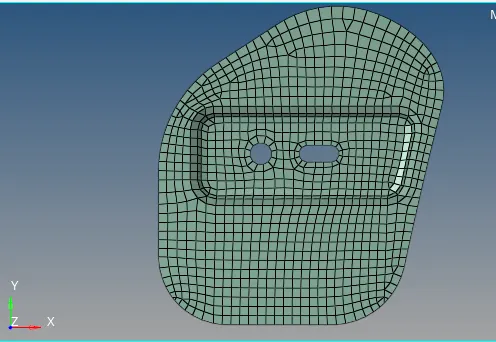
- Latch reinforcement extract
7-Perform Quality Checks:
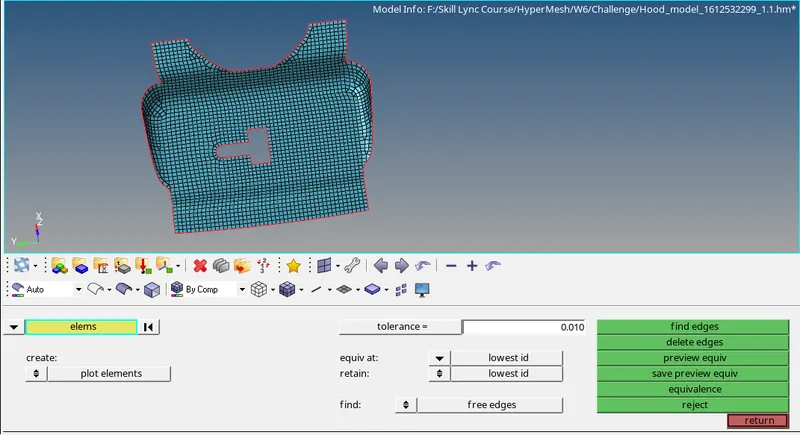
- Check for free edges using tool
- Tool->Edges->Elements->all->Find Edges

- there should be no free edges in between elements
- Repeat same for remaining parts
b.Check for Normals:
- Use Tool
- Tool->Normals->Elems->Select all Elems->Display
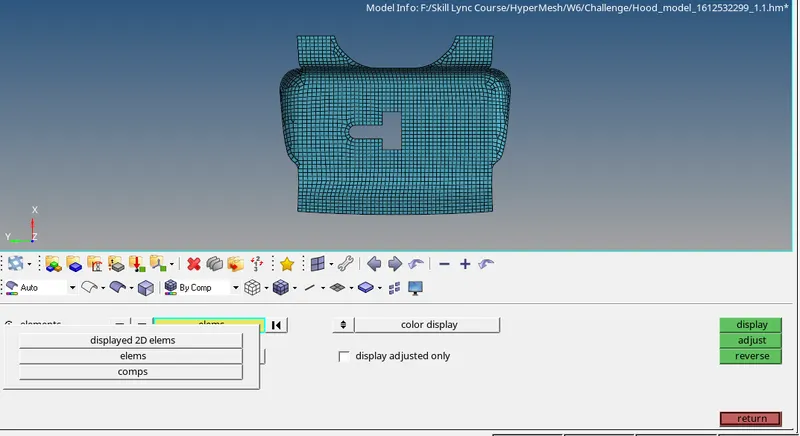
- all the elements on surface side should be in same color
- if some elements found different color on same plane select that elements and make them reverse
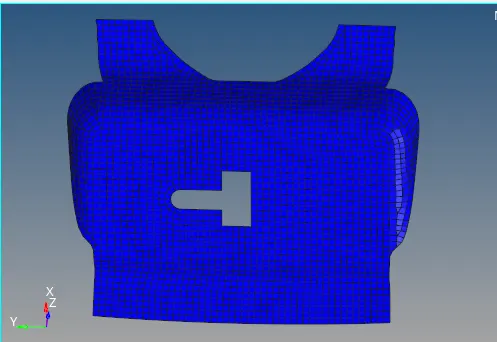
c-Elements to Surface Check:
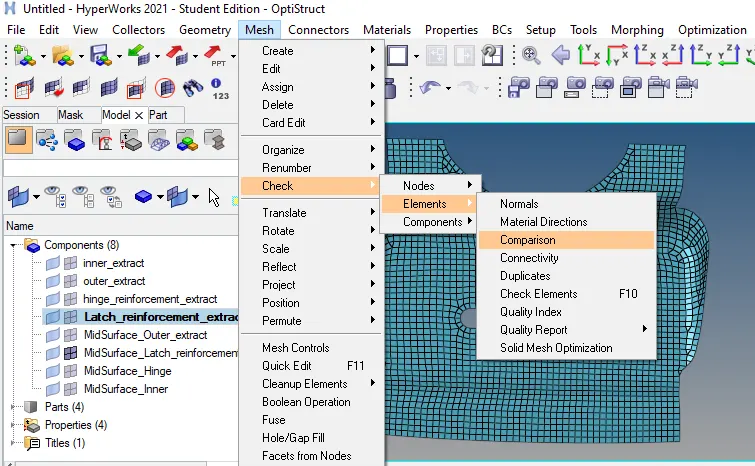
- From Title Bar Mesh->Check->Elements->Comparision->Select Elems and Surfaces with Tolerance of 1
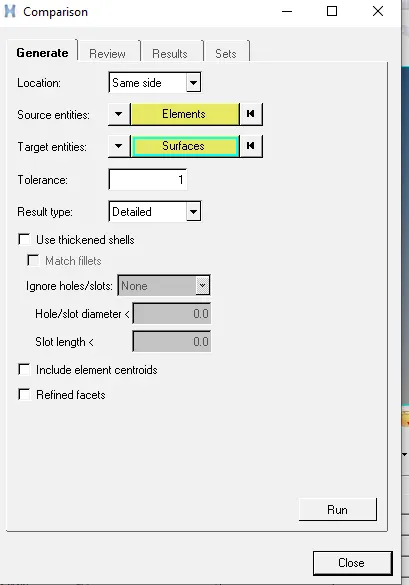
- Yellow_Pink_Green is Fine
- but there should be no red color elements
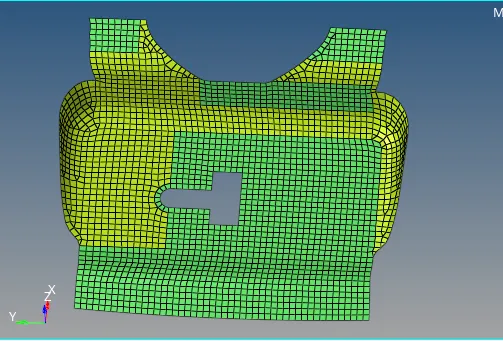
- Repeat same for remaining Parts
Learning Outcomes:
- Learned how to generate mid-surface
- Learned how to generate mesh on mid-surface
- Learned how to assign property with thickness to mid-surface and mesh
- Learned how to perform several checks on meshed parts
Final Model Images: