Week 6-Meshing of Hood Challenge
AIM:- To study Meshing of Hood with the help of HYPERMESH.
OBJECTIVES:-
1) To given quality criteria, mesh the component given below and assign thickness.
-steps that we followed to mesh the hood within given quality criteria
1-Importing the model to hypermesh.
2-Creating mid surface for all the components
3-Checking for quality criteria
4-Meshing the given model
1-Importing the model to hypermesh.
for that we used,
FILE>OPEN>MODEL>SELECT(selecting the desired model)>OPEN
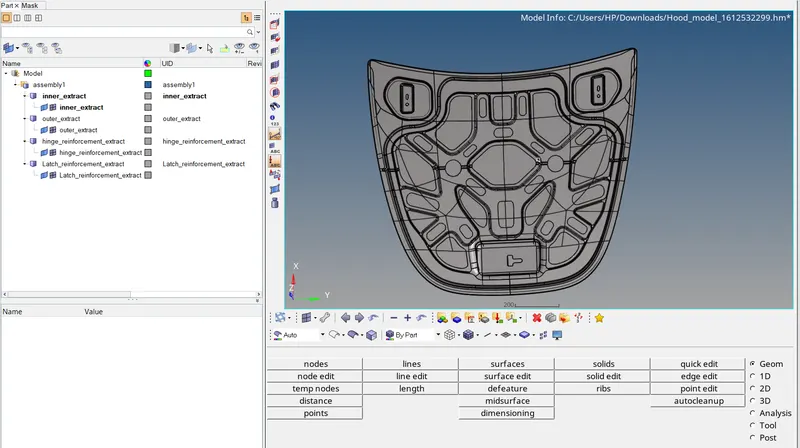
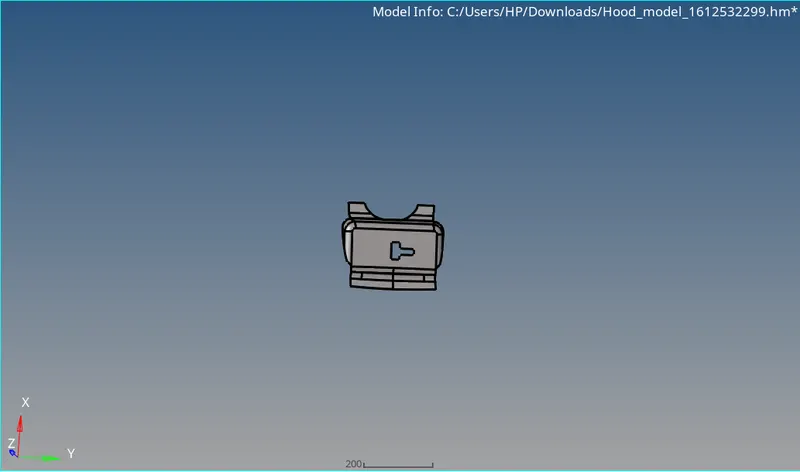
the model is the hood of the car
which have four component
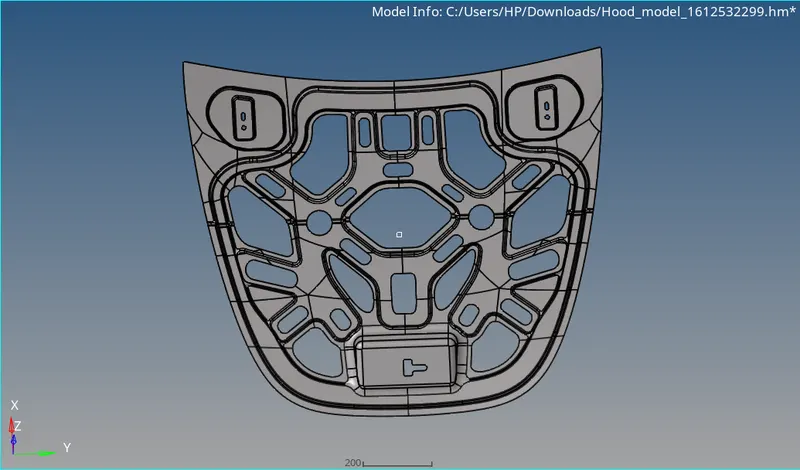
1-Inner extract
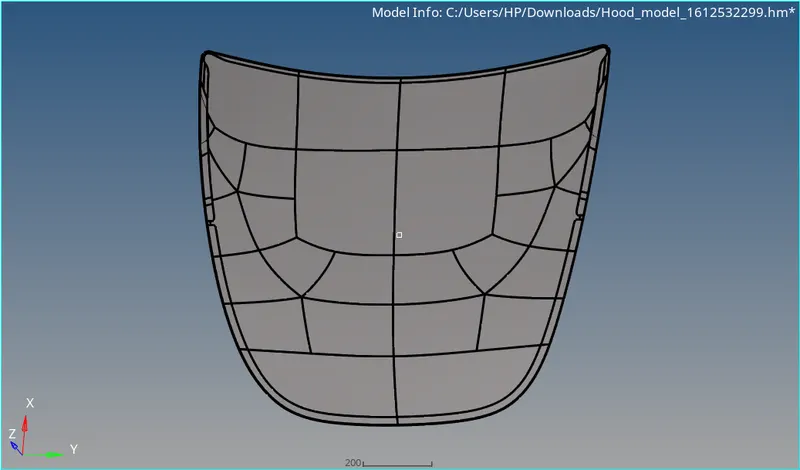
2-Outer extract
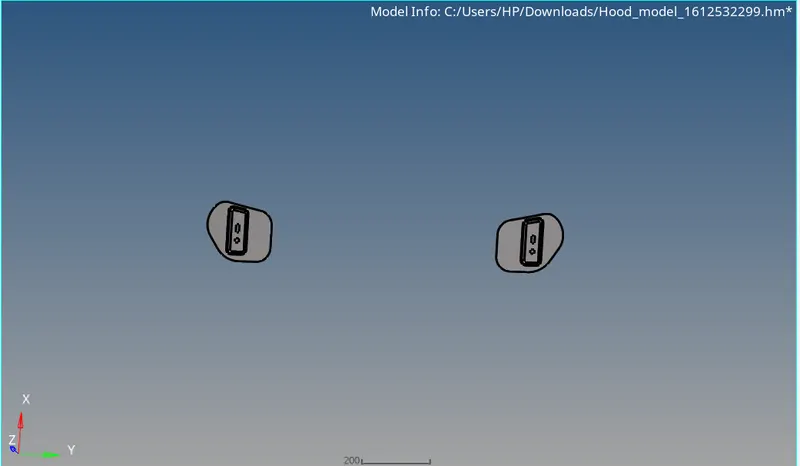
3-Hinge reinforcement extract
4-Latch reinforcement_extract
1) Inner extract
2) Outer extract
3) Hinge reinforcement extract
4) Latch reinforcement_extract
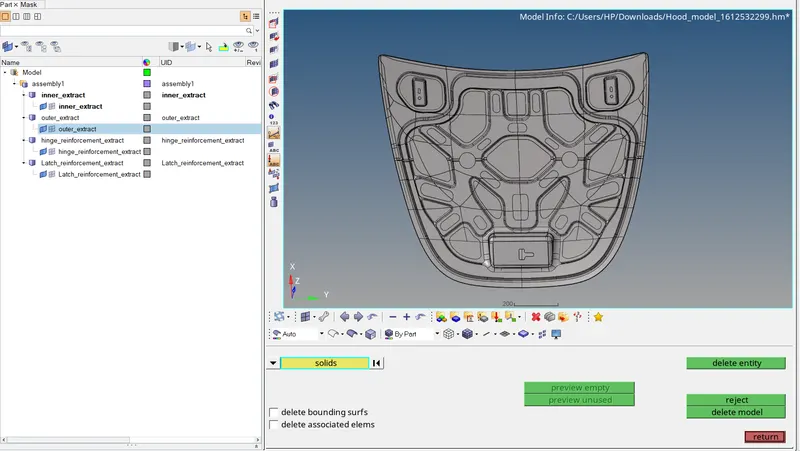
Deleting the solid as we are going to mesh for surface
To delete the solid
 >SOLIDS(selecting the whole model>DELETE ENTITY
after deleting the solid we are going to create mid surface individually
first, we are going to create a mid surface for inner extract,
for that, we right-clicking on the inner extract part in the part list and selecting to make current and invisible all the other components.
B-Creating mid surface for all the components
to create mid surface we are hiding all the components and midsurfacing the component
for example, we create a mid surface for inner extract just to give an idea same procedure we are going to follow for
all the components,
GEOMETRY>MIDSURFACE>AUTOEXRACTION>EXTRACTION OPTION(OFFSET+PLANES+SW)>CREATE
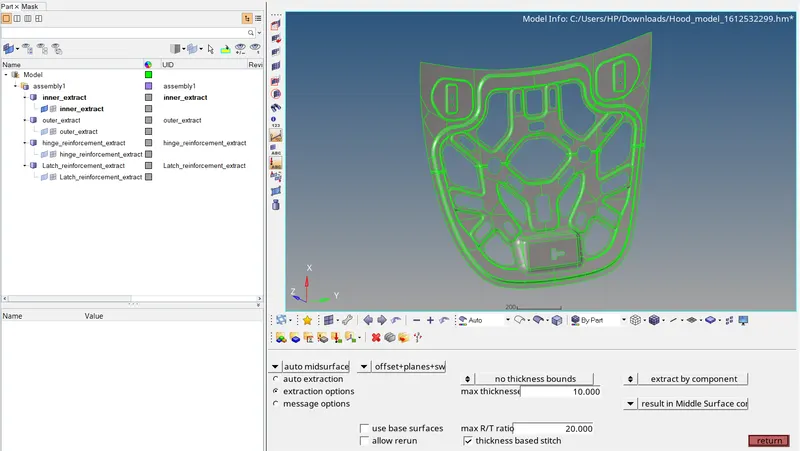
INNER EXTRACT (MIDSURFACE):-
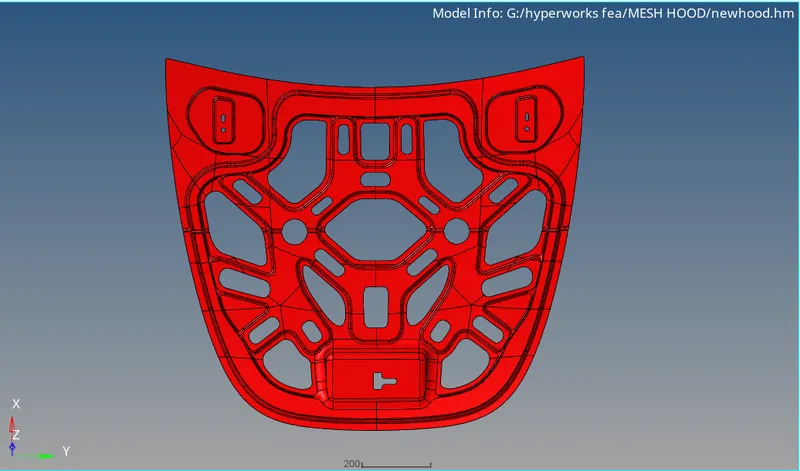
with this extraction the maximum percentage is mid surfaced after trying all the types,
same we going to do for all the components,
OUTER EXTRACT(MID SURFACE):-
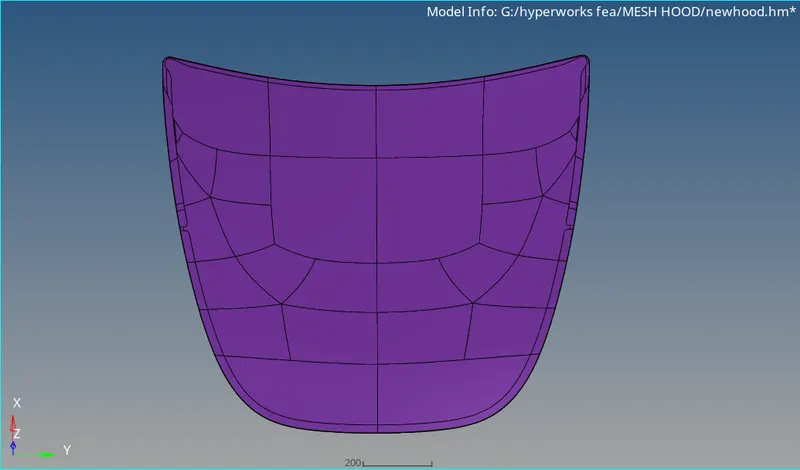
HINGE REINFORCEMENT EXTRACT(MID SURFACE):-
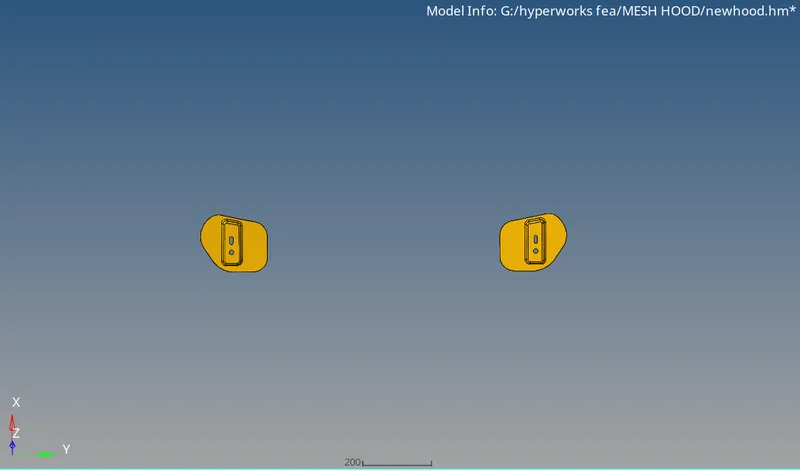
LATCH REINFORCEMENT EXTRACT MIDSUFACE:-
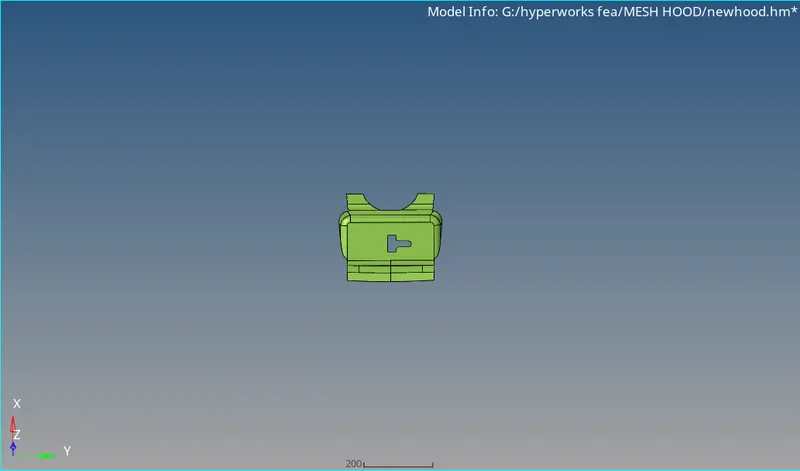
now we will try to look for geometry cleanups so we can form a good mesh
mentioning quality criteria file
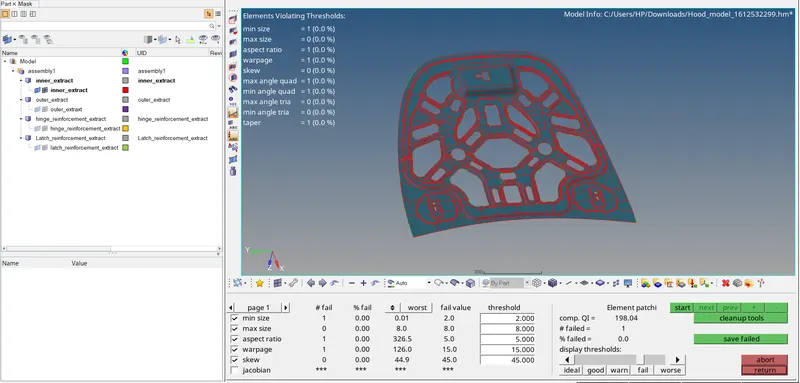
this will restrict the elements go beyond the limits and if they are gone they will be seen as failed elements and we can fix them
we are going to do 2D mesh and target element size 5
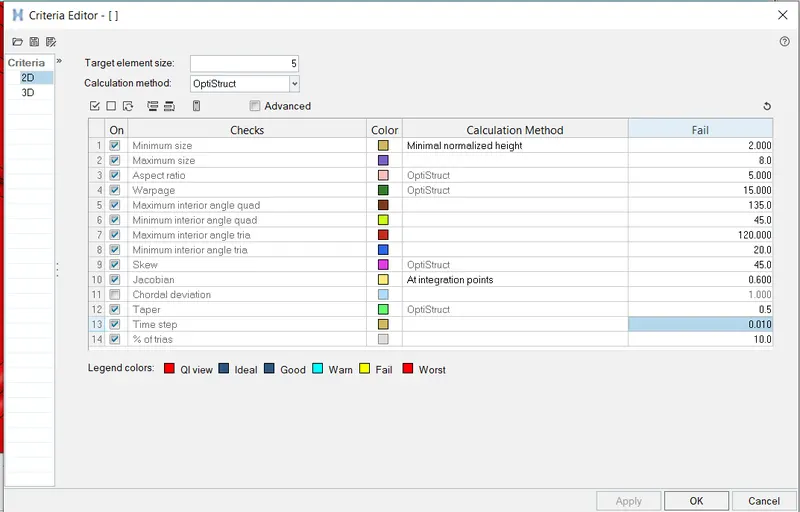
after setting, quality criteria file will start meshing our components,
MESHING:-
To mesh the components we used the auto mesh command,
2D>AUTOMESH>SURF(selected the targeted surfaces)>ELEMENT SIZE(5)>ELEMENT TYPE(MIXED)>MESH
while meshing we need to target small areas just to avoid failure of elements
first, we will start with,
we can construct new lines and also can toggle some lines if they are not harming the original construction for better mesh flow
The mesh created can be optimized using the tools like split, element optimize and drag tria, etc
we can also rebuild mesh for better mesh.
RESULT:-
INNER EXTRACT:-
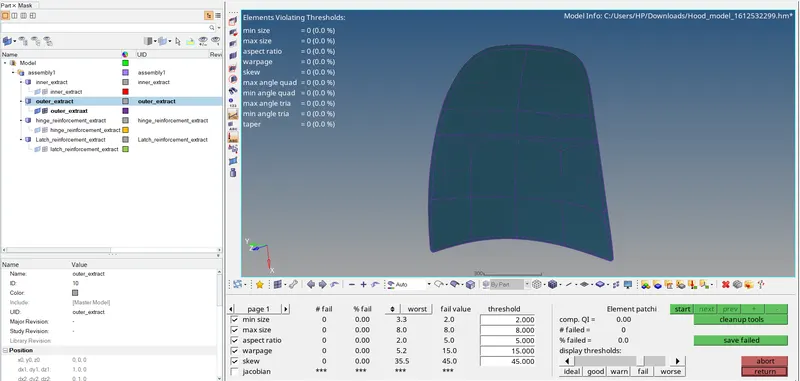
OUTER EXTRACT:-
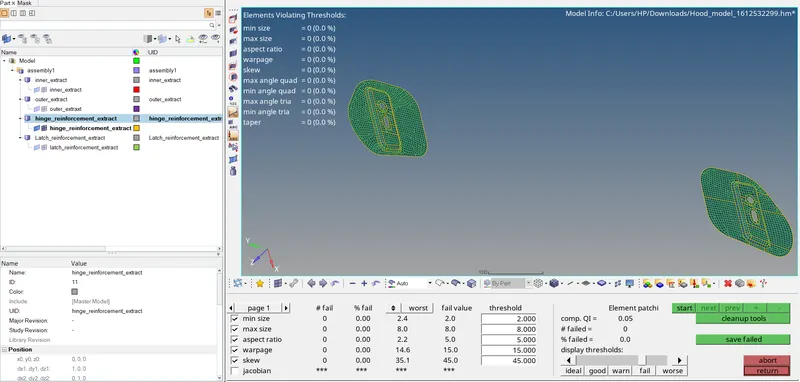
HINGE REINFORCEMENT EXTRACT:-
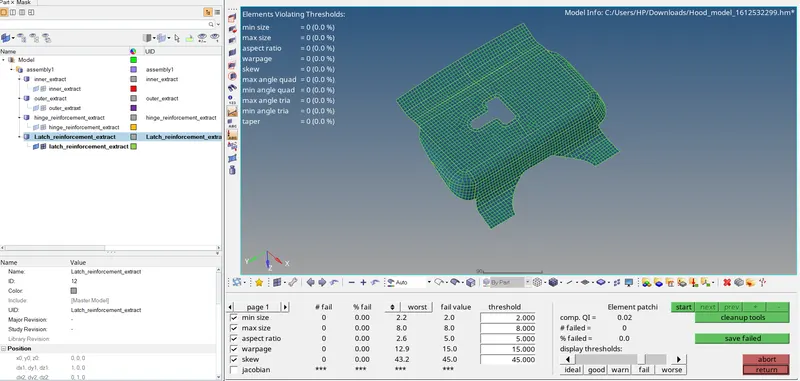
LATCH REINFORCEMENT EXTRACT:-
after that, we will be creating the properties,
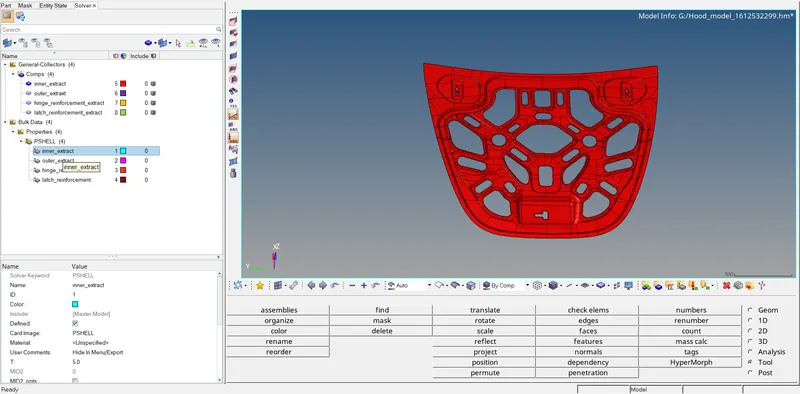
for that right-clicking in the database section the CREATE>PROPERTY>PSHELL>PROPERTY(property1 file will be created)
in that property file we going to assign thickness and the same procedure we going to follow for all the components.
To assign these properties to their respective components we are using the assign option.
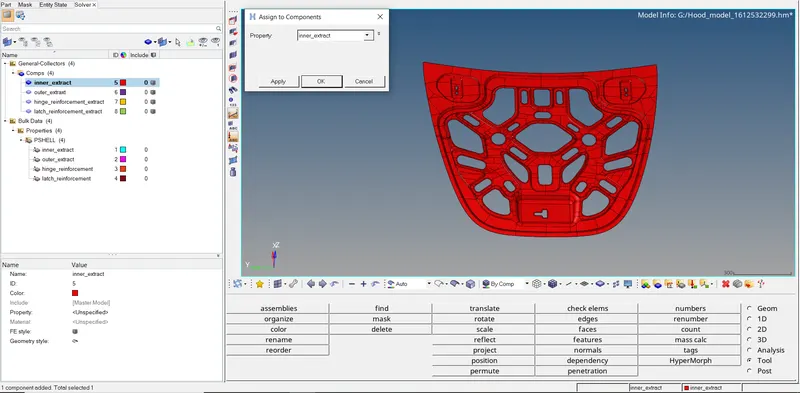
selecting the desired component and after right-clicking on it selecting the assign option and then assigning properties,
similarly, we are following the same procedure for all the components.
Inner_extract= 5 mm
Outer_extract= 4.5 mm
Hinge_reinforcement= 3.5 mm
Latch_inforcement= 4 mm
CONCLUSIONS:-
1) We successfully fix the missing surfaces.
2) Successfully Created mid surfaces for given components.
3) Meshed the components within given quality criteria.