Week 6-Meshing of Hood Challenge
Aim: To extracting the mid-surface and meshing of the hood.
OBJECTIVE: To extract the mid-surface from the given geometry(hood) and mesh the surface using the mixed elements wit given quality criteria and element length and assign thickness to it.
THEORY AND EXPLANTION:
The hood is an integral part of a car that covers and protects the engine in a front-engine vehicle While the outer panel acts as the car’s skin, the inner panel serves as a sound dampener that can eliminate or decrease typica engine noises.we will be meshing the given car hood for crash analysis with mixed element.
| S.N | Quality Criteria | Value |
| 1 | Aspect Ratio | 5 |
| 2 | Skewness | 45 |
| 3 | Warping | 15 |
| 4 | Taper | 0.5 |
| 5 | Min. Length | 2 Units |
| 6 | Max. Length | 8 Units |
| 7 | Min angle Quad | 45 |
| 8 | Max angle Quad | 135 |
| 9 | Min angle Tria | 20 |
| 10 | Max angle Tria | 120 |
| 10 | Tria % | 10 |
GEOMETRY:
1. Import the stp file.
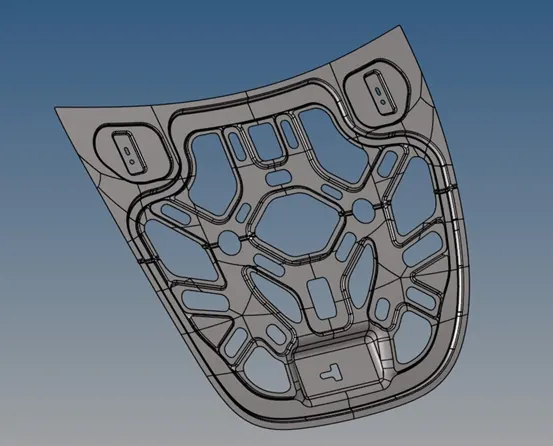
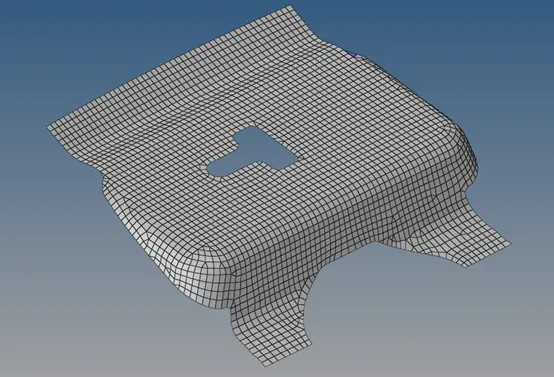
Inner panel:
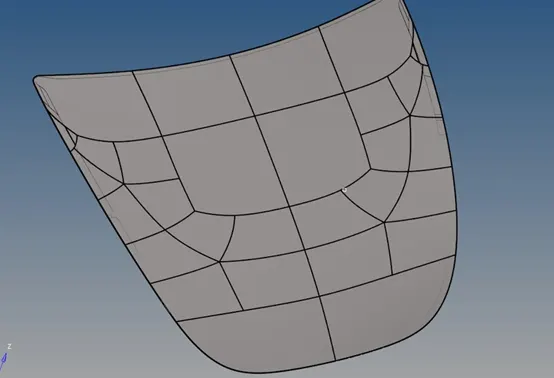
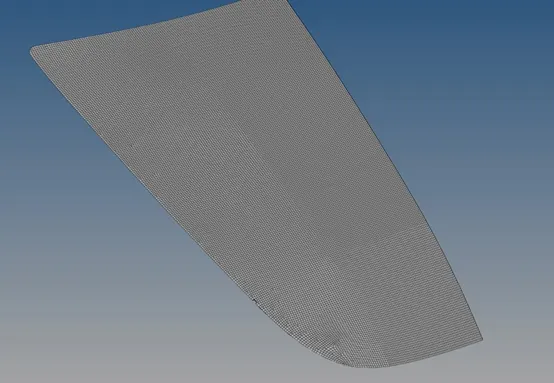
Outer extract of the hood:
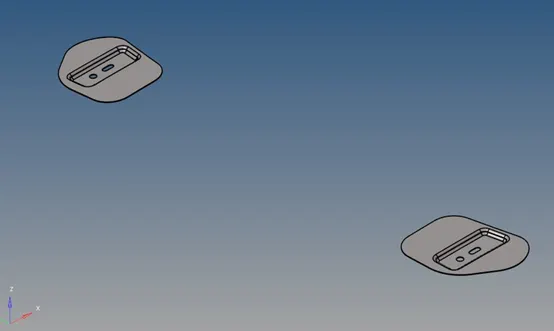
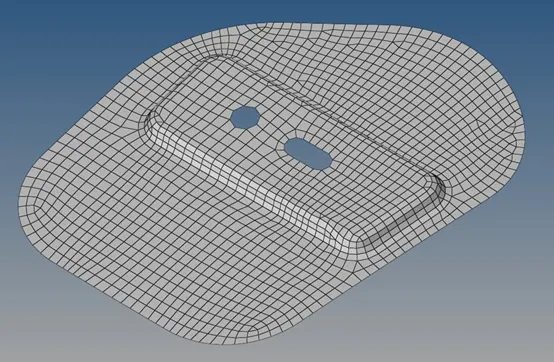
Hinge of the hood:
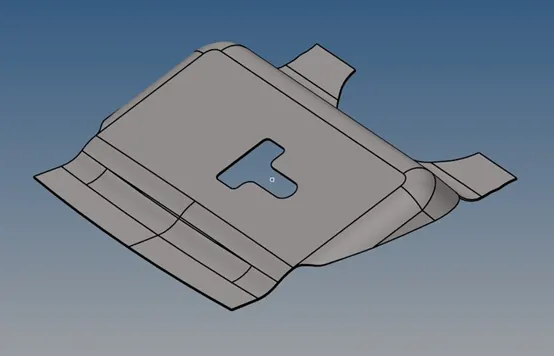
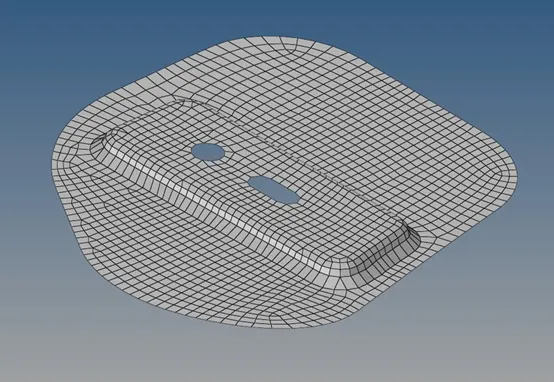
Latch from the hood:
2. Set the quality criteria by edit criteria in autocleanup option.
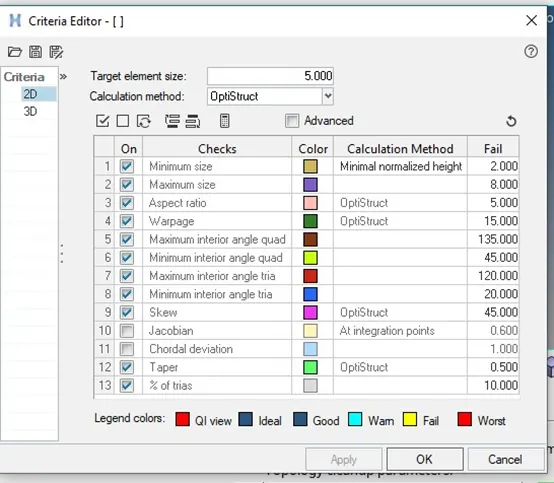
3. Create new property ID for mid surface and assign material to the same.
4. Material ID also to be created(Consider all the components are made of same material).
5. In property ID the card image should be PSHELL for mid surafce and thickness of the component should be specified.
6. Create Property ID and Model ID for all the components.
7. Repeat the same procedure for all the components.
8. Make the sure the current part is set according to the part which you are working on.
9. Below the image shows there is zero quality error in the model.
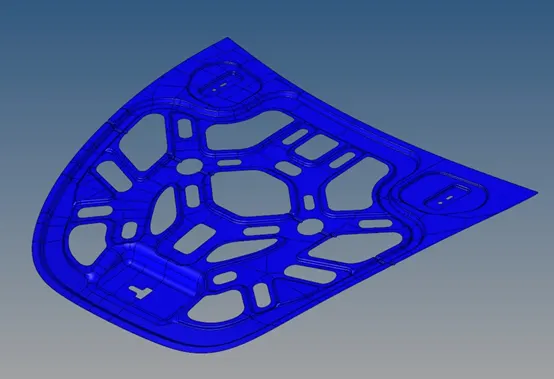
10. Because of the symmentry we can model only on the half of the side and we will reflect the mesh to the other side once the meshing is done; tool ⇀ reflect ⇀click the elements to reflect ⇀duplicate the elements⇀select the vector and base ⇀click'reflect'.
11. use smooth option for align the mesh in a good fashion manner by going to 2D⇀smooth⇀select the elements⇀and click smooth or click shift+F12, we can smooth with respect to the shape and size.
12. while meshing keep on checking the eqality error and try to reduce it. once the model is meshed cheeck for the free edge in between the noide and elemnets because if the nodes are not connected the accuracy will not be good and the force transmission will not be good.
13. we can close the free edge by two option by going F3 which is replace node option used to connect the node for free edge and also to control thr meshing error.
14. free egde can be identified by going to Tool ⇀ edges⇀ click the elements and select the displayed elements⇀and click free edge.
15. once the free edge is identified we can equalize it it is in the same option, the final inner model will look.
16. Go to the 2D ⇀ automesh ⇀ select the surface to mesh ⇀click 'ok'. choose the element size as 5 and choose mixed mode option because the hood is for crash test.
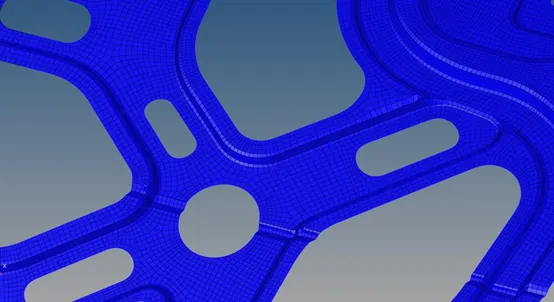
RESULTS:
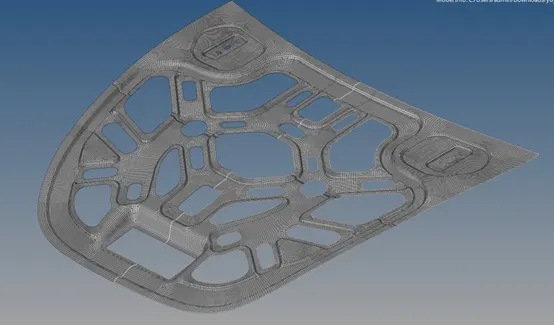
CONCLUSION:
- learned how to extract the midsurface using surface offset method.
- learned how to import and change the criteria setting.
- learned how to split a geometry to achieve a good mesh flow and mesh pattern.
- learned how to assign thickness and how to check quality error and repair it.
- leaned how the minimum error in the split or geomentry error.