Week 6 - Creating connection for Rear door
OBJECTIVE- To Perform the connections of the rear door of the car with different connection techniques.
PROCEDURE-
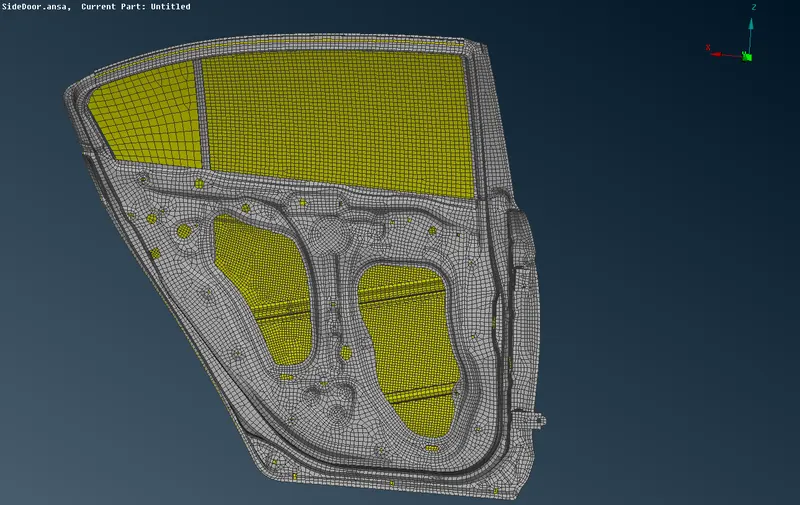
- Importing Geometry to Ansa work space.
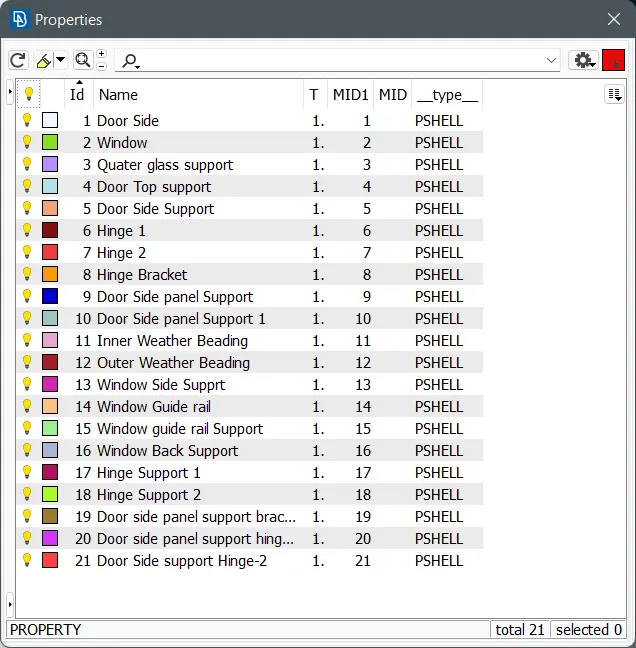
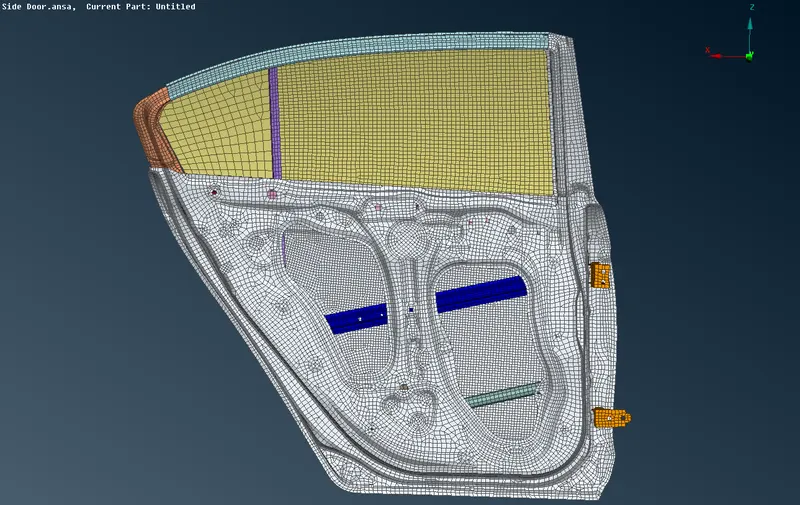
- Setting seperate PID for different connections of parts.
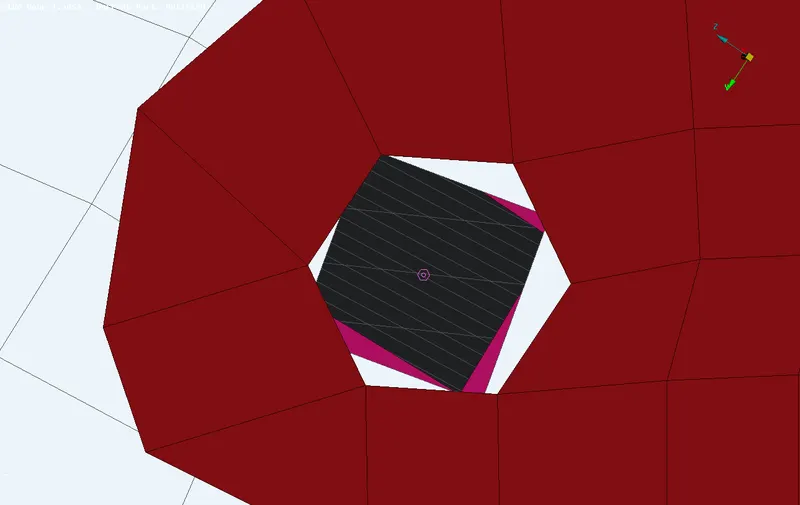
- For Holes we will give bolt as connection, for that we will need 3D point at center then we will convert it to bolt after that we will go for connection manager and connect the parts by selecting Bolt Feature.
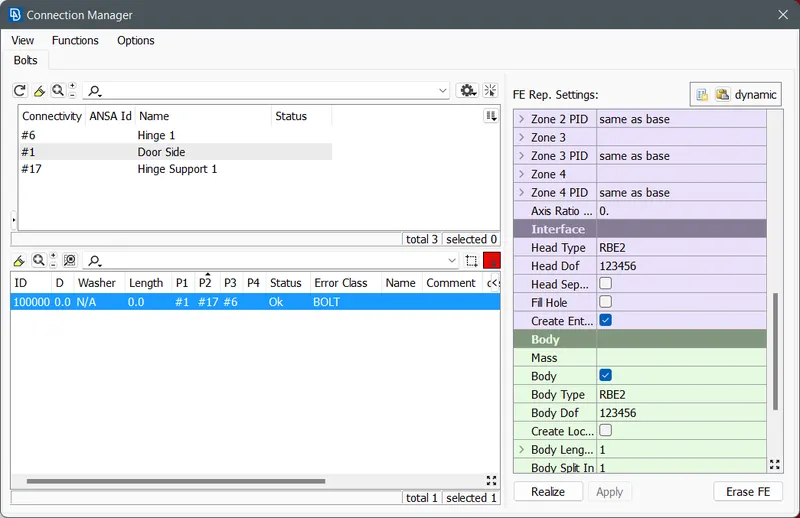
- For creating RBE2 Elements we will go to NASTRAN Deck then element then RBE2 then choosing many nodes this will be used to create a RBE2 connecttion.
- Then Next we have to create weld connections in particular PIDs. We have deploy both seam and spot weld one by one. We have different methods to create seam and spot weld. Now we shall create seam weld. By creating seam wld first create curve by using mesh then perimeter then feat2curve, then after creating curves conver the curve to seam line by using convert then selecting curves then seam line.
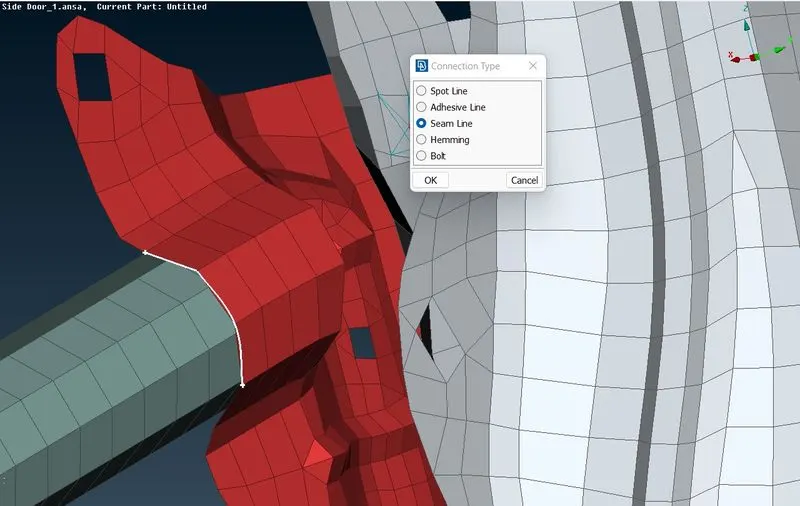
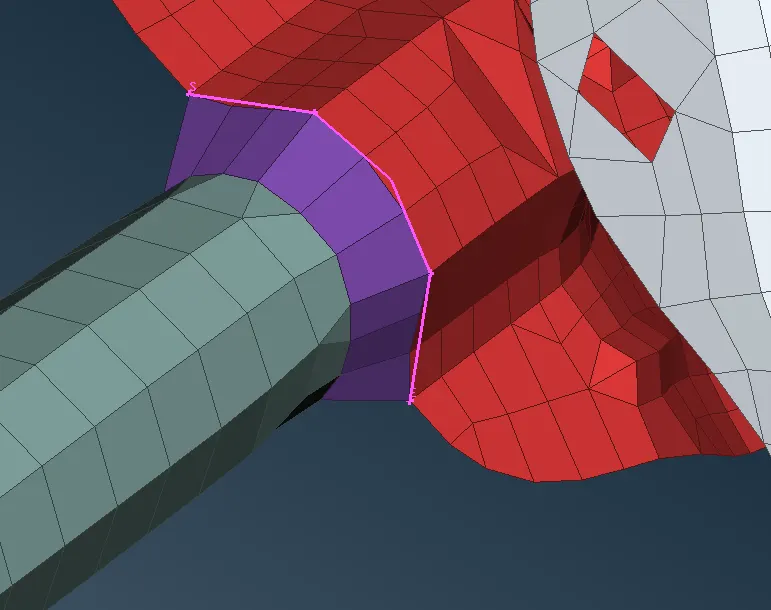
- Now selecting connection manager to further step to assigning p1 and p2 as p1 is base part where the weld has to be deployed and selecting type as Overlap Shell because here the weld parts are perpendicular to each other we have to select Y joint shell as FE type. After this assign search distance, base sheet, root shell as double row. Now realize the seam weld as it is created as follows.
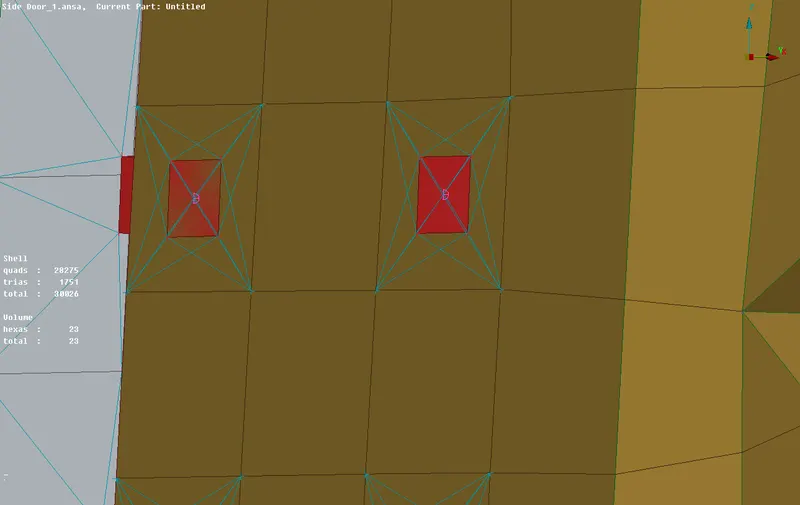
- Now for spot weld, we have different method. At first create COG point using on COG tool. Assign Cog point as 3D point and convert 3D point to spot weld point by using convert then 3D point then Spotweld.
- Afterwards we will go to connection manager and select spot weld point. Then assigning P1 and P2 for selecting PID now we will selecting FE Type as RBE3-HEXA-RBE3.After assigning RBE3 pinflags as 123456, then selecting realize the spot weld which is deployed at the point.
- Now we will move to door handel area, here we will deploy the rigid connection to the holes in the door handel by suing RBE2 then many nodes tool, then we have two master node, after that we will select two master nodes to connect by selecting RBE3 then many nodes tool and create master node at the center.
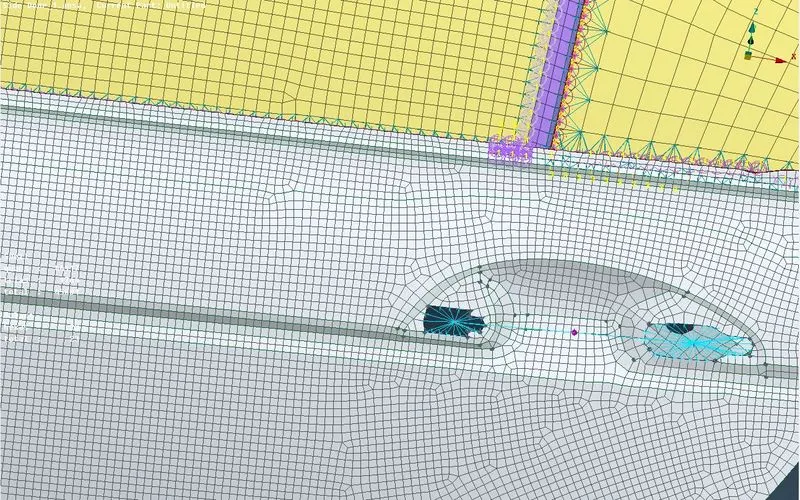
- Now deploy con mass tool to the master node by selecting Element then CONMl then CONM2 then Nodes in Nastran deck. After Selecting the master node, here we have to give mass value (M) in window appeared the mass value will be in tonnes so convert 100G into tonnes as 0.0001,now selecting ok to assigning the con mass.
- Now we have to connect window glass using CBUSH connection. For that to begin with create curves using glass edge by using tool as mesh then perimeter then FEAT2CURVE after that we will offset the curve for a distace of 5MM by using transform then copy. After offset, we need to convert the curves one by one into spot line by selecting convert then curves then spot line.
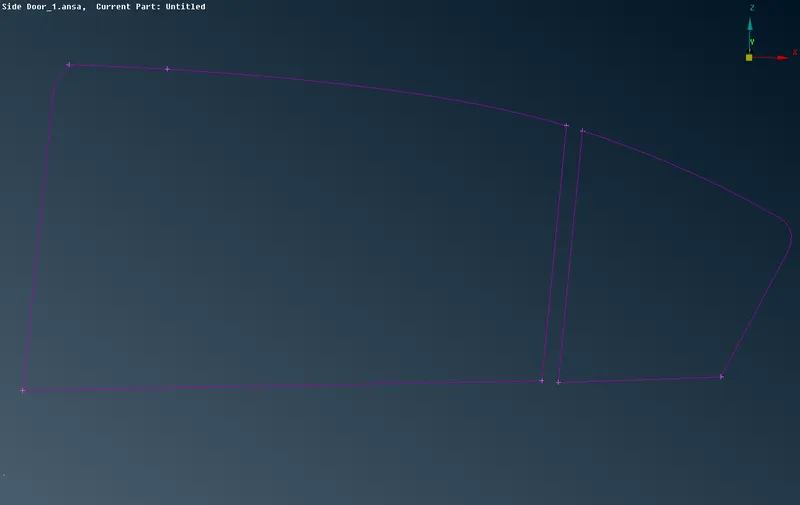
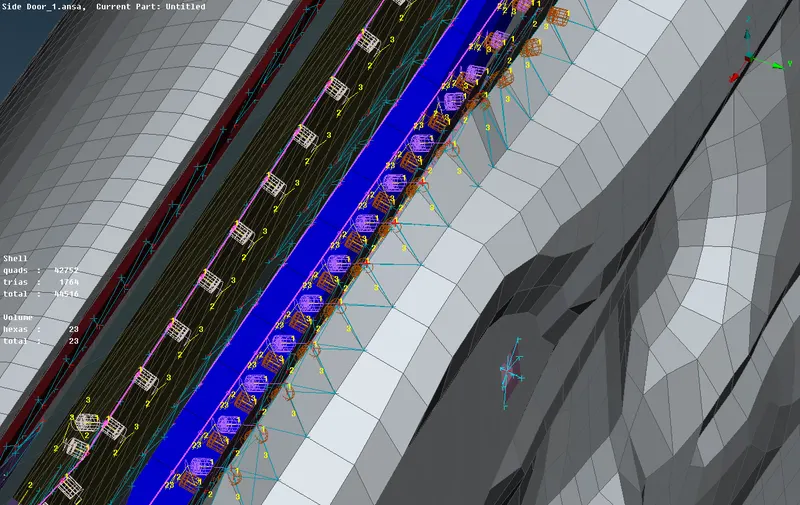
- After that select connection manager to go for the next step for assigning P1,P2 and P3 after this slelect FE type as RBE3-CBUSH-RBE3. Assign search distance as 30mm, check the option keep all branches option.
- We will also assigning the PBUSH ID, we will assign the required stiffness (K) values in the field.
- After all this click on apply then click on realize option to deploy. And this same process we will apply on rest of the window line.
FINAL IMAGE -
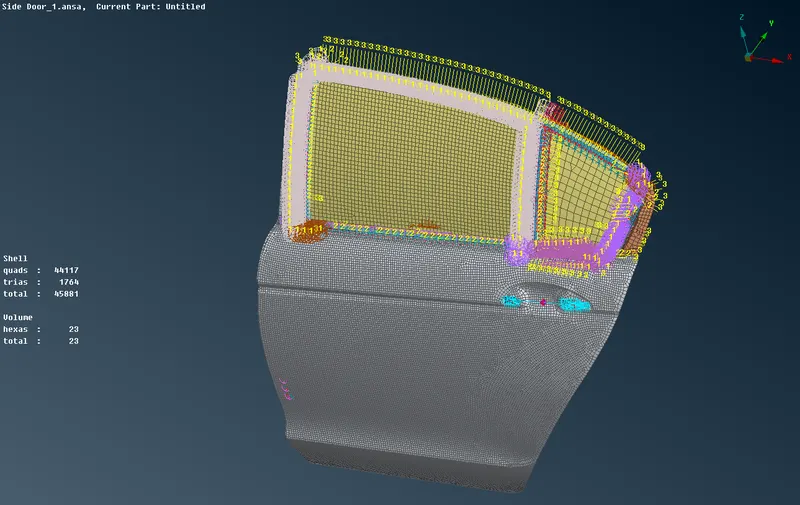
- After deploying all the connections to the door panel.
LEARNING OUTCOMES -
- In this challange, various connection like BOLT, Spot weld and CBUSH are learned.
- Also learnt to assign PID for various parts present in the model.
- Assigning of mass for the door handel is learned.
CONCLUSION -
After separating all the PIDs form one part, the suitable connections were deployed as per the requirements for the given rear door FE model.