Week 8-3D Tetra Meshing Challenge
- AIM- To perform 3D tetra mesh on the give models.
- Procedure-
Model 1 (Housing)
Step 1-
- Importing the given model and check for any geometry error.
- With the second method that is by using quick tetra mesh from utility panel.
- Here we will go for utility in view then browser then hypermesh then utility.
- after this we will go for geometry/mesh and then quick tetra mesh.
- Then by selecting component and surface and specifying the mesh size and mesh type, we will go for the mesh option.
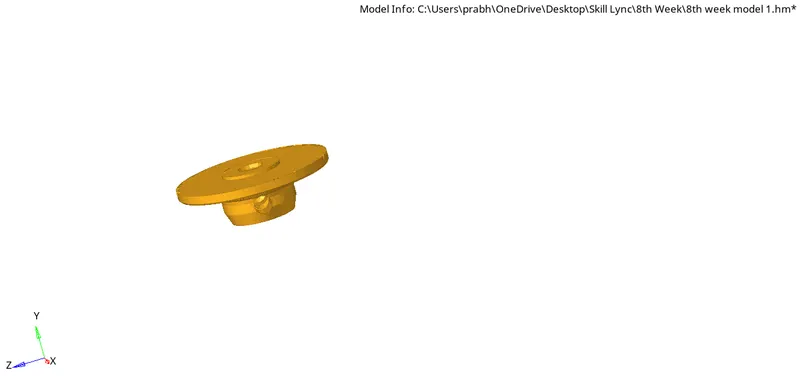
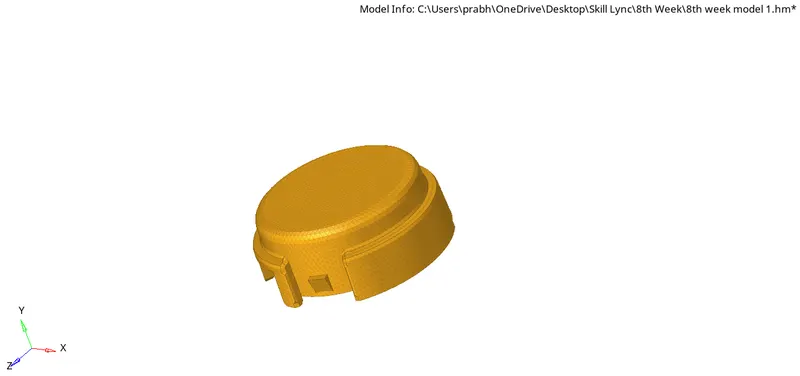
- After checking for tatra collaps in check elements remesh the components if tetra collaps value is above zero.
Model 2
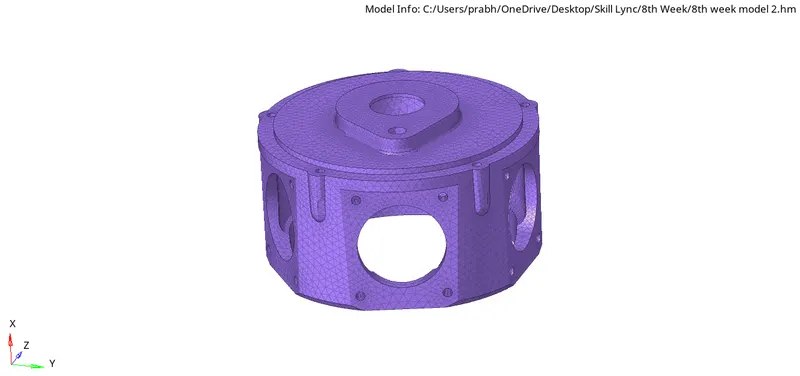
- Step 1 we will first import the geometry and go for all the necessary cleanups on the geometry.
- In this model as there is no minimum and maximum element size criteria.
- So we can use volume tetramesh method to mesh the model.
- The given model is solid, so we will go to 3D then tetramesh then volume tetramesh then solid, provide the desired element size and also insert tet collapse value in tetramesh parameter.
- After meshing we can check for the tet collapse value if it is above zero we will fix it by remeshing or by translate command on failed elements.
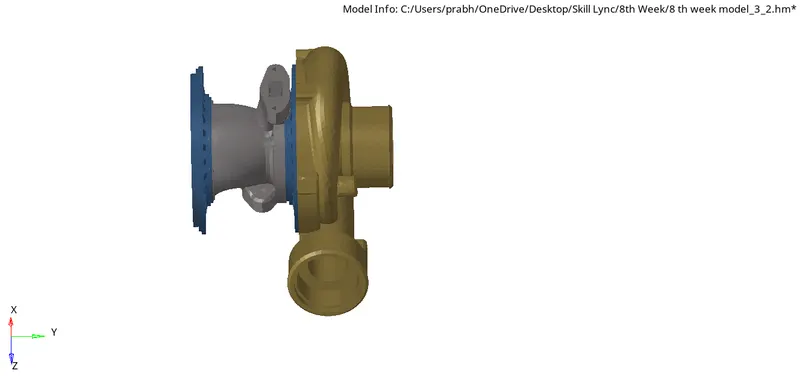
Model 3
- At first we will import the model to the software workspace.
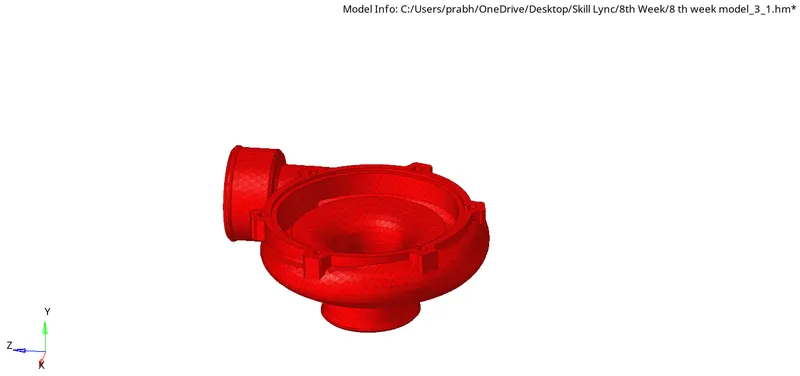
- In this model there are 4 different components here we have to mesh each and every component.
- Here we will use volume tetramesh method to mesh all the component.
- At first we will delete all the solid components then on surfaces we will fix the tetra mesh parameter and tet collapse value and mesh the component.
- After meshing all the component we will check for the tet collapse which should be equal to zero and should not be greater than that if it is we can go for remeshing or go for translating command on failed elements.
Conclusion-
Here we have got chance to understand different types of 3D tetrameshing the components under predefined tet collapse criteria.