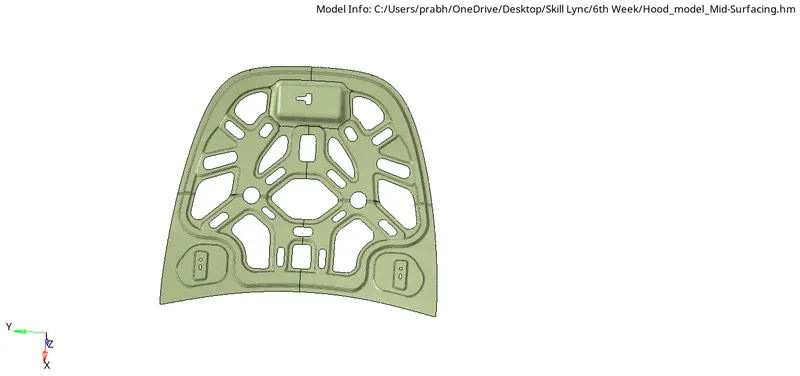
Week 6-Meshing of Hood Challenge
Aim: To extract mid-surface and generate mesh on hood using Hyper Mesh.
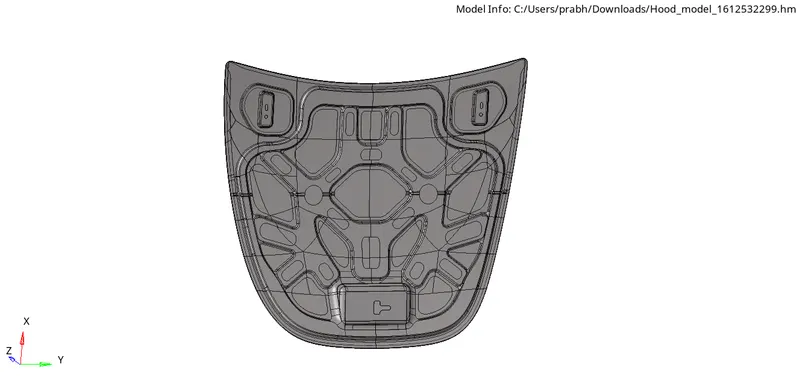
- Steps Involved:
- Importing geometry and cleanup.
- Extracting Mid-Surface and Assigning propeties.
- Meshing the surface within the given quality criteria.
- Quality Criteria:
Quality criteria for the meshing of all the components are given as below:-
Target element length- 5 Units
| S. No. | Quality Criteria | Value |
| 1 | Aspect Ratio | 5 |
| 2 | Skewness | 45 |
| 3 | Warping | 15 |
| 4 | Taper | 0.5 |
| 5 | Min. Length | 2 Units |
| 6 | Max. Length | 8 Units |
| 7 | Min. Quad Angle | 45 |
| 8 | Max. Quad Angle | 135 |
| 9 | Min. Angle Tria | 20 |
| 10 | Max. Angle Tria | 120 |
| 11 | Tria % | 10 |
- Procedure:-
Step 1: Importing Geometry and Cleanup -
- Importing the geometry for that, go to file then going for Import then selecting the file and then Importing the componenet.
- After importing the geometry,the geometry is checked for any missing surfaces or any defects. if there are no errors present in geometry then the geometry is ready for mid surface extraction.
Step 2: Extracting Mid-Surface and Assigning Properties -
- After geometry cleanup we will be checking for the solids and deleting those solids to prepare for mid surfacing.
- Now the properties like thickness, material etc. needs to be assigned while extracting the mid surface.To create property we need to right click on the components tab and choose create then property.
- Now all the properties are entered in the property tab and then it will be assigned to mid surface.
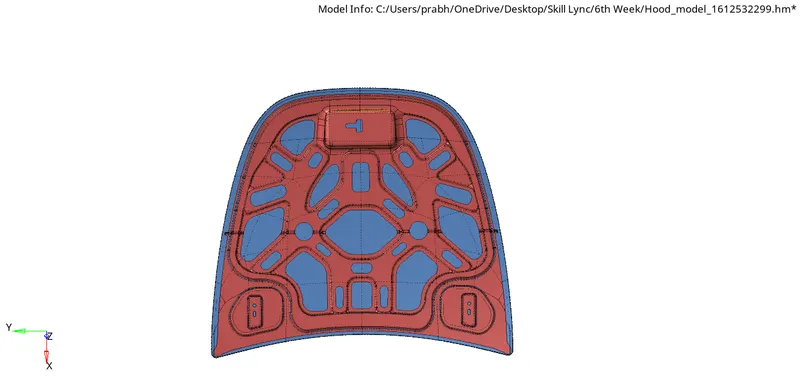
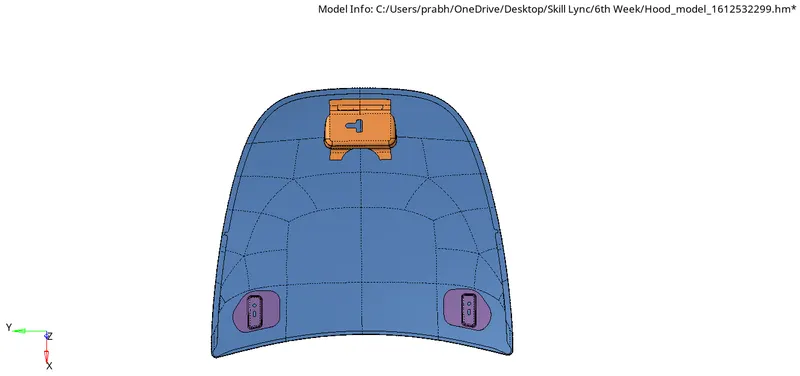
- Now extracting the mid surface, by going to geometry then selecting the mid surface option and after that on extraction option we will select offset+plane+sweep then seclecting the surfaces and extracting the mid surface by extract option.
- After extraction we will check for the any geometrical errors like missing surfaces ,triple cons etc., if any errors present then it should be rectified immediatly.
Step 3- Meshing the Surface within the given criteria-
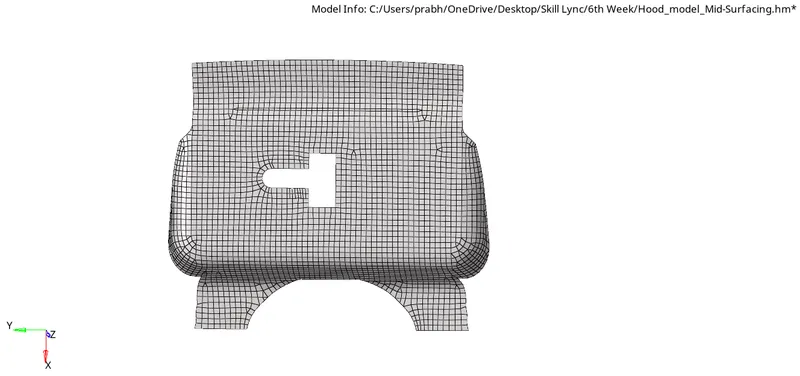
1.Latch Reinforcement Extract-
- After creating the mid surface do the necessary clean up on the component toggle the extra eges.
- Remove the edge fillet from the center portion for better mesh quality and also creating the washer split with 5mm offset distance and split the surface for better mesh structure.
- Keep the mesh flow as per geometry and avoid the tria elemets at the free edges.
- Start creating the mesh from inside first and proceed further for good quality mesh and complete the entire component.
2. Hinge Reinforcement Extract-
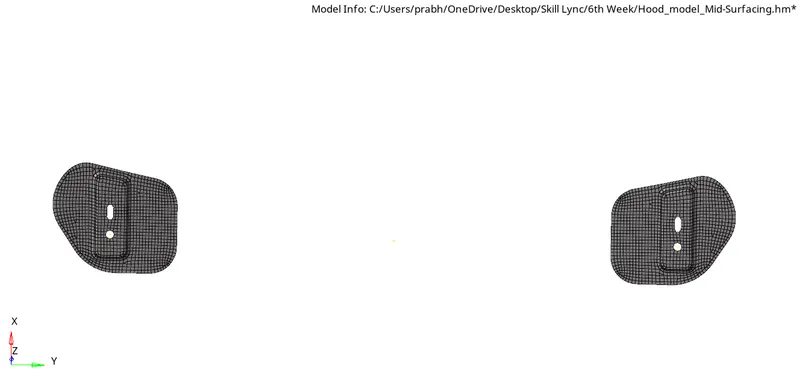
- As the component is symmetric we will create the half mid surface and meshing on the half of the component and reflect it to the other half.
- Toggle the edges where the minimum edge length required.
- Mesh should be created at inner most region where less free edges are there,then followed by the rest of the part.
- Avoid tria elements at the free edges and keep the mesh flow as per geometry.
- After creating the mesh on one side of the hinge we will reflect it to the other part as well.
- Thus we can apply mesh on both the parts of the hinge extract.
3. Outer Extract-
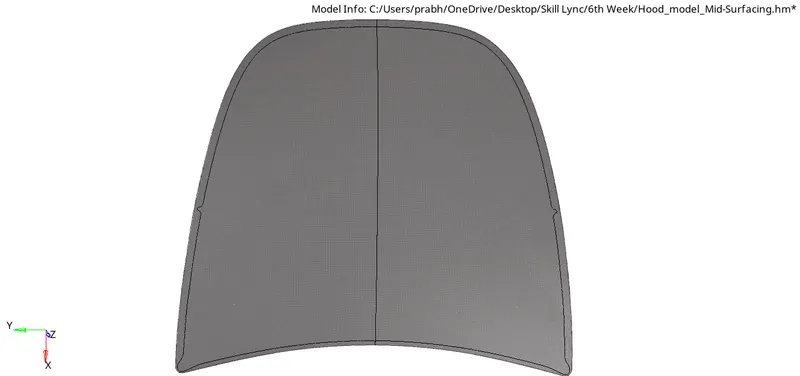
- As the component is axis symmetric we will split or cut into half.
- As there is hemming portion which is very thin, so after creating mid surface we can toggle the extra edges and split the component from the curvature area and easily create mesh without minimum length element.
- For easy and structured mesh, create rectangular portions by splitting the geometry with lines.
- Start with curved or radius portion to avoid minimum length elements and step by step create the mesh.
- after that we will just reflect it to another half of component,thus we can complete the mesh of "Outer Extract" component with better mesh flow.
4. Inner Extract-
- Since this component is axis symmetric, we can cut into half and mesh it.
- As the latch portion is not symmetric we will leave it as itis.
- Keeping the mesh flow as per geometry and creating mesh with less tria elements.
- After meshing we can reflect the element on the other side and complete the total mesh on the component.
- So, we can create the equivalence between the elements which are in symmetric line and make them connected, thus we can complete the meshing process for the "Inner Extract" component.