Week 6 - Creating connection for Rear door
Report
AIM:
For the given Rear door FE model, Create and Apply different PIDs for different components and Perform suitable connections.also Write a detailed report on why you choose a certain type of element for connecting certain parts of the door.
Procedure:
following step to be done for Create and Apply different PIDs for different components and Perform suitable connections the given Rear door FE model.
1] Import:
import the geometry in the .stl,.STEP,.IGES format. File > Open > Choose the File and hit on open.
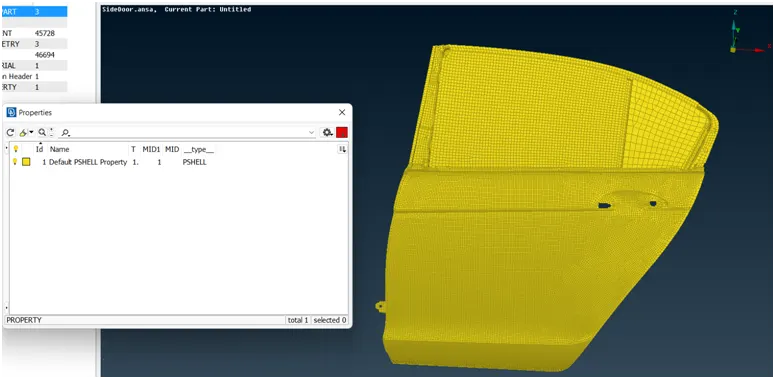
2] Creating New PID's:
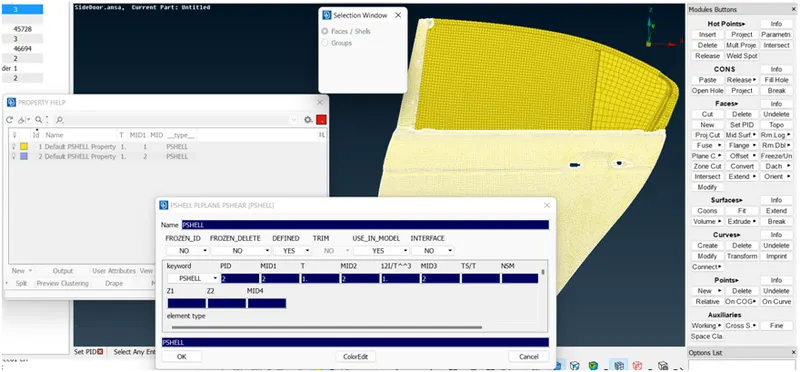
After importing the this Rear door FE model here all the components in one PID.but we need assign the different PID to different components for Perform suitable connections. for assigning the PID (topo module > faces > Set PID > select the different components > new(in property help window) > select the type of PID (PShell,PComp)> give the name for PID > ok > double click on this newly create PID)this is the same procedure for each components.
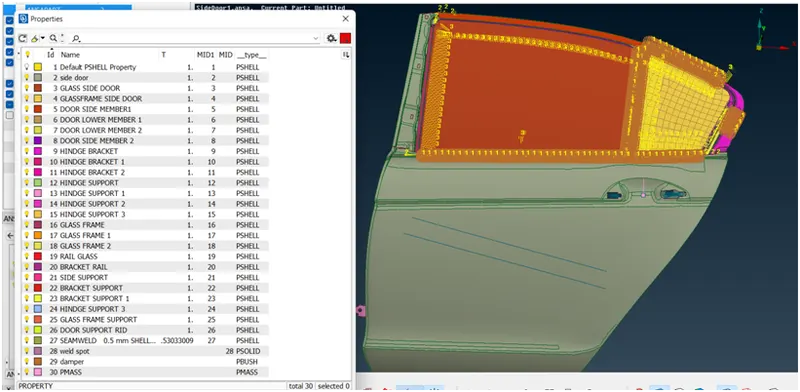
In below fig its showing the Total 26 no.PID are created...
3] Connections:
A] Seam Weld:
We have to create a curve by using the feature 2 curve(Mesh module>Perimeters>Feat2Curve) option and (assembly manager > convert > curve)
We have to convert the curve to a seam line.
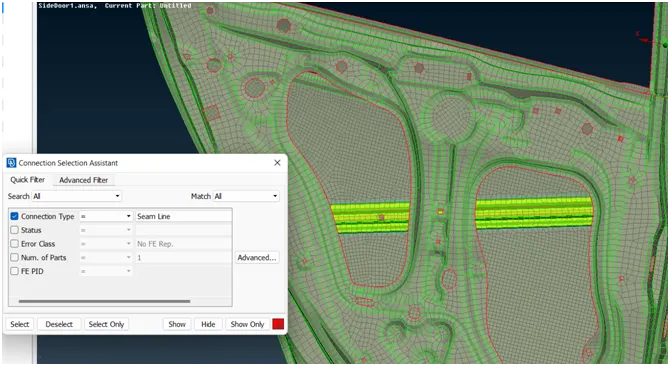
We have to use the connection manager and we have to select it.
We have to select the PID’s(P1,P2)(#26,#2)
Fe representation - Overlap Shell (For Parallel Surfaces) or Y-joint Shell ( For Perpendicular Surfaces)
We have to provide the Search distance (20).
We have to choose the Proper base sheet( base sheet is P2).
We have to provide the width value as the target element size.
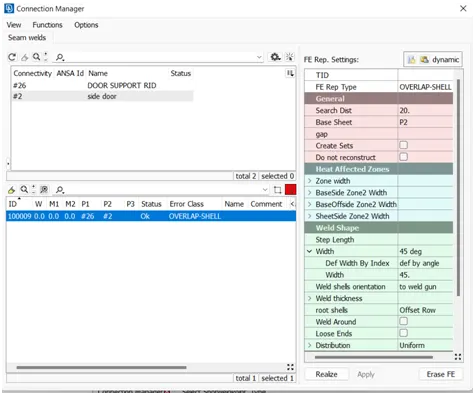
We have to create the weld pid(PID no. 27).
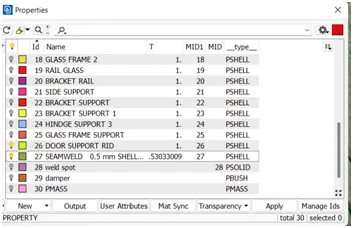
Say apply and realize it.
B] Spot Weld:
first we need to create COG point on exact location where we want to spot weld then select point We have to convert into a 3d point.(topo module > points> COG points) then (assembly manager > convert > 3D point)
We have to convert the 3D point to spot weld point.
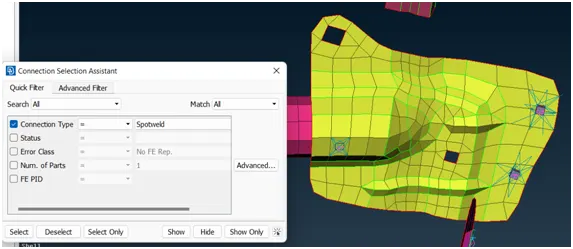
We have to use the connection manager and we have to select it.
We have to select the PID’s(P1,P2)
Fe representation - Rbe3-Hexa-Rbe3
We have to provide the Search distance.
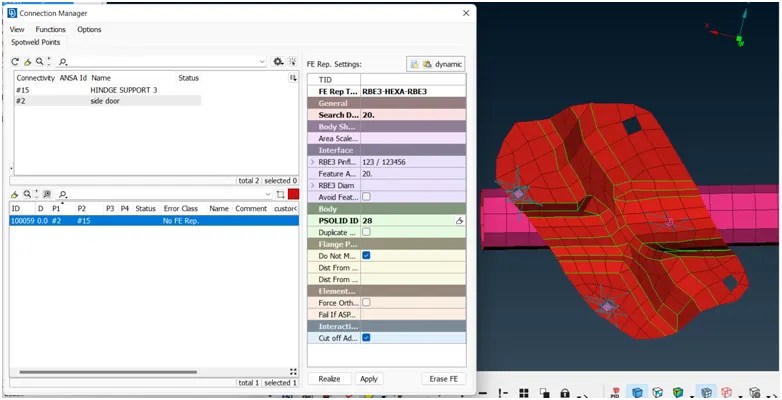
We have to create the weld pid(PID no. 28).
Say apply and realize it.
C] Bolt connections :
first we need to create COG point on exact location where we want to bolt connection then select point We have to convert into a 3d point.(topo module > points> COG points) then (assembly manager > convert > 3D point)
We have to convert the 3D point to a bolt.
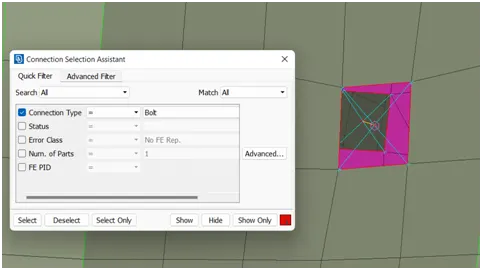
We have to use the connection manager and we have to select it.
We have to select the PID’s(P1,P2etc..)
Fe representation - Bolt
We have to provide the Search distance.
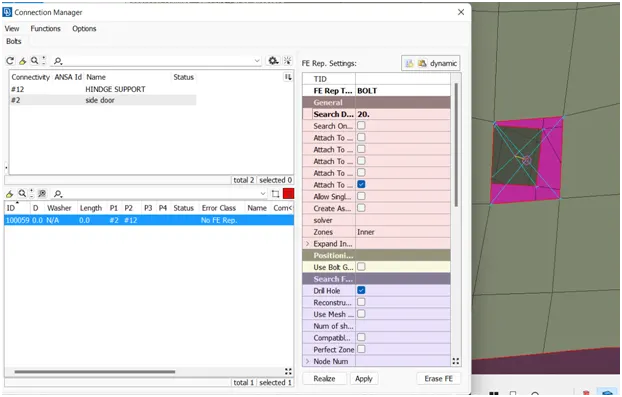
Say apply and realize it.
D] Hinge connections :
first we need to create COG point on exact location where we want to bolt connection then select point We have to convert into a 3d point.(topo module > points> COG points) then (assembly manager > convert > 3D point)
We have to convert the 3D point to a bolt.
We have to use the connection manager and we have to select it.
We have to select the PID’s(P1,P2etc..)
Fe representation - Bolt
We have to provide the Search distance.
Say apply and realize it.
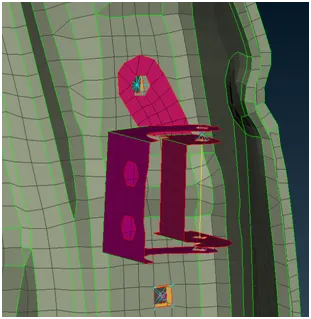
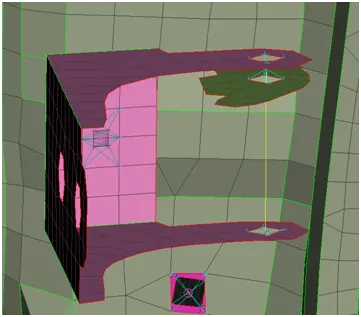
E] Con Mass :
first we need to create master node on both location.(Nastran module > elements > RBE2 > many node > select nodes )
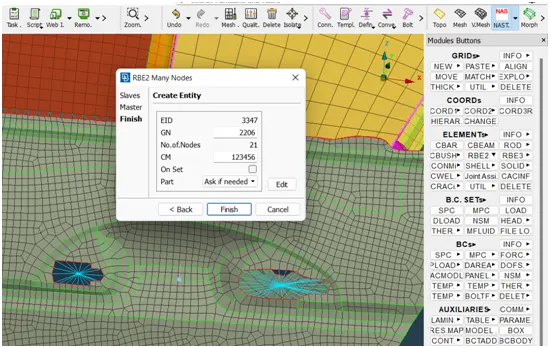
create COG points in between the this two master node.(topo module> points>COG points).define mass connection (Nastran module > elements > CONMI/CMASSI )
F] Cbush at the mirror:
We have to create a curve by using the feature 2 curve(Mesh module>Perimeters>Feat2Curve) option and (assembly manager > convert > curve)
We have to convert the curve to a spot line.
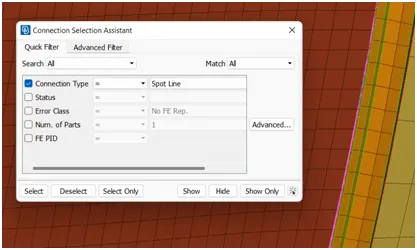
We have to use the connection manager and we have to select it.
We have to provide the Spacing value.
We have to select the PID’s(P1,P2)
Fe representation - RBE3-CBush-RBE3
We have to provide the Search distance.
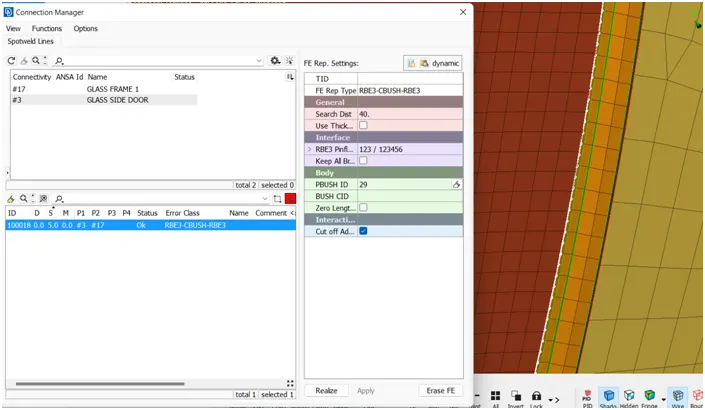
We have to create the Bush pid(PID 29)
Say apply and realize it.