Week 6 - Creating connection for Rear door
WEEK 6 : CREATING CONNECTIONS FOR REAR DOOR
AIM: To create connections for the given FE model of a rear door. Also create different PIDs for different components.
PROCEDURE:
1) Import the given file.
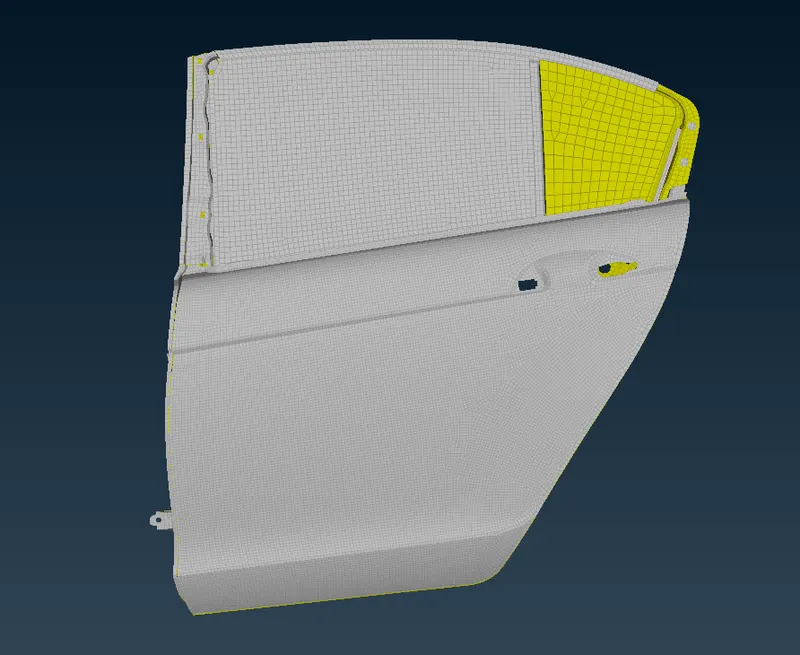
2) Create different PIDs for different components.
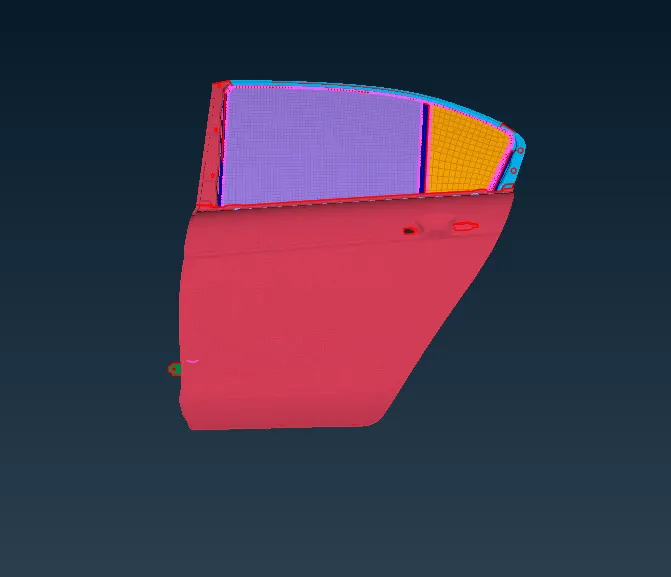
3) Using FE perimeter tool to create zones.
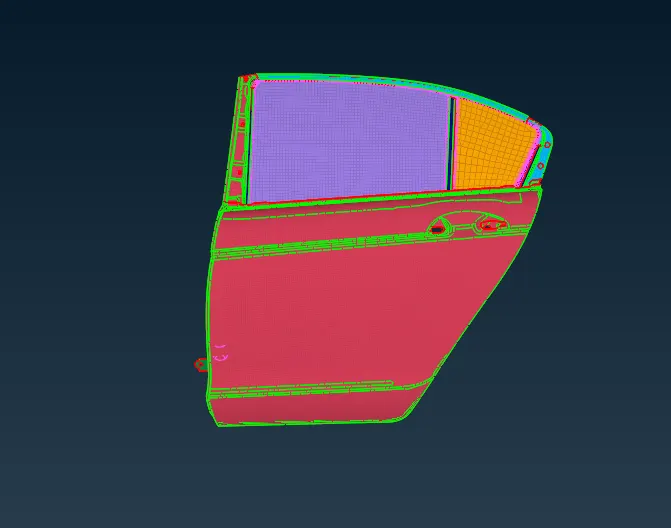
4) We need to extend the rail till the glass using MV free tool as shown in the figure below.
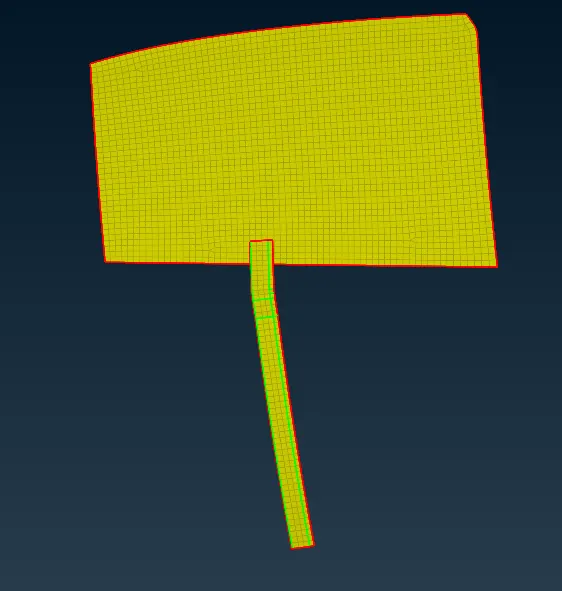
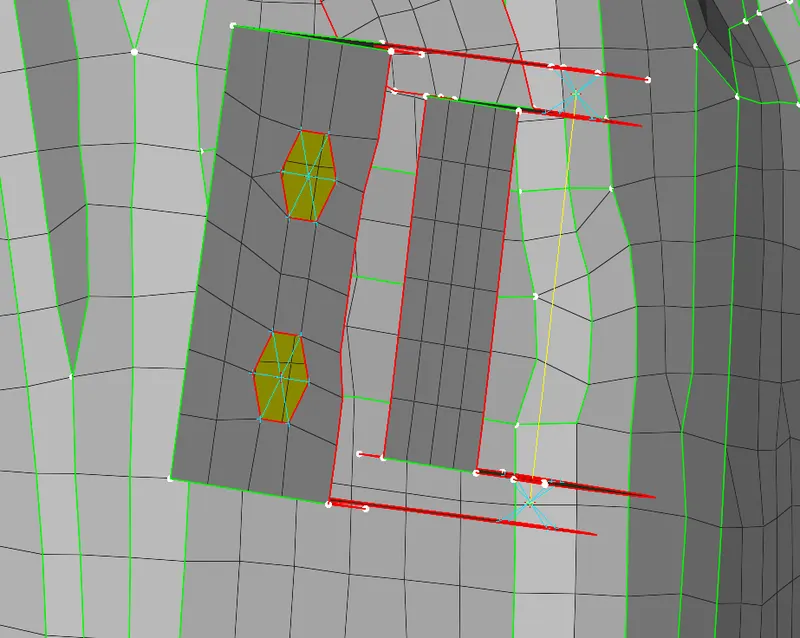
5) We then move on to create connections. We create RB2 connections at certain holes as shown below. RB2 cluster is used to represent 2 surfaces close to each other. RB2 single connector is used to join the cluster of RB2 connections.
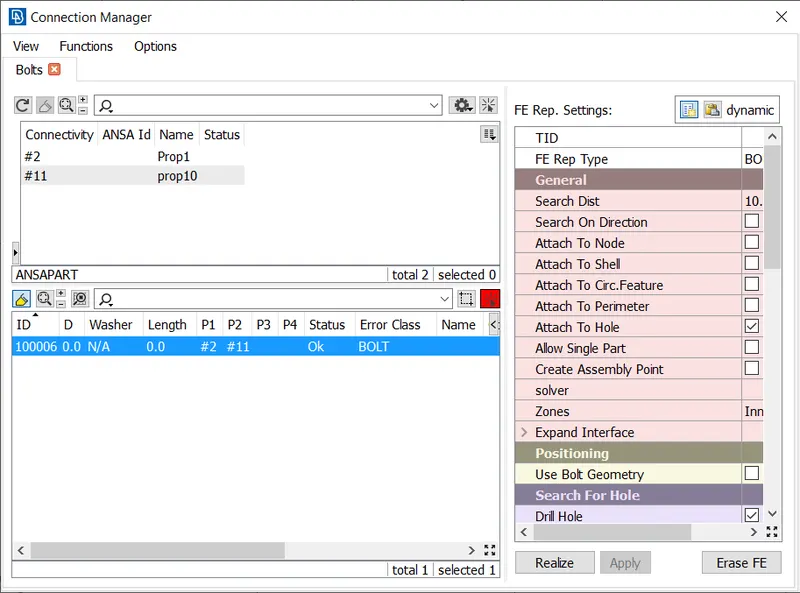
6) For bolt representation we first create a point at the COG of the hole, then we convert the 3D point into Bolt. We then use the connection manager to create a bolt connection connecting the surfaces. We use this method to create bolt connections where ever it is required.
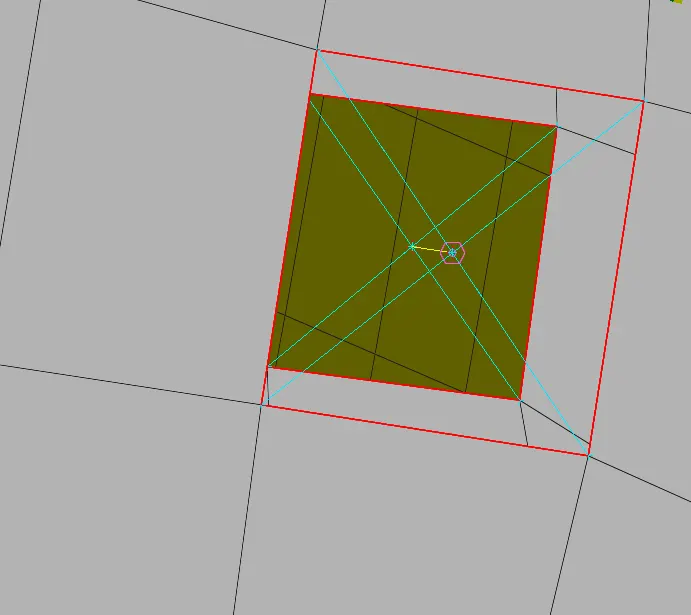
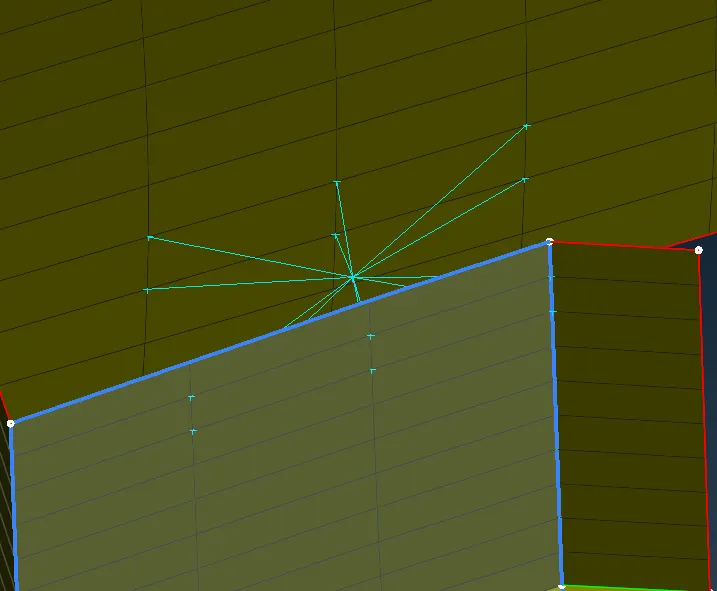
7)For the connection between the rail and glass we use RB2 cluster to represent the connection between them.
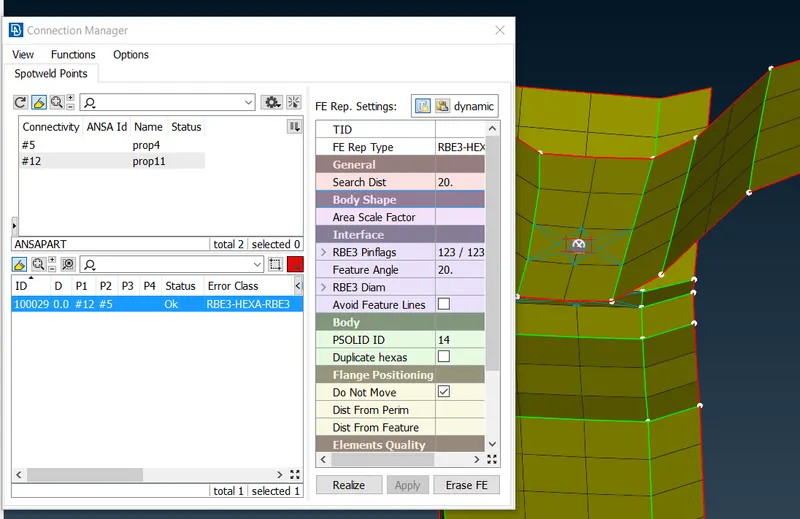
8) To create spot weld we first need to create a 3D point then we convert the 3D point into Spotweld point. Then we use connection manager to create a spot weld connection between the 2 surfaces.
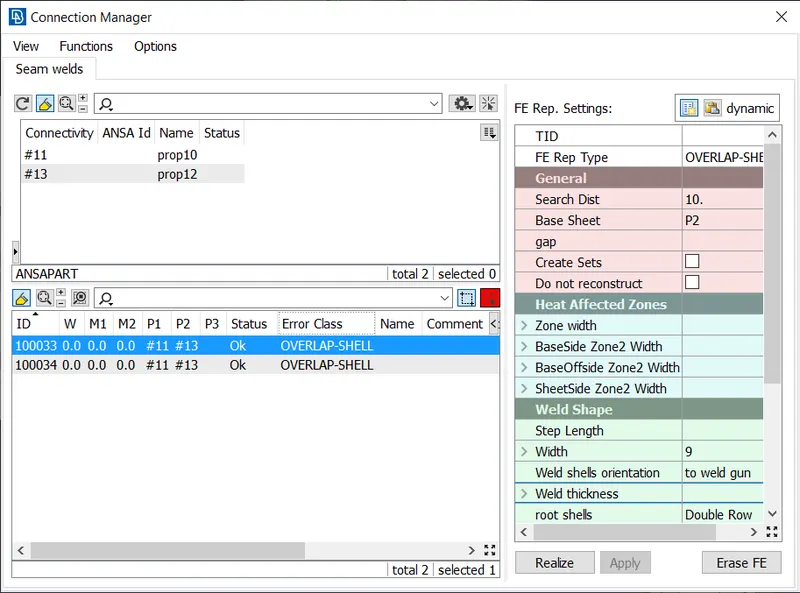
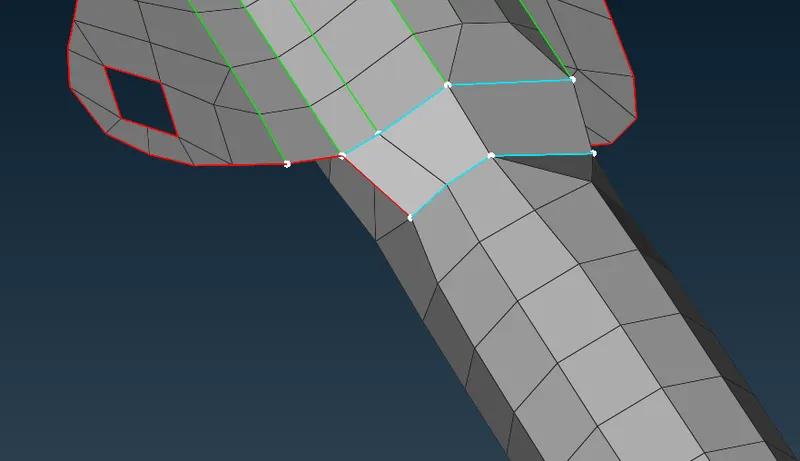
9) We create a ovelap shell connection by first creating a 3D curve by using Feat2Curve, then convert this curve into a seamline. Then we use connection manager to create the connection between the 2 surfaces.
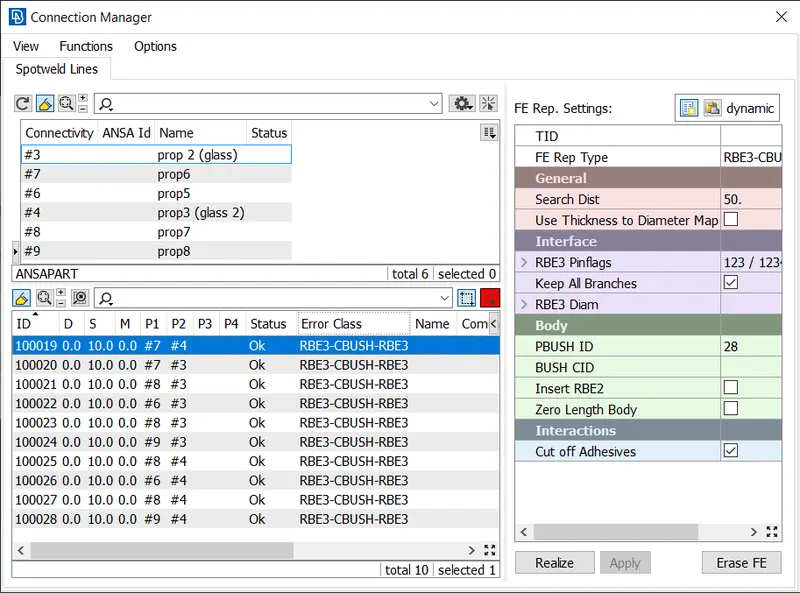
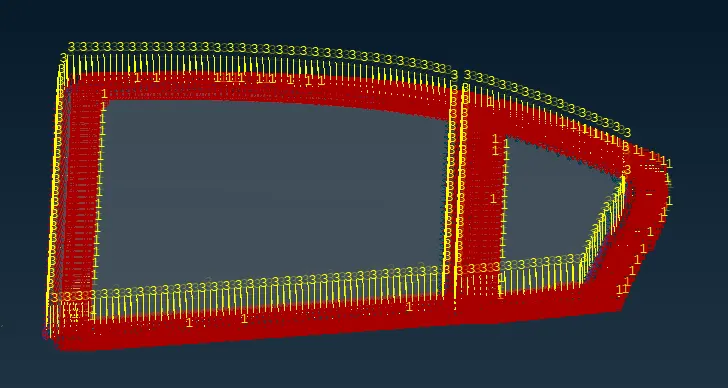
10) We now create the cbush connection for the glass of the door. First we create a curve along the perimeter of the glass using Feat2Curve tool. W convert this curve into a spot weld line. Then we use connection manager to create the RBE3-CBUSH-RBE3 connection between the required surfaces. After creating the cbush connection we orient all the cbushes according to the master co-ordinate system.
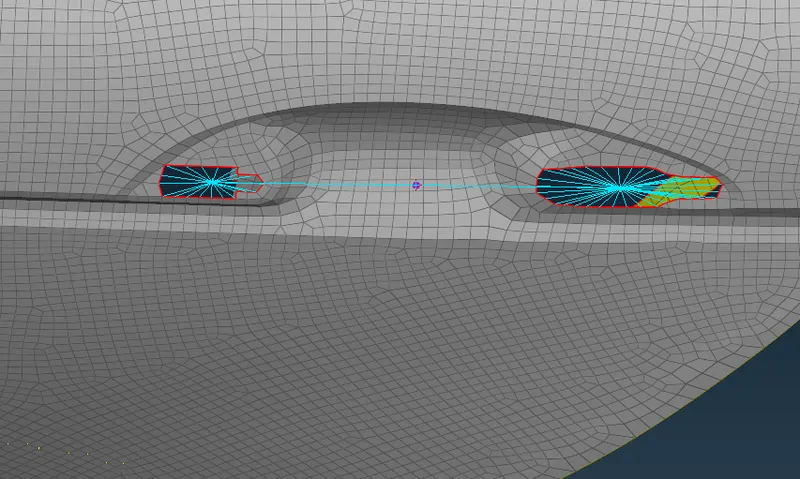
11) For the door handle we created a concetrated mass connection to represent it. First we create rbe2 clusters at each side and then create a rbe2 connection to join those clusters. Then we add mass at the master node of the created rbe2 connection using CONMi tool from NASTRAN deck.
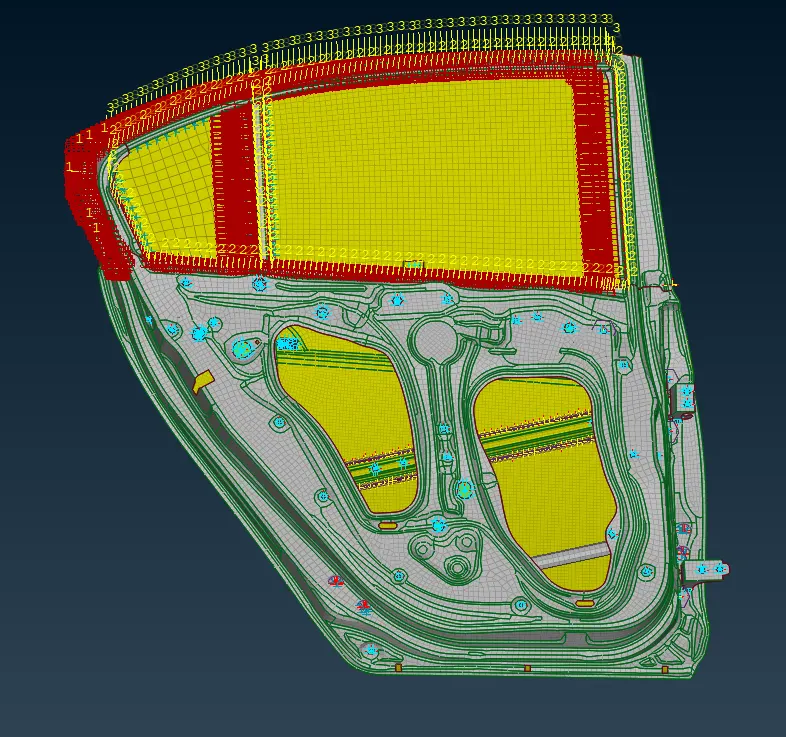
12) All the required connections are thus created.
CONCLUSION AND LEARNING OUTCOME:
1) We learnt what are the different types of connection and also learnt how to create them.
2) We also learnt how to create different PIDs as per the connection requirement.