Week 6 - Creating connection for Rear door
AIM: Create appropriate connections for NVH analysis of back door component of the car in ANSA.
PROCEDURE: import the CAD model to ANSA and the whole model PID is set as one.
in order to set the different parts of the component as different PIDs use the function Set PID from faces section in TOPO module. use the selection type as PID region for selecting the each part and set the PID and name them.
refer to the picture below for setting up PIDs.
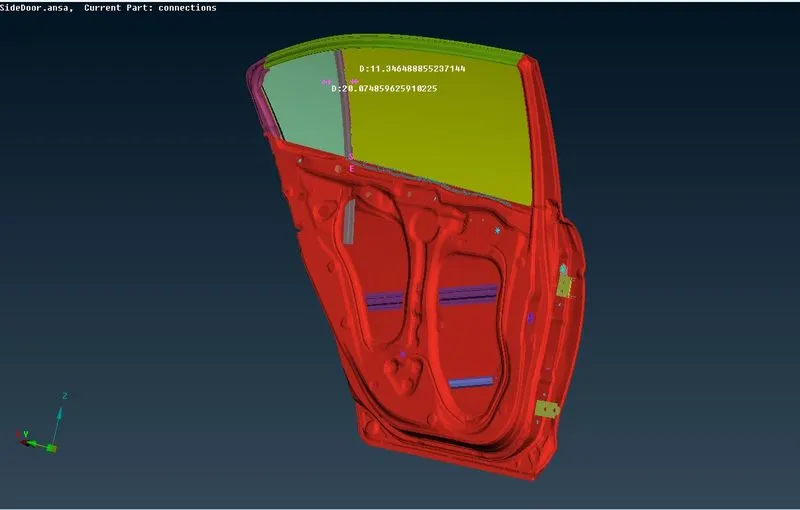
I Started the connections by hinges of the door by using the combination of RBE2>many nodes and RBE2>two nodes
first use the RBE2 many nodes connection for the holes throught the hinge axis seperately ofr each of them and then use RBE2>two nodes for connecting each of the master nodes sets and set the DOF number as 12345 as the hinge has Z-axis rotation.
after this connect the hinge part to body of the door using bolt connection. first create the COG on one of the to be connected parts and convert the 3d point to bolt using convert option in assembly toolbar. then go to connection manager and select the bolt point and execute after this a window pops up slect FE rep type to bolt and give respective PIDs to connect and give input for search distance as 30 and zones as in/out and execute the command to create the bolt connection as below.
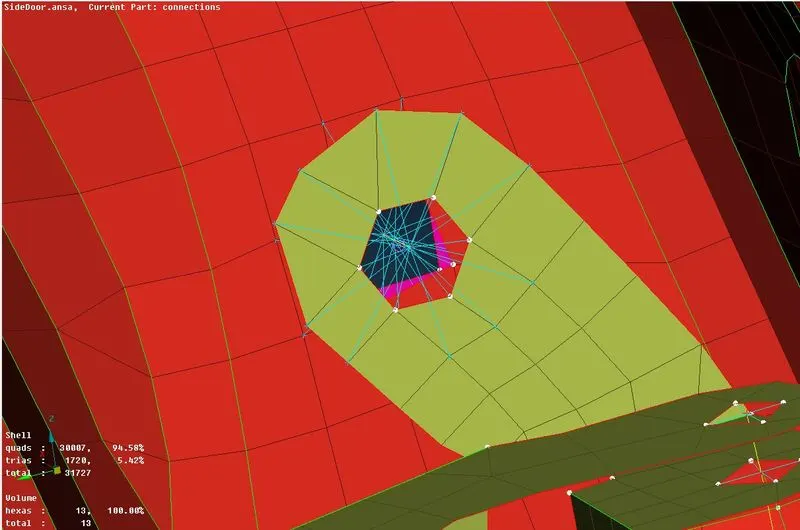
and also another bolt connection as below.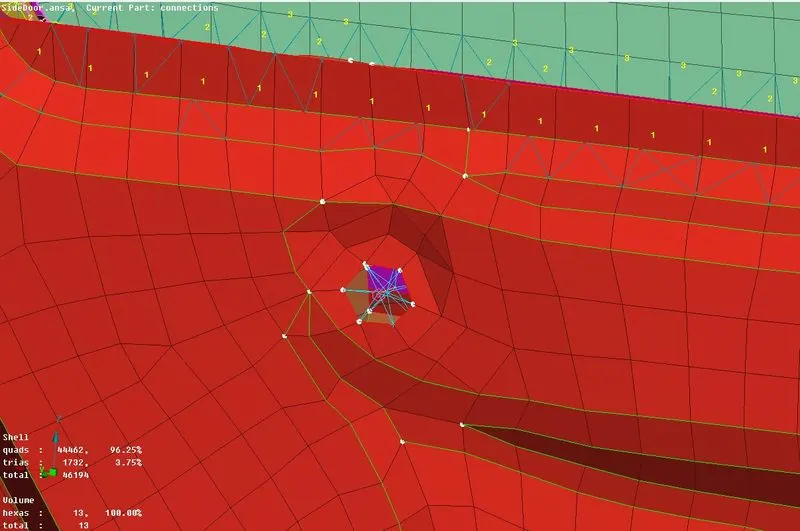
now move on to window bush connection.
first create the curves for each edge of the window using feat2curve option in perimeters section of mesh module and convert each of those curves as spotline using convert option on assembly toolbar and offse these lines either side of edge of the window such that they are in between window and frame and convert them using convert in assembly toolbar as spot line as shown in below. 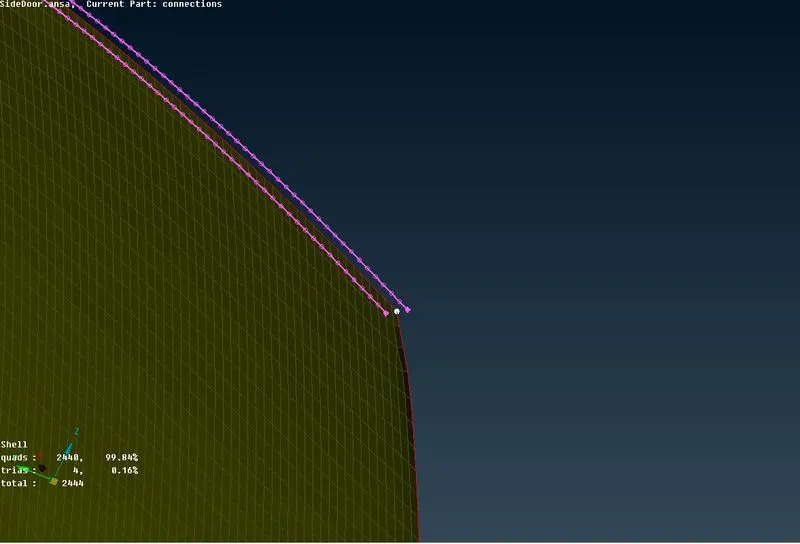
go to connection manager select the both spot line and give the PIDs in P1 and P2 for connection and give inputs as below.
FE input type = RBE3-BUSH-RBE3
search dist = 30
RBE3 pinflags = 123456
spacing(S) = 10
keep all branches enabled.
create the PBUSH ID by shift+? command on PBUSH ID box.
now click apply and then realize
now the bush element is created as shown below on either side of the window.
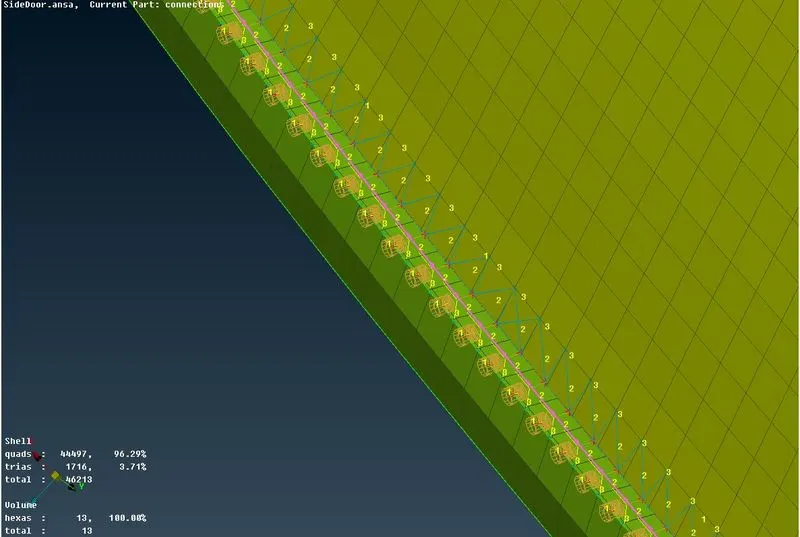
repeated the same process for every edge and created the bush elements on two windows.
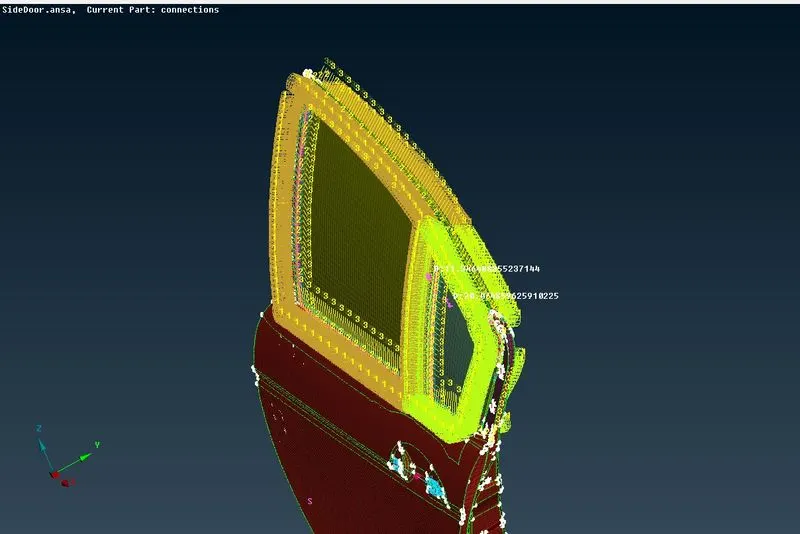
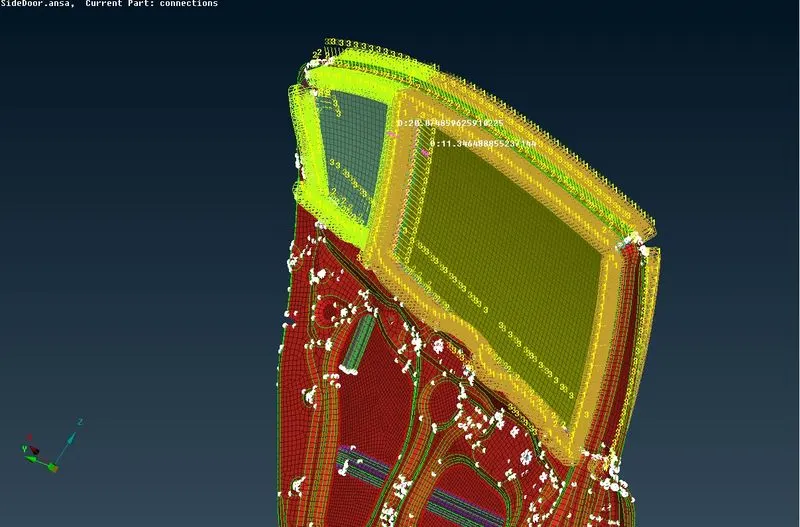
after this I have created the spot weld connections.
first create a 3D point as shown bolt connection where ever it is necessary and convert the 3D point to spot weld using convert option. and then open connection manager and select the spot weld point and exeecute the command now input PIDs to be connected in P1,P2 and give the values as shown below.
FE rep type = RBE3-HEXA-RBE3
search distance = 20.
RBE3 Pinflags = 123456
and create PSOLID as shown above.
now click apply and realize, the spotweld is created as shown below.
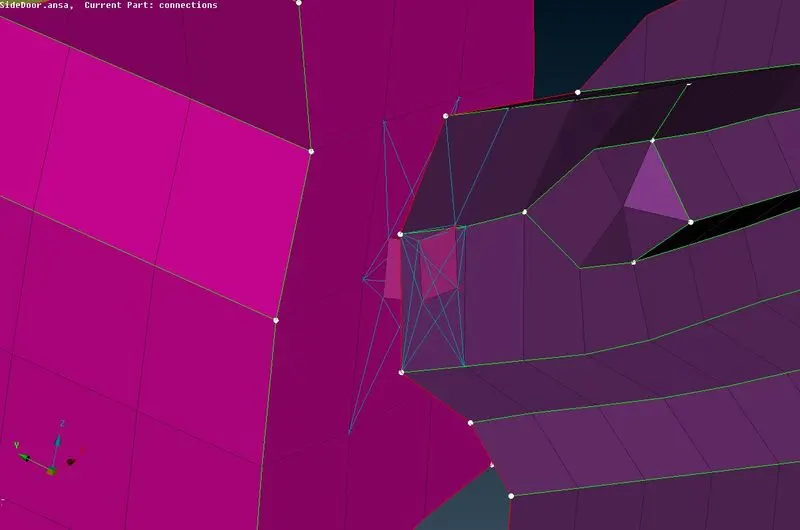
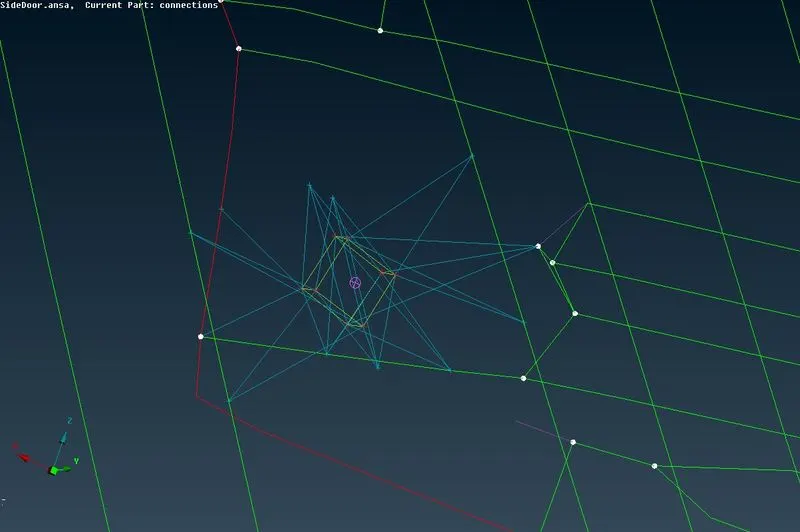
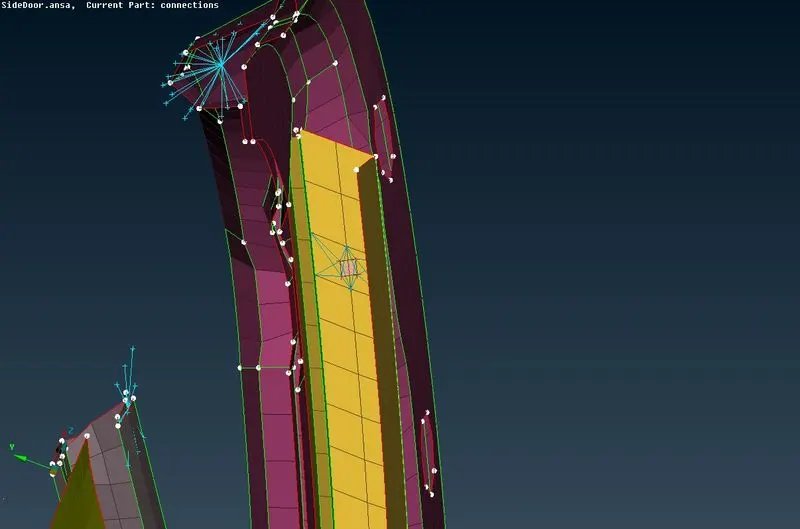
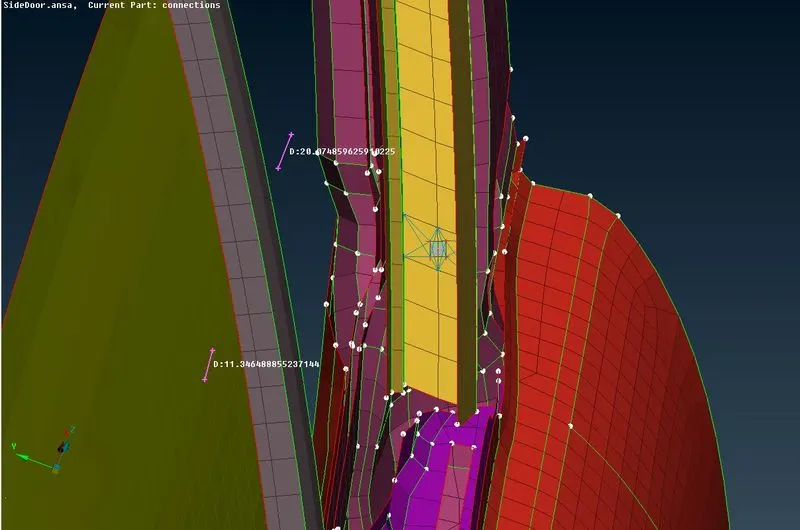
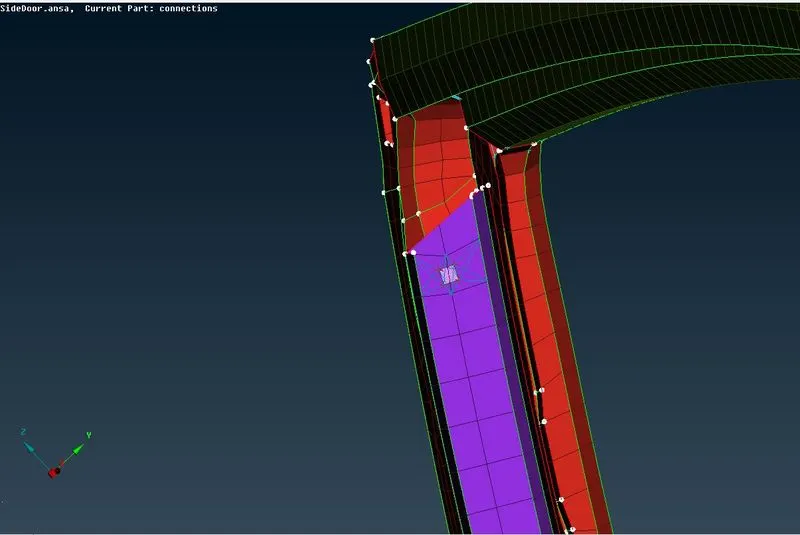
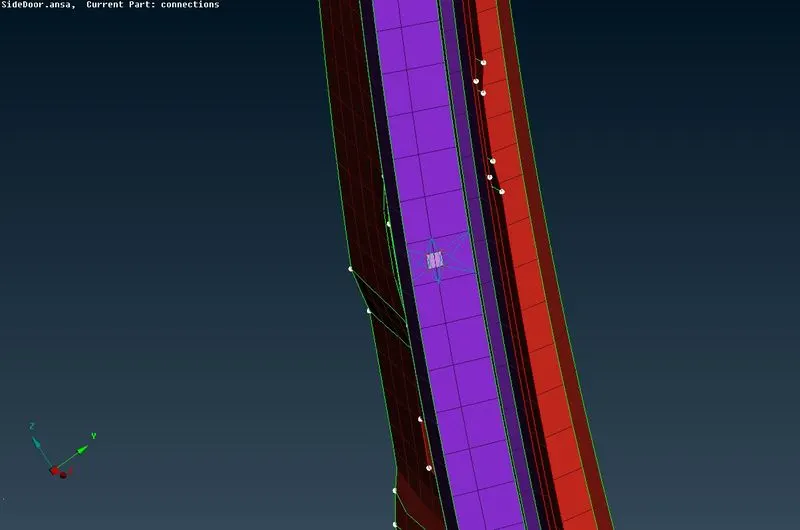
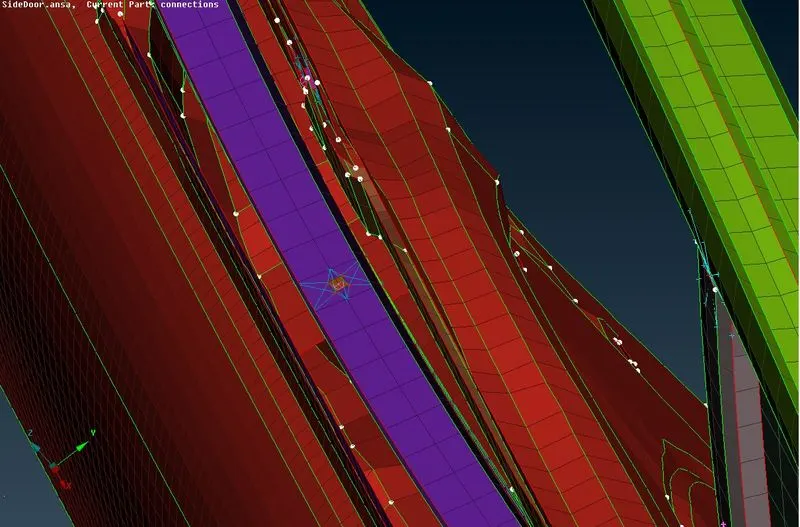
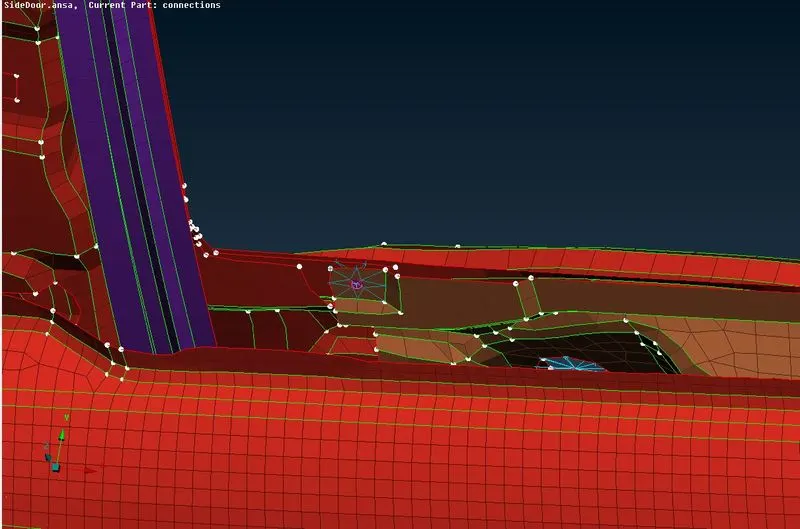
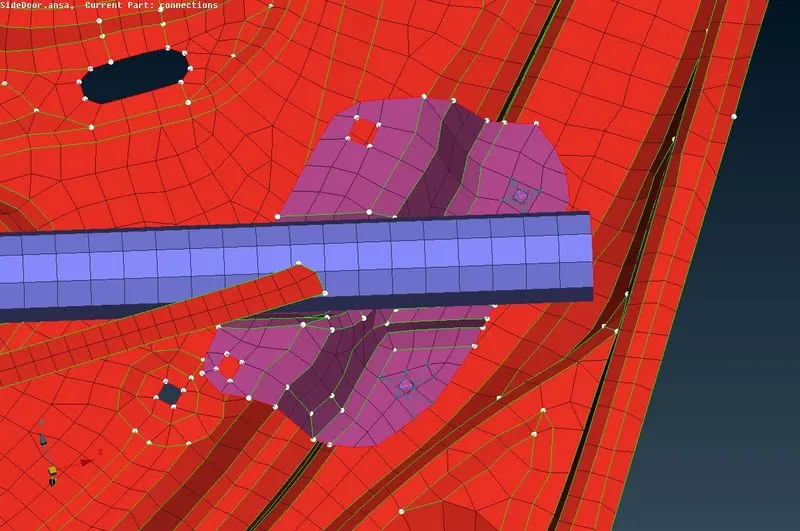
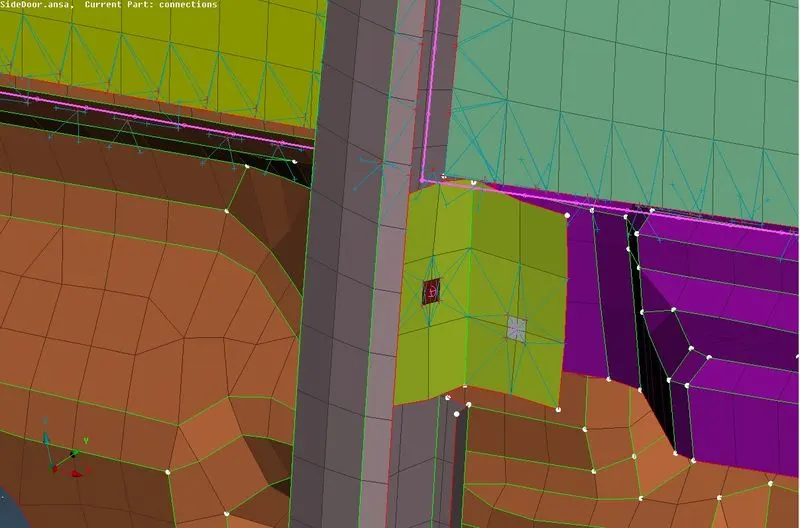
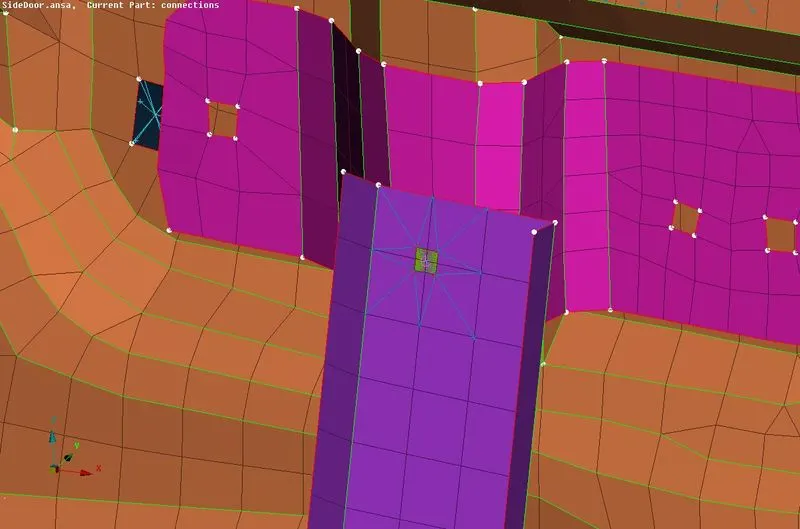
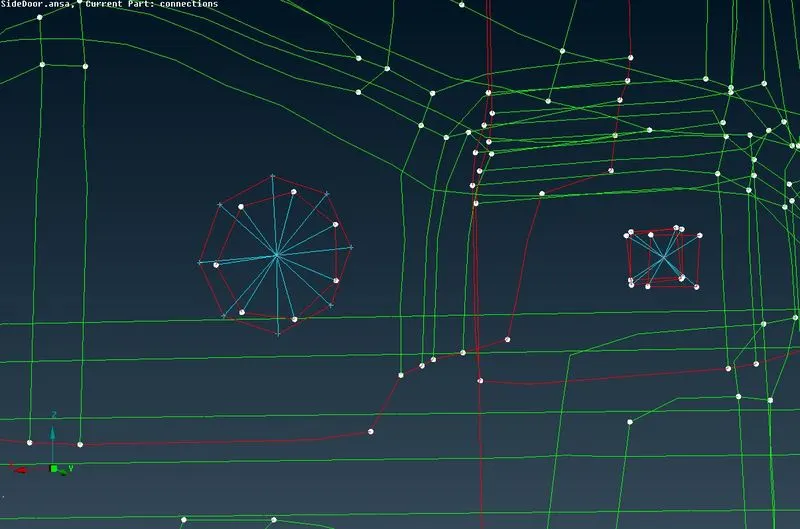
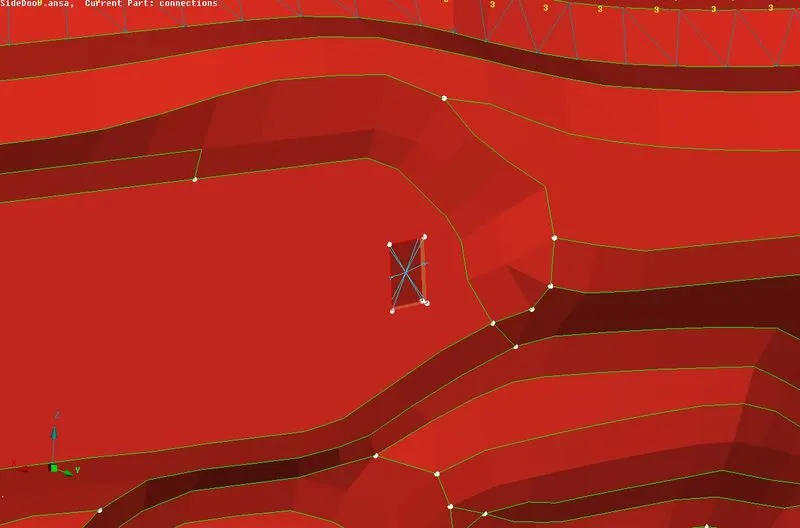
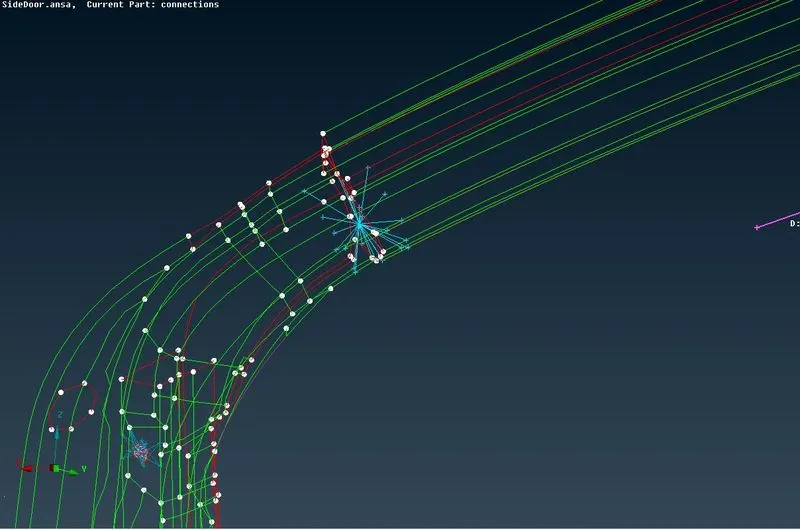
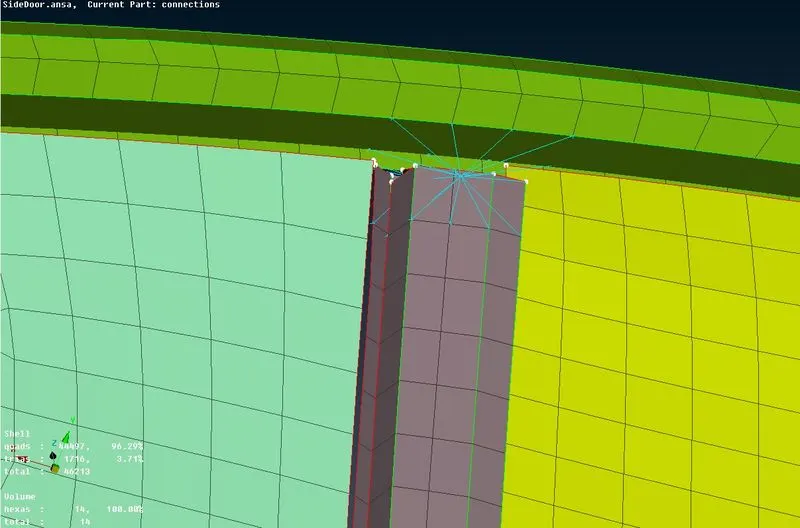
then I created the RBE2 connections for fittings and two PIDs sharing through hole as shown below.
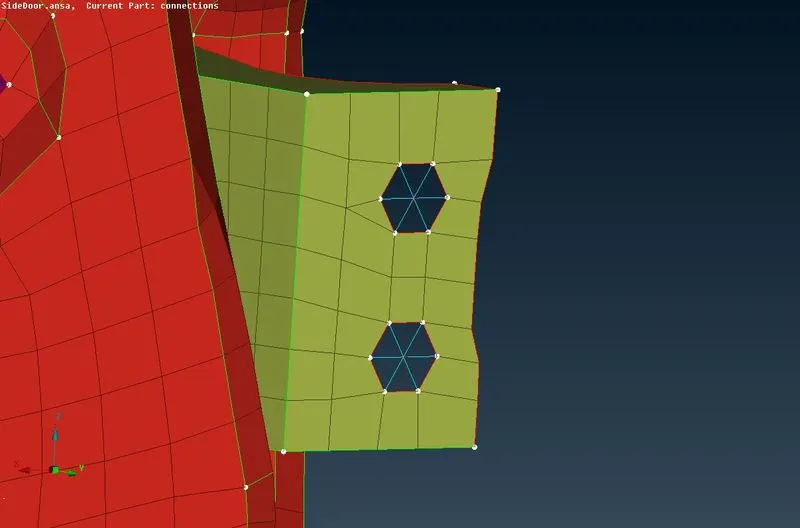
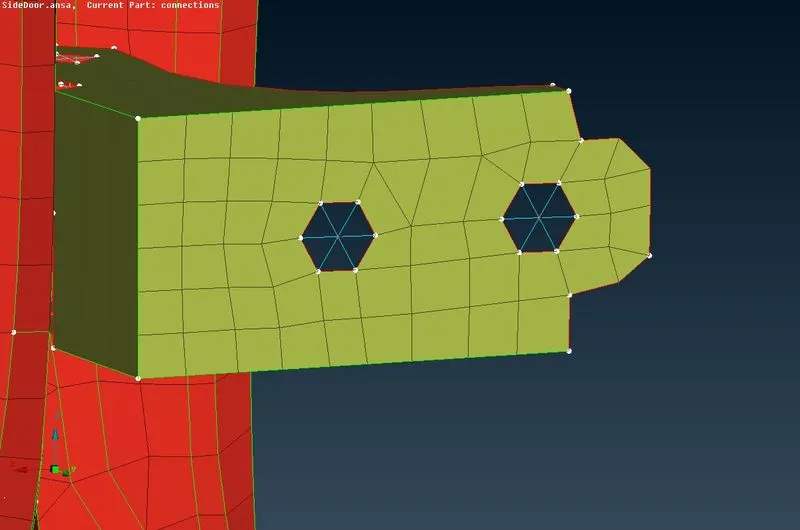
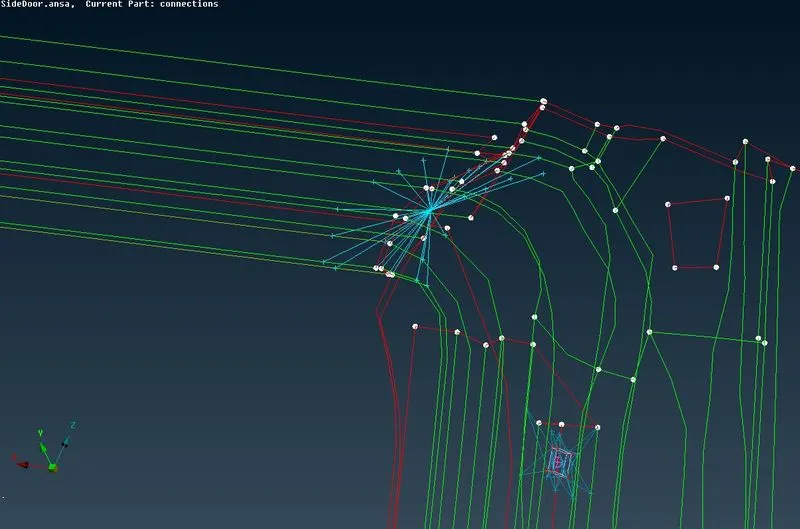
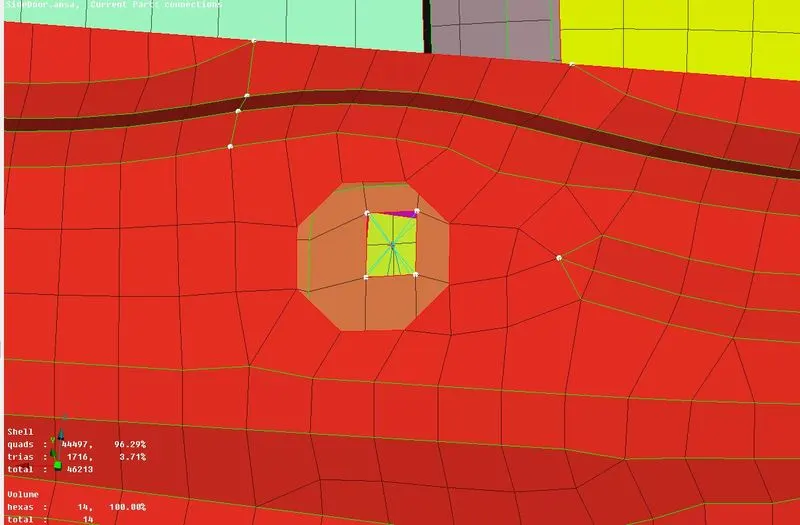
and next one seam weld connection was made.
first create a curve from the edge of FE using Feat2curve option and convert the curve to the seam line and go to the connections manager and select the seam line and execute now give the inputs as below.
FE rep type = overlap shell.
search distance = 20
base sheet = P1 or P2 according to the thick shell.
width = according to the CAD.
and give input required PIDs and create weld PID and click apply and realize.
the seam weld is formed as shown below.
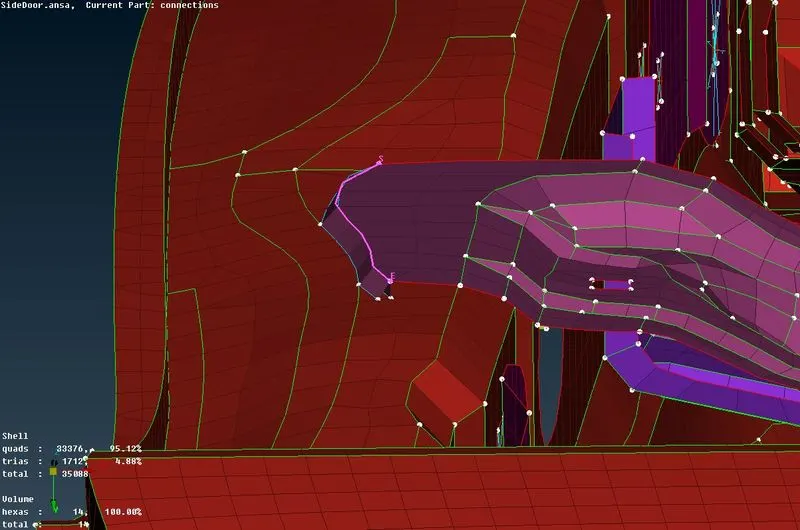
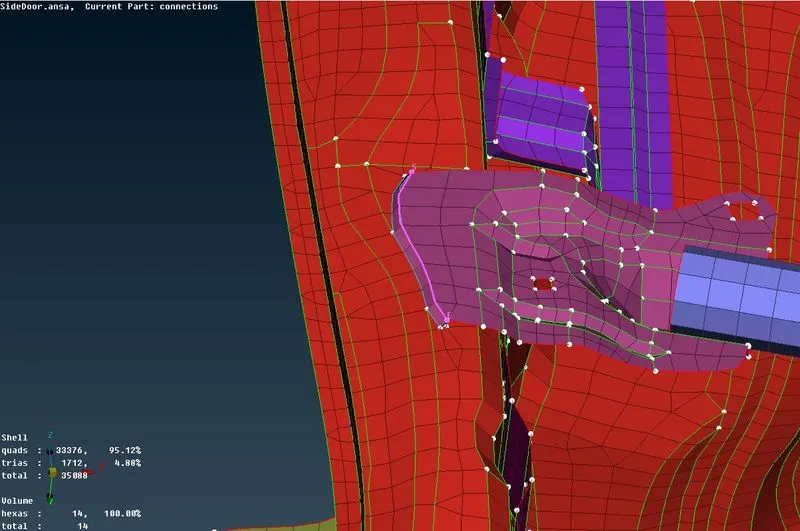
now the handle part
handle part is created by two RBE2 joints and one RBE joint between the first twoRBE2 joints and gave concentrated mass using CONMi>CONM2>nodes and selected the master node of third RBE2 joint and gave imput "M" as 0.00001 in tonne units.
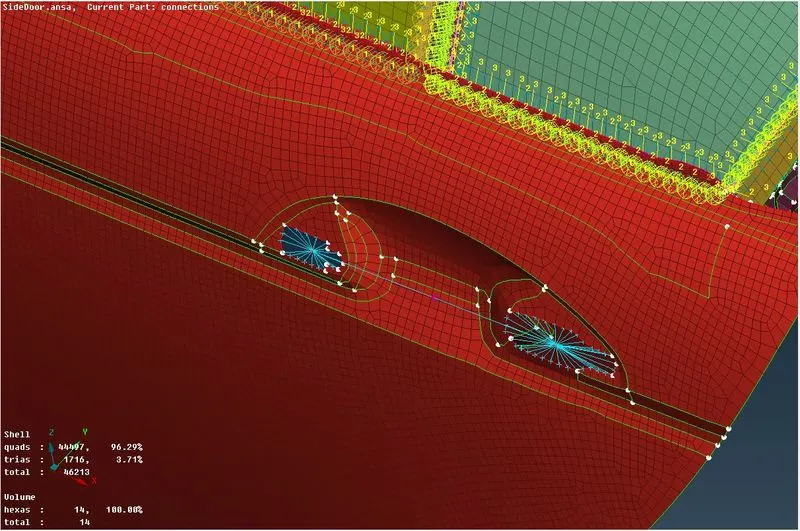
finally the connections were made to the best of my knowledge.
LEARNING OUTCOME:
In this week I have learned that how to make connection and which tools to use for different type sof connection made by NASTRAN deck for NVH analysis. important connections like Bush, hinge and seam weld and spot weld.
CONCLUSION:
In this week I can conclude that I have learned the necessity of connections and why they are crucial for simulations and also how to make them properly for good simulations.