Week 6- Challenge
AIM:
To perform meshing for the given component with a mentioned quality criteria, and assign thickness.
METHODOLOGY:
METHODOLOGY TO CLEAN UP GEOMETRY OF THE FOLLOWING COMPONENT (HOOD).
- IMPORT MODEL
- GEOMETRY CLEANUP
- DELETE SOLIDS
- EXTRACT MIDSURFACE
- ASSIGNING QUALITY PARAMETERS
- MESHING THE COMPONENT
- ASSIGNING THICKNESS
PROCEDURE:
HOOD:
- IMPORT MODEL:
- Import the given model into hypermesh.
- Importing model may not be possible if the file format is not supported by the hypermesh.
- GEOMETRY CLEANUP:
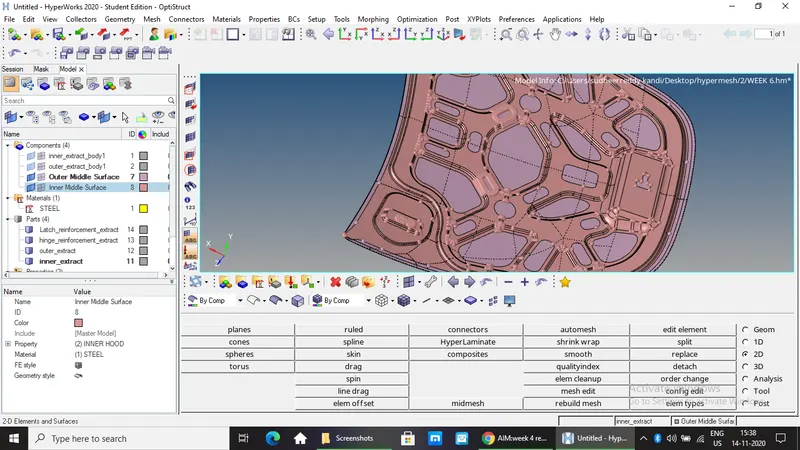
- After importing the model the main process is geometry cleanup.
- In some cases if the model is imported to hypermesh due to some graphical issues the geometry changes may occur, So geometric cleanup plays an important role.
- Remove all unnecessary lines from the model.
- Check if any surface is missing or overlapped.
- If any surface is missing, create a new surface over there by using a surface tool or filler surf tool.
- If two surfaces are not stretched together then use a toggle edge tool to stretch together.
- By using the toggle edge tool the feature lines can be suppressed for the better mesh generation.
3.DELETING SOLIDS:
- Before generating 2D mesh for the components then the solids should be deleted.
- It can be done by using the delete tool and select solids and select all to delete all solids from the component.
4.GENERATING MIDSURFACE:
- For generating the midsurface the solids should be removed.
- Create washer splits near the holes for better mesh flow.
- By using a midsurface tool select surfaces and generate midsurface.
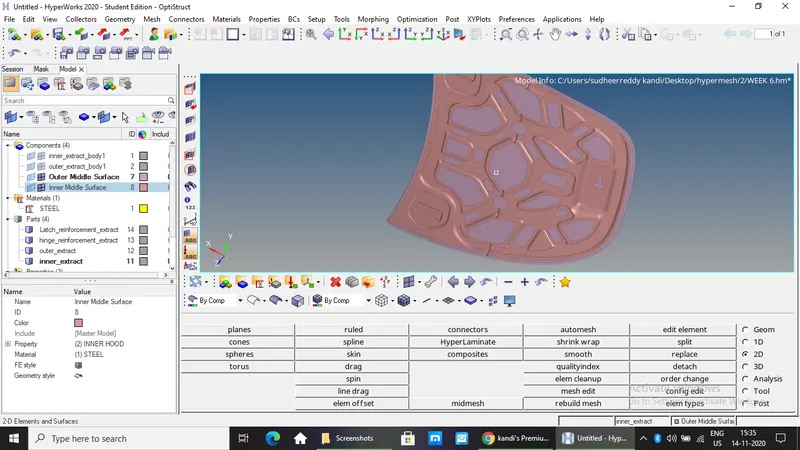
- Auto midsurface tool helps to generate midsurface with different conditions, they are
- Offset+planes+sweeps
- Offset+planes
- Offset
- Skin offset
- Here by using the skin offset tool the mid surface is extracted from the component
- Geometry cleanup should be done before meshing.
- Midsurface is extracted separately for inner and outer hood.
5.ASSIGNING QUALITY PARAMETERS:
- Assign the given quality parameters
- Target Element Length = 5mm
|
S.N |
Quality Criteria |
Value |
|
1 |
Aspect Ratio |
5 |
|
2 |
Skewness |
45 |
|
3 |
Warping |
15 |
|
4 |
Taper |
0.5 |
|
5 |
Min. Length |
2mm |
|
6 |
Max. Length |
8mm |
|
7 |
Min angle Quad |
45 |
|
8 |
Max angle Quad |
135 |
|
9 |
Min angle Tria |
20 |
|
10 |
Max angle Tria |
120 |
|
10 |
Tria % |
10 |
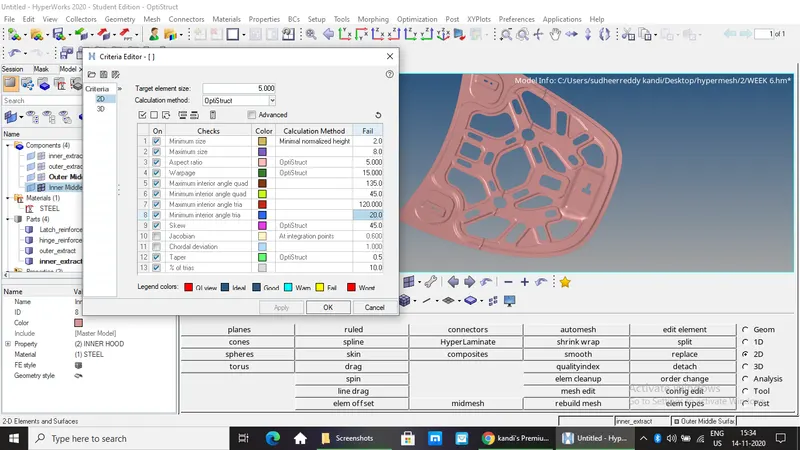
- After entering the values, apply and click ok .
6.MESHING THE COMPONENT:
- Mesh is done for inner and outer hood separately.
- If the component is in a symmetric shape then the meshing can be done very easily.
- Meshing is performed by using the AUTOMESH tool from 2D.
- The meshing should be in a good flow.
- By changing the nodes mesh flow can be adjusted and by using REBUILD MESH tool.
- By using the SMOOTH tool mesh flow can be smoothen.
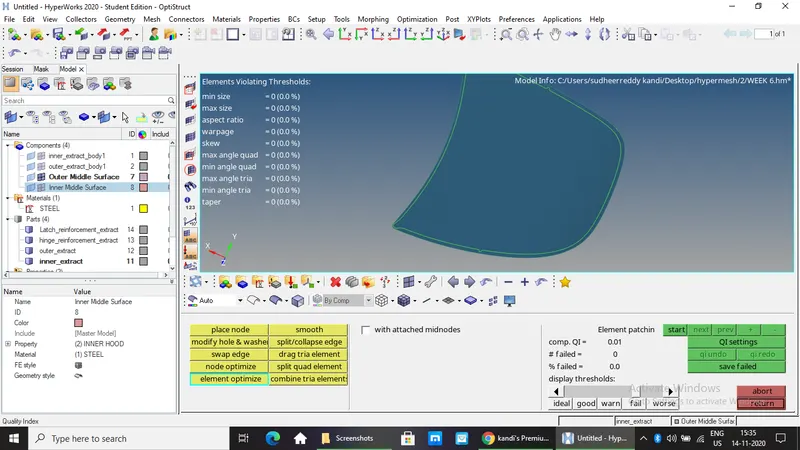
- After finishing meshing go to QUALITY INDEX tool to know the failed elements.
- In a quality index tool the failed elements will be shown clearly and by using the tools present in the quality index failed elements can be corrected.
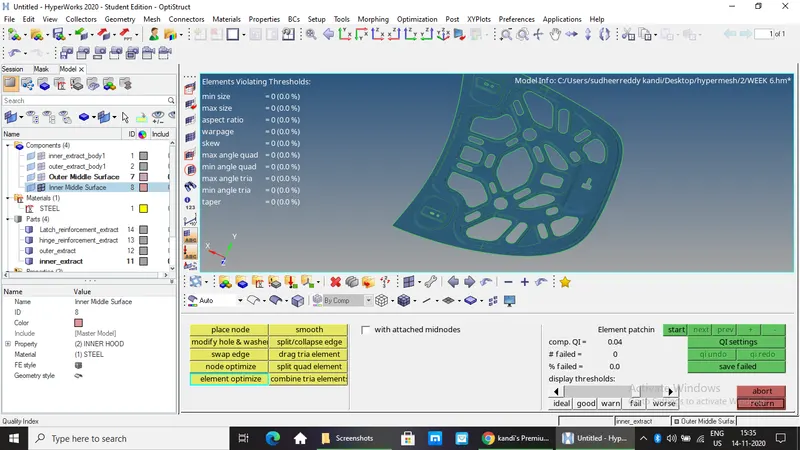
- Drag trias, combine trias, split quads, split/collapse edges, smooth, place node, element optimization, node optimization, modify hole and washer, swap edge by using all these tools mesh can be edited and can form into a good flow.
7.ASSIGNING THICKNESS:
- Before assigning the thickness, the property table should be created for two parts inner hood and outer hood separately.
- And also the material card is also required, create any material card if not mentioned any material.
- Assign the thickness for inner and outer hood.
- And assign the property for the midsurface and meshing.
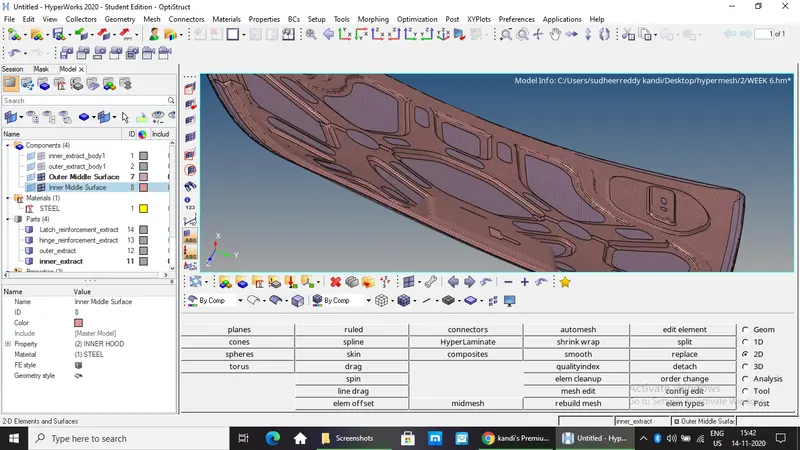
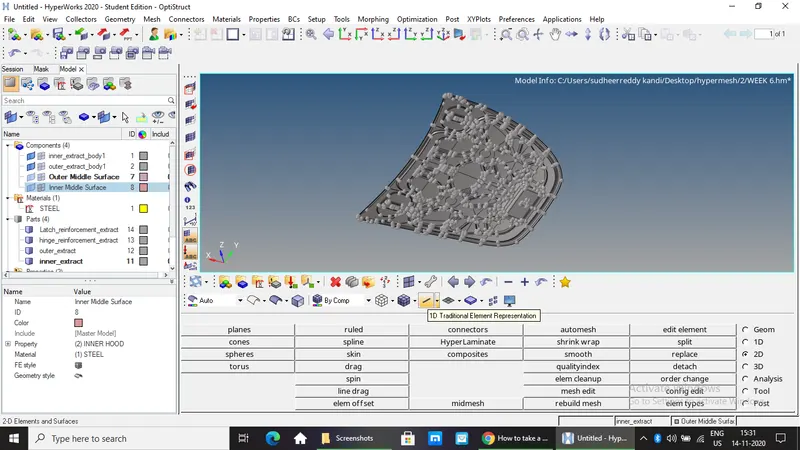
- To view the component in thickness after meshing select 2D Detailed Element Representation.
LEARNING OUTCOMES:
- Geometry cleanup.
- Extracting midsurface.
- Assigning quality criteria.
- Meshing.
RESULT:
Meshing for the given component with a mentioned quality criteria, and assigning thickness had done completely.