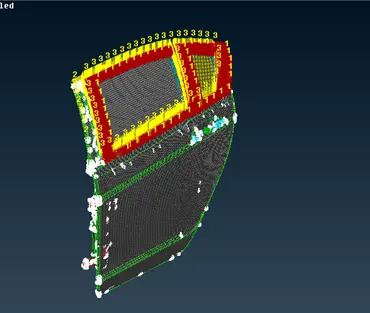
Week 6
OBJECTIVE:-
To establish connections in between different parts of rear door of a car. The car goes through a lot of vibrations during a run, so to perform an analysis on any part of the car a good connection must be established in its part. Also if there is any missing connection it will deviate our simulation result from the actual result. Thus connections plays a vital role in analyzing the NVH analysis.
PROCEDURE FOLLOWED :-
Import the .nas file provided to us and check for properties. Our component is assigned only one property overall. It doesnot have different PID’s for inner and outer part. Thus proceeding with the same PID’s.
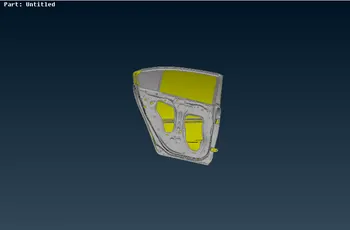
Starting from door handle, we have connected the door handly base with RBE2 elements. RBE2 elements are used because they add infinite stiffness to the components. Both sides of the base of the handle are connected to a single RBE2 element. Post connecting a CONMi(connected mass) is assigned to this single element. The mass added to our model is 100 gm.
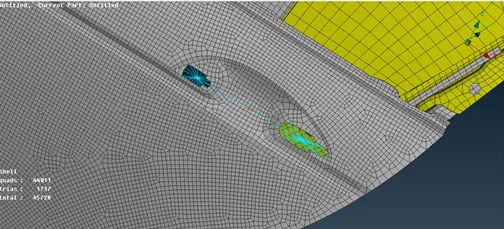
Adding mass 100 gm to the door handle.
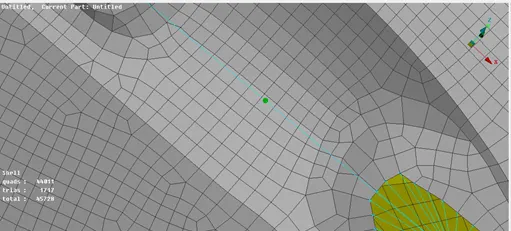
Moving on to other part, we will be now connecting the door hinge which will be connecting door and body to each other. In the door hinge one side will be connecting the body and hinge, whereas the other side of the connection will be in between hinge and door.
The connection in between the body and hinge will be RBE2 spider type, and the hinge and door connection will be in the form of single RBE2 element with DOF constraint in all axis except free in rotation along Z-Axis. This is done so that the door can freely rotate in Z-Axis to open and close the door.
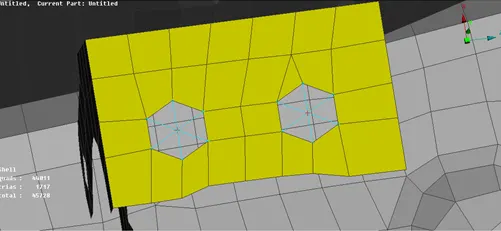
Going for hinge connection.
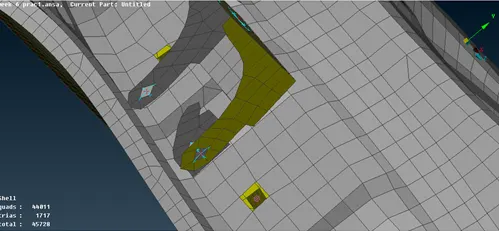
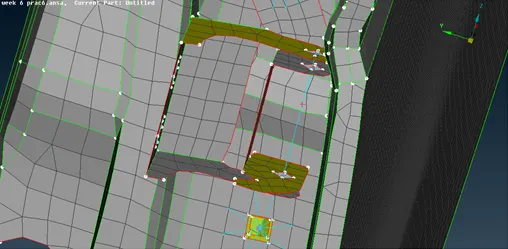
After the door hinge now we will be connecting the window glass. Window glass will have RBE3 CBUSH RBE3 Elements. In actual the window glass has the rubber type material which runs through-out the glass to keep it safe from breaking while vibration. Also the work of this weather strip is to isolate the inner and outer part of the environment, so that the inner compartment can be cooled with AC and also compartment will be noise free. So in Simulation we have used bush type material to perform this task of weather strip. RBE3-CBUSH-RBE3.
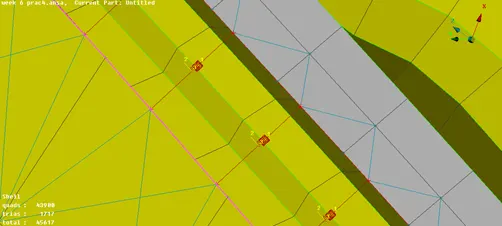
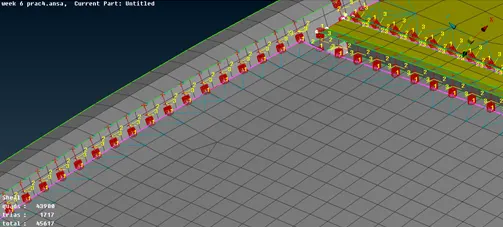
The local coordinate of the CBUSH is different from the global coordinate, so to match both this coordinates in one shot we will be changing its orientation.
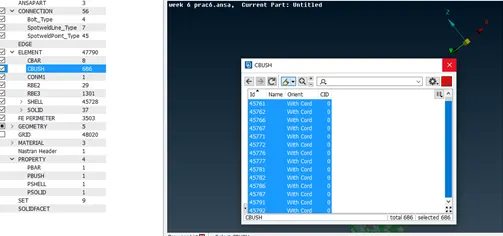
3D Rep of the model after the weather strip RBE3-CBUSH-RBE3 is as below.
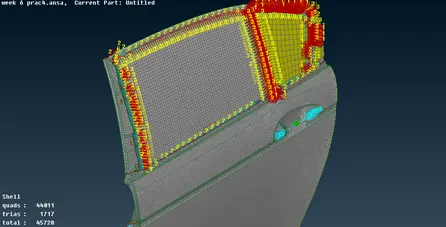
Further there are many places where the connections must be performed. We will be deploying spot-weld wherever required using RBE3-HEXA-RBE3 to connect the parts of the door assy.
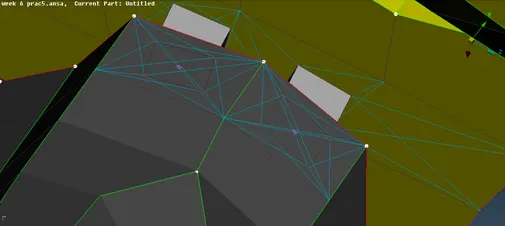
Spot-weld are mostly used in the BIW vehicles during manufacturing due to its good strength. Spot-weld are the elements that are created with the help of RBE3 elements.
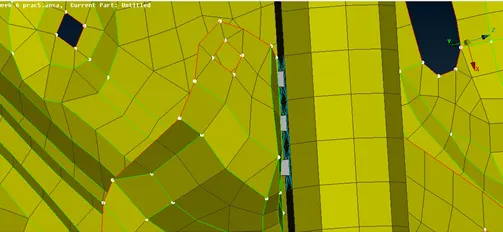
There are some places where hexa connection is not possible so to connect them we will be using RBE3-CBAR-RBE3 elements.
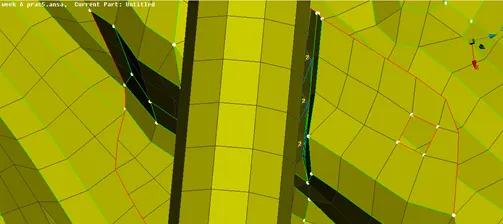
Mix of HEXA and CBAR RBE3 elements for spot welds are used here.
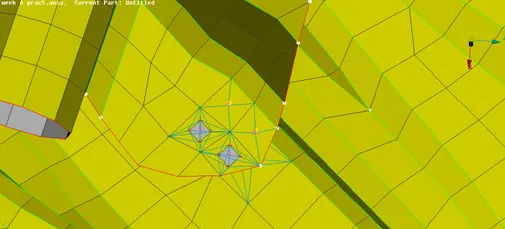
Three layer hexa rbe3 spot weld for joining 3 layers.
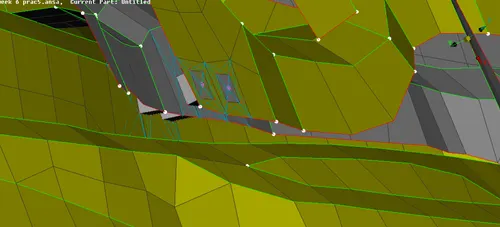
CONCLUSION:-
The various parts of the Rear door assy are connected using the connections options wer have with us.
For instance we have used:
- RBE3-HEXA-RBE3
- RBE3-CBAR-RBE3
- RBE3-CBUSH-RBE3
- RBE2
- RBE3
- RBE2 and RBE3 elements are usually used to connect the bolted elements. Also in case of hinged element we have used RBE2 elements.
- Where there are rubber form of material like in window glass weather strip we have used RBE3-CBUSH-RBE3 elements.
- Where Spot-weld needs to be deployed we have used RBE3-HEXA-RBE3 & RBE3-CBAR-RBE3 elements.