Week- 5 - Solid meshing
Procedure:
First of all we do topo and set the length perimeters to 1mm for good visibility.
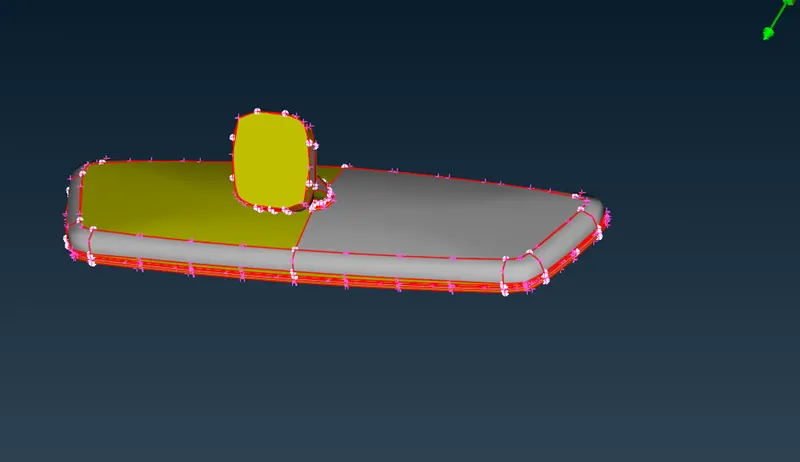
To get into perfect shape go into perimeter length set it to 1mm and then press ok & also do the topo clean up.
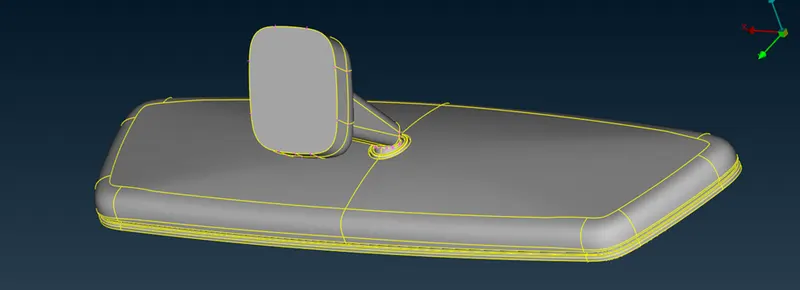
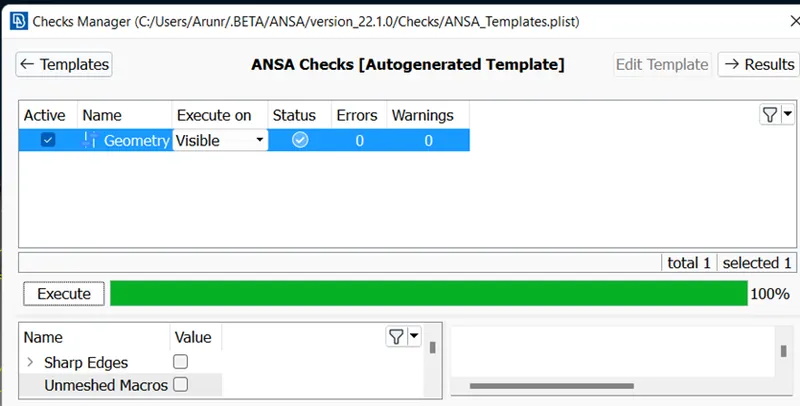
Perform geometry clean up till zero error.
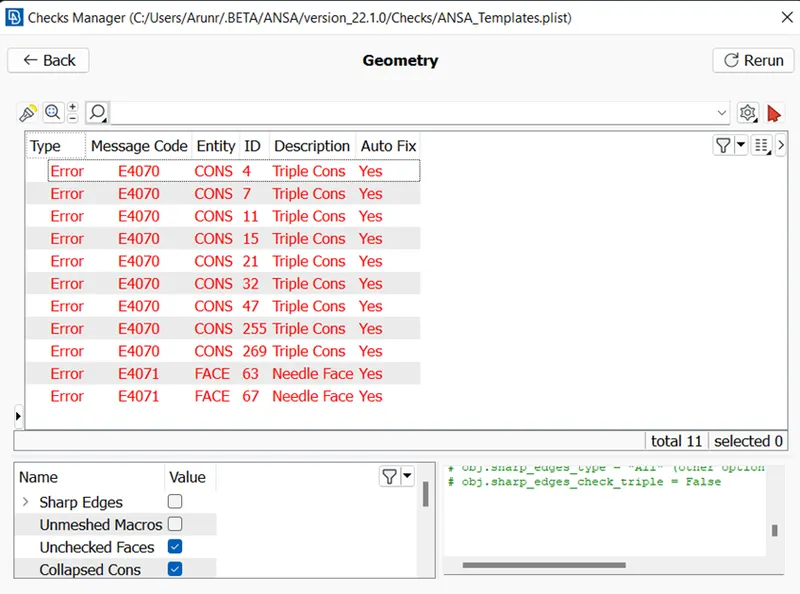
Use auto fix option to solve geometry errors:
Now, we will start meshing for that, we have to perform defeaturing if required, so we have to meaure the area where our mesh may fail for quility.
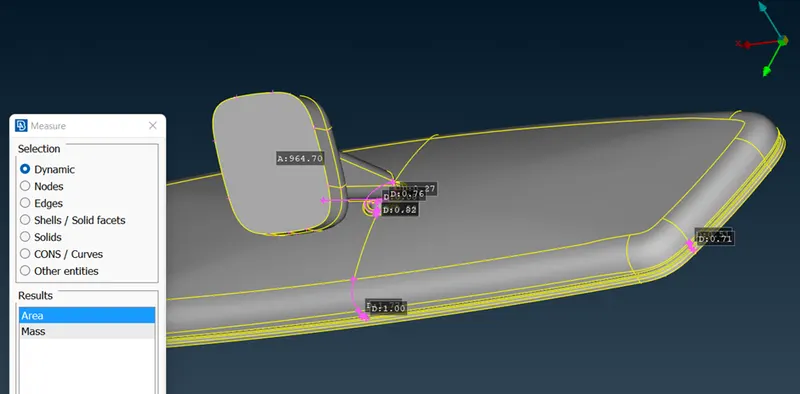
Start meshing on curve areas with ortho trias to capture the surface well.
We have to use all the reconstruction, smooth, and split option to mantain the mesh flow.
we will start with pid wise.
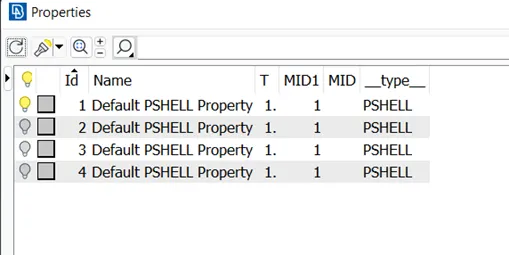
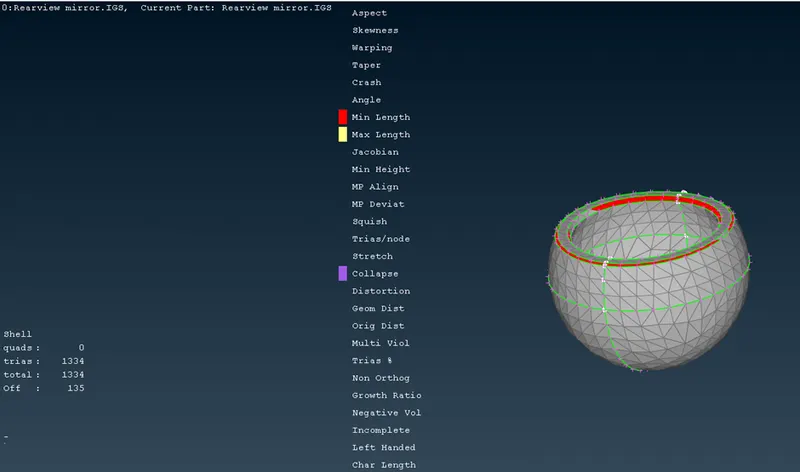
as we found min length off elements we will inprove and fix the quality by using reconstruct option. after using this off elements were solved
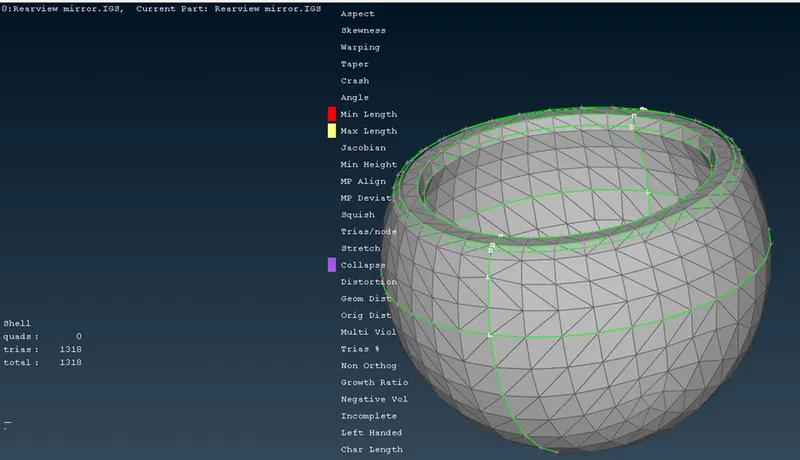
similarly for 2nd PID
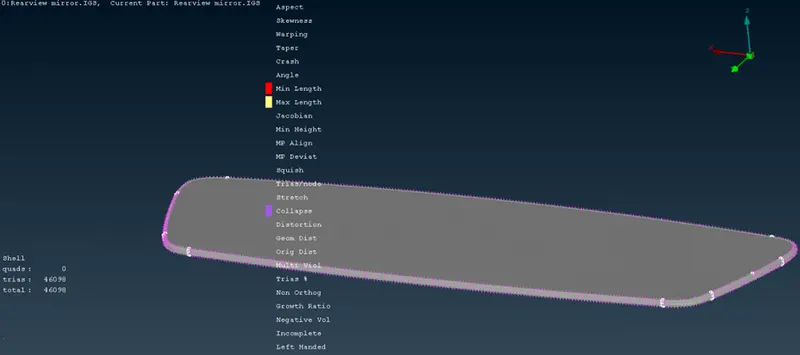
similarly for 3 & 4 PIDs
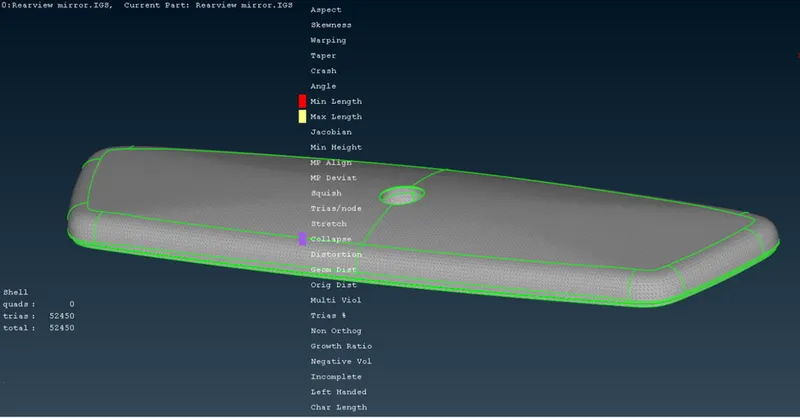
some off elemts are not solved by using reconstruct option so there we can use Grid move free option to solve this issue.
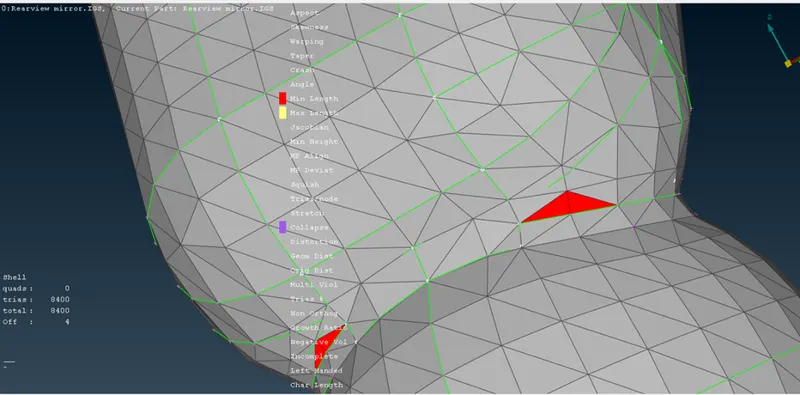
after
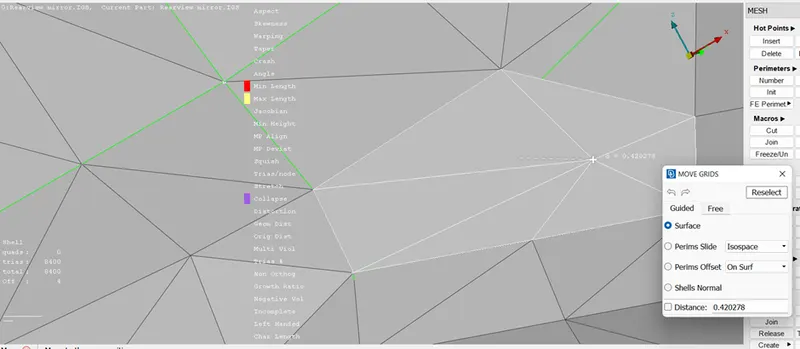
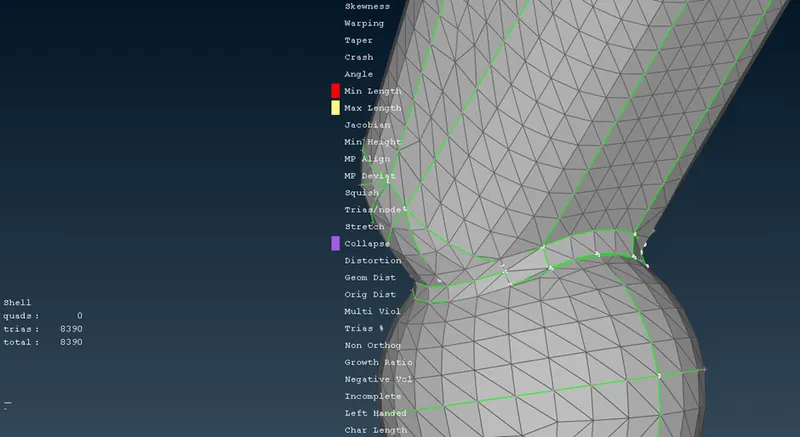
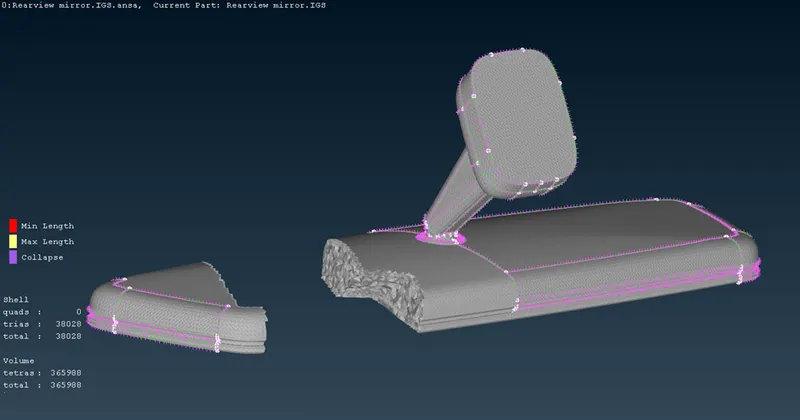
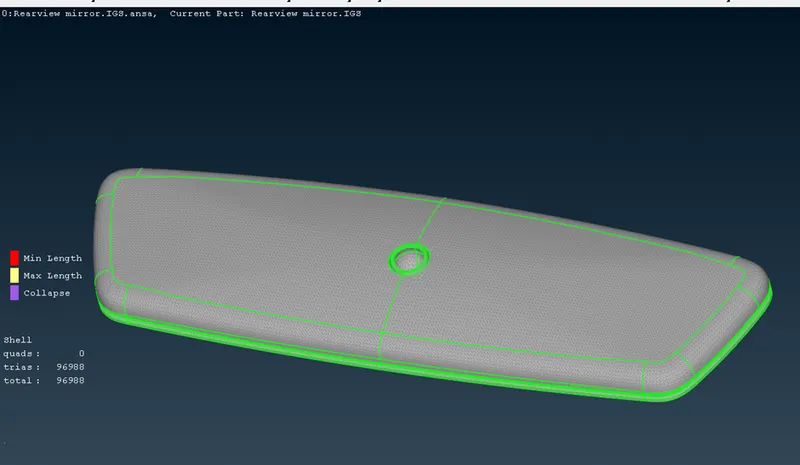
So till here we are done with surface meshing now we do volume or solid meshing.
For that we have to first of all definr the volume and propert as PSOLID as shown below.
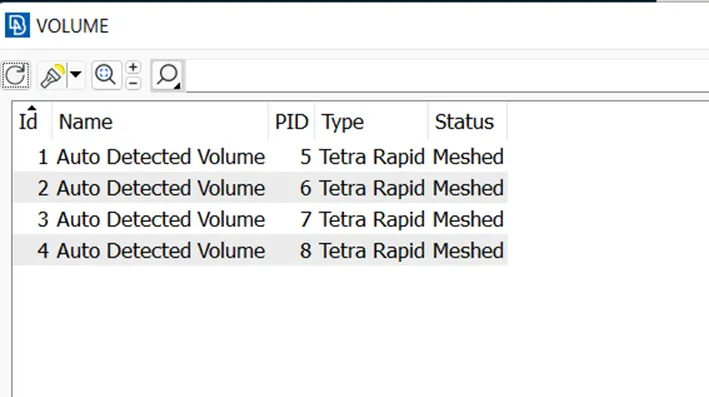
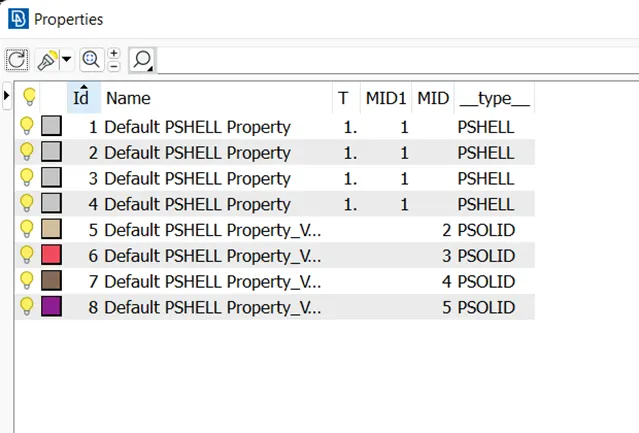
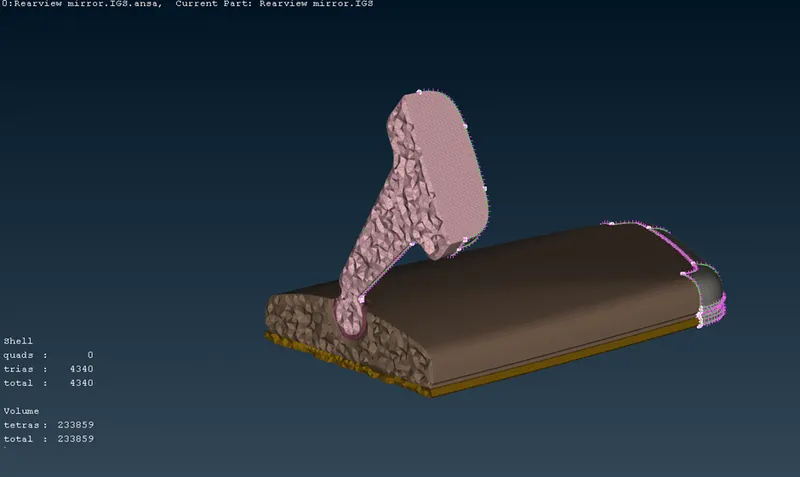
his are auto dectected volume which will me mesh by tetra rapid mteshed:
Learning Outcomes:
Able to check min length, max length, and Tet Collapse error for 2D and 3D elements.
Can perform volume mesh with good surface quality.
Conclusion:
We have successfully check and clear the geometrical error and performed the 2d and 3d meshing on this rear view mirror model.