Week 5 Challenge : Surface wrap on Automotive Assembly
AIM : To perform surface wrap on automotive assembly in ANSA.
OBJECTIVES :
- Loading up the Geometry in ANSA.
- To do the Geometry Preparation using TOPO Tools in ANSA
- To perform surface wrapping of the Geometry for the CFD.
- given mesh target lengths for the wrapping is 3mm.
INTRODUCTION :
Surface wrapping in CFD meshing is a technique used to create a simplified, watertight surface mesh around complex geometries, making it easier to perform simulations. This method is particularly useful for handling intricate or dirty CAD data that would otherwise be difficult to mesh.
The process involves generating a “wrapper” around the geometry, focusing on the external surfaces (Or can be internal surfaces depending on study and input) and ignoring internal details. This results in a clean, closed surface mesh suitable for external flow simulations, such as aerodynamics studies in the automotive and aerospace industries.
Surface wrapping significantly reduces the complexity of the meshing process, and the time required for preprocessing. Various software tools, including ANSYS Fluent and Autodesk CFD, support surface wrapping, allowing engineers to efficiently prepare models for computational fluid dynamics analyses. By simplifying the geometry, surface wrapping ensures that the mesh accurately represents the physical model while maintaining computational efficiency.
STEPS / PROCEDURE :
1) Loading Geometry
We have given 3 geometries for the Powertrain assembly -
i. Engine
ii. Gearbox
iii. Transmission.
We will go through geometries one by one for the geometry cleanup and then merge the geometries togeather.
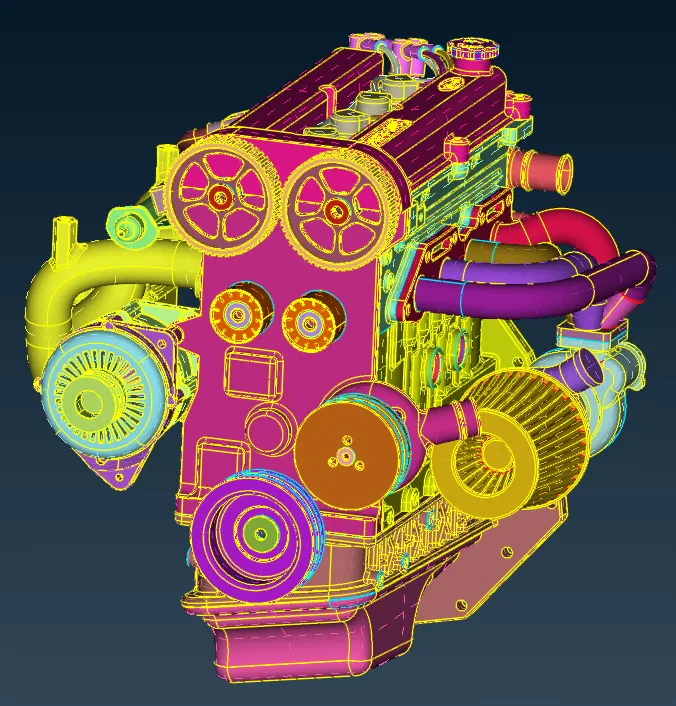
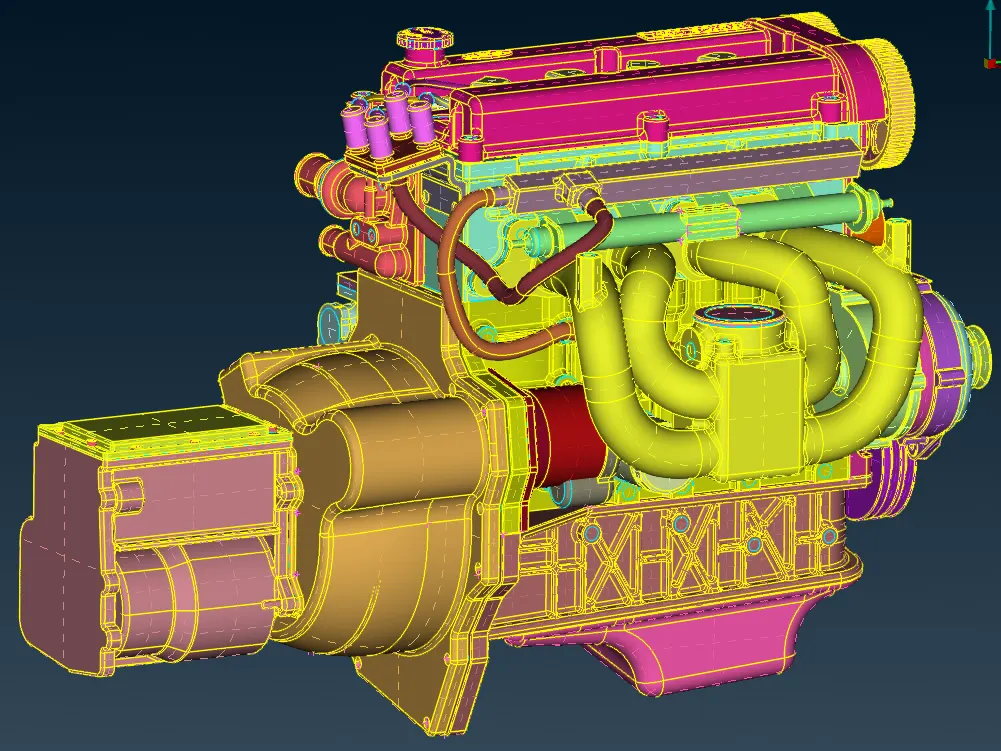
The Following is the geometry of the engine -
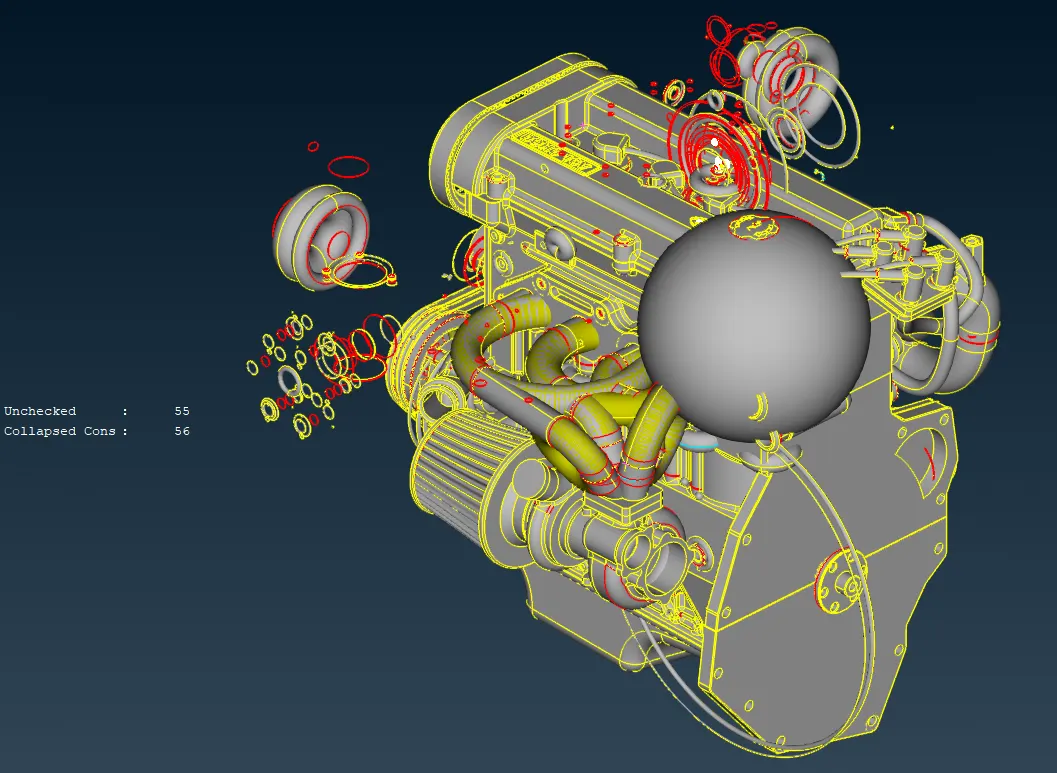
Selecting the PID view -
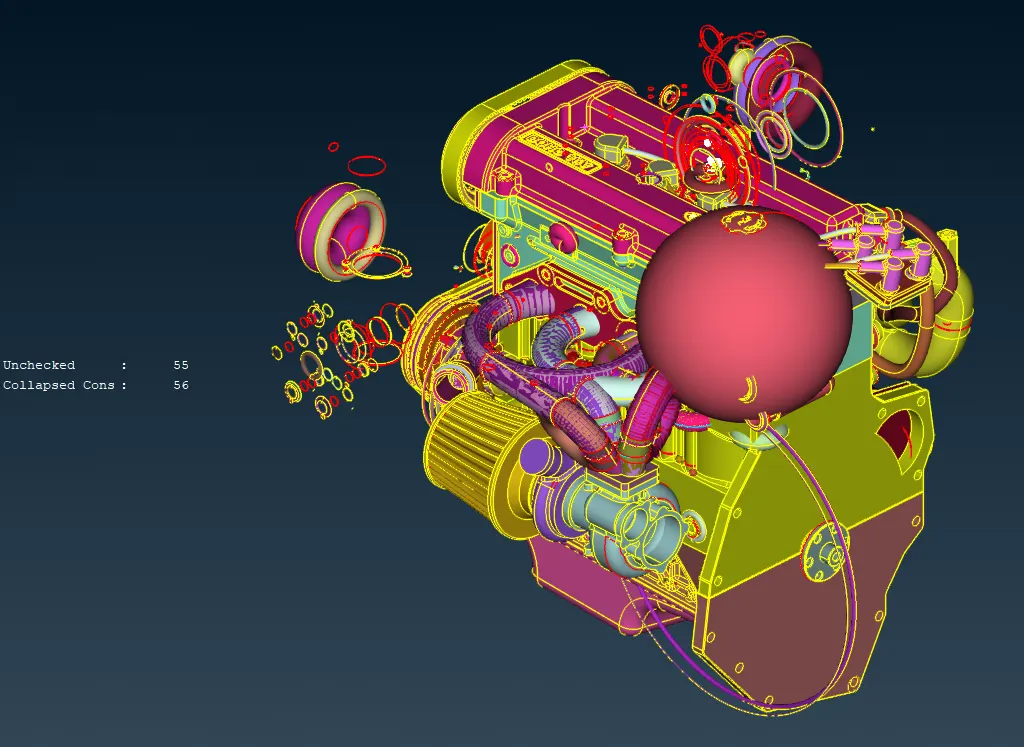
2) Geometry Cleanup -
Before proceeding to surface wrapping and meshing, we will improve the geometry using tools in TOPO deck.
The first thing to do is to check the single cons and triple cons in the model. These are identified using geometric check tool.
As Shown below we got this much singles cons after performing the geometric check.
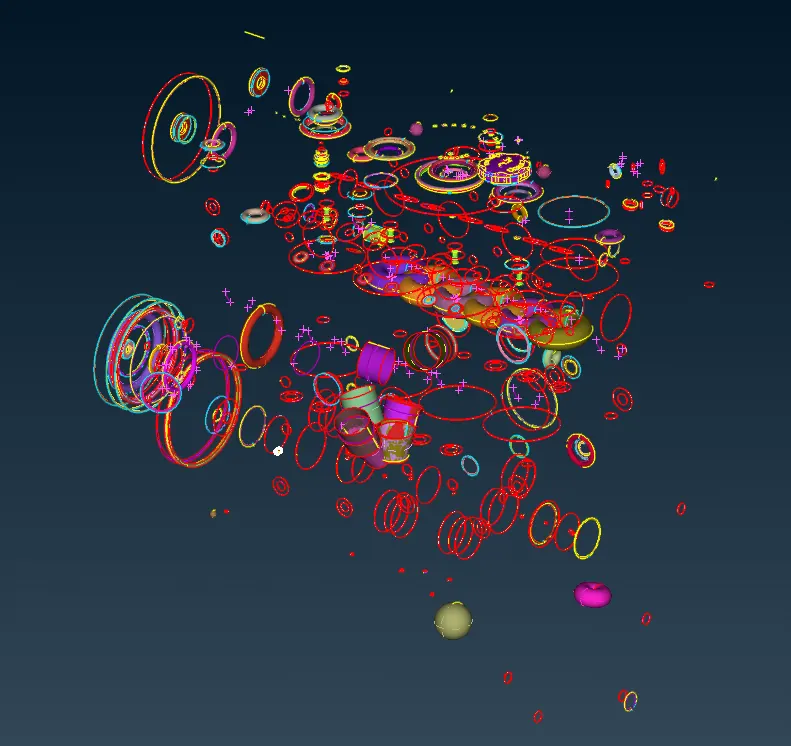
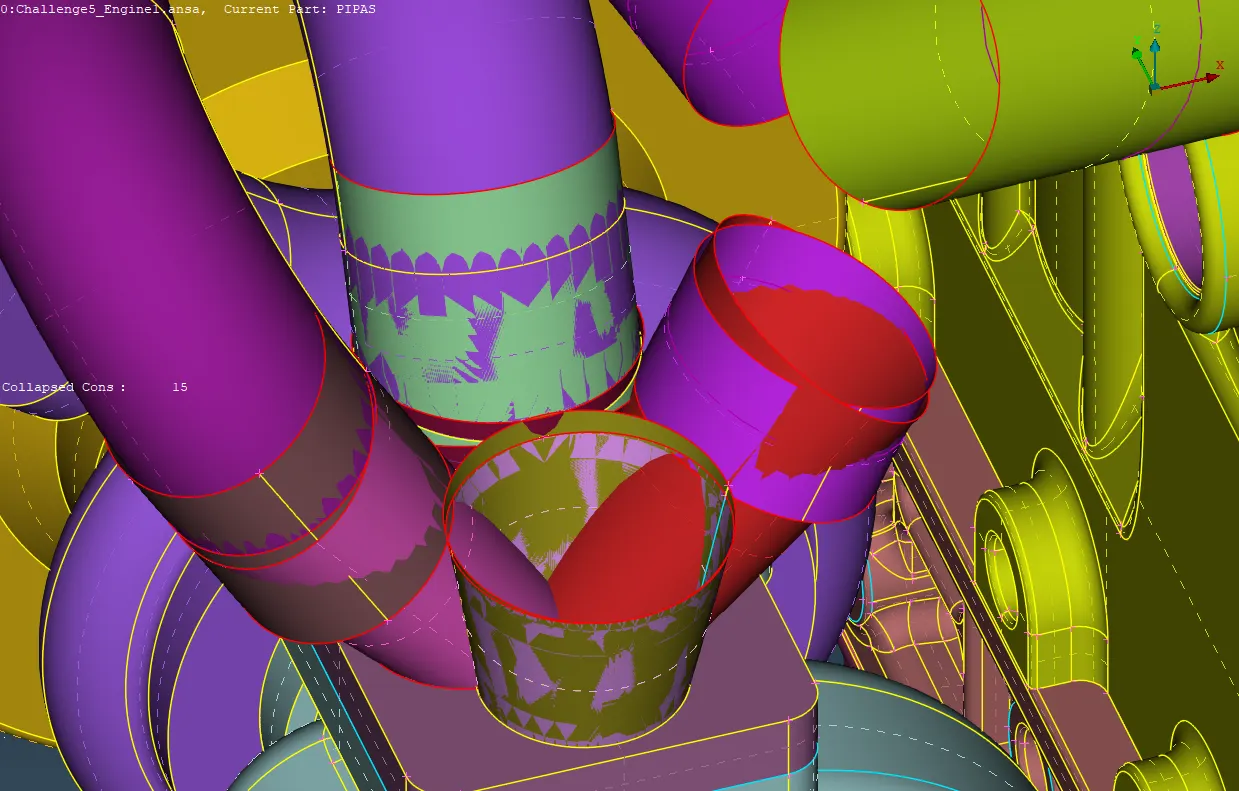
We can see from the following image there are lot unwanted surfaces which are not required for the analysis.
We can hide the required surfaces and then delete all the unwanted interfering surfaces.
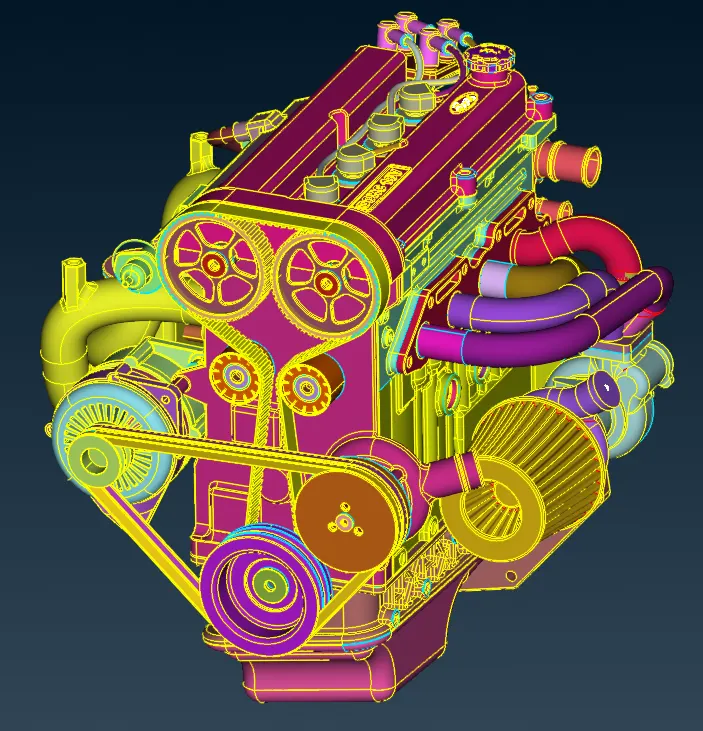
Now, as we have to do surface wrap for the analysis, we don't require the timing belts of the engine.
We can see the intake manifold pipes surfaces have lot of interfering and detached surfaces. However, for the current case we do not require these pipes.
Therefore, we will delete these pipes and close the inlet holes with the surfaces.
For doing the surface wrapping, it is important to close the medium and big holes.
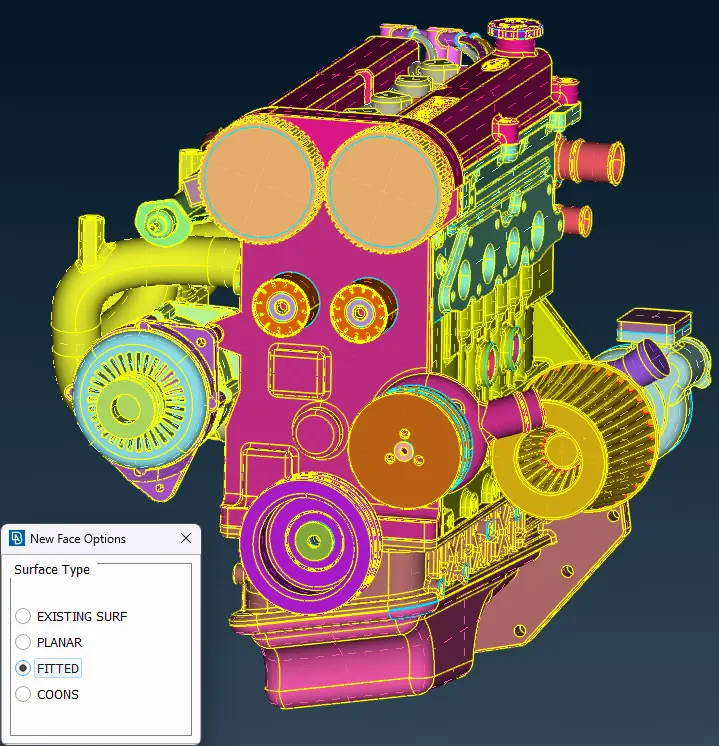
Here is the completely closed geometry ready to merge.
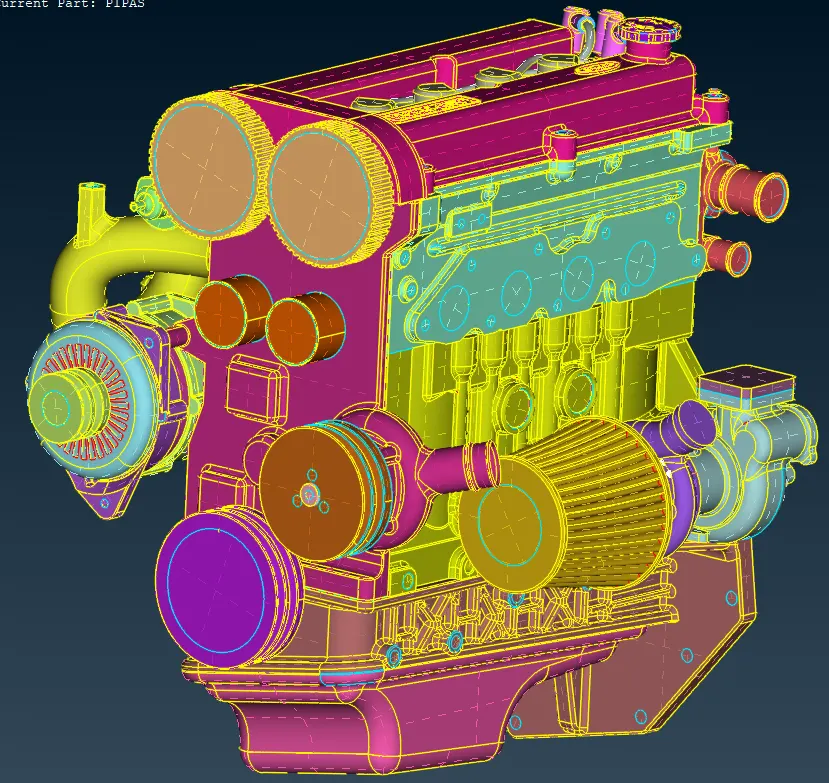
Now we will go to the transmission part.
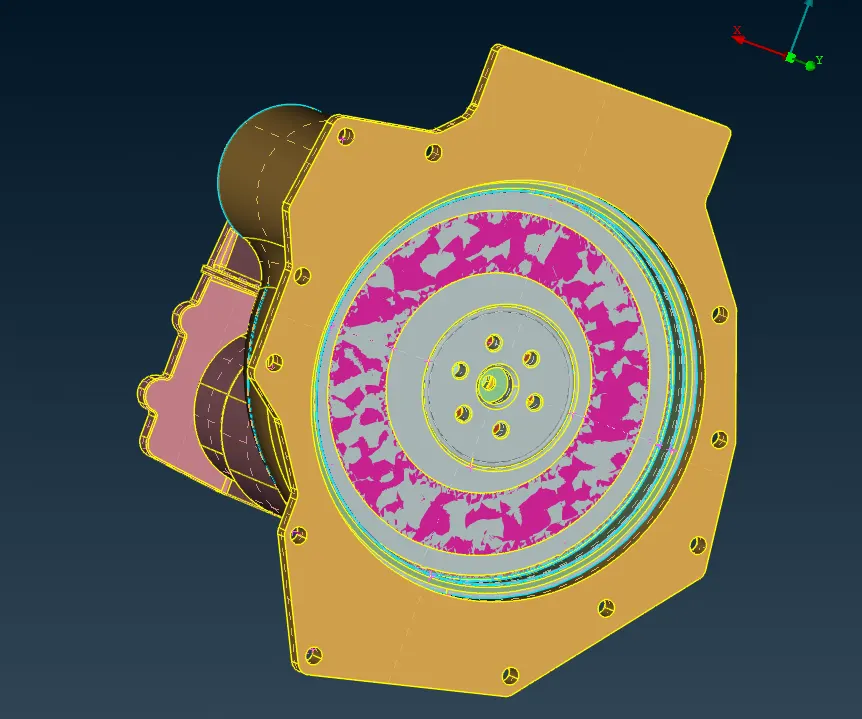
We can see the interfering surfaces coming out .
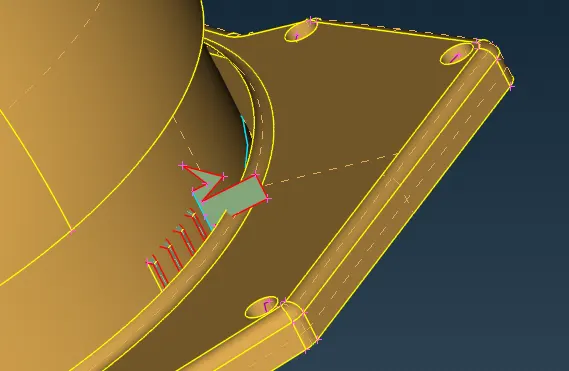
We will delete these surfaces. And correct few triple and single cons on the part.
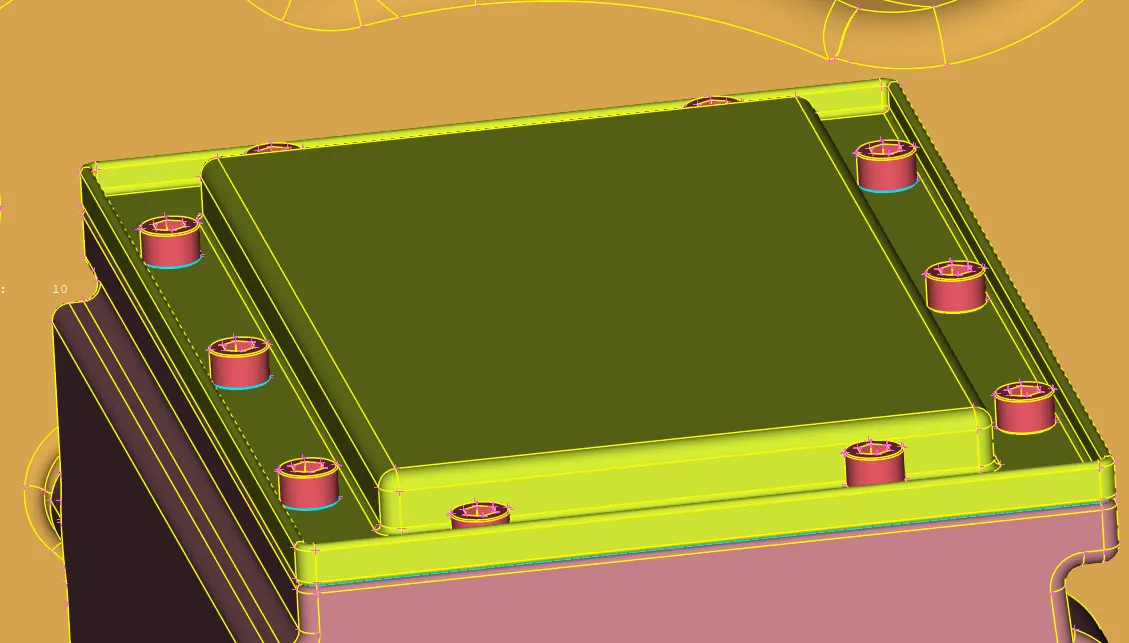
After that Transmission Part looks fine for merge.
Let's move to Gearbox part
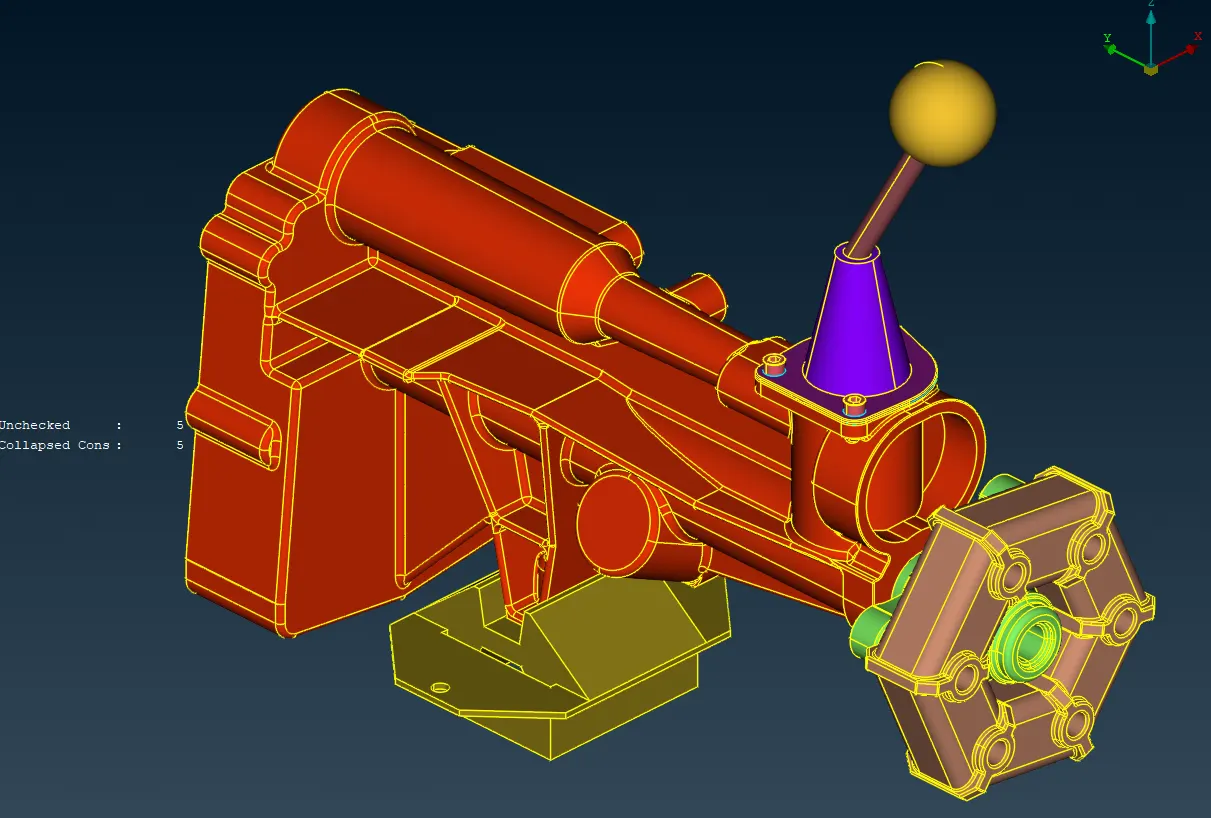
Checking and correcting the single con and triple cons on the part.
and also deleting unwanted surfaces,
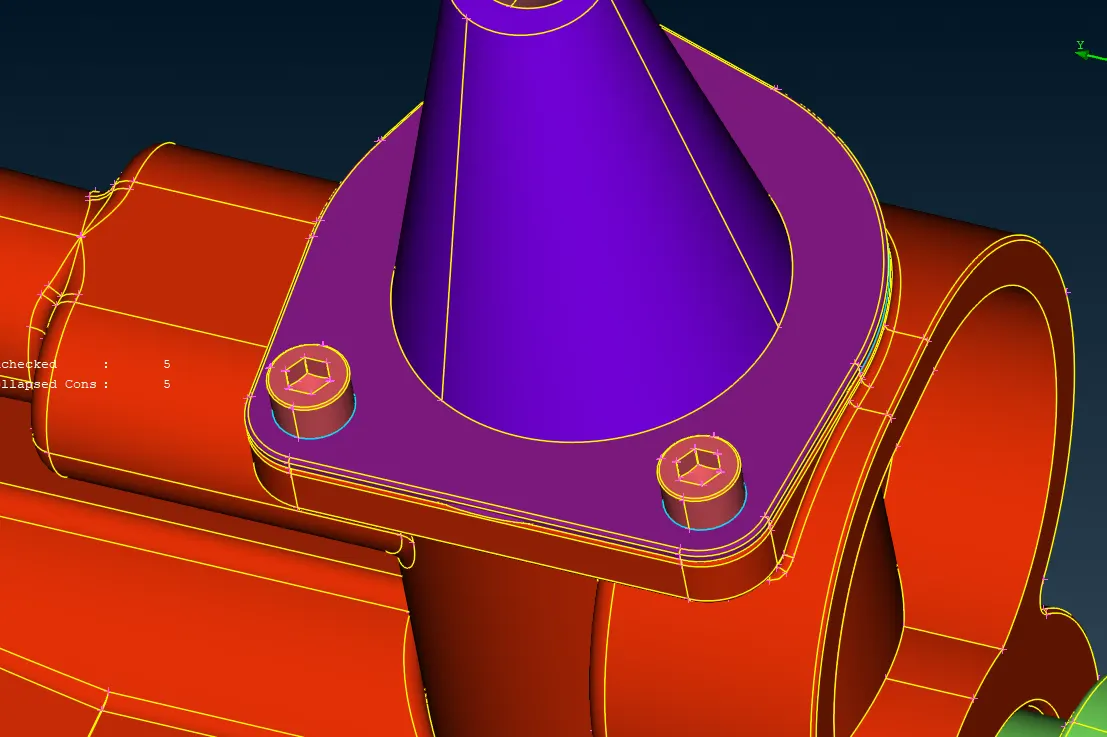
Deleting overlapping surfaces and correcting the surfaces of the part
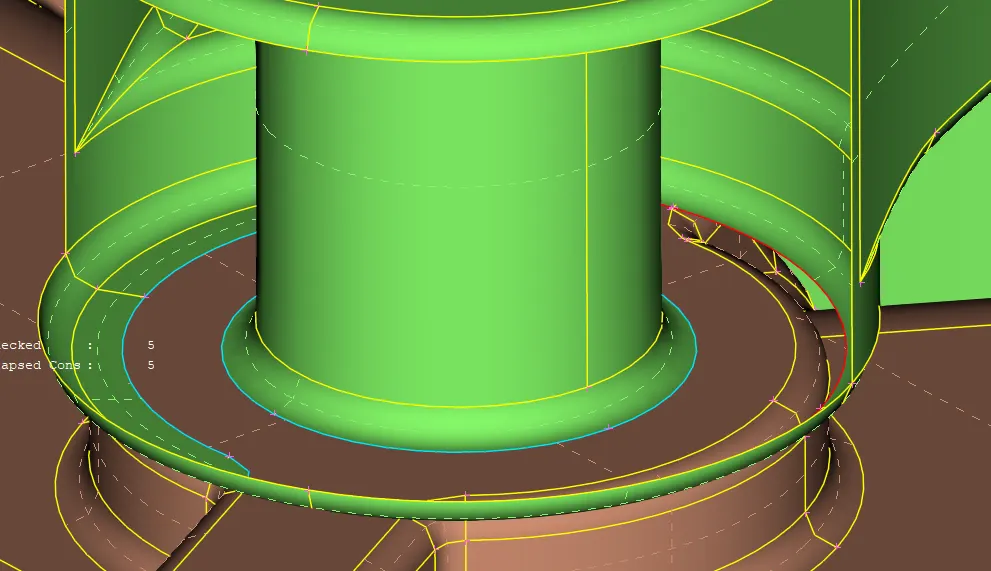
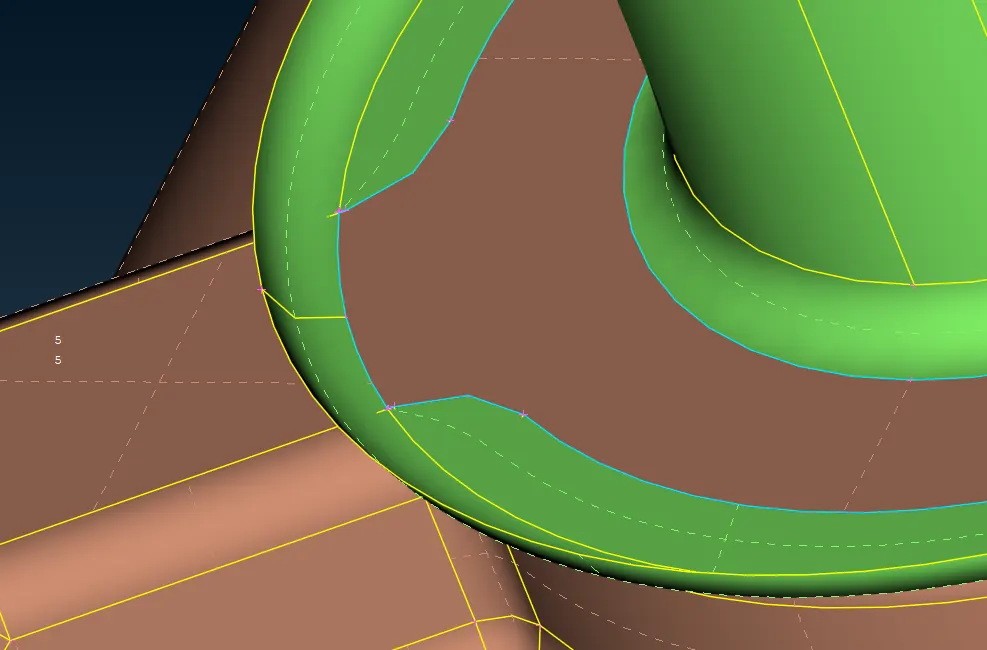
checking for the single cons.
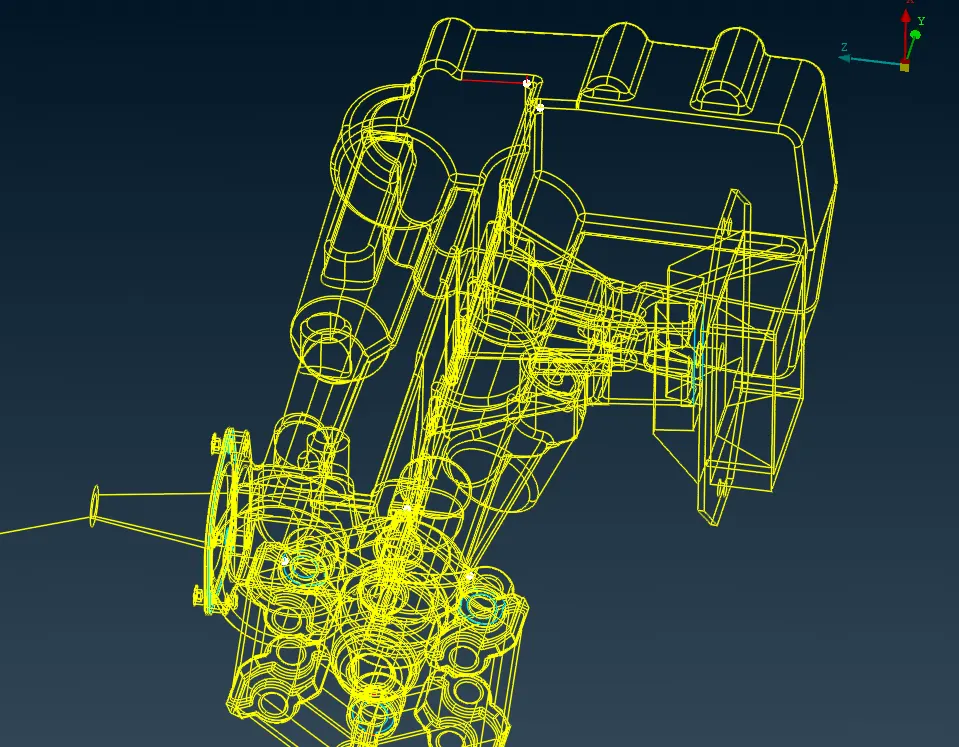
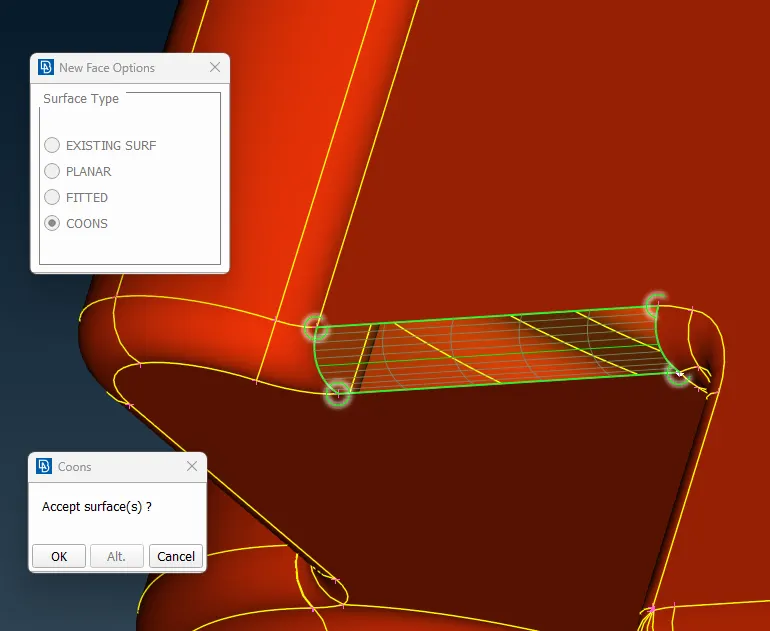
Correcting the irregular cavities of the geometry.
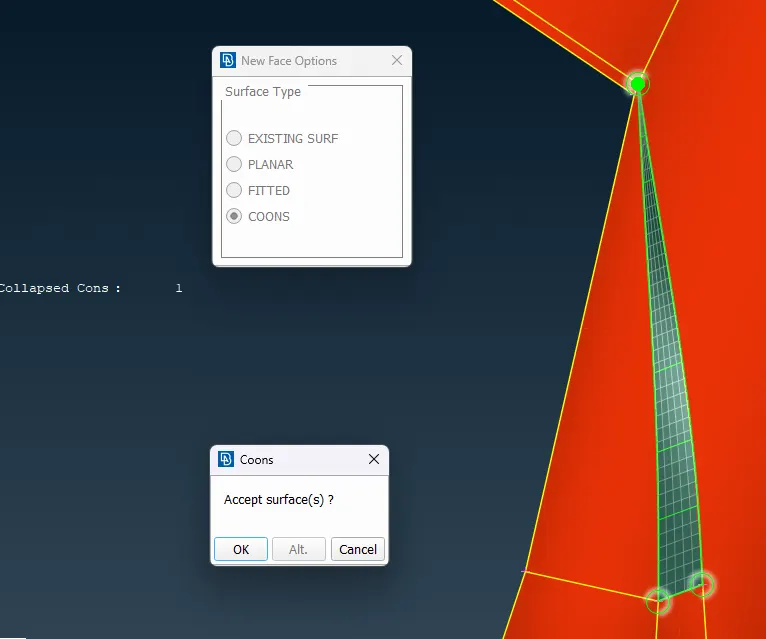
Now the gearbox is ready for the merge.
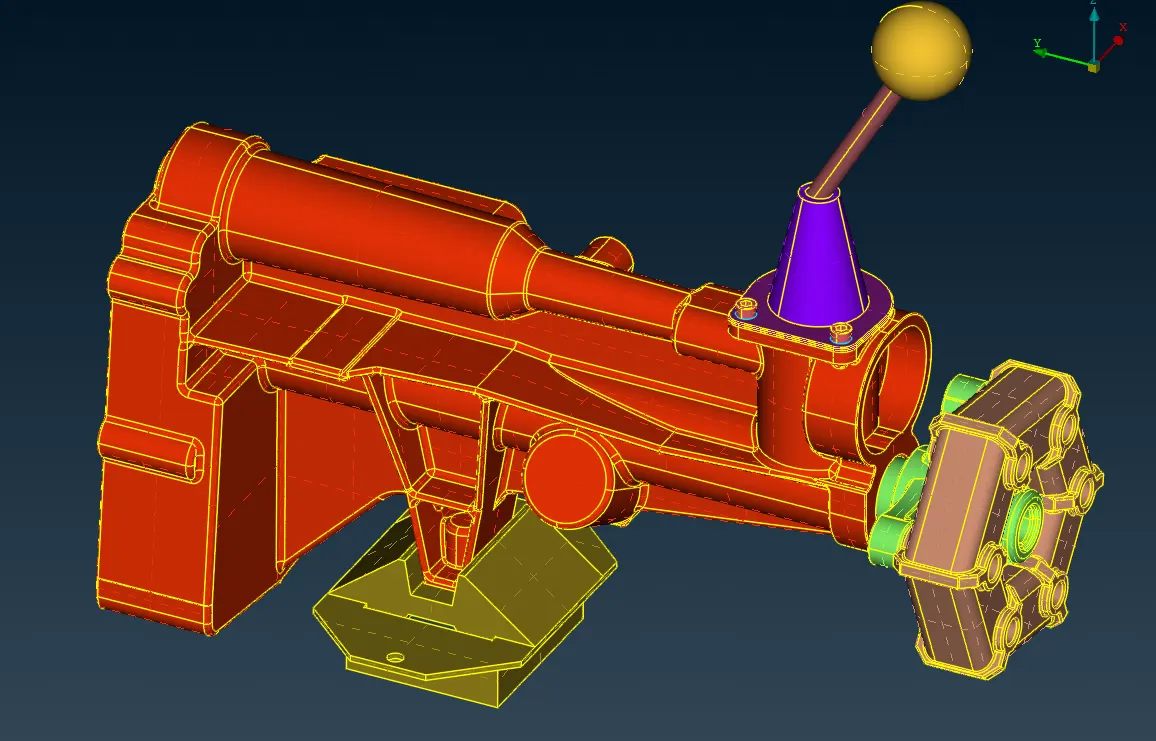
Now after doing topo cleanup for the geometries of the engine are ready for merging together.
For merging different files, we will click the merge option from the files tab and from that browse the transmission and gearbox files.
Following you can see the options we have used for merging the parts.
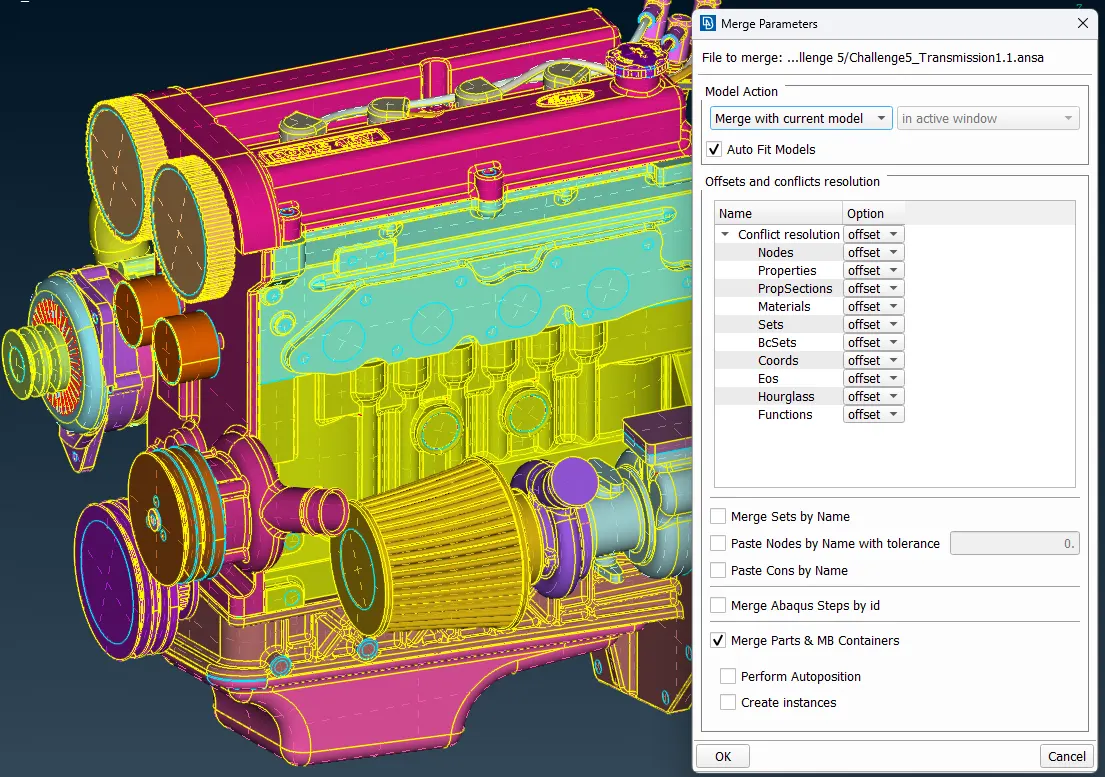
First, we merge the transmission files.
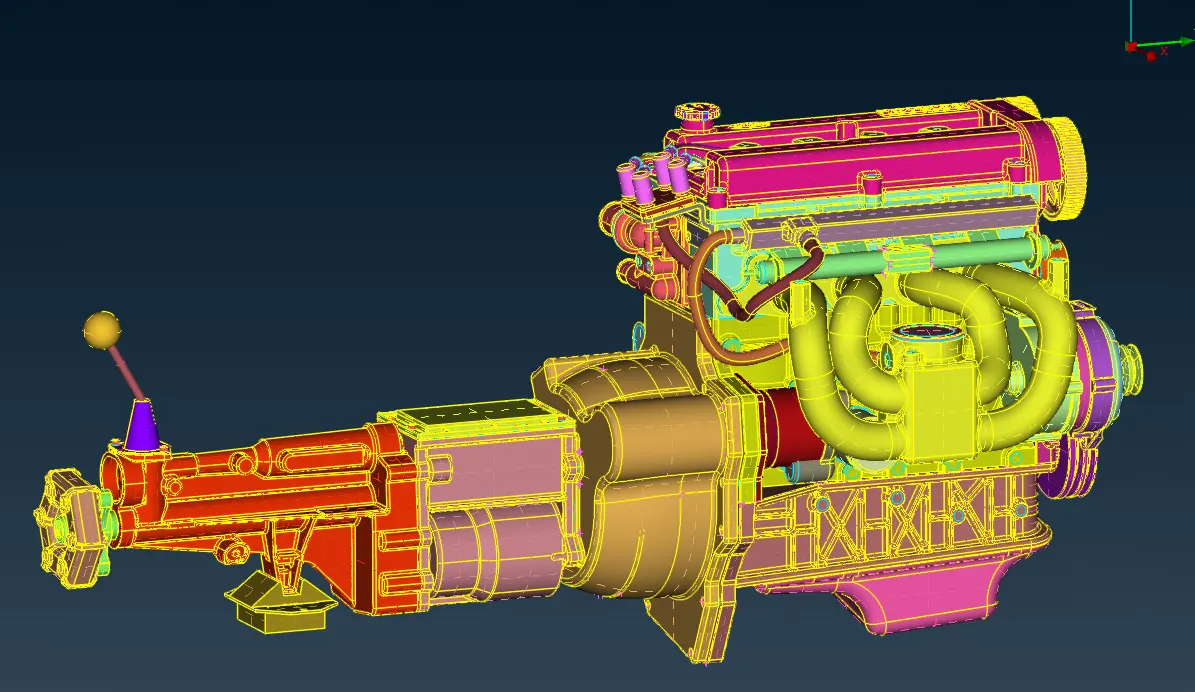
And then similarly we will merge the Gearbox file.
Following we can see the complete assembly.
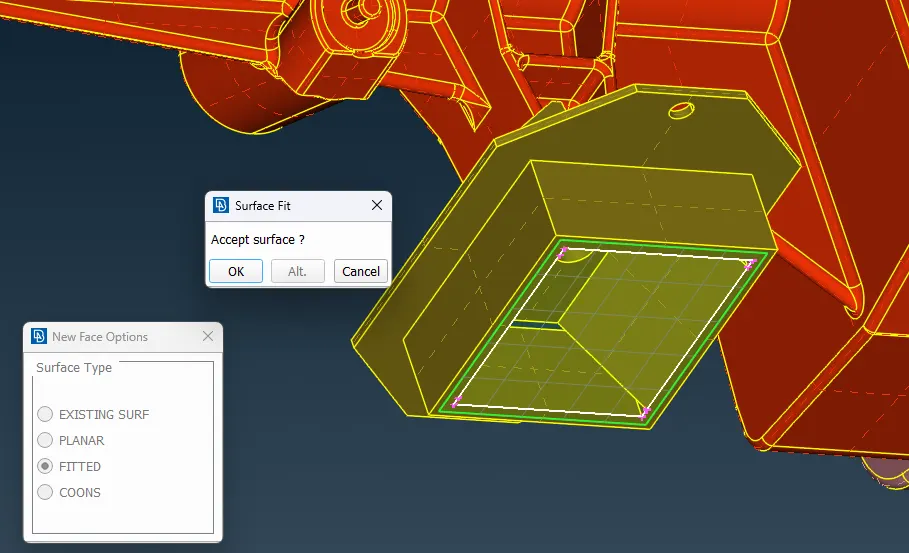
Now we will do final check and close all the large openings and holes remaining, which could affect the wrap.
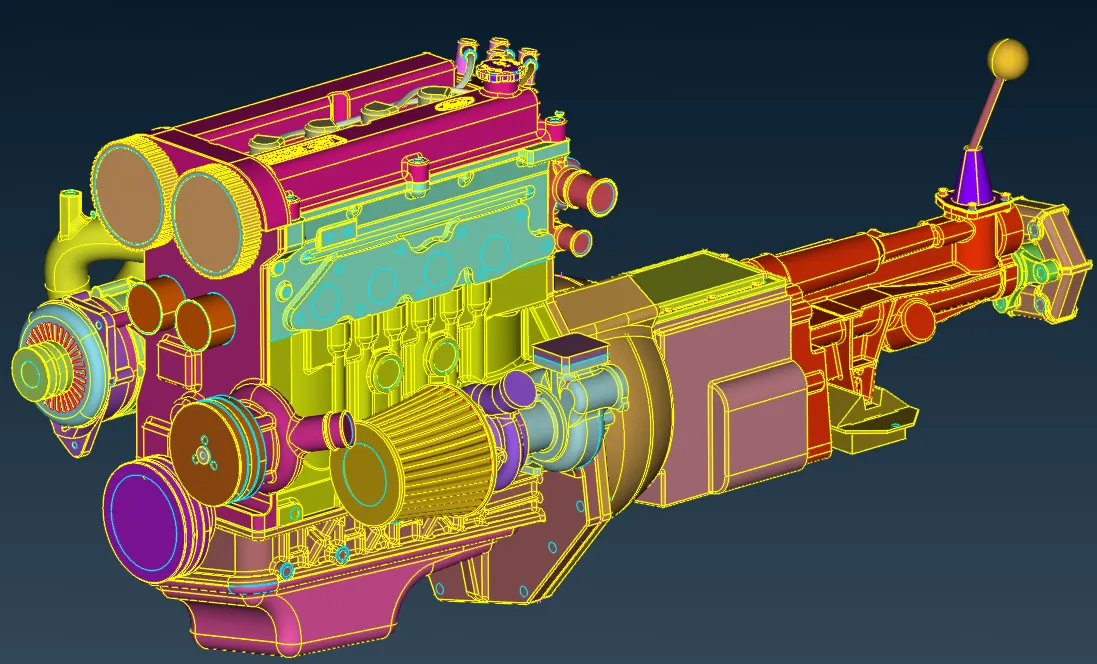
Following is the completed cleanup geometry, read for the surface wrap.
Now before moving into the wrapping. we will check the no. of PIDs, in the properties.
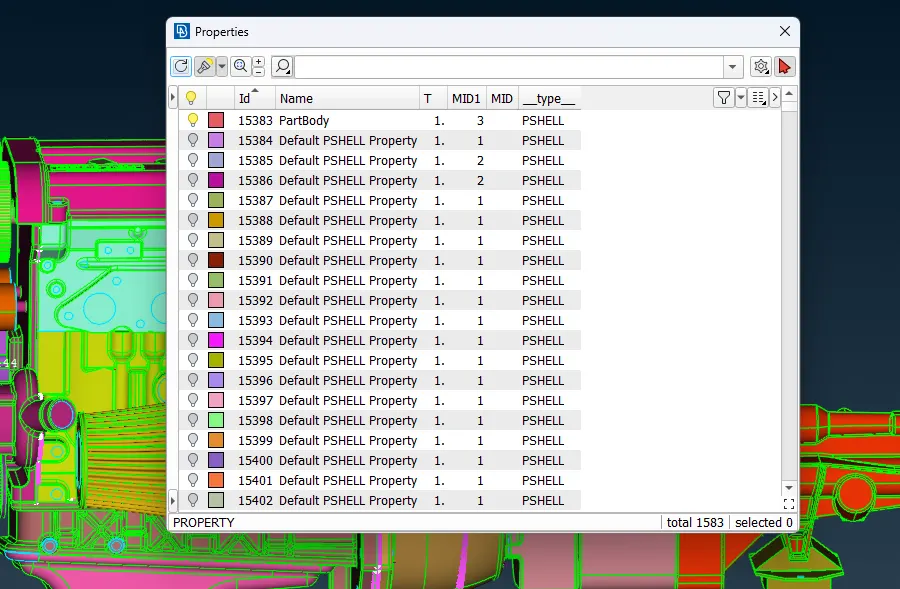
As we can see it is showing 1583 PIDs. Therefore, we can you compress tool in order to remove unwanted or junk PIDs.
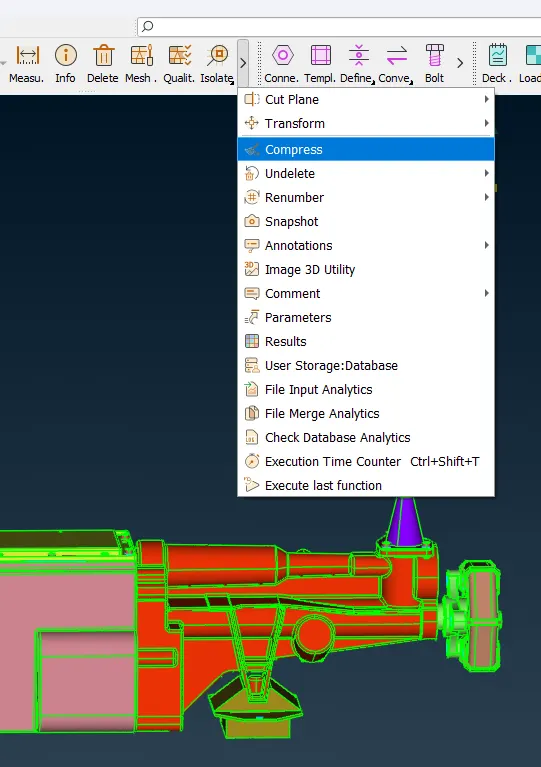
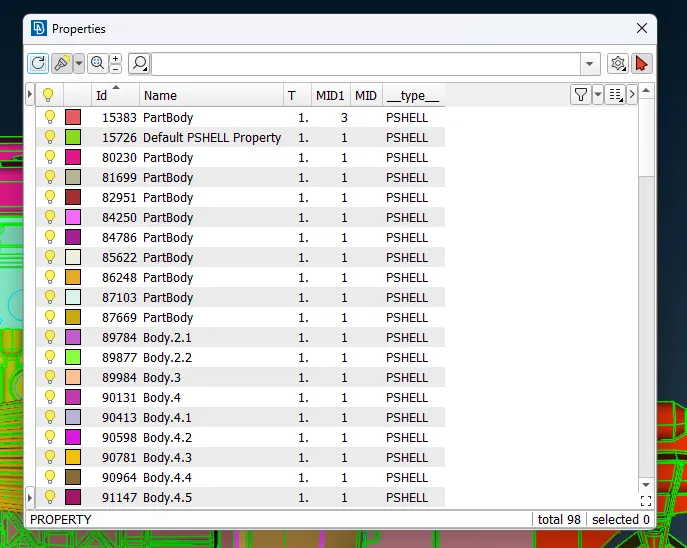
After the Compress operation now we have only 98 PIDs, so it looks good to go.
Now we move to mesh deck in the ansa. We select the Wrap option and in that we select the constant length option.
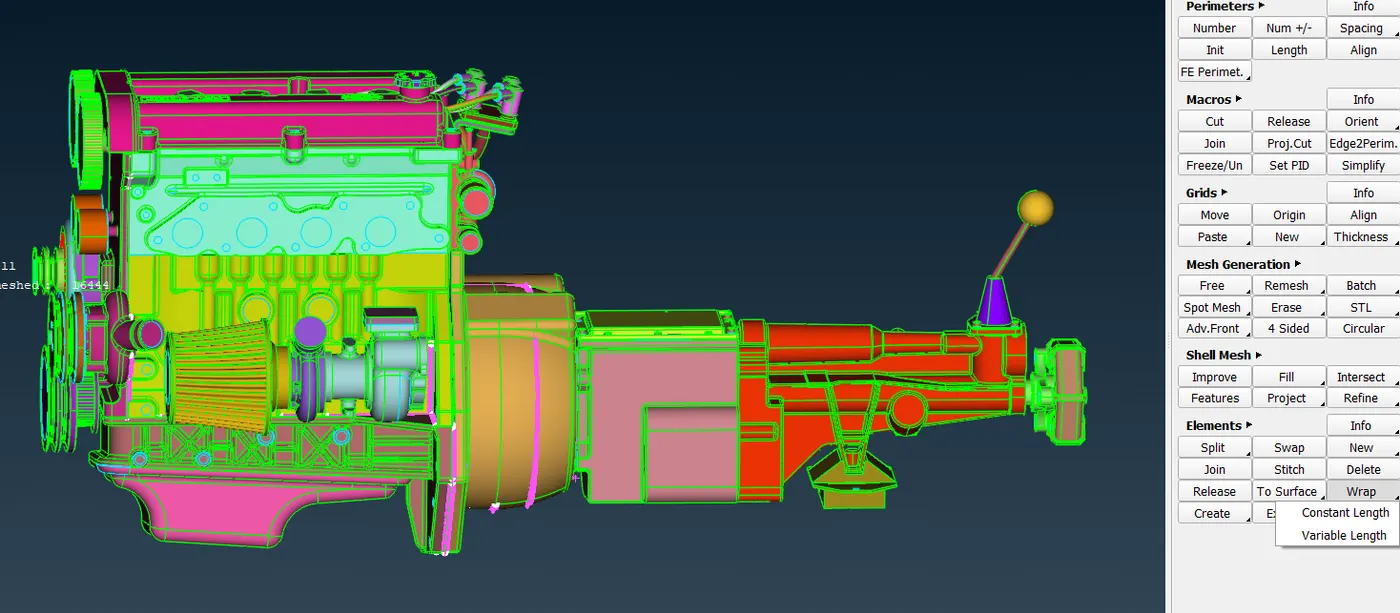
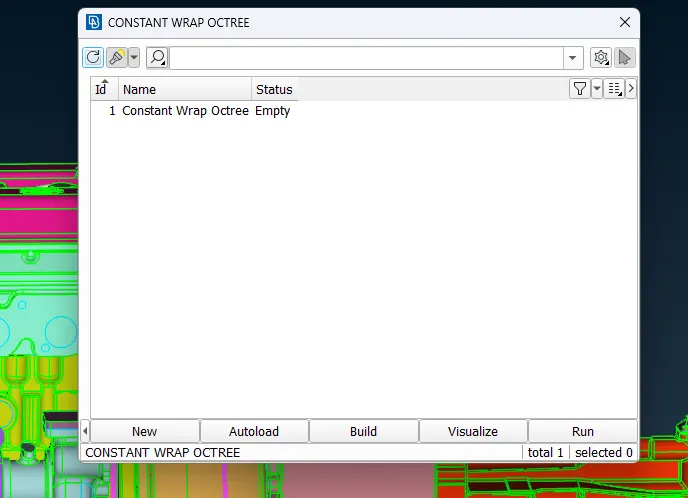
After the clicking constant length, we will double click the Empty.
After that we will click on the parameters.
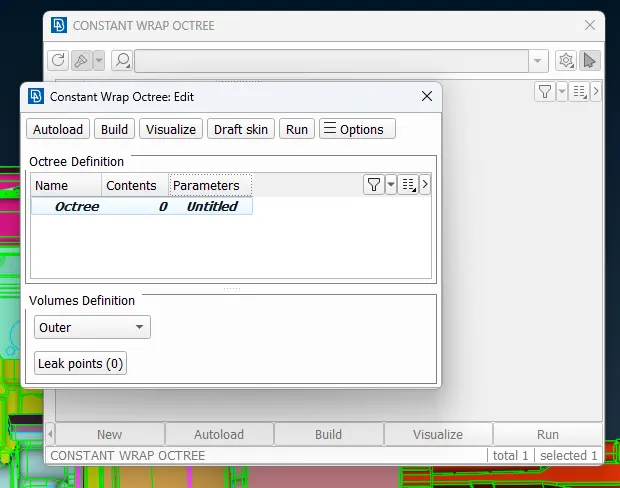
In the parameters, we will define parameter name, target length i.e. 3 mm and Shell type, wrap mode and assign property as Assign properties from structure.
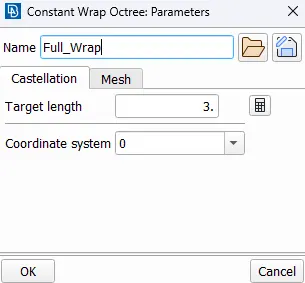
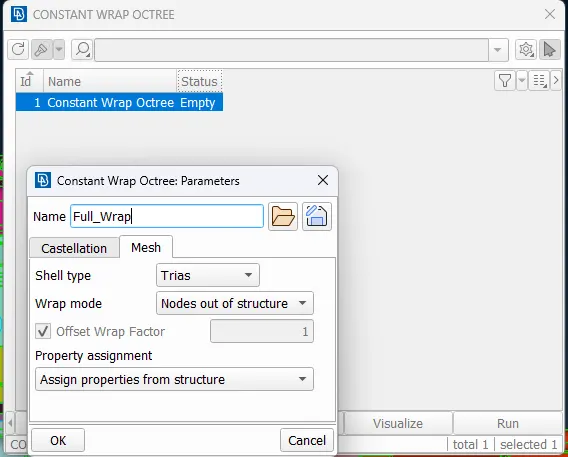
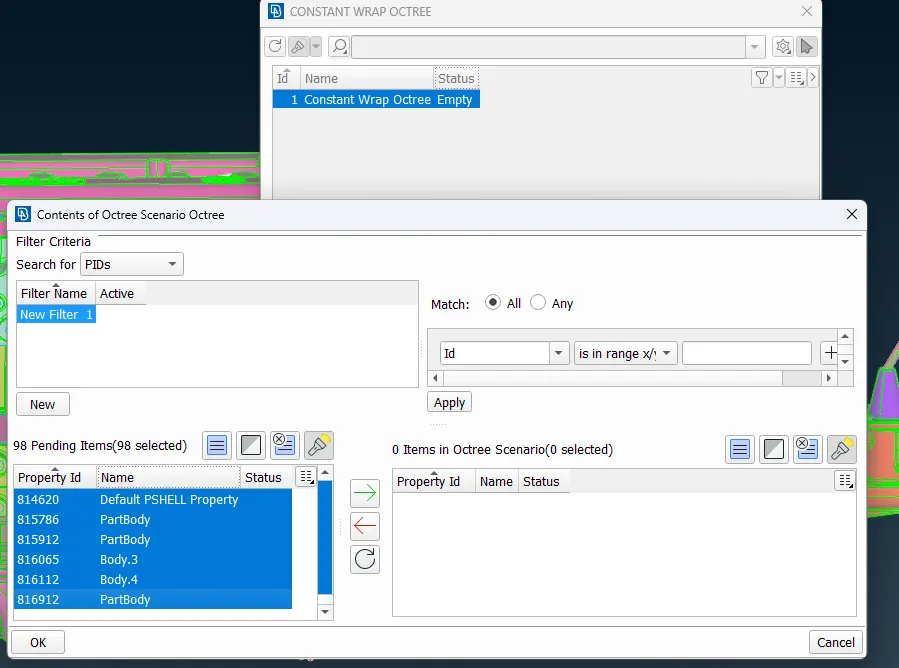
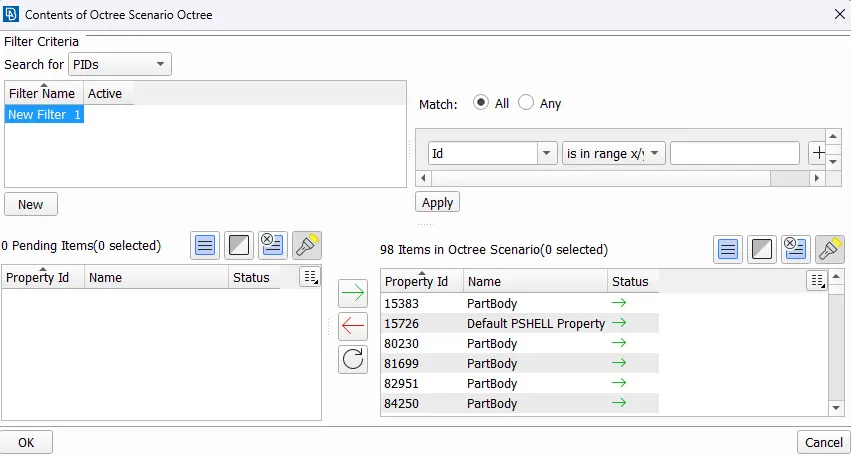
Now after saving that we will double click the contents of the octree.
Here we will selected the PIDs for the surface wrap, which is all PIDs in our case as shown below.
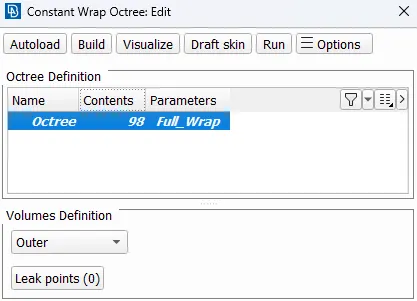
Now after completing the octree setup., we will go back.
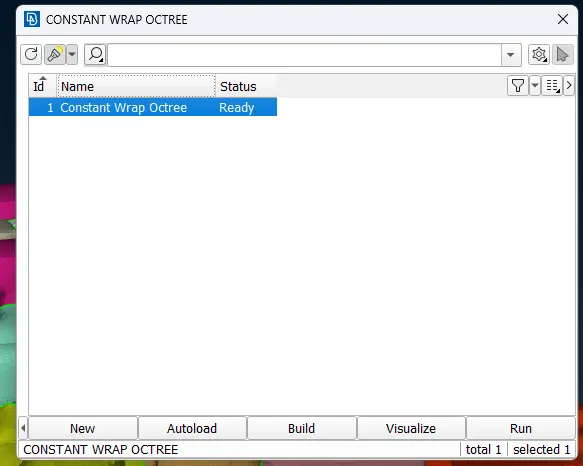
Now we can see the status is showing Ready, now we Press the Run button.
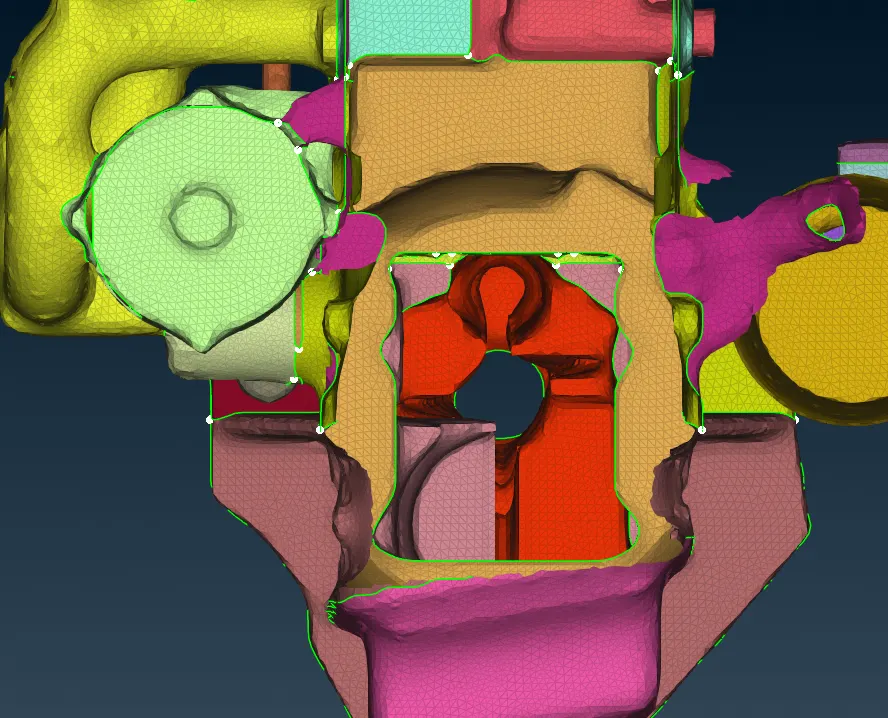
Following you can see the generated mesh wrap of the whole assembly.
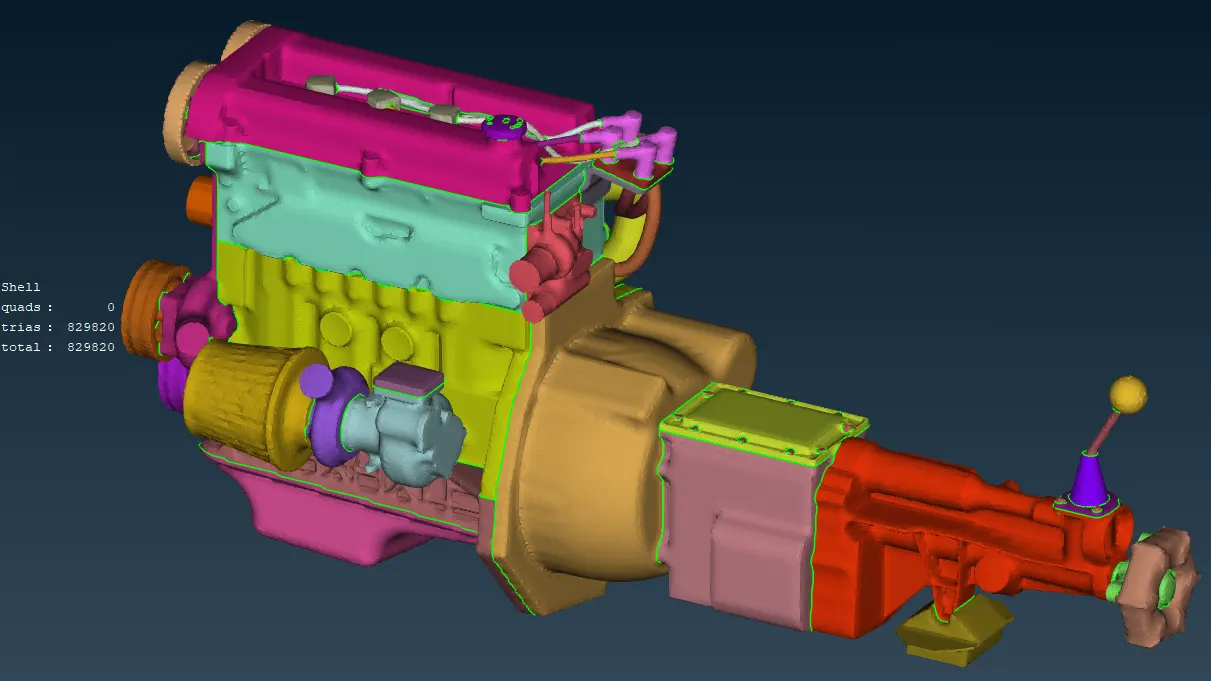
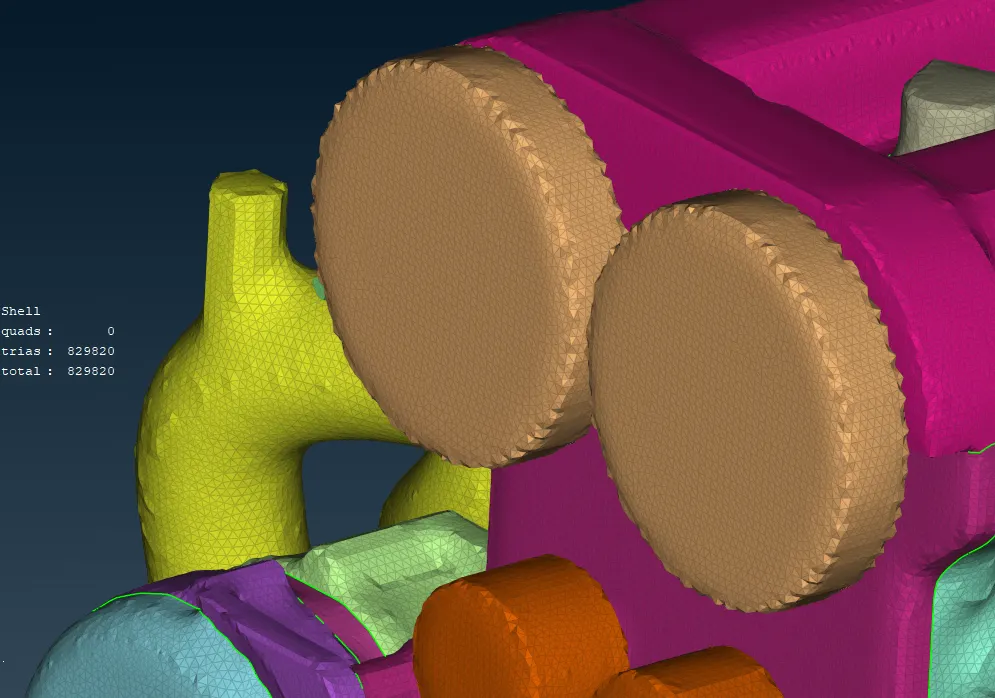
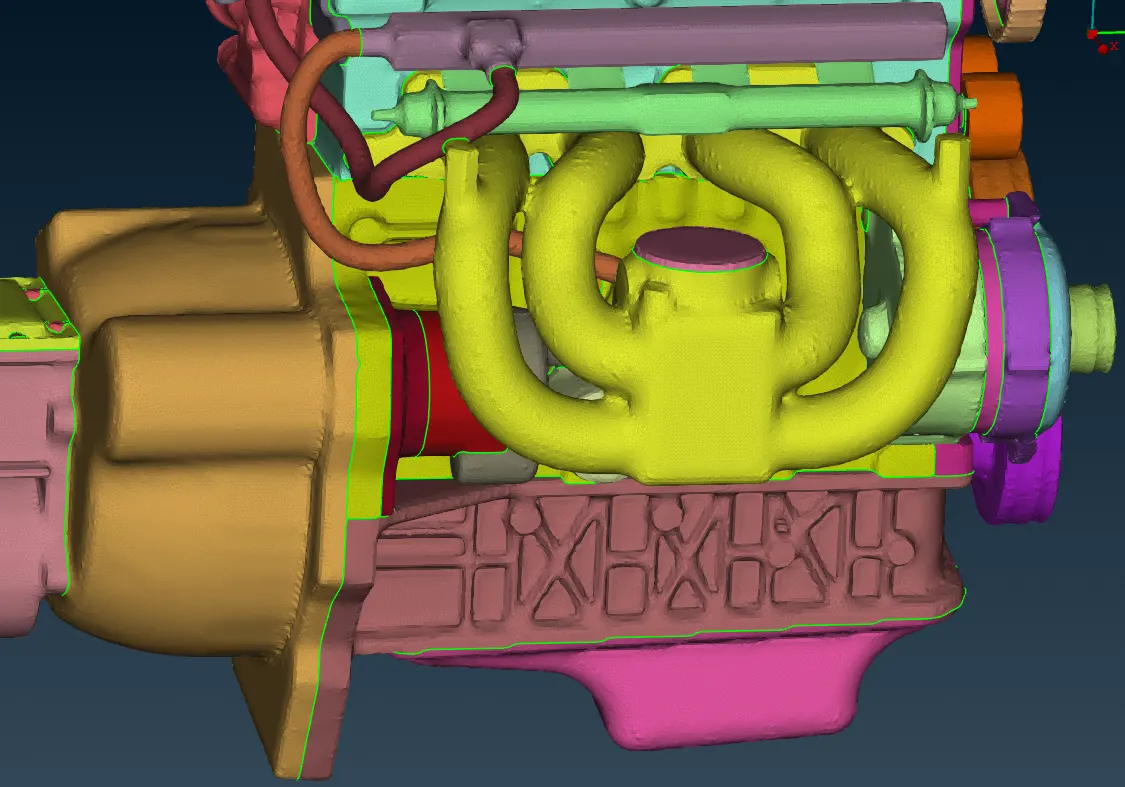
For checking geometry and Wrap, you can toggle from the geometry and FE-mode options, to Hide one and see the other.
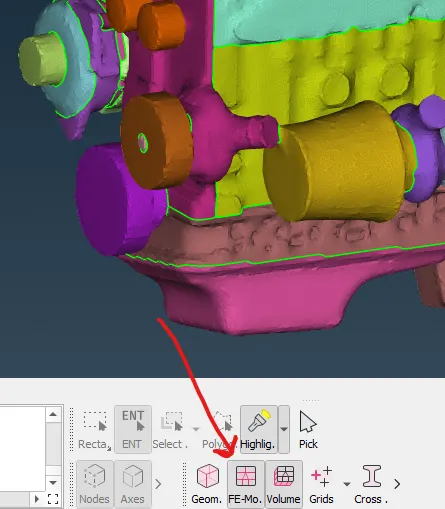
By hiding the left and right end section, we can check the inside of the wrap. that we can see through from this end to the other end.
RESULTS :
We have completed the Surface wrapping with 3 mm target length, creating the Wrap of 829820 Tria Elements.
CONCLUSION :
We have successfully created the mesh wrap for the Engine Assembly.