Week 5 Challenge : Surface wrap on Automotive Assembly
Aim:
(i) To perform a geometry clean-up of a given model.
(ii) To Merge three different models (Engine,Gearbox,Transmission).
(iii) To perform surface wrap of the merged model.
Introduction:
Mesh data is commonly used in various industries,among those Computational Fluid Dynamics Significant industries are present.Those industries most commonly used format for Mesh is .STL(Stereolithography).The STL format describes a 3D object as a collection of triangles with no explicit topology information (i.e., there are no such entities as parts, bodies, faces, etc.).Because mesh data is an approximated representation of an object, there are often imperfections in the data which may become a showstopper.These imperfections can include missing triangles, overlapping zones, self-intersections, and you never know what else.All of these potential issues with imported data make healing mandatory.Generally, specific tools are used at the pre-processing stage to avoid imperfections and to provide adequate mesh for further analysis.The Surface Wrapping operates in either inner or outer mode. The outer wrapping mode produces a watertight shell covering the exterior of the input geometry. The inner wrapping mode is designed to envelop the models placed within a bounding volume. For example, it is well suited for the models positioned within a wind tunnel.The coarseness of the wrapped model is controlled by the cell size parameter which limits the minimal scale of triangles in the result.The wrapped mesh consists of elements of variable size.If external flow analyses or wind tunnel type models has a greater importance for the surface wrap this will reduces the extensive cleanup on the huge (or) complex CAD Models.
Procedure:
1.Click Start->ANSA ,then ANSA Launcher window appears
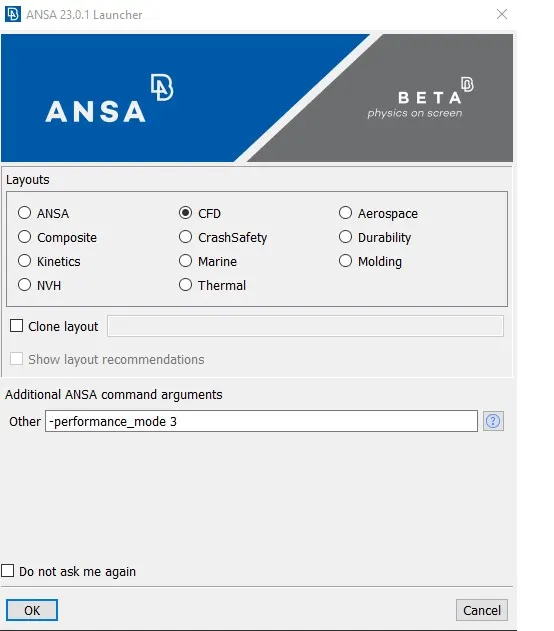
CFD is selected on the layouts,Changed the words on the additional ANSA Command arguments other to the -performance_mode 3 (for better graphics and slower performance)
2.Deleting the surfaces that is not connected to the Engine
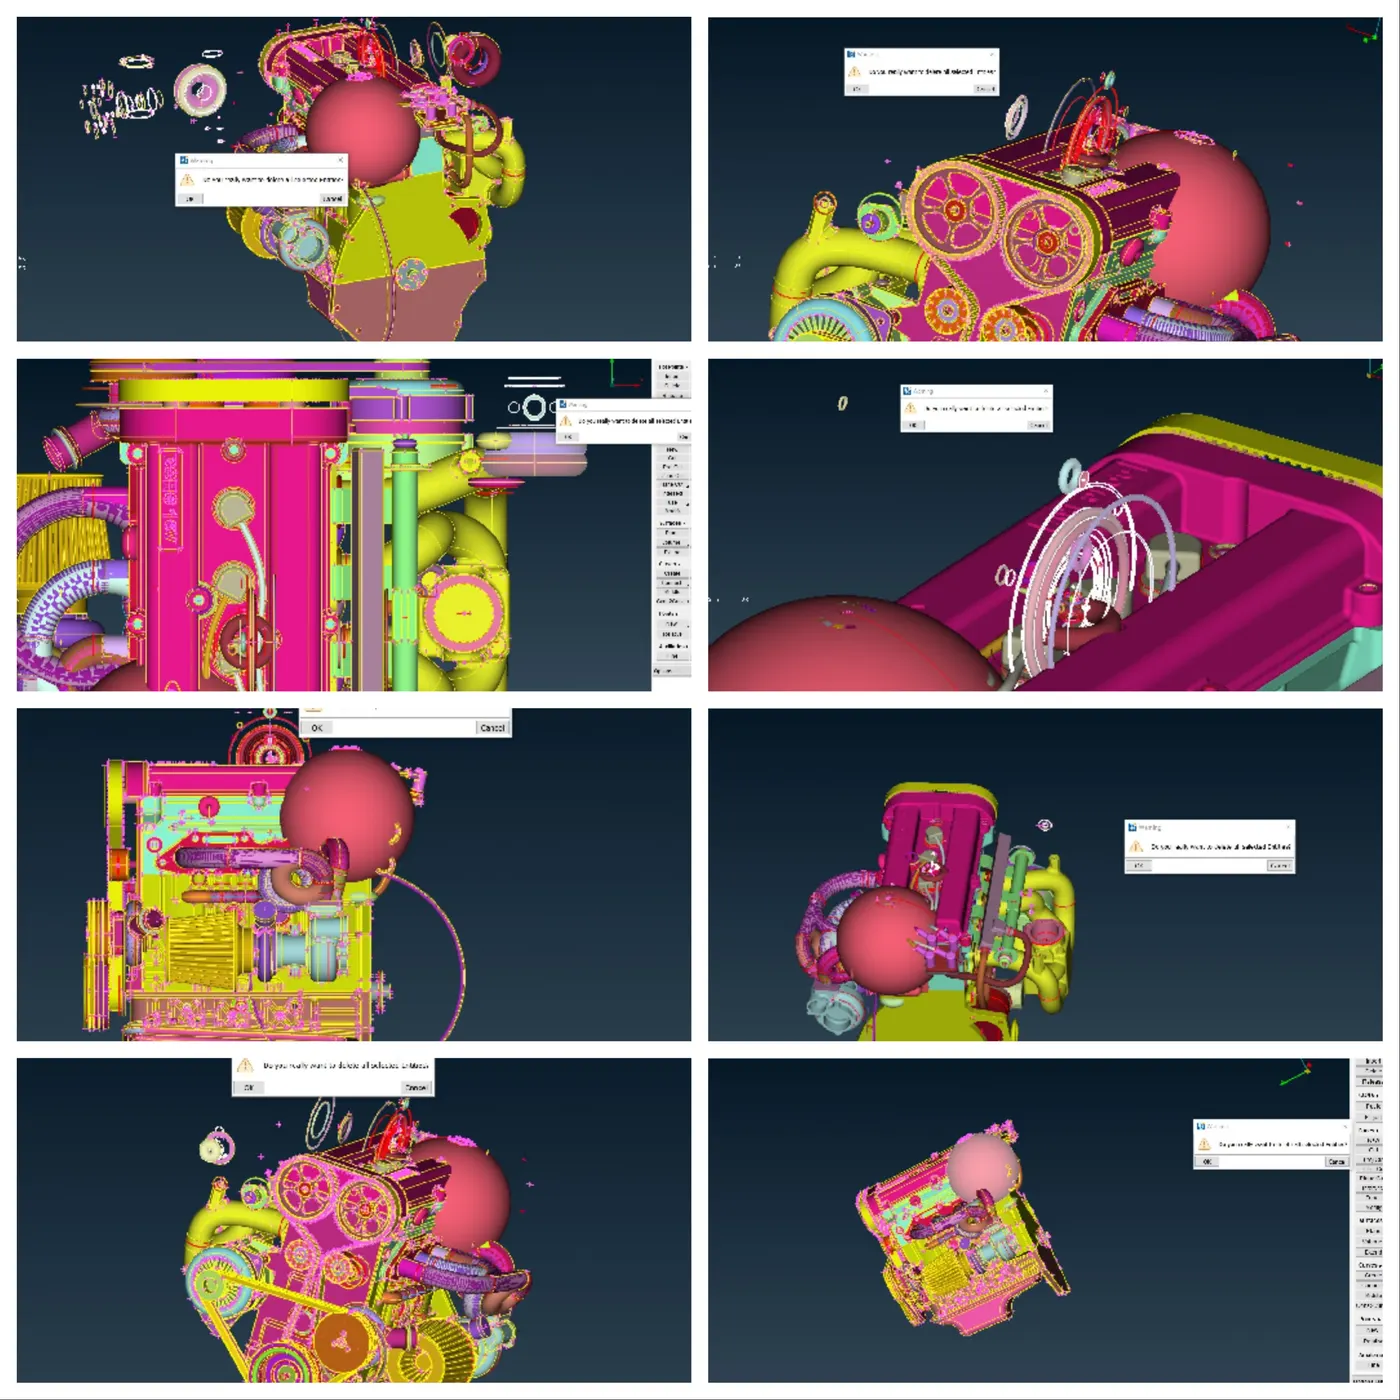
Procedure for deleting:
1.Select utilities->delete option,
2.Select the entities to be deleted, one by one, using the left mouse-button, by a box or a polygon selection area from Feature Selection toolbar.
3.if necessary, deselect any of the selected entities using the right mouse-button.
4.Confirm the end of entities selection with the middle mouse-button.
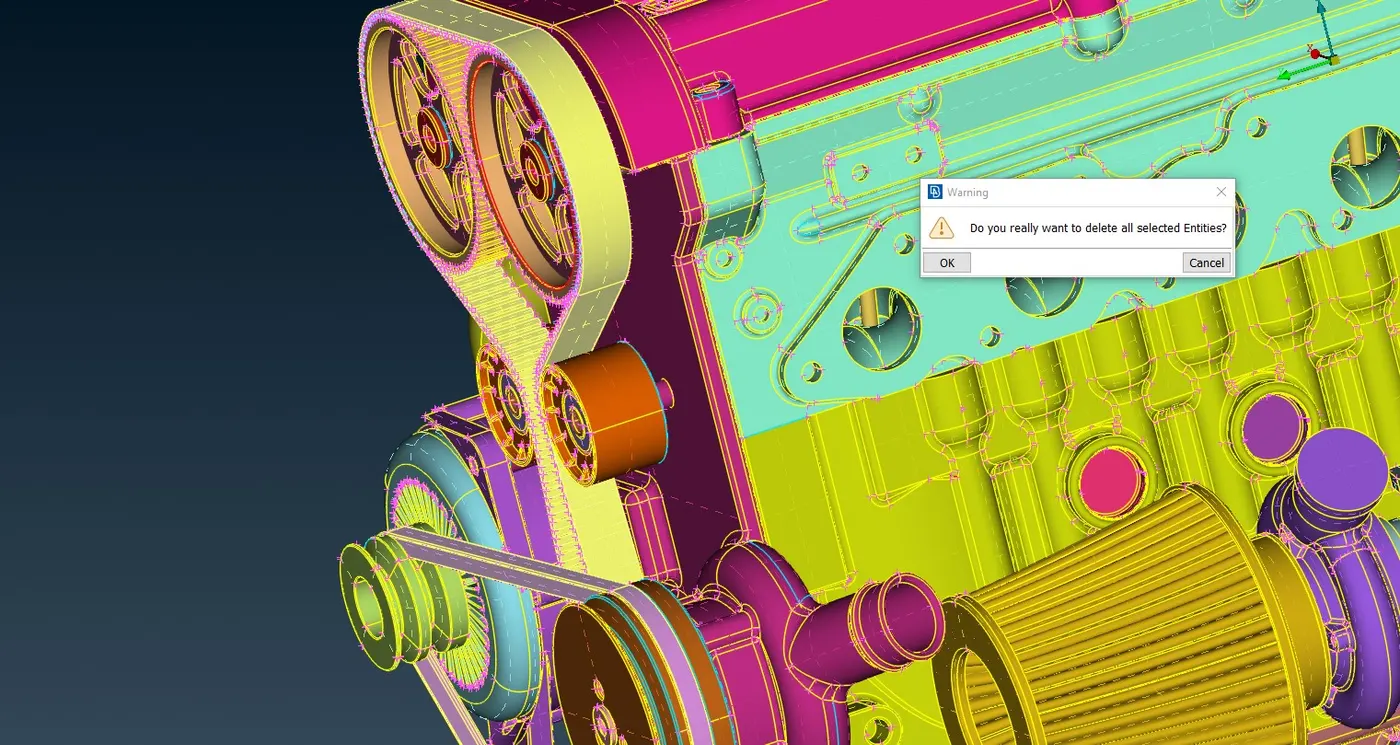
5.As the selection is confirmed, Warning window appears
6.if necessary surface is deleted then click ok button by placing the mouse over button and then left-click using mouse
7.if unnecessary surface is also selected then click cancel button by placing the mouse over button and then left-click using mouse
8.if ok button is clicked ,then all the selected entities are deleted.
3.Deleting the Rings that are used to capturing the feature.
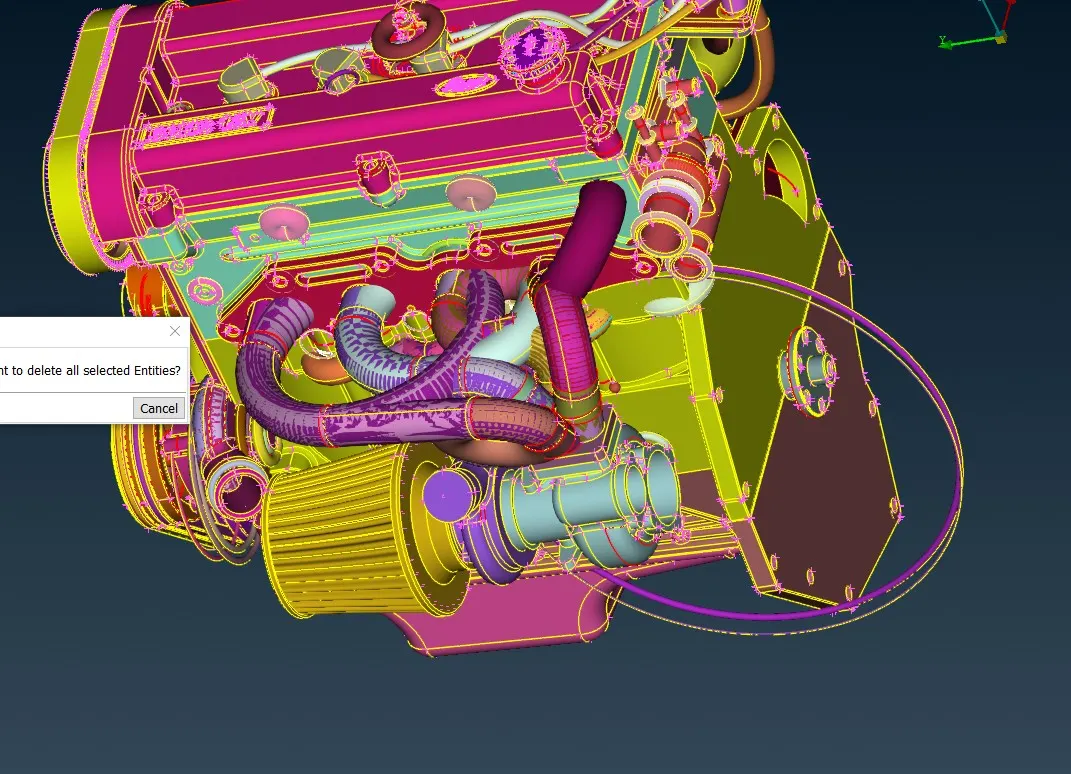
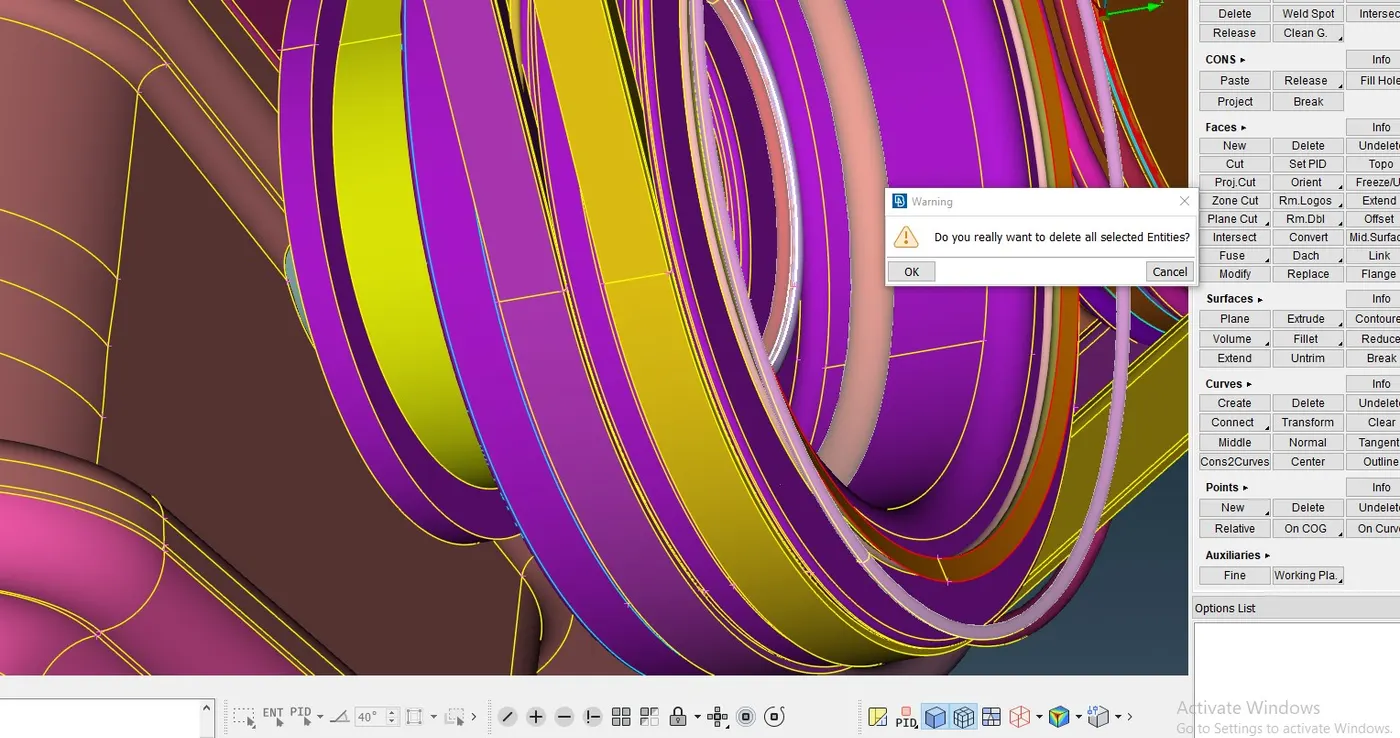
4.Deleting the overlapped surfaces by simply following the procedure
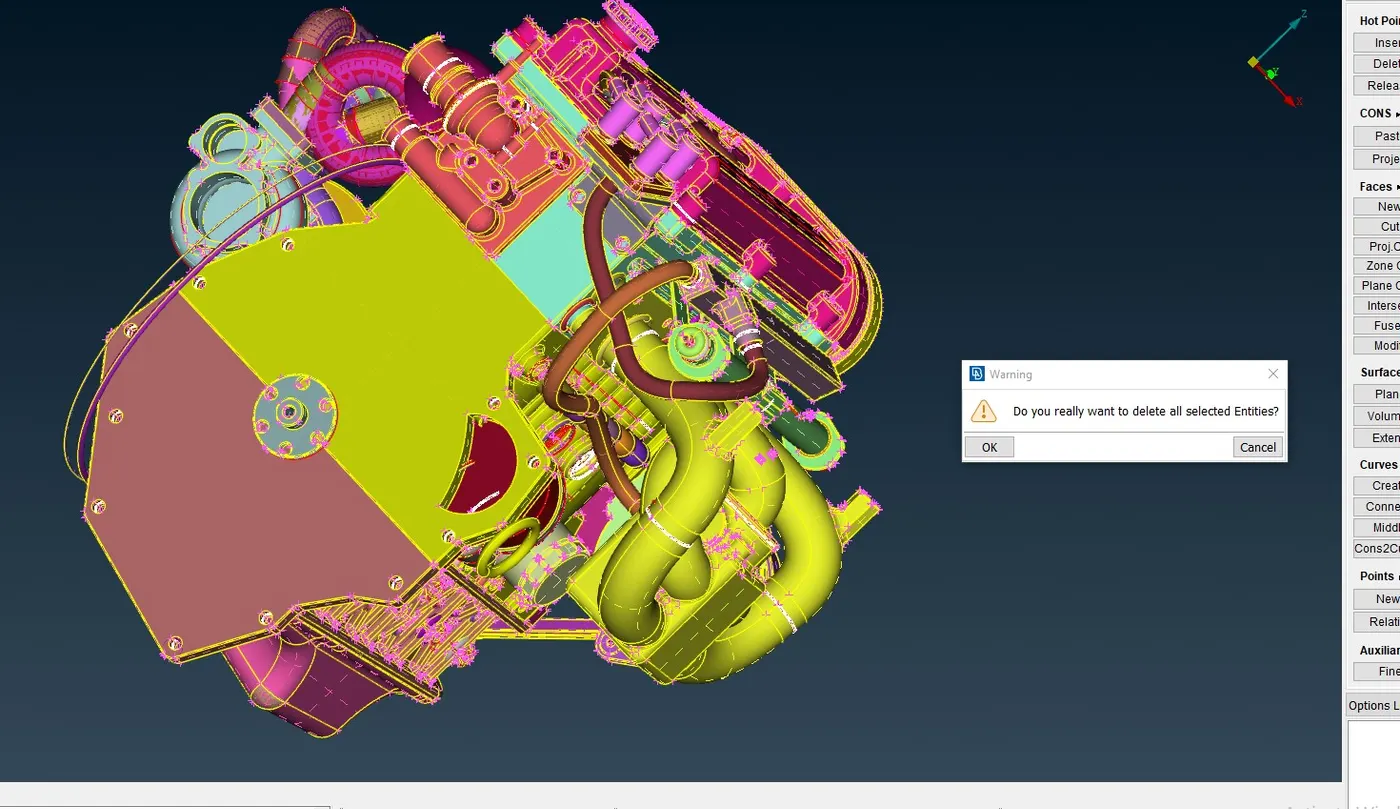
5.started hiding the components using Focus->not,PID is selected on the feature selection toolbar then entities are selected
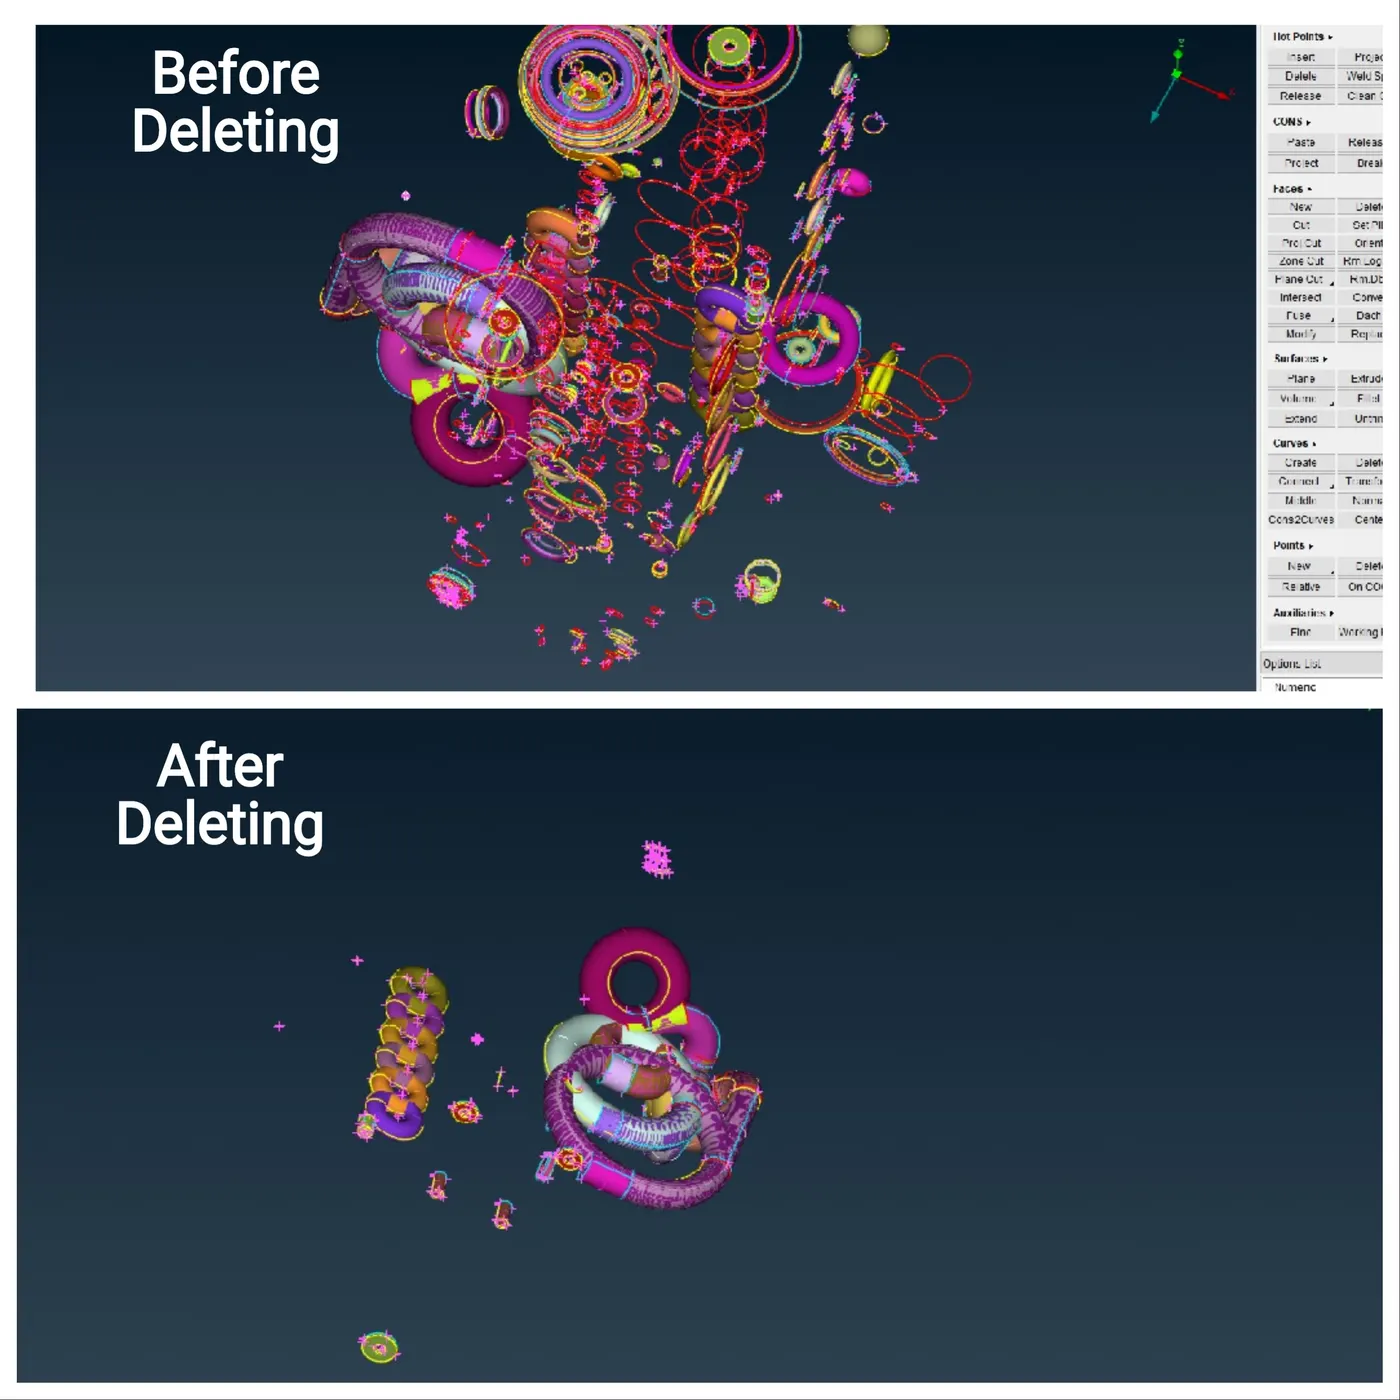
6.on the left side of the window,collapsed CONS appears place the mouse over it and right-click mouse button then popup window appears then show only is selected.Solved the Collapsed CONS by Hotpoints->release option then hotpoints->delete option will deleted the unwanted hotpoints then CONS->paste or creating the new surfaces.
7.After that,saving by clicking file->save option then save progress appears once it is saved then closing the window
8.File->open is selected then open window appears then locate the file then file is selected by using left-click mouse button then click open button.
9.Deleting the surface by following the procedure under the bolt.Presence of triple CONS is converted into double CONS.
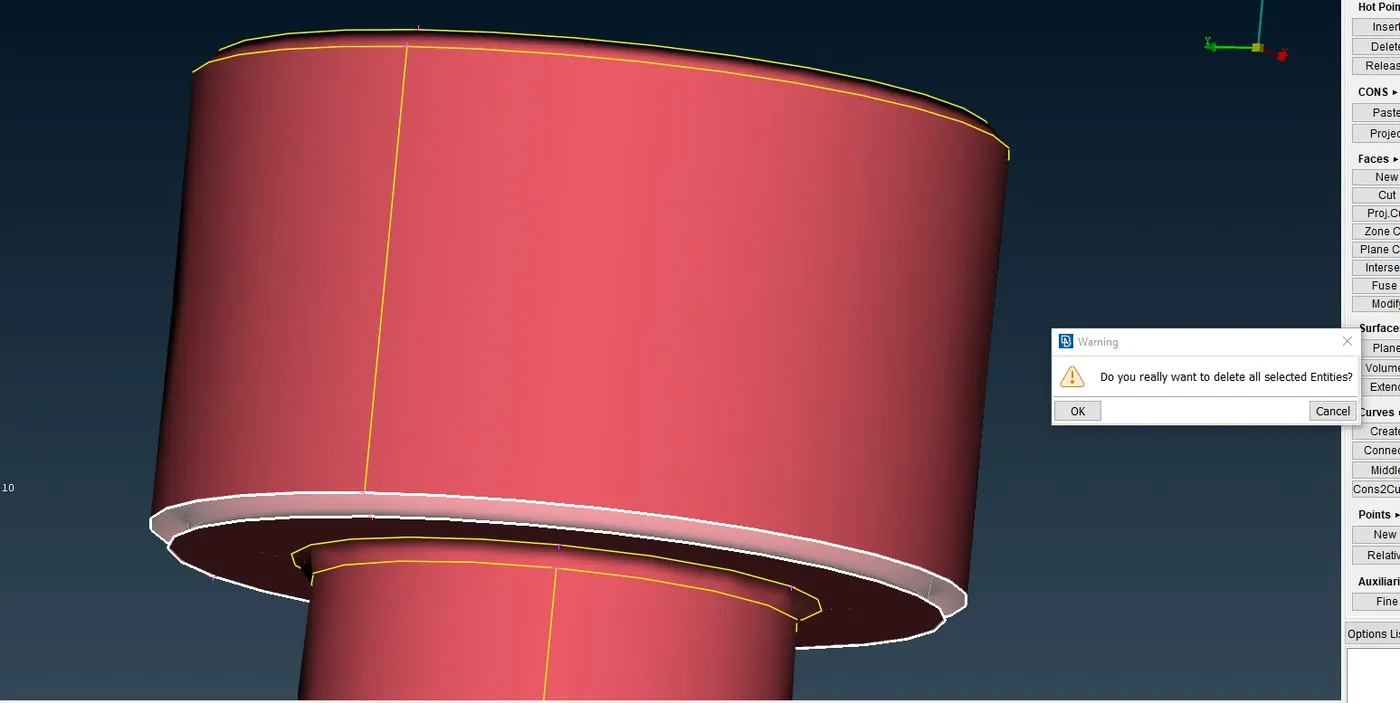
10.Deleting the overlapped surfaces by following the procedure
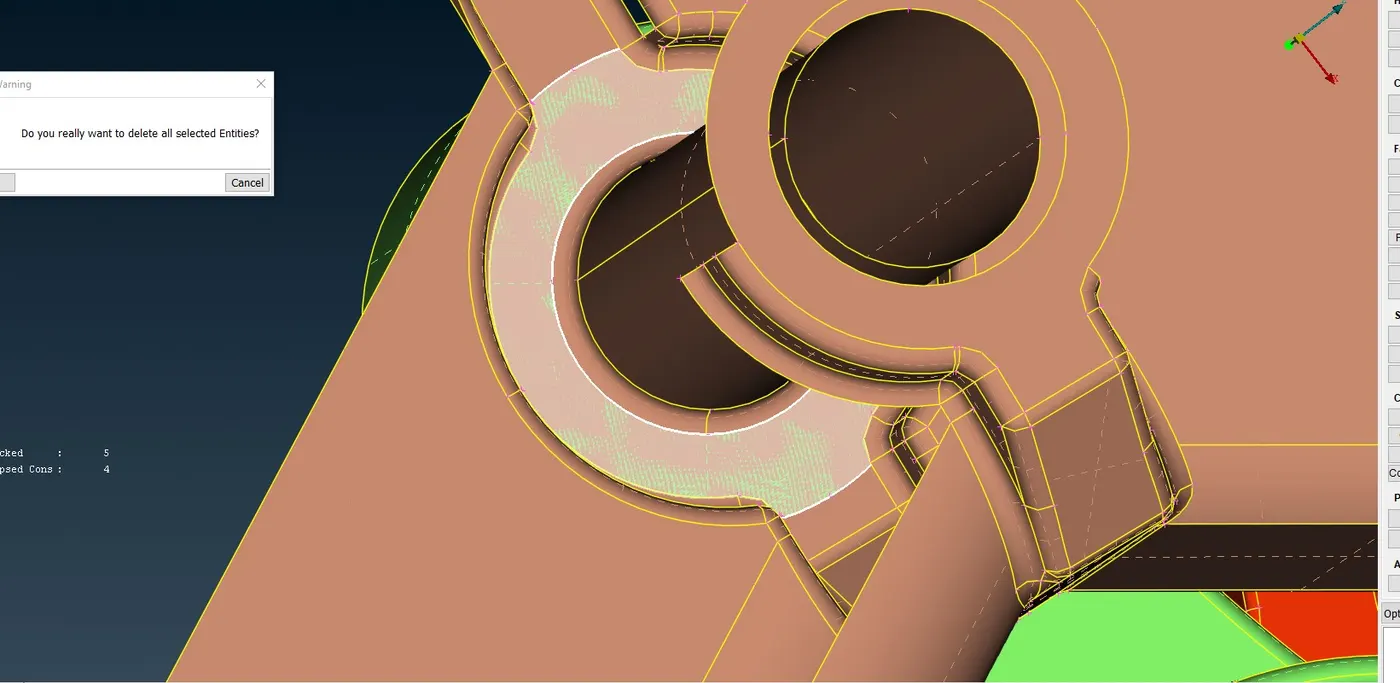
Creation of faces by selecting topo->faces->new then new face options window appears then COONS is selected then boundaries (or) entities is selected then Mouse scroll button is clicked.
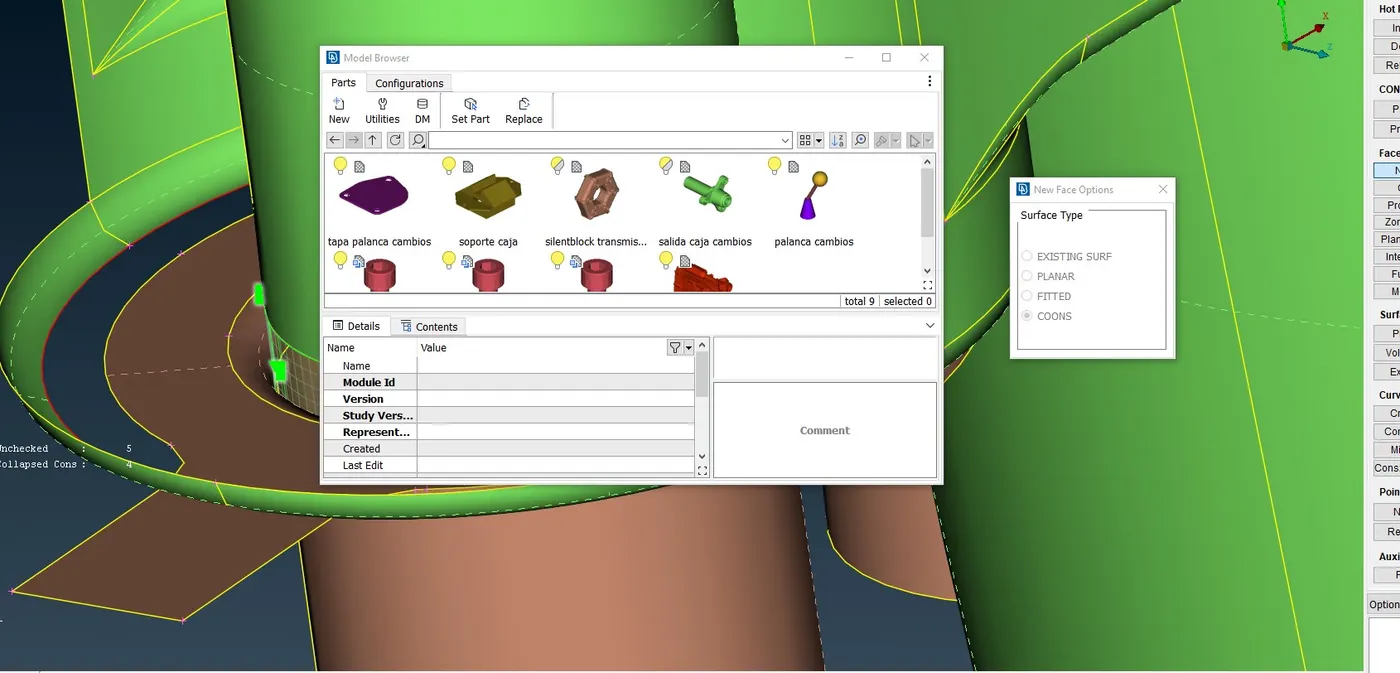
Topo->faces->Extend option is selected then selecting the single CONS then mouse scroll button is clicked then PID is selected then mouse scroll button is clicked.
10.Then unchecked,collapsed CONS are appeared on the graphics display then right-click the mouse by placing over it then pop-up menu opens then show only is selected.
11.For unchecked would be solved by deleting the existing surface and then recreated surfaces.
12.Collapsed CONS would be solved by selecting hotpoints->release then hotpoints->delete option
then needle shape surface and faces->cut is selected this will split the surfaces.Both surfaces will be deleted,then created as one surfaces (or) Converting two single CONS into one double CONS by selecting CONS->paste (or)Faces->Topo is selected for the presence of two single CONS.
13.File->save option is selected then closed the window.
14.File ->open option is selected then open window appears then locate the file then file is selected then click open button.
15.Focus->Or option is selected then PID is selected.This is to isolate the PIDs.
16.Delecting the surfaces under the bolts.For converting the triple CONS to Double CONS
17.Converting the two surface into one surface,by deleting the one surface,the remainng surface is extended by using faces->extend option is selected then selecting the single CONS then ended the selection by clicking the mouse scroll button then surface is selected with the help of feature selection toolbar Entities option then mouse scroll button is clicked.
18.on the display,Unchecked will appear then right-click mouse button then popup menu appears then select show only.
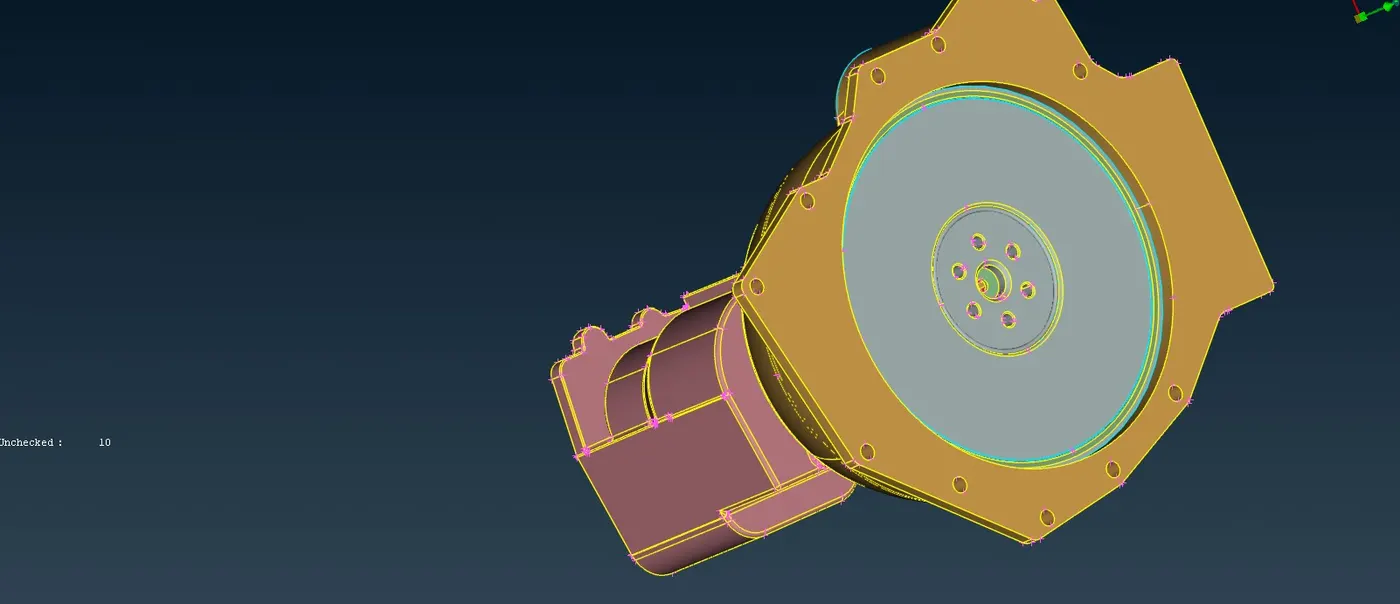
19.Deleting the hotpoints,surfaces by selecting using the box select.This will clear the unchecked surfaces.
20.Deleting the rings,overlapped surfaces by following the procedure.Converting the triple CONS into double CONS.
21.File->save option is selected.
22.File->open option is selected then open window appears then locate the file and then click open button.
23.Deleting the unwanted surfaces by following the procedure.
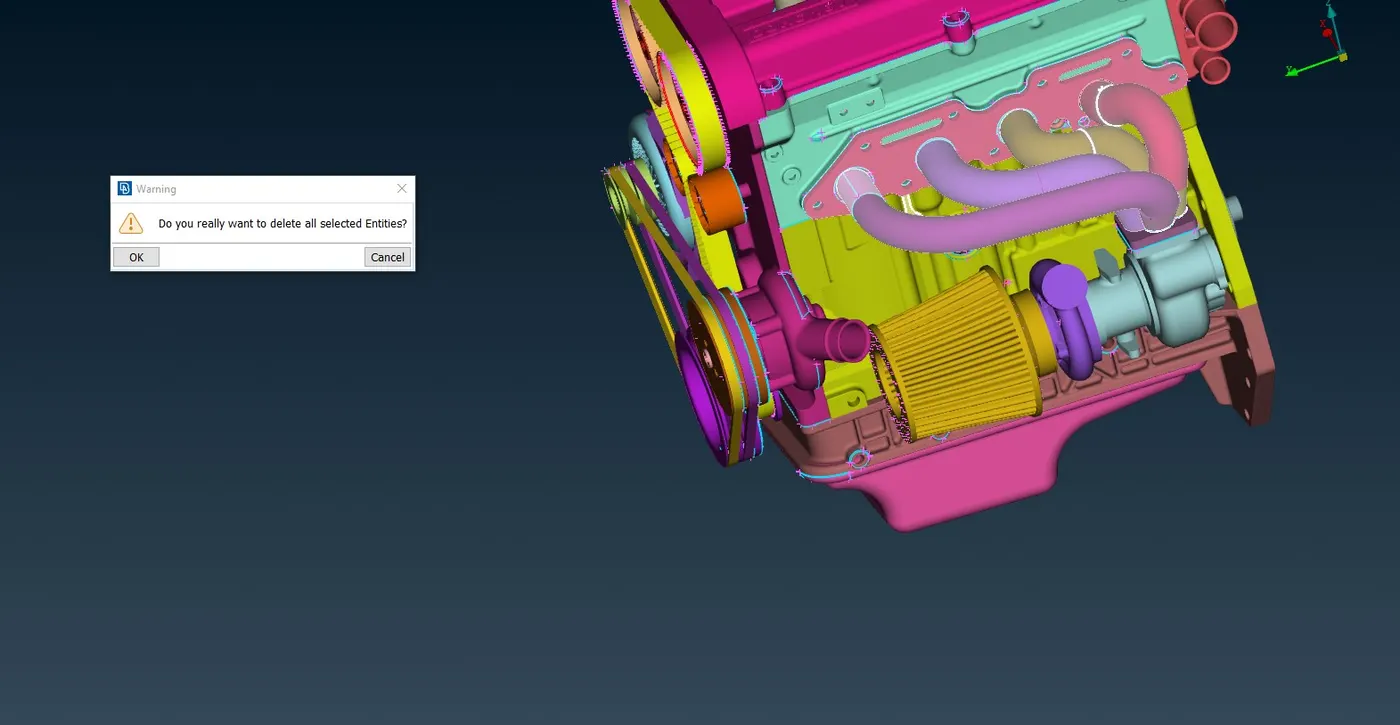
24.Deleting the belts on the engine part for the surface wrap by following procedure.
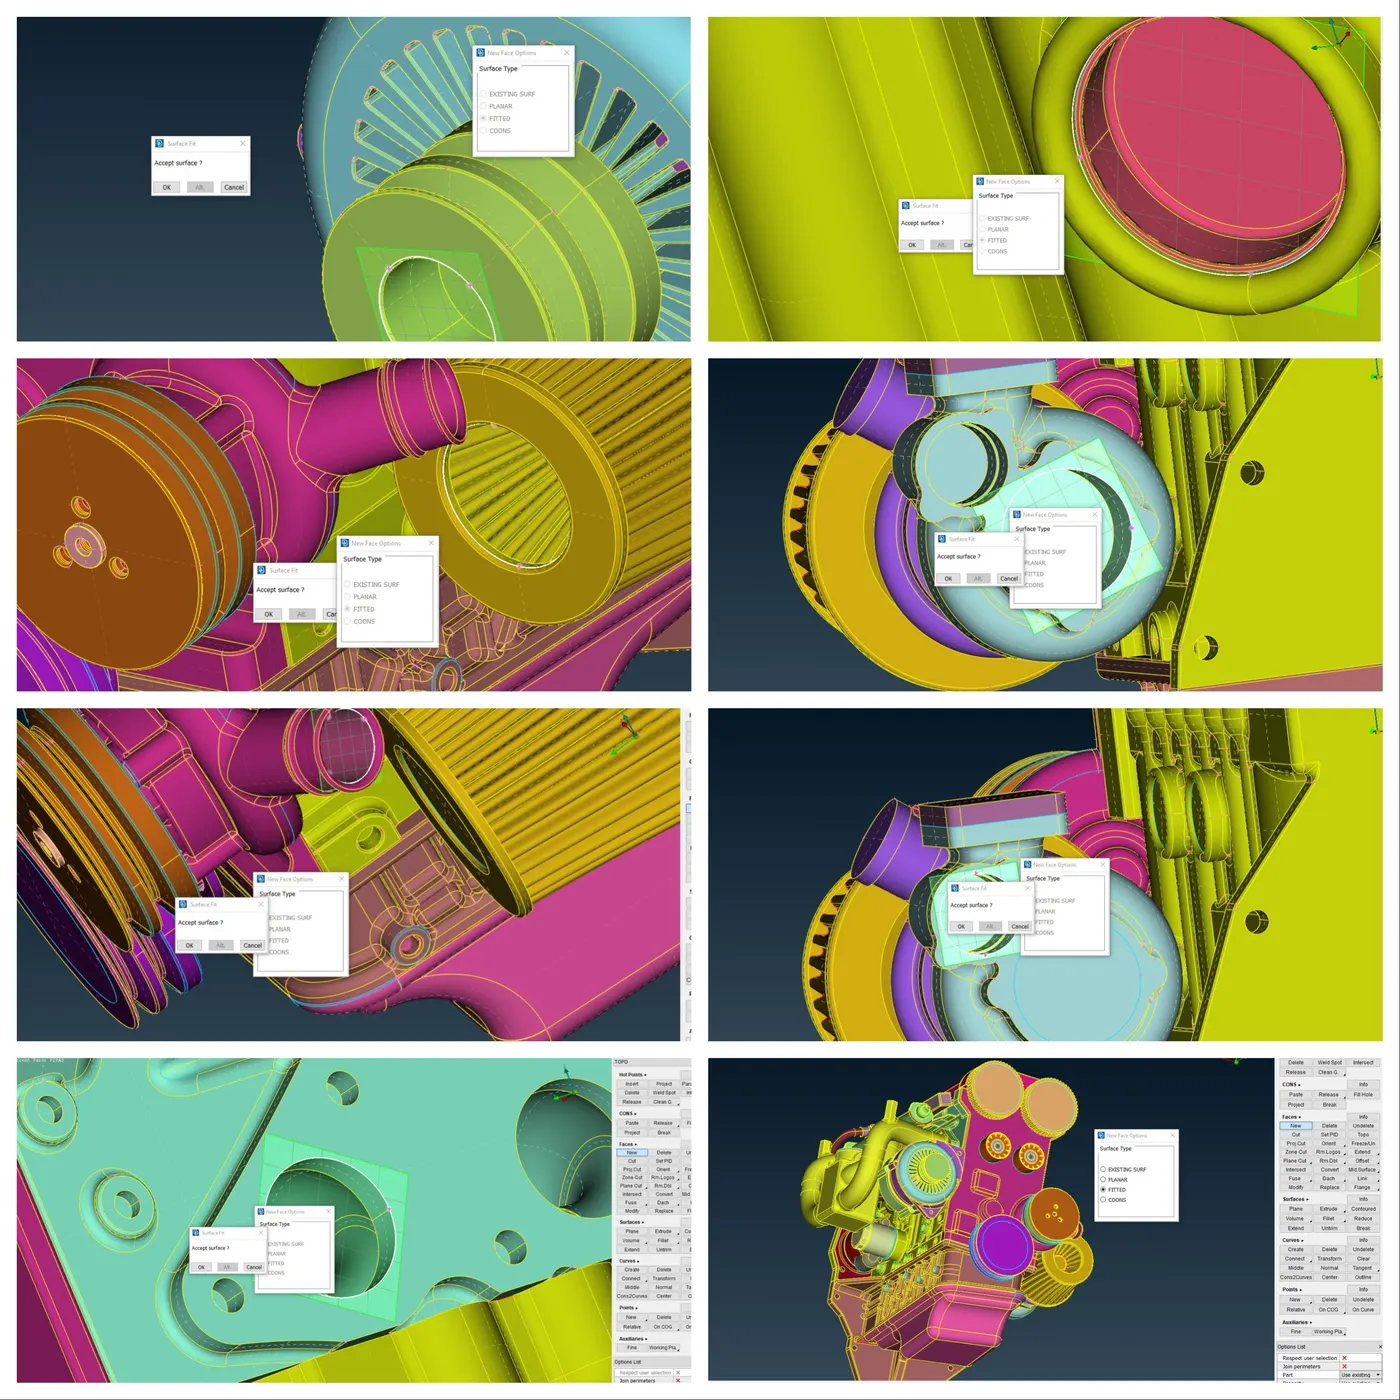
25.creation of new faces for closing holes present on the surface of the engine.topo->faces->new then new face options window appears then algorithm should be selected.
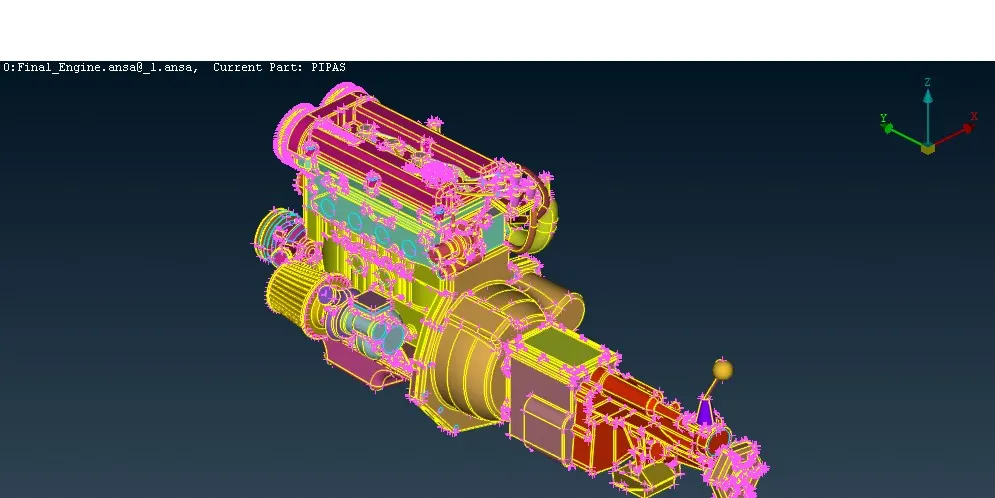
26.File -> merge option is selected then open window appears the locate the files that will merge and then selecting the files and then click open button then merge parameters window appears then select merge files and load as new model from drop-down menu under the model Action then click ok button.
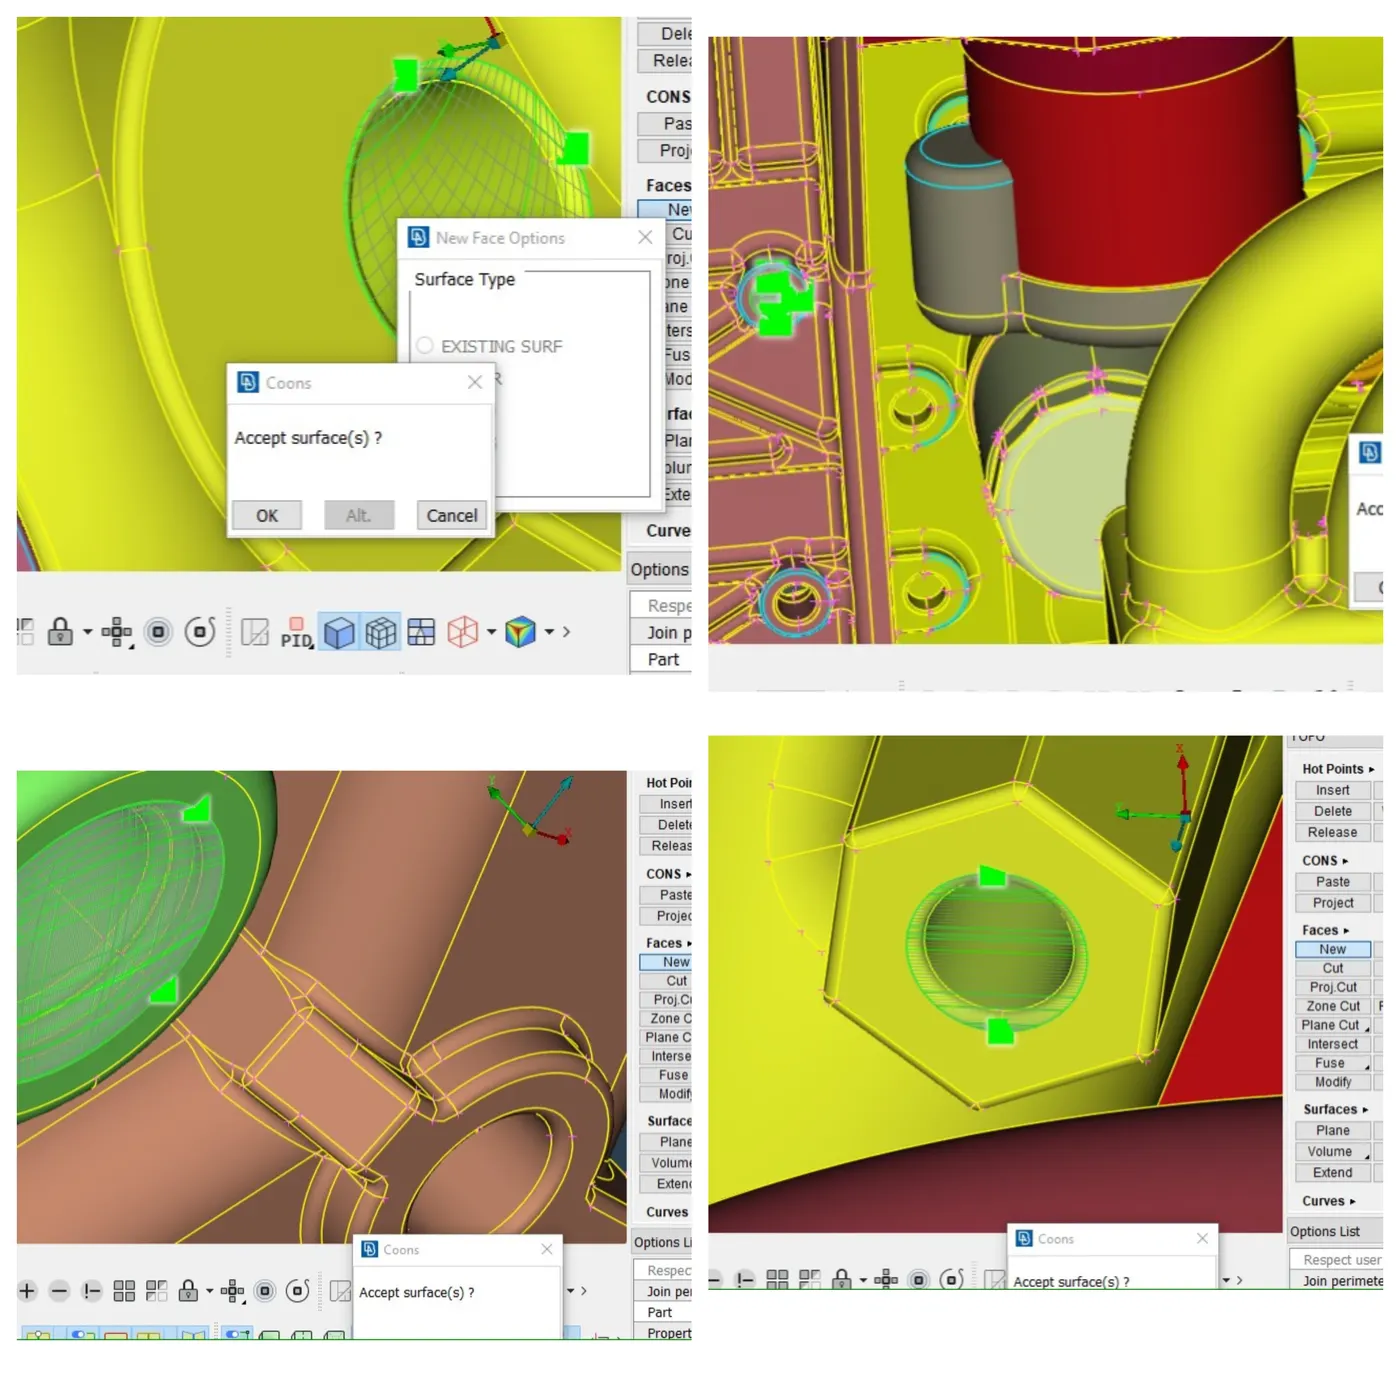
27.Creating the new surfaces by selecting the topo->faces->new then new face options window appears then select the the COONS algorithm then boundary is selected then mouse scroll button is clicked to end the selection of the boundary then COONS window appears then click ok button.This step is to hide the holes present in the model.
28.Lot of PIDS are empty.To remove that utilities->compress option is selected then window appears then click ok button.
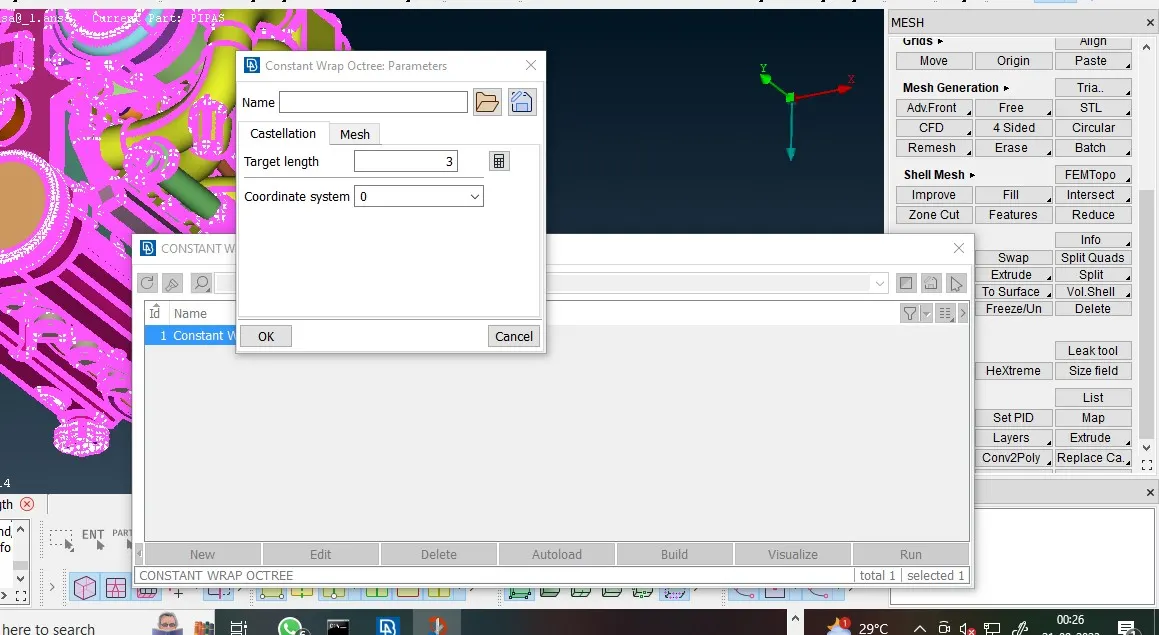
29.Changed the module from topo to mesh by selecting the module->mesh option then wrap is selected under the elements then constant length is selected then constant wrap octree window appears then double-click the id then constant wrap octree edit window appears then double-click parameters then constant octree wrap:parameters window appears then target length is provided as 3 mm then click ok button.on the constant wrap octree edit window double-click the contests then select all the sutfaces then right arrow button is clicked then click ok button then Run is clicked.
Learning outcomes:
1.Geometry cleanup for the given CAD Model
2.way to merge the different CAD Model
3.Application of the Wrap and then how it helps to make one control volume inside the surfaces.
4.way to implement the wrap on the assembled model
Result:
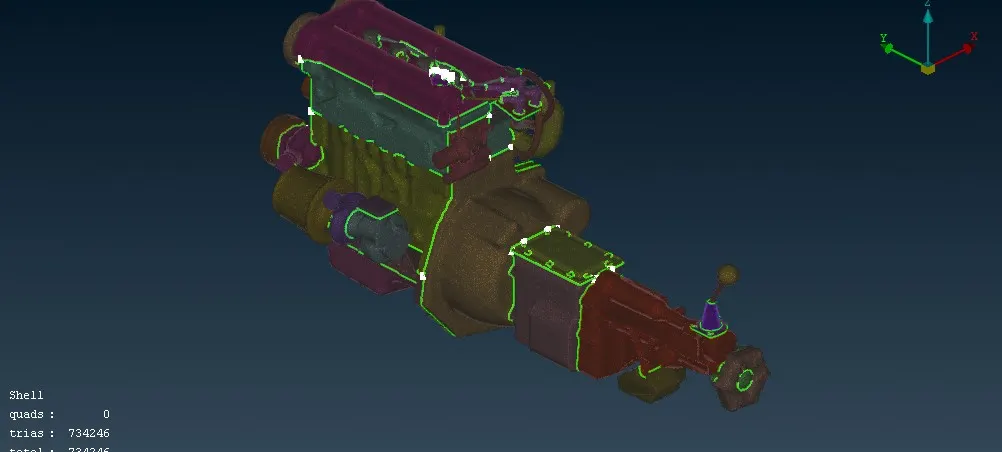
Surface wrap for the assembled model is created successfully by utilising the constant length algorithm.By this way,watertight surfaces with the triangular mesh of 734246 elements is displayed.
Conclusion:
Geometry cleanup and merged model and watertight surfaces are created with the given target length successfully.
Model is attached on the ZIP format https://drive.google.com/file/d/1frrznbsKCS6S9r8CadU8EreqWhDqGXko/view?usp=sharing