Week 5 Challenge : Surface wrap on Automotive Assembly
For the given models, checking for the geometrical errors and deleting the surfaces which are unwanted for Surface wrap. After clearing geometry, Merge all 3 models and perform surface wrap.
Import the geometry of the Engine and then clean the geometry of the engine and then remove the unwanted parts in the geometry .
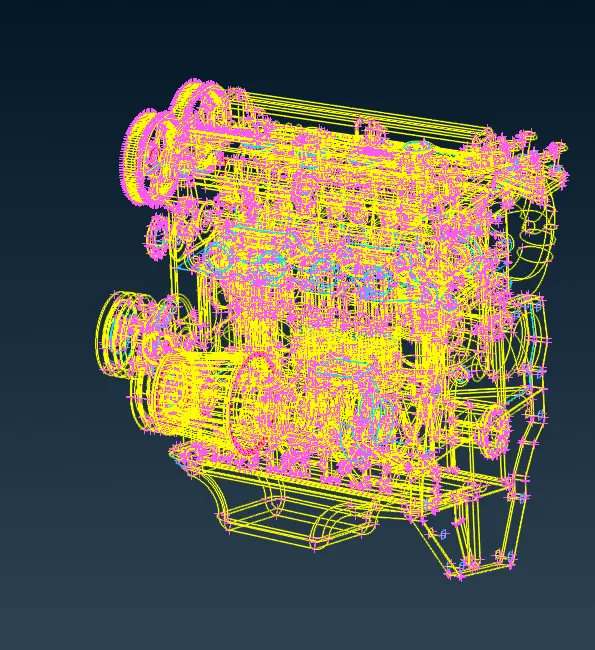
As you can see in the figure that there are many unwanted parts in the geometry in the section mode and you can also see that in the shade mode too. Due to the unwanted faces there may be many errors in the geometry.
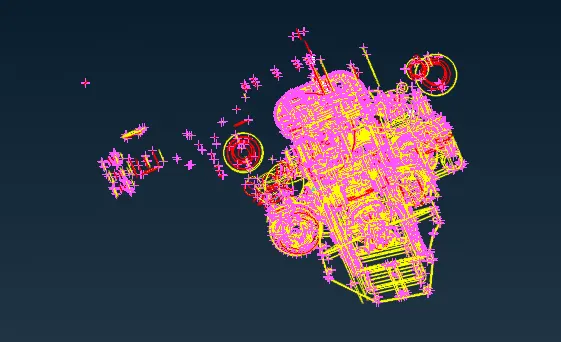
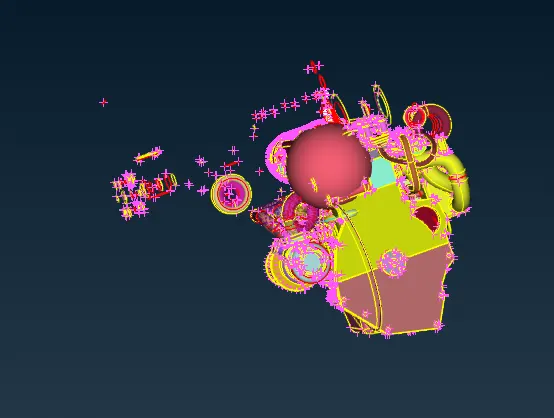
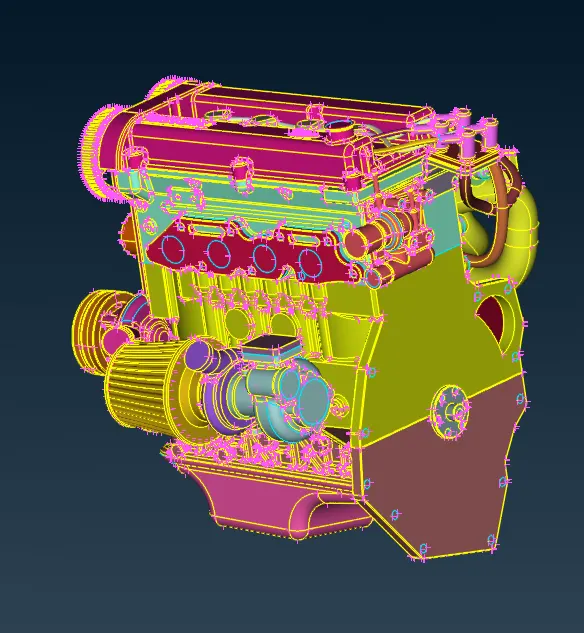
After removing the unwanted faces in the geometry the geomtry looks like the figure shown below:
Furthermore we have to add the another 2 geometry model for the doing the surface wrap of the overall geometry.
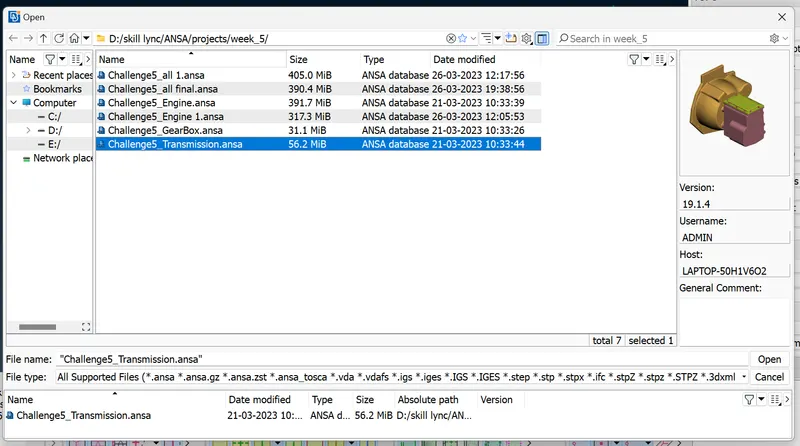
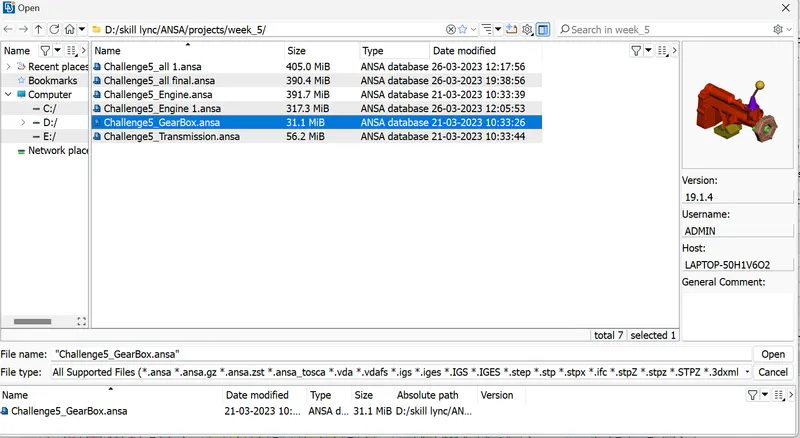
As shown in the figure we will be merging the two geometry models transmission and gearbox to engine model.
After merging the other two geometry models, the overall geometry looks as shown in the below figure.
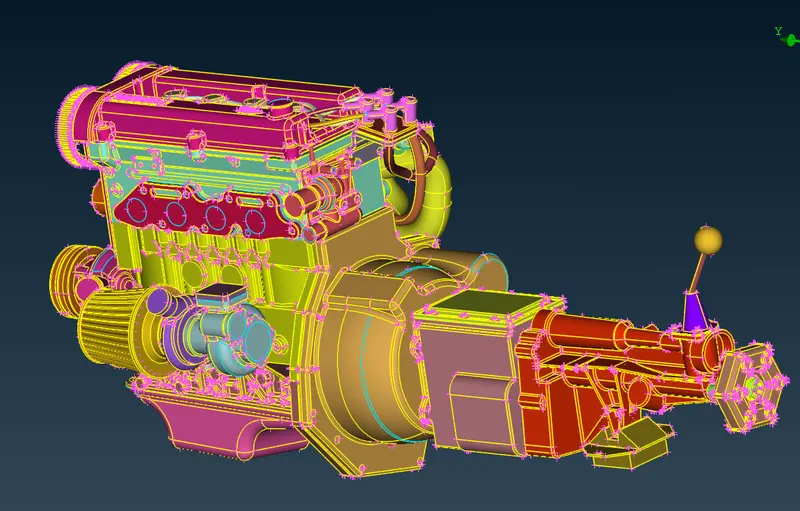
Now, before performing the surface wrap we have to fill the holes in the geometry so that we can do the surafce wrap in the whole too.
TO perform surface open the geometry in the mesh mode and select the wrap from the surface.
Then giving the target length for meshing.
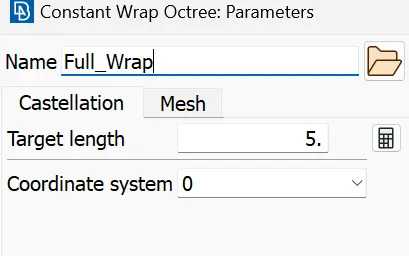
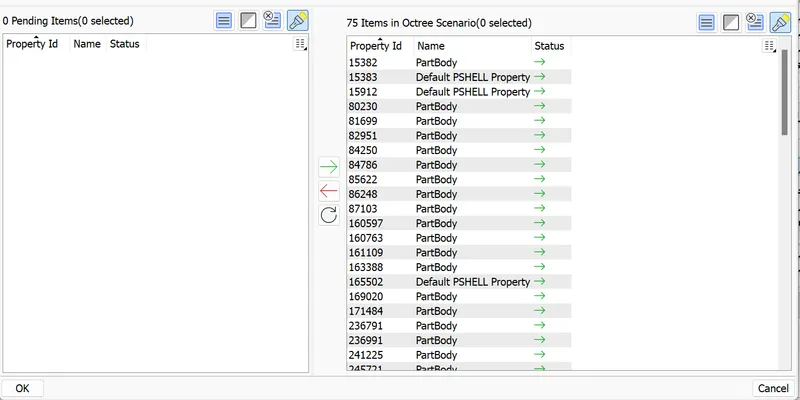
After that assigning the PID's for surface wrap by deleting the unwanted PID's before it.
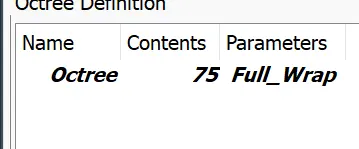
Then transferring the selected the PID's to OCTREE Scenario. Here surface to is to all the PID's of the model.
After doing all these select okay and then dun the surface wrap for generating the mesh.
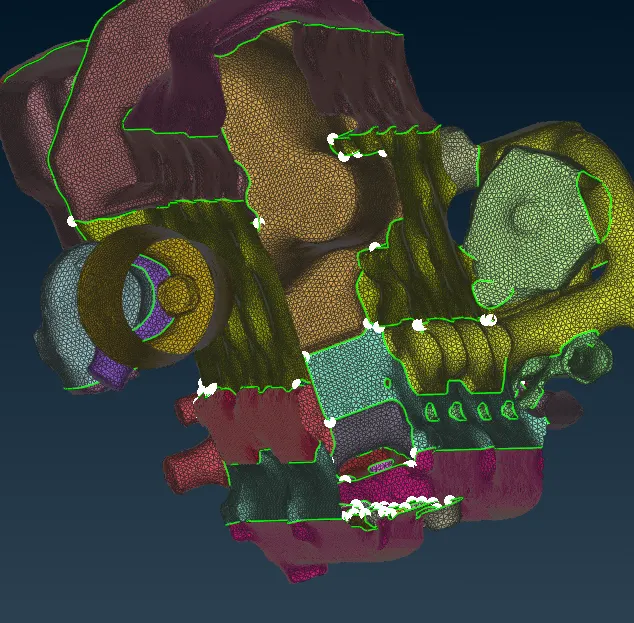
As we can see in the below figure after generating the mesh from surface wrap it look somewhat different form the normal mesh.
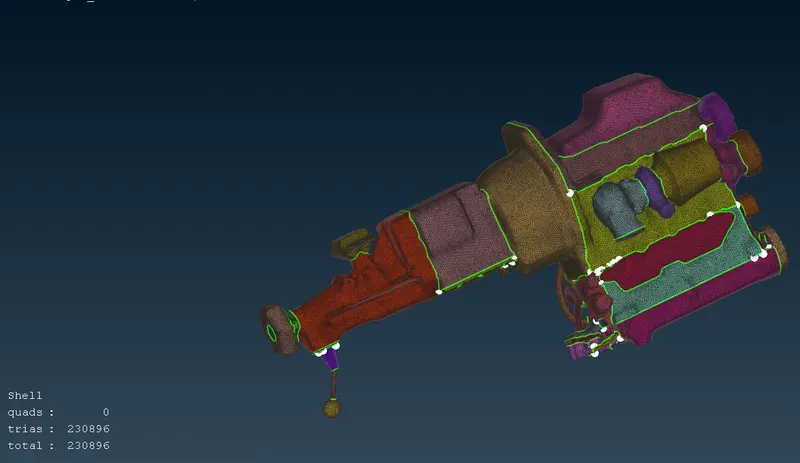
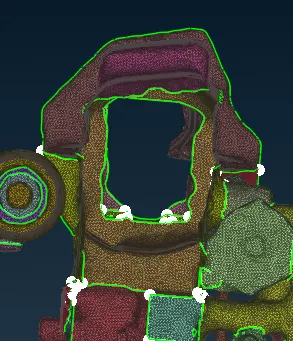
As we can see from the below figure the surface mesh is also generated inside of the geometry to the surface.