Week 5 Challenge : Surface wrap on Automotive Assembly
Week-5 Challenge
Given: Three individual models of an engine assembly viz.
1. Engine Model 2. Gearbox Model 3. Transmission model
Aim/Objective: Check the geometrical errors and delete unwanted surfaces for performing surface. Assemble all the
models together in one assembly and perform a Surface Wrap.
Procedure:
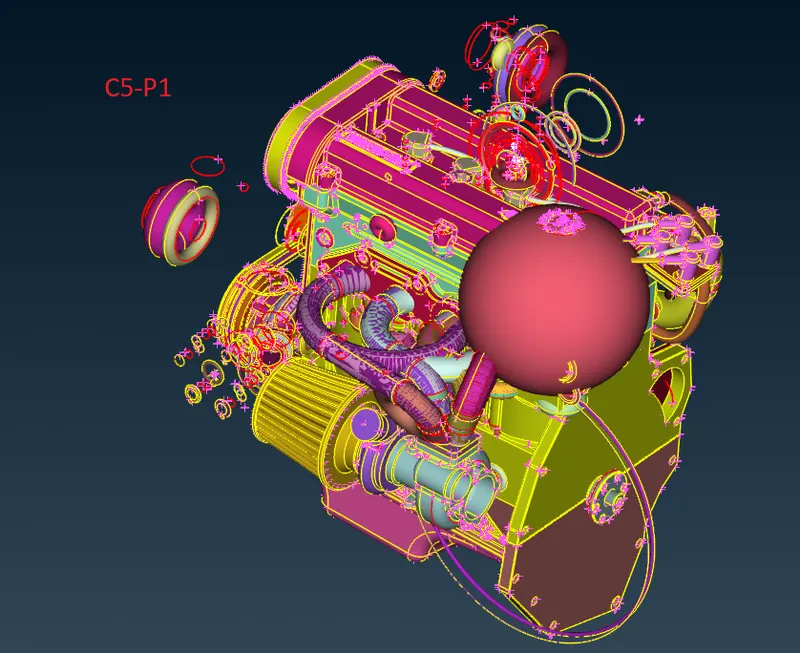
STEP 1: Load the given individual model of the engine in ANSA and it will look as shown in C5-P1. After hiding the
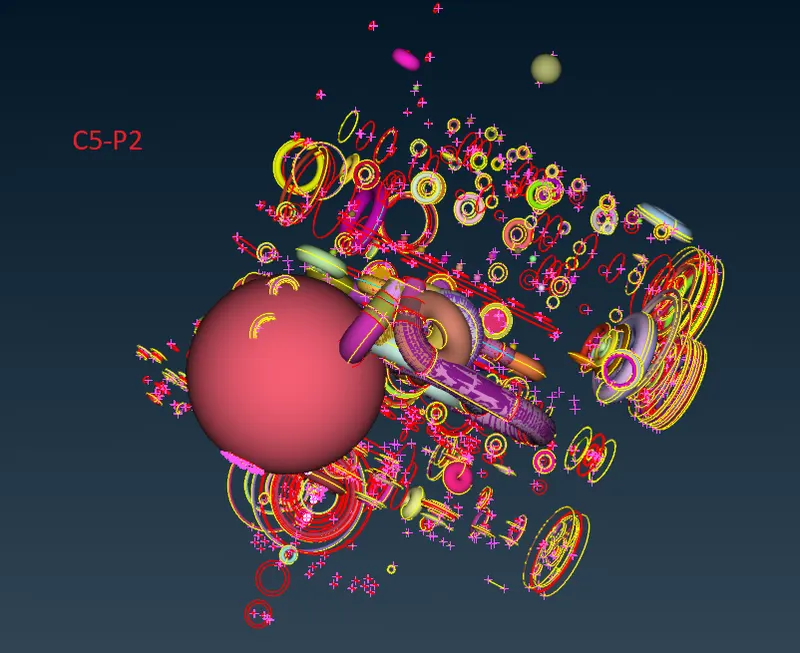
major PIDs, the internal view of the model is like C5-P2.
As the models have to be surface wrapped later, only the external unwanted surfaces shall be taken care
of as the internal errors won`t interfere with the wrap. The surfaces have been deleted using either universal
DELETE or Faces DELETE. However, in order to achieve this, most of the time the top surface needed to
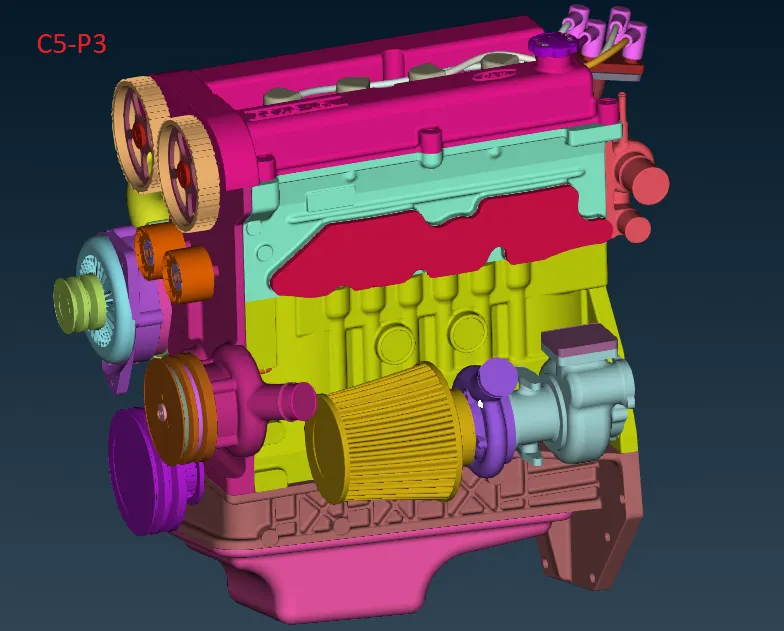
be isolated. The same was done using NOT, OR options. The final model will look as shown in C5-P3. The belts
being thin elements have been deleted as the wrap would not have captured them properly. In addition, the
holes have been covered as should be for ensuring a better mesh in Wrap.
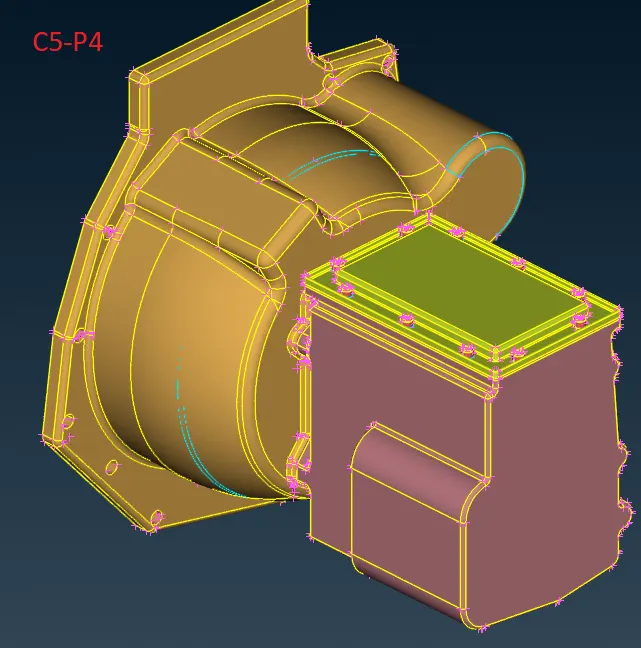
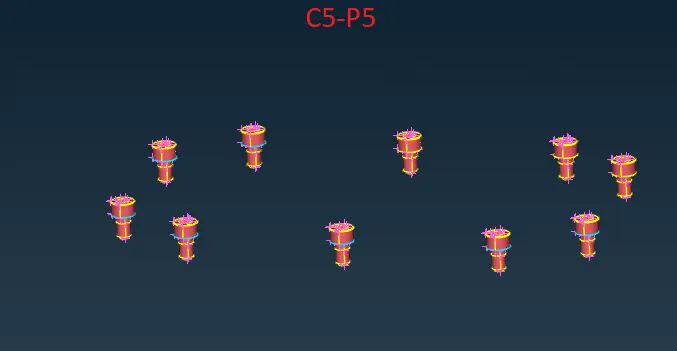
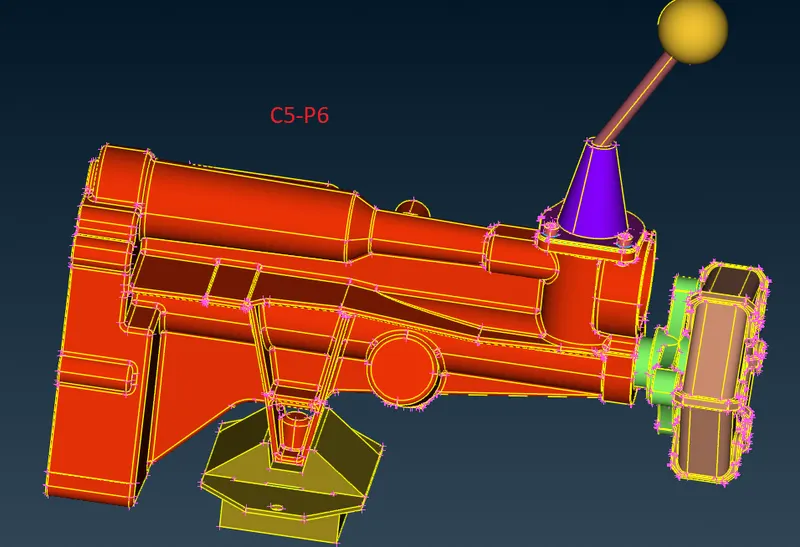
STEP 2: Repeat the same process for the other two given models. The screenshots of the models are given as under:
STEP 3: Starting from the Engine model that has been saved in Step 1, the merging of the models should be initiated. To
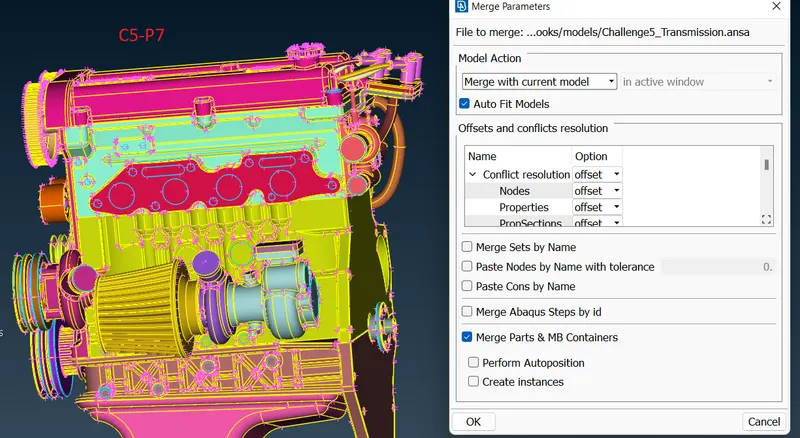
achieve that, from the files tab, the merge option has to be clicked and it will ask for the model to be merged
with the current model. The Transmission model that was saved in step 2 shall be selected. A dialog box would
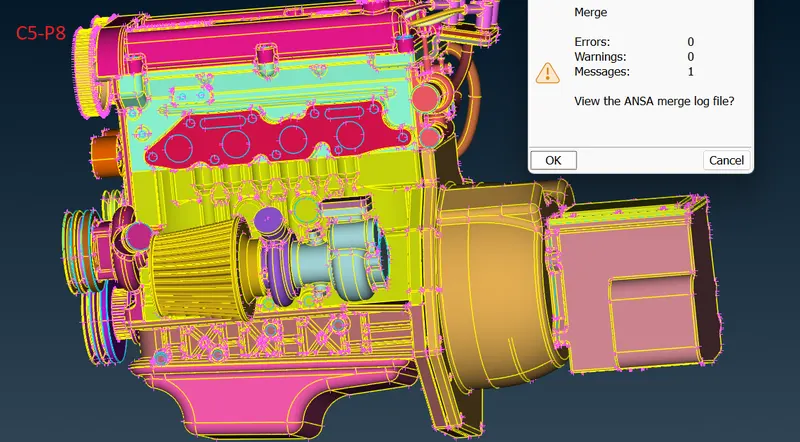
pop up as shown in C5-P7. Click OK and a small window will open showing any warnings or errors as shown
in C5-P8. We can cancel it and the merging would be complete.
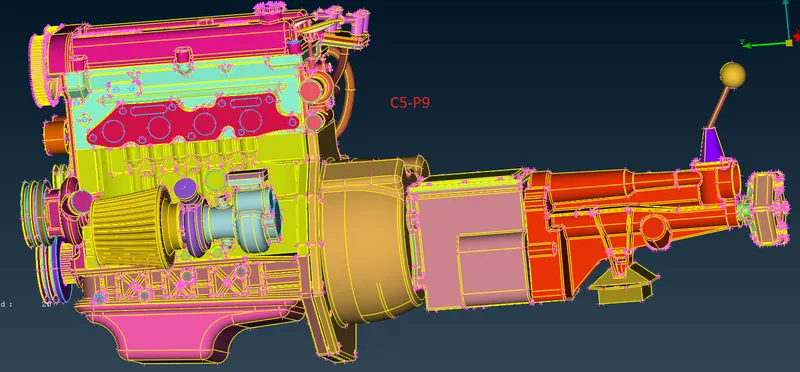
STEP 4: Merge the Gearbox model saved in step 2 in a similar manner as explained in step 3. The complete assembly
of all the models would look like as shown in C5-P9.
STEP 5: Now, since all the models have been joined and external errors and unwanted faces taken care of, the
A surface wrap can be performed now. However, it is advisable to cover all the holes in order to get a better
quality wrap.
GO to Mesh Elements > Wrap > Constant Length. A pop-up window shall appear as shown in C5-P10.
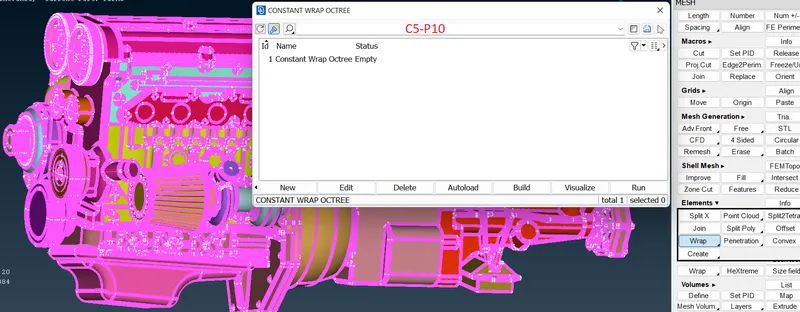
As the status is empty, double-click it to open another window as shown in C5-P11.
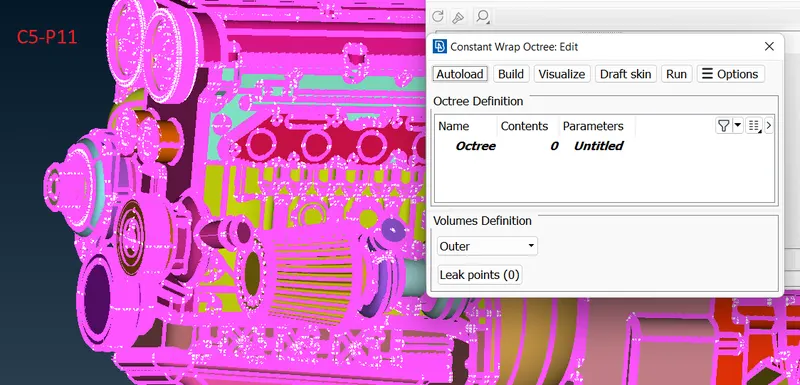
Double-Click on the untitled, and a small window C5-P12 shall appear.
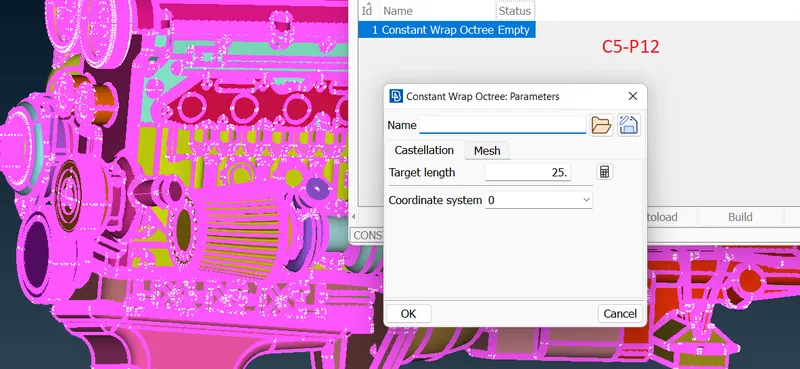
Define the Name as Wrap_Engine. Select a target length of 3 mm, Mesh type -Tria and give OK. It will return us
back to the previous window. Double-click on 0. A window C5-P13 shall appear as shown below:
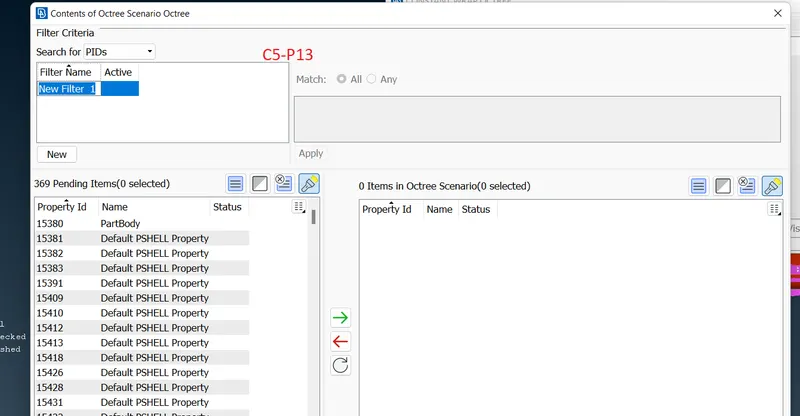
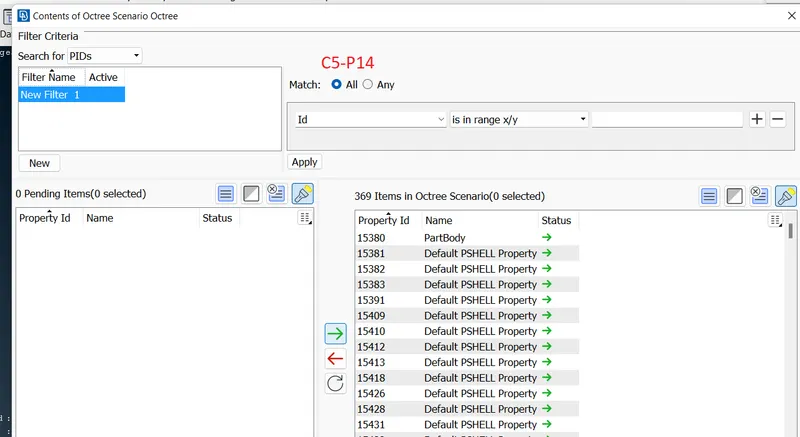
Select all the PIDs from the left side of the window by Cntrl + A and press the green arrow to transfer them
to the right side of the window as shown in C5-P14.
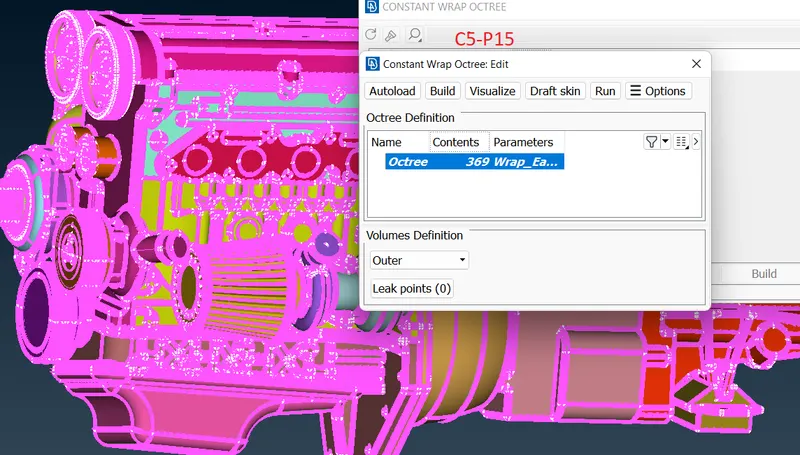
It will again return us back to the previous window. Now, the contents and parameters have been defined
as shown in C5-P15.
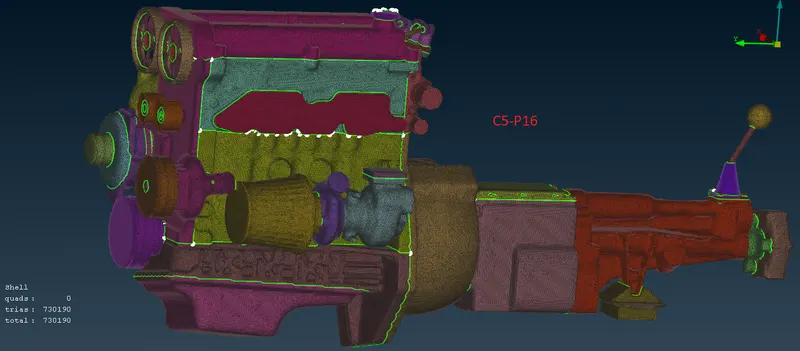
Now, we can hit the run command from the top and it will perform the surface wrap of the geometry as shown in
C5-P16.
Conclusion:
For the geometries where there are too many internal errors, the surface wrap is a good option to perform the meshing
without compromising on the quality appreciably. The link to the final wrap is shared below:
https://drive.google.com/file/d/1o-tRHJhSF7iJIso-pnZnYYz0NkZBqbes/view?usp=share_link