Week 5 Challenge : Surface wrap on Automotive Assembly
Objective :
- For the given models ,we have to check for the geometrical errors and delete surfaces which are unwanted for surface wrap .
- After clearing geometry we have to merge all 3 models .
- Finally we have to perform surface wrap for the merged model.
Surface wrap :
- Surface wrap is used for meshing the component .
- If the geometry is very complicated and doing topo cleanup and creating single volume is very difficult , in that scenario we use surface wrap to create mesh ,were it creates a single volume .
- It creates a wrap either inside or outside depending upon the input .
- In our model we wrap it from outside and doesn't deal with inner surfaces .
- To get the exact surface wrap output we need to delete all unnecessary surface which we don't want and we need to close all the open surfaces.
Steps:
Importing CAD the model :
Model -1 :- Engine :
- To import the CAD model we follow the given steps,
Go to file -> open -> browse the location of the CAD model -> select it click on open.
- The model which we have imported opened in ENT mode , we can see the PID mode by selecting PID mode in the bottom layout.The below image is the PID mode of our model .
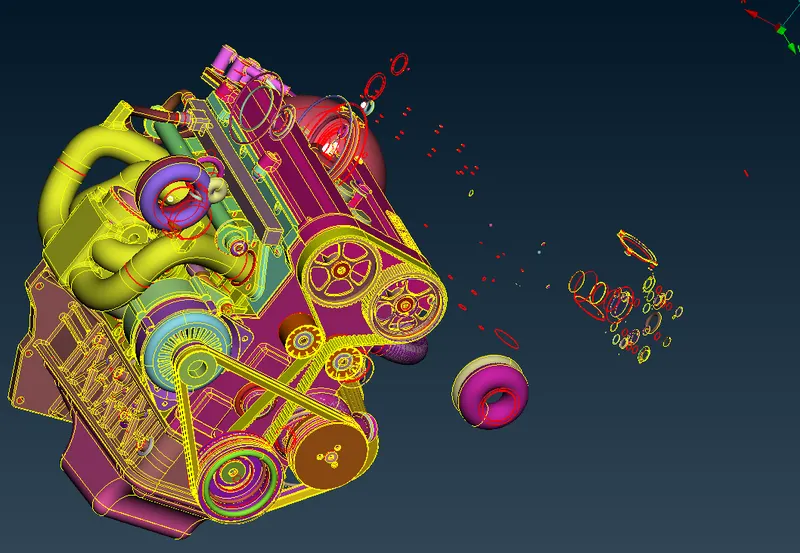
- In our model model we can see the errors like unnecessary surfaces , single cons , triplecons etc. Let us clear the topo errors one by one.
Identifying & cleanup of the topological / geometry errors :
- In the below image we can see the unchecked surface , which we drag and select all and then delete.

- The below image is the image of surfaces left after hiding required surfaces , we delete all them in one shot by using universal delete .
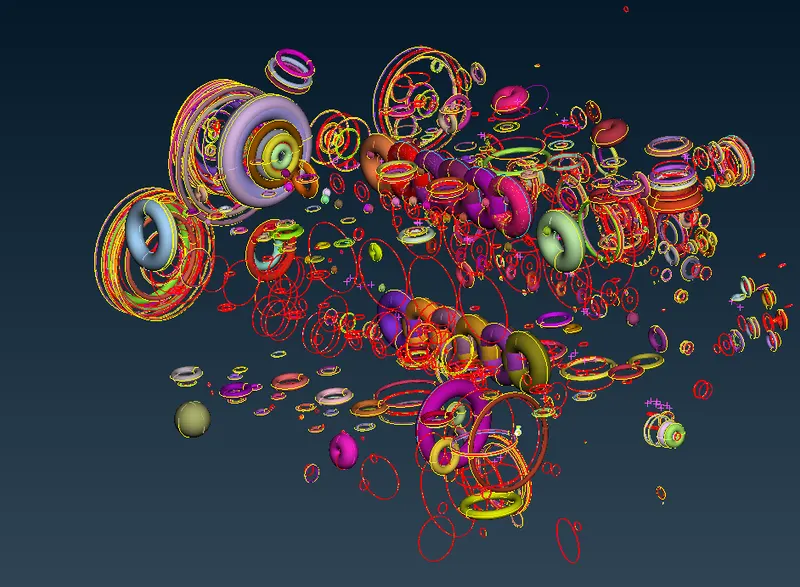
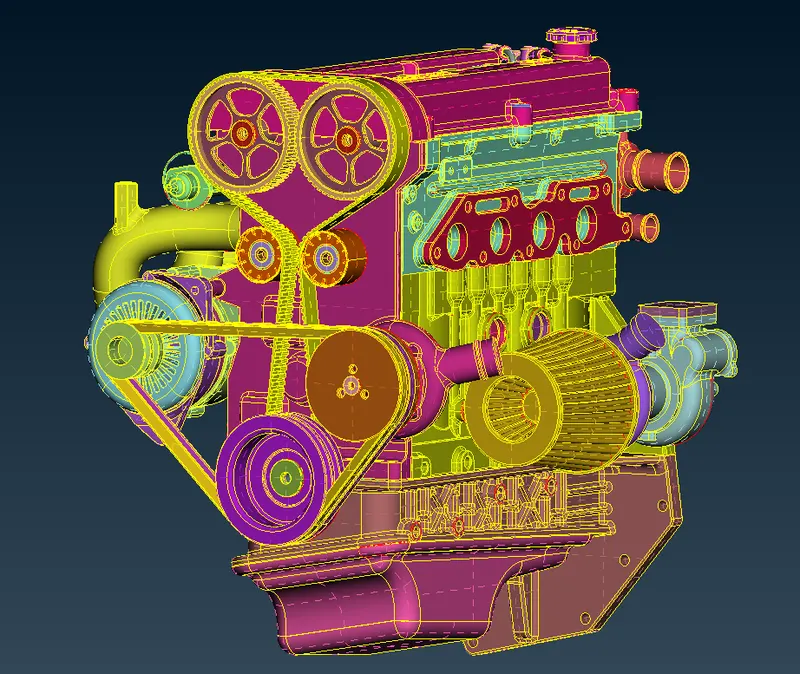
- In the below image you can see that we have deleted all topo errors and next thing to do is to save this model and open another model .
- So by following above points , let us clear topo errors if present for the other two models.
Model -2 :- Gear box :
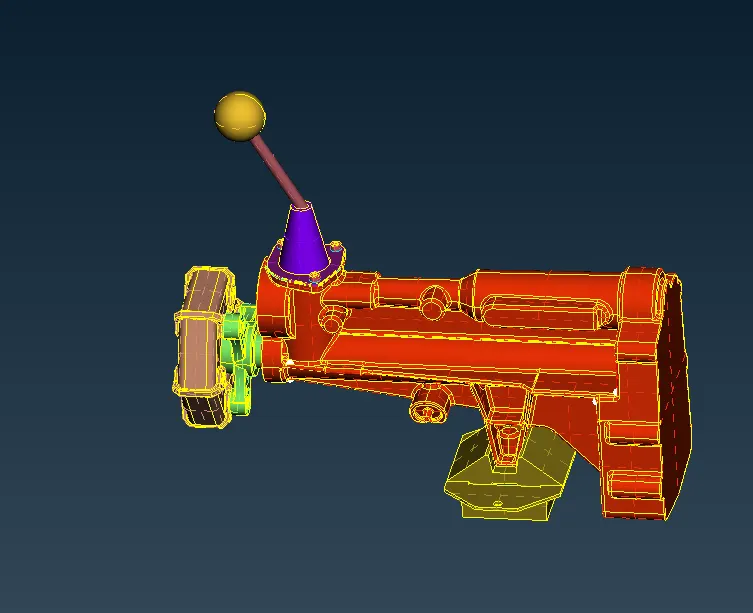
- The below image is the PID mode of our gear box model after import .
Model -3 :- Transmission model :
- The below image is the PID mode of our transmission model after import
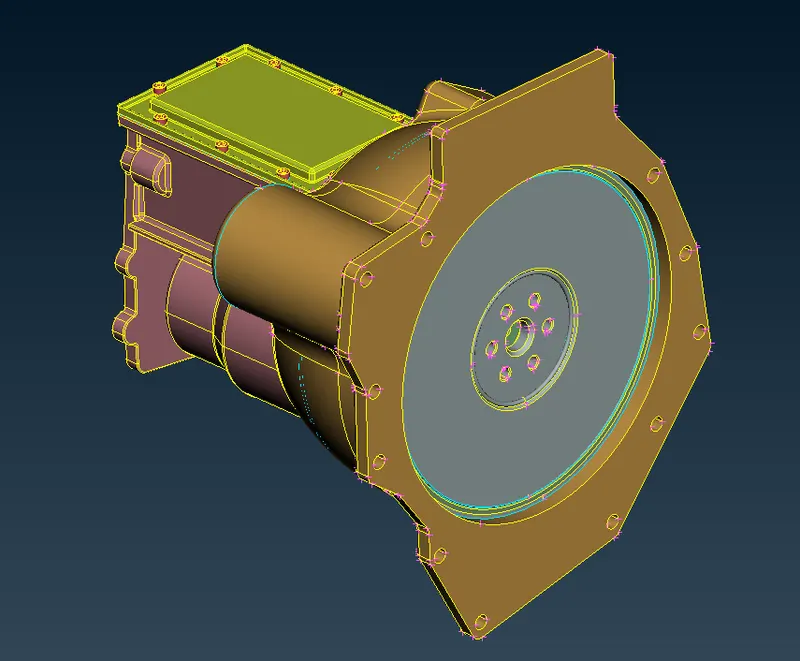
Closing the open surfaces / holes in the model and merging all the 3 models :
- The way we do this is ,we clear/ patch the open surfaces /holes of our engine model and then merge other two models into the same file and then patch the holes for other two models .
- Before filling the holes for the engine model , we can see that there are belts present on the pulley .You can observe those in the below image .We can remove belts on the pulley , because it is very thin and surface wrap for these will not be captured well .
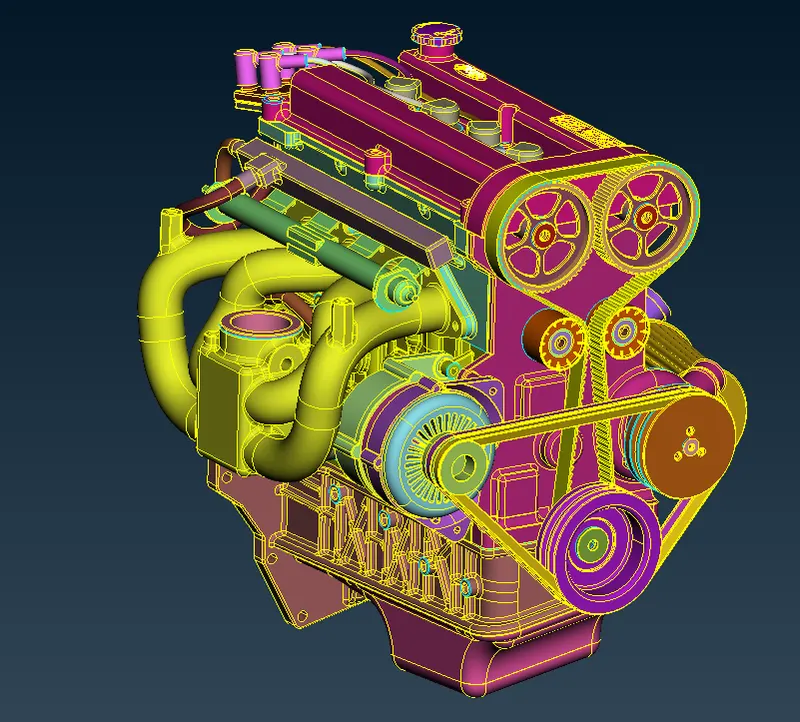
- The below image is the PID mode of our engine model after belts were removed .
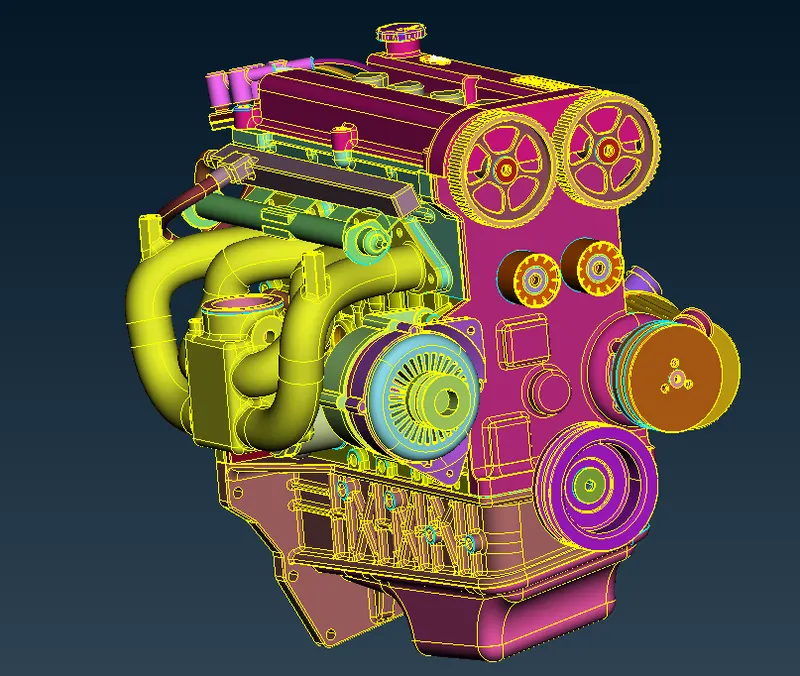
- The below image is of the engine model after closing open surfaces .
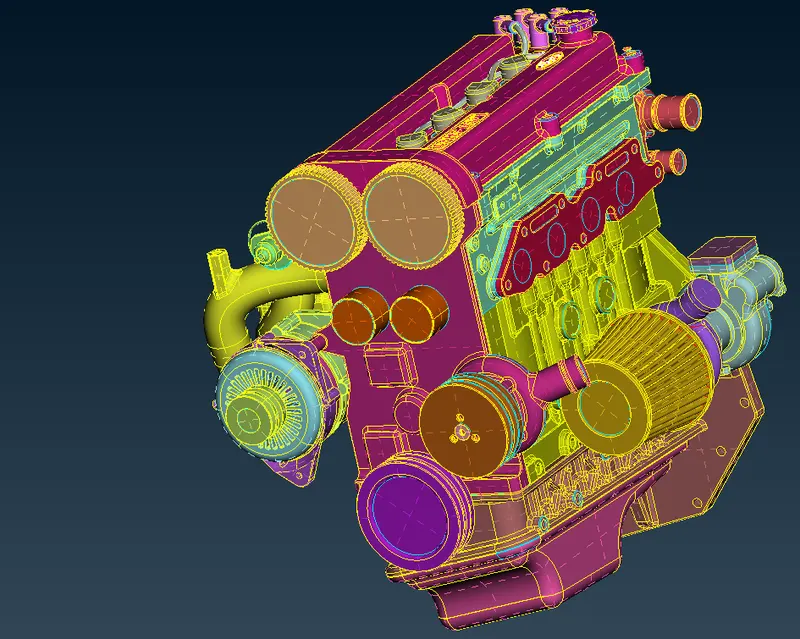
- Now let us merge all the three models and close holes for other two models , if any present .
- To merge i.e., to have all the three models in a single GUI , we have to go to file -> merge -> then select the file and then open -> then again the pop up window merge action -> select merge model with current model -> then click ok .
- In the similar way open another file and merge , so that we have all the three models in a single GUI .
- The below image is of the whole model after merging all the three models .
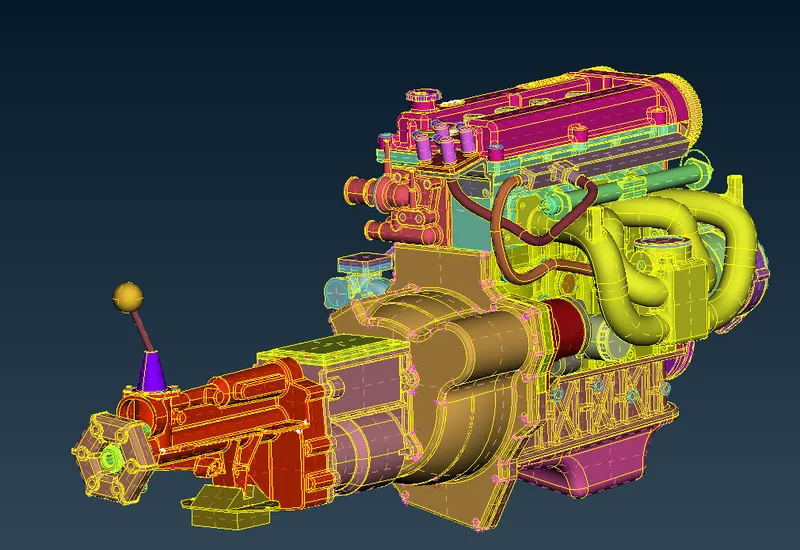
- The below image is of the merged model after closing open surfaces .
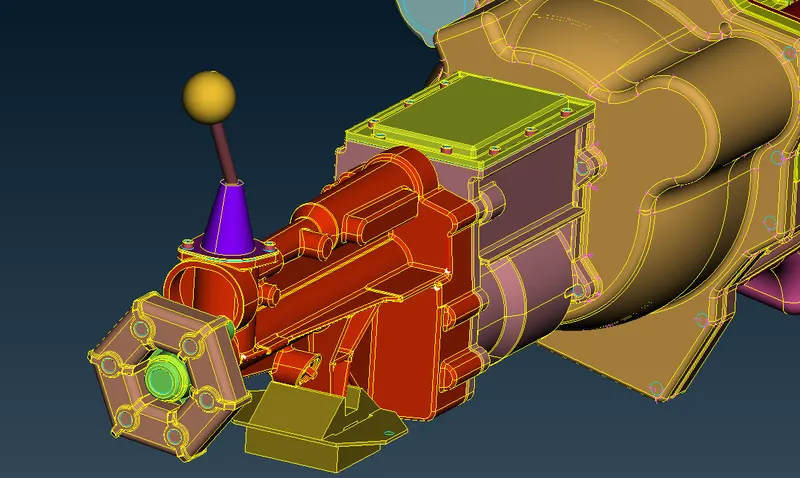
- So ,we can conclude that all the topo errors have been corrected & the model is ready to be meshed.
Setting the mesh parameters , selection of meshing type and to perform surface wrap for the merged model :
- Before doing the surface wrap wrap let us delete all the empty and unwanted PID's by using compress .
- Then next thing is to do surface wrap .To do surface wrap we have to follow below steps ,
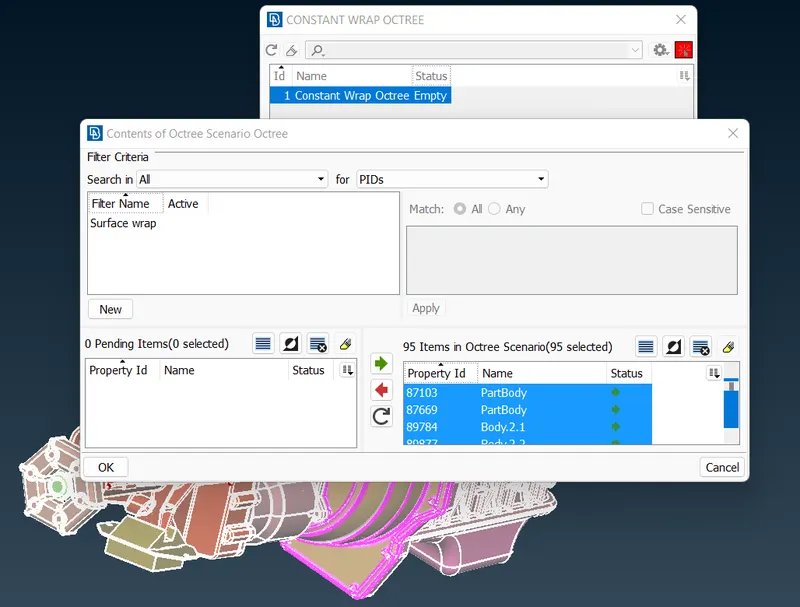
We have to go to mesh deck -> then under elements select wrap -> then under wrap select constant length -> then a pop up box opens -> then double click on empty under status then another pop up opens -> then you can give name for wrap and -> double click on perimeters to give target length i.e., 3mm -> then keep remaining as default i.e.,nodes out of structure and assign properties from structure under perimeters for mesh -> then click ok -> then under contents double click on '0' -> then new pop up opens -> you can give name here and select all the PIDs ( cntrl+A ) , then you can see whole model is selected in the GUI -> then click on green arrow and then ok -> now you will see '95' PIDs in the content which was earlier '0' -> then click on run to complete wrap .
- In the below image you can see the same thing that 95 PIDs are selected for wrap .
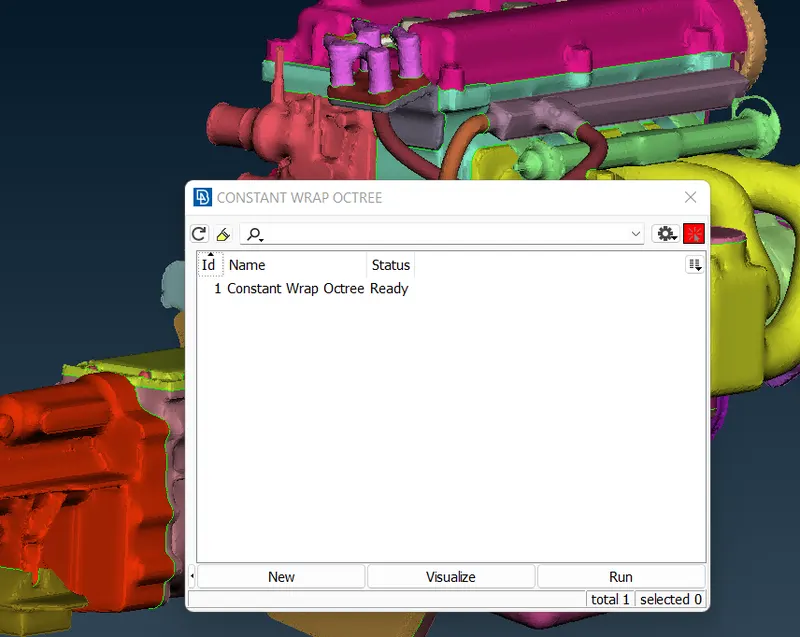
- This complete creation of wrap .
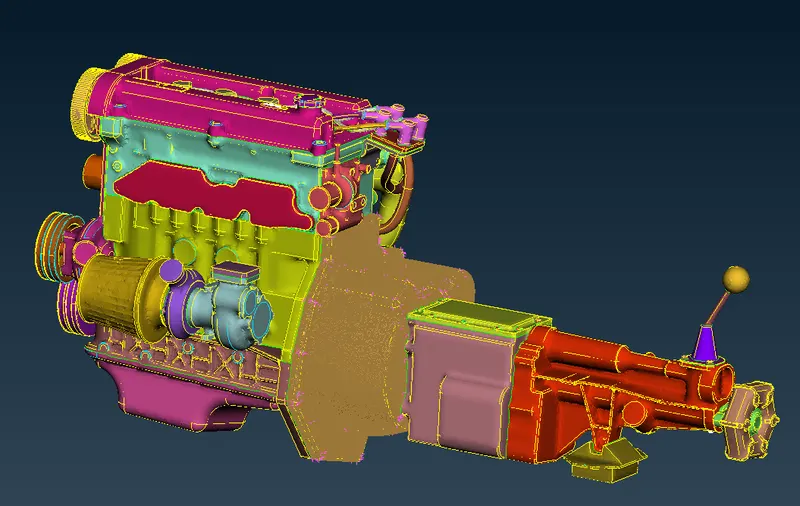
- The below image is the final view of mesh/wrap after surface wrap has performed with a target mesh length of 3 mm .
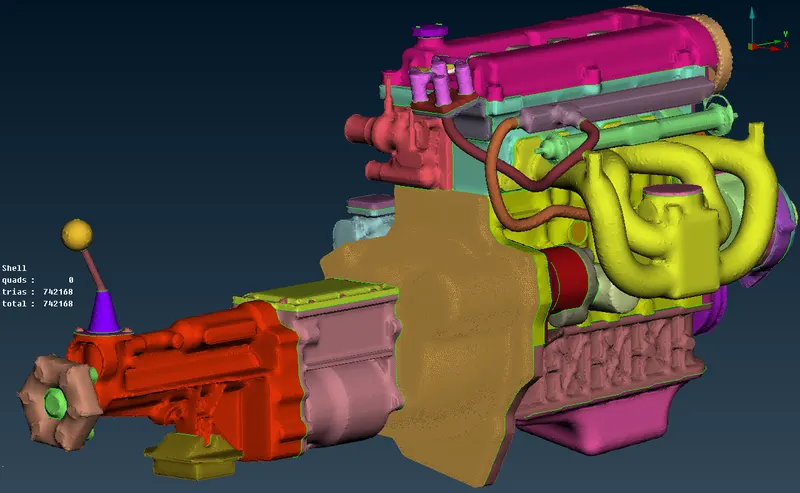
Comparision of quality of the surface wrap :
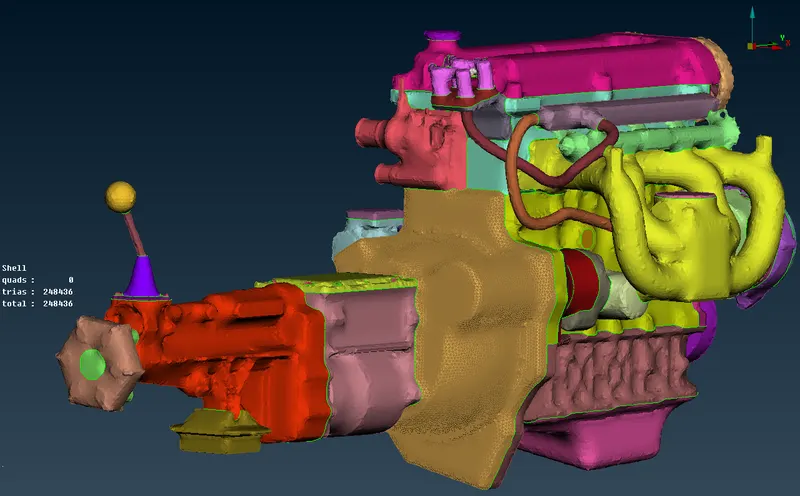
- You can observe the quality of 5 mm wrap in the below image were the quality of wrap is not that much good and the number of elements is also less.
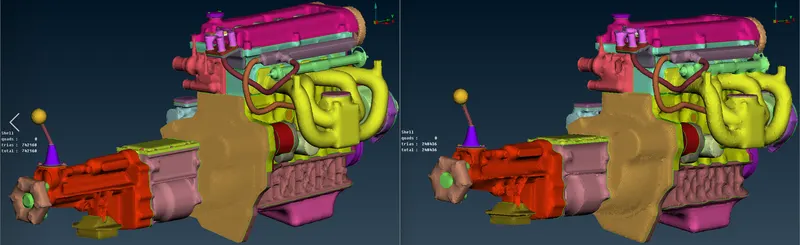
- In the below image you can clearly see the quality of wrap between two different target lengths( left - 3mm target length , right - 5 mm target length ) .
Conclusion :
- We have succesfully merged all the 3 components and completed the meshing with surface wrap for the full merged model with a target mesh length of 3 mm .
Drive Link:
https://drive.google.com/file/d/1-JHru2ppyLr8vn8xdwZ1vQ51enQJ6XUB/view?usp=share_link