Week 5 Challenge : Surface wrap on Automotive Assembly
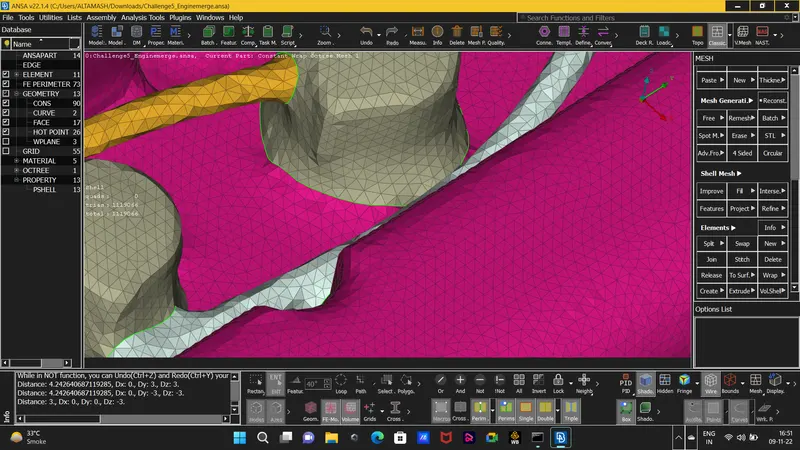
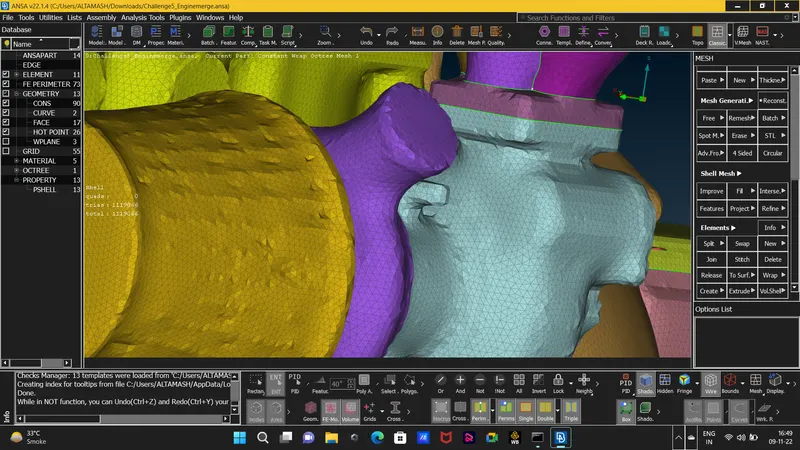
Aim : to merge an assemebly of an engine,gear box and transmission parts and perform Surface Wrap on the merge assembly of 3mm mesh lenght.
Link Info : https://drive.google.com/file/d/1ZukzvPob-956pDQg-0pMz85Qz2QFYLSf/view?usp=share_link
the link for the complette model is pasted here as the file is not updating in choose file option kindly access it from here.
Requirements : link to download engine ,gearbox, and transmission
Procedure : 1. download the parts individually from the provided link.
2. as we start with the surface wrap we need to clean the model surfaces from any unwanted surfaces that are present outside of our parent geometry. in our case of engine model we had alot of ring surfaces that were unnecessary and were not important for our parent geometry.
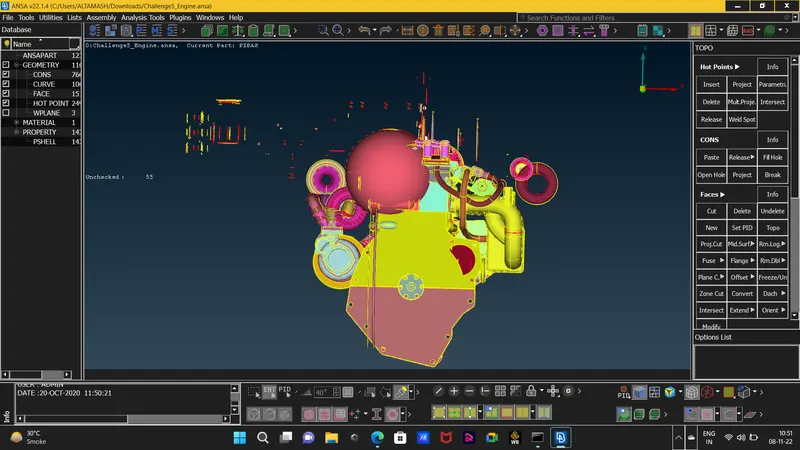 the surfaces that are very thin and away from the main geometry as we can in this picture are rings like surfaces so we deleted those surfaces from all over the engine geometry.
3. for the surface wrap we need to consider only the outside geometry as the wrap will be performed on the outside and not the inside of the geometry. so our main corncern will the outside of the geometry .
4. there will be some of the unwanted surfaces inside the engine we can delete those surfaces by hiding the main features of the engine and the get rid of the unwanted surfaces from the inside but again our main corncern will be the outside .
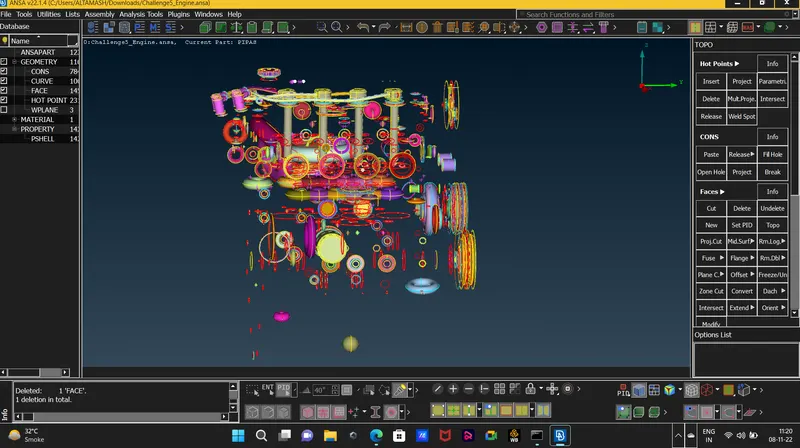
5. also we have seen in our model window we can see that it show s some count of unchecked surfaces if we do right click and show only on those surfaces we can delete those surfaces too.
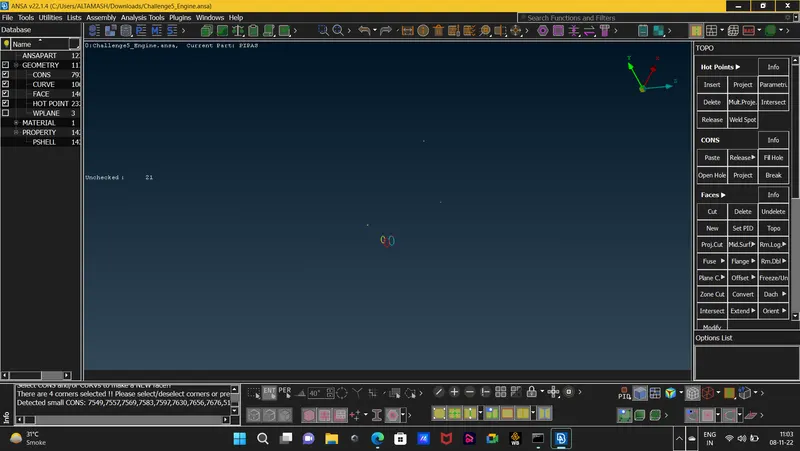 these surfaces are of very small width and single cons type surfaces.
6. deleting of the thin and those surfaces whic are not onnected to our main geometry is that those surfaces are very thin and they wont get wraped and mesh properly and the wrap itself will have some disturbances.
7. we will proceed the same process for the gearbox and the transmission model and delete all the unwanted surfaces from these surfaces.
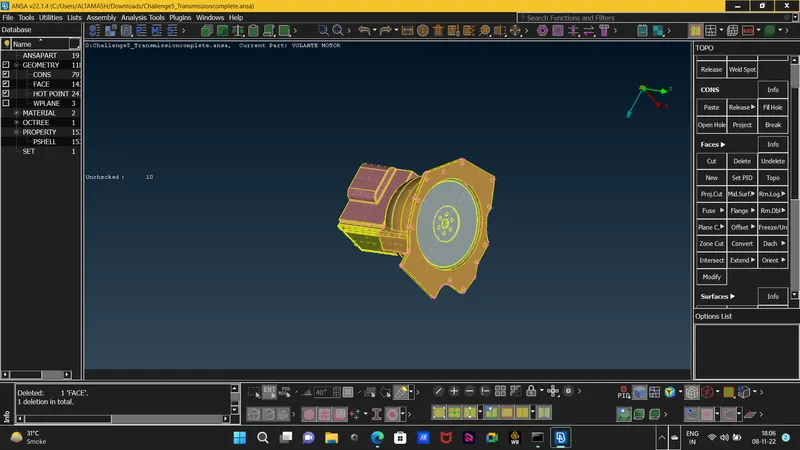
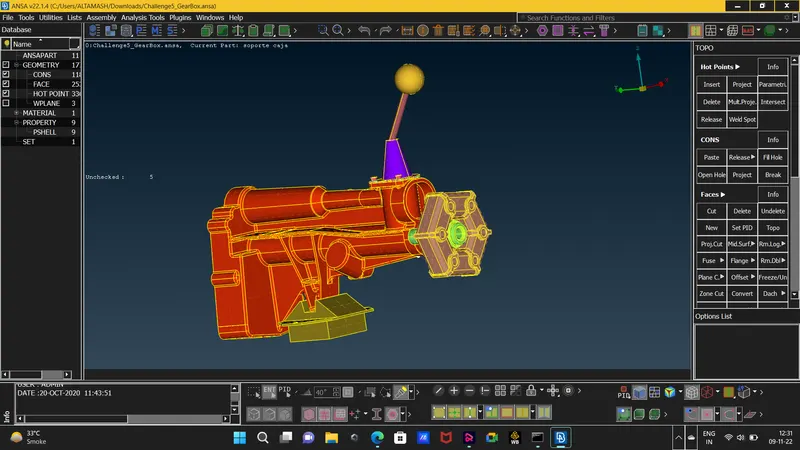 thses images of the gearbox and the transmission are cleaned of any unwanted surfaces and from any surfaces which will create any disturbance in the wrap.
8. as the cleanup process is done we will go ahead with patching up the hole by creating new surfaces as or otherwise those unpatched surfaces will let the wrap to follow inside that open surface and the wrap will become inconsistent. all the open holes are important to fill but the hole those are big in sizes have to be our priority and even the small surfaces will create inconsistencies but not as much as the big holes in compare.
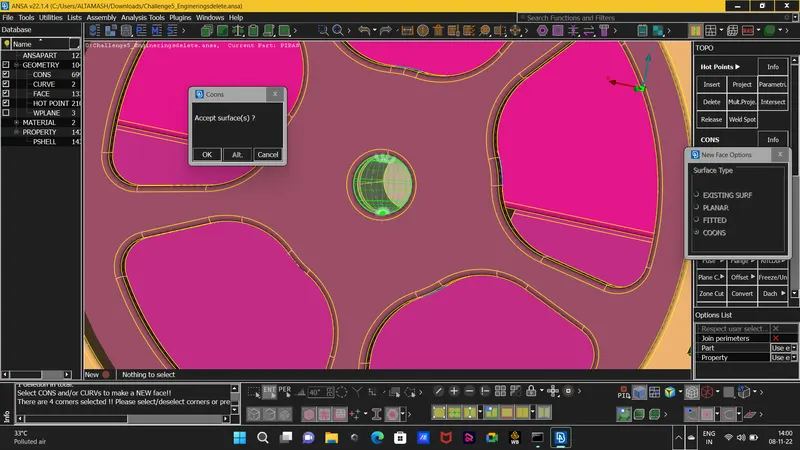 in some of the regions COONS option wnt work properly so try to use the FITTED option. this process of patching up the holes has to be done with the transmission and gearbox too.
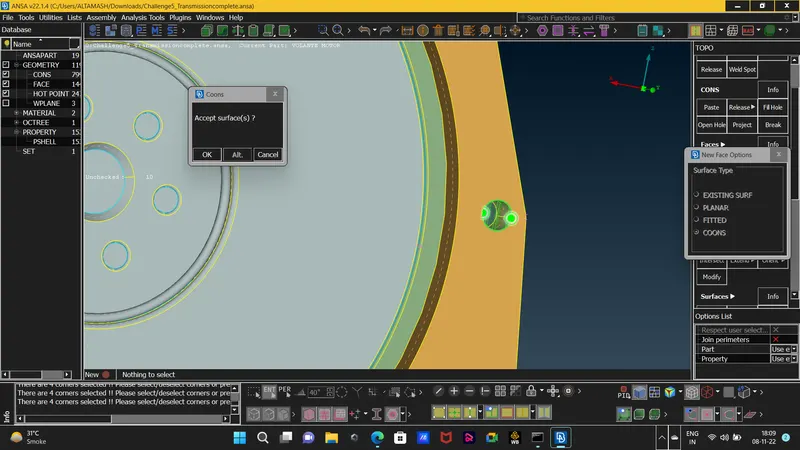
9. as we are ready with the clean up and patching up the open holes we will proceed for wrapping but for that we need our all three models together. this can be achieve by doing the MERGE of all the parts togther in one GUI.
to achieve Merge go to:
File > Merge >select the file name >we will get a popup box in that select merge part > OK.
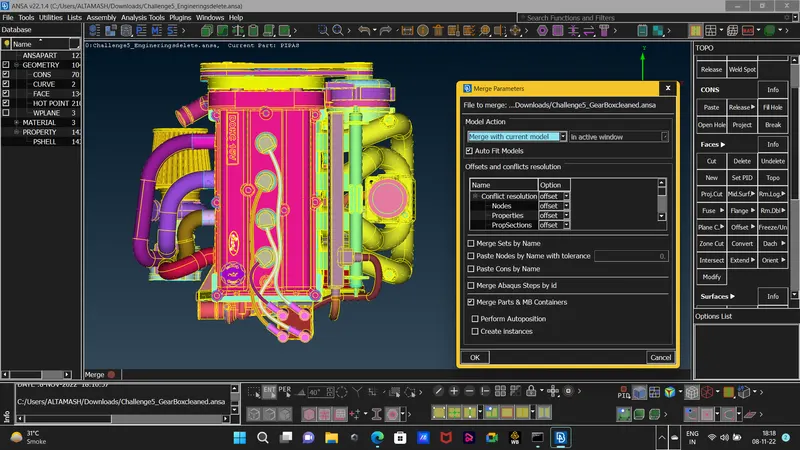 we have to select parts one by one .
10. our whole assembly will look like this after merging.
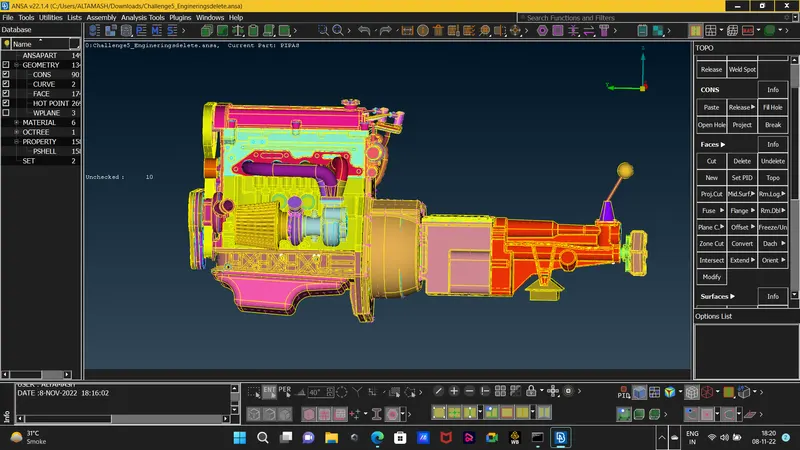
11. before proceeding for the surface wrap we will delete the pid's of the surfaces which are deleted by us so that this step will not create any problem in the latter stage while doing the surface wrap.
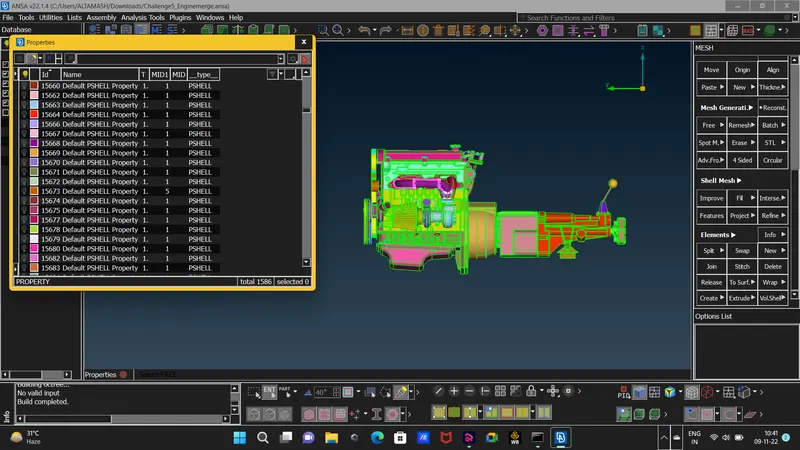 we will use the compress option for the deletion of the pids's.
12. as the above steps are completed we will proceed with the surface wrap.
to perform surface wrap go to :
Surfae Mesh Deck > Elements > Wrap > here we will select the Constant Lenght option > we recieve a popup box of constant wrap octree double click > another popup box with three categories of Name / Content / Parametres > double click on parametres and input 3mm as target lenght and then in Mesh section let everything be by default > in Contents > we will select all the Pid's as we can see because we have deleted all the deleted PID's > now move the selected pids by clicking on the green arrow > OK > now the contents and parameters will get updated > click on RUN.
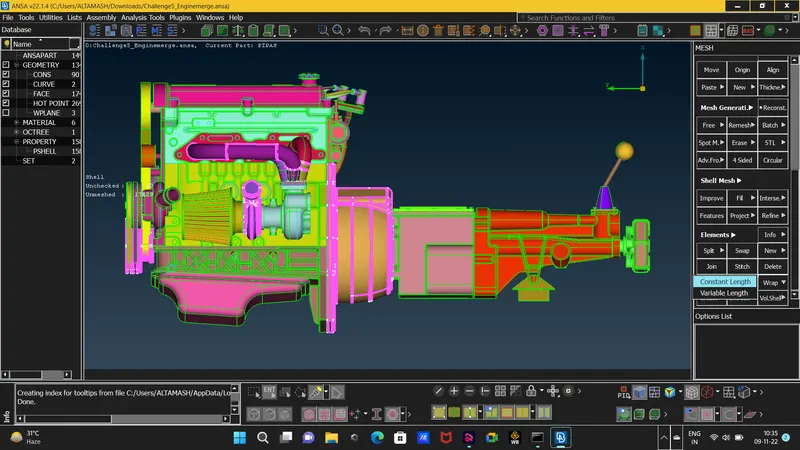
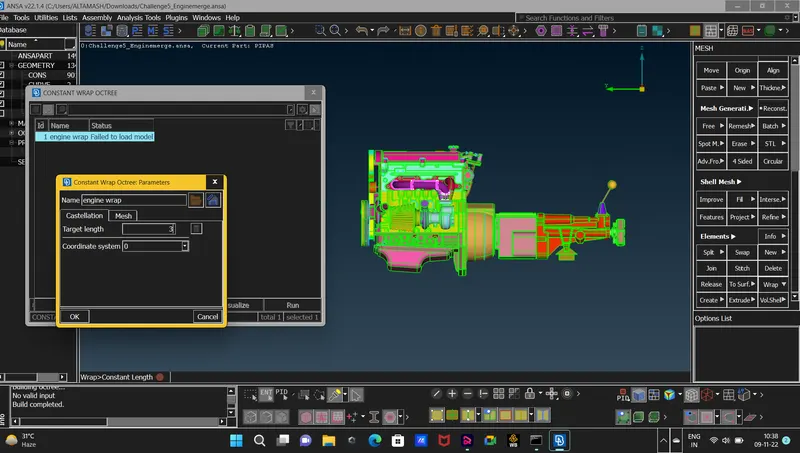
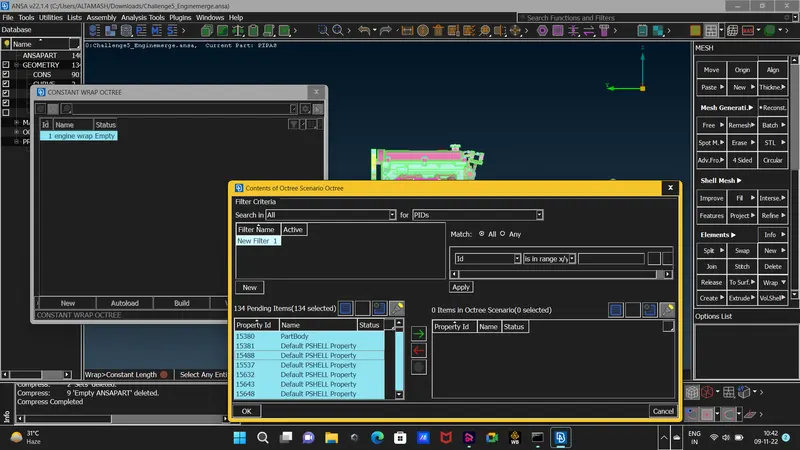 after we move the pids we run the inputted details and we will get our wraped surface.
13. as we run the inputted details and after few minutes we will get our model Surface Wraped.
14. show the surface wrap images in the result.
Learning Outcome : for this challenge we learned whole different concept of SURFACE WRAP .
Surface Wrap is used to when we only have to perform the mesh on the outside part of the components and we do not want anything related from the inside that is why we use surface wrap to analyze the outside flow. we also learned that the outside surfaces geometry has to be cleaned and all the open holes and surfaces has to be patched so that they wont create any disturbances in the surface wrap . also for this challenge all the model were downloaded individually so to bring all the individual model in same GUI we did merge of all the parts and gained the merging knowledge.
Result : the engine,gearbox and transmission model is merged and the surface wrap is complete.