Project 1 : CFD Meshing for Tesla Cyber Truck
Aim : to create a wind tunnel around the tesla cybertruck and perform cfd mesh for the cybertruck.
Requirement : 1.link to download the model.
2. target mesh lenght for the parts :
(a) body : 2mm
(b) headlights : 3mm
(c) tyres : 2mm
(d) windows : 3mm
(e) windshield : 2mm
3. calculations for creating wind tunnel :
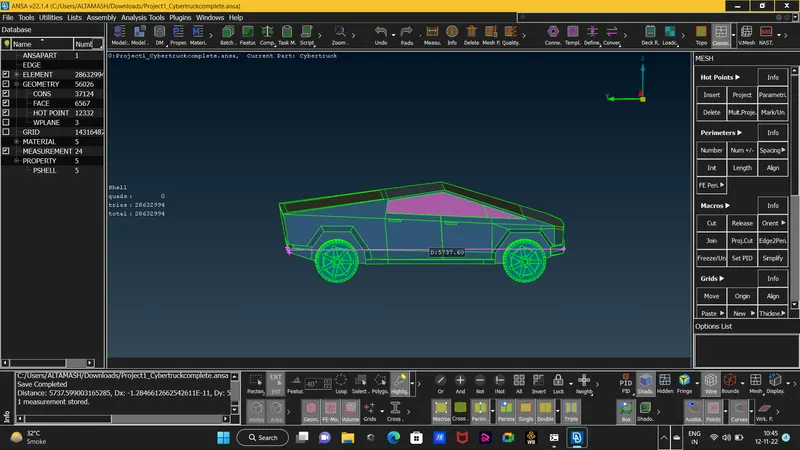
the lenght of the car measured is (x) :5737mm
measurements for the front wall : 2740+4(x)
= 25688m
measurement for the rear wall : 3021+6(x)
= 34425m
measurement for the upper wall : 1619+3(x)
= 18830m
4 target lenght for meshing the wind tunnel :
for bottom wall : 100mm
for upper wall : 200mm
spacing of the front and the rear wall : from 100 to 200mm
Procedure : 1. download the model of the cybertruck from the provided link.
2. the download model had alot of single cons so we perform topo to solve the single cons problem.
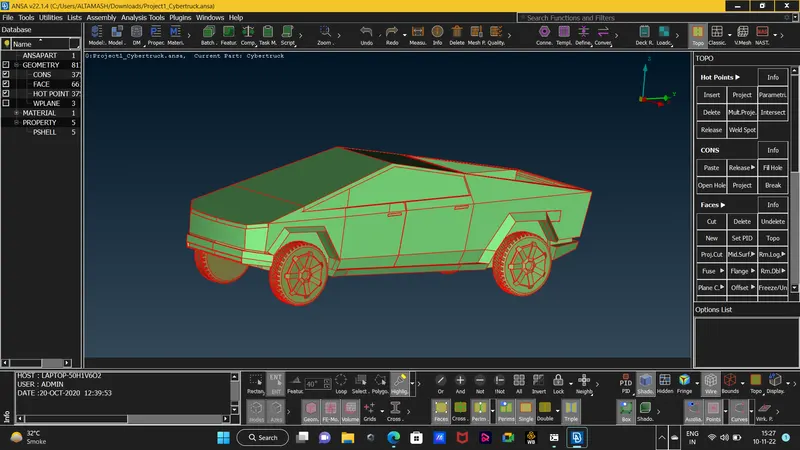
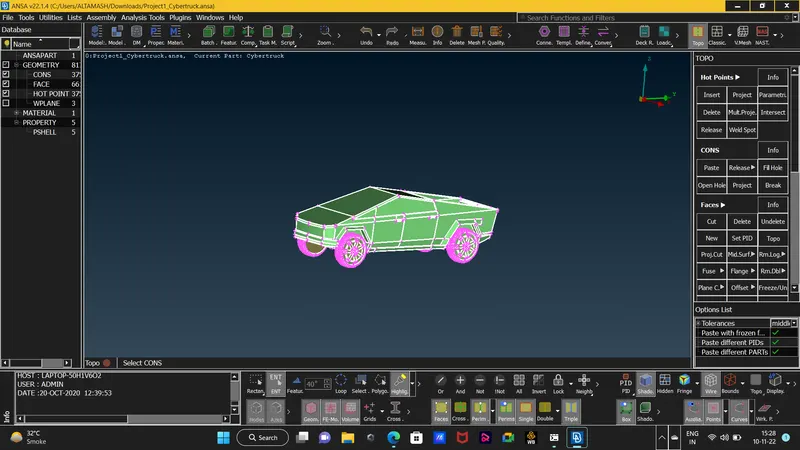 all the single cons then changed to double cons.
3. after doing topo go to checks manager and checks for the errors in the geometry and try to solve the errors so that the surface will get ready for surface meshing.
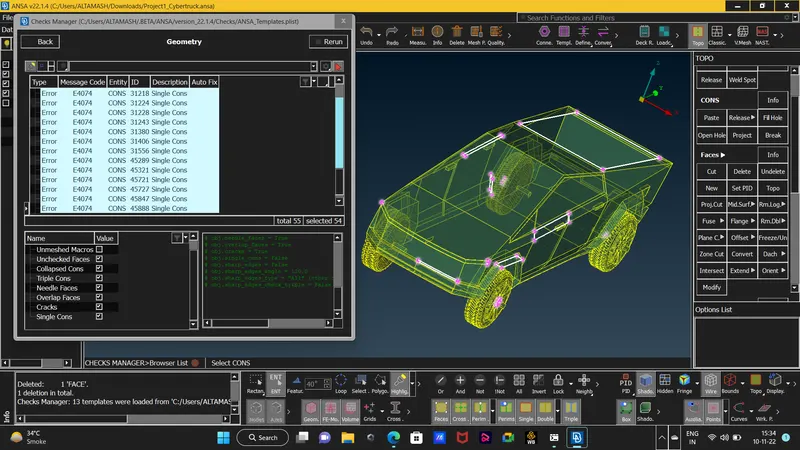
4. in the cybertruck model we found alot of single errors and some open surface as well as some overlapped surfaces those if not solved will throw errors will meshing. we patched some surfaces while as they were open and showing single con error in tyre surface , surface near the headlight. and some surfaces were overlapped we found that surface inside the body.
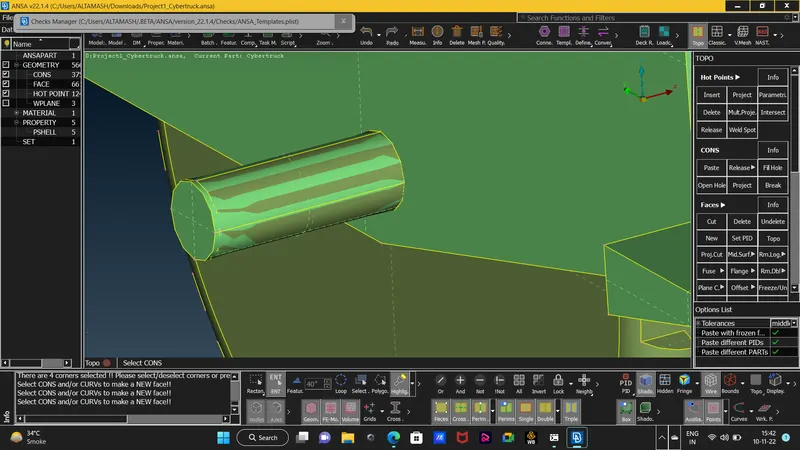
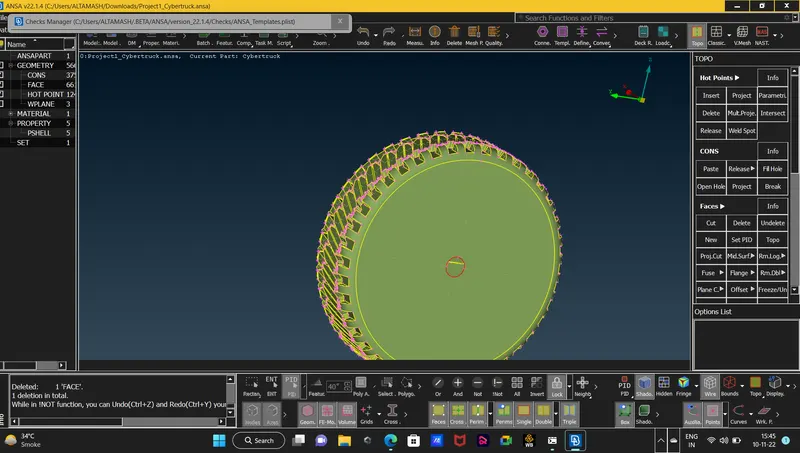 we will close all the open holes of the tyres so the tyres will creare its own volume.
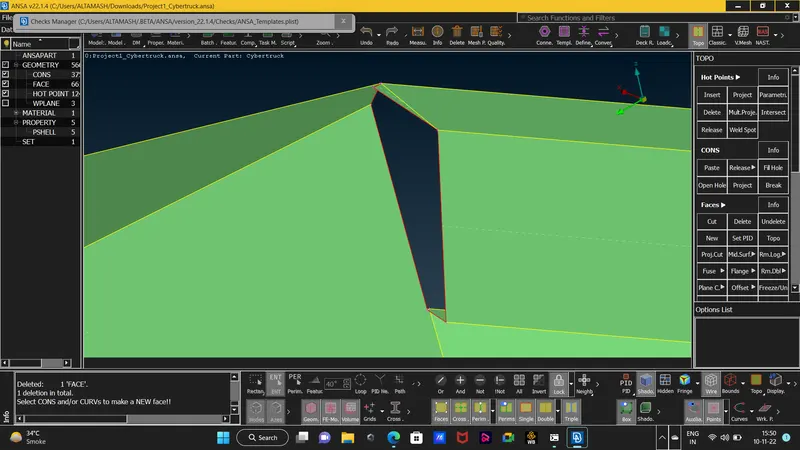
 we also deleted this same surface and patched the hole as it would have created a different volume than the inside of the car.
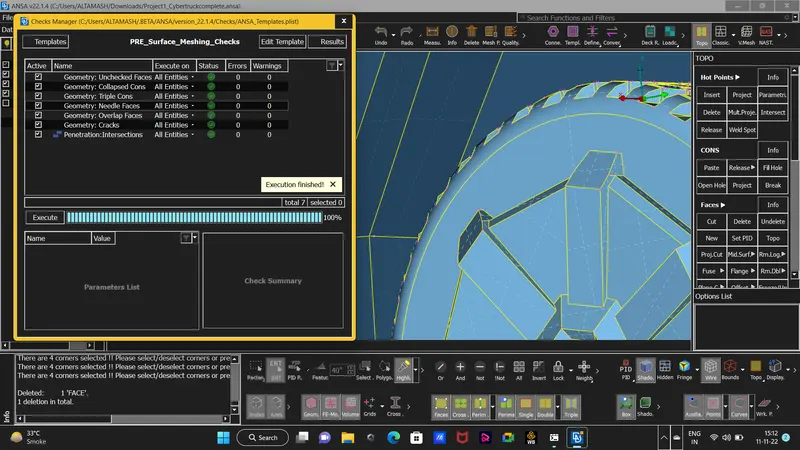
5. we will check for the penetrating surface error in the checks manager and also the we will clean the geometry for the latter surface.
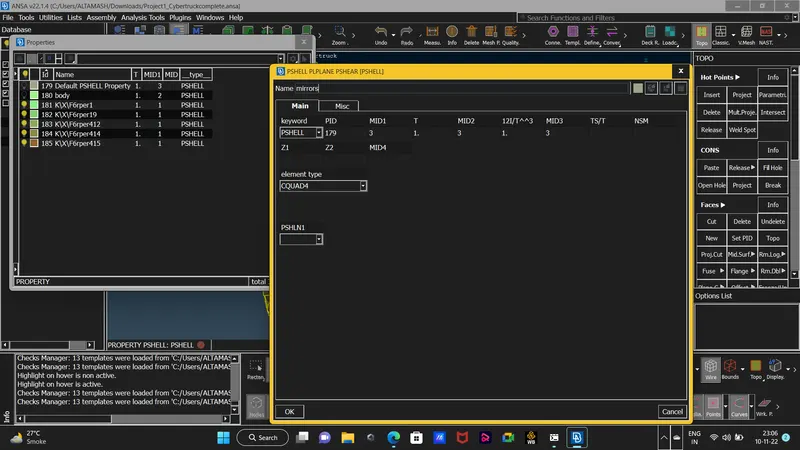
6. as we are cleared with the geometry cleanup we will go ahead with creating new PID's and will assign those new pid's as well.
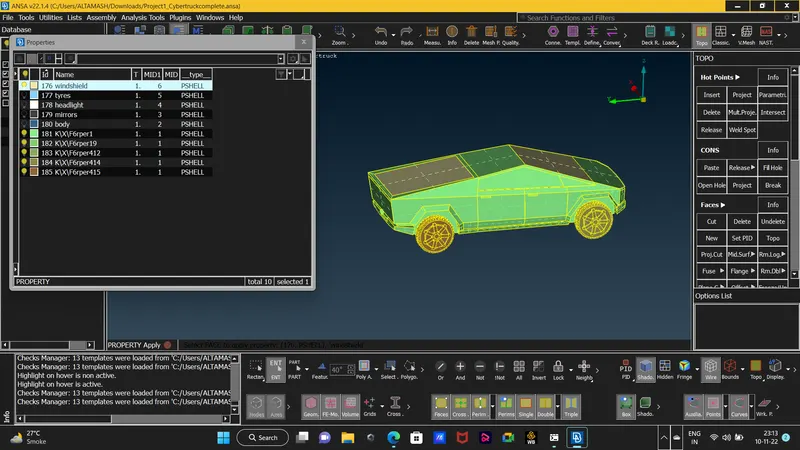
7. as the new pids are assigned we will delete the former pids with the aid of the compress option.
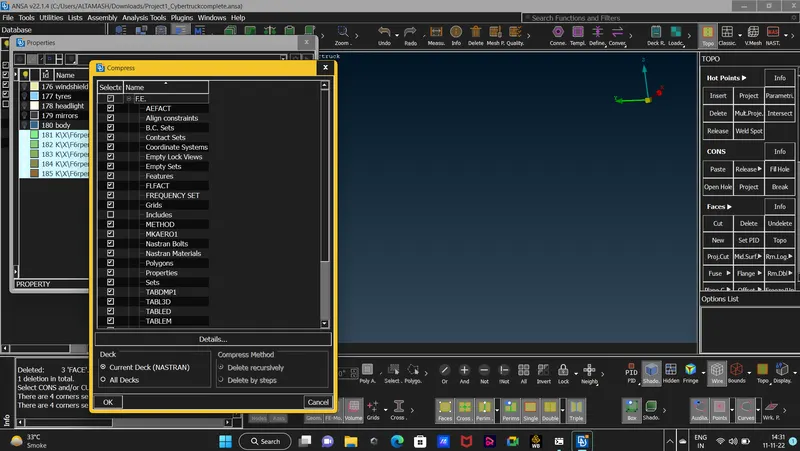
8 now we will select a proper quality criteria options we will select the same option as selected in the BMW car challenge.
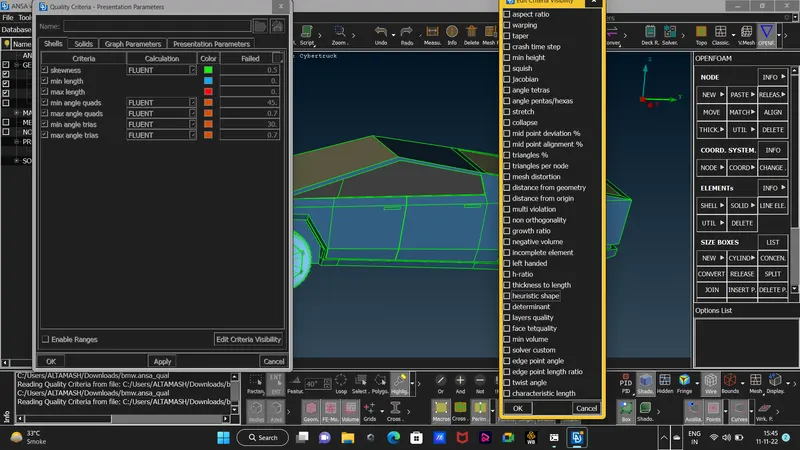
9. now we will go ahead with the surface meshing of the car with the proper mesh target lenghts as mentioned. before meshing we will measure some surfaces to see if that surface will create some problems in the meshing if those surfaces wont pass the quality criteria as selected. we will mesh the car surfaces individually pid wise . for meshing we will first input the details in the quality criteria deck then we will proceed with the mesh parametres in that we will mention our target lenght with selecting the TRIA element and then we will proceed by inputinng the lenght option and then we will do spot mesh for the visible surface.
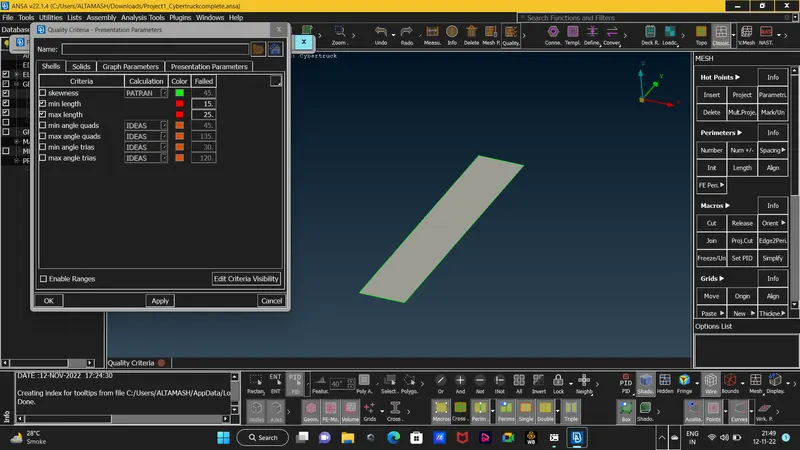
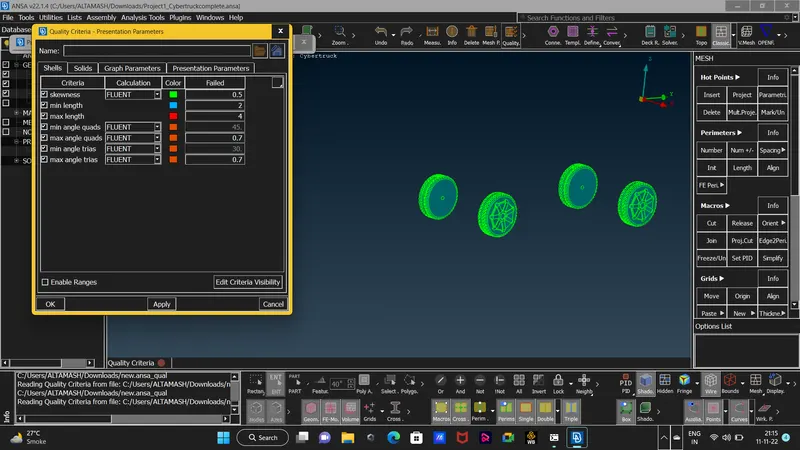 applying min and max lenght in the quality criteria section with other values keeping constant.
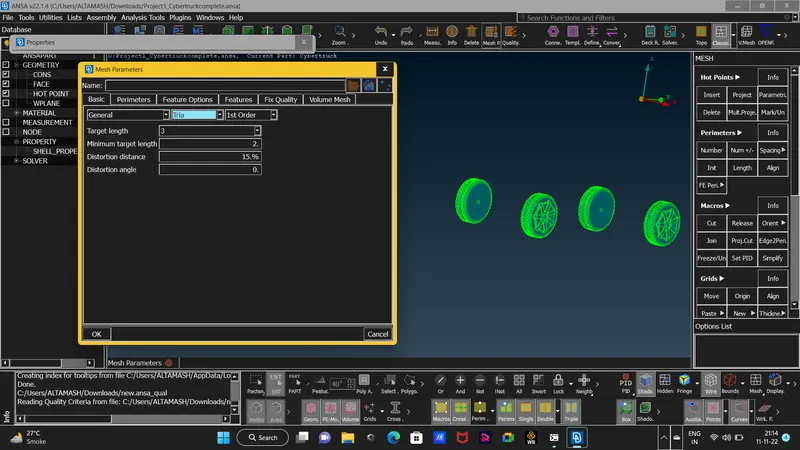 applying mesh parametres and selecting tria element.
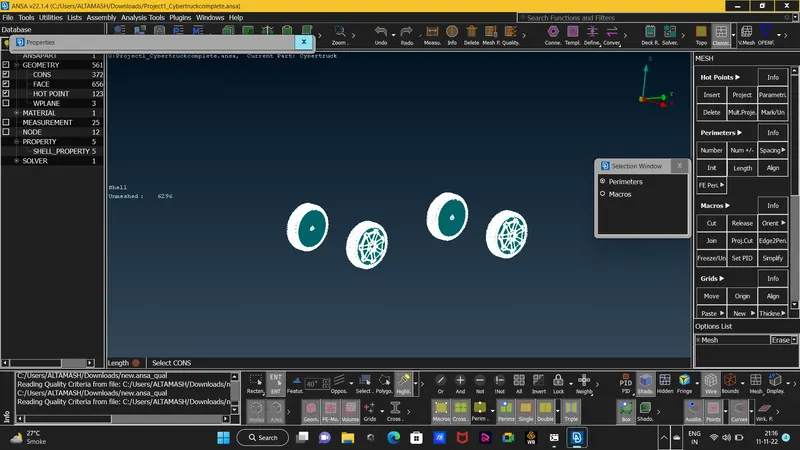
10. as we are meshing the surface we will also look for the off elements and clear all the off elements before doing the cfd mesh. to solve the off elements we will shift to hidden mode with selecting the entity mode. in this mode we will be able to see off elements and will improve it by reconstructing the of elements.
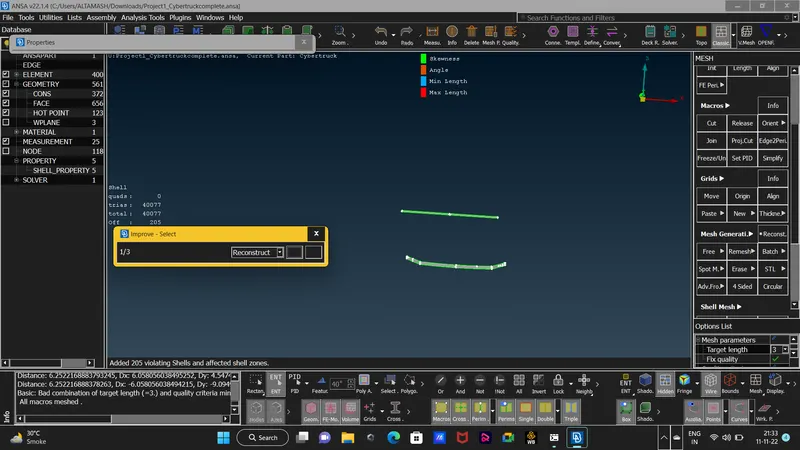
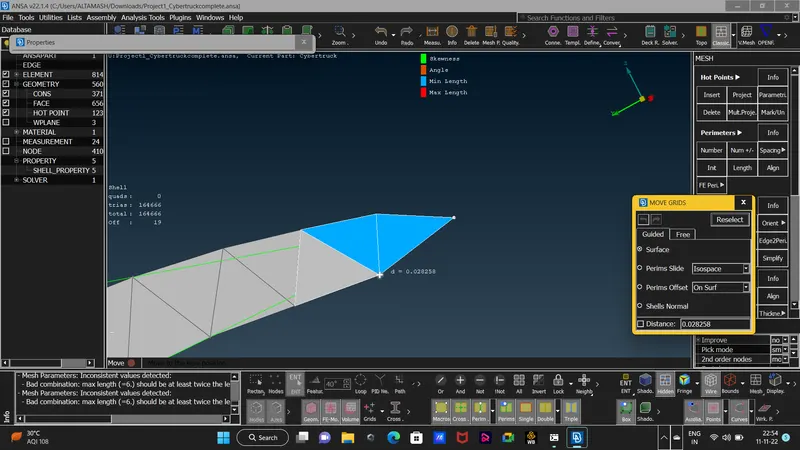 using the move option for moving the grids to solve the off elements.
11. we will mesh and clear off all the off elements of small pids first. now for the body pid we will freeze the other pids than the body and will input only the parameter for the body to prevent the other parts mesh to gets erased.
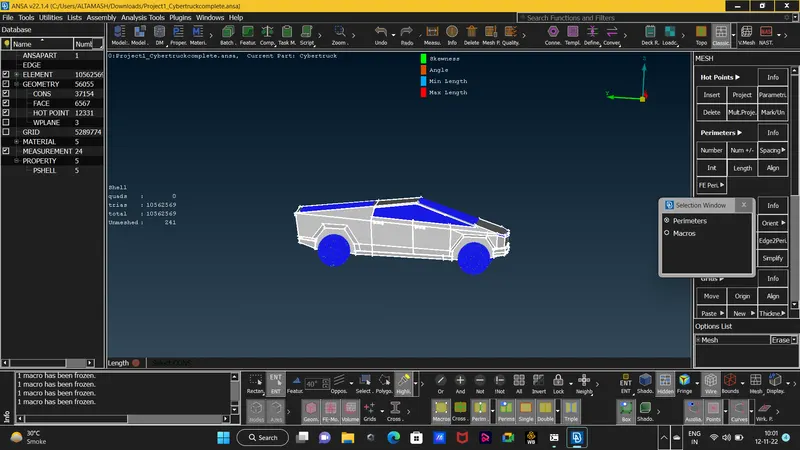
12. we will clear all the off elements from all the meshed surfaces and our cybertruck will look like this.
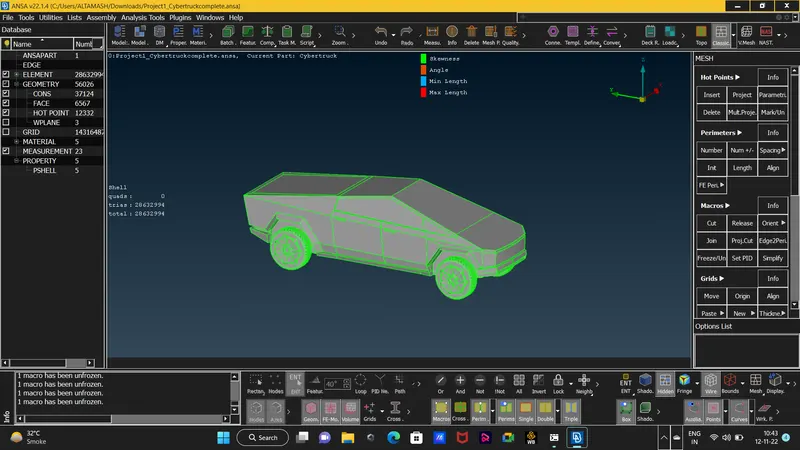 as in the image we can see that there are no off elements mentioned beneaath the total elements count.
13. as we are done with the surface meshing of the car we will proceed with the wind tunnel creation. for the creation of the wind tunnel we will first measure the car from the extreme points.
as we got the lenght of our car we will start creating points arounf the car to create the walls of the wind tunnel. as the calculation is mentioned in the requirements we will proceed to make points with those measurements. the below point below the car will be near to the car as the bottom gap is not very important compare to the upper part.
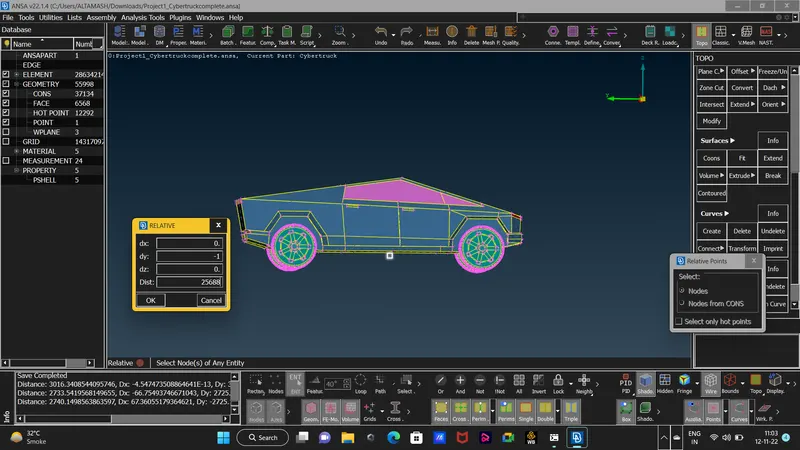
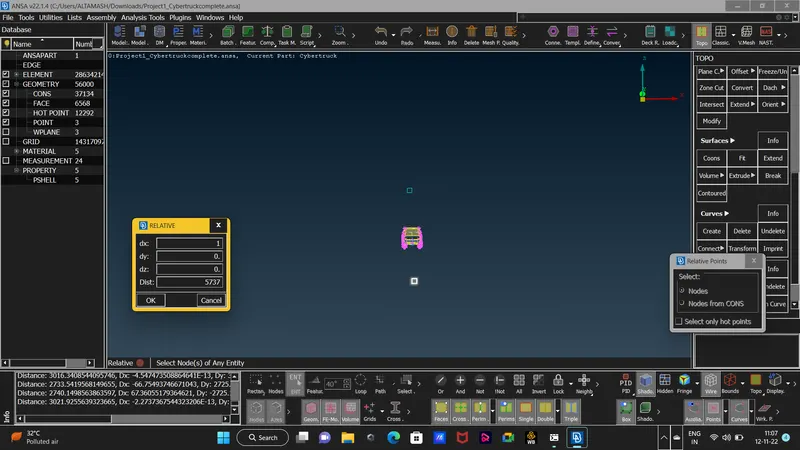
14. now we will start to create our wind tunnel. to proceed with that first we will create points for the bottom wall of the wind tunnel with the help of the POINTS option. the bpoint at bottom of the car will be at the 380m distance otherwise if we take distance as 75m then the bottom wall will penetrate the wheels. the 380m is measured by mesuring the distance of bottom surface of the car upto the bottom of the wheels. we will create the point with the same method in the front, rear and sides of the car so that we will have a proper dimension to create our bottom wall.
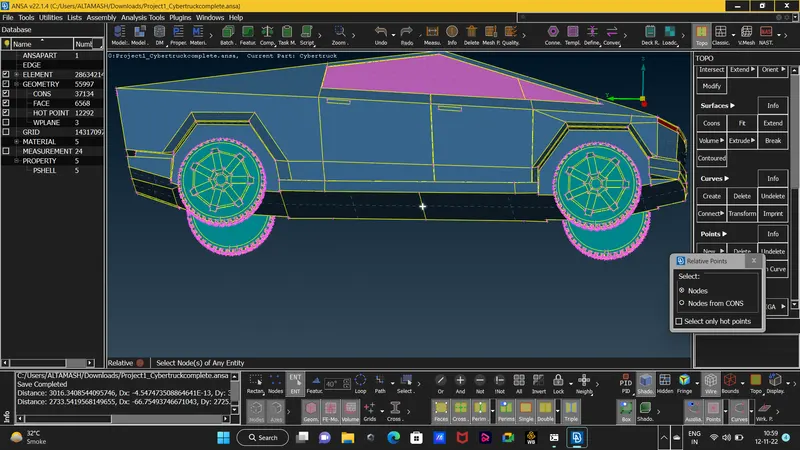 to create the point at bottom of the car.
 to create point at front of the car.
 to create the side points.
15. as the points are creted we can proceed with joinig the points with the aid of the CURVES option so we will have a boundary to create a new surface for the bottom wall.
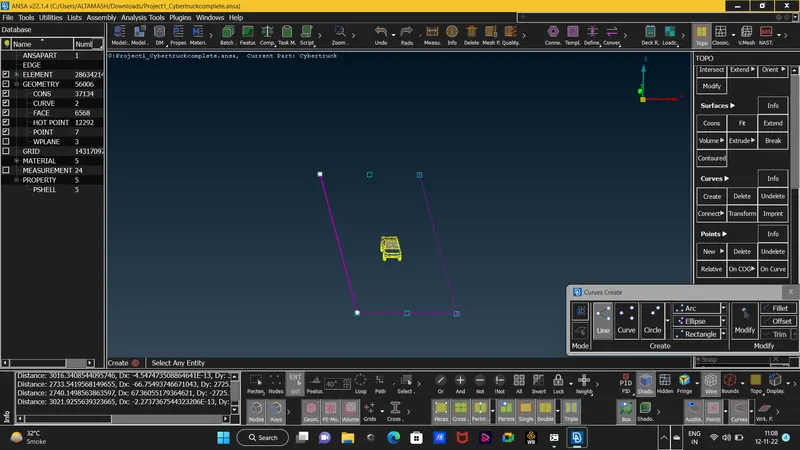
16. as the curves are created we will proceed with creating the new surface as we created the new surface we recive a popup box of pid manager there we will create a new pid for our newly created bottom wall .
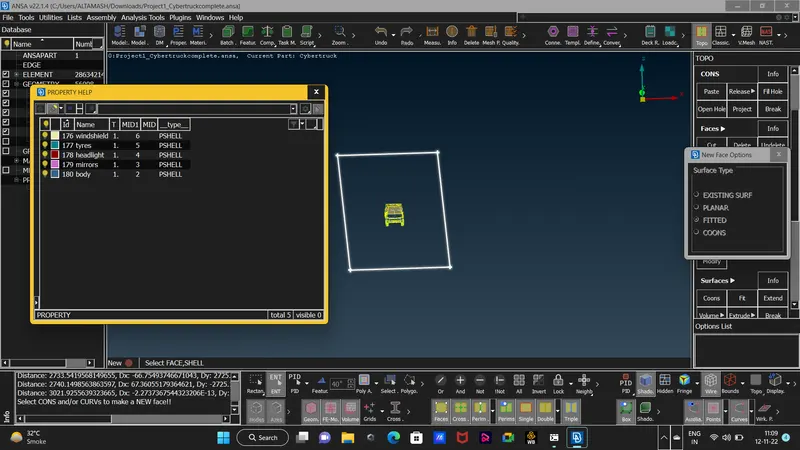 here we will create 5 more new pids for 5 walls of the wind tunnel so that we can assign it afterwards for our whole wind tnnel.
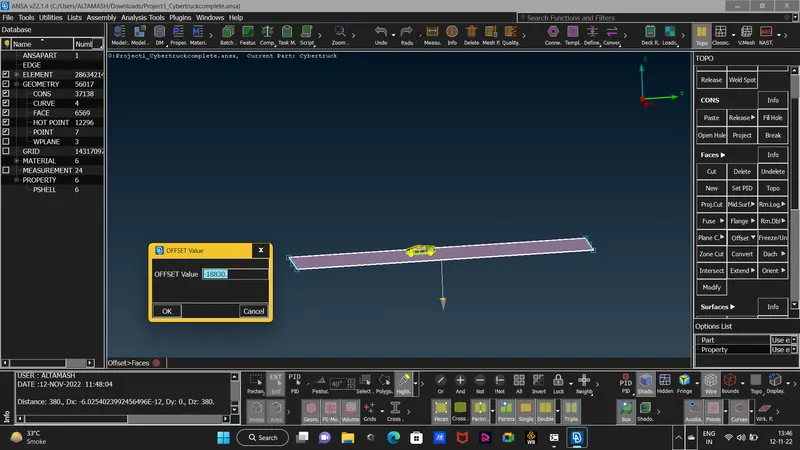
17. now we will offset our bottom wall on the top of the car at distance of 18830m as we have calculated for the top wall of the wind tunnel. we will use the OFFSET option to perform this operation.
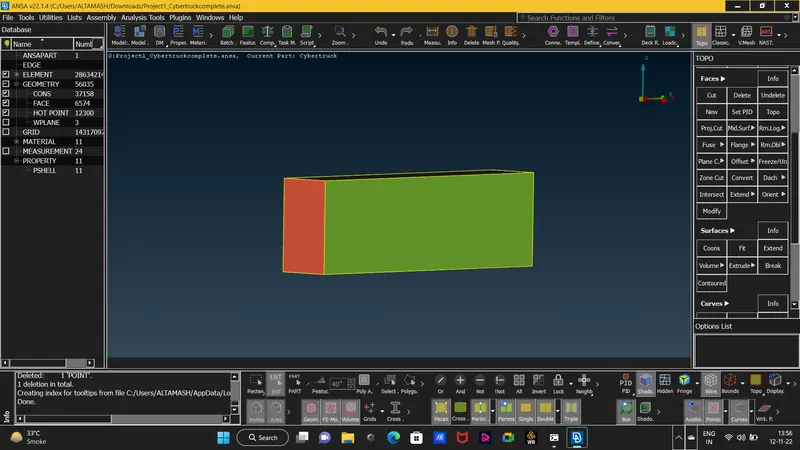
18. as we got our top wall as well now we will join our all the sides and create new surfaces as well we assign the new pids created for those surfaces. our complete wind tunnel will look like this.
19. now we will proceed with the meshing of the wind tunnel. for meshinf of the wind tunnel we will give different msh lenght for the top and bottom walls and will perform SPACING on our front and rear walls as the mesh will vary from bottom to top surface.
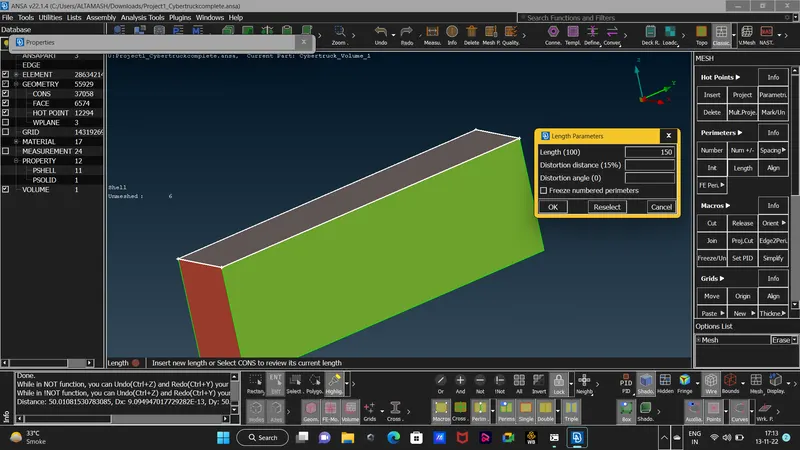
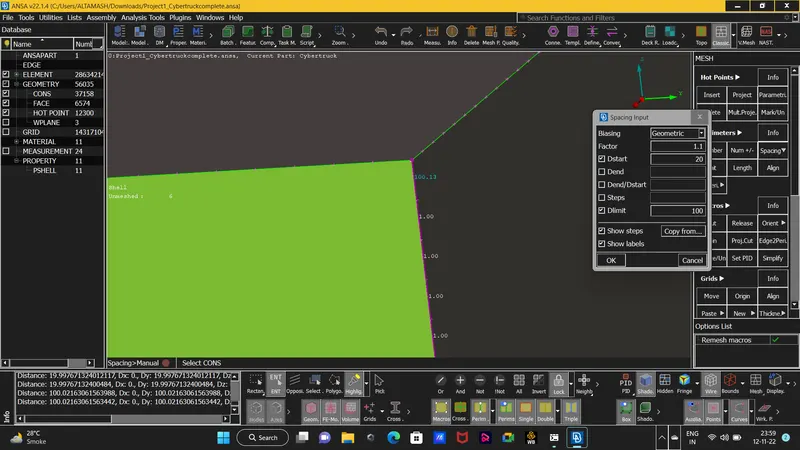 spacing for the front and rear wall. this image is showing the the mesh lenght which were erased as i the system was crashing beacuse of a very high numeber of tria elements as the mesh was done was vey fine, thats the reason that i changed the mesh lenghts affterwards.
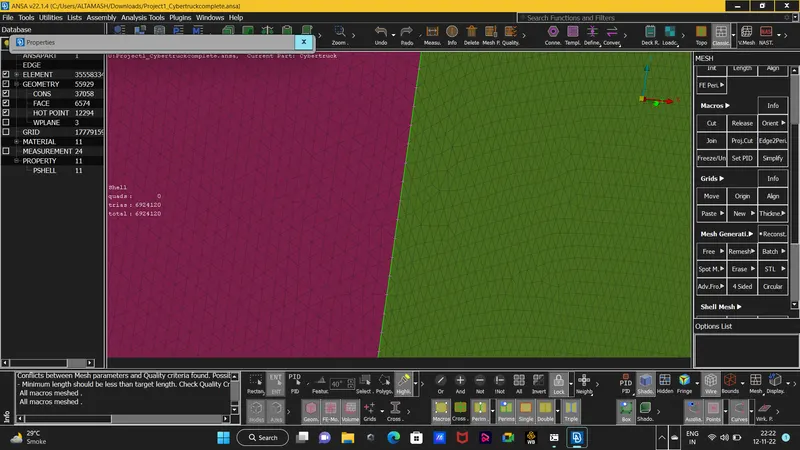 complete mesh of the wind tunnel.
20. as the mesh of wind tunnel is also complete we will now define the volumes first of our whole database so that we can delete unwanted volumes and can only keep our volume between the wind tunnel and car because we have to perform the cfd mesh for only that volume.
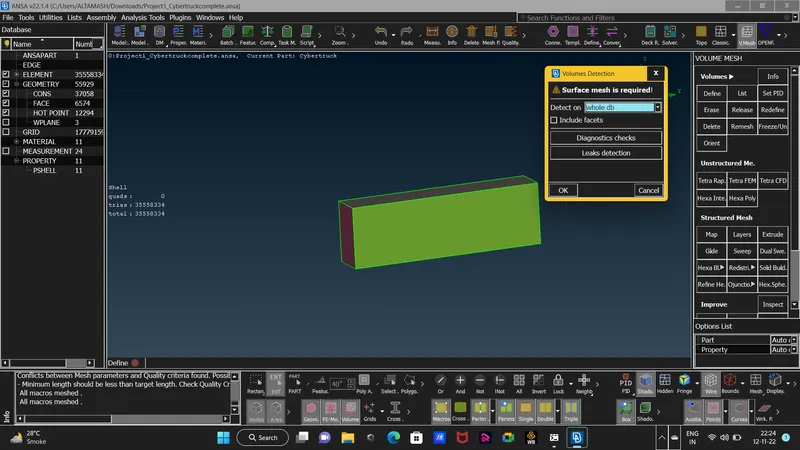 defining the volumes.
we will only keep the volume between the car and the wind tunnel and we will create the rest of the volumes those are the volume of the car and 4 volume of the tyres.
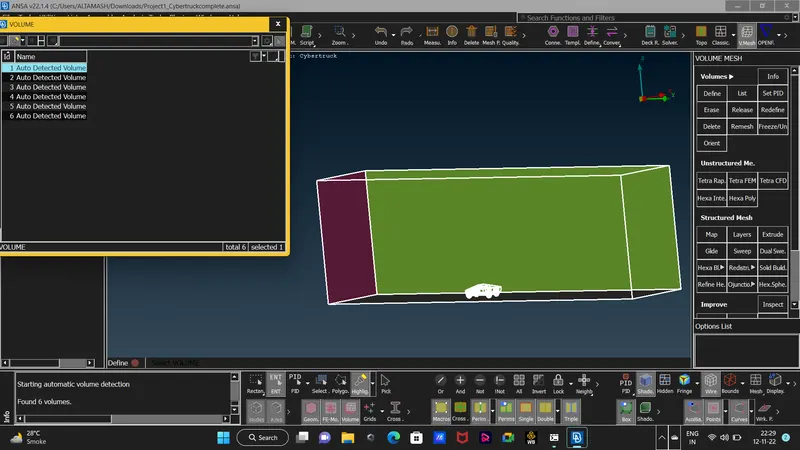 this image shows the volume of the car and the wind tunnel.
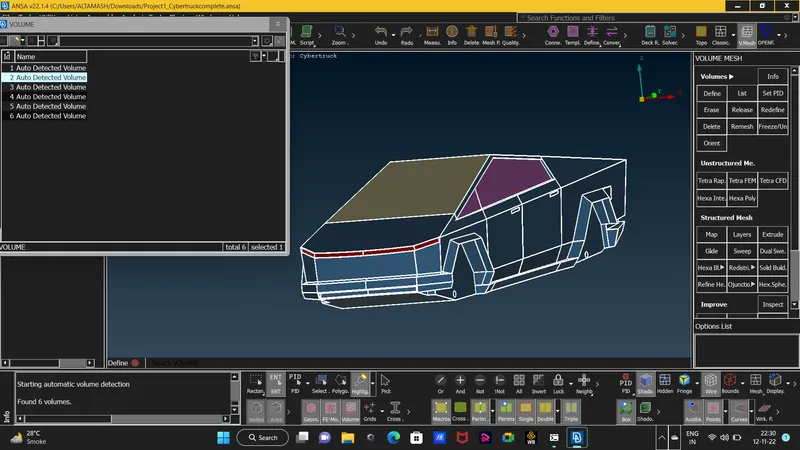 volumes of the car.
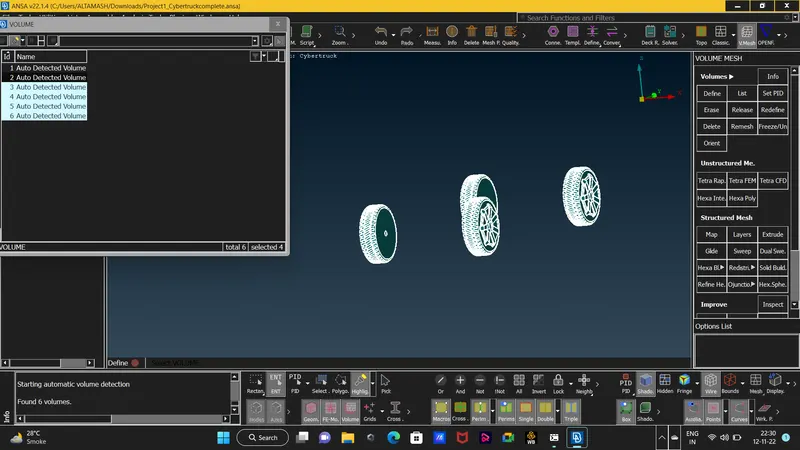 volumes of the tyers. these volumes of the car and the tyres will delete.
21. deleting the rest of the volumes and keeping the only shown volume in the image.
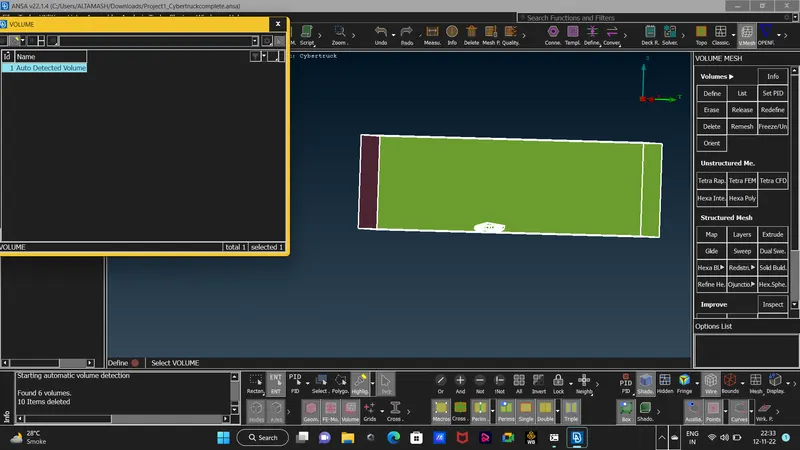
22. after confirming our volume we will go ahead with the cfd tetra mesh.
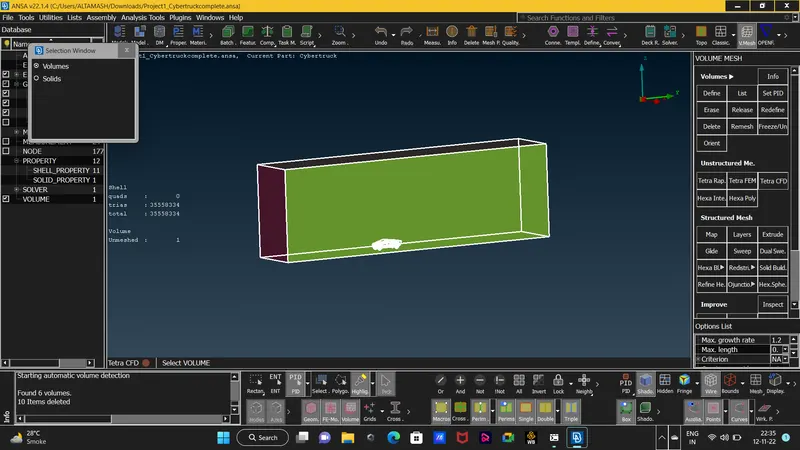 by selecting the volumes option we will proceed our mesh. the computation will take a certain amount of time as the volume is large and the numer of elements are also high.
23. show the cfd tetra mesh result.
Learning Outcome : by performing this project we studied that the finer the mesh elements the more time it will take for computation for cfd mesh but the finer element will give more accurate results than compare to the large elements. also we learned how to make any surface a single volume, detecting overlapped surfaces and deleting some surfaces and creating a simple surface so that it wont show any error while doing the mesh. learned that some triple cons are not error but warning as there might be an overlapped surface.
Result : the CFD Mesh for the Tesla Cybertruck is complete and shown below;
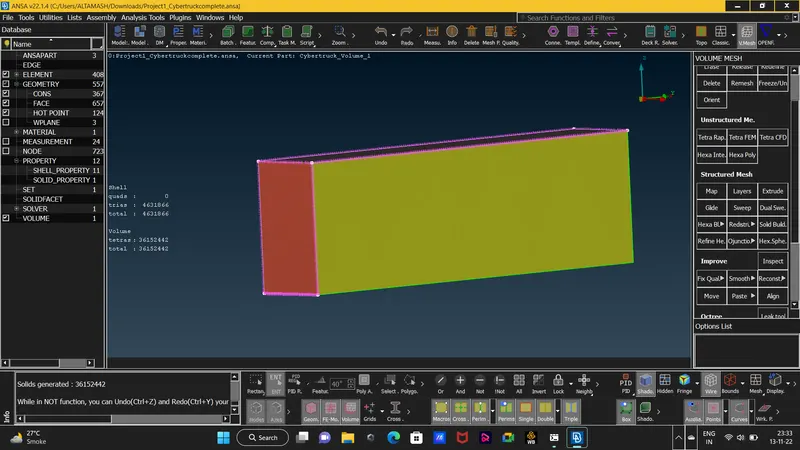 the yellow colour wall that we can see in this image is the cfd meshed volume between the car and the wind tunnel.
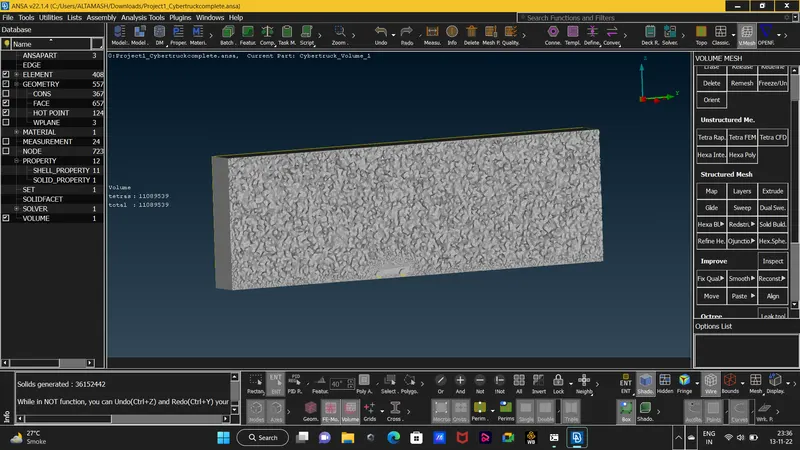 mesh in entity mode.
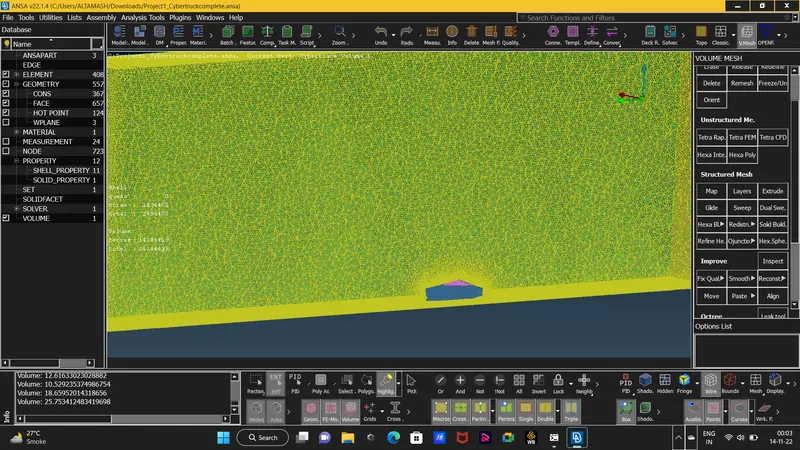 mesh result in wireframe mode.