Week 5 Challenge : Surface wrap on Automotive Assembly
SURFACE WRAP ON AUTOMOTIVE ASSEMBLY:-
AIM - For the given models, check for the geometrical errors and delete surfaces which are unwanted for Surface wrap as shown in the videos. After clearing geometry, Merge all 3 models and perform surface wrap.
Surface wrap - It is technique used to simulate internal and external flows. In surface wrap geometry is wrapped with certain mesh length and then we perform simulation.
Steps to follow-
- Geometry is avalaible in three parts
- Unnescessary parts needs to be deleted.
- Fill any holes you find on geometry, geometry should be closed.
- Merge all three componenets after topo cleanup
- Perform surface wrap on model
Engine Original geometry -
As we see geometry is full of rings, these rings serves are compact surface between two connections, but in surface wrapping surface should not contain any extra parts or anything which will damage wrapping. So remove all ring shaped and spherical surface they are not required.
NOTE- In surface wrapping we don't care about what's inside the geometry. All we are intrested in is the surface cleanup.
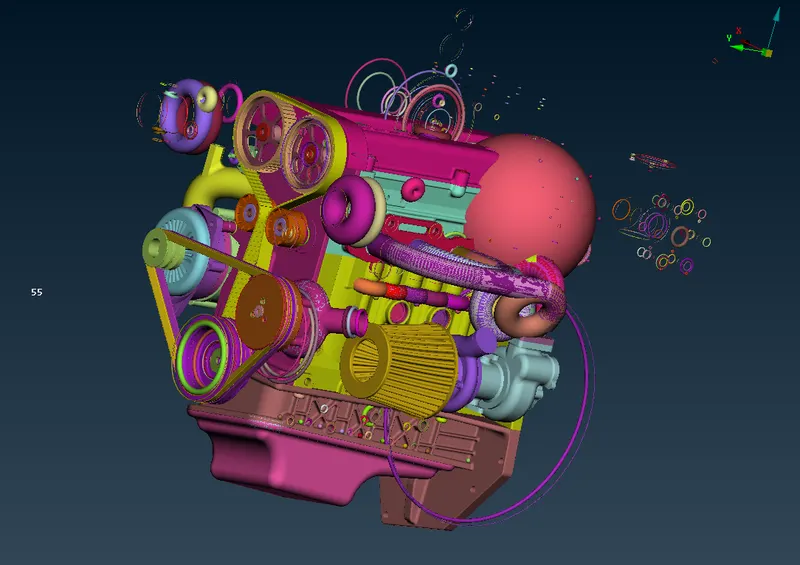
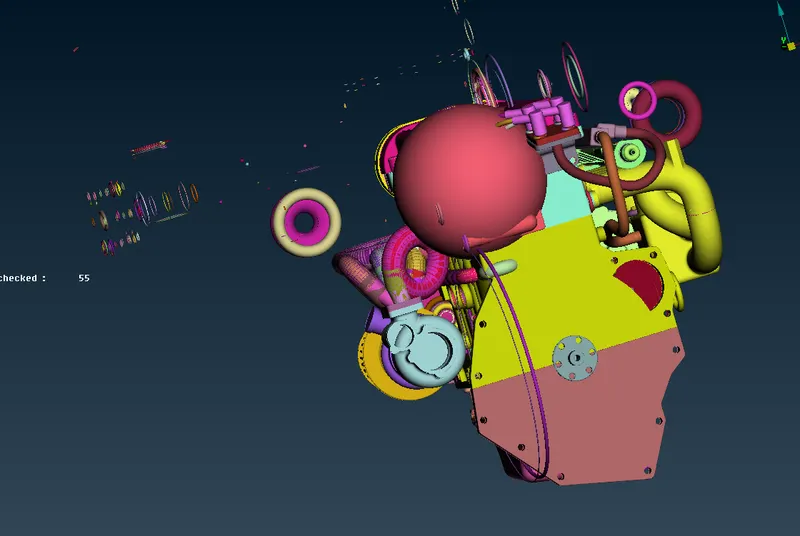
- Below imgaes captures deleting surfaces
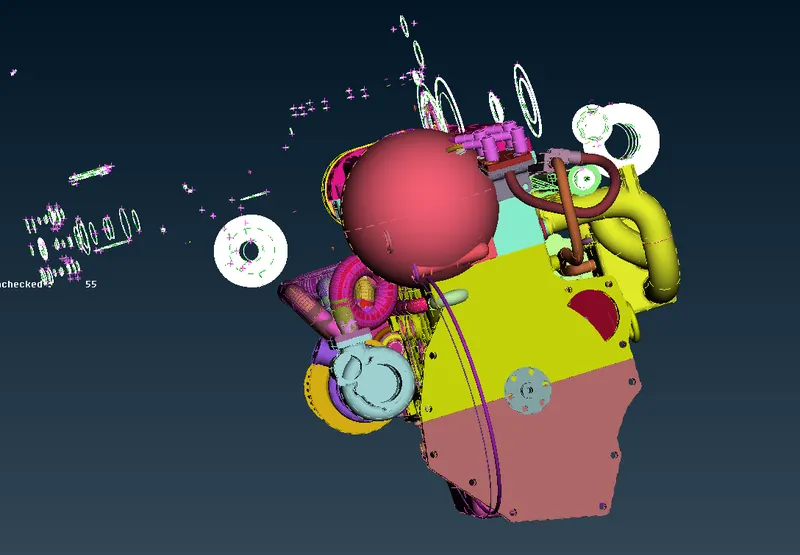

- In the image you see and and understand which type of parts we are considering as extra and deleting them.
- Use wire frame mode to see your selection before deleting.

- Another way to make task easy is to use not tool and activate PID selection mode hide surfaces which you want to keep, In below image you can see we have done the same and delete all extra surface with ease.
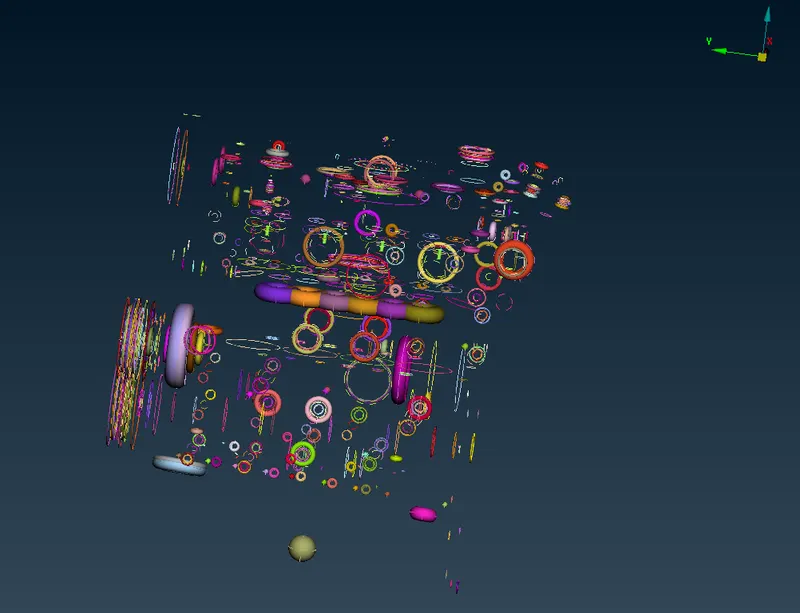
CREATING NEW SURFACES
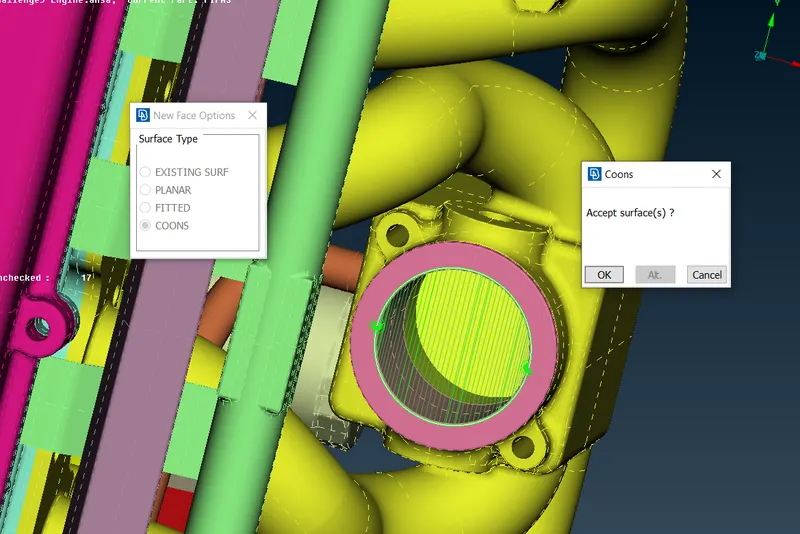
- Next step is to fill holes, as geometry should be free from holes as it will disrupt surface wrapping.
- Fill all holes , specially big ones. Holes which are very small will not create much problem but it is good to close them also.
TRANSMISSION GEOMETRY:-
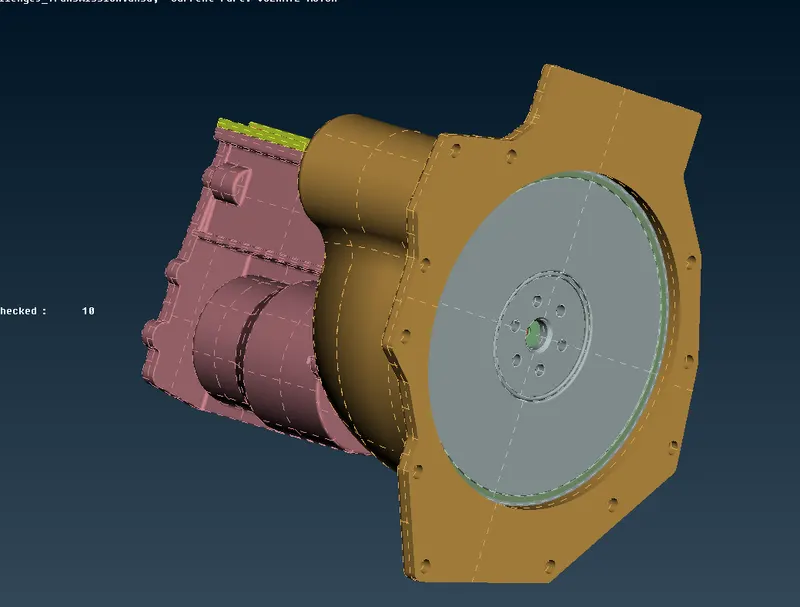
GEAR BOX GEOMETRY:-
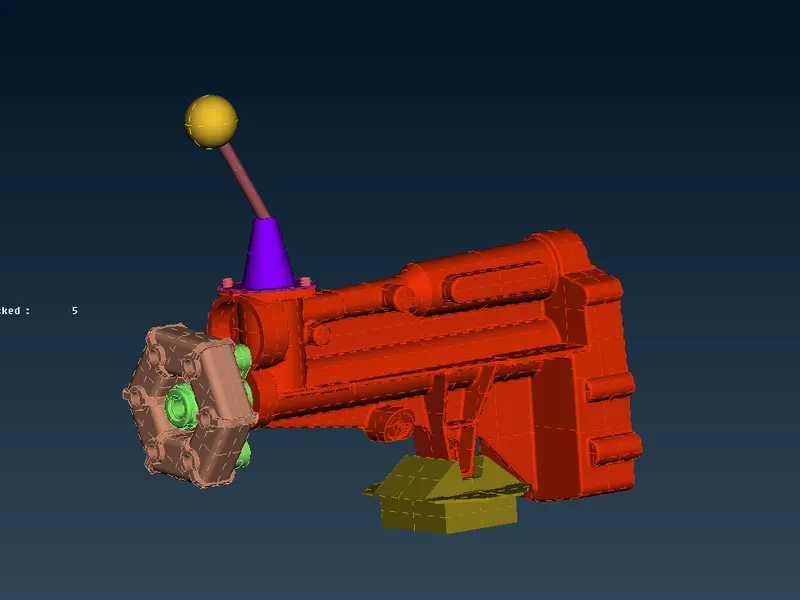
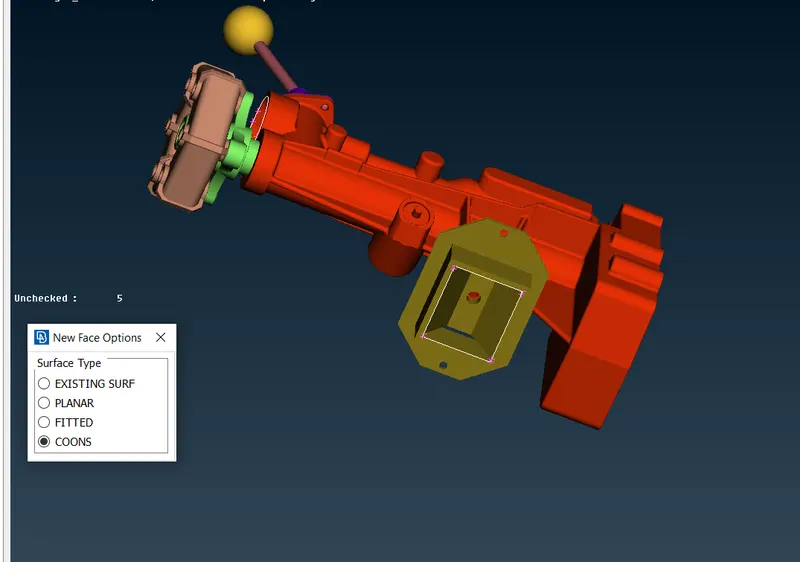
- Fill holes in geomerry as shown below
MERGING ALL THREE GEOMTERIES:-
Steps for merging-
- Suppose you are having engine geometry present in your ANSA GUI and you want to merge other geometries in same GUI.
- Go to files, click on merge a dialogue box will appear where your other geometries are saves in you PC.
- Select geometry you want to merge then another dialogue box will appear as shown below , dont change anyything and click on ok. Your merging process starts.
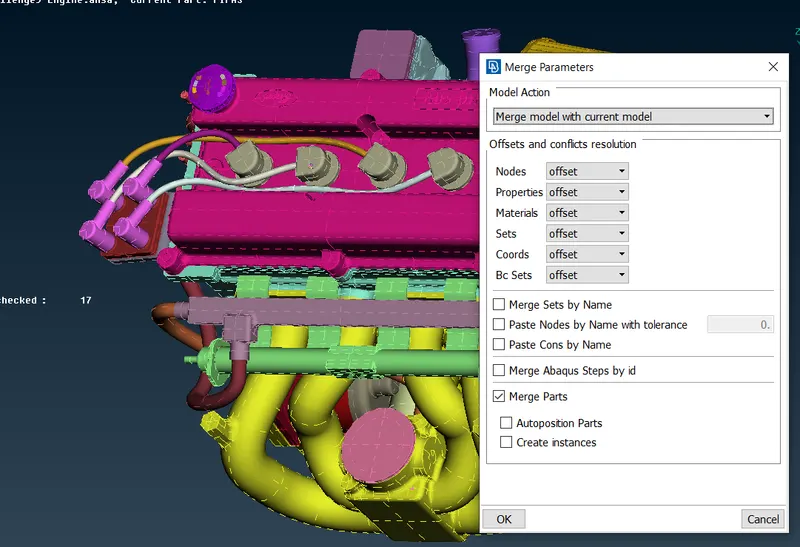
- Repeat same process for other geometry also and merge it with other two geometries.
Geometries Merged-
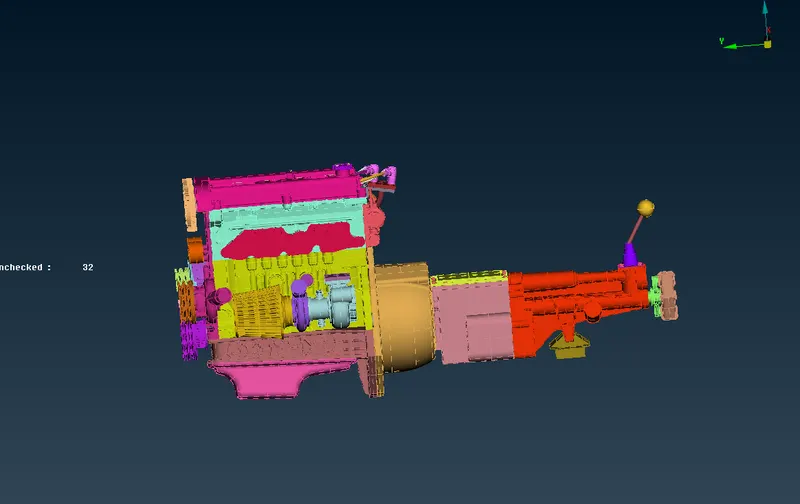
SURFACE WRAPPING-
- To do surface wrap go to mesh and select wrap from element tools.
- There are two options in wrap tool, constant mesh and variable mesh. As we want whole geometry to be wrapped with one mesh length so select constant mesh.
- A dialogue box will appear , double click on empty a new box will open . click below parameters
- Give mesh length and smooth factor as 3 & 0.5.
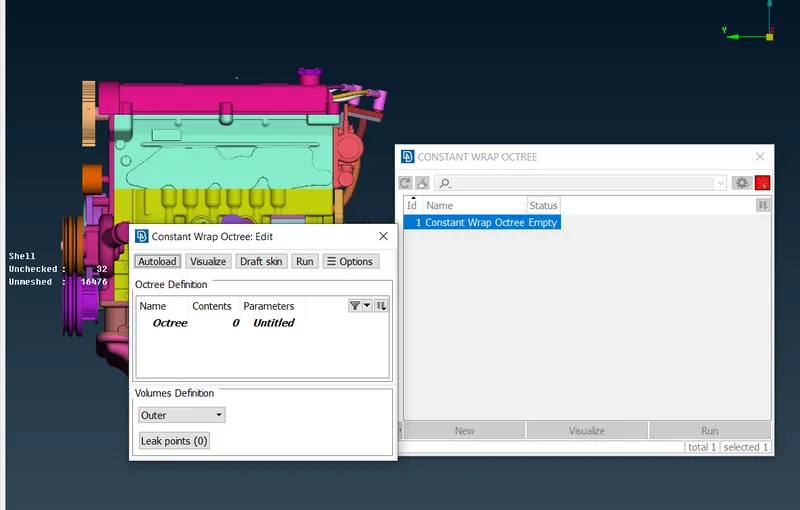
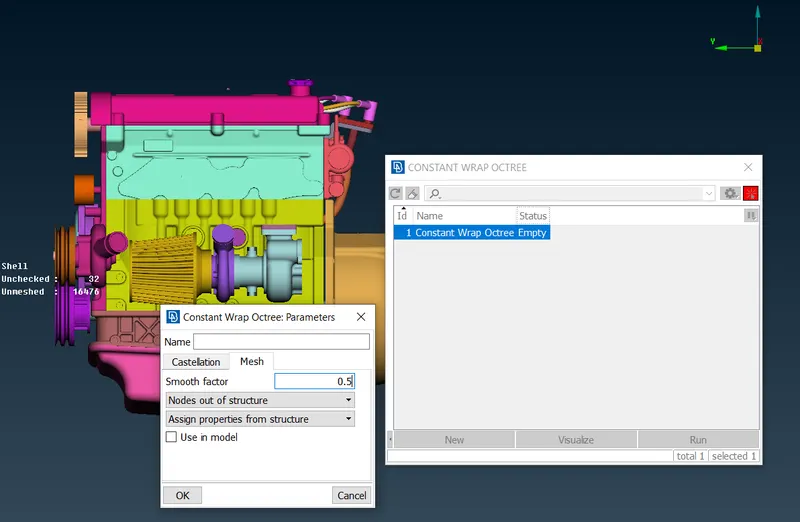
- Giving smooth gactor as 0.5
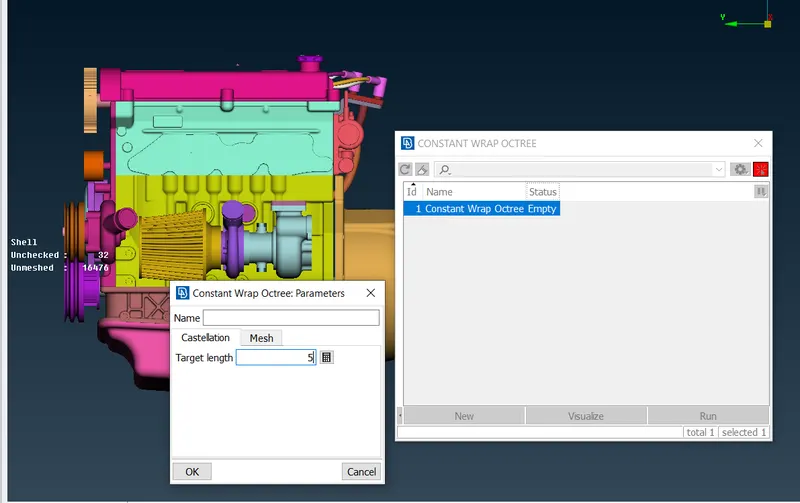
- Mesh length as 3mm
- After that click on content , content contains PIDs you can select PIDs on which you want surface.
- Before selecting PIDs we have to delete PIDs whcih are of no use, so open peoperties manager and then select compress tool. PIDs which are not assigned with any elements will get deleted.
- Now come back to content page and select all PIDs as shown below and click on green arrow.
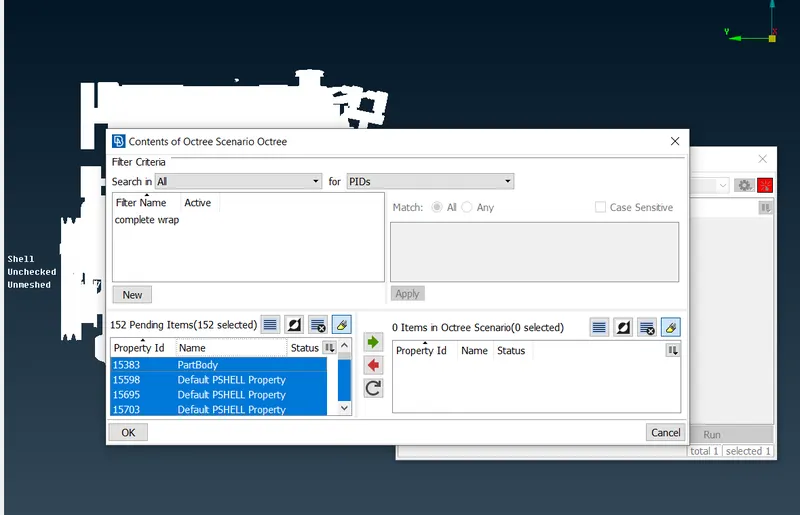
- click on RUN, surface wrapping starts.
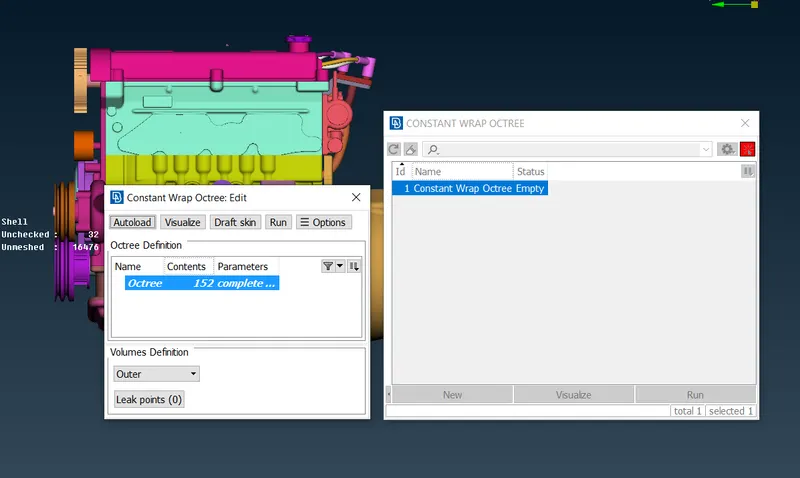
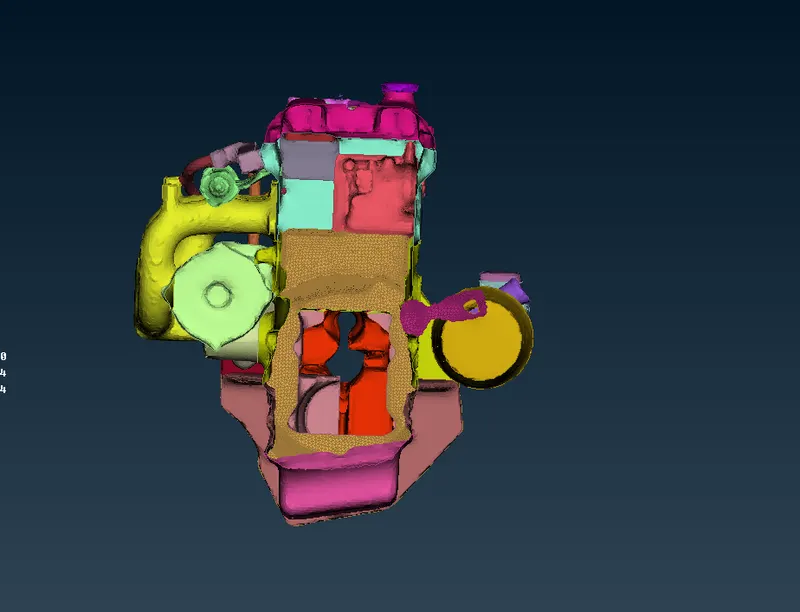
SURFACE WRAP COMPLETE-
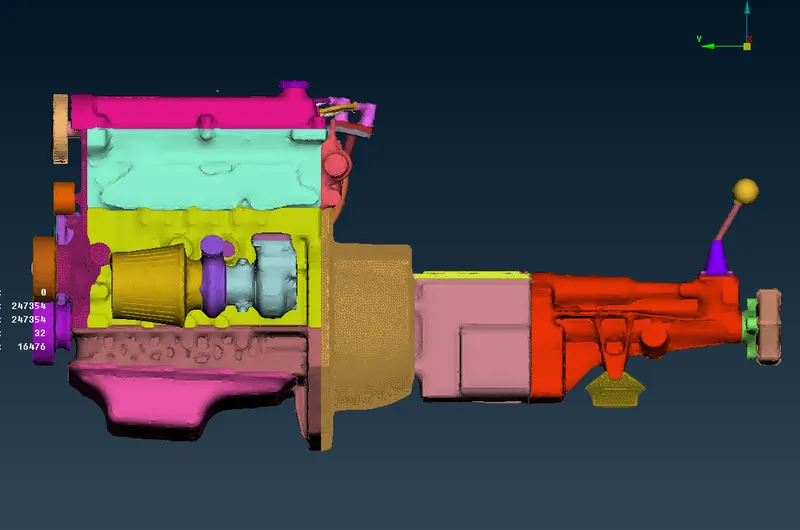
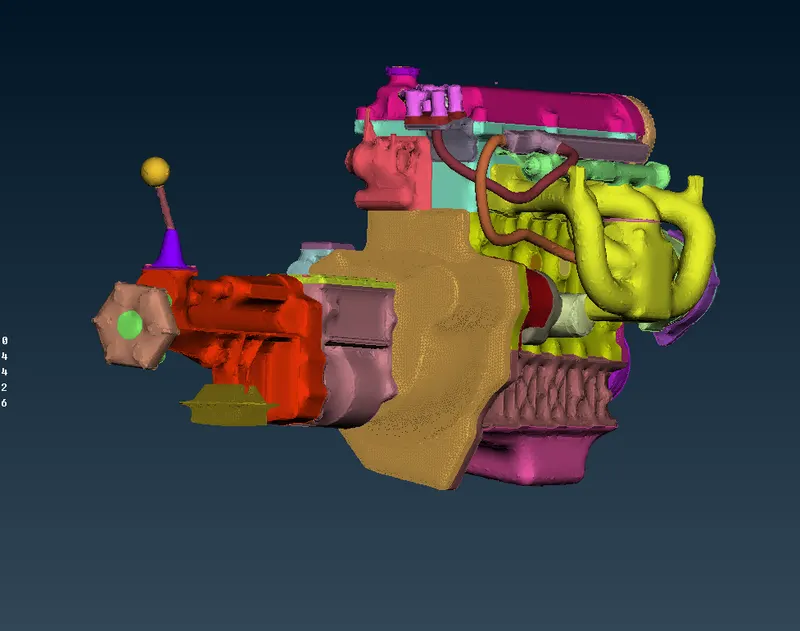
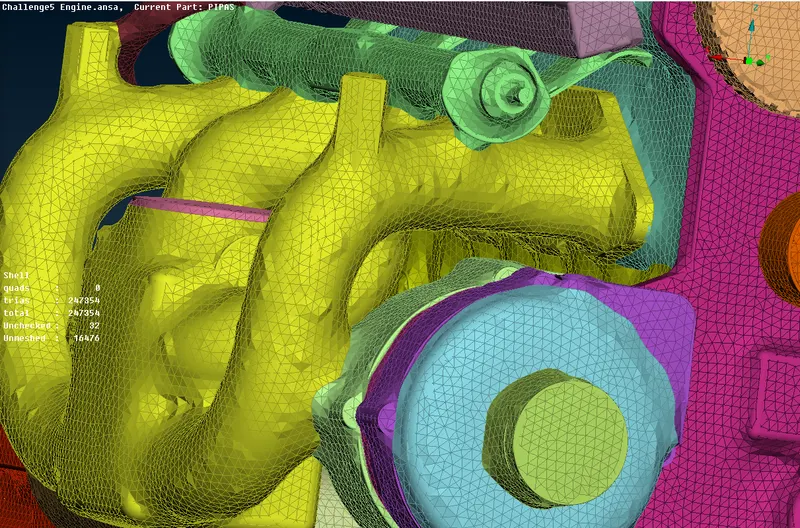
Use not tool to hide two sides of gemetry and see through it, if find your geometry hollow from inside then your surface wrap is perfectly done.
Link to geometry
https://drive.google.com/file/d/1QOjRPuxTmHIi52k18ez2VSFV5Vfaja-z/view?usp=sharing
Conclusion-
- Learned concept of surface wrapping.
- How to clean and prepare geometry for surface wrap.
- Learned concept of merging different geometriesin same GUI.
- Steps to follow to apply surface meshing