Week 5 Challenge : Surface wrap on Automotive Assembly
Aim:
- To understand the concept of SURFACE WRAP.
Take away:
- Cleaning up the geometry.
- Using tool - MERGE.
- Using tool - SURFACE WRAP.
STEP NO1:- CLEANING UP THE GEOMETRIES (REMOVEING UNWANTED ITEMS )
1) ENGINE
imported to work beanch to geometry clean up.
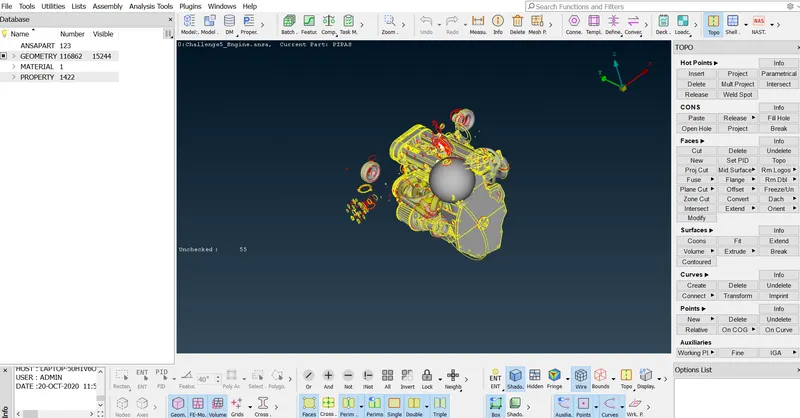
unwanted surface are removed and single cons are solved
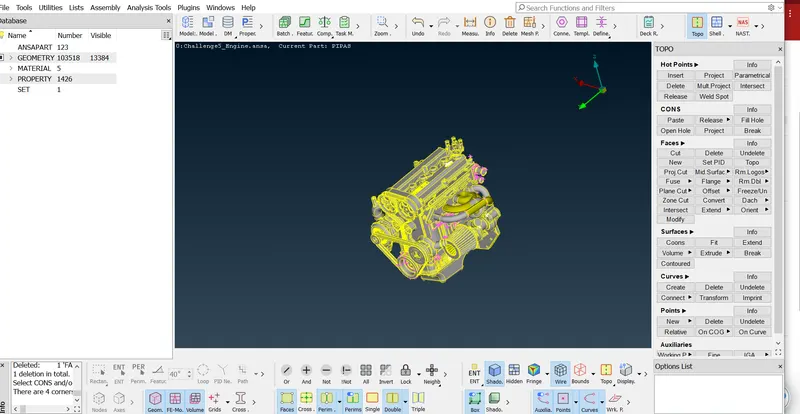
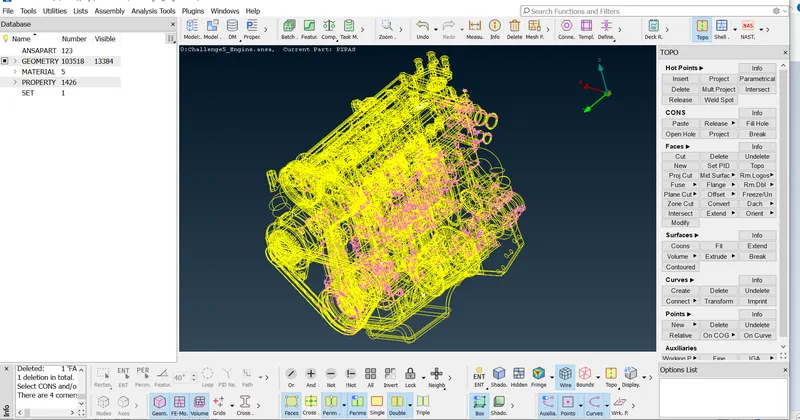
imported the gear box to workbeanch and doen topo clean up.
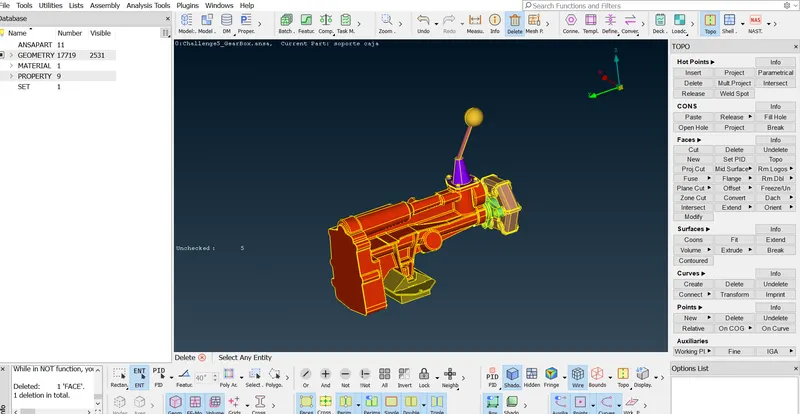
imported transmission system to work bench and geometry clean up done
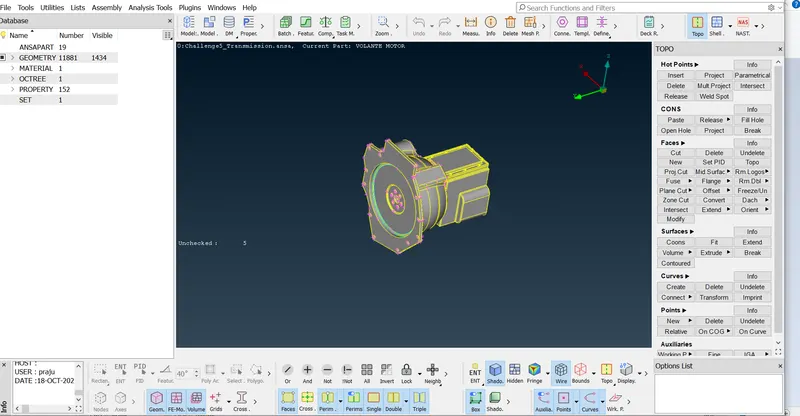
next step is to merge all the different components to one.
for mergeing the different componets we have to use the ("merge option") in file tab and select the requaired model and merge it.
below figure shows the merged geometry's
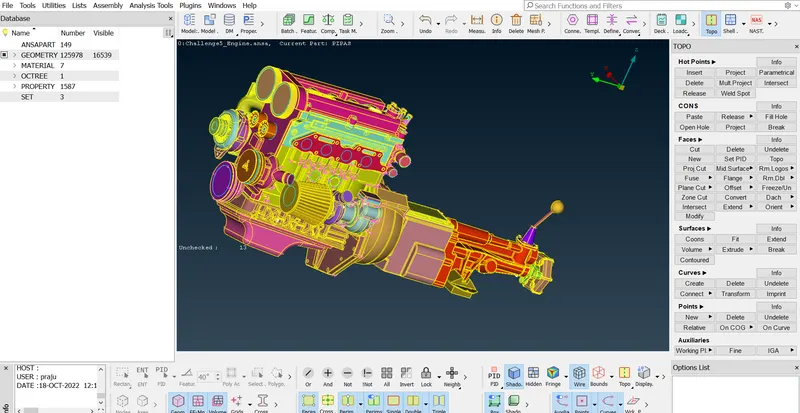
after mergeing the all models we need to close the holes, we need to close the holes to get good surface wraping.
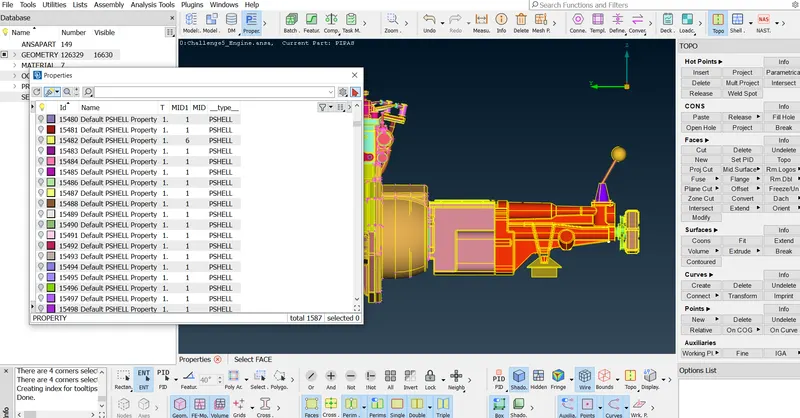
and u can see below after deleting the unwanted surfaces we acn see that there are still some PIDS are present we need to remove that by useing compress option.(totol PIDs 1587) after deleting the PIDs we can get a 103PIDs which used for wraping.
for surface wraping we need to go to meshing, select the wrap option and select the constent wrap.
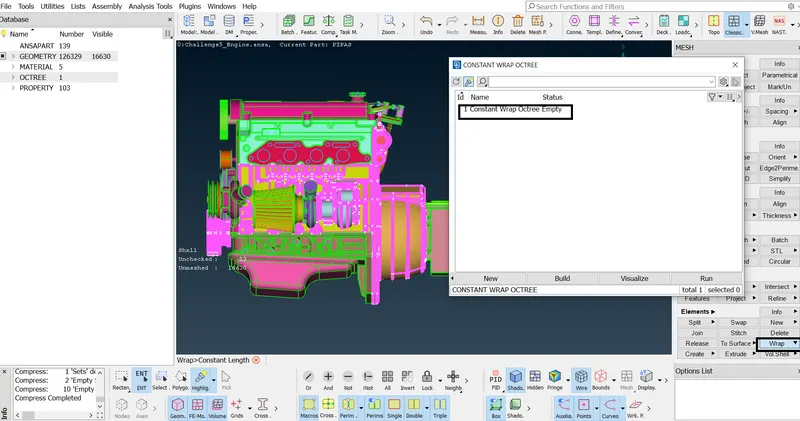
set the perameters length according to the need .
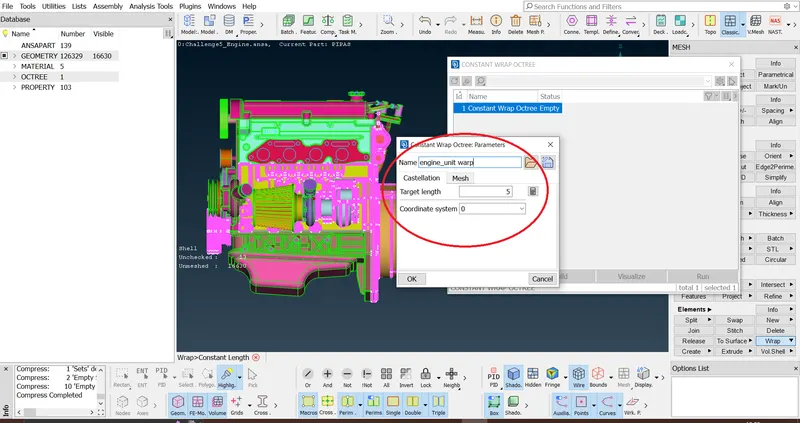
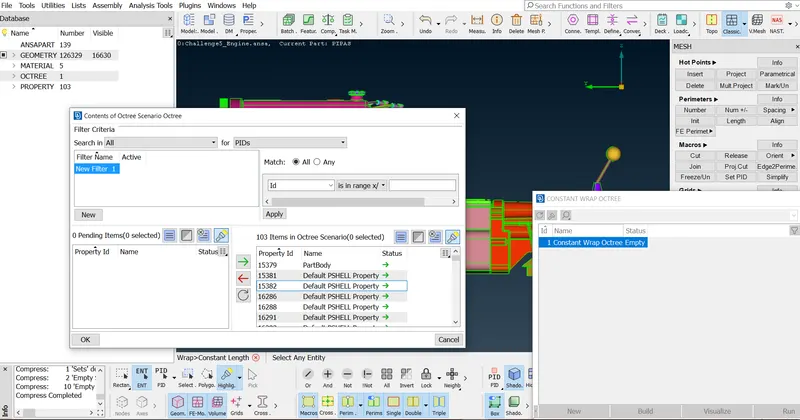
for wraping we need to select the content so that like all he PIDS and asign to octree scenario.
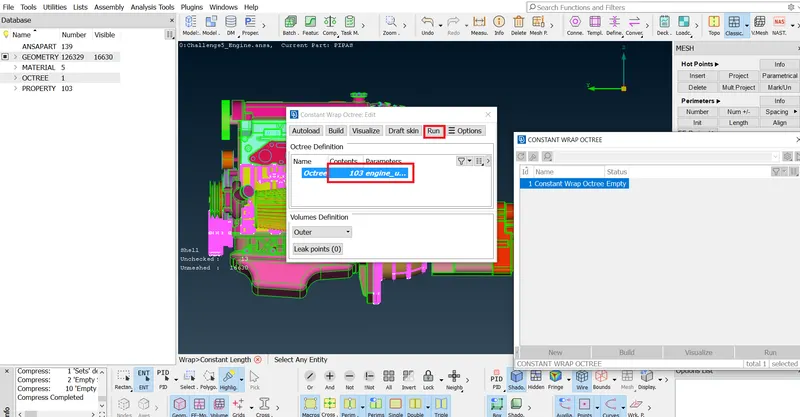
after selecting all the PIDS and asigned we have click on run to do surface wraping
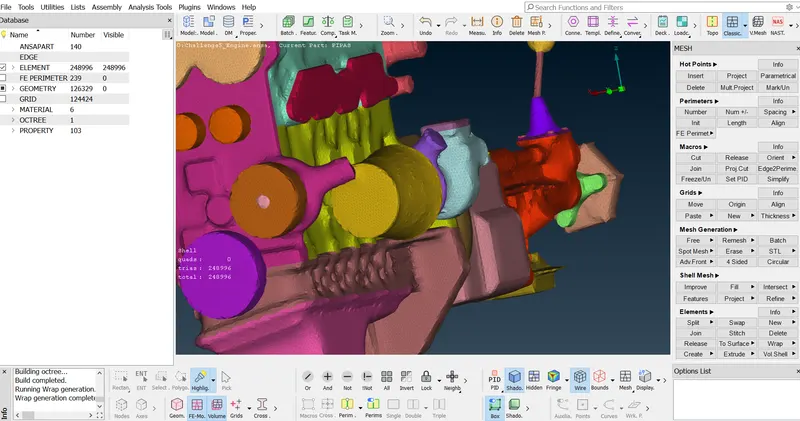
RESULTS:-
below figures shows the surface wraped model
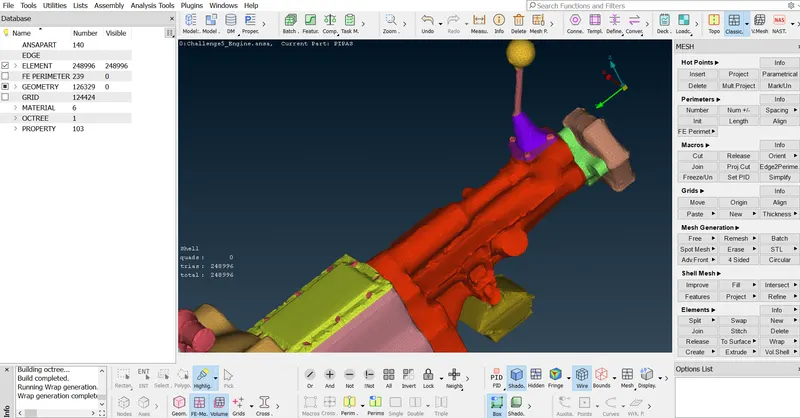
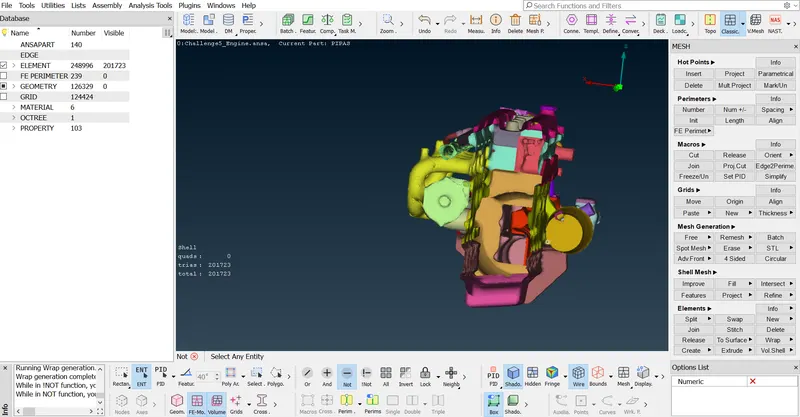
CONCLUSTION:-
- to get better surface wrap around the geometry we can use smaller mesh wrap size.
https://drive.google.com/file/d/1ufZ5CQsS1R0bkA6n6axvCfmchDkg3AgK/view?usp=sharing