Week - 5 - 2D meshing for Plastic components
OBECTIVE
The objective of this assignment is to mesh the given CAD model of plastic bottle cap with a target element length of 1 following the given quality criteria. Since the model is plastic proper generation of midsurface and assigning of correct thickness to each surface is also required.
|
Sl no |
Quality criteria | Value |
| 1 | Target /average length | 1 |
| 2 | Minimum length | 0.5 |
| 3 | Maximum length | 3 |
| 4 | Aspect | 5 |
| 5 | Warpage | 15 |
| 6 | Skewness | 45 |
| 7 | Jacobian | 0.7 |
| 8 | Minimum quad angle | 45 |
| 9 | Maximum quad angle | 135 |
| 10 | Minimum tria angle | 30 |
| 11 | Maximum tria angle | 120 |
| 12 | Tria percentage | 15 |
The cad model image of the given sample is shown below.
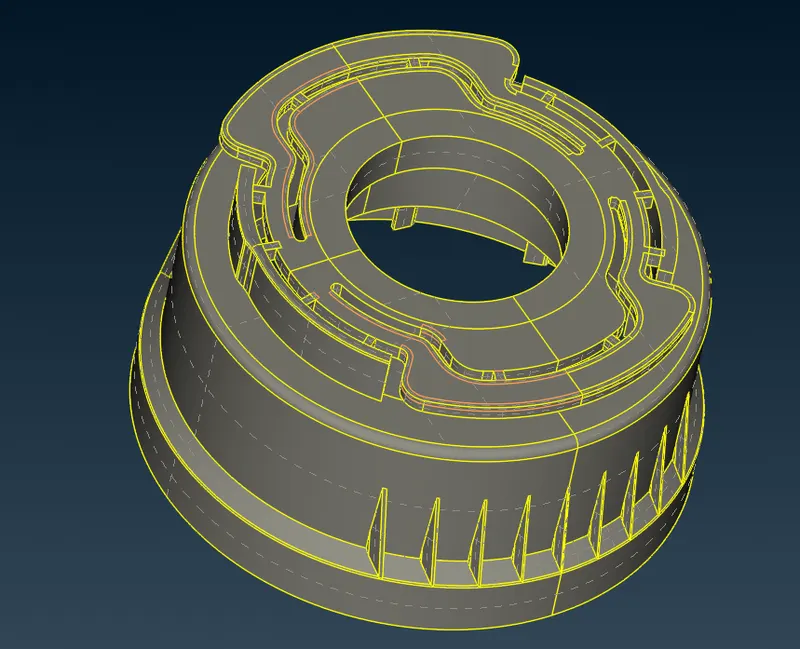
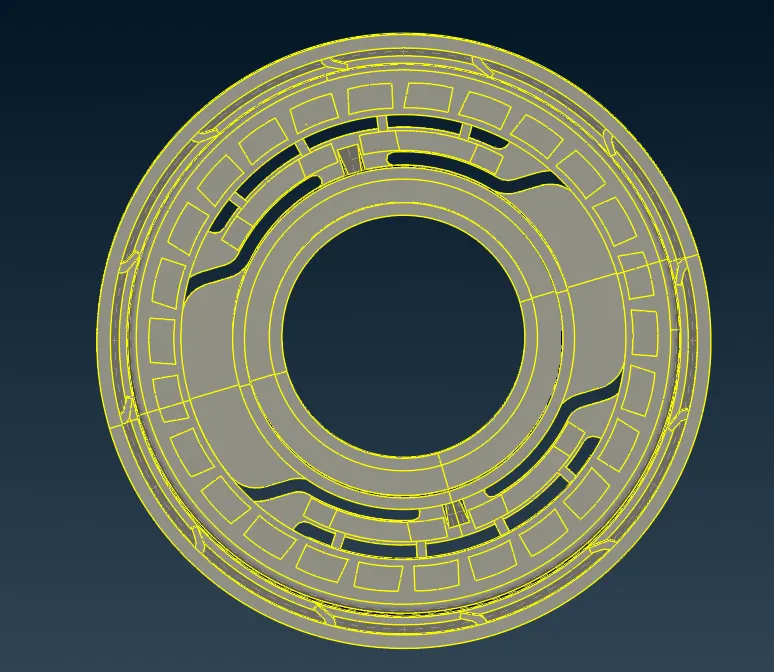
PROCEDURE
The model is imported onto ansa and then topology operation is performed. Then it is checked for any geometry errors using the checks>geometry tool. Here all geometry errors was easily fixed using checks>geometry>fix option. Automatic midsurface generation was tried first using faces>midsurface>casting option but the quality of midsurface generated was very poor. So manual midsurface creation was done using faces>offset and faces>middle options. For areas that had varying thickness across its cross section, a curve was created in the middle of the cross section using curves >middle option and then a face was created using faces >new option.
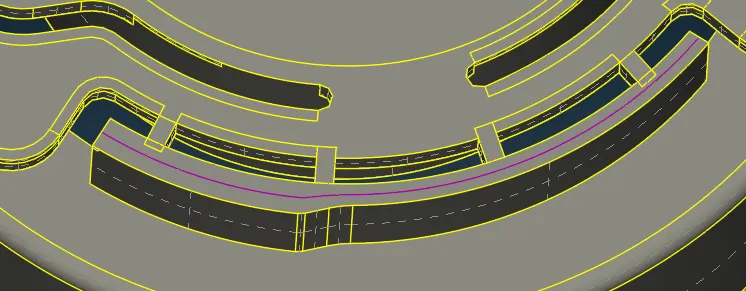
Image shows midline created for varying cross section area for surface creation.
Faces> extend was often used to extend one face to another. Faces> intersect was also used often to trim two intersecting faces. Since the sides of the bottle cap model had varying cross section a middle curve was generated first using the two side walls and then surfaces>extrude>revolute was used to create the midsurface. Points> on cog command was used to create the points for defining the axis of rotation while extruding the surface.
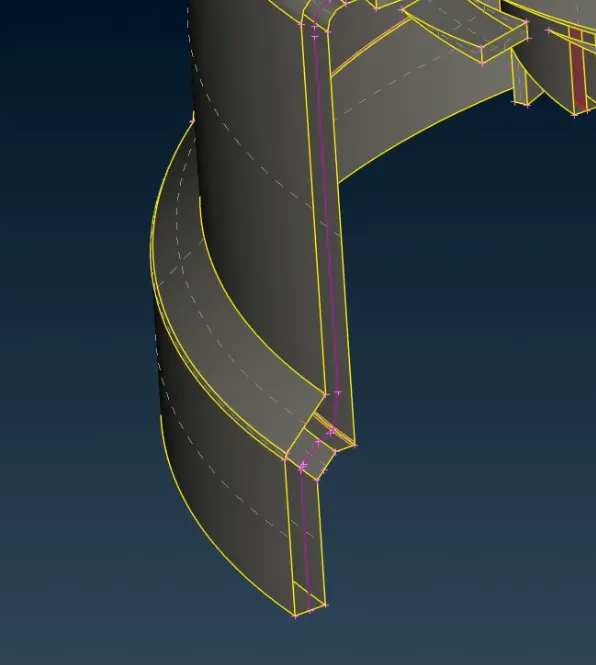
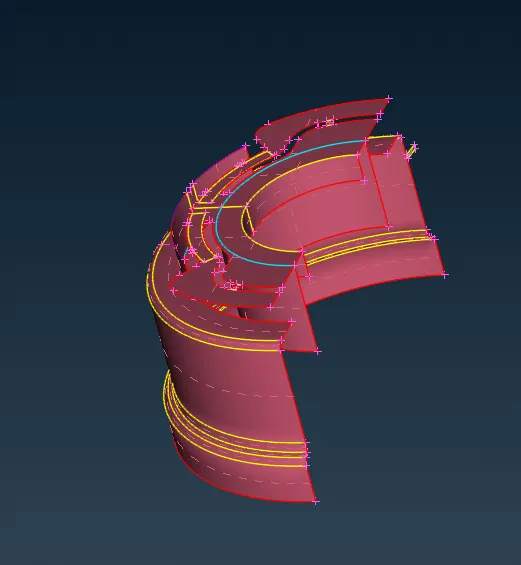
Before extrusion of sidewall After extrusion of sidewall
The ribs contained in the model was easily generated by using faces>middle and faces>extend tools. Some other tools which were used in midsurface generation include hot points >project ,hot points > insert ,cons.project ,cons> release , faces> cut, faces> delete ,faces> proj.cut ,faces> modify, curves> cons2curves. Transform>copy>rotate was used to easily create features that were distributed along a circle .
For meshing ,the mesh parameters and mesh quality criteria is then assigned. Since our target element length is 1 , shell element length is set to 1 using length option (mesh>perimeters>length). Unwanted feature lines are suppresed using join (mesh>macros>join) tool. The component is then meshed part by part using mesh generation>best tool. The generated mesh may not always be good in quality so to improve quality shellmesh>reconstruct option is used when needed. Some of the common criterias that were followed to obtain a geat quality mesh were
- The tria elements should never be opposite to each other
- No tria elements should be connected back to back
- No tria elements should be on the edge of the geometry
- No tria elements should be on the edge of the geometry
- No tria elements should be near the holes.
- No tria elements should be on the feature and the fillets
- There should be less tria concentration.
Most quality issues relating to tria were managed using elements>split, elements>swap, elements>join, grids>paste ,shell mesh>smooth options.Warpage issues were common occourence in areas where there was a sharp turn in geometry, these were fixed by using grids>move tool . Sometimes shell mesh>smooth tool also worked.Some other tools which were used during meshing were macros>edge to perimeter, grids>origin ,mesh generation>erase, macros>cut etc . The model had symmetry so it was used to our advantage using the transform option.
After meshing, all the surfaces were given correct thickness by assigning them different properties having the correect thickness. Surfaces which had varying thickness was given an average thickness.
RESULTS
The component was successfully meshed satisfying all the quality criterias .The final meshed model is shown below.
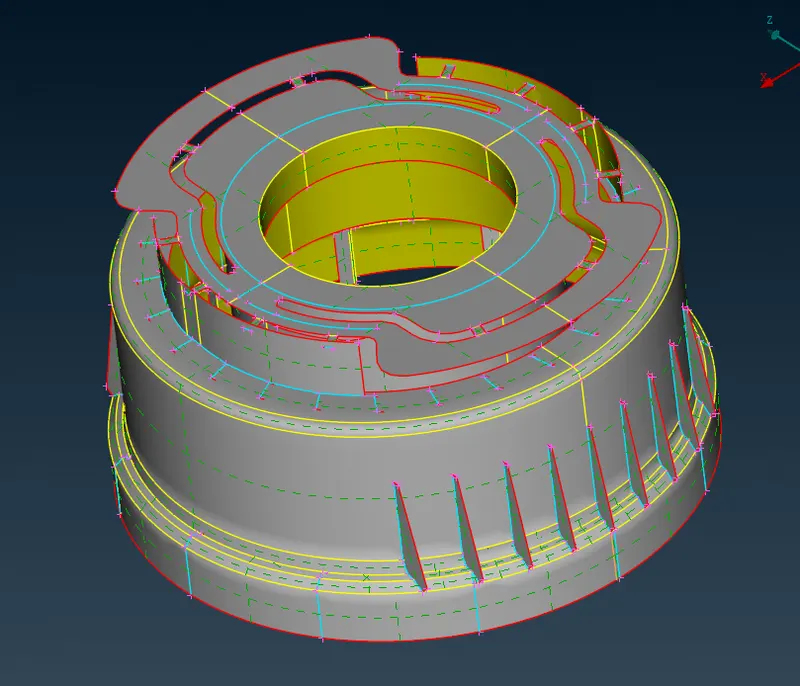
Image of manually generated midsurafce.
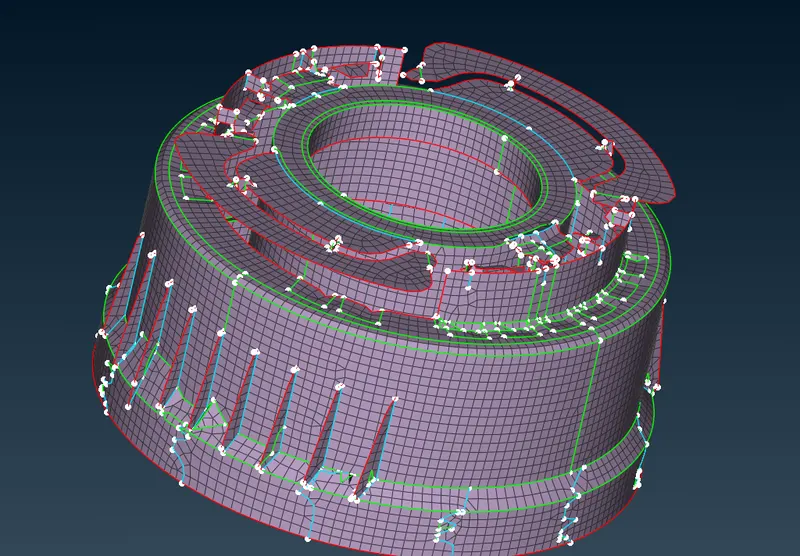
Image of automidsurface
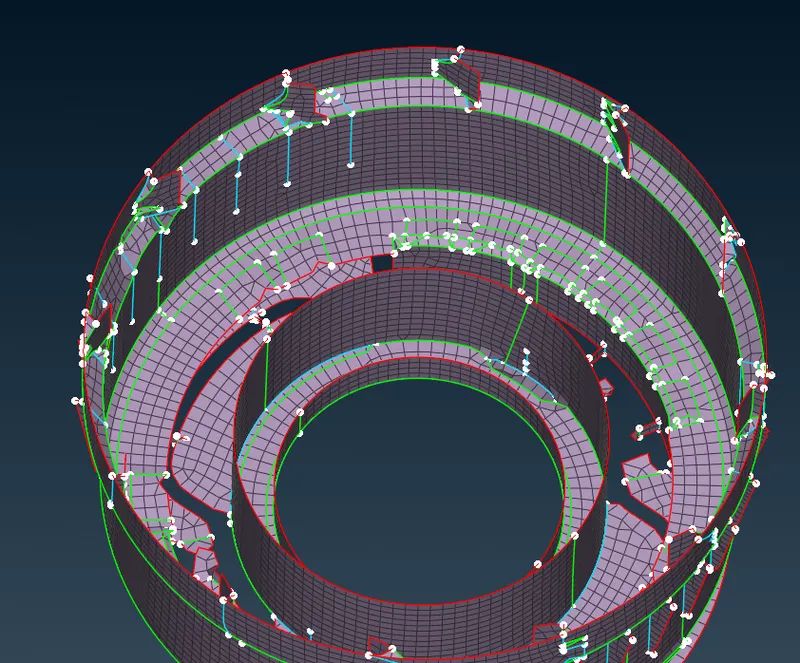
Image of automidsurface
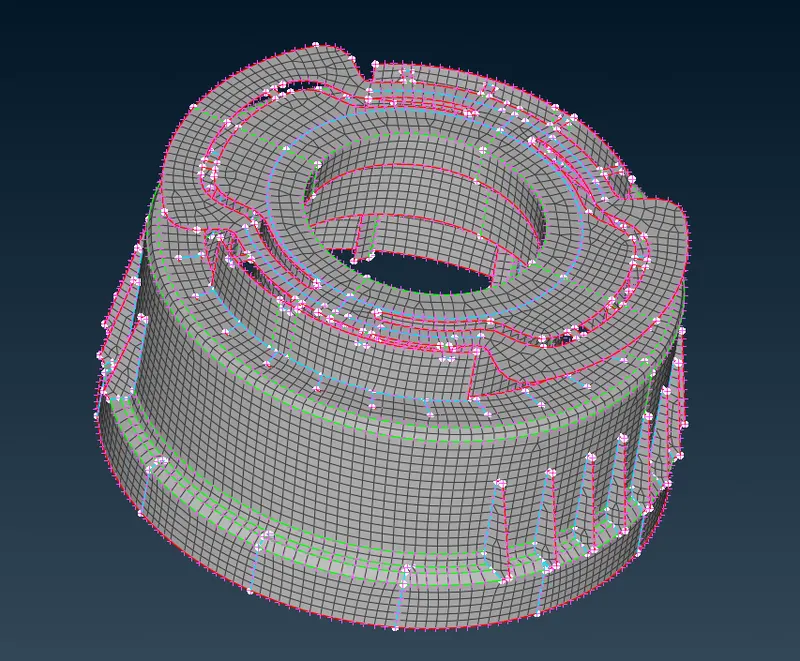
Fully meshed image of the model
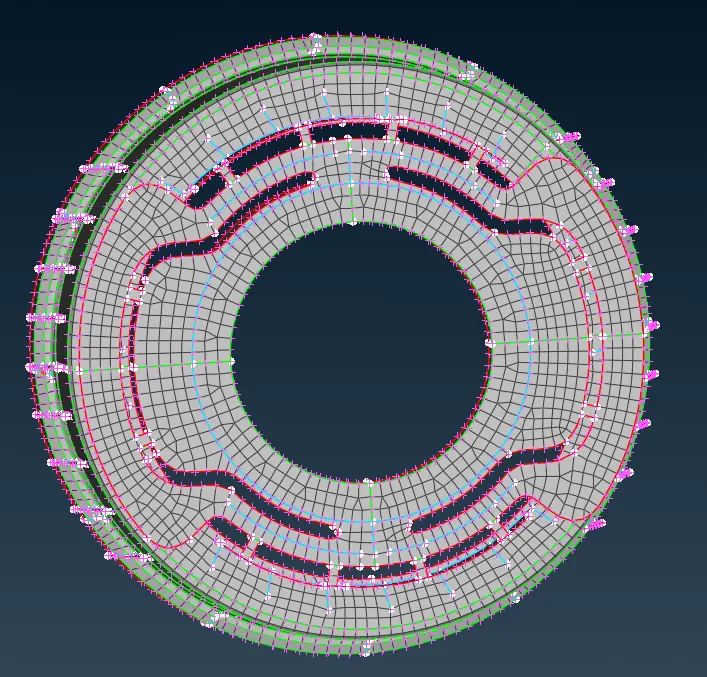
Fully meshed image of the model
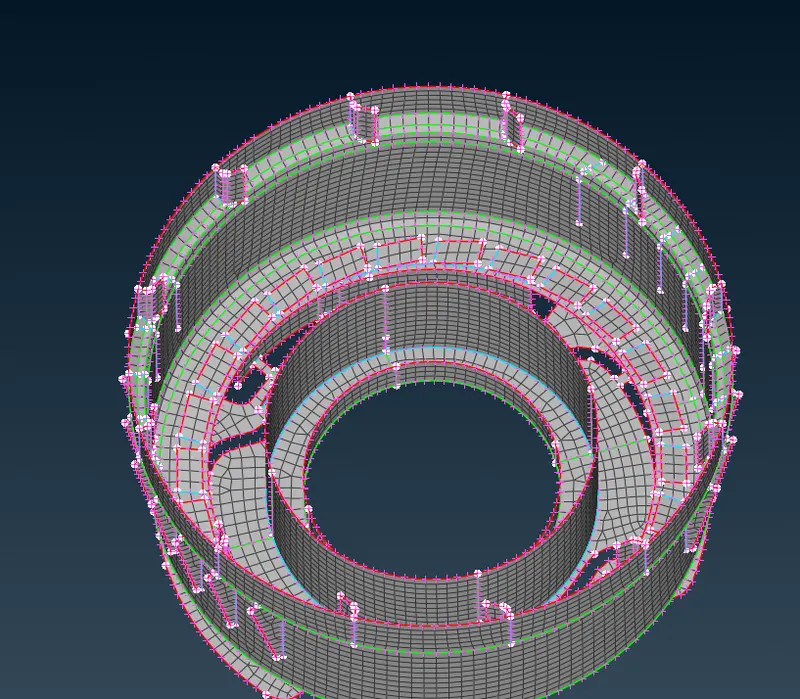
Fully meshed image of the model
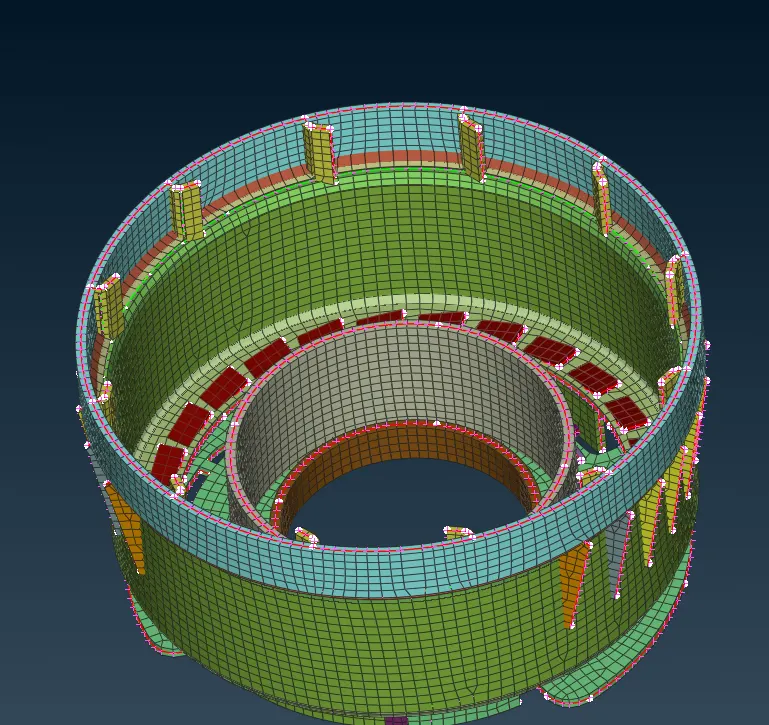
Fully meshed image of the model with thickness visualization
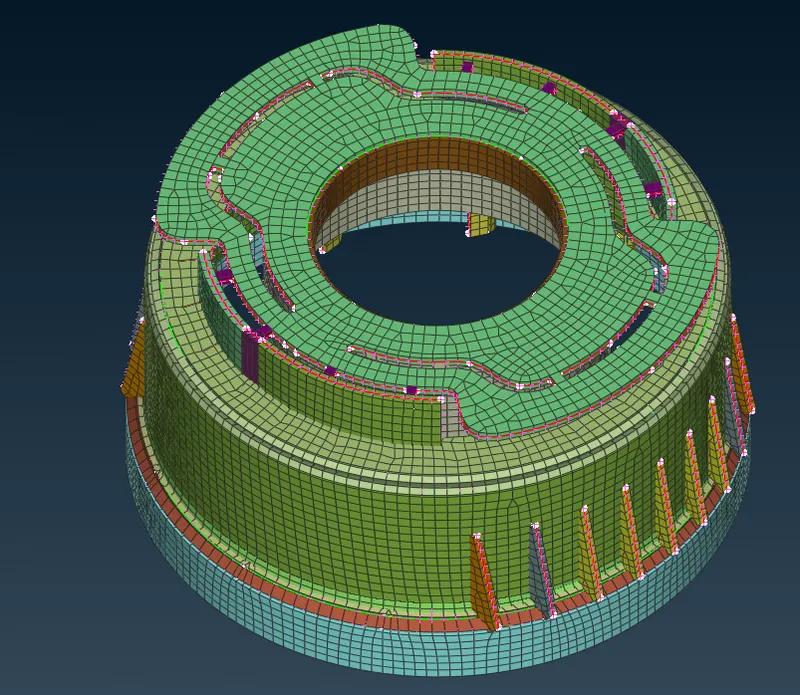
Fully meshed image of the model with thickness visualization
From the images it is clear that automidsurface was not much useful in this case as it failed to give a good quality midsurface and mesh.