Week 4- Meshing of Backdoor Challenge
1. Objective:
- The objective of this challenge is to meshing a car Back Door in Altair HyperMesh is a crucial step in preparing the model for Finite Element Analysis (FEA).
2. Import Geometry
· Load the model in HyperMesh Using Import > Geometry
· Using .iges, .stp , etc files
3. Geometry Check
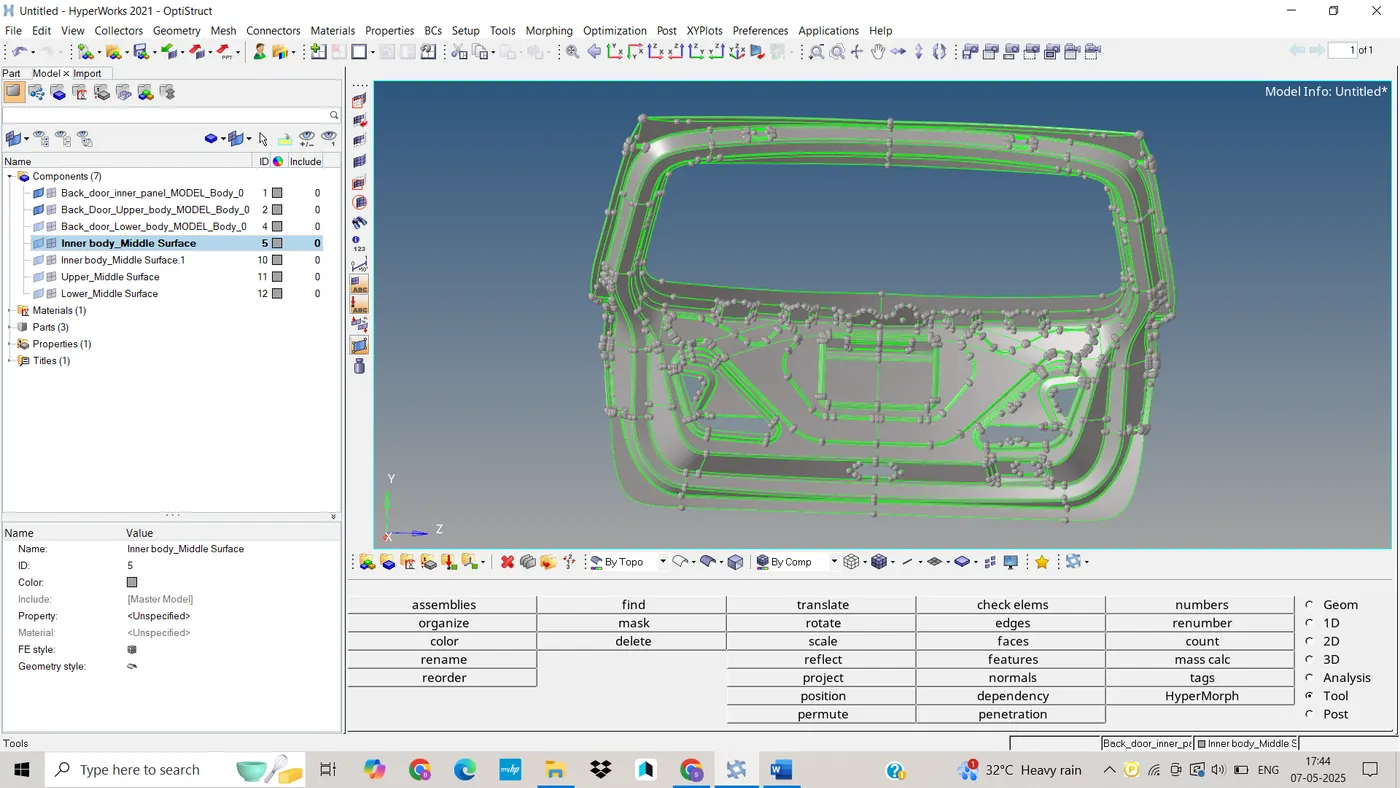
· Green edges: shared edges (OK)
· Red edges: free edges (need fixing)
4. Cleanup techniques
· Fill holes: Fill missing surfaces using the filler surf tool
· Toggle edges: Converts free edges to shared by updating topology
· Auto Cleanup: Automatically removes small surfaces, edges, holes, damaged surface, replace the lines
5. Final Geometry check for mid surface
· No free edges
· No duplicate surface or overlapping surface
· Continuous geometry
· All free edges removed (only green edges present).
· Surfaces are properly stitched and continuous.
· Mid-surface accurately represents the original geometry.
· Suitable for 2D shell meshing.
As shown below
6. Mid Surface Extraction
· Ensure geometry is clean
· Uniform thickness should be followed
· There should not damaged faces
7. Auto Mid Surface
· Geometry > Midsurface > Extract
· Input : Solid model
· Tool automatically extract mid surface from solid surface
· Give offset direction
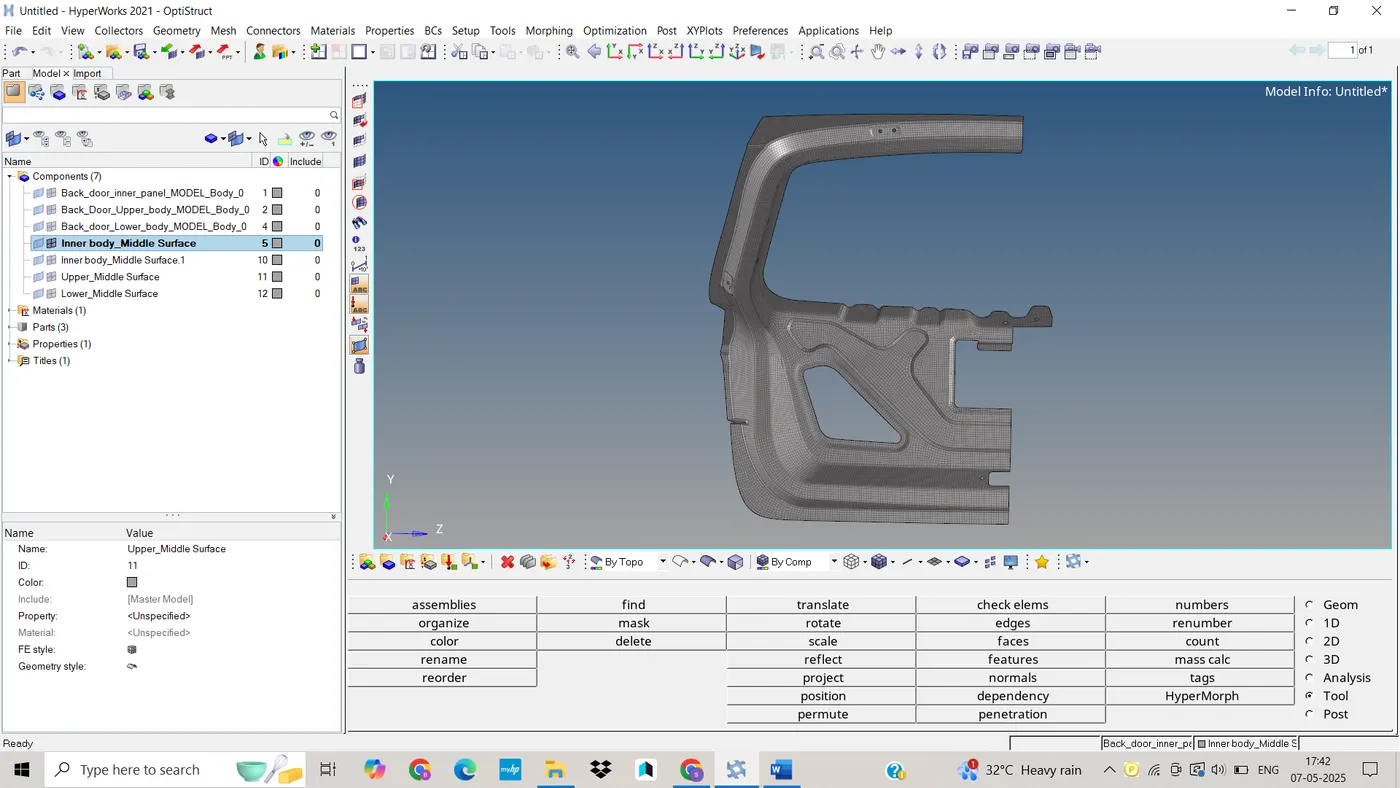
8. Symmetry Model
· Since it’s a symmetry model, we had done mirror operation
· Reduce the computational time
· Use symmetry planes (XY, YZ, ZX) to define trim with references.
· Generate mesh on one side
· Use reflect option for taking symmetry
· As shown below
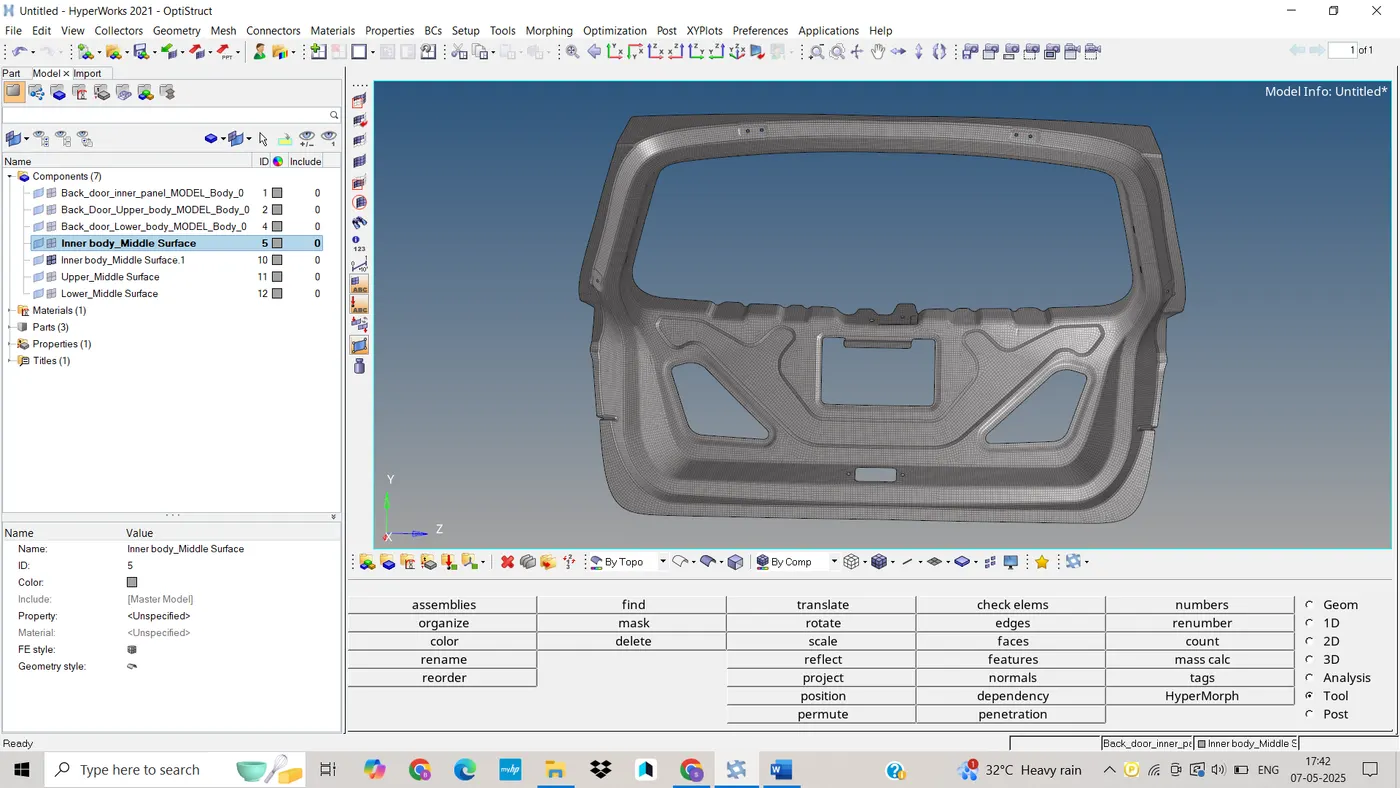
9. Meshing Parameters defining
· Choose element type and target mesh size. A car hood typically uses 2D shell elements
· Element type: 2D Shell Elements (quad-dominated mesh)
· Target element size: 5–10 mm depending on analysis requirements
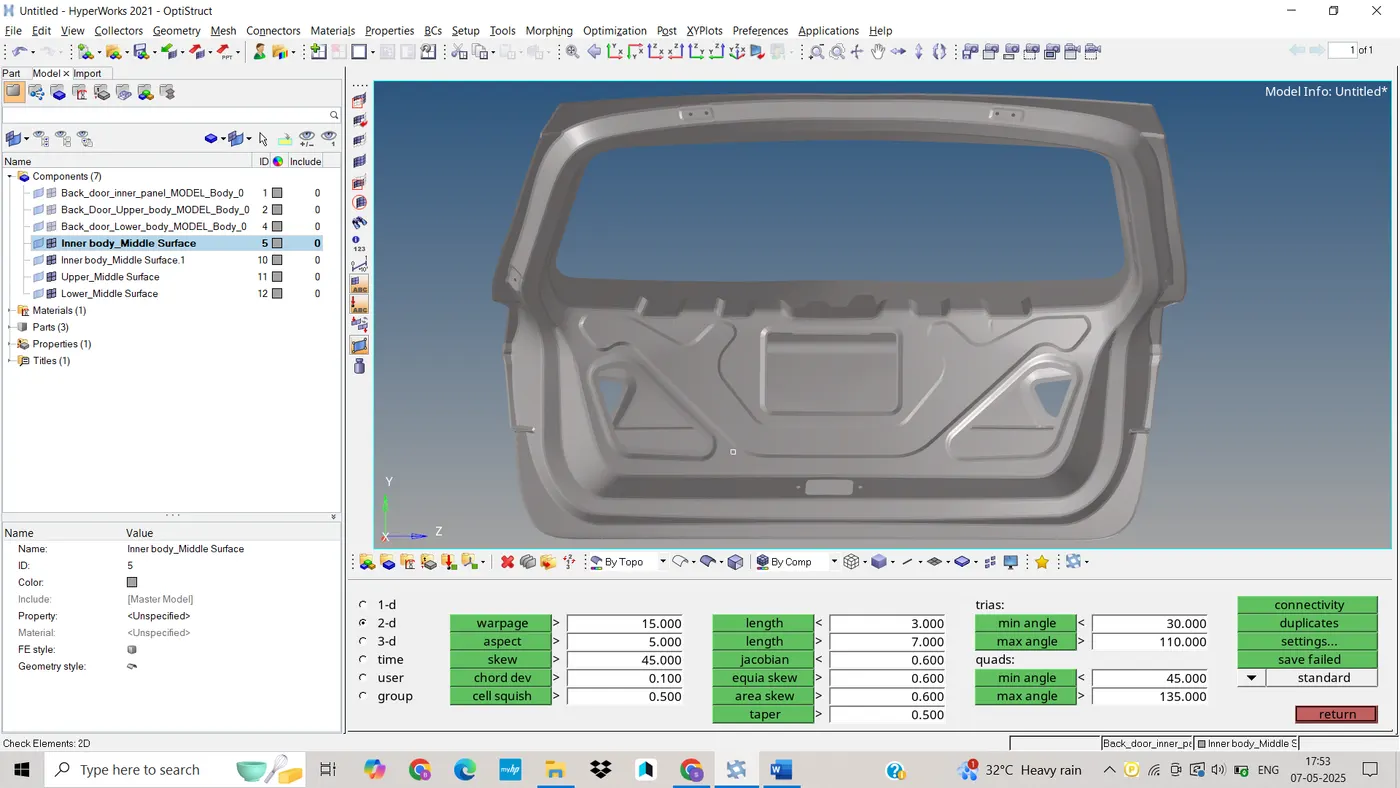
· Quality criteria :
ü Aspect Ratio – 5
ü Skewness – 45
ü Taper – 0.5
ü Min length –3
ü Max length - 7
ü Min quad angle – 45
ü Max quad angle – 135
ü Min tria angle – 30
ü Max tria angle – 110
10. Surface Meshing
· Go to: 2D > Automesh
· Select surfaces of the hood (outer and inner panels)
· Set : Mesh type: Mixed
· Mesh size: 5mm (example)
· Elements to surfce
· Click Mesh and inspect the result
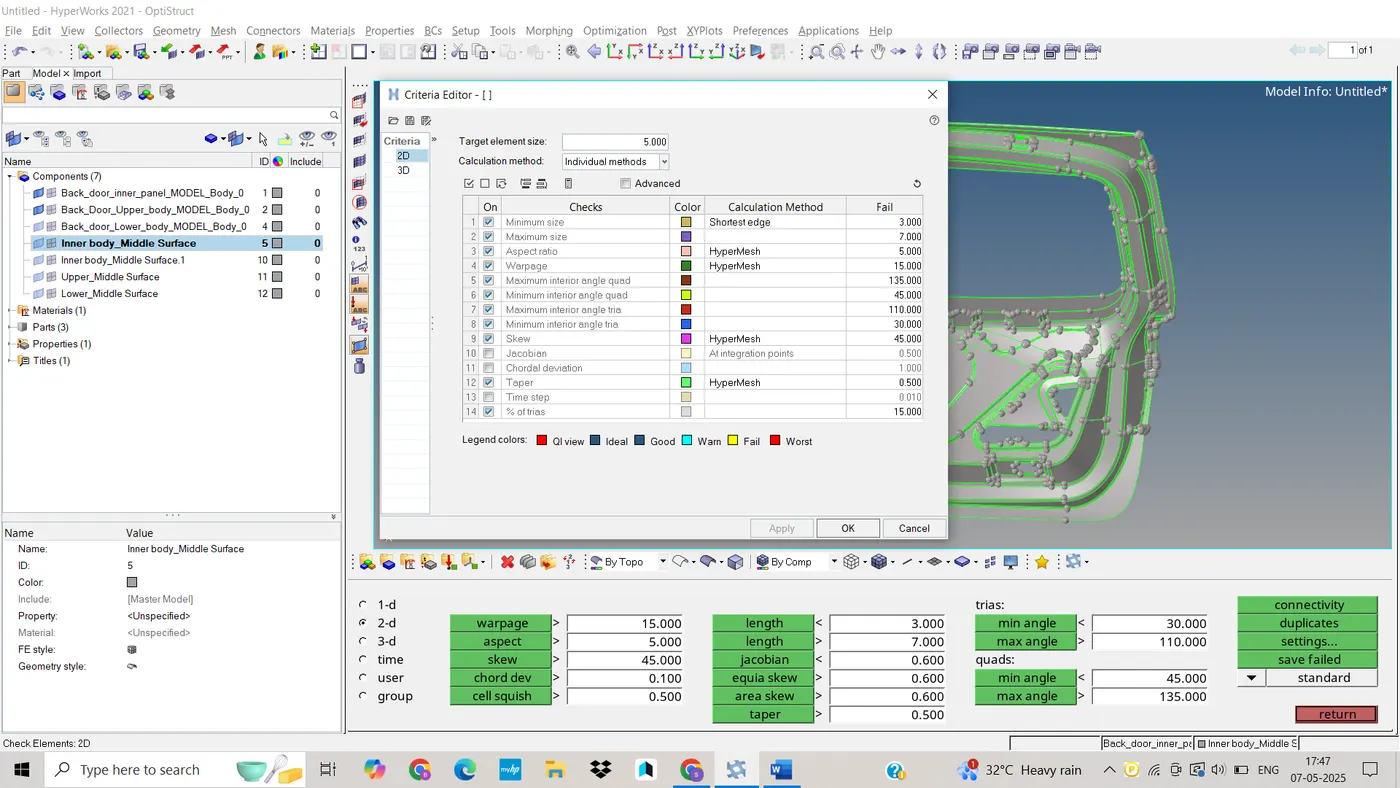
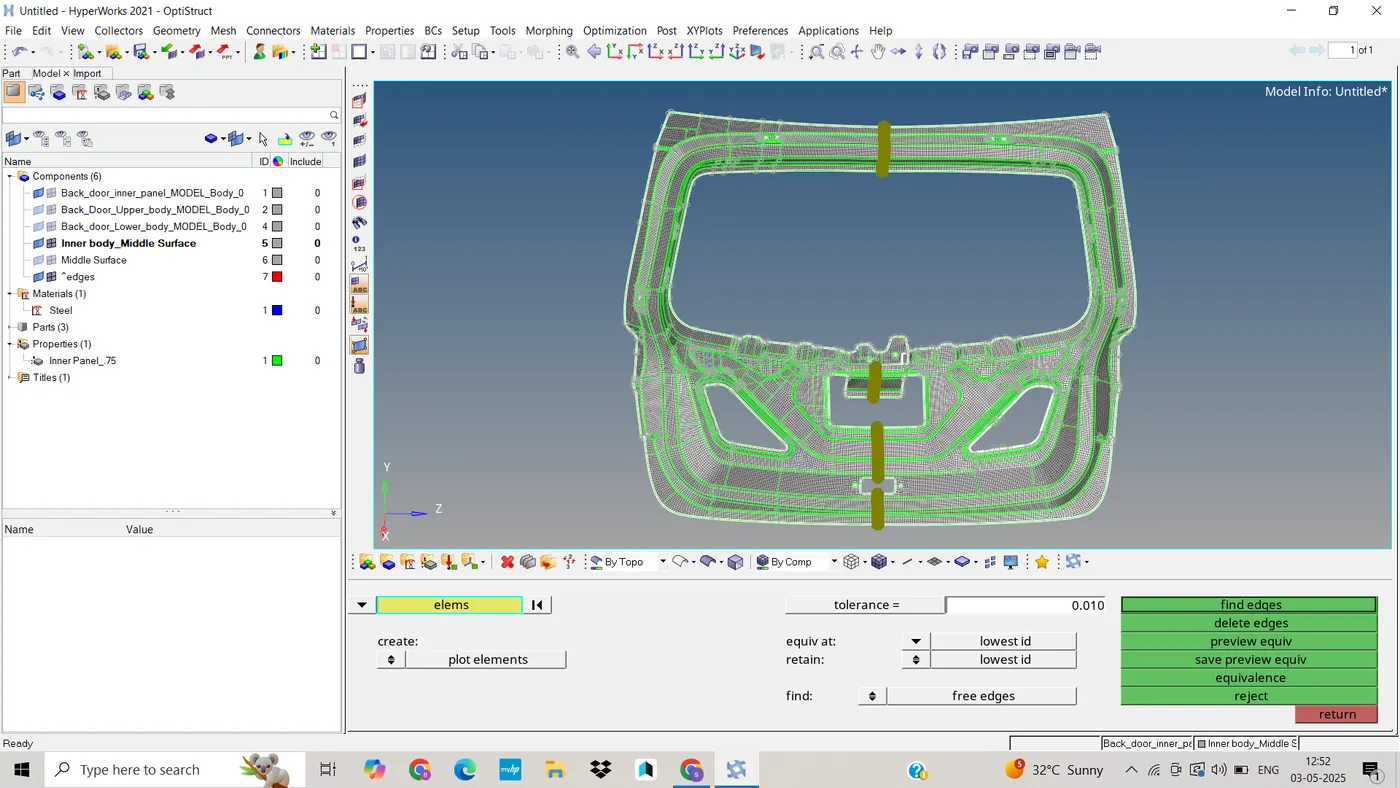
11. Mesh Quality Check and Cleanup
· Go to Tool > check elems > checks
· Check for Free edges, T Junction
· Element quality : Aspect ratio, skewness, min, max length etc
· Fixing the quality node optimization , split, combine, smooth, replace, etc
· Finally the mesh is done with better mesh flow.
· As shown Above
12. Conclusion
· Meshing the back door in HyperMesh involves geometry, mid-surface extraction, controlled 2D meshing
· Assignment of accurate material and thickness properties.
· Taking Symmetry for entire model
· Good mesh quality and proper organization are critical to ensure reliable and accurate FEA results.
Final Meshed Image: