Week 4- Meshing of Backdoor Challenge
Objective: to mesh the backdoor geometry of a car according to given quality parameters.
Target Element size - 5 Units
|
S.N |
Quality Criteria |
Value |
|
1 |
Aspect Ratio |
5 |
|
2 |
Skewness |
45 |
|
3 |
Warping |
15 |
|
4 |
Taper |
0.5 |
|
5 |
Min. Length |
3 Units |
|
6 |
Max. Length |
7 Units |
|
7 |
Min angle Quad |
45 |
|
8 |
Max angle Quad |
135 |
|
9 |
Min angle Tria |
30 |
|
10 |
Max angle Tria |
110 |
|
10 |
Tria % |
15 |
Model Image:
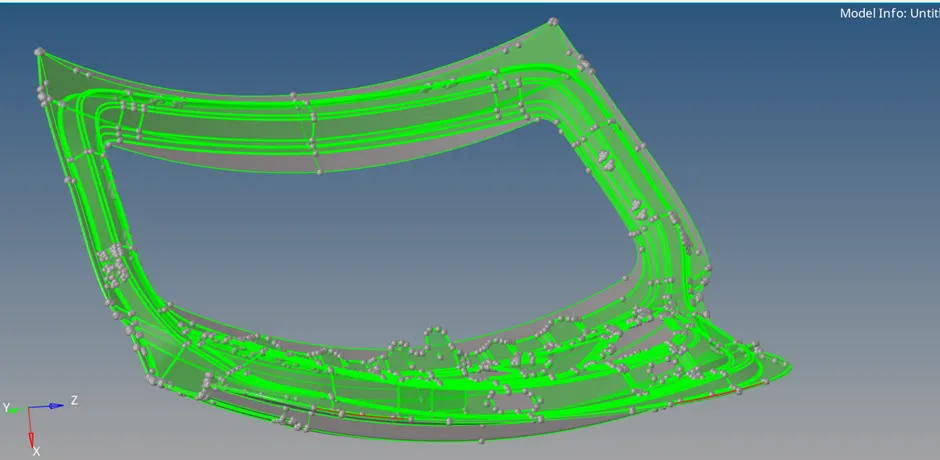
Observation and Procedure:
While observing the model properly, we observe that the back door model has three component
1) Back Door Inner Pannel
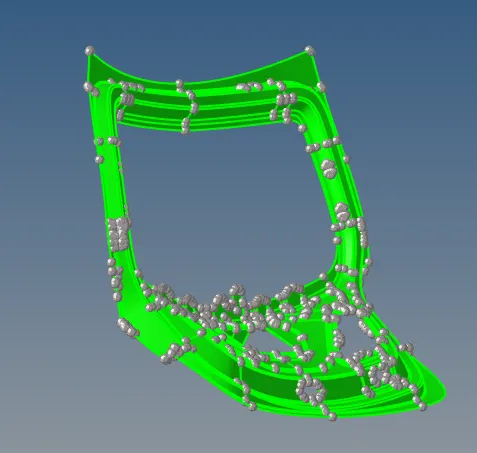
2) Back Door Upper Body
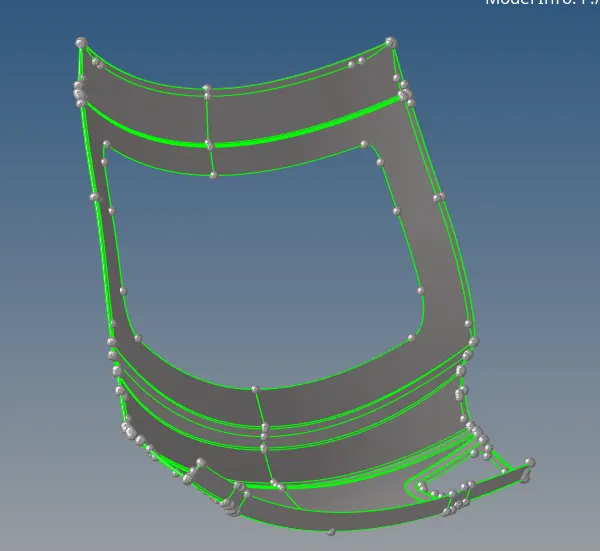
3) Back Door Lower Body
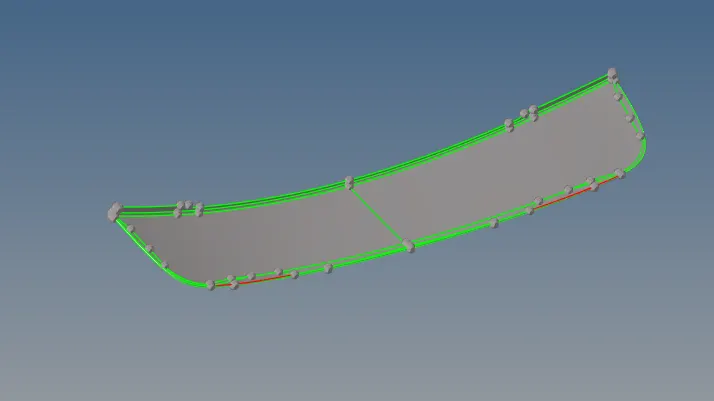
In which Inner panel is a solid component while upper and loer body are surface only
one by one we will extract the mid surface and mesh on the middle surface.
1) Back door lower Body:
We can see in th egiven image that there is a red line in the surface which should not be there.
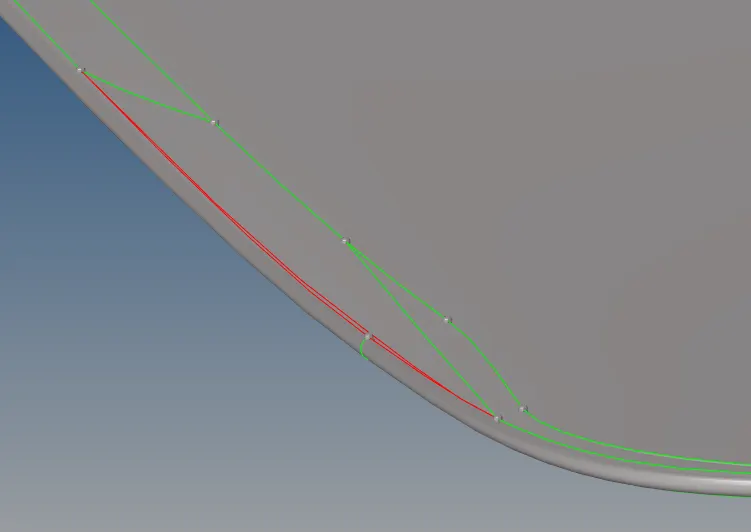
To remove this first we create the proper cut on the surface and then delete the unwanted surfcae.
Now we will fill the blank area using
Geometry >> quick edit >> filler surf >> select the edge >> surface will be filled properly.
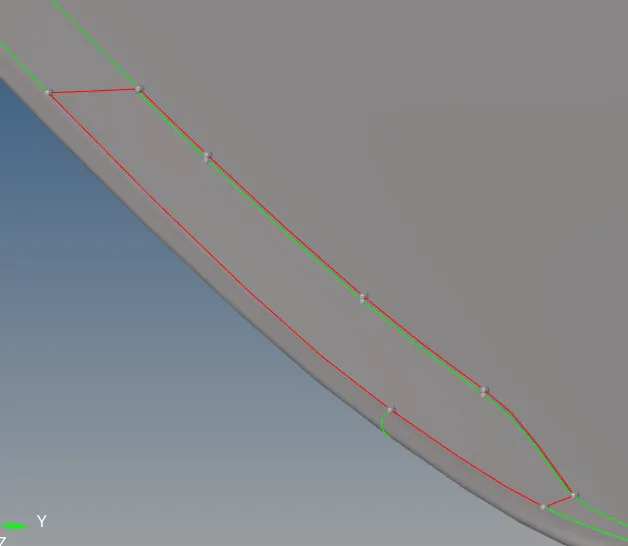
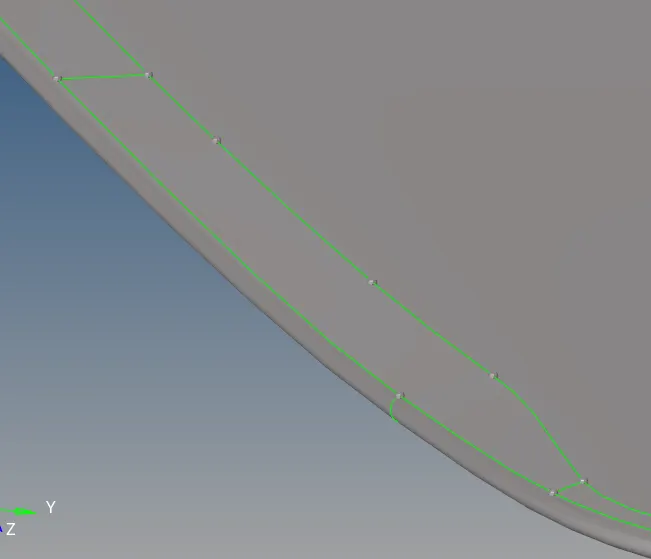
Similary we correct the serface error at another place
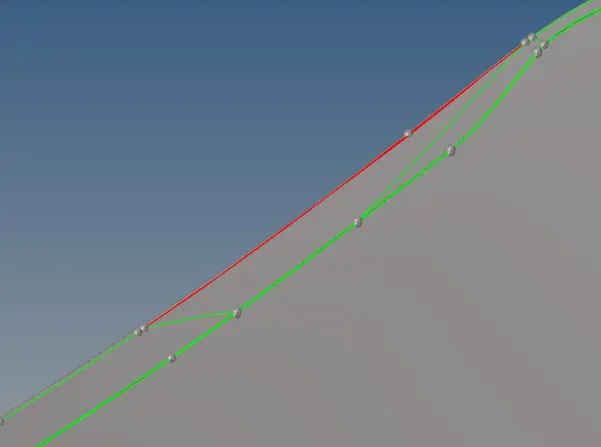
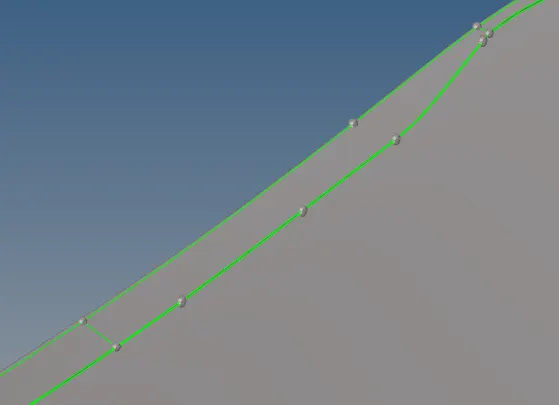
Now we will turn on the visulization options and check weather is there any free edge or supressed edges.
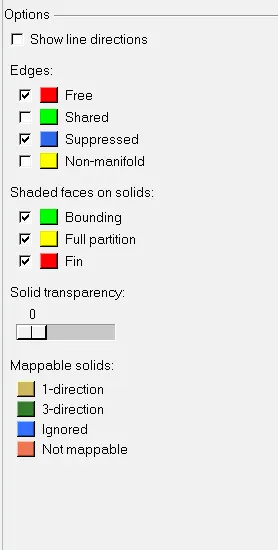
we can see that there is no free or supress edge
Now we will extract the mid surface. For this,
Goto Geometry >> midsurface >> ectraction option >> select offset >> auto extration >> select surface >> click on extract
Middle surface will be collect in 'Middle_Surface_lower_body' collector.
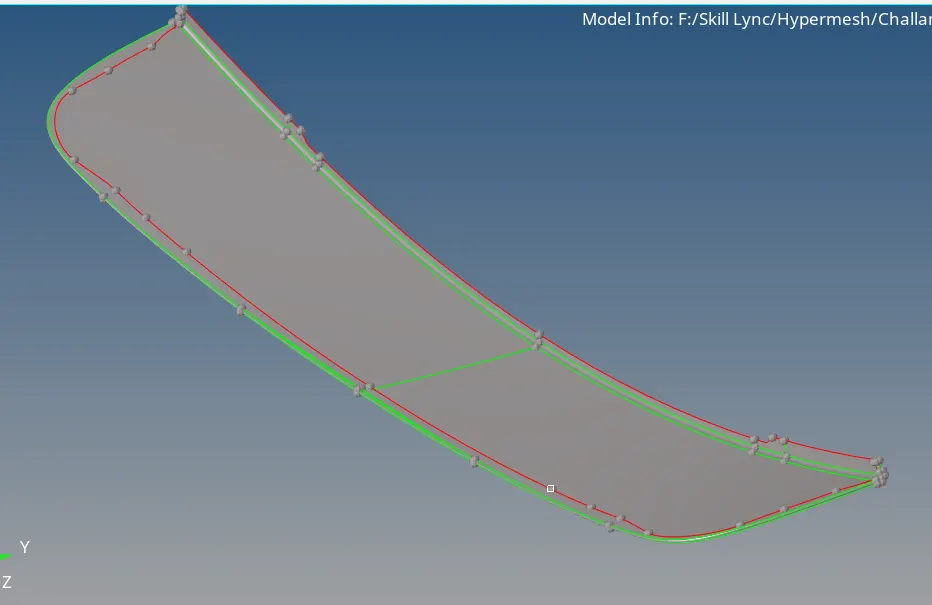
Now we will mesh the middle surface. For this
Go to 2D >> automesh >> select surface >> provide element length 5 mm >> sleect component as middle surface >> element to current surface >> keep connectivity on >> click on mesh
The mesh wii be look like this
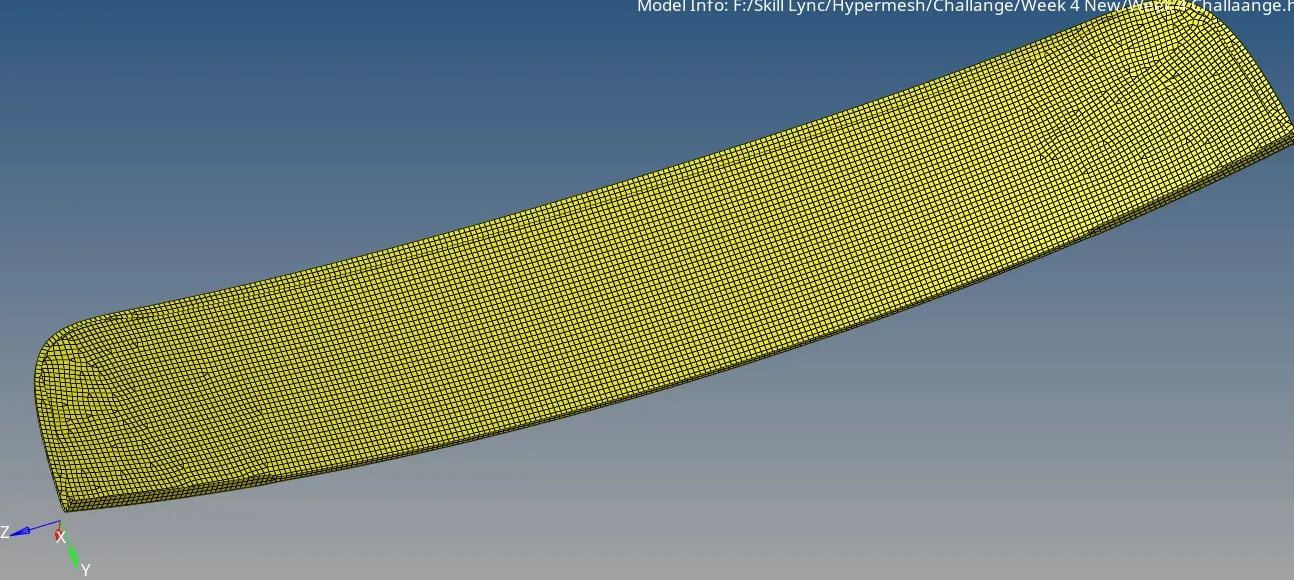
Now using quality index tools we will try to make the mesh flow proper. Such as remove opposite tria etc.
Assign Thickness:
Create propert and name it Thickness >> give the thickness 0.75 mm
right click on 'Middle_Surface_lower_body' collector.
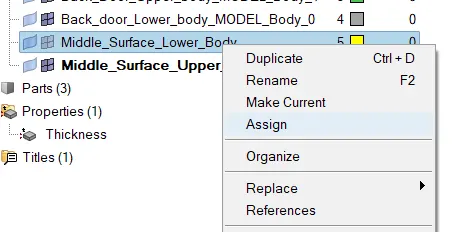
click on assign
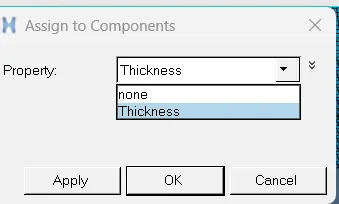
Select Thickness and click on Apply and ok.
2) Back Door Upper Body
Fisrt we will analyse the Geometry error and try to remove.
In this model there is no geometry error so, we will ectract the midsurfae
Goto Geometry >> midsurface >> ectraction option >> select offset >> auto extration >> select surface >> click on extract
We will collect this middle surface in 'Middle_Surface_Upper_Body' colllector.
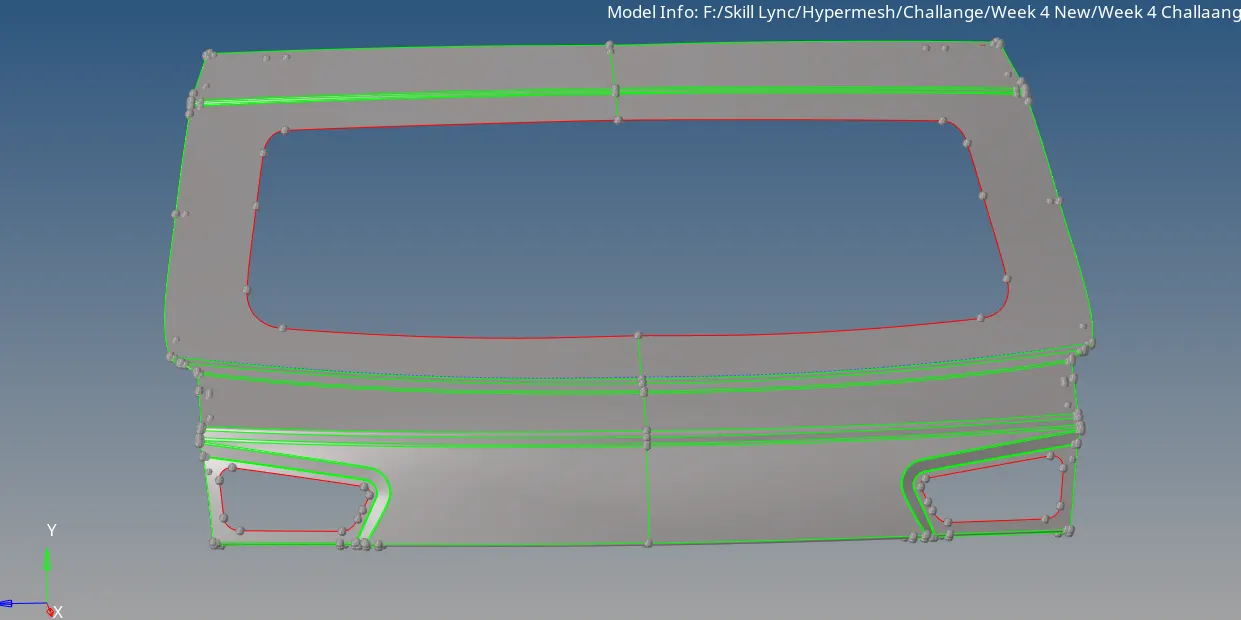
After analysing the midsurface we can say that it is symmetric.
So, we will delete the half surface and mesh on th ehalf surface and reflect the same.
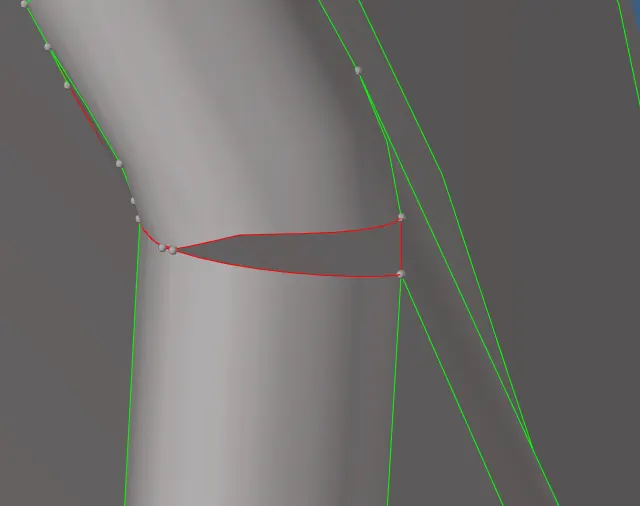
We can see that there is no surface, we will fill the surface at such places.
using Toogle tool from Geom >> Quick Edit we will stich these two red lines which have less tolaranc.
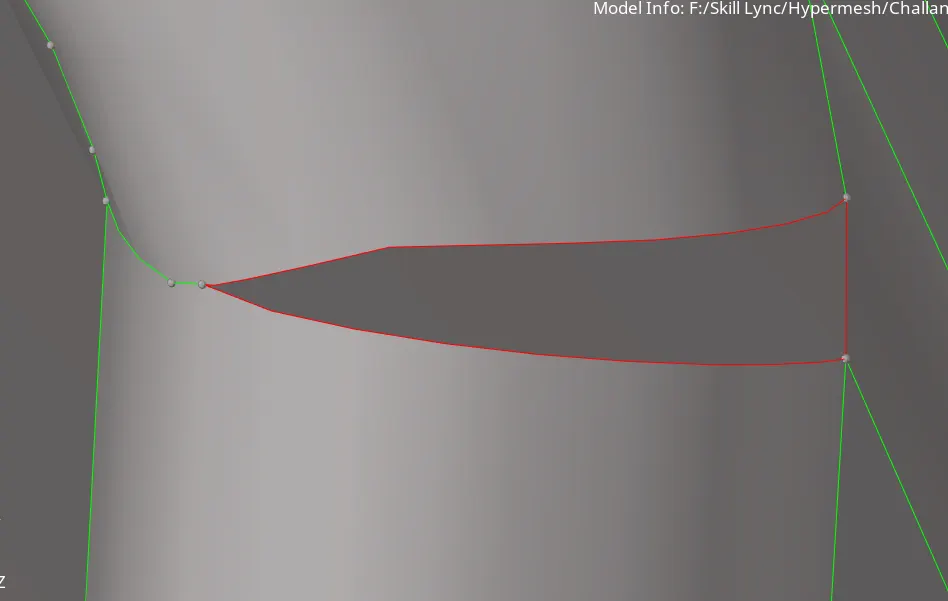
Now using filler tool, fill the remaining gap surface.
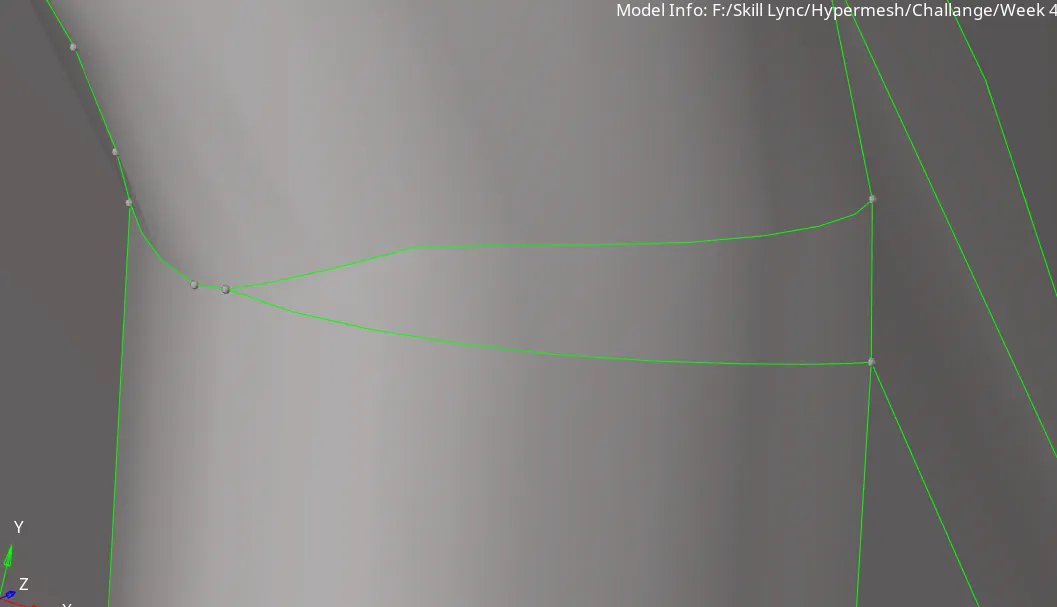
Similary we correct at other places.
Now Supress the unnecessary green lines.
Remove the unnecessary points.
mesh the surface.
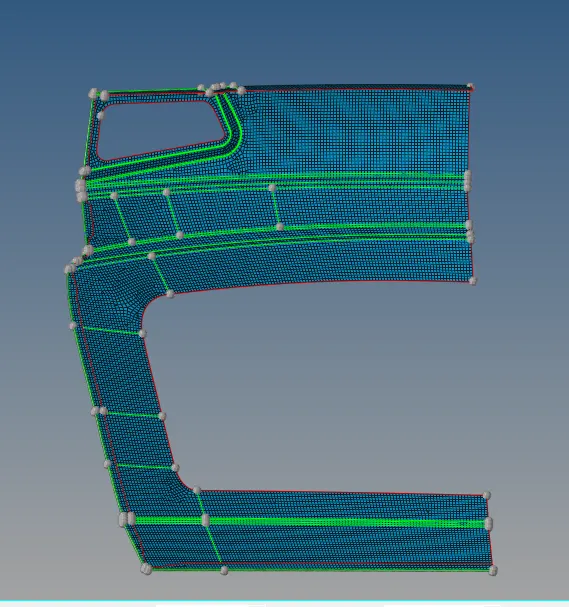
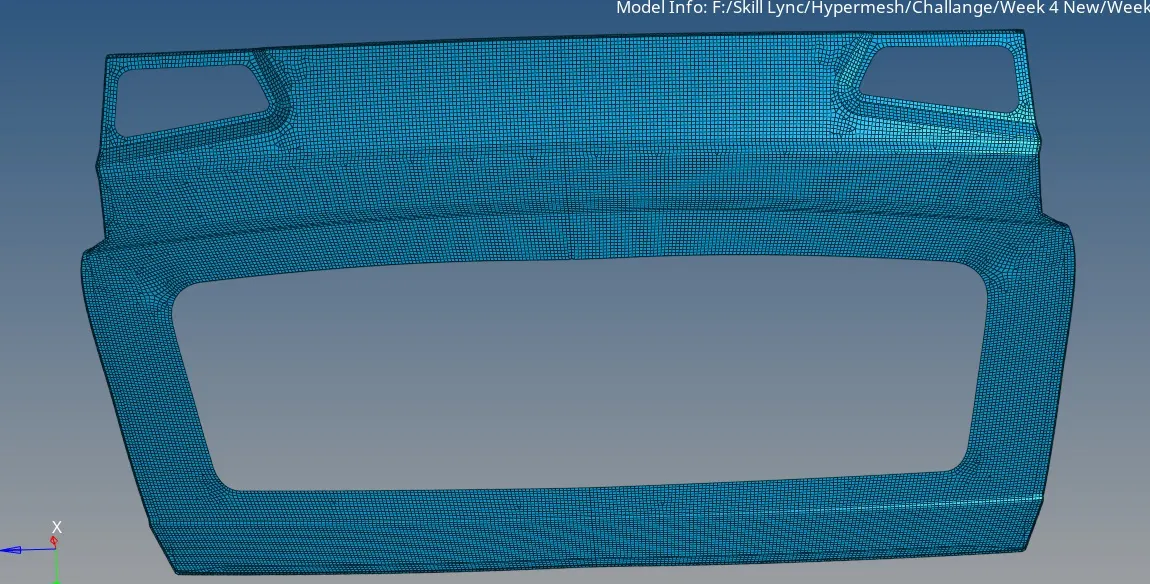
Now we will refelect the mesh symmetric to it.
To reflect,
goto Tool >> reflect >> select the elements >> duplicate >> Select z axis (symmetric axis) >> Select the base point >> click on reflect
Now we will equivalance the nodes.
For this
Go to Tools >> Edges >> Select elemets >> preview equiv >> give tolarance >> click on equivalance
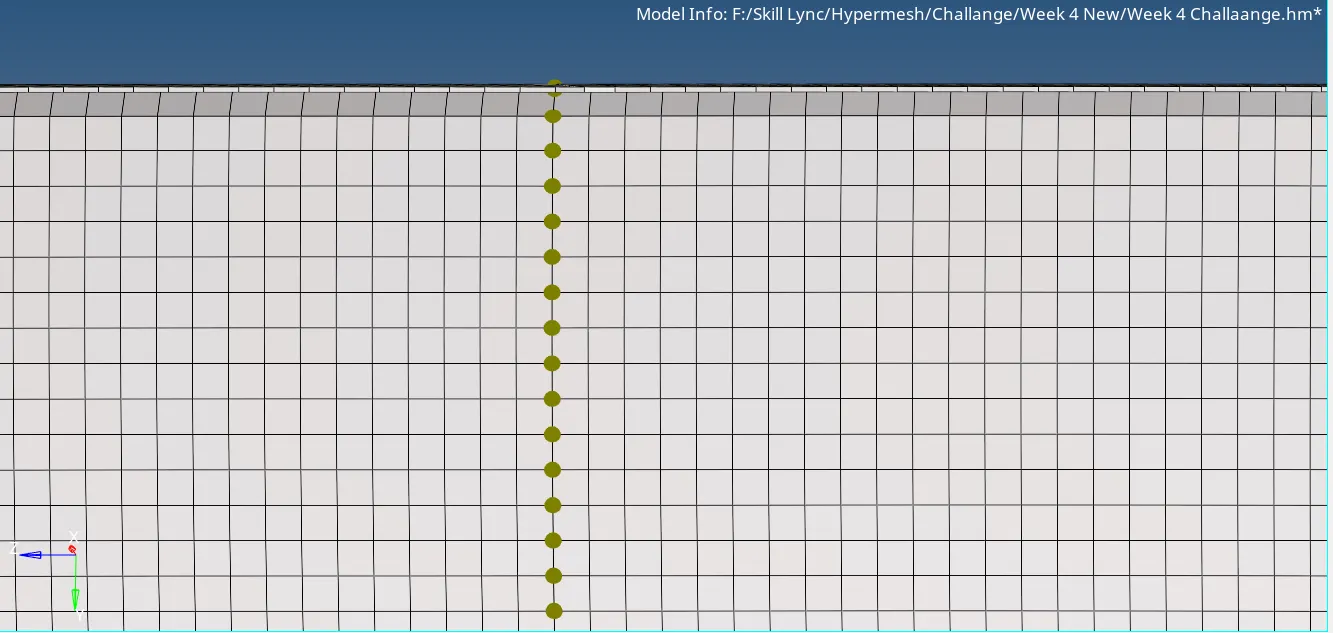
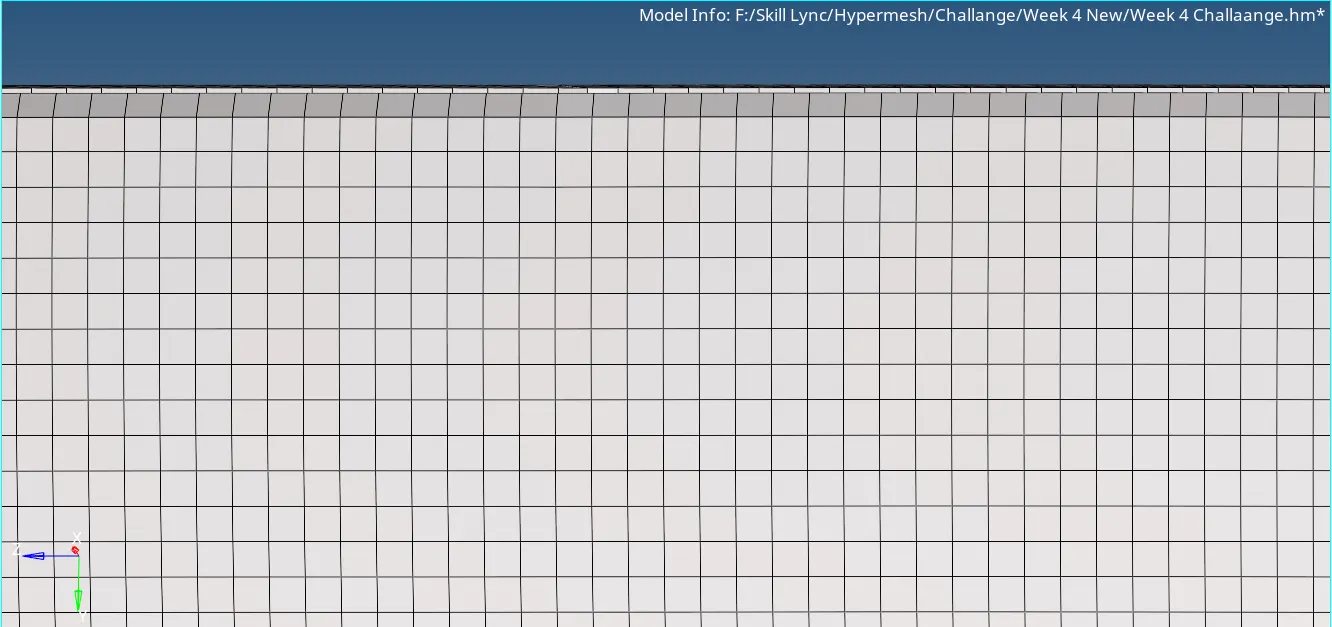
Before equivalance After equivalance
Equivalance maintain the connectivity of nodes.
Assign the thickness to component ' Middle_Surface_Upper_Body '.
3) Back Door Inner Pannel
First delete the solid body. For this,
Goto >> Delete >> select Solid >> click on 'delete enitity'
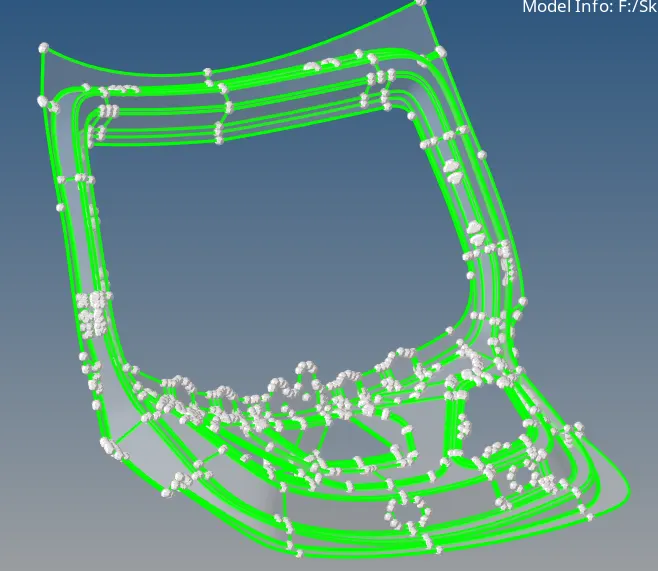
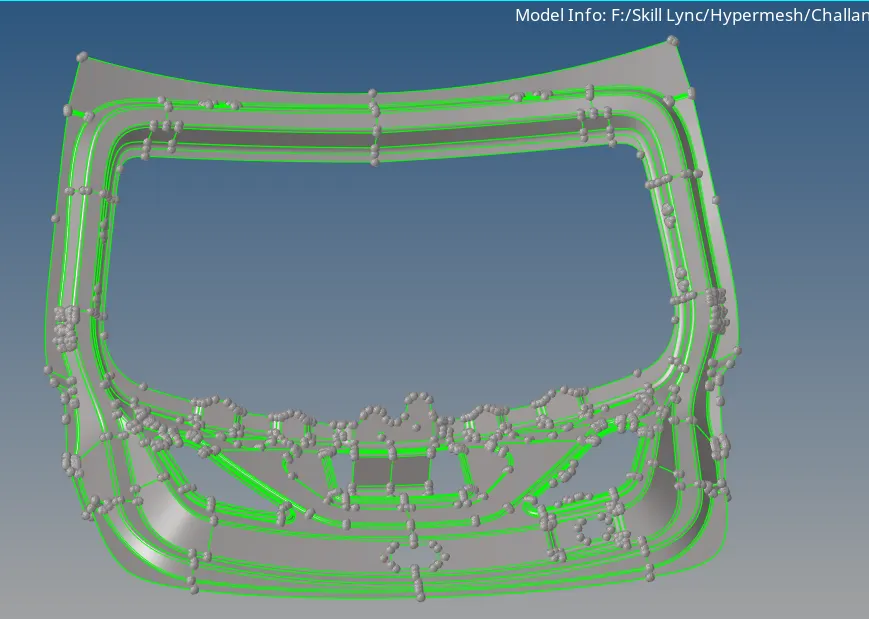
Before deleting solid After deleting solid
Now check for the geometry cleanup.
Turn on Visulization option and untick shared and supressed line, also turn on the wireframe mode
We can see there is no gemotry error
Noe after proper examination, we will find that except one place all the other part of geometry is symmetric.
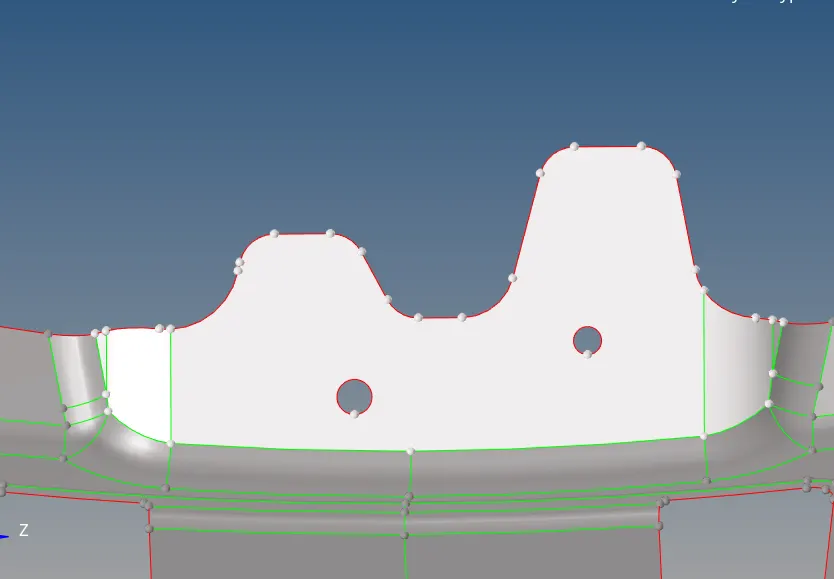
.
So, After extracting midsurface, we will collect this part in to different collector and name that as 'asymmetric_surface'
Now we will extract the mid surface
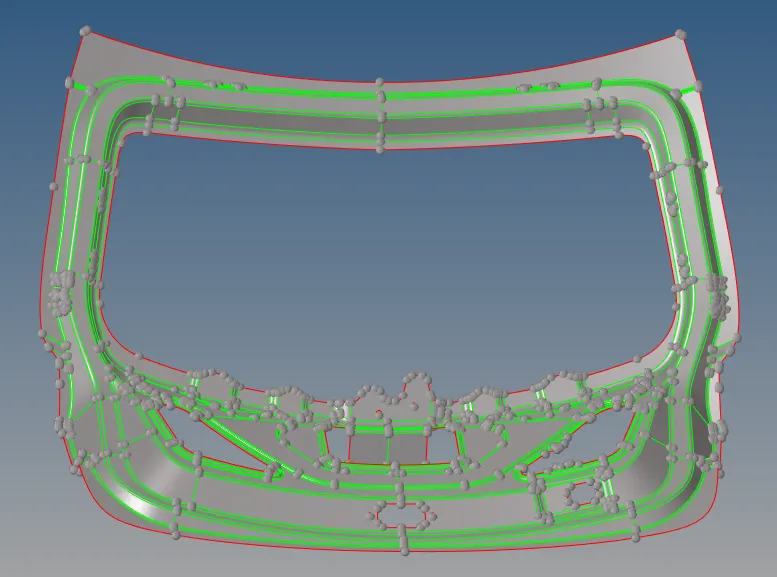
Now transfer the asymmetric surface to 'Middle_Surface_inner_pannel_asym' collector. Hide the asymmetric surface.
Now the mid surface will be look like
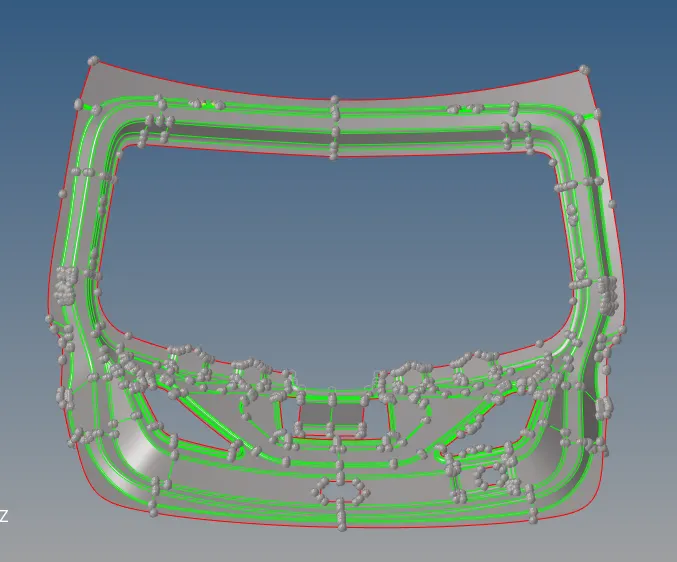
Now supress the unnecesary edges, points, and if required draw new lines.
Now mesh the surface
Delete the half symmetric surface and mesh the half left surface
Now reflect that along symmetric axis. For this
Goto Tool >> reflect >> select elements >> duplicate >> select symmtric axis >> select base point >> click on reflect.
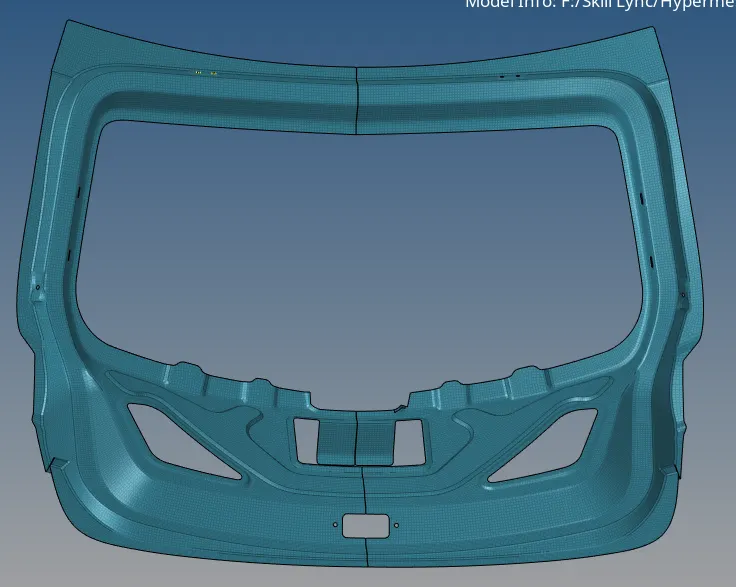
Now hide all and unhide the asymmetric surface and then mesh that
Now go to Tool >> edges >> select elements >> click on preview equivalance >> click on equivalance
Thus elemnts will be connect to each other
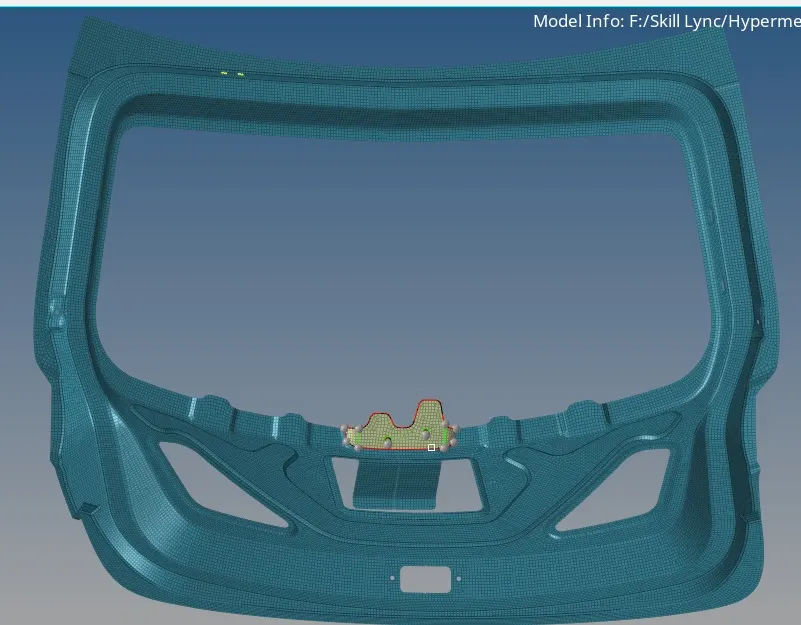
Now assign thickness to inner pannel mesh
Thus we meshed the given model
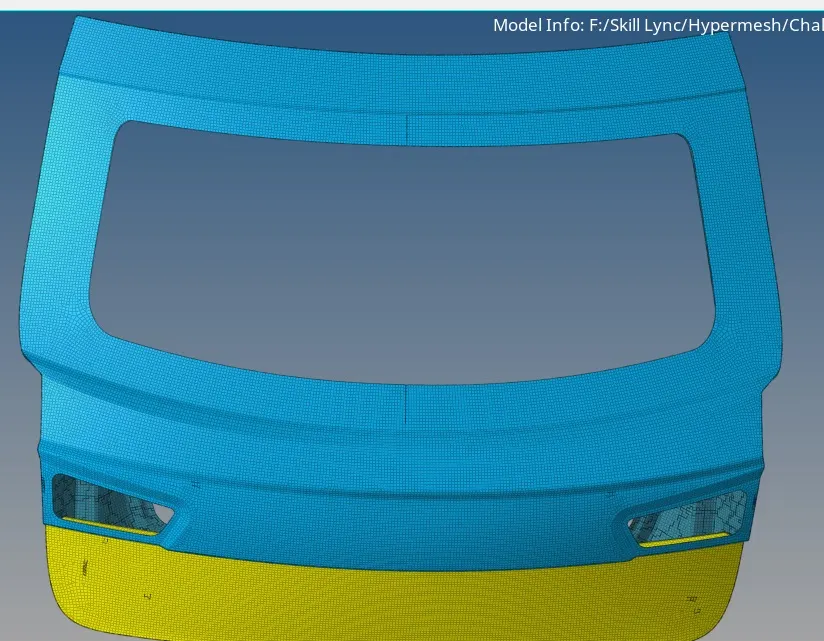
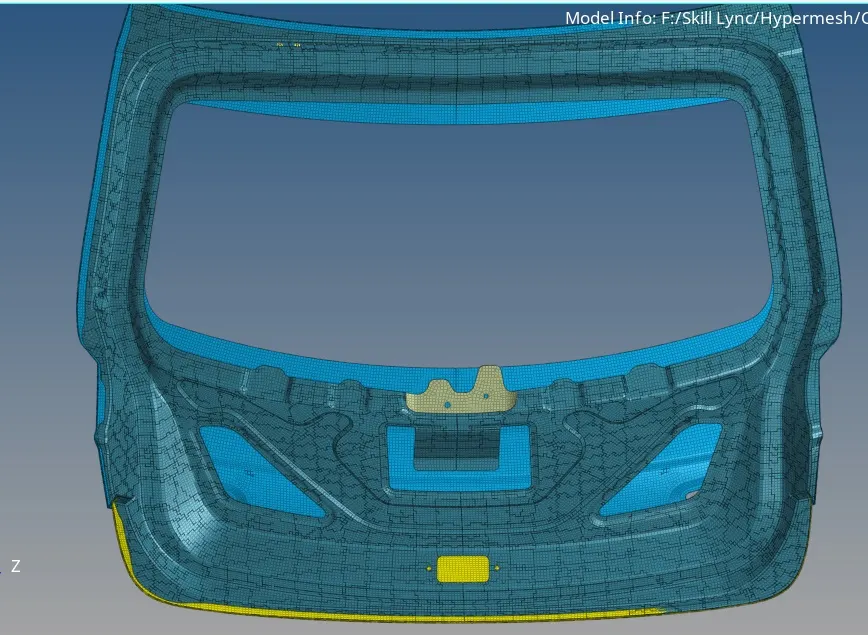
Final Modal (Front view) Final Modal (Back view)
Conclusion : Thus we have extracted the mid surface from given model and mesh that.