Week 4 Challenge : CFD Meshing for BMW car
BMW Car Meshing using ANSA
Aim: To mesh BMW Car for different target lengths.
Objective: Target lengths for the different parts of a model are as follow:
- Body - 3 mm
- Lights - 4 mm
- Grills - 1 mm
- Rims and Tyres - 2 mm
- Optical Rear view mirror - 2 mm
- Window - 2 mm
- Silencer - 3 mm
- Logo - 1 mm
Procedure:
Open file in the ANSA
File --> open --> ___.ansa
1. Rough clean-up
Open mesh select length (select model)--> Perimeters --> 1 mm.
length --> macros(select model) --> 1mm.
The model will get finer to distance of 1mm.
2. Delete half side of model we can further symmetry the other side after clean-up.
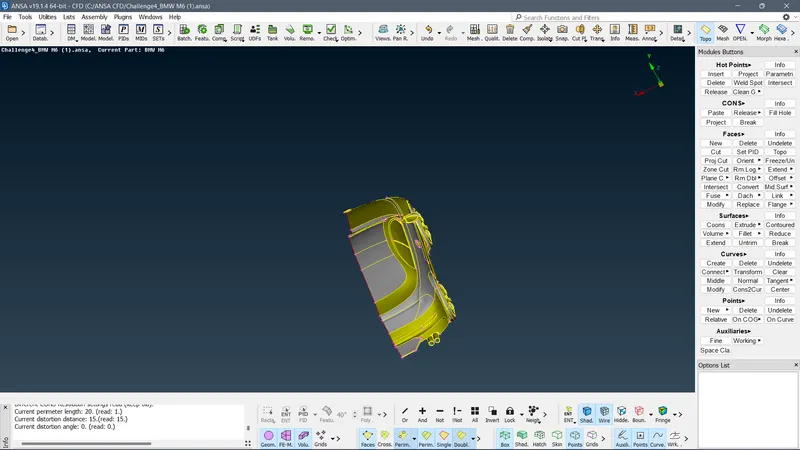
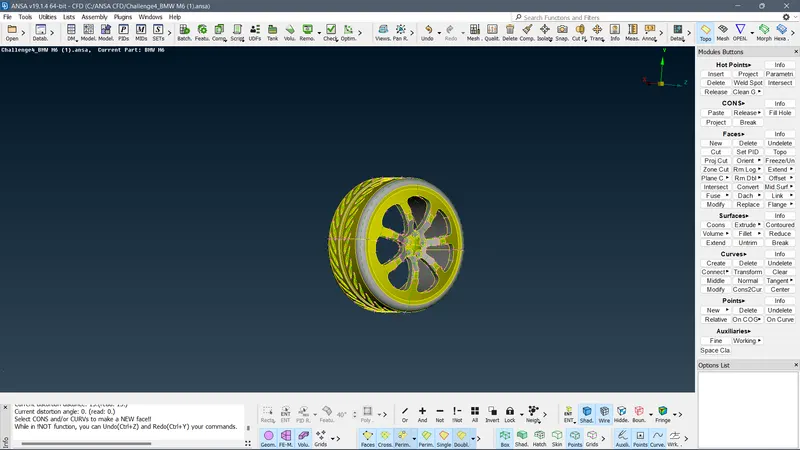
3. Diagnose the model for every part individually and to do clean-up deleting unnecessary parts and fitting new faces as required.
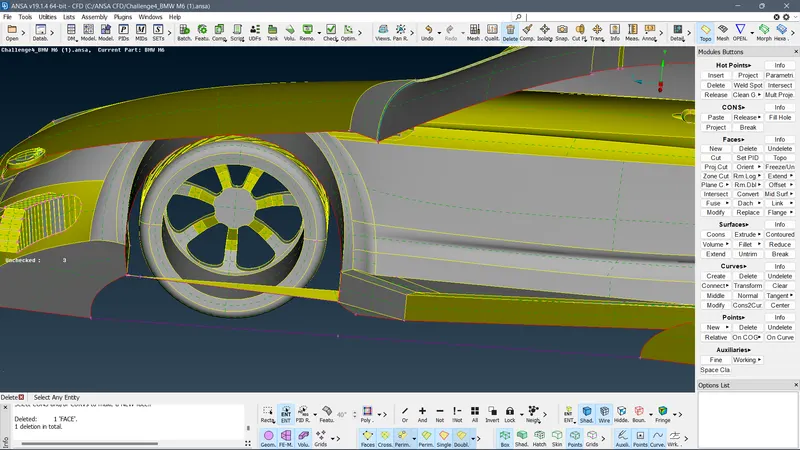
Use project to extend cons to surfaces/faces.
Project--> select cons--> select face--> apply
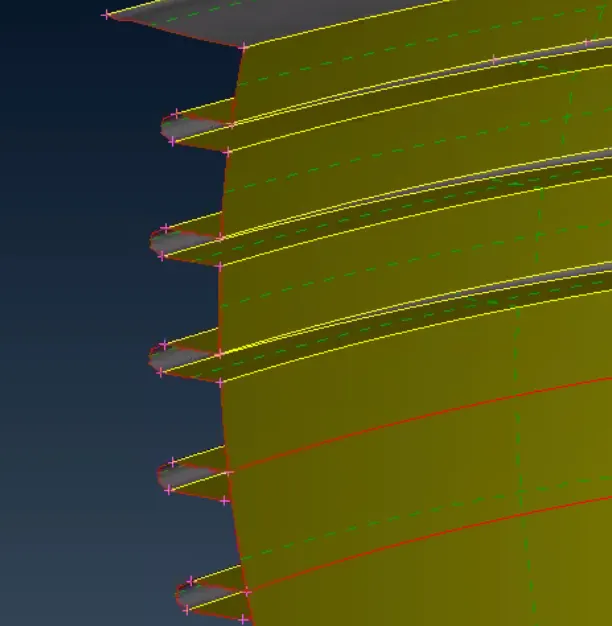
Use paste to attach two cons
Paste--> select cons--> apply
creating faces
New-->coons/ fitted--> select single cons--> apply (choosing appropriate preview)
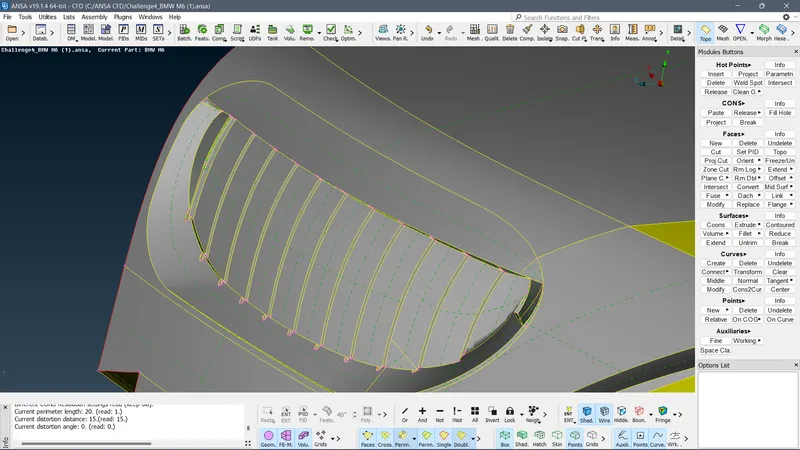
Intersection: To intersect two surfaces
Intersect --> select first surface --> select second surface
Delete the remaining parts.
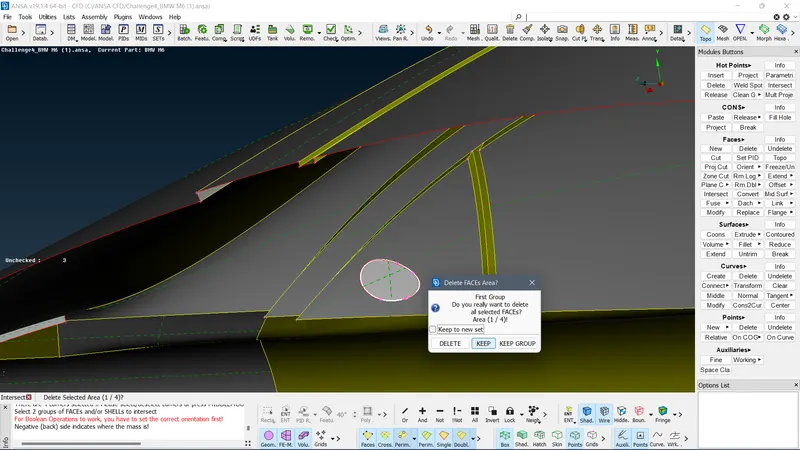
Keeping only required faces
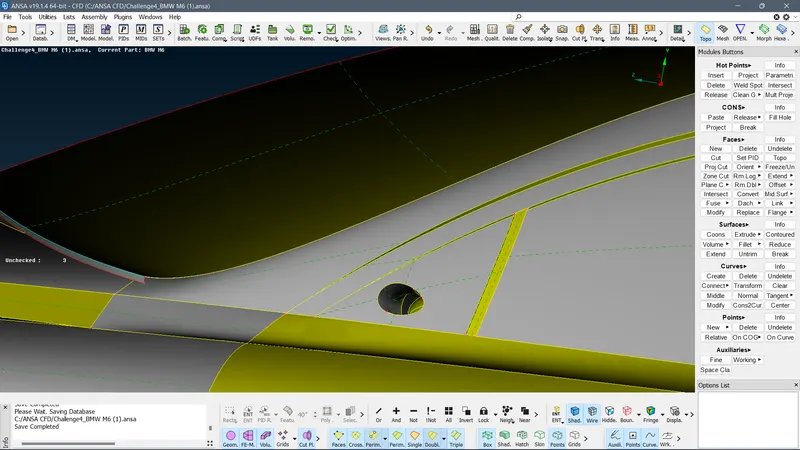
Delete not required surfaces in logo
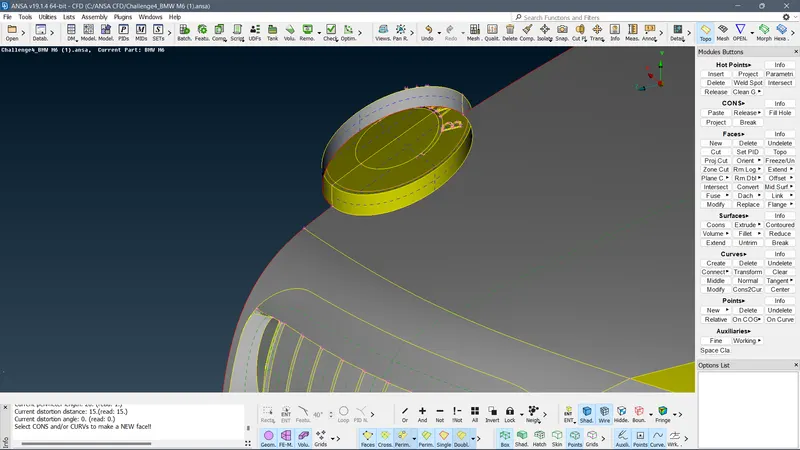
Delete not required faces in windows
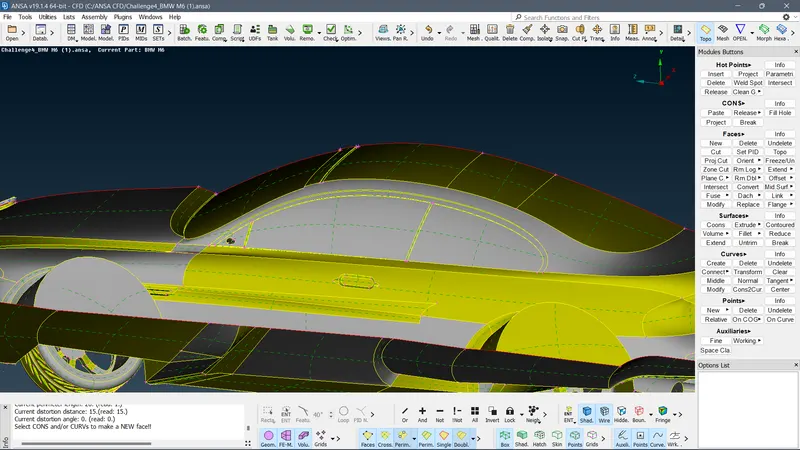
Extend: To extend the surfaces
Extend --> select cons --> select face --> apply
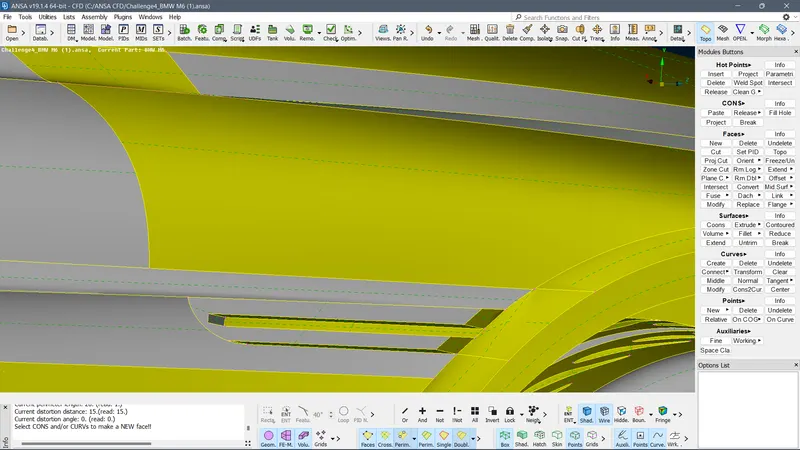
Delete the inside surfaces forming triple cons
Perform geometry checks:
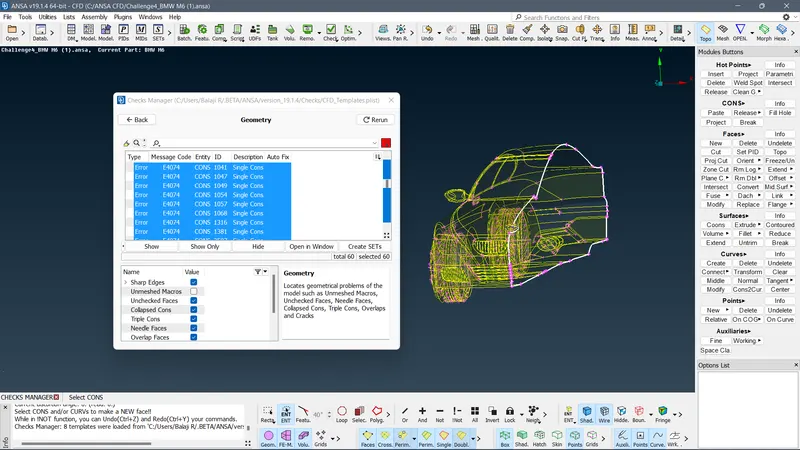
check for any other errors than these single cons. (Later use this for symmetry)
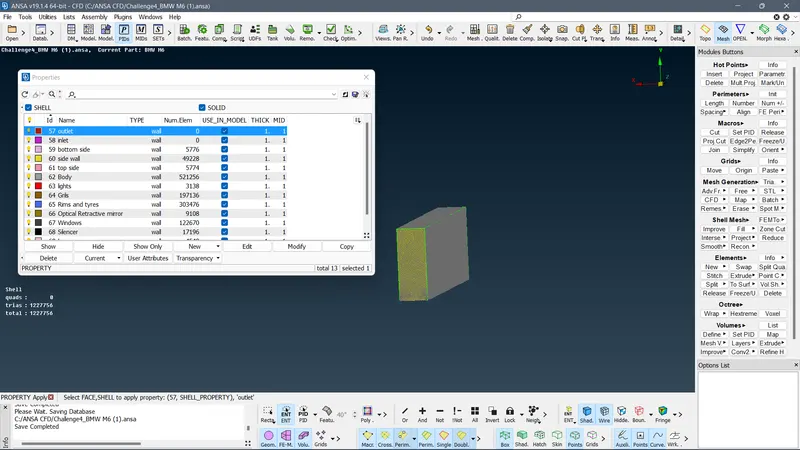
Assigning PIDs:
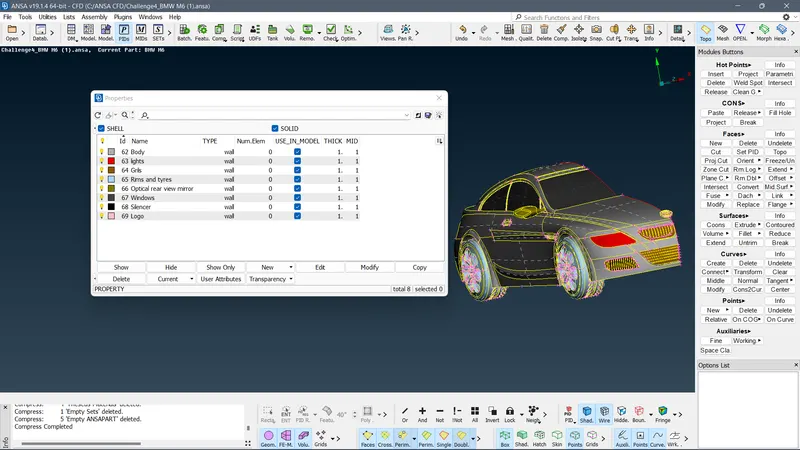
Create PIDs as shown
New-->Shell property --> (assign name) --> ok
Select PID --> apply --> select parts accordingly --> (middle click)
Deleting unnecessary PIDs
Compress --> ok
Meshing:
1. To check for any surfaces between with distance less than 1mm.
2. Remove cut lines to maintain quality mesh criteria.
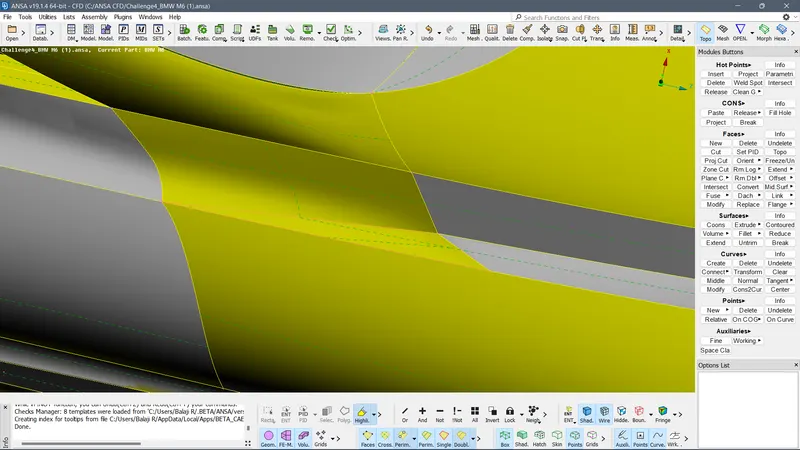
At grills:
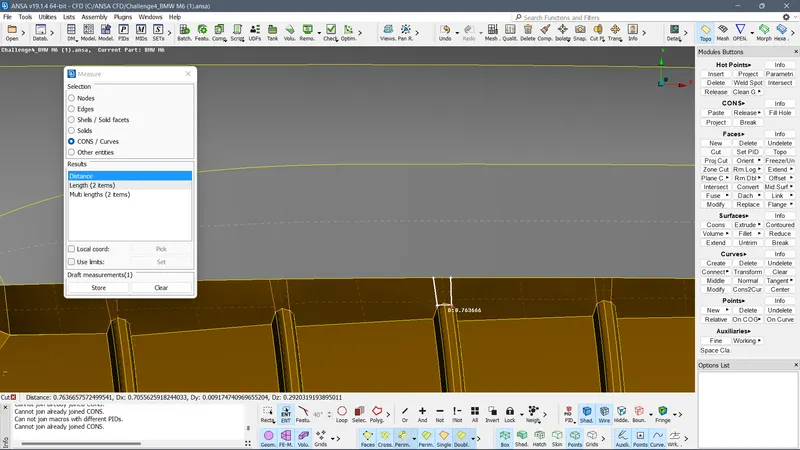
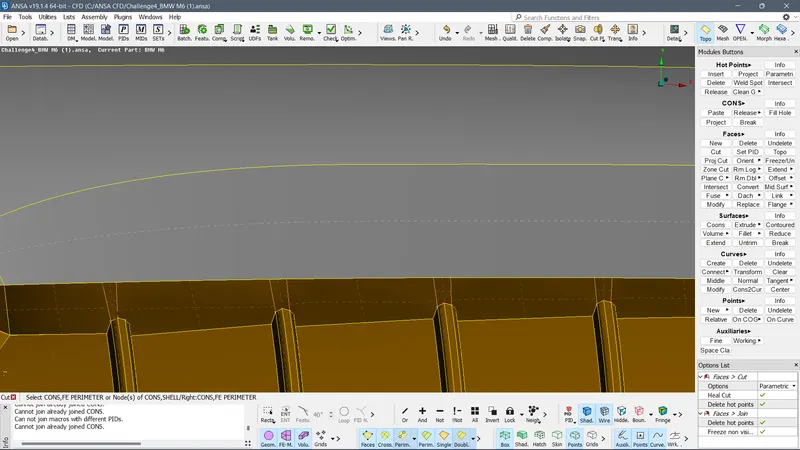
4.
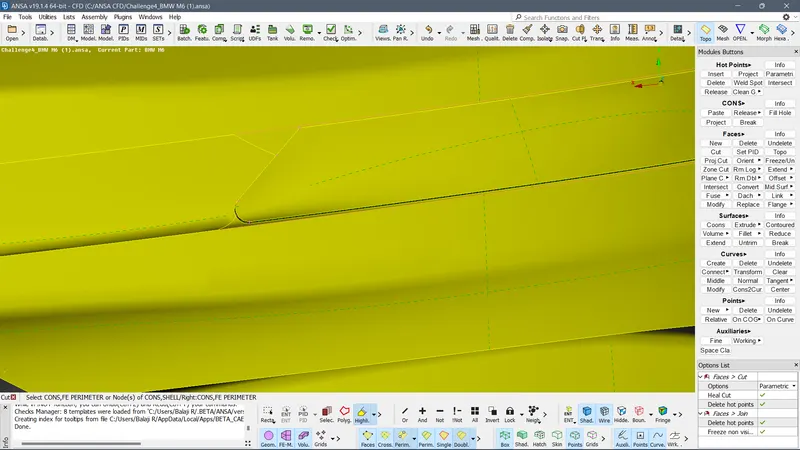
Meshing all the parts:
Assign Mesh quality criteria
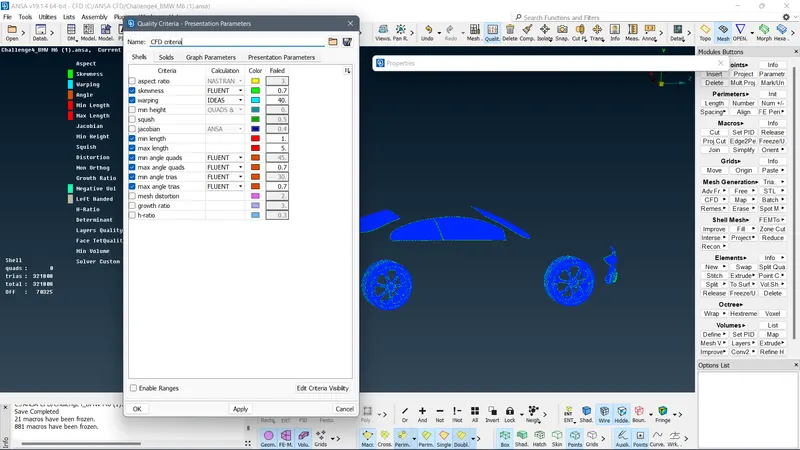
Mesh parameters:
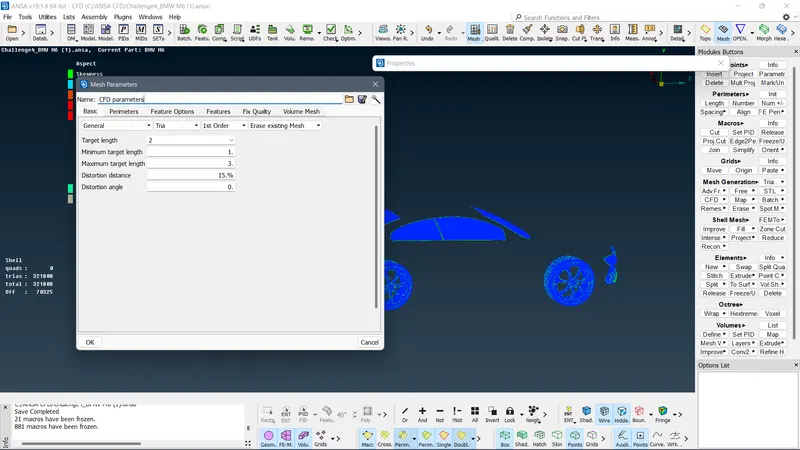
Mesh accordingly as per the given target lengths and apply freeze.
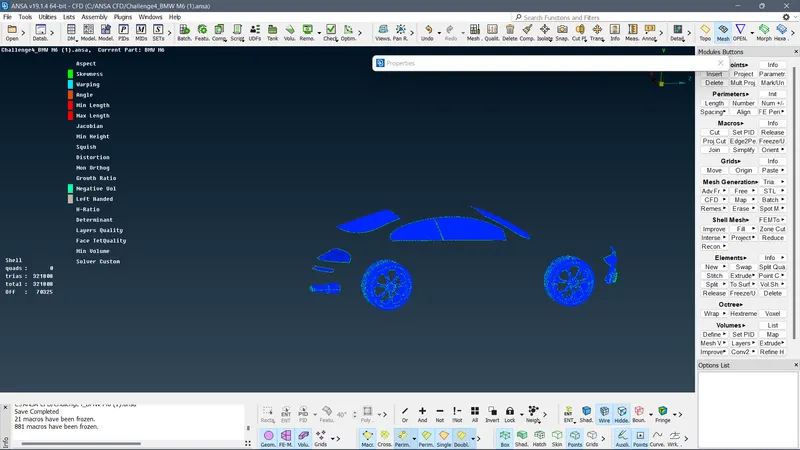
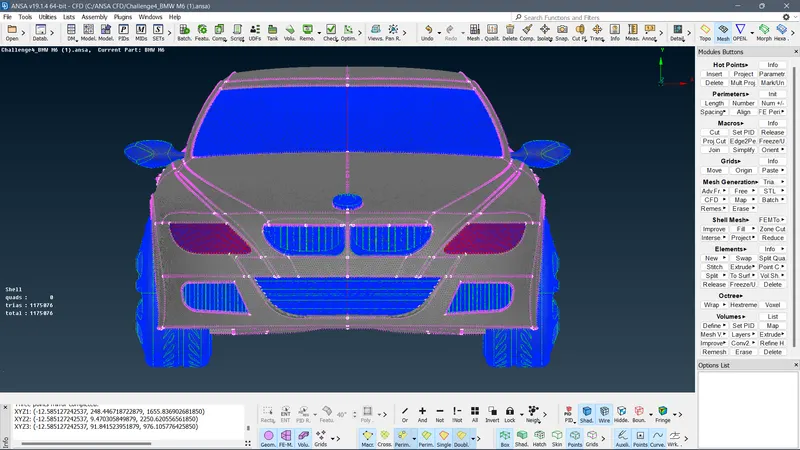
Final mesh:
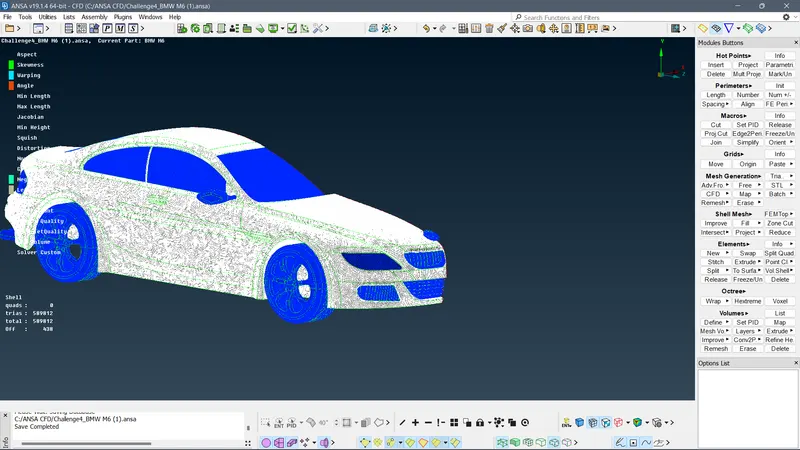
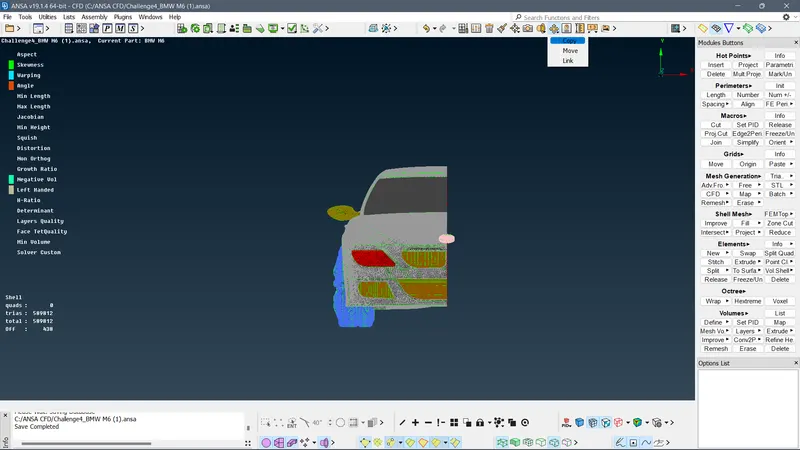
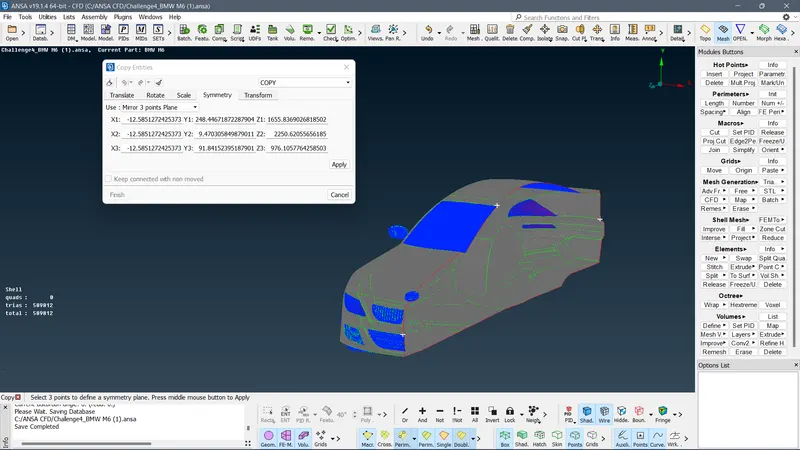
Copy the half part to other side using transfer:
Select points for symmetry.
Final view:
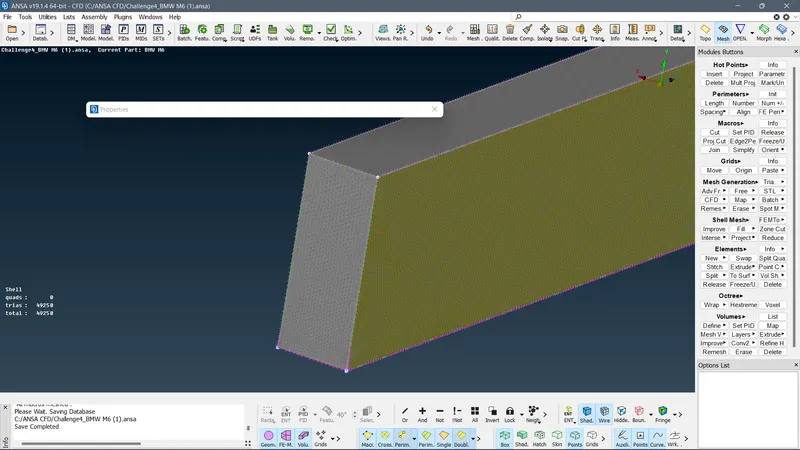
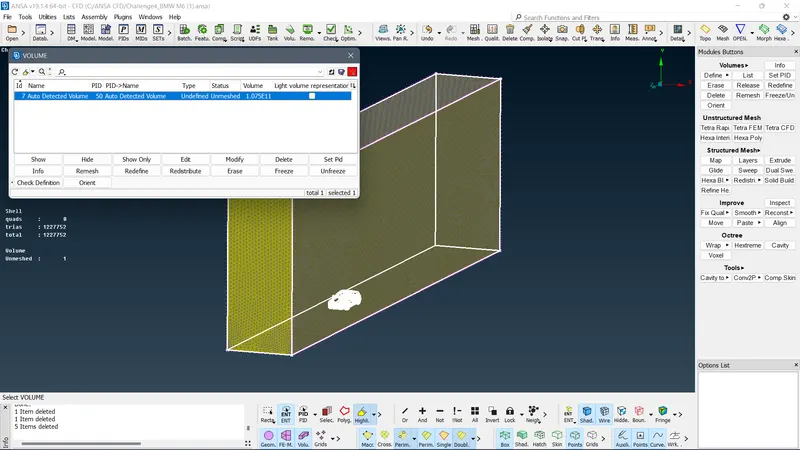
To create wind tunnel:
Create face using 4 points at approppriate distance from Car
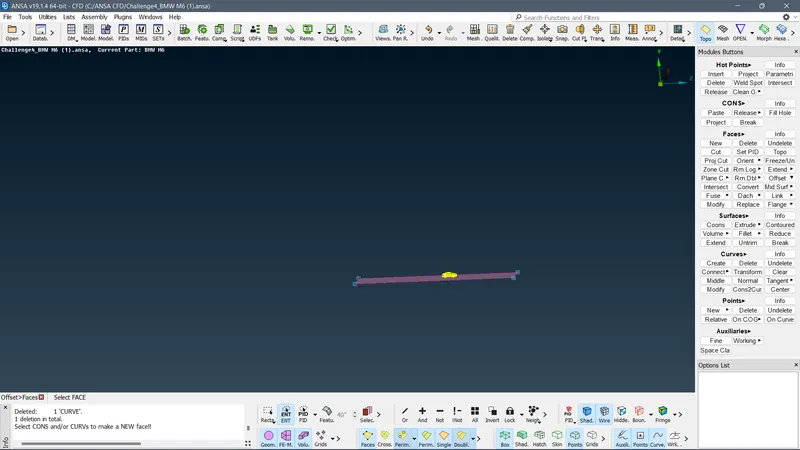
offset to create face on upper side
create facs on all sides.
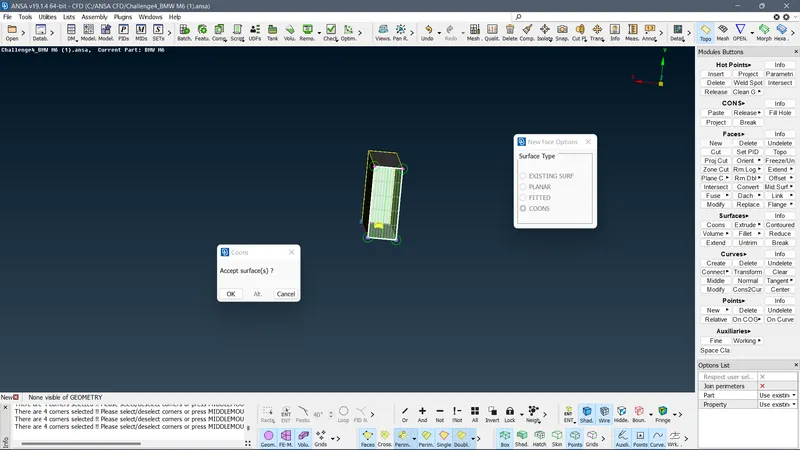
Meshing the tunnel
Assigning wind tunnel PIDs
Volume inside wind tunnel.
Conclusion:
All the parts are meshed with desired target lengths assigning PIDs.
Wind tunnel created for BMW Car.
(BMW Car link:)
https://drive.google.com/file/d/1-WF1eN0SSrcV7P_4WmKjDDmTPRz9Dv5j/view?usp=sharing