Week 4 Challenge : CFD Meshing for BMW car
CFD PORT FOR BMW CAR:-
Goal-
Clean mesh cleaning for BMW car
Run 2D meshes, check quality criteria
Use stealth mode to check quality criteria for failed meshes.
Use rebuild option to view and delete failed networks. meshes
Use for car 3D mesh
Create the wind tunnel as either 2D or 3D mesh, depending on your system capacity.
Solution parameters:
This is the geometry of the car in wire frame mode, with all the single, double and Triple cons. We have to rectify the all the single and triple cons to double cons for the perfect geometry.
Now the geometry of the car with Shadow and wireframe mode.
There we can see the errors of the geometry so that we have to rectify the geometry.
As we can the see the body as symmetric, we will cut the body to half to rectify the errors and after rectifying the errors will be mirroring the other to the deleted portions of the body.
The first mistake in the original geometry is that the cons are irregular, this is corrected by opening the web tool
Go to the web tool and select a circumference of 1 mm for the entire length of the body, this that will fix them all. irregularities in the alignment of the disadvantages, and the body will have the correct shape. .
Split the car in half
For problems where both sides have symmetry, it is better to split the body in half and then work on the half body and then do the symmetry to create the other half body with the available half body. . This makes our job half as easy as there is only geometry to work with and the rest can be created with the symmetry tool.
Cutting the car into half and doing the topo clean up, as shown below:
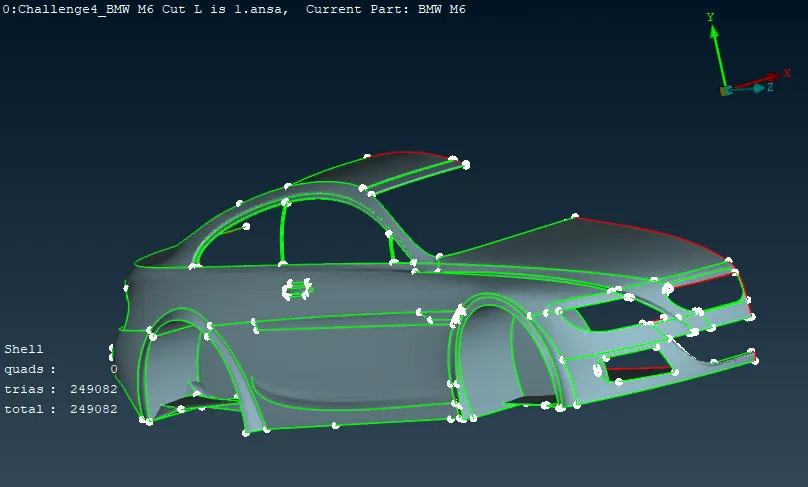
Half of the body in the in the wireframe mode.
When cutting the body, we must make sure that we do not select the car logo, because the logo is not symmetrical.
We also need to do the topo cleaning of the car with separate elements, so that the topo cleaning is good.
Topo cleans up the grids, as we can see that the grids' individual disadvantages and the triple handicap have been removed and now we see only double handicaps as a reflection of perfect geometry..
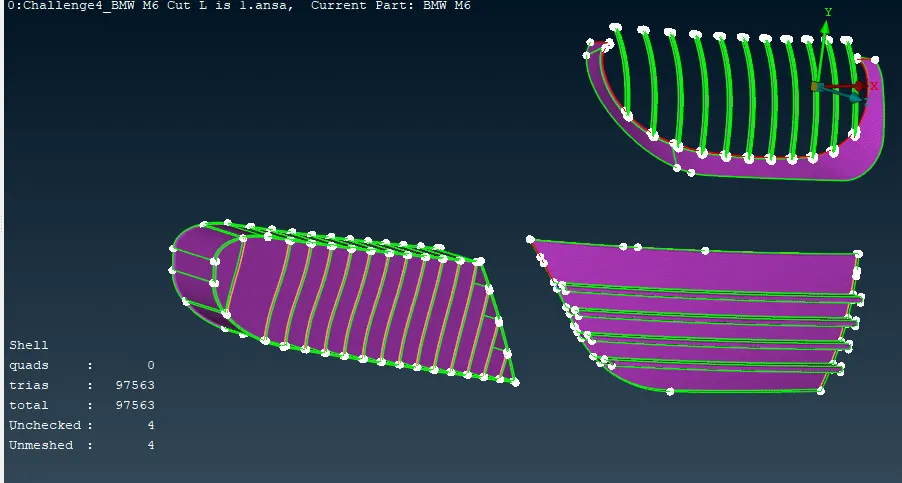
Same of grills here also:
Now we have to do similar with all the case.
For Windows:
BMW logo:
Do the similar with tyres, body, rear view mirrors any other left region.
After doing the topo-clean up we have to assign the PID's for the car.
Based upon the color of the PID's we can see the element present in it.
Results:
Target lengths for the different parts of a model are as follow:
- Body - 3 mm
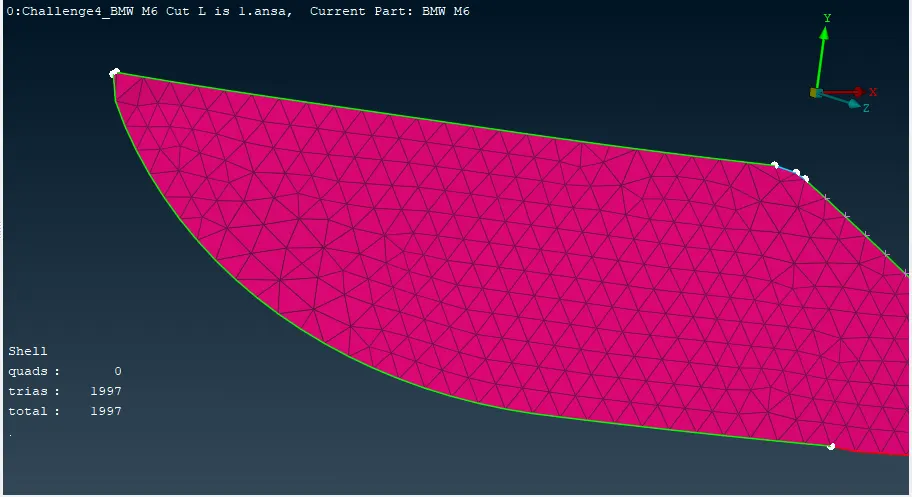
- Lights - 4 mm
- Grills - 1 mm
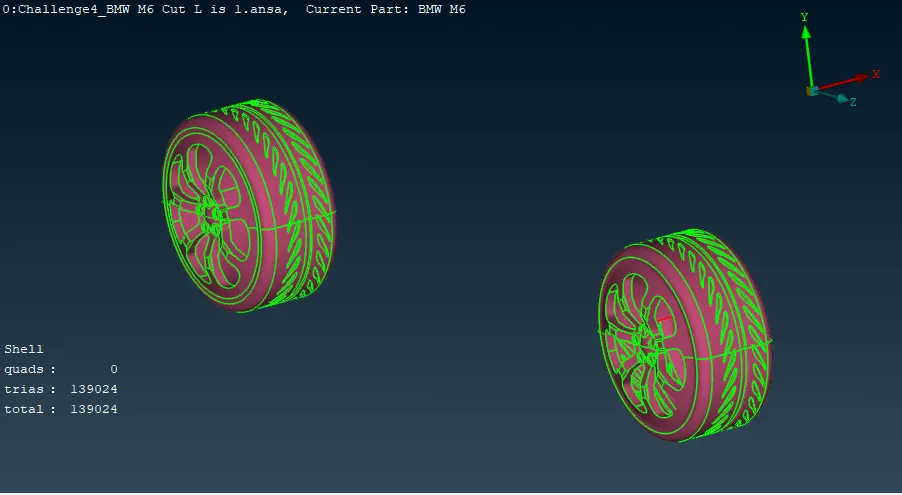
- Rims and Tyres - 2 mm
- Optical Rear view mirror - 2 mm
- Window - 2 mm
- Silencer - 3 mm
- Logo - 1 mm
Body:
Grills:
Headlights:
Tires and rims:
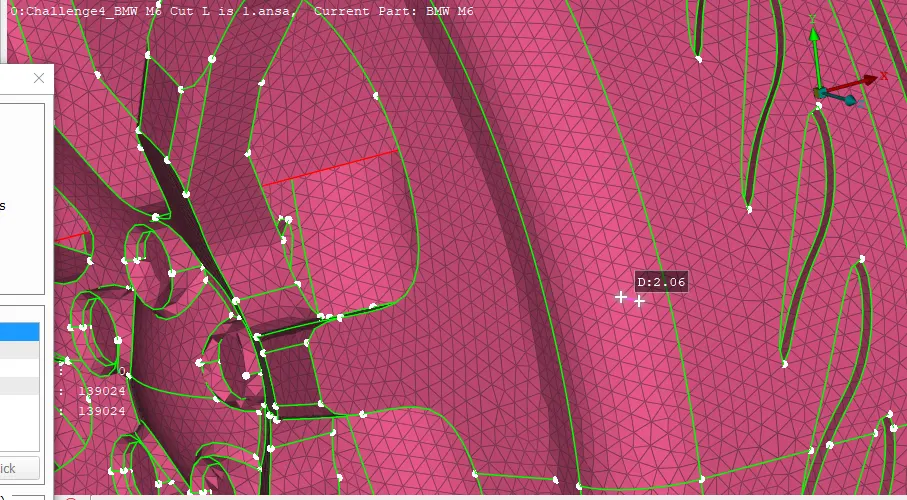
Silencer:
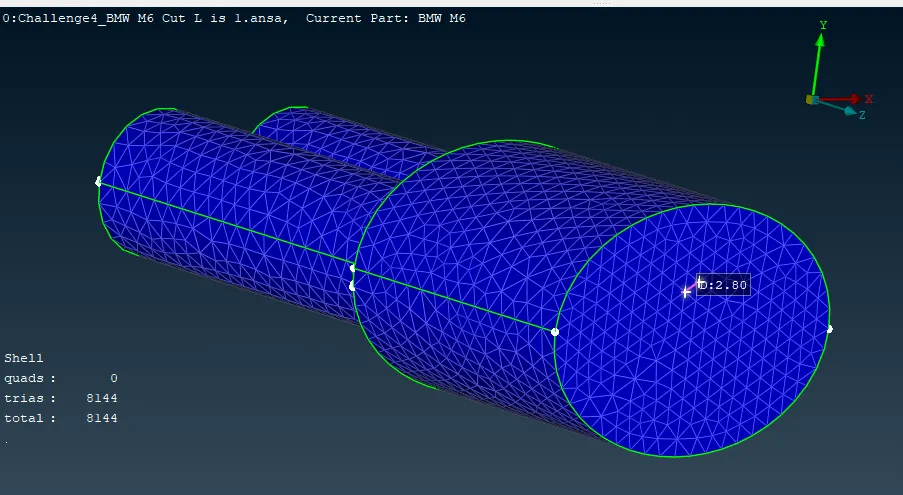
Rear view mirror:
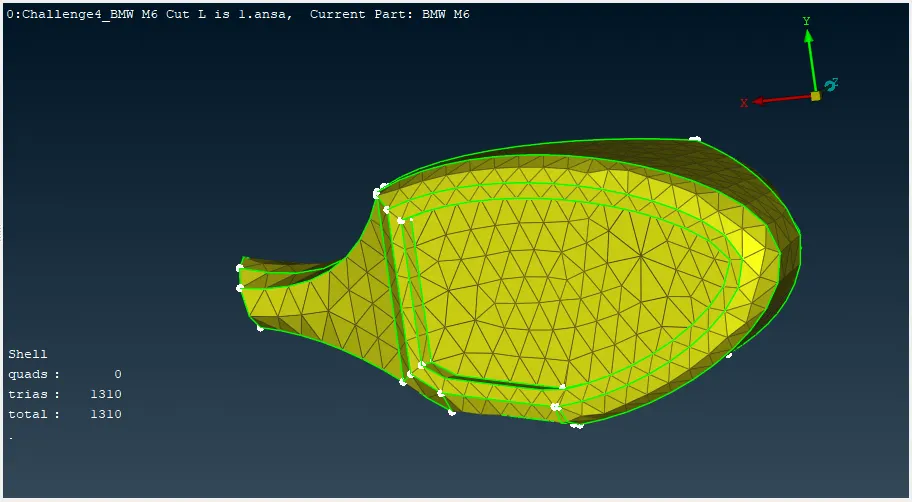
Windows:
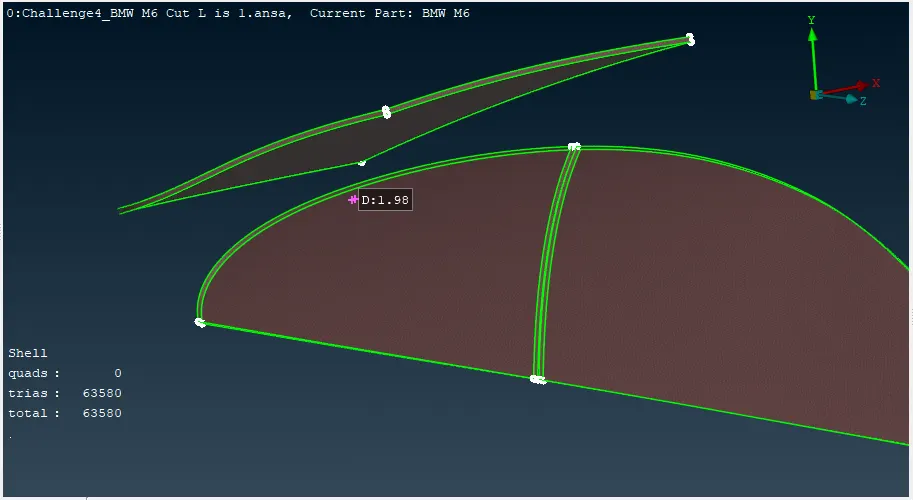
Enclosure Preparation:
Let's create a wind tunnel around the car
Measurement of the wind tunnels is-
The length of the car is X
The wind tunnel is held 75 mm from the bottom of the car
The wind tunnel in front of the car should be 4X, the total length of the tunnel in front is half the length of the car plus 4X the length of the wind tunnel behind the car is 6X, the total length of the tunnel to. the rear is half the length of the car plus 6X the length
The wind tunnel should be 3X the height..
- Points created at both sides of car
- Now you can use offset option to offset points created at sides of car in upward direction at 3X distance or you can select those points and create another set of points at 3X distance in ositive Y-direction.
- Use Create curve tool to create lines to connect points which are created.
- Select create curve select one point and then select another point and do middle click. In this way joint all points so that we can create wind tunnel using them
- After creating wind tunnel delete points and curves which were created earlier.
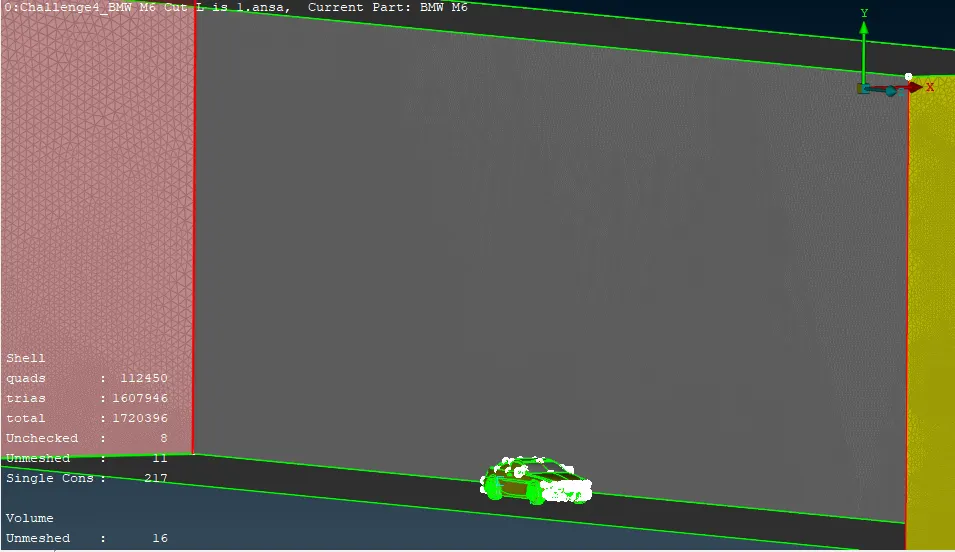
After creating top and bottom meshes it time for meshing sides of tunnel. In order to mesh sides of tunnel we will use spacing tool.
Basically what spacing tool does is it will vary mesh length from bottom to top, give min length as 20mm and max limit as 100mm and select factor of 1.1 and click ok.
Steps involved
- choose spacing tool give dmin and dlimit and spacing factor 1.1. spacing factor varies length from bottom top by factor of 1.1
- click on ok and select faces and do middle click.
CONCLUSION-
Working on the BMW model gave me ideas about the various meshing tools available in ANSA.
I learned in detail about surface meshing and geometry cleaning. The challenges helped me understand the tools better
Learned how to use the curve tool, how to create a gain tunnel using points and curves
Learned about wind tunnel dimensions, such as dimensions due to model size
Learned how to remove a mesh when there is one. different PIDs with different mesh lengths touching each other.\ nPrevent surface cleaning.