Week 4 Challenge : CFD Meshing for BMW car
PROJECT REPORT
Aim:
Studding details geometry clean-up on the model of BMW M6 car, assigning appropriate PIDs and meshing the model, also crating a wind tunnel around the model and creating volumetric mesh for detail CFD analysis
Generating surface mesh in the car according the following target length, also studding how to overcome the errors in mesh
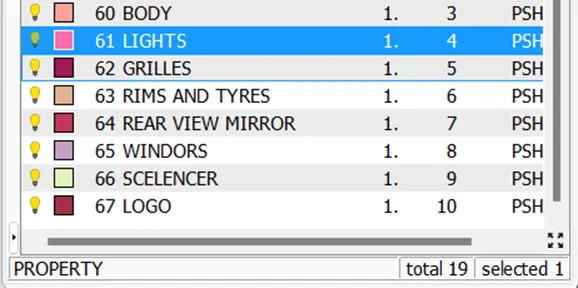
- Body – 3mm
- Lights – 4mm
- Grills – 1mm
- Rims and tyres – 2mm
- Optical rear-view mirror – 2mm
- Windows – 2mm
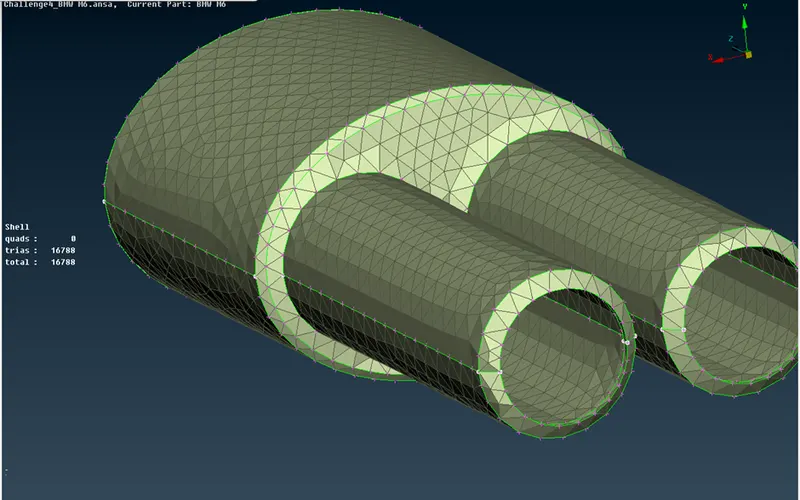
- Silencer – 3mm
- Logo – 1mm
MODEL:
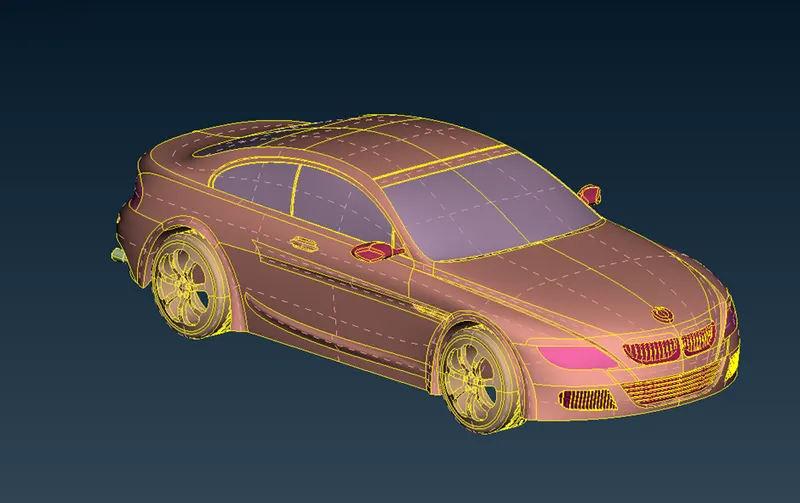
Now for start the model have many errors which we need to solve before meshing, also there are many parts like grills and body where the minor details are important to get the accurate results
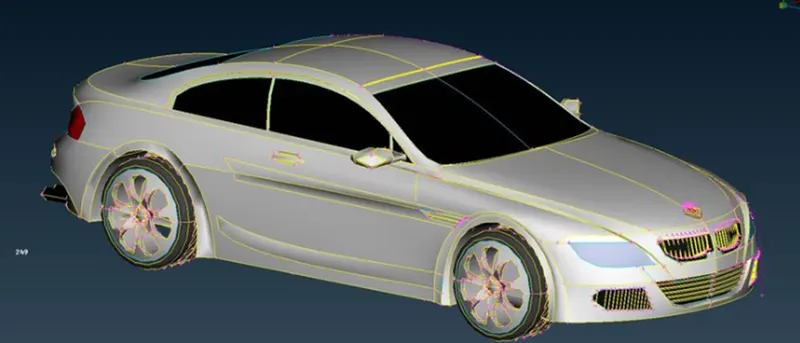
Given Model
Firstly, we can see the parts in this model doesn’t look that sharp even the tyres don’t looks circle it is because the micros and parameter in the mesh model is set to 30mm we can also set this correct by using FINE option though to do it in one strock we can use macros option from mesh and set it to 1mm
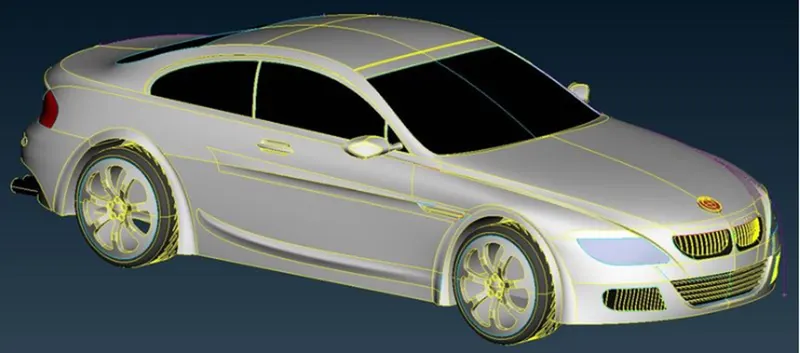
Now model looks like this
After that we are going to delete the half model for topo clean-up and then then we will again use symmetry option to combine two half’s this can be used easily to in model which are symmetry
Now for clean up we need to go part by part and making it all ok for meshing there should be no single cons or triple cons also there should not be any small surface which is less then the size of our mesh for that part
- GRILLS
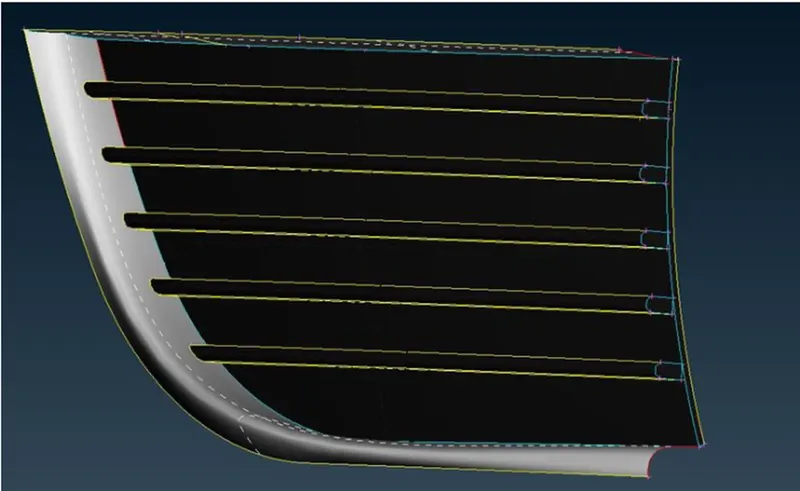
In all this part we not only have to check for cons but also some overlap surface or thin surfaces also
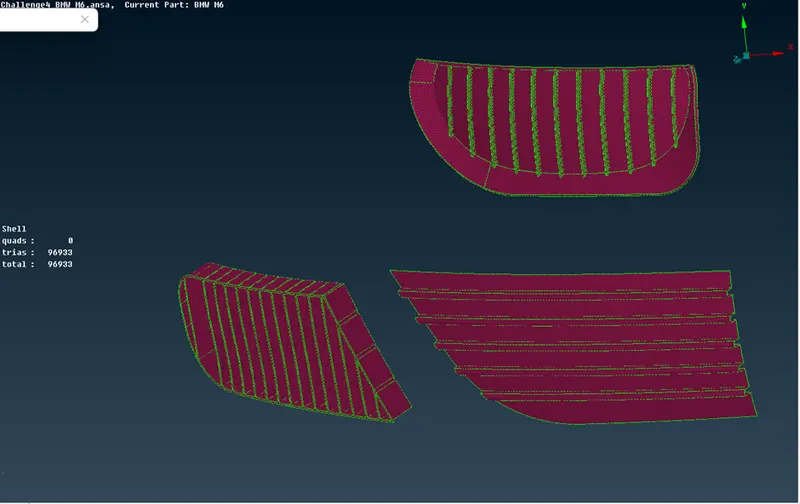
In grills we have to use different options to make it proper for meshing even at some points if the surface is not connectiong all the cons we need to delete the durface and create a new one we can use the curves option to plot traces of actual model
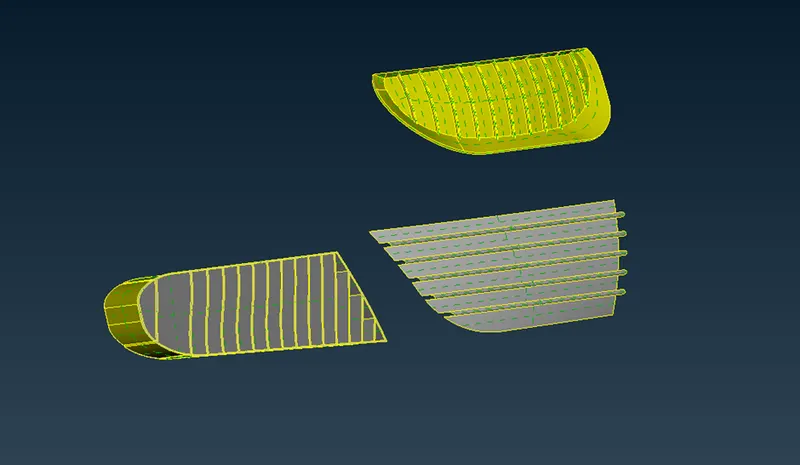
Other parts of grills after clean up
- Also we need to take care of one thing that there should not be any inner volumes i.e. there should not br any close furface in the car which can create a volume so it will not create any problem in volumetric mesh
- In Grrills the inner ribs in the grill have all four side close so it will create its own volume to avoide that we can delete the back surface which is not in contact with the external air so it wont affect oue solution as well as it will not create a volume either
- LIGTS
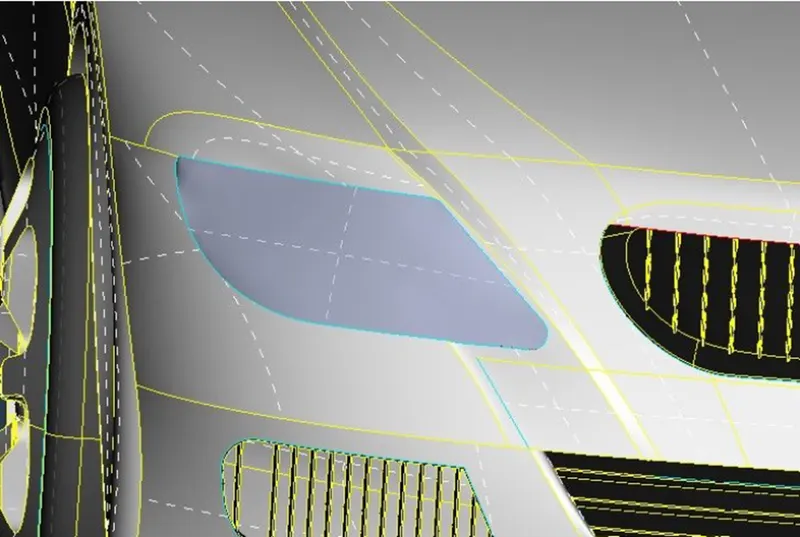
Rear ligts
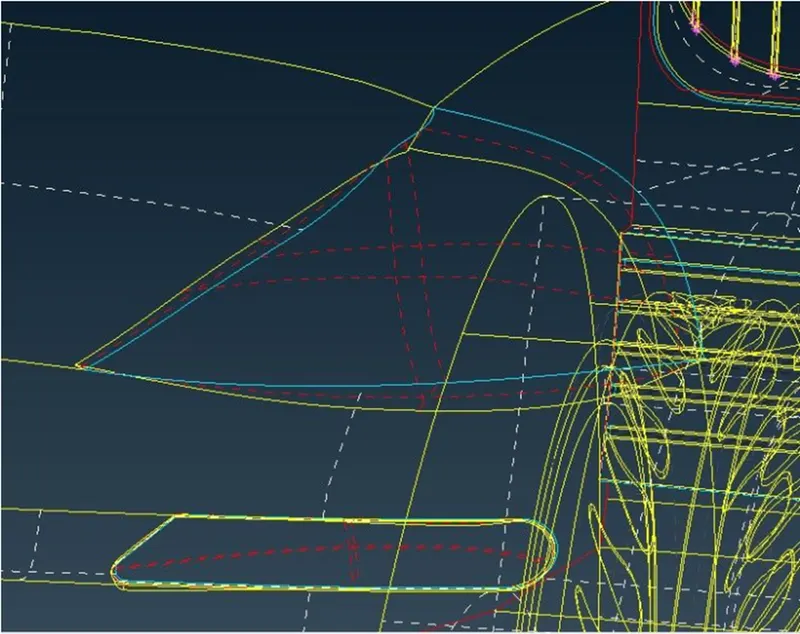
- We need to clear all the triple cons and assign it a PID
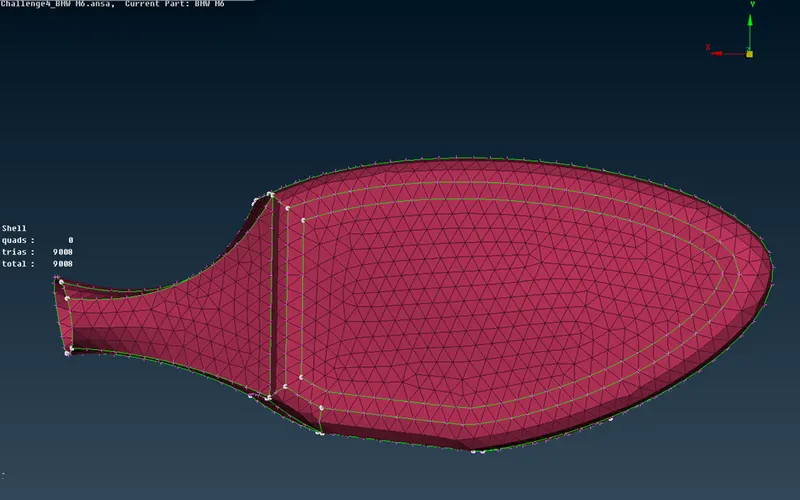
- RARE VIEW MIRROR
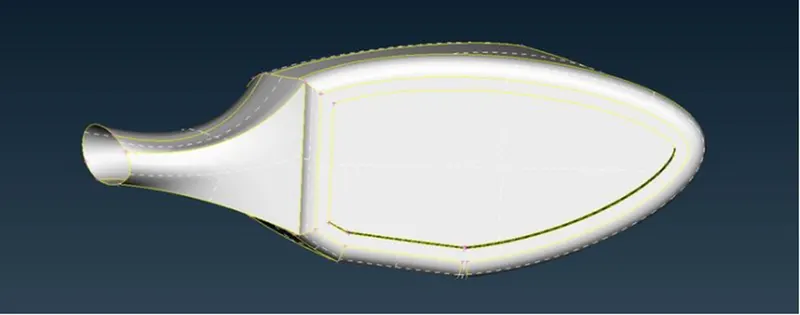
- We need to make sure there is not any internal volume and clear all the cons
- TYRES AND RIMS
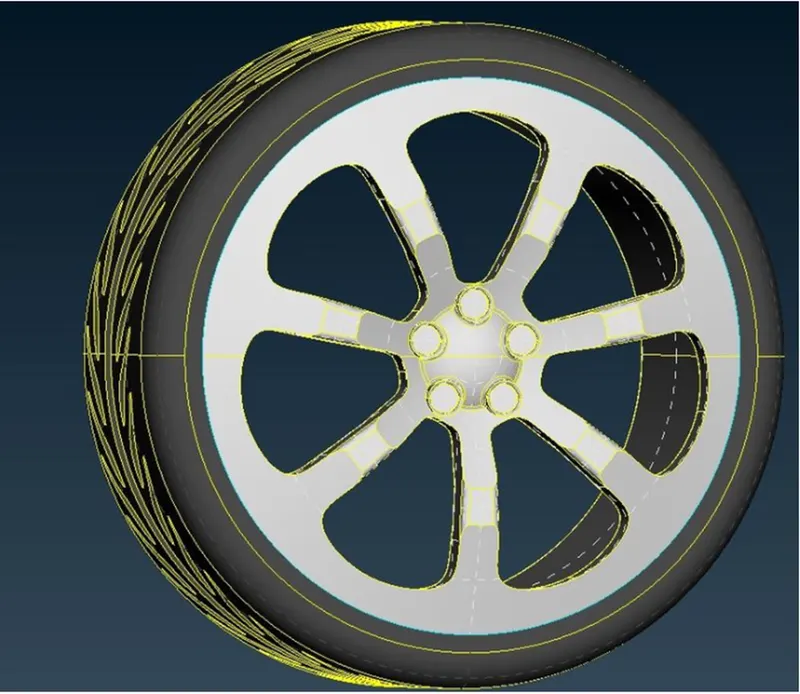
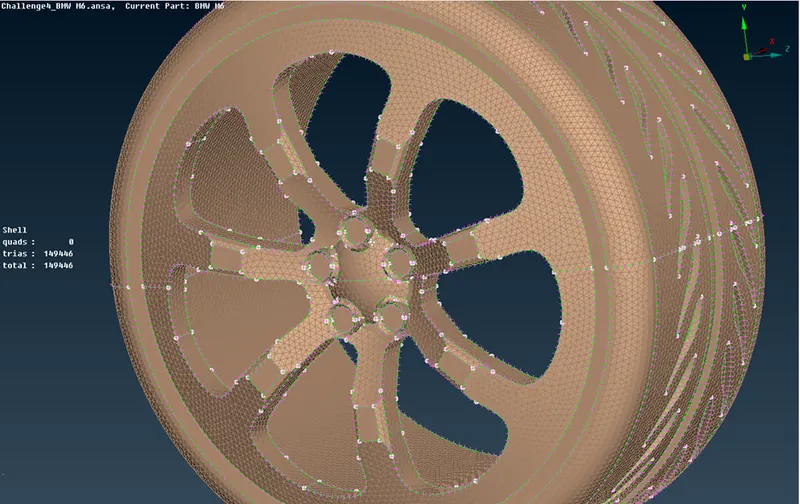
- Tyre are fine but rims can be a tricky part as there are some cuts which can be close to each other so we need to clear in such a way that it should not affect the shape as well as the cuts should not affect the mesh
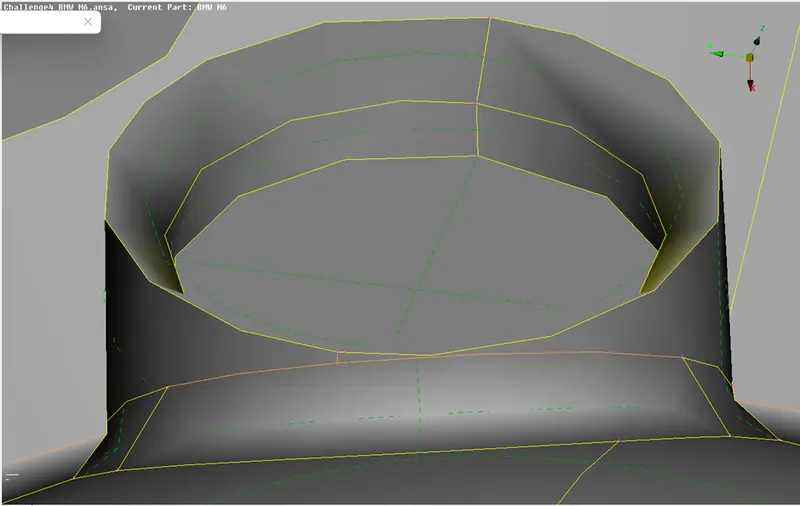
- The orange colour line shows the deleted cuts which were necessary for mesh to perform and the two other cuts at each side is to maintain the fillet shape in rims
- LOGO
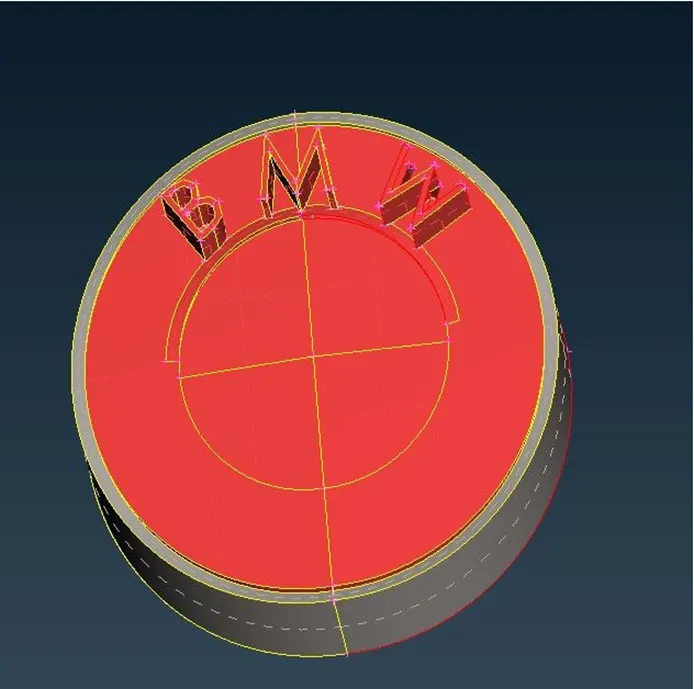
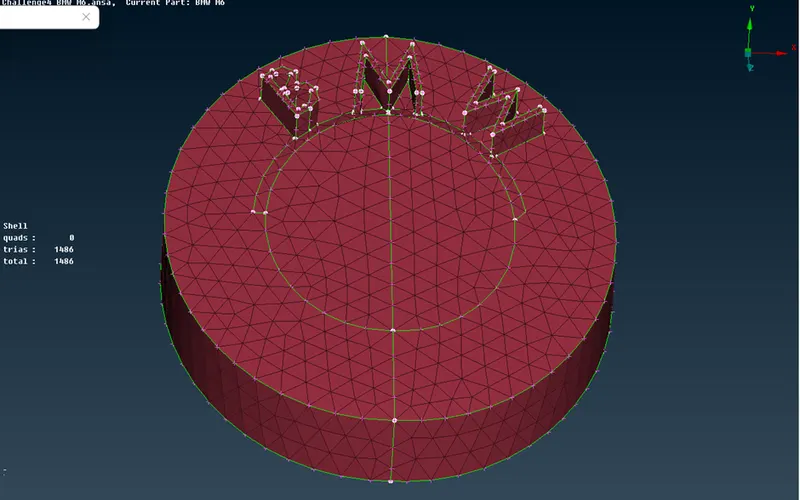
- For logo the target length is 1mm but the component is very small specially the M and W part was tricky one we need to delete some surface and create new one properly
- WINDOWS
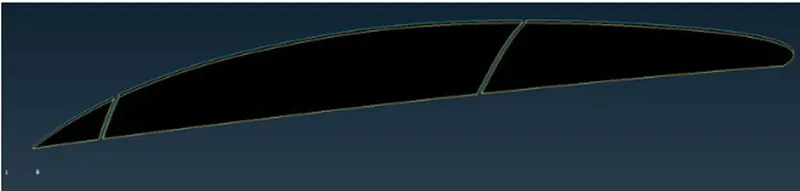
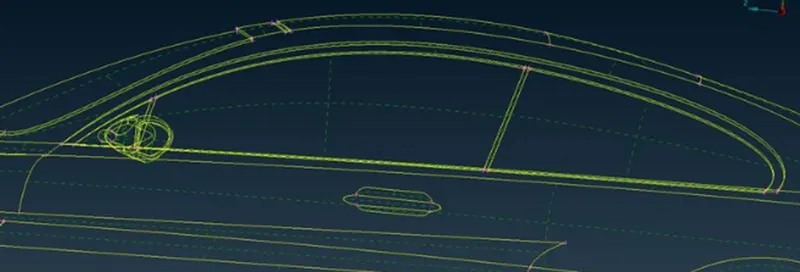
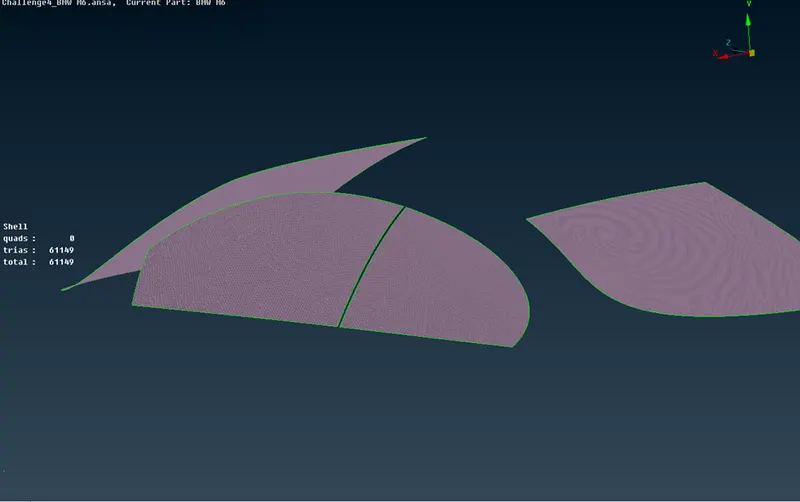
- We need to take care of cons and the cons in any inner volumes
- BODY
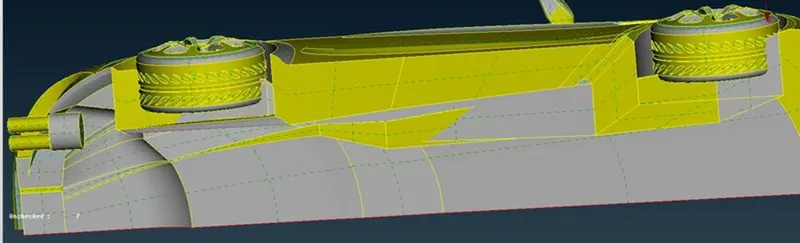
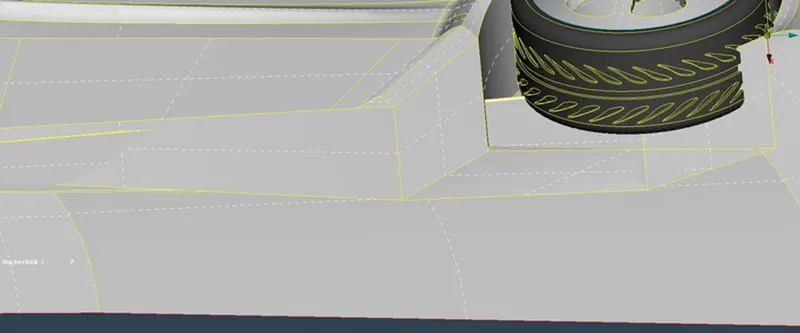
- Base part was a tough one as many surfaces were overlapping and some surface were inside the tyre area which is not practical so we need to over come all of it and delete the older surface and create a new one
- We can use curves option to make a outline of the actual model before deleting any surface or we may loose any important outline of model
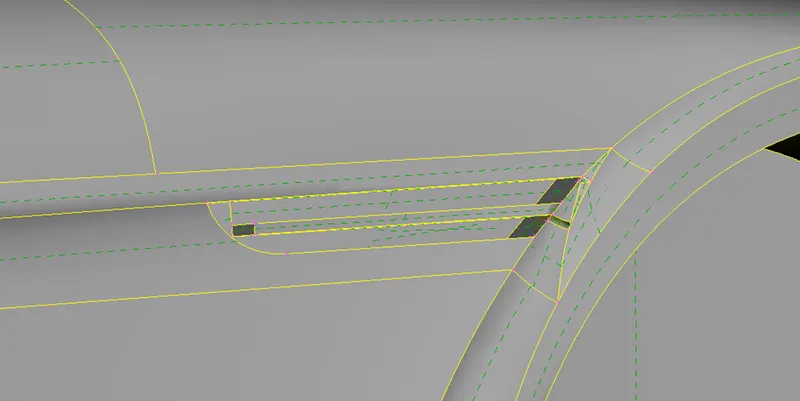
- This part was a difficult one as there were many overlap surfaces and inner volume we need to do it very precisely so we don’t end up getting any two cons very close to each other
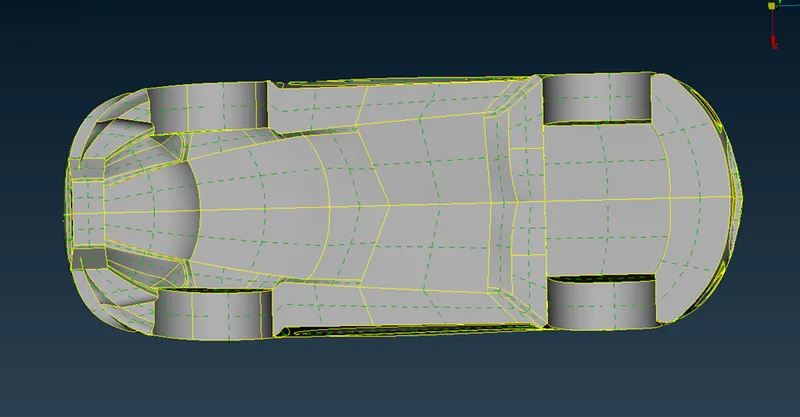
Base After Reforming
Some surfaces were in between the tyres which were tough to delete so we need to use interference tool to make an intersection
MESHING:
After assigning the PDI properly we need to start meshing one by one
SURFACE MESHING
Due to different target meshing given for meshing that’s why we mesh the components individual
Wherever there is contact between two PID with different mesh length it causes mesh error so which ever con is shared between two PID with different mesh length we need to be careful while giving it a length in parameter or macros
This help is avoiding the mesh erasing and later can be used to solve off elements
- LOGO
- Grills
- Tyres and rims
- Rare view mirror
- Windows
- Silencer
- Lights
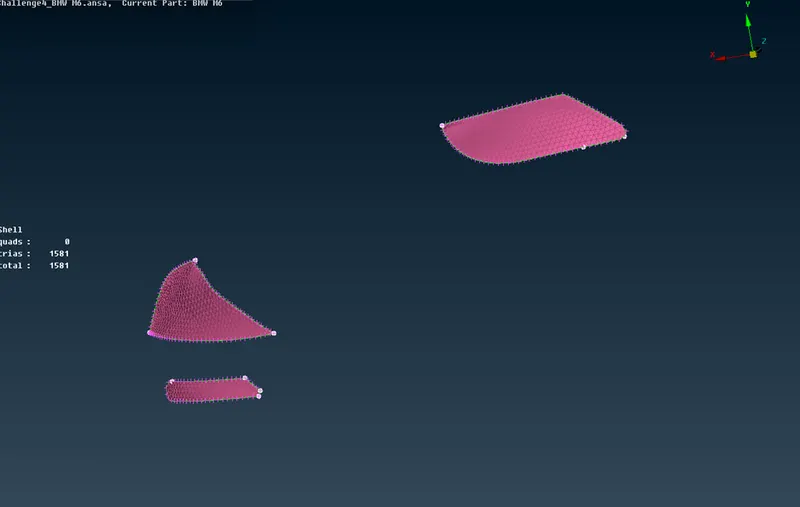
- Body
Now, body is a PID which is contact with many PID with different target lengths so, to make it work we need to carefully select the cons while giving length in parameter. We need to deselect the cons which are in contact with other PID and to other cons we can give the target length as 3mm which is target length for body
After meshing we must check if there are any unmeshed surface in the model if there are any, we may have forgot to deselect any one con in contact so we can re-mesh and clear the unmeshed surface
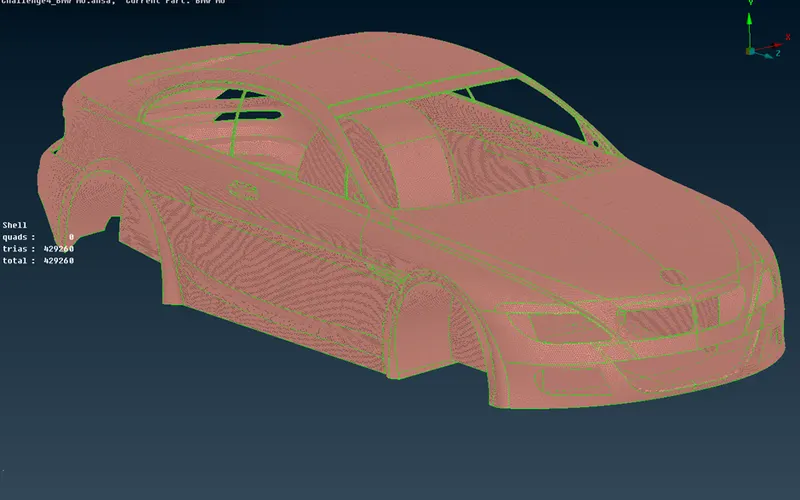
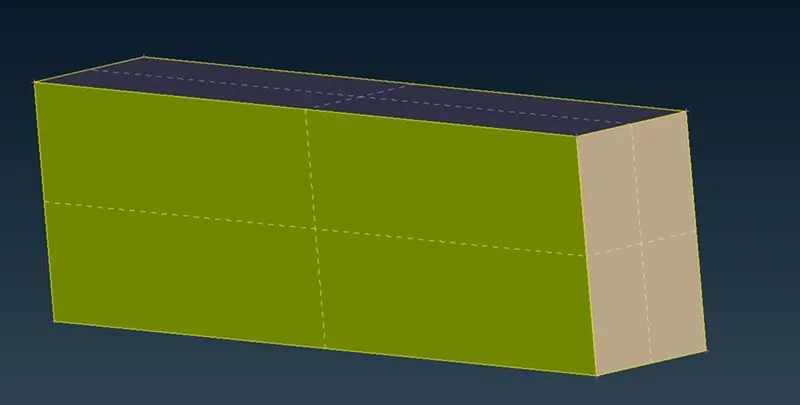
CRATING WIND TUNNEL:
Now, we are going to use different options to first create the points in the required direction to create plane. If we are able to create bottom plane then we can use OFFSET option to create other planes
Wind tunnel after meshing
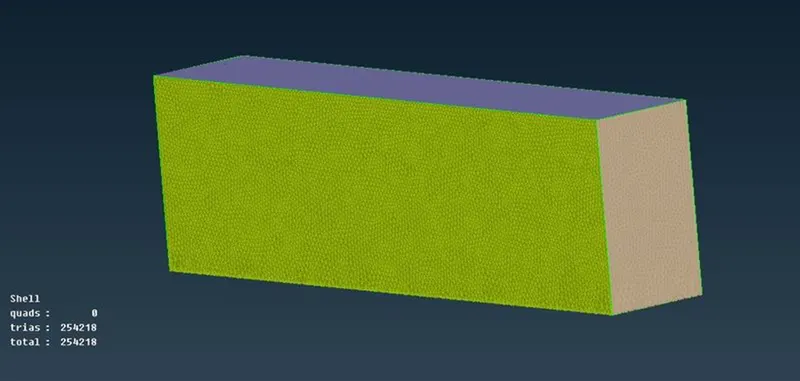
In meshing the wind tunnel, we have to use an option of SPACING from top to bottom as we need finer mesh at the bottom of tunnel so it should increase gradually from 20mm at bottom face to 100mm at top face
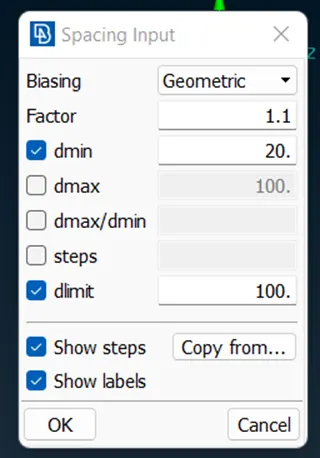
Our increasing factor is of 1.1 and from bottom to top
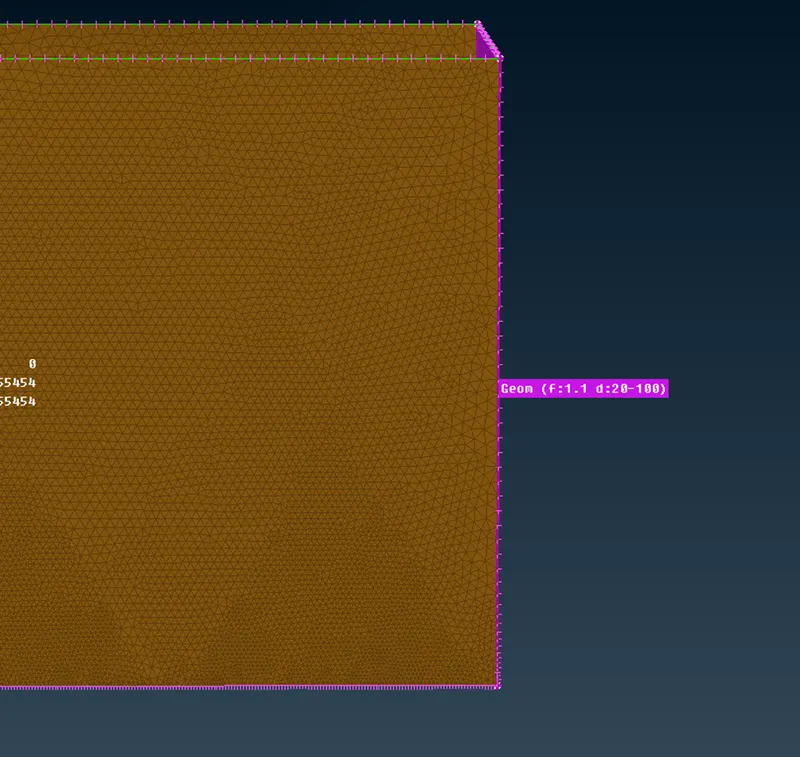
This is how it looks in spacing option
CONCLUSION:
Successfully meshed all the parts properly and created wind tunnel
LINK FOR MODEL
https://drive.google.com/drive/folders/11p___L_2Xnp-ACqPJ3wQIZB6lYTAnx2x?usp=sharing