Week 4 Challenge : CFD Meshing for BMW car
AIM
PROCEDURE AND RESULTS
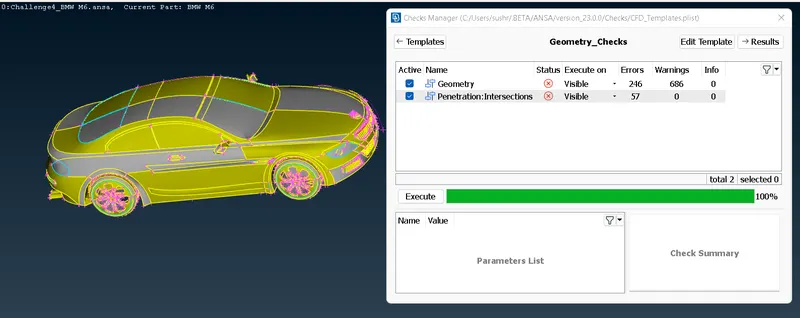
Step 1: Loading the given model (geometry) and checking for "Geometrical and Penetration" errors
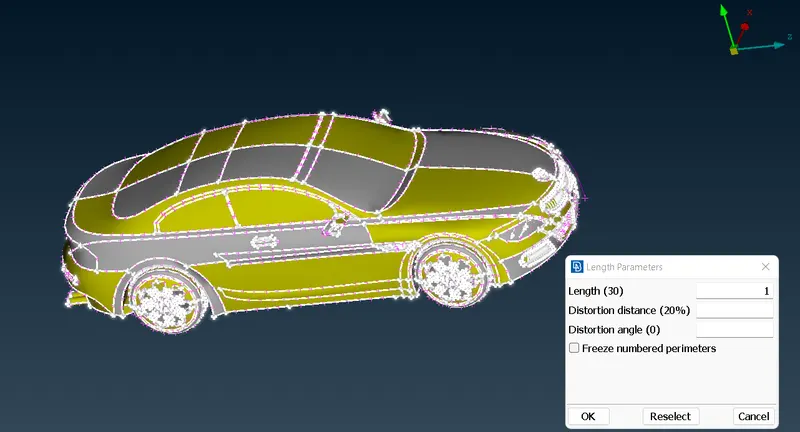
Step 2: Changing the resolution of the geometry
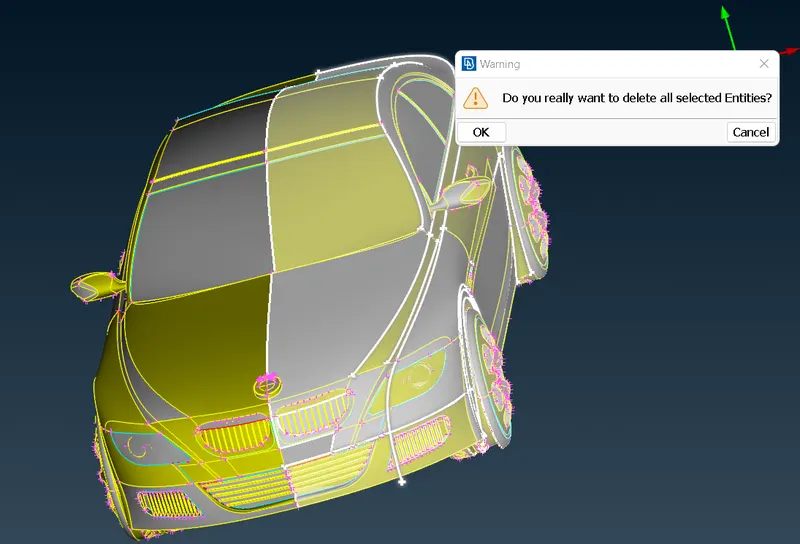
Step 3: Using Universal Delete for removing symmetrical half part of the given geometry
Step 4: Removing the additonal part and locking the front grille of the car for geometry cleanup
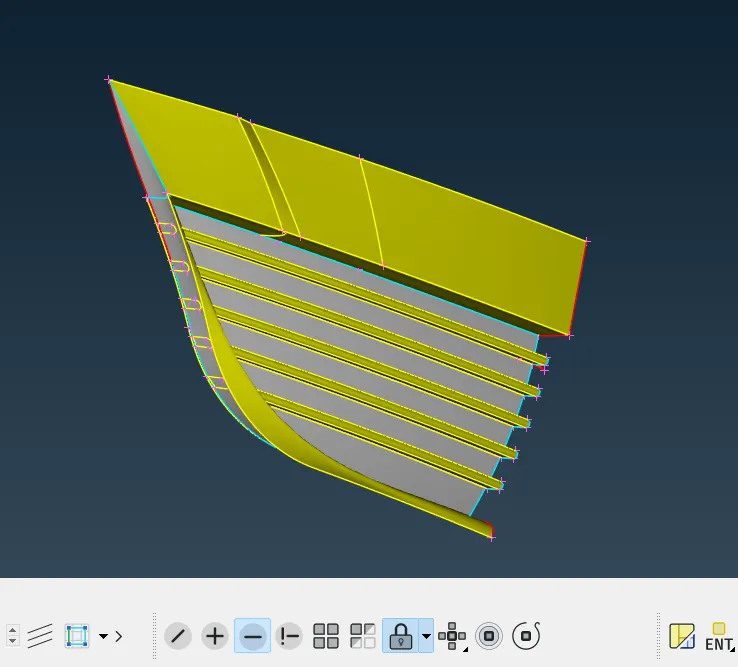
Step 5: Using the "Project" option for projecting surfaces and changing resolution, wherever appropriate
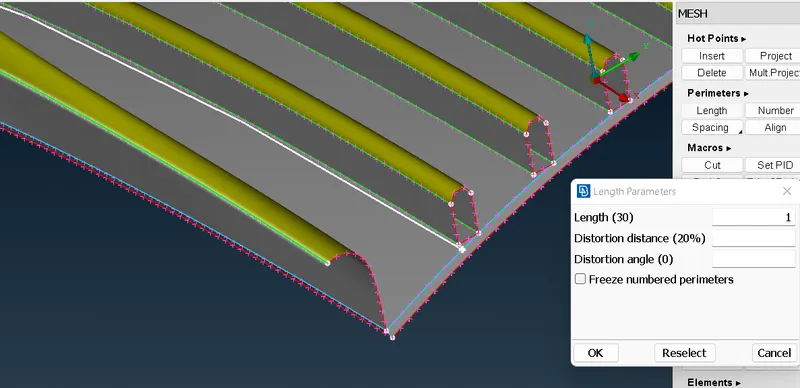
Step 6: Deleting unnecessary surface from the grille part of the car
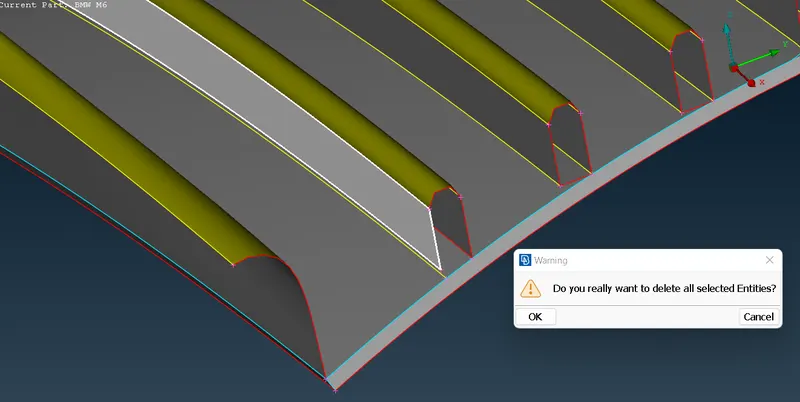
Step 7: Using "Cut" to join the unjoined parts for creating surfaces
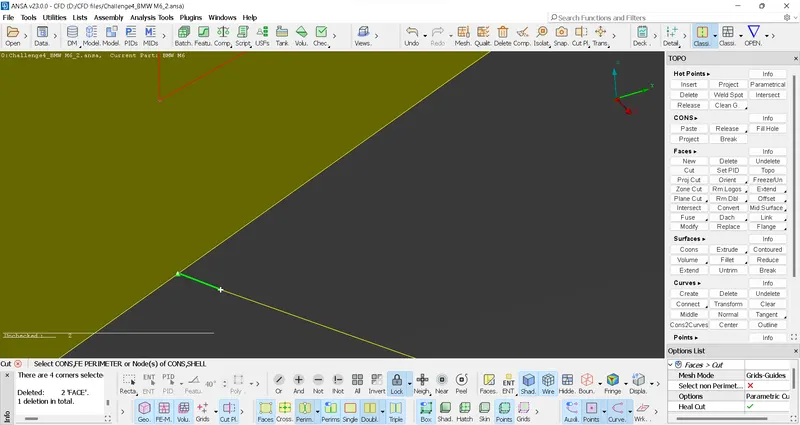
Step 8: Creating faces for clearing the geometrical errors
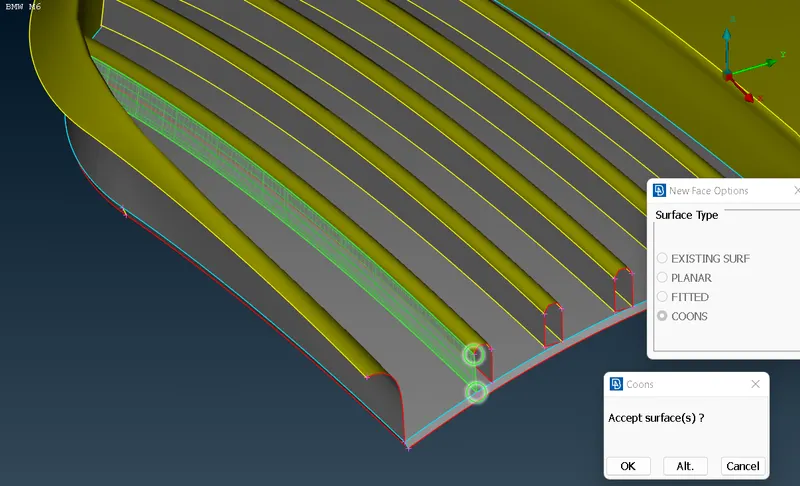
Step 9: Deleting unnecessary surface from the geometry
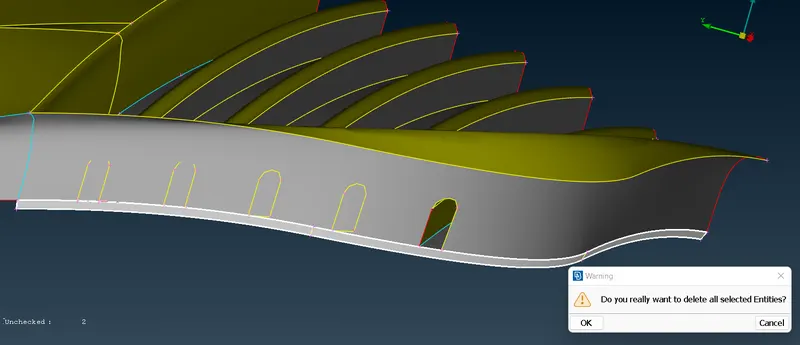
Step 10: Using the "Project" option for isolating each grille from the set for geometry cleanup
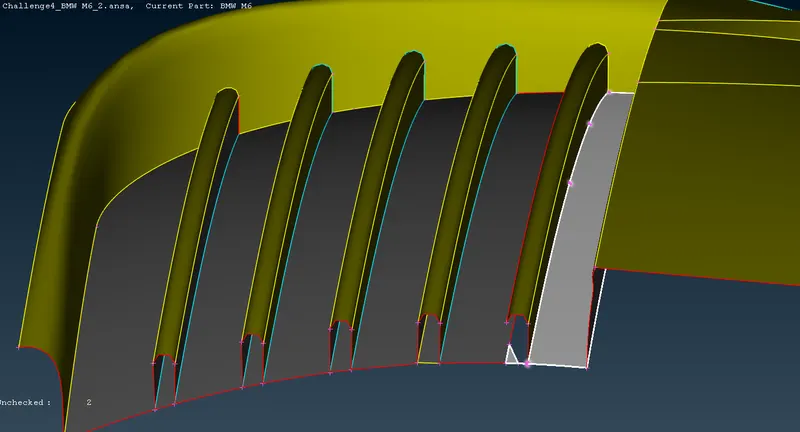
Step 11: Deleting unnecessary part from the side of the grille after projecting the surfaces
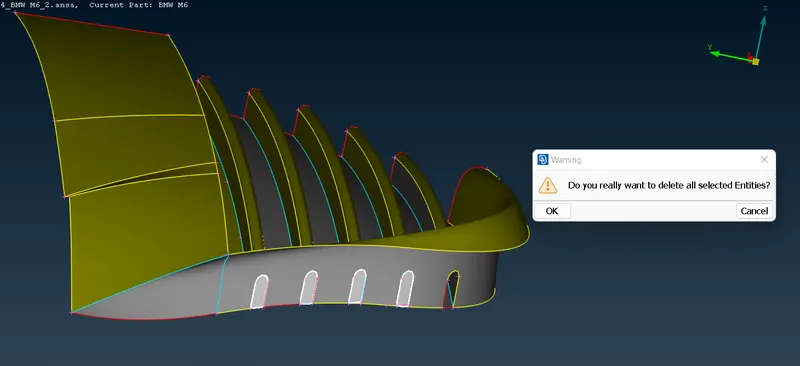
Step 12: Removing further unnecessary part from the back of the grille
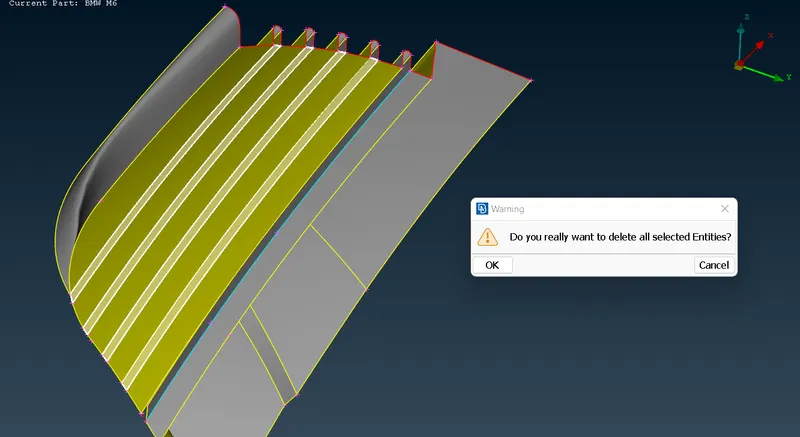
Step 13: Completing the geometry cleanup of the LOWER BOTTOM grille (Wireframe Mode view)
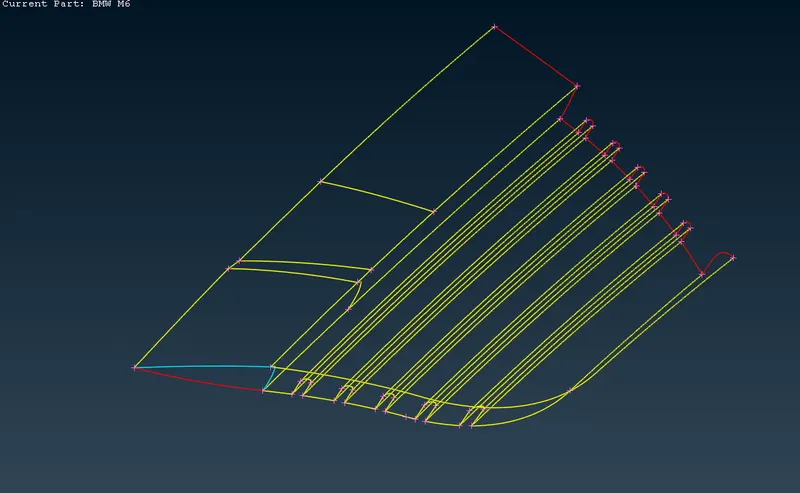
Step 14: Isolating SIDE BOTTOM grille of the car for geometry cleanup
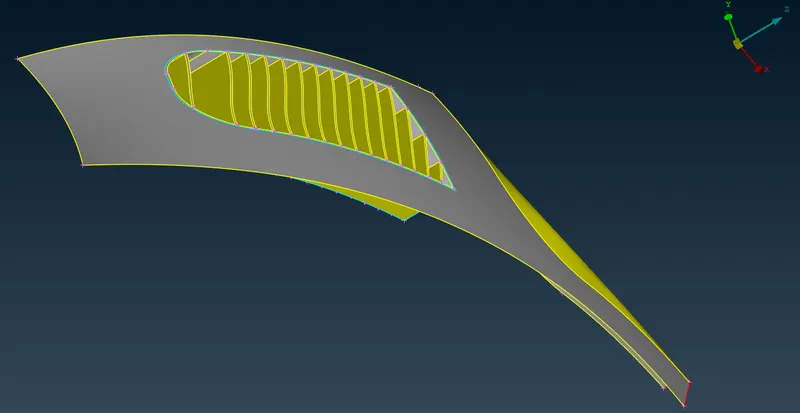
Step 15: Using "Parametrical" option to generate Hot Points on the grille faces
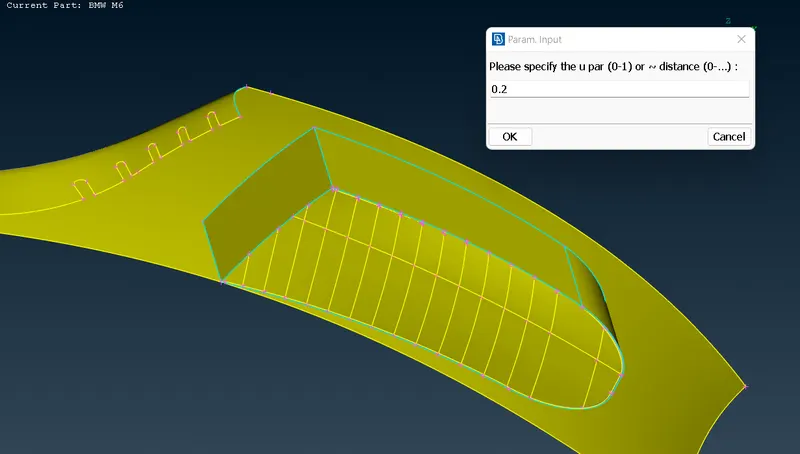
Step 16: Using "Cut" to join the generated hot points using "Parametrical Input"
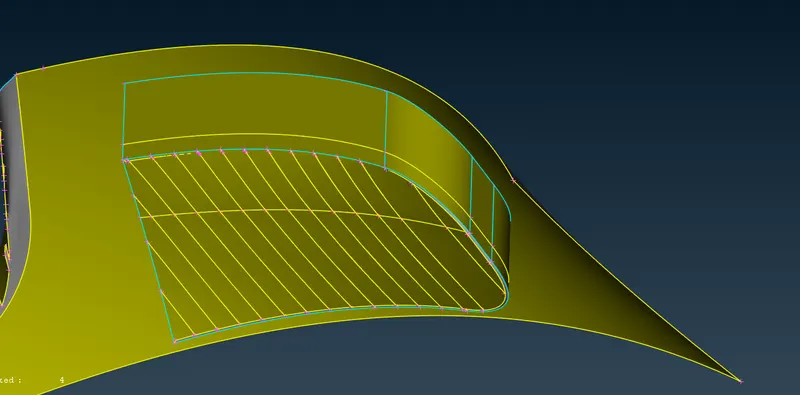
Step 17: Using "Intersect" between existing and newly formed surfaces
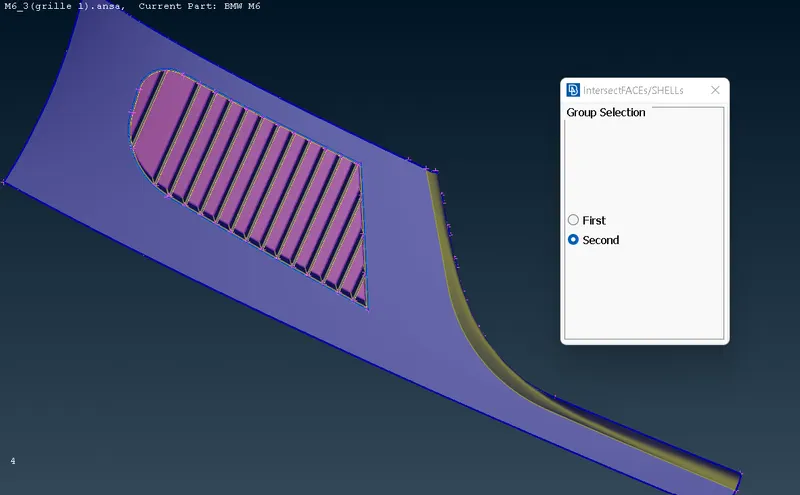
Step 18: Deleting unnecessary parts to clean the geometry and final view of the SIDE BOTTOM grille (WIREFRAME mode)
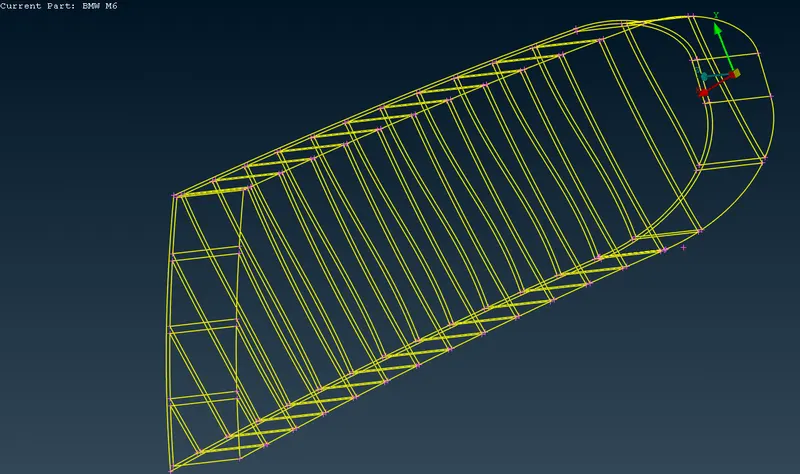
Step 19: Isolating the TOP grille for geometry cleanup
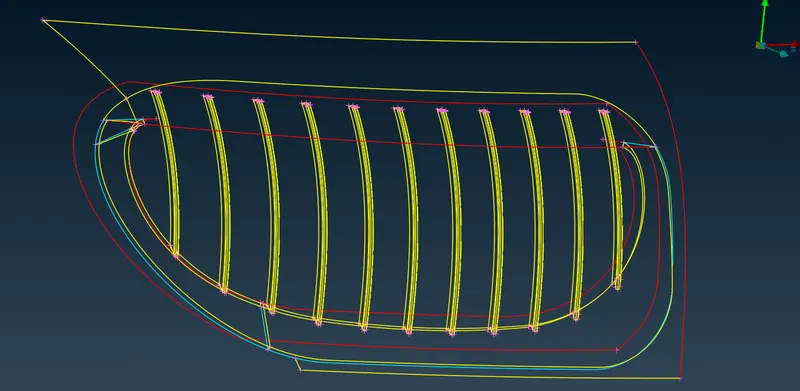
Step 20: Deleting the excess parts for removing TRIPLE CONS error
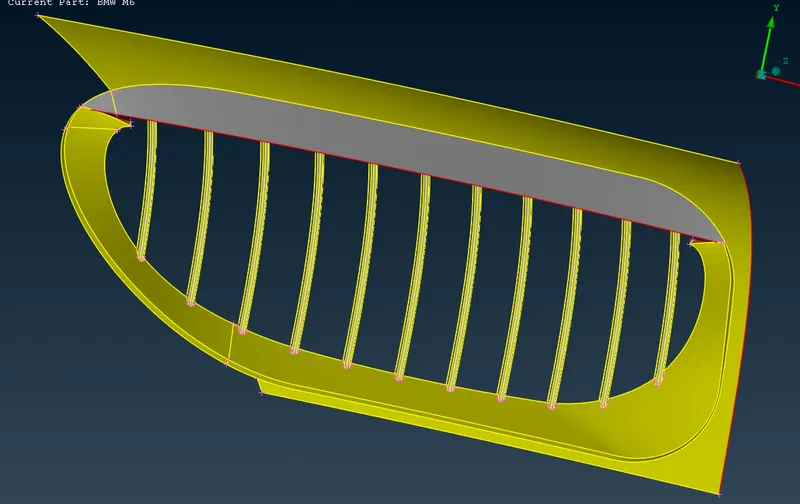
Step 21: Deleting back part of the grille and using Cut option
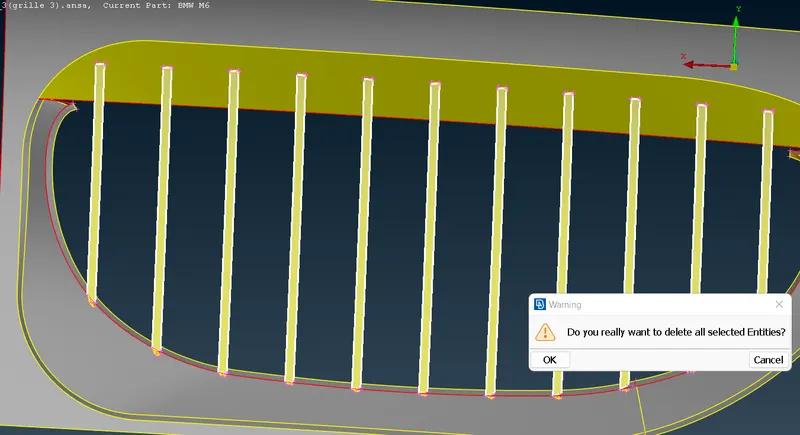
Step 22: Deleting the extra surfaces from the grille for grille alignment
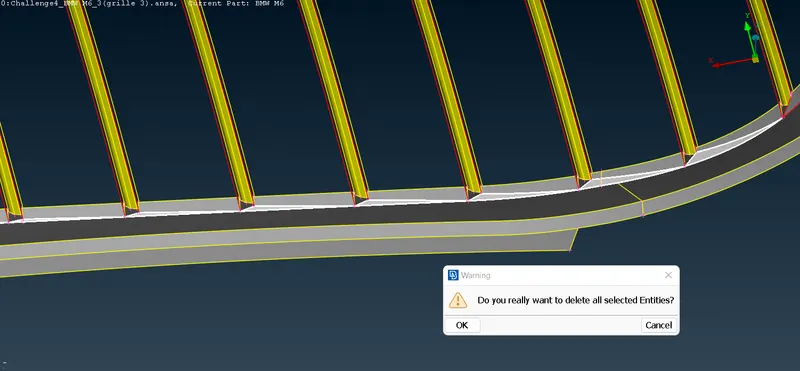
Step 23: Forming new surfaces on the grille
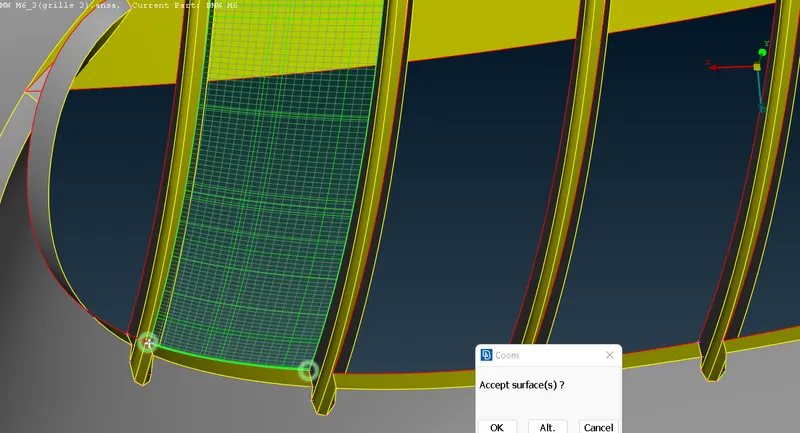
Step 24: Creating new surfaces for removing the errors in the corner part of the grille
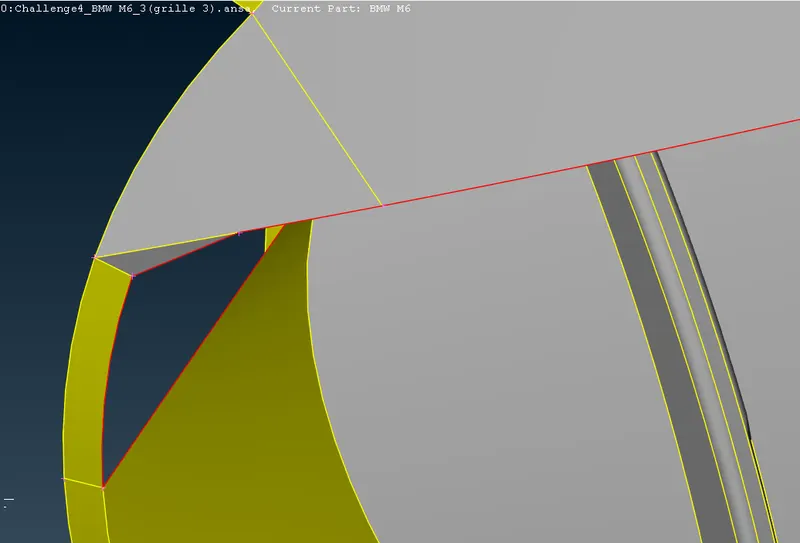
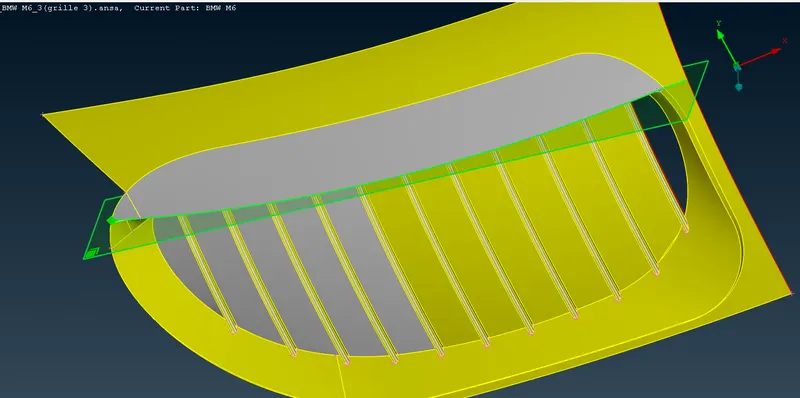
Step 25: Using Plane Cut
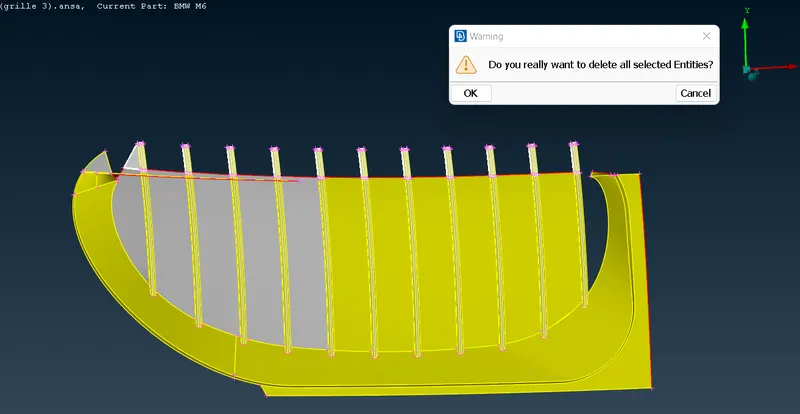
Step 26: Deleting unnecessary parts
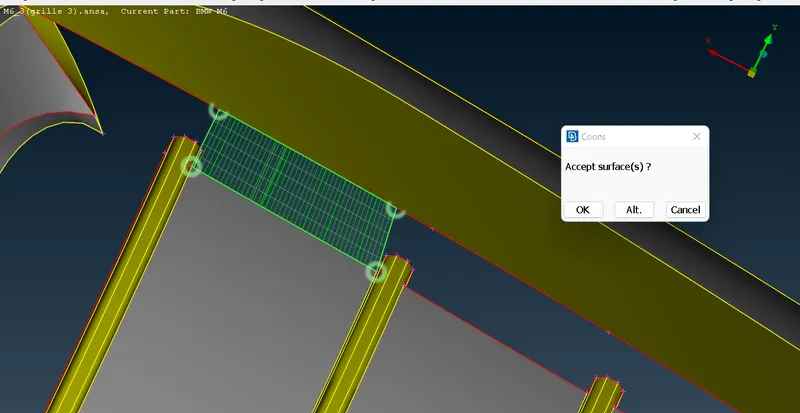
Step 27: Creating new surfaces
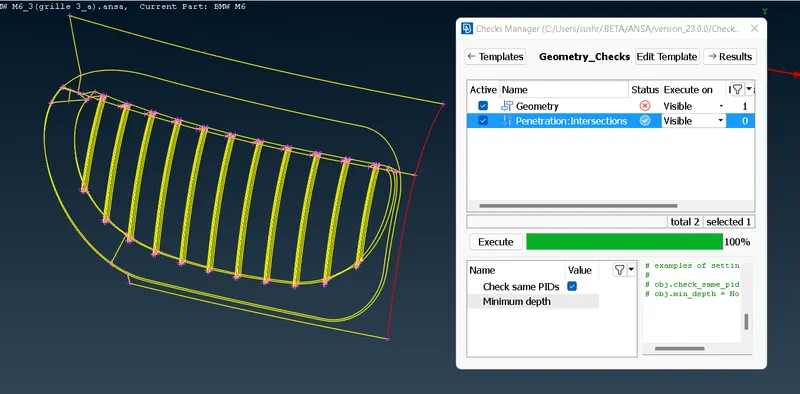
Step 28: Completing the geometry and intersection cleanup of top grille
Step 29: Deleting unnecessary part from the car light
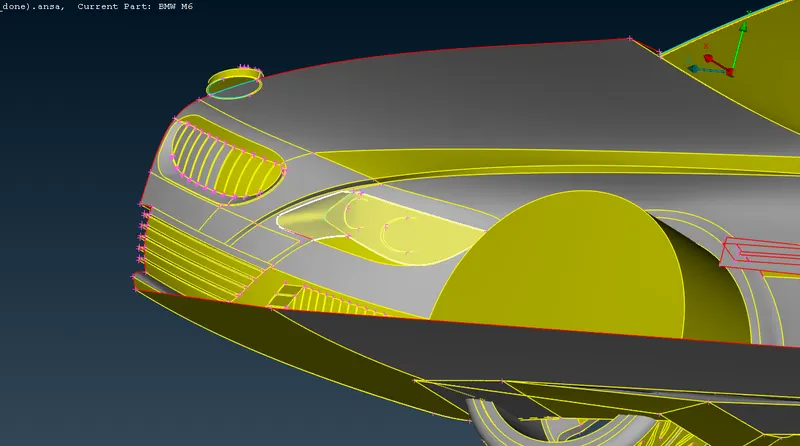
Step 30: Making necessary faces of light area
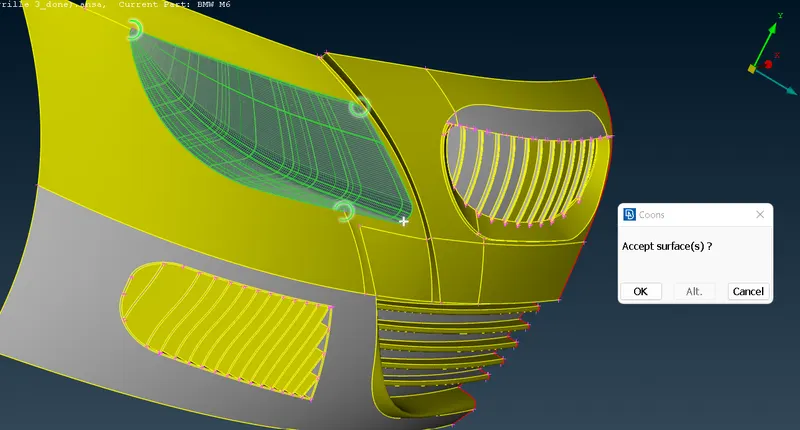
Step 31: Geometry Cleanup of BMW logo
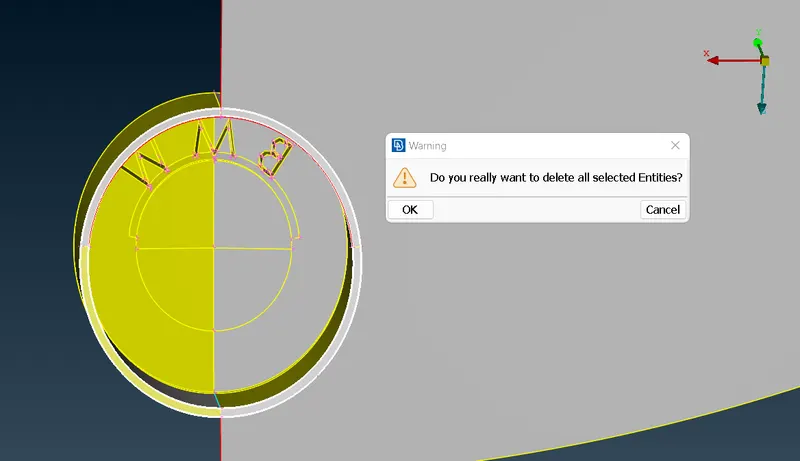
Step 32: Cleaning the mirror geometry
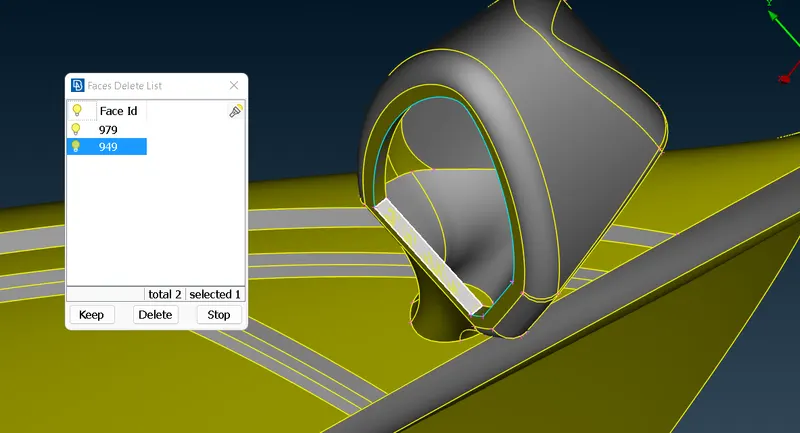
Step 33: Projecting the mirror from the inside to remove issues created due to overlapping surfaces
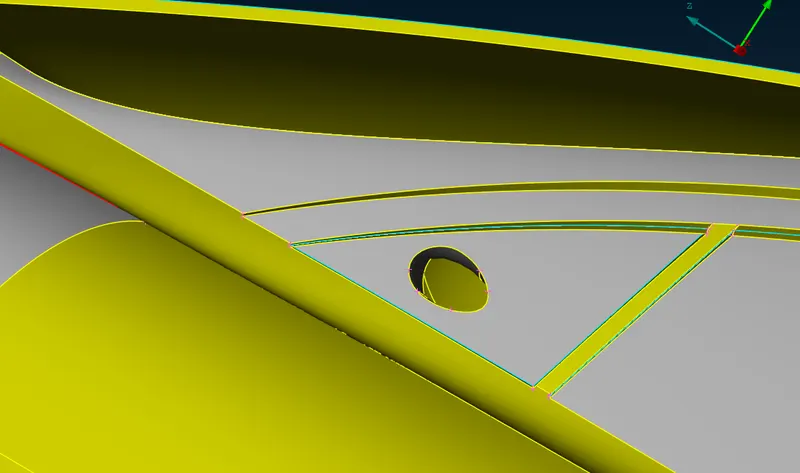
Step 34: Geometric clearance of the car floor
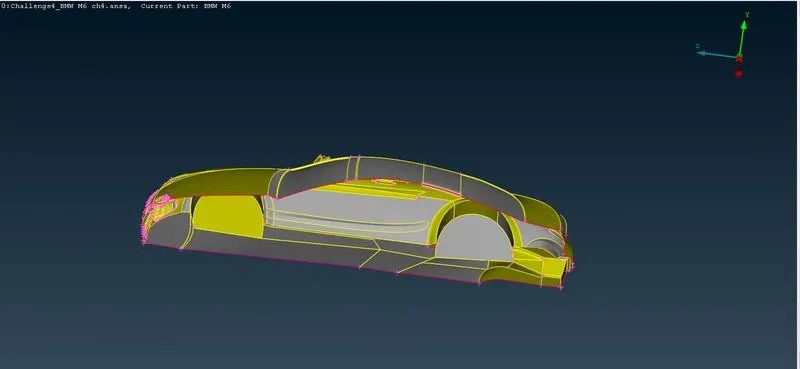
Step 35: Geometric clearance of the wheel rims
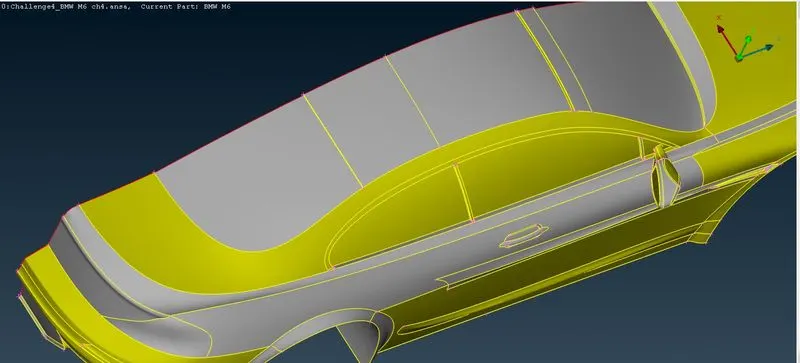
Step 36: Clearing the geometry of tyres
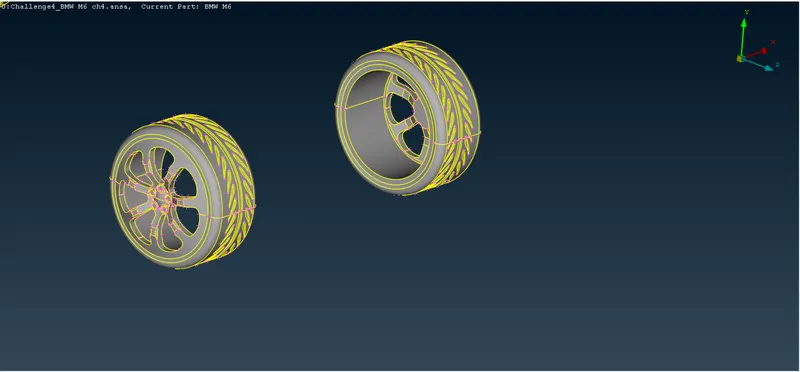
Step 37: Assigning PIDs to the parts
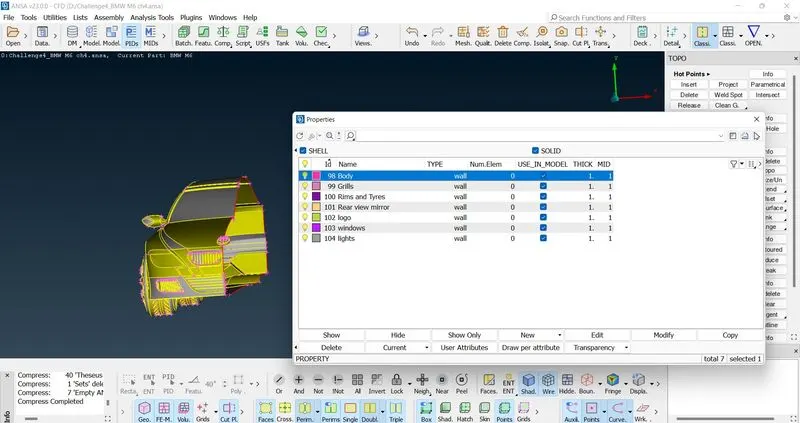
Step 38: Surface meshing (using Freeze option)
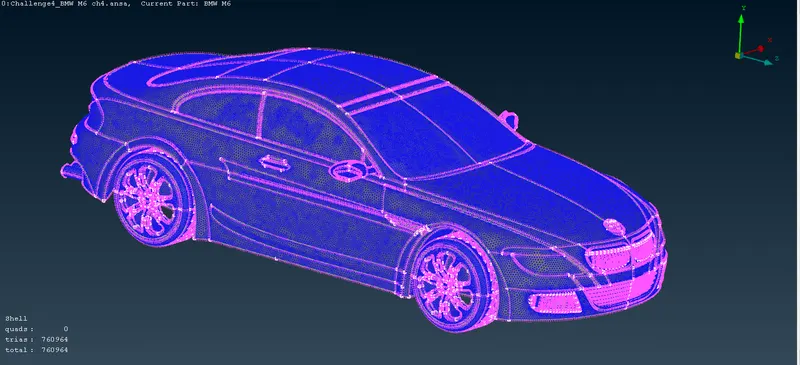
Step 39: Auto CFD mesh generation (Defreeze)
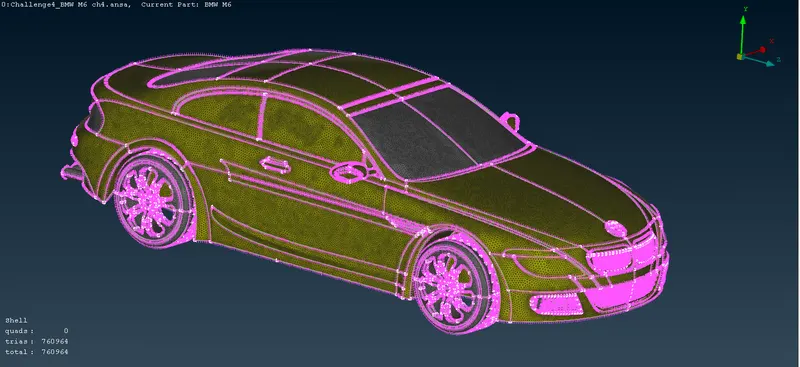
Step 40: Creatio of wind tunnel along with necessary specifications
Considering, x= 1310mm, Bottom Distance =500mm
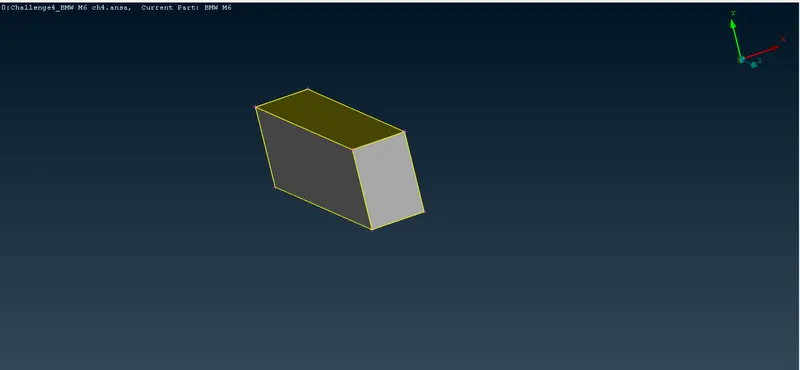
Step 41: Mesh generation of the Wind Tunnels using Auto CFD and growing mesh for the side faces
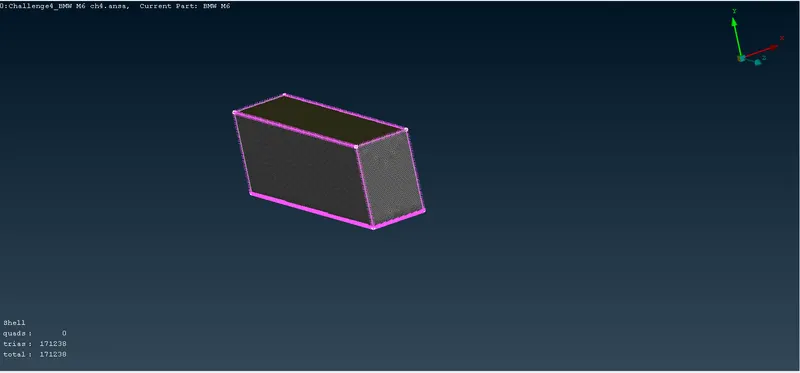
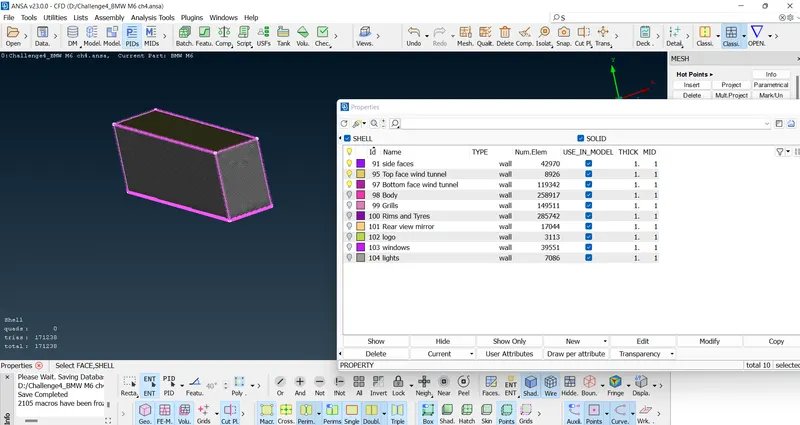
Step 42: Final assigning of PIDs of wind tunnels
CONCLUSION
- The present challenge involved meeting of surface meshing and volume meshing criteria based on given inputs
- Differnt methods and appraoches of geometry cleanup has been used here
- Volume mesh options such as "Growing mesh" has been used
- Penetration errors were important areas of cleanup along with intersection errors
- Shell mesh has to be improved to meet the necessary conditions of the challenge using options such as "coons2curve"
- Wind tunnel has been formed as per given inputs to generate the final file (link attached below)
Google Drive Link
https://drive.google.com/file/d/1MrftSEFstLombAjgEWhvz1b-DlVcuaIY/view?usp=sharing