Week 4 Challenge : CFD Meshing for BMW car
AIM : For the given model, check and solve all geometrical errors on half portion and Assign appropriate PIDs. Perform meshing with the given Target length and element Quality criteria. After meshing the half model, Do symmetry to the other side.
Target lengths for the different parts of a model are as follow:
- Body - 3 mm
- Lights - 4 mm
- Grills - 1 mm
- Rims and Tyres - 2 mm
- Optical Rear view mirror - 2 mm
- Window - 2 mm
- Silencer - 3 mm
- Logo - 1 mm
There is a some steps to do meshing in this challenge.
Step 1 : Analyse or Refine the geometry
Step 2 : Surface Meshing
Step 3 : Wind Tunnel
First i will go for geometry analysis and refine and rectify the errors in geometry.
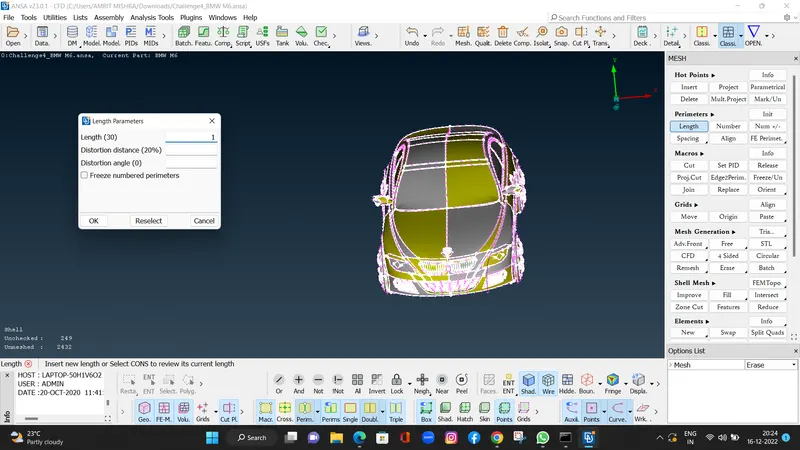
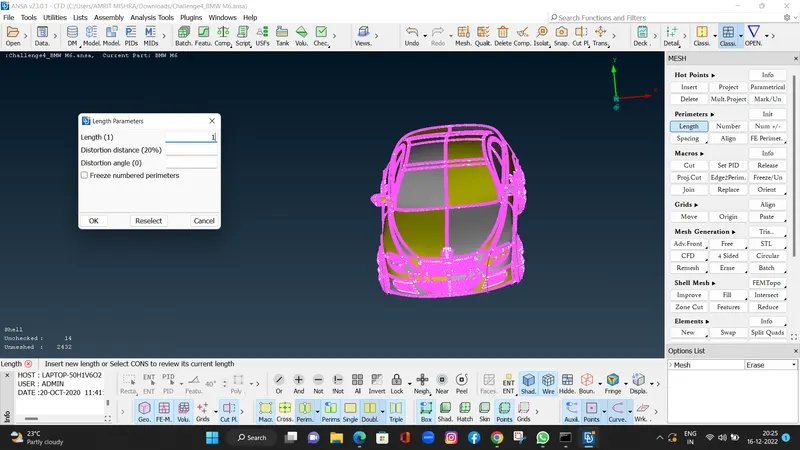
*Before that we will check our geometry and according to the resolution we will fix it by using length perimeter > parameter and macros.
I use 1 mm length perimeter for parameter and macros.
Step 1 : Analyse or Refine the geometry
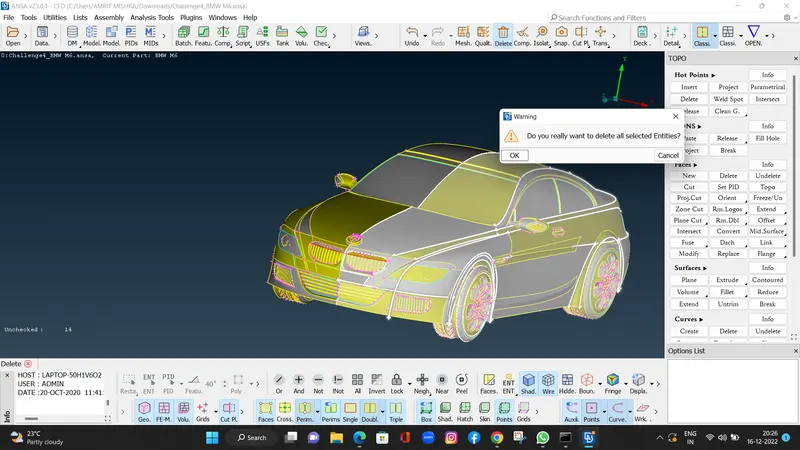
First off all we have to take our model in half part because our geometry is a mirror from both side .
so I deleted the half part of the model, and using universal delete option select the half part of the geometry.
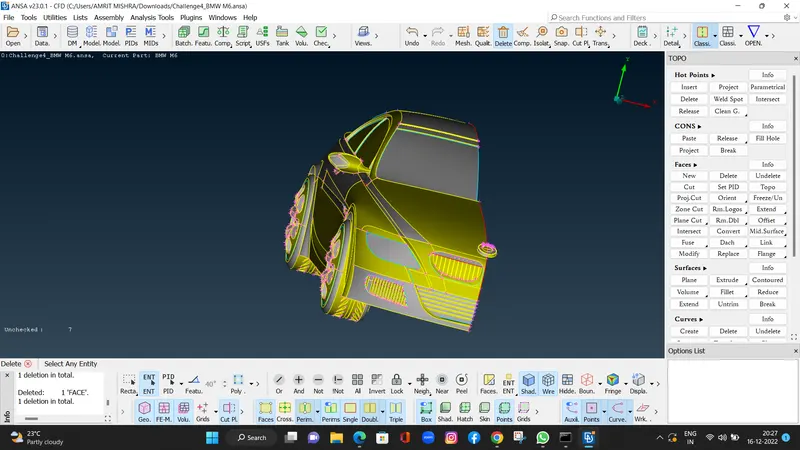
After done half part seperation we will go for the part wise geometry refining.
Here we have to make our BMW CAR model in one volume, Here our external geometry is more important than internal part of the car model so we will focus on the external part of the geometry.
here we willing to findout the drag upon the car model.
- First of all i will go the grills geometry clean up .
- For that i have to isolate the other part except than grill.
- Using NOT Entity option we isolate the whole geometry except grills.
- Here we are go for geometry cleanup as a single volume, so for that i am going to delete aal the front faces of the grills.
- As well as bottom faces of the extra thickness.
- And as i see grill top round part is not allinged with the bottom faces.
- For that we will projecthe coons at the faces .
- CONS > PROJECT > SELECT CONS > MIDDLE CLICK > SELECT FACE WHERE WE GO TO PROJECT THE CONS > MIDDLE CLICK.
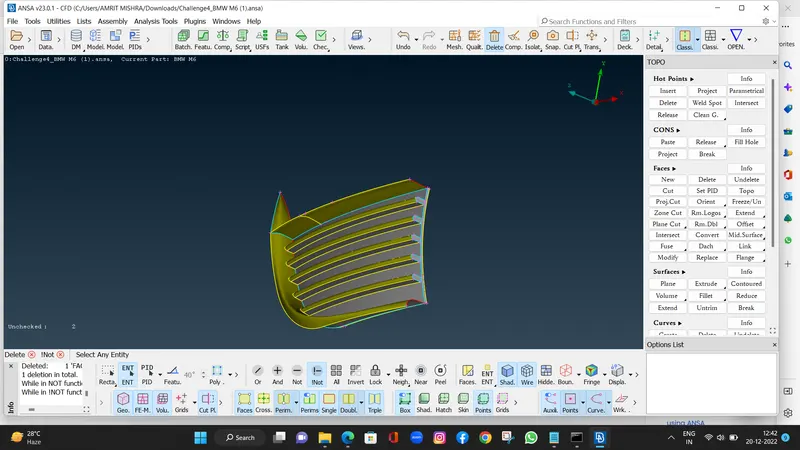
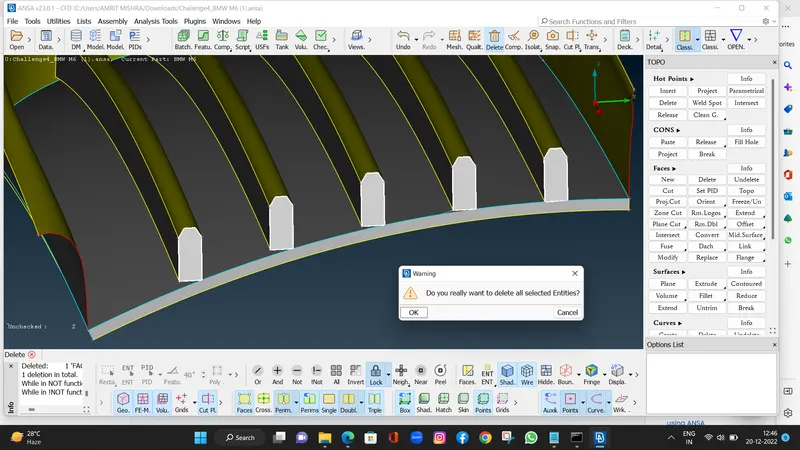
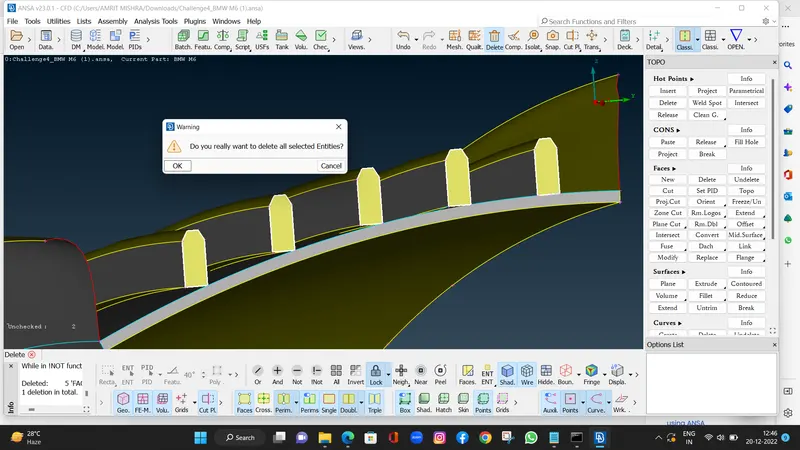
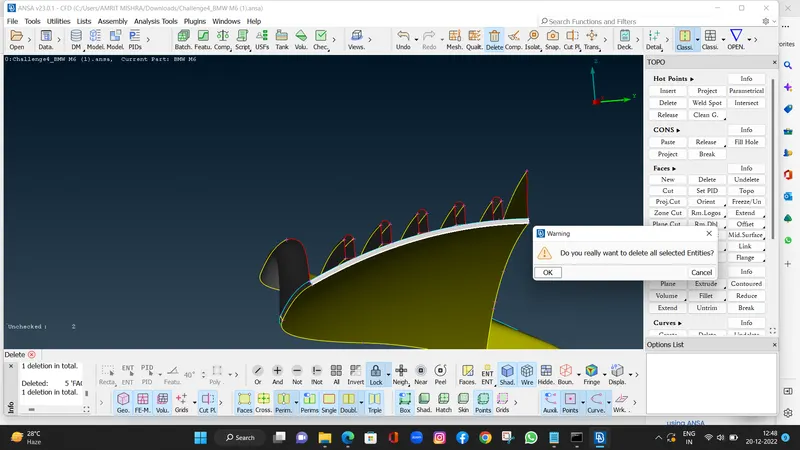
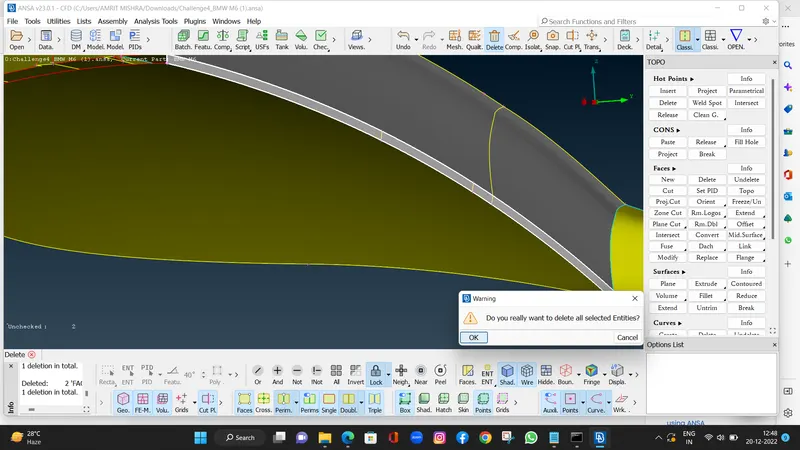
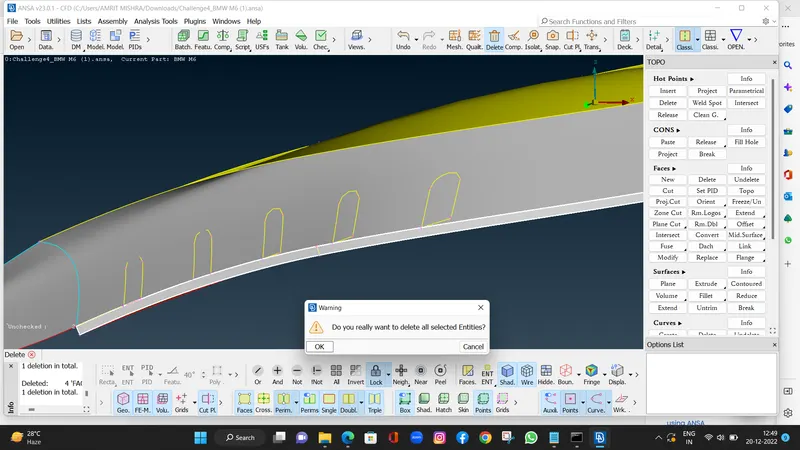
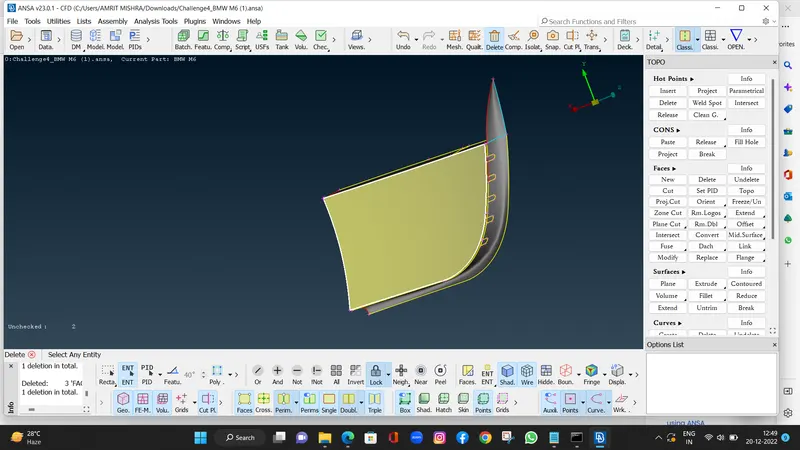
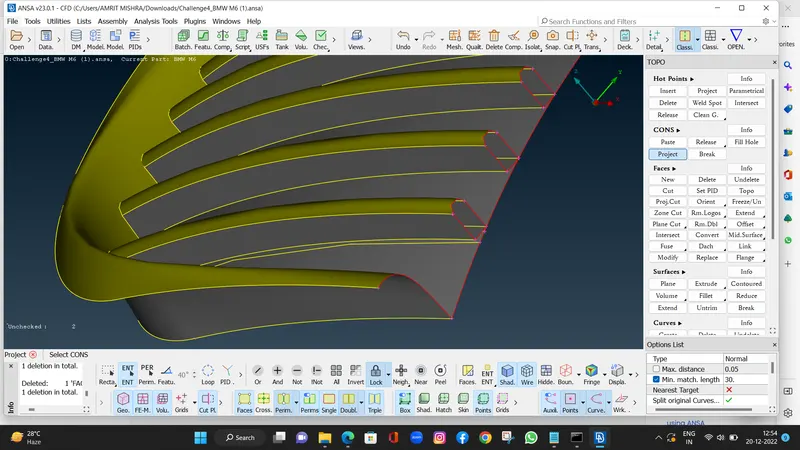
- Here we change the resolution of the part by giving length perimeter.
LENGTH PERIMETER > PARAMETER > 1MM > CONS > 1MM.
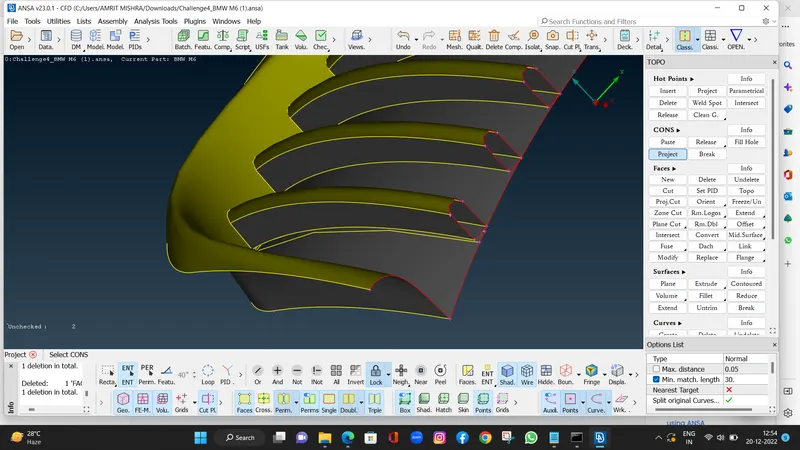
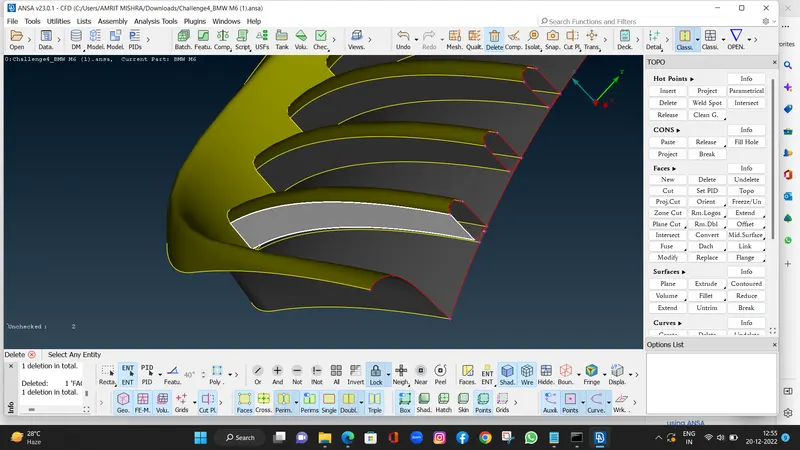
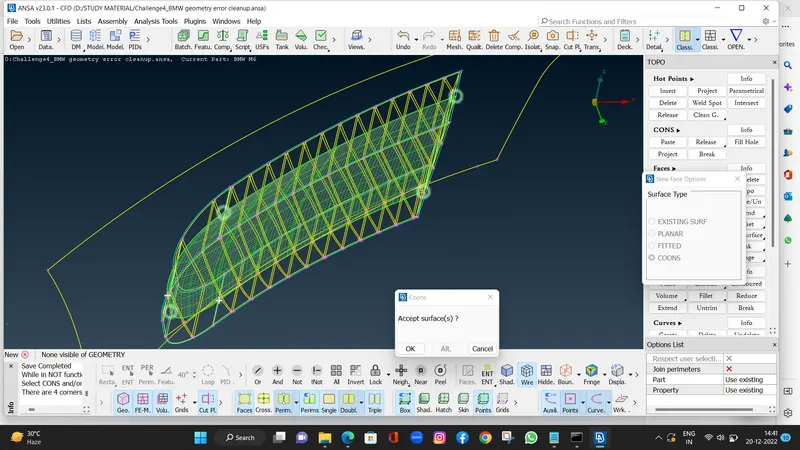
- And then delete the extra faces and make new face then create the extra cons.
- We will do this for all parts and project them on the bottom face.
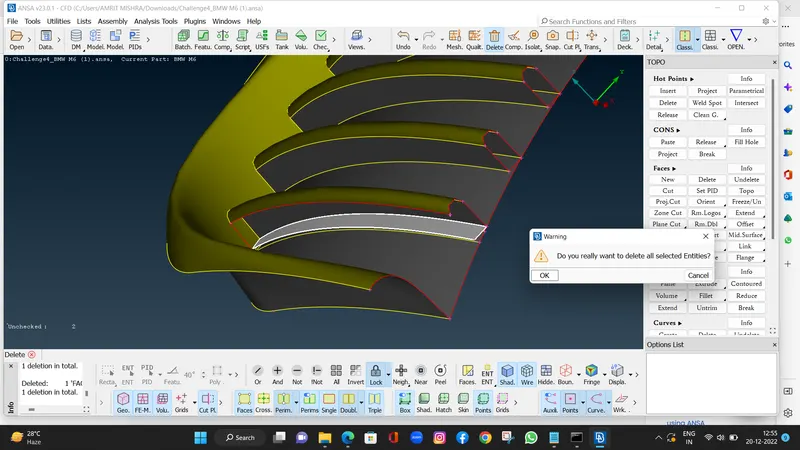
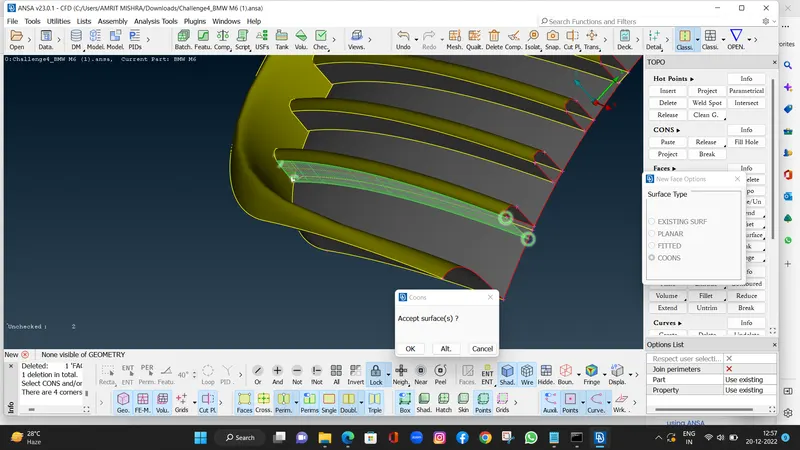
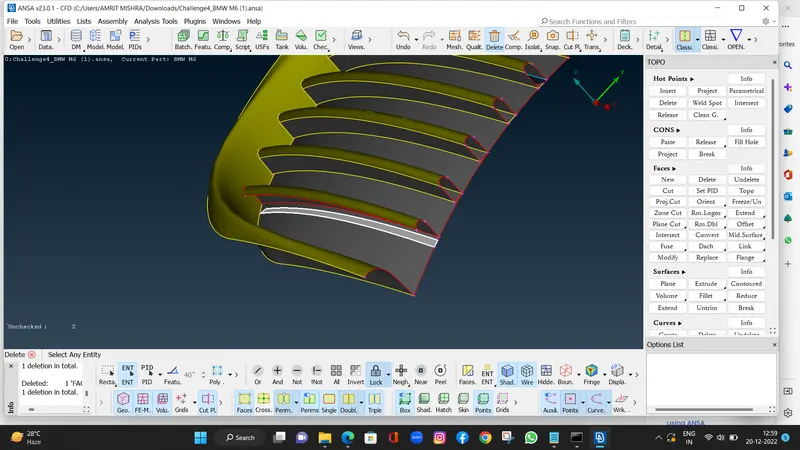
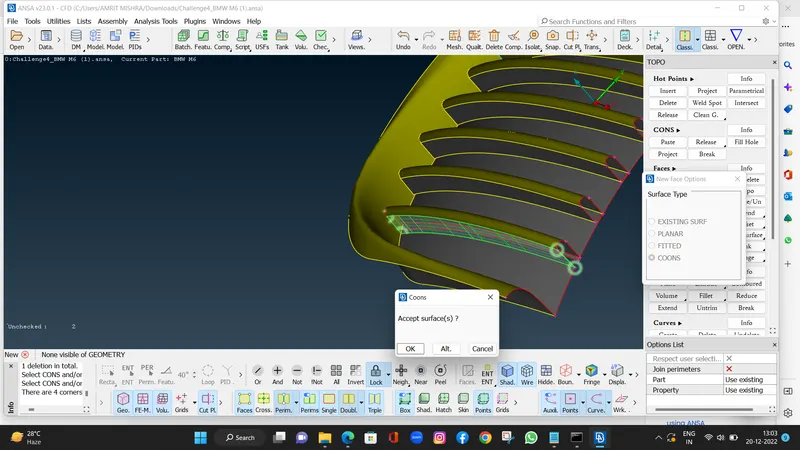
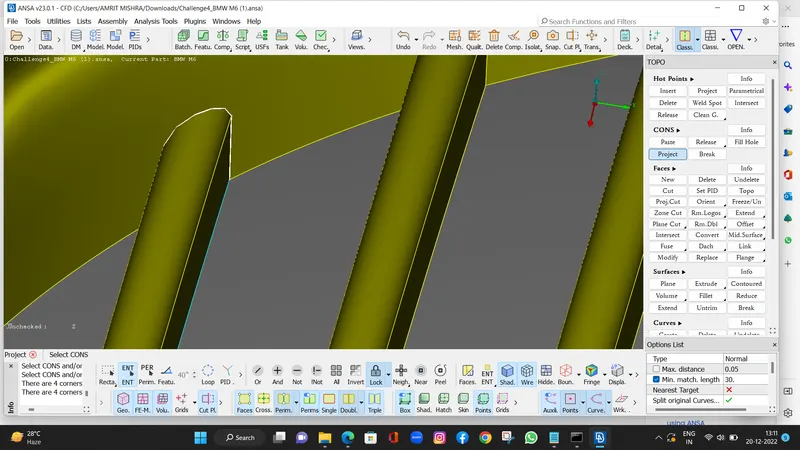
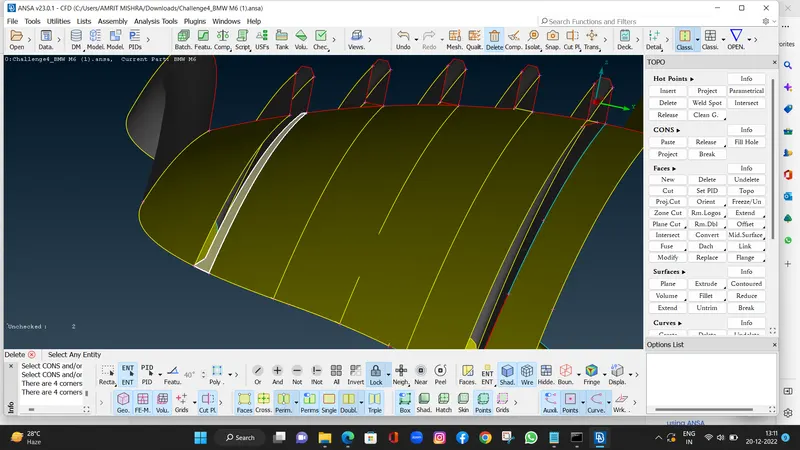
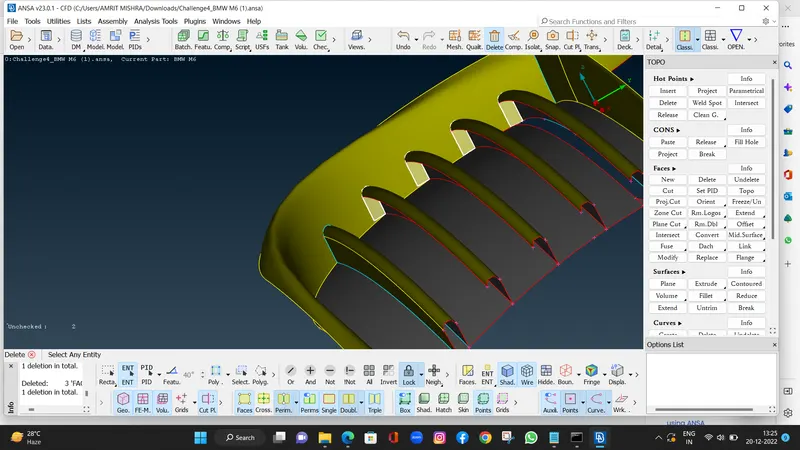
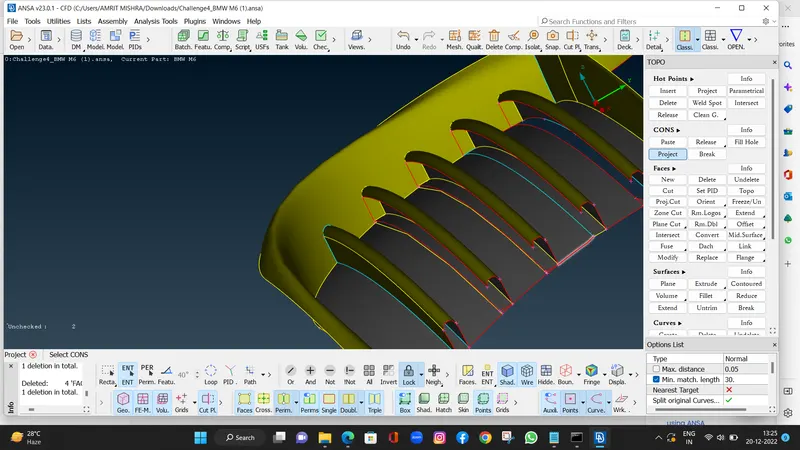
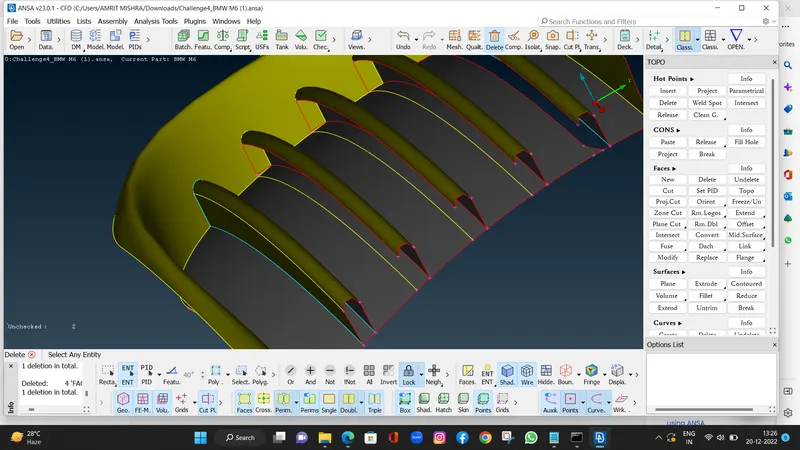
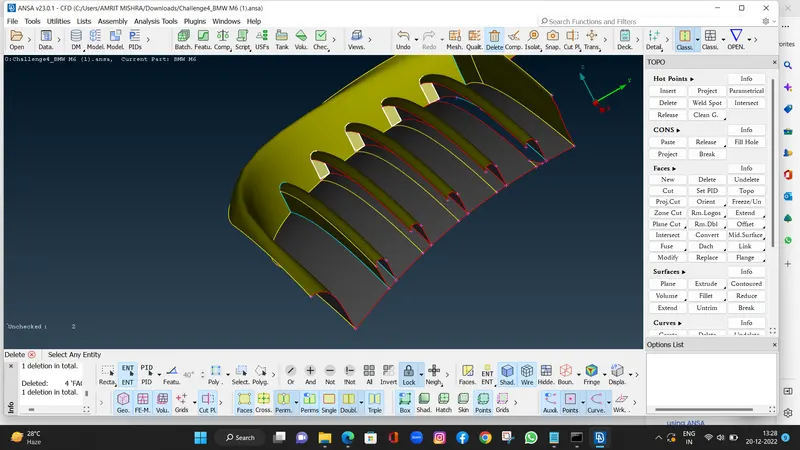
- Some extra faces are there so we go with cut and seperate them and delete the face.
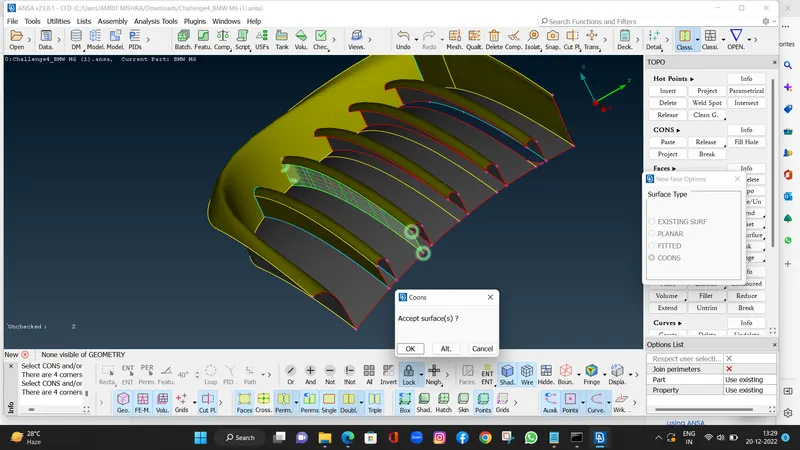
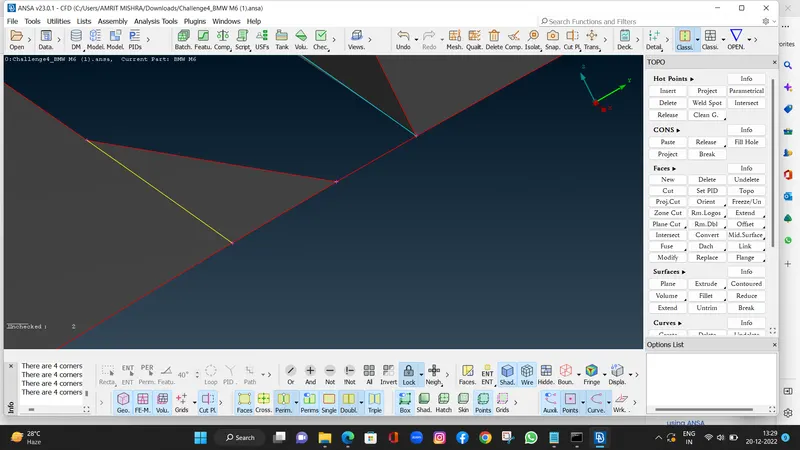
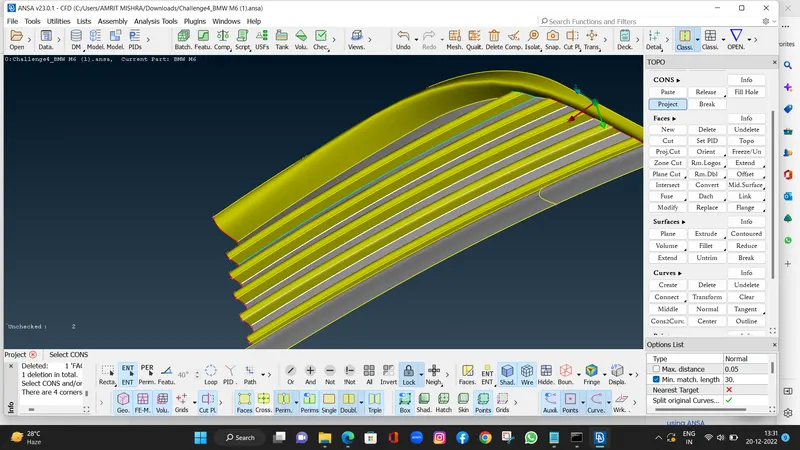
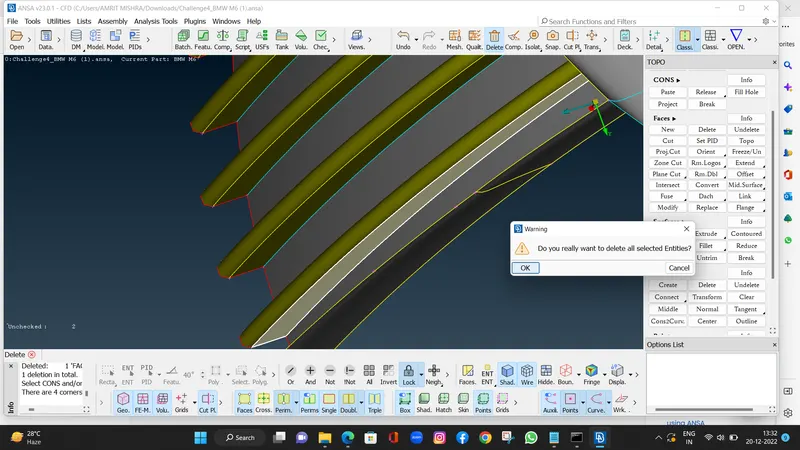
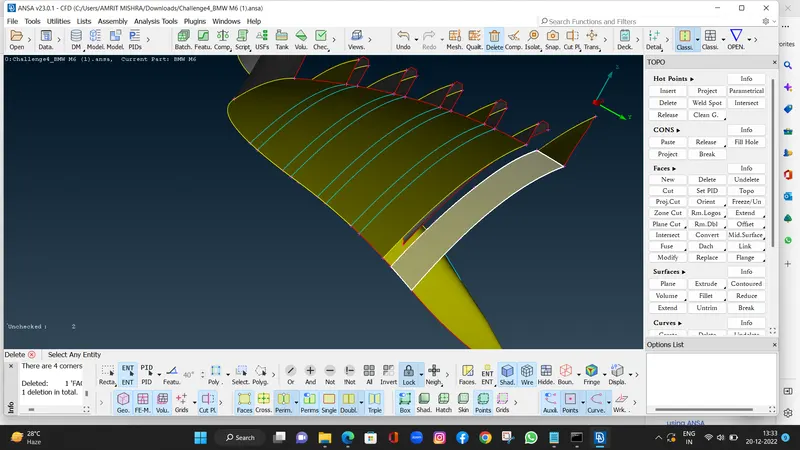
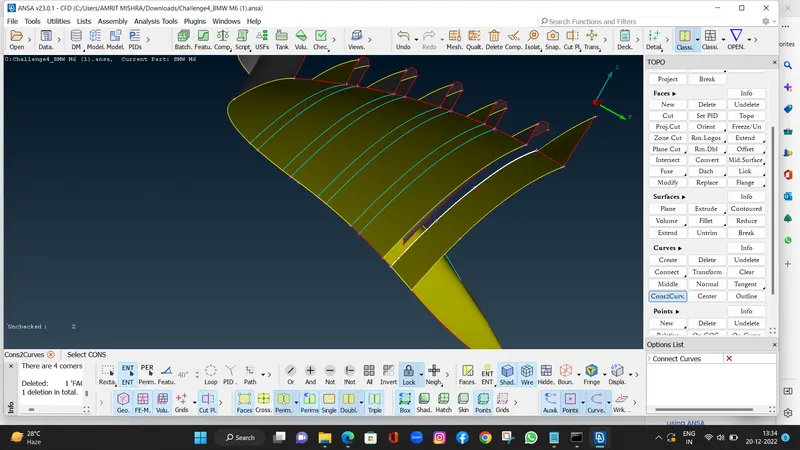
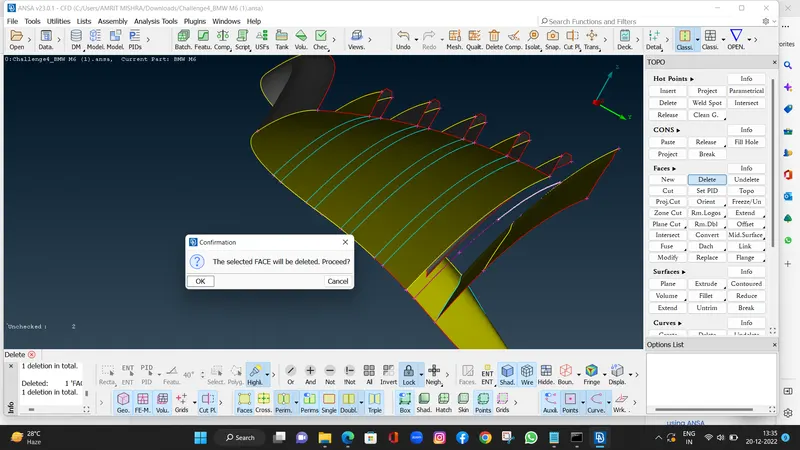
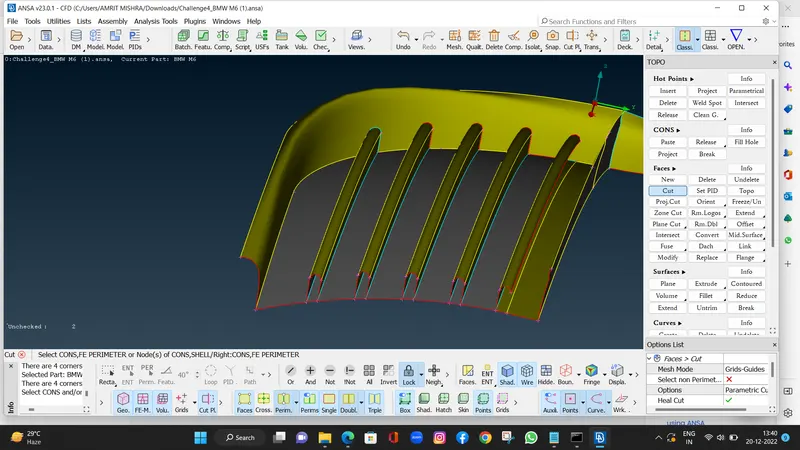
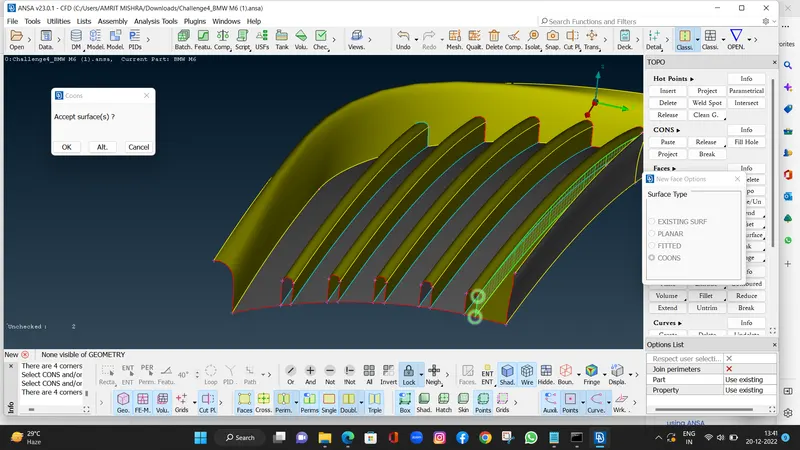
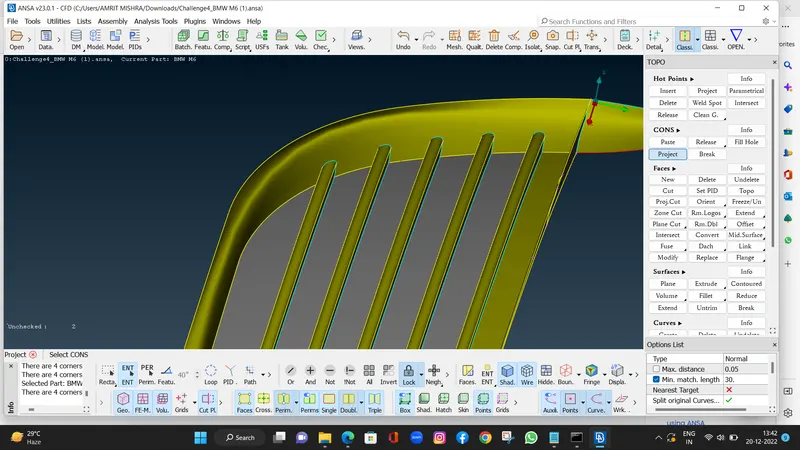
- Here on the bottom face we will delte the faces bu uding universal deleting command.
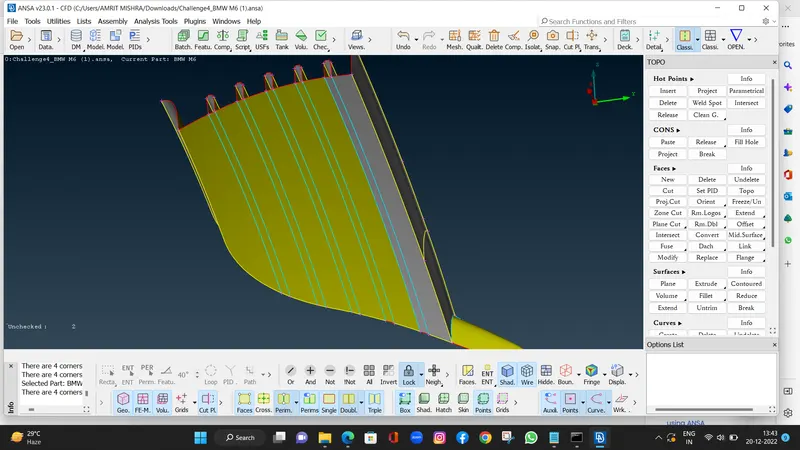
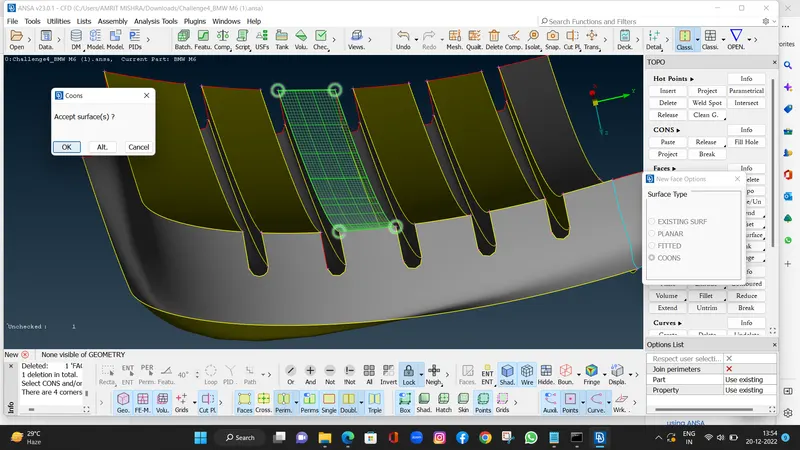
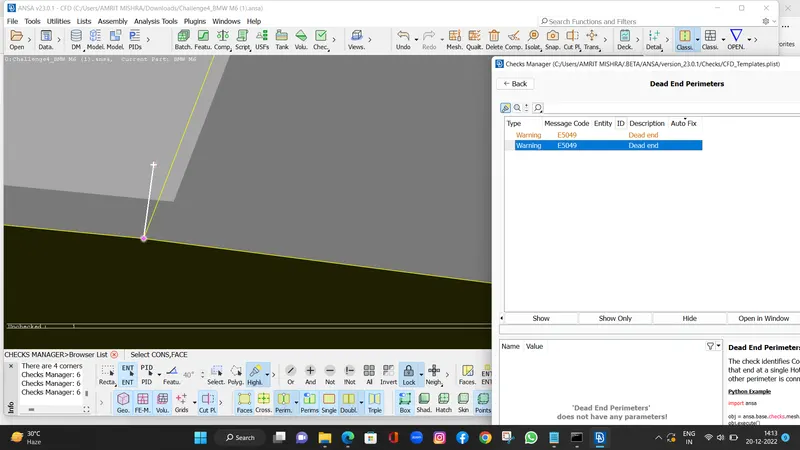
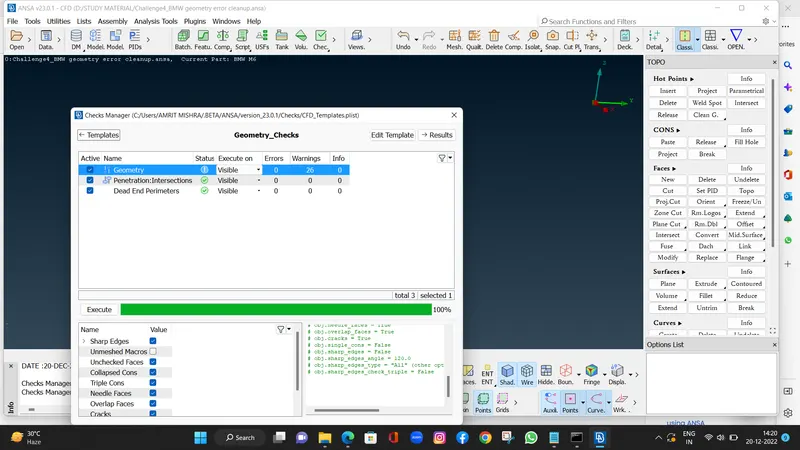
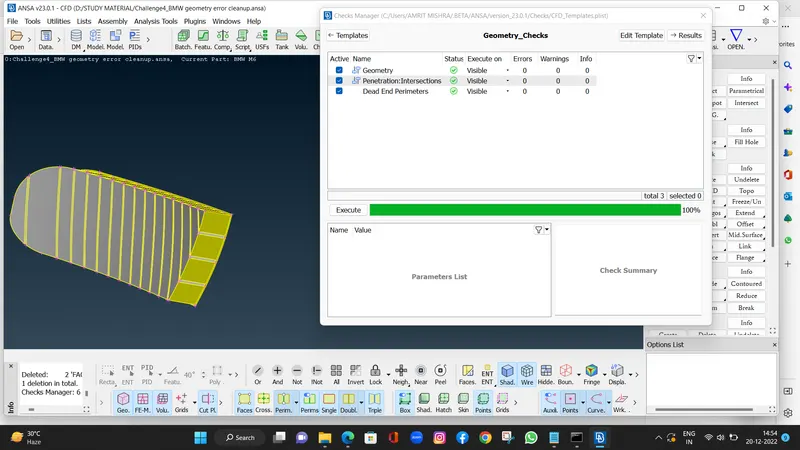
- After all geometry cleanup we will go for the geometry check .
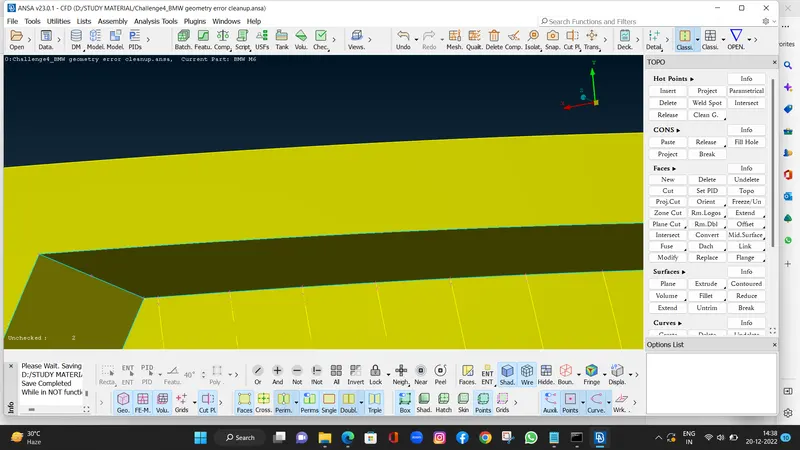
- As we see there is not any intersecting part as well as single cons,except single cons are showing where we delete the half part of the grill.
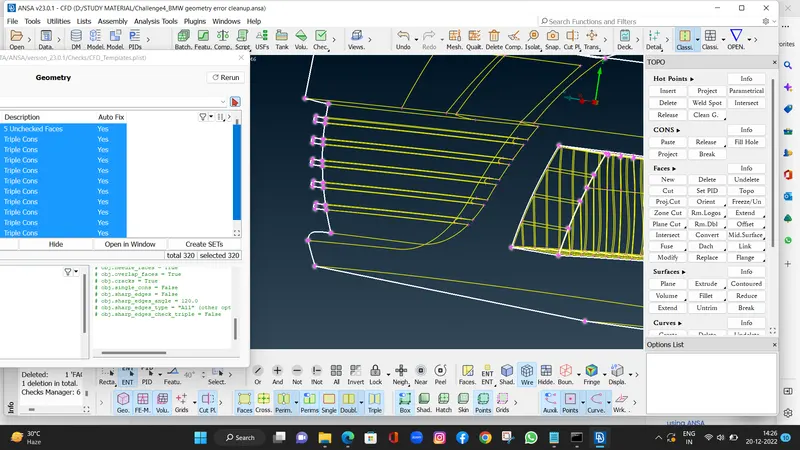
- In the second grill there is some intersecting part as well as single and tripple cons are there.So we will clear them.
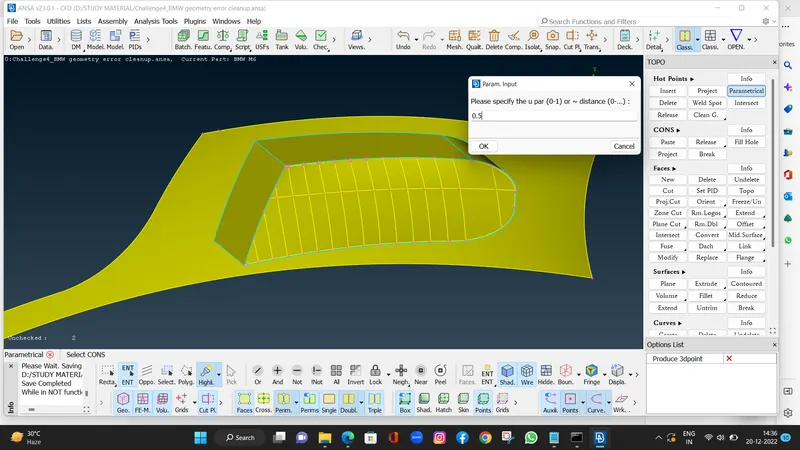
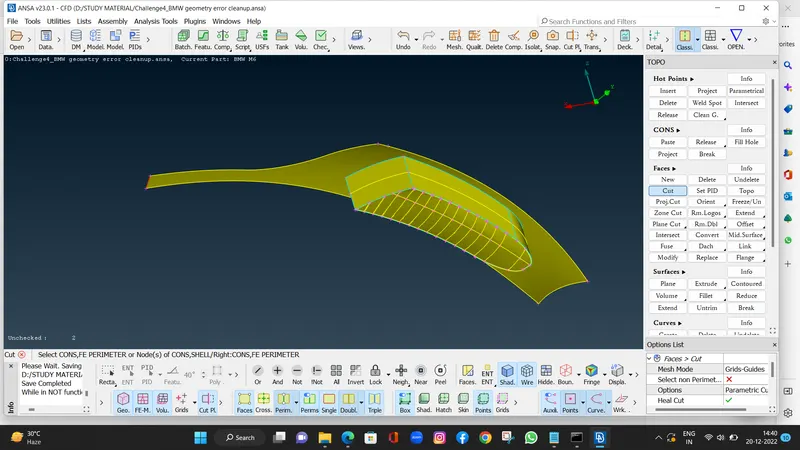
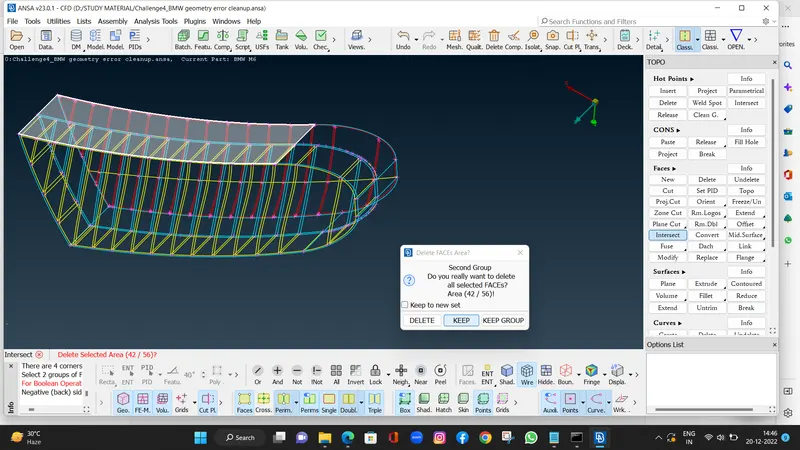
- First off all we will cut the 50 % of the geometry by creating hot points and then using cut option we will project the cut by using hot points.
- In hot points command there is Parametrical command.
HOT POINTS > PARAMETRICAL > GIVING VALUE 0.5 > SELECT CONS > ARROW WILL PROJECT AT CORNERR OF THE SELECTED CONS.
FACES > CUT > SELECT HOT POINTS >AND PROJECT THEM.
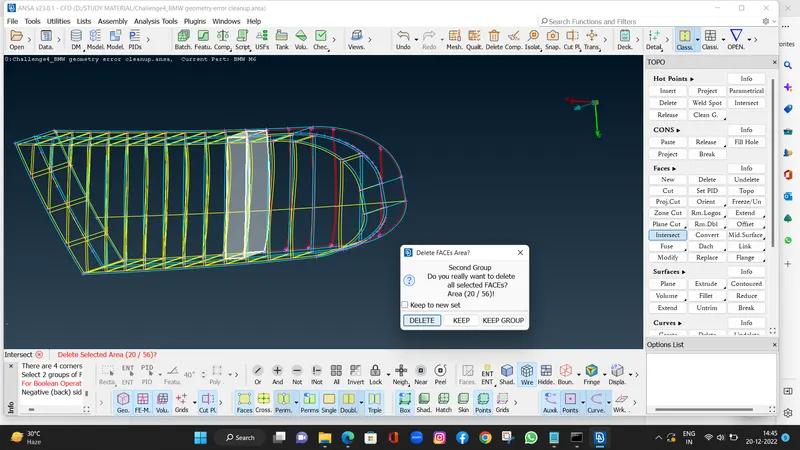
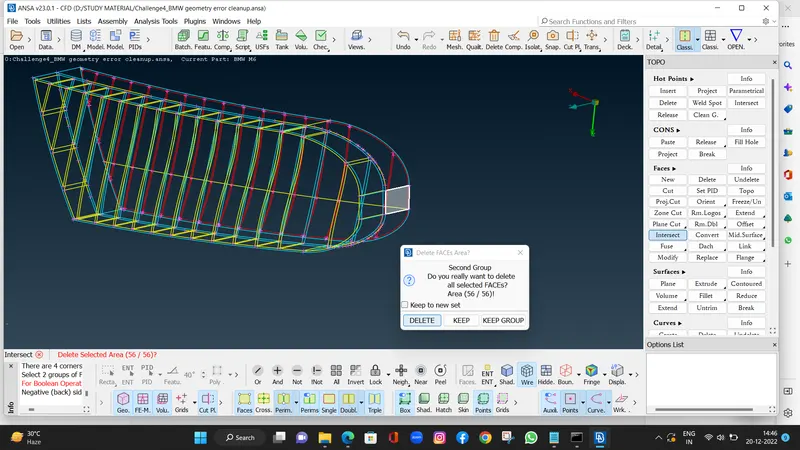
- After project the cut command we will use intersect command and delete the extra part which we dont need.
- In Intersect command it will ask the faces which we dont need so all back faces of the grill which i cut we will delete them and all faces we will keep it.
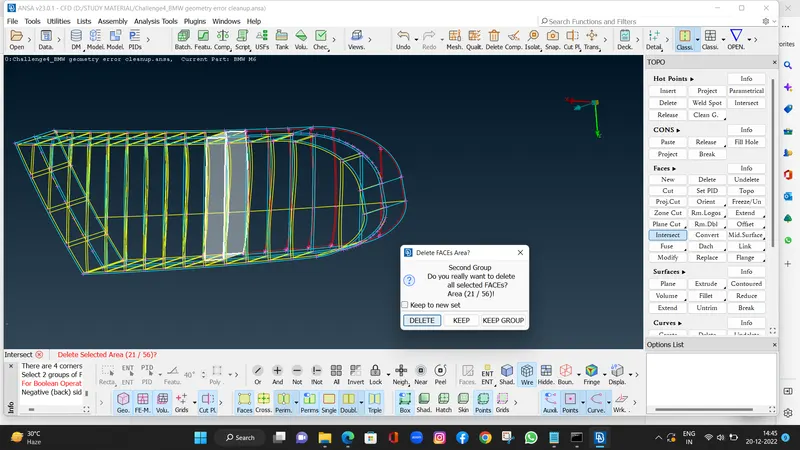
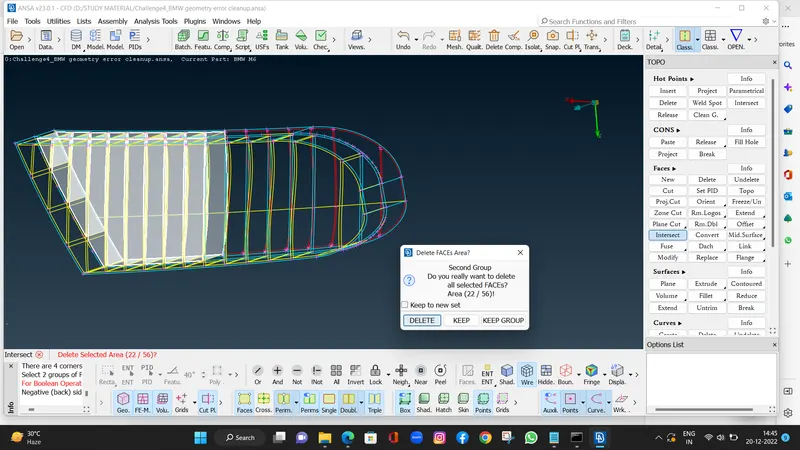
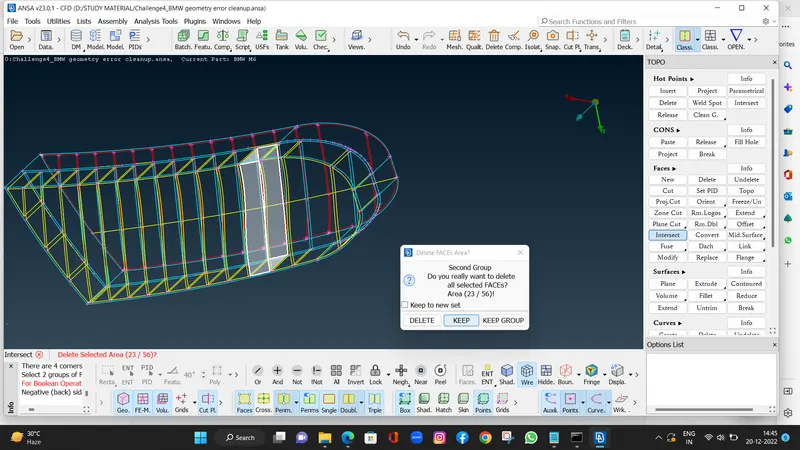
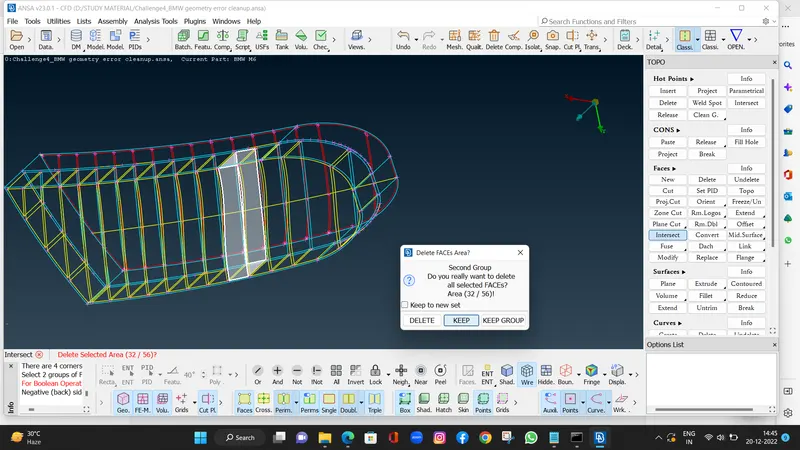
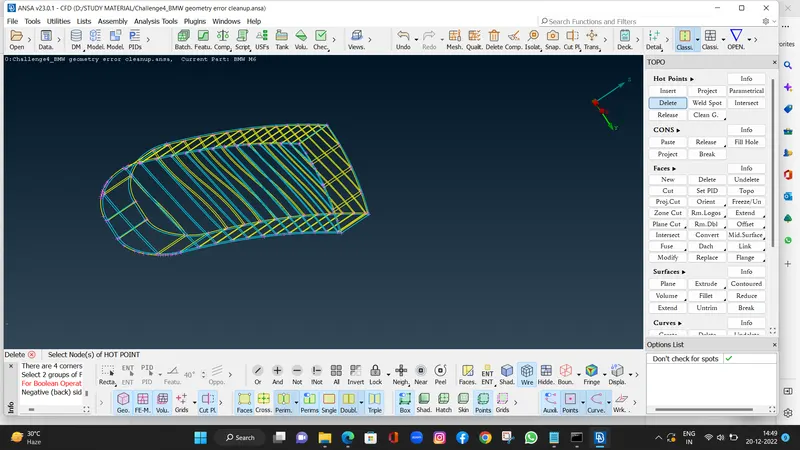
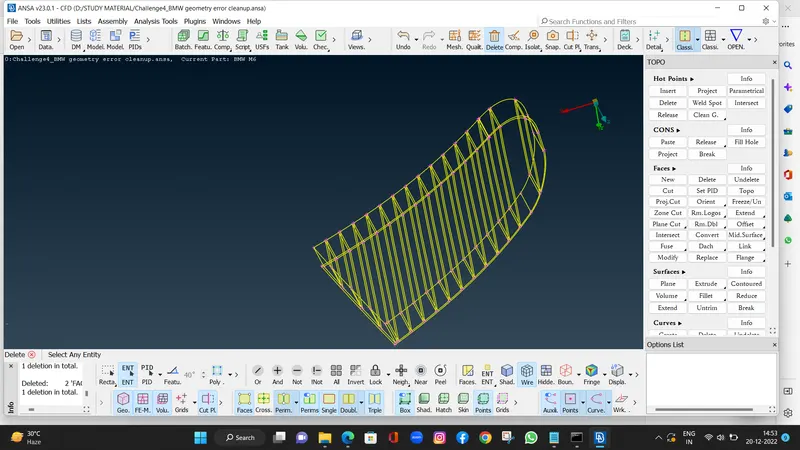
- After all geometry cleanup we will check the geometry.
- As we see there is not any geometry error and intersections errors.
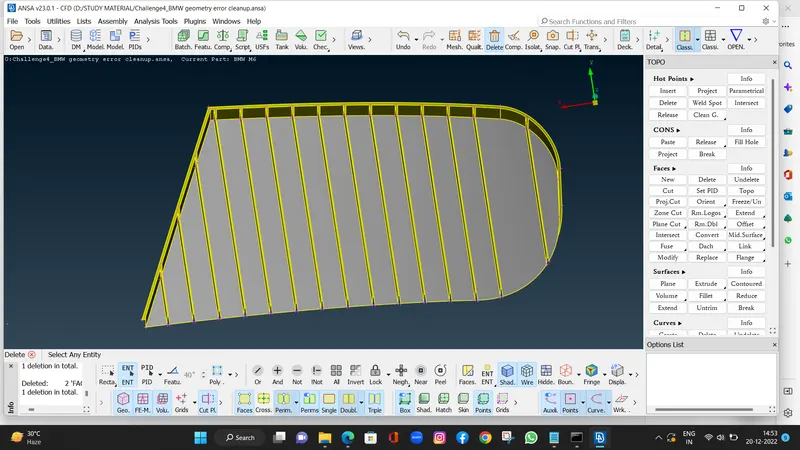
- In the head light as we see ther ein extra faces inside the light, so we delte the inside faces and make one face and cover the light with one volume.
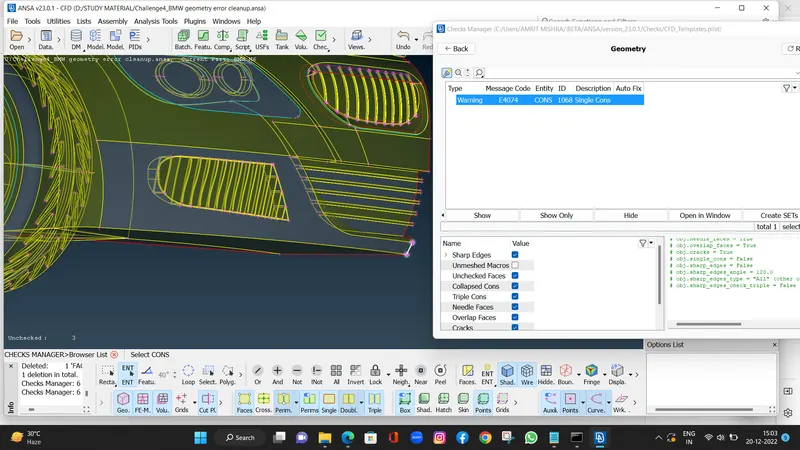
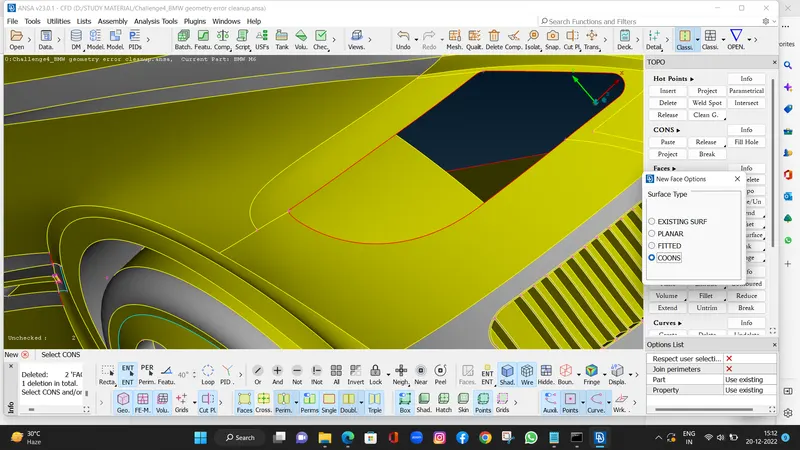
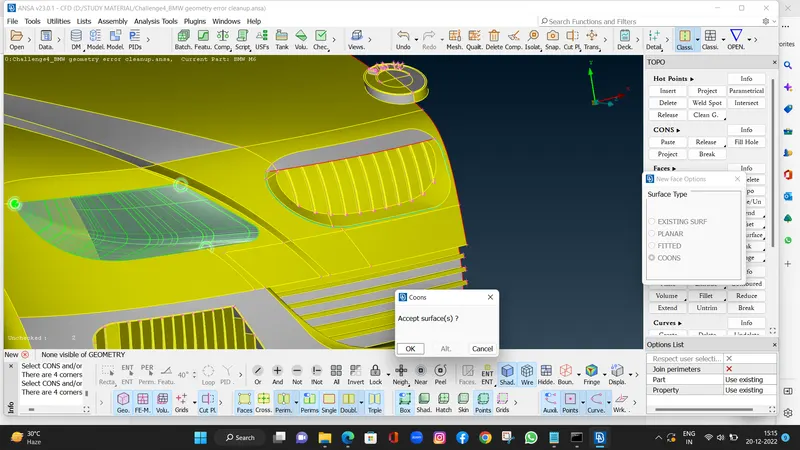
- In the third grill there is some intersecting part as well as single and tripple cons are there.So we will clear them.
- First off all we will cut the 50 % of the geometry by creating hot points and then using cut option we will project the cut by using hot points.
- After project the cut command we will use intersect command and delete the extra part which we dont need.
- In Intersect command it will ask the faces which we dont need so all back faces of the grill which i cut we will delete them and all faces we will keep it.
- There is a lot extra thickness in this grill so we will make it in one volume.
- And middle grills are not allinged at the bottom faces so we project hrem with using cut command and prject them in the bottom face.
FACES > CUT > SELECT HOT POINTS >AND PROJECT THEM ONE BY ONE.
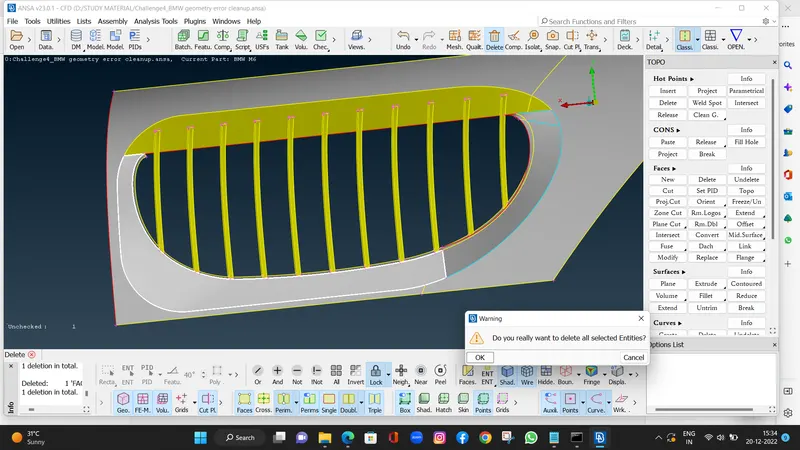
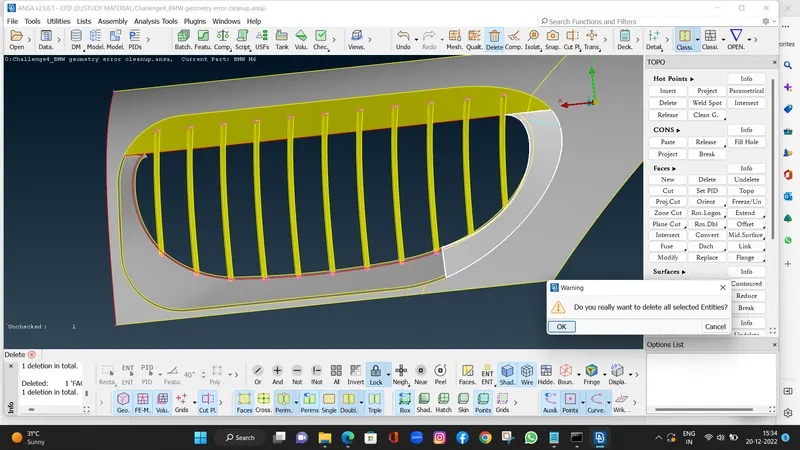
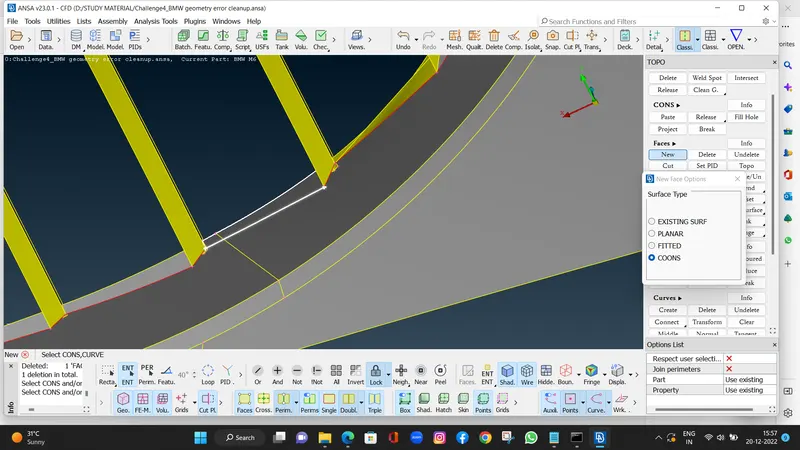
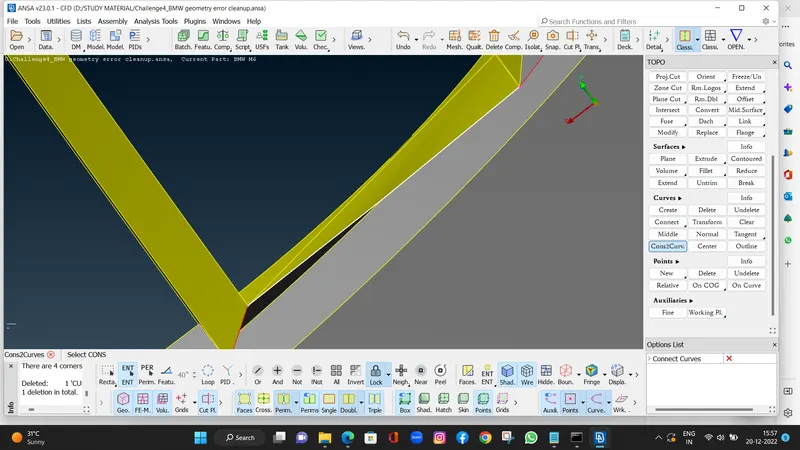
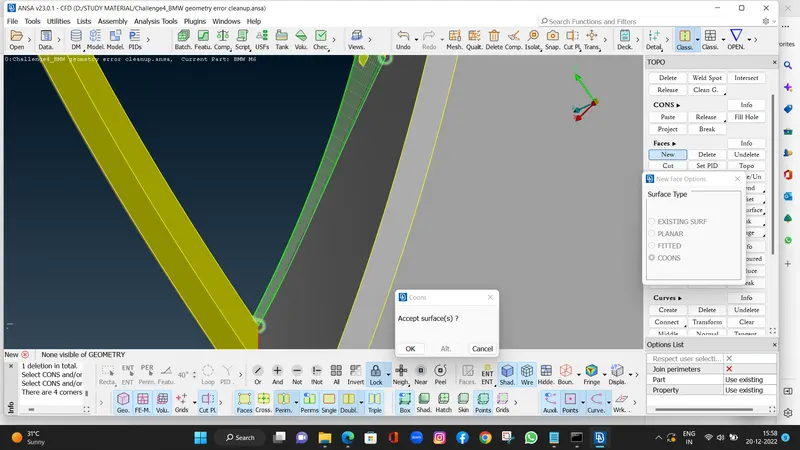
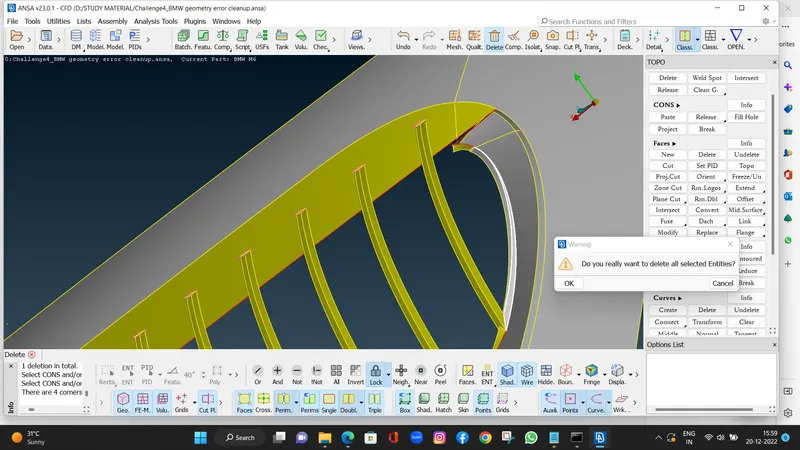
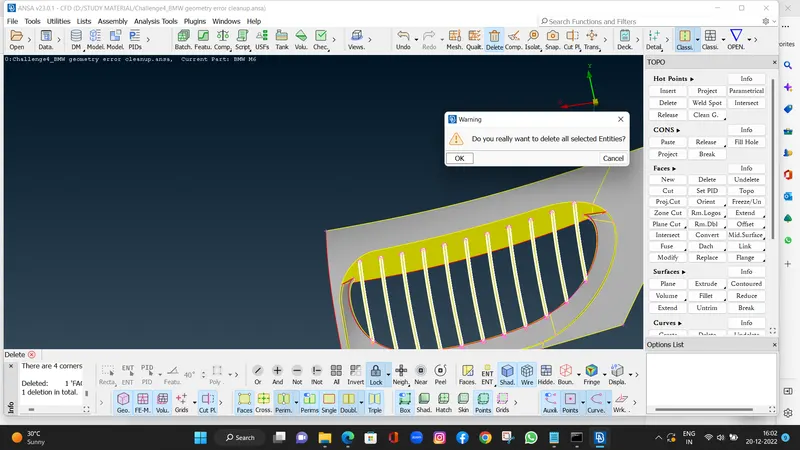
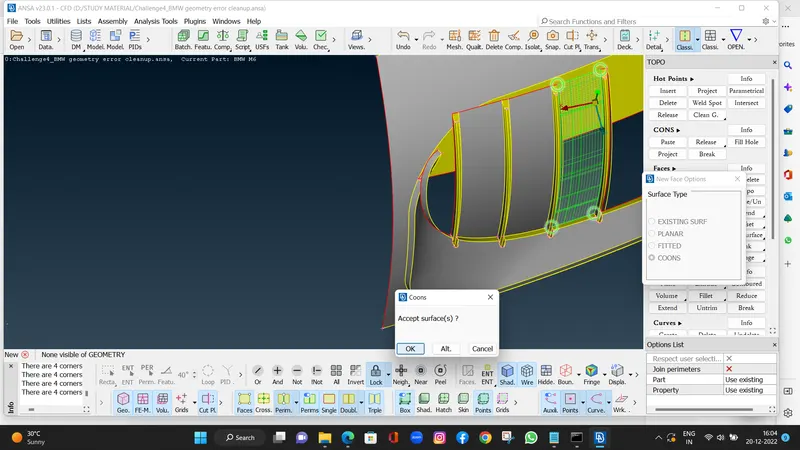
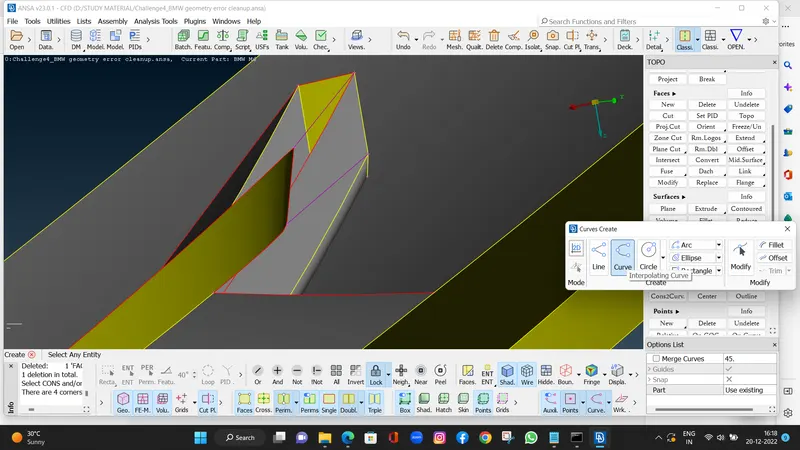
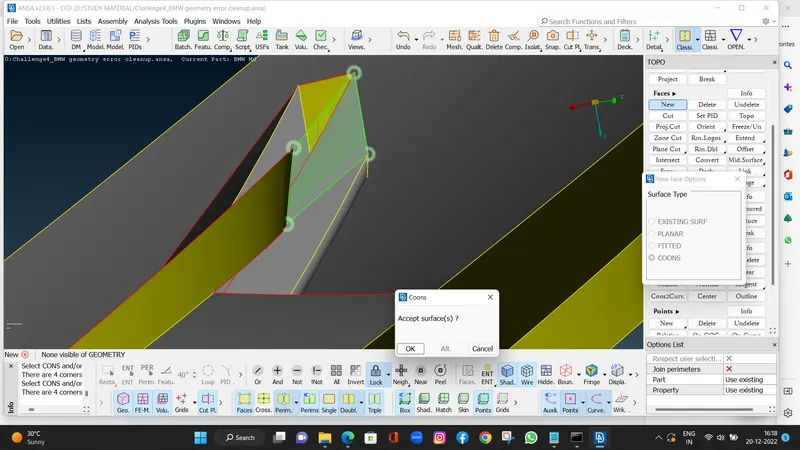
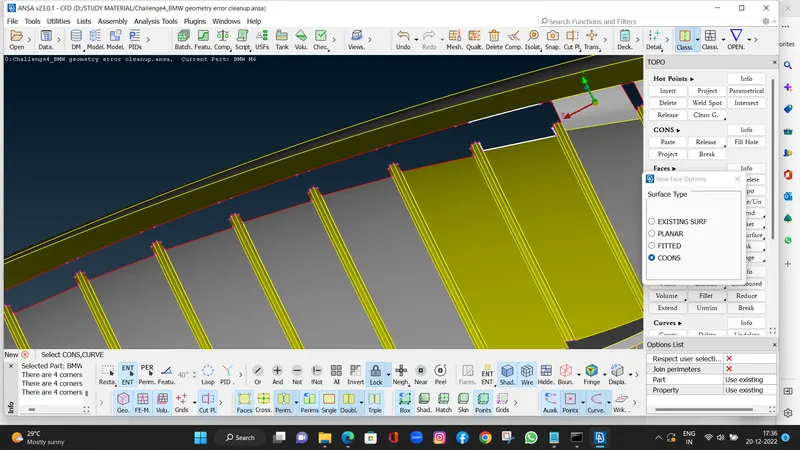
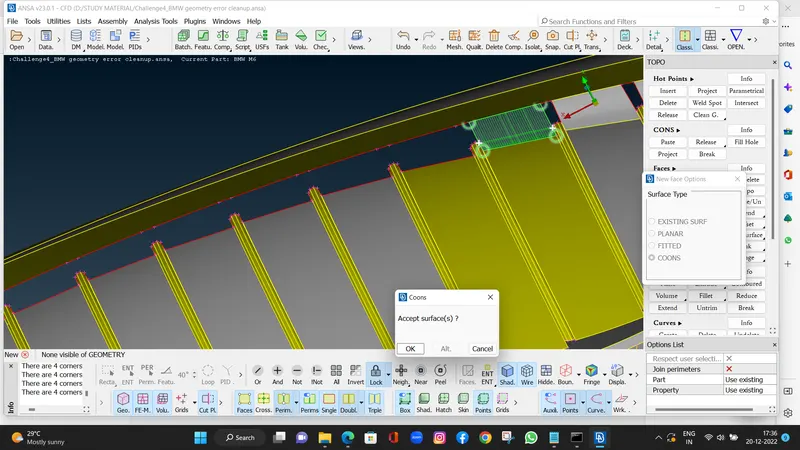
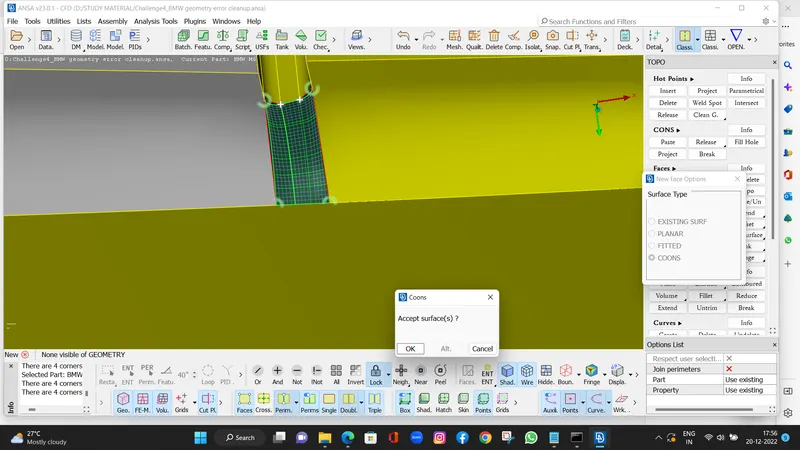
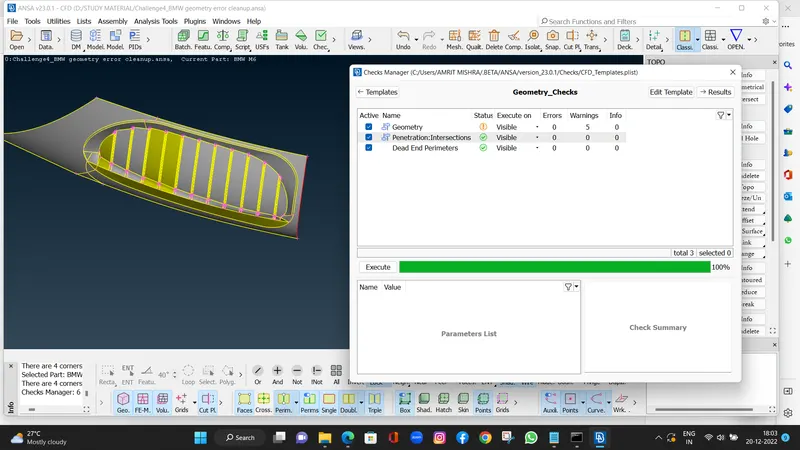
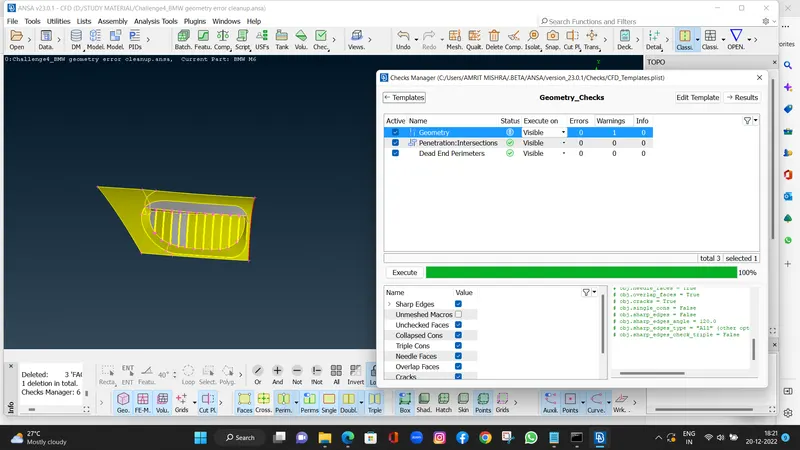
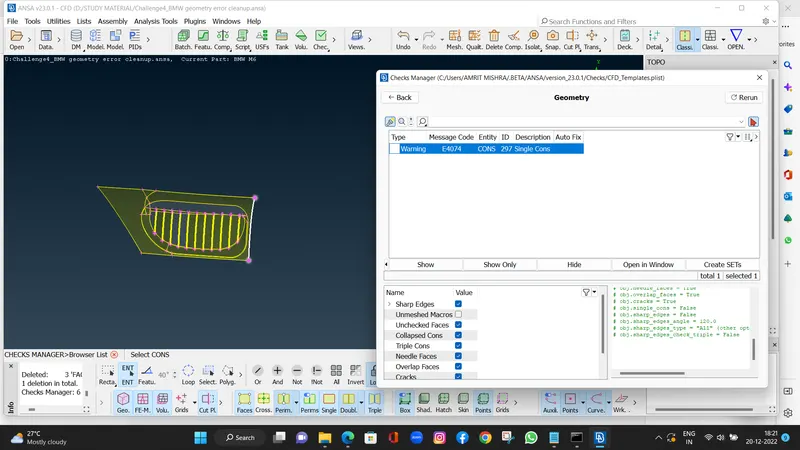
- In logo part well do as same we will make it one volume and delelte all the extra faces and extra thickness.
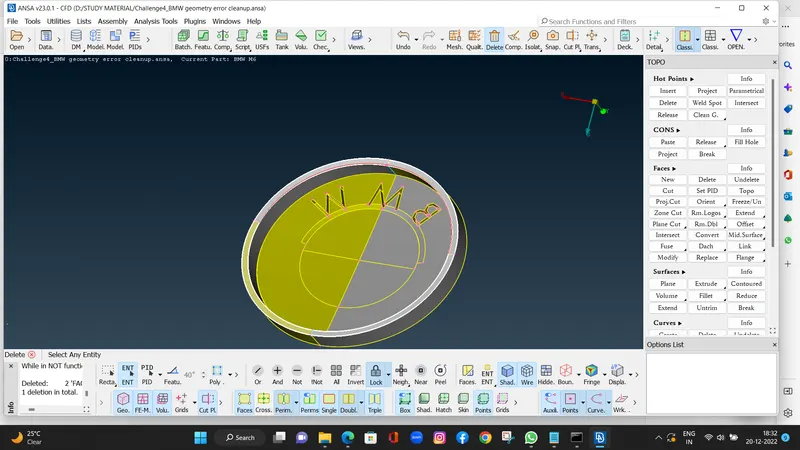
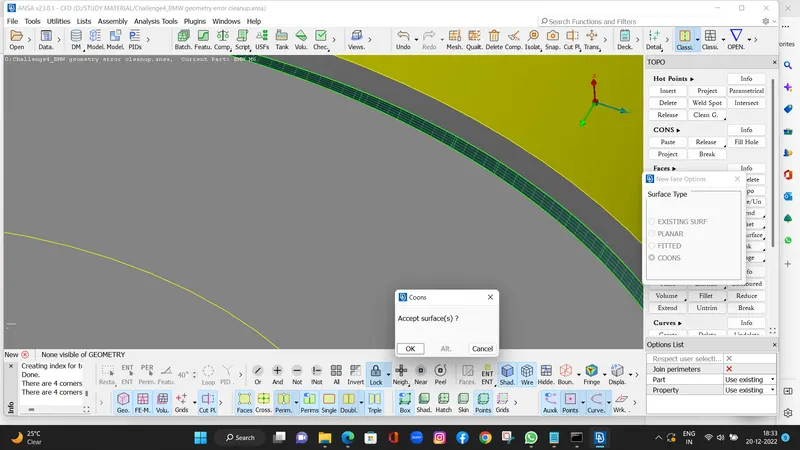
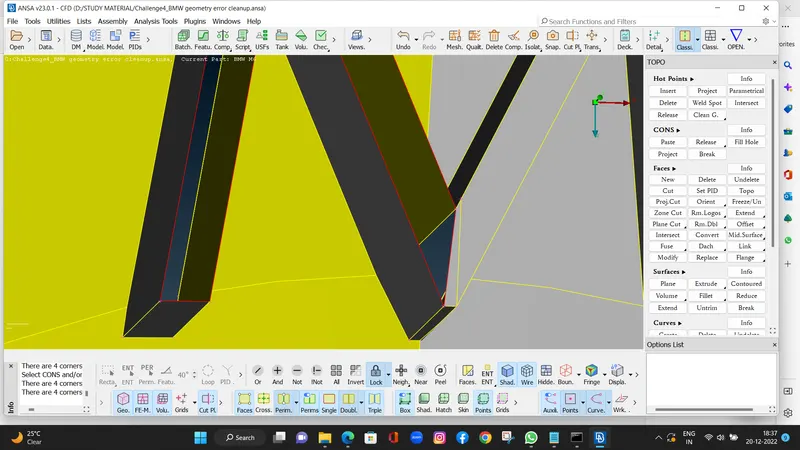
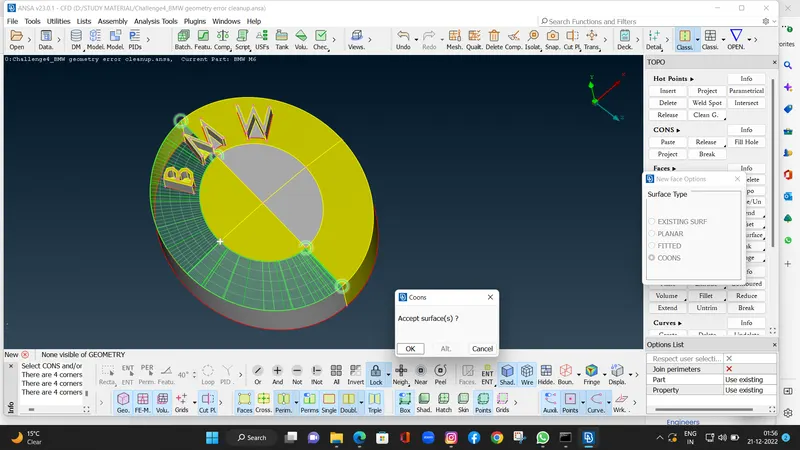
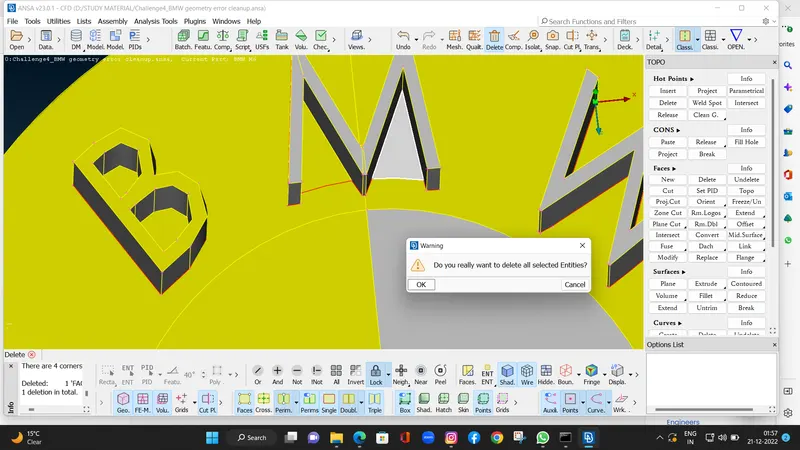
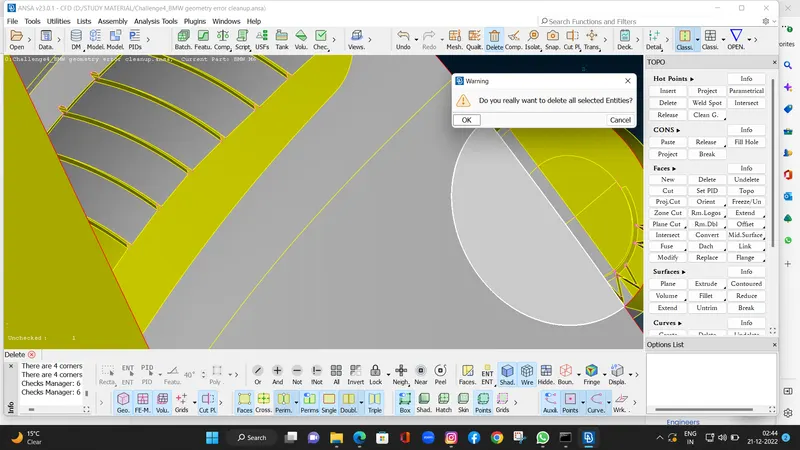
- After geometry check there is not any singles cons which make problem as well as there is not any extra thickness and no intersecting elements.
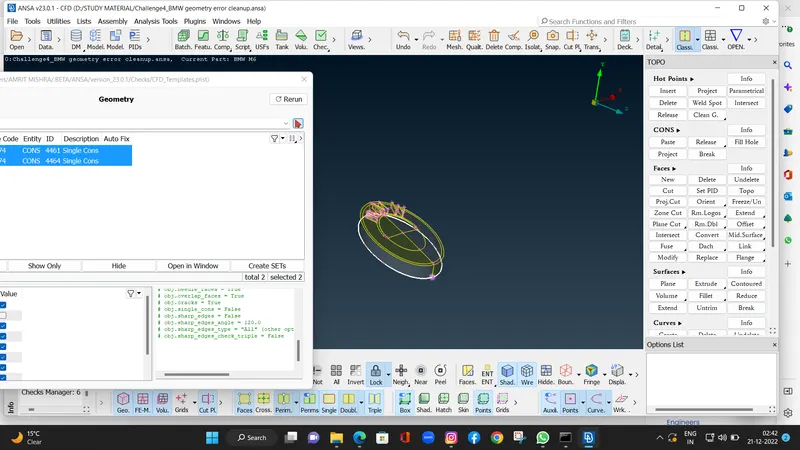
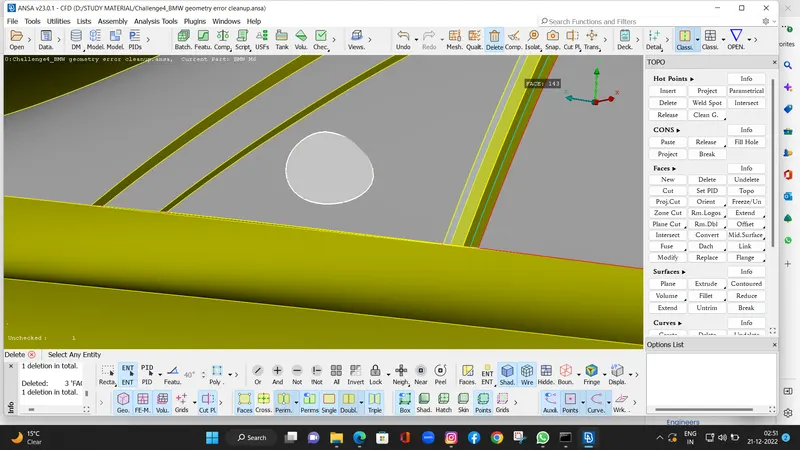
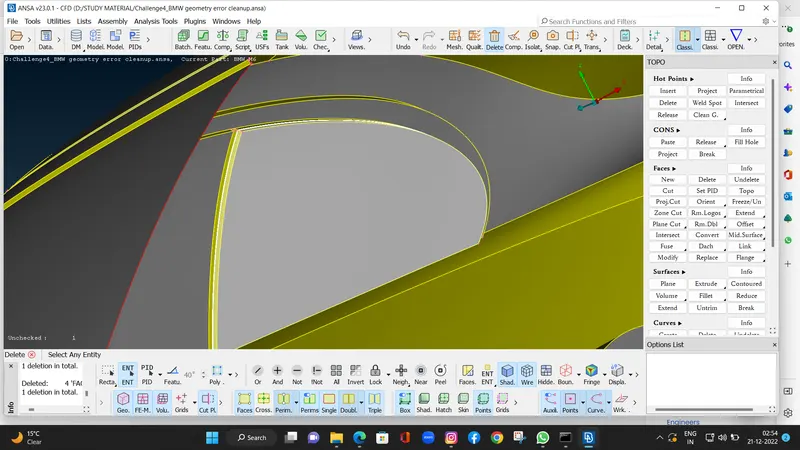
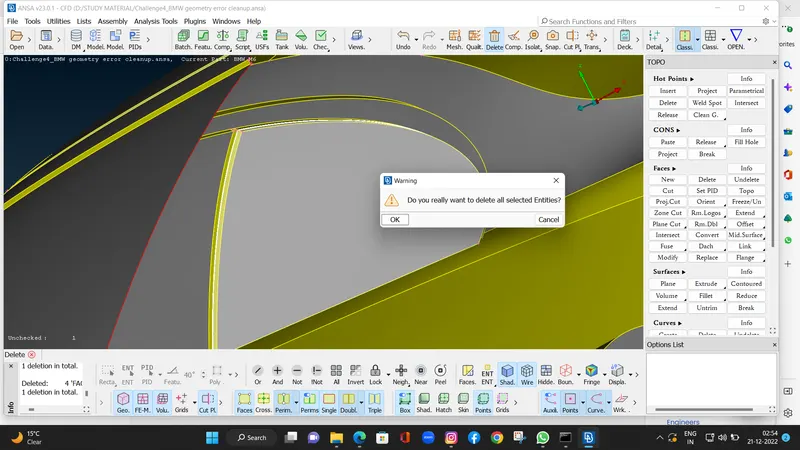
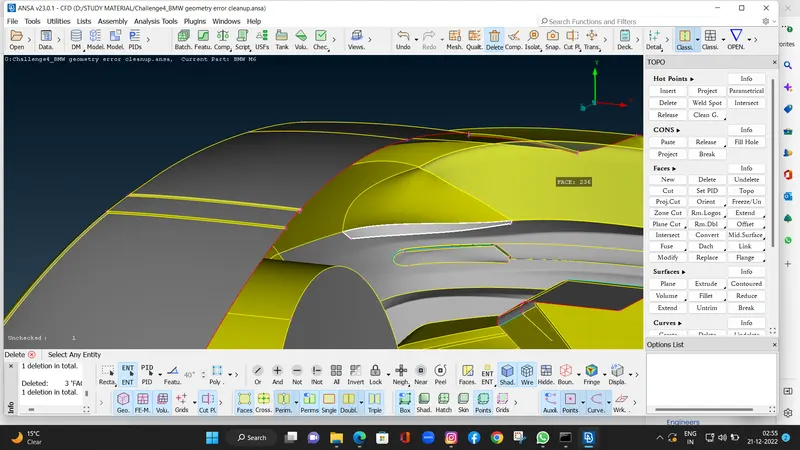
- In window part well do as same we will make it one volume and delelte all the extra faces and extra thickness.
- And here we avoid small faces because it will againts our quality criteria.
- We delete and make faces as we rquired in the window part using universal delte command and new faces command .
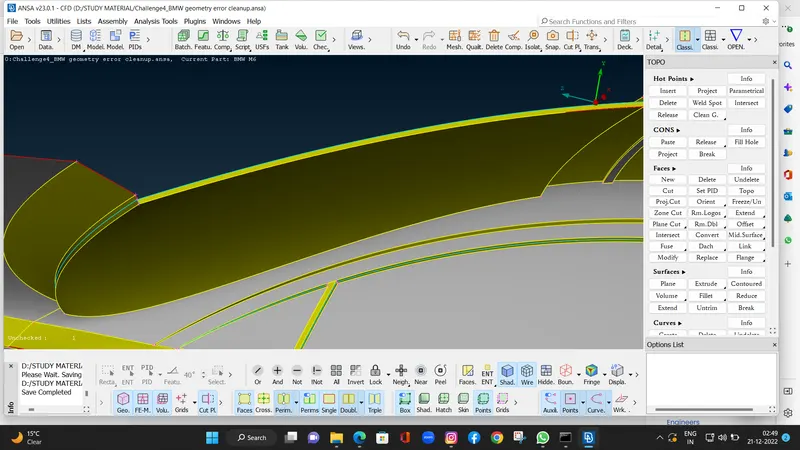
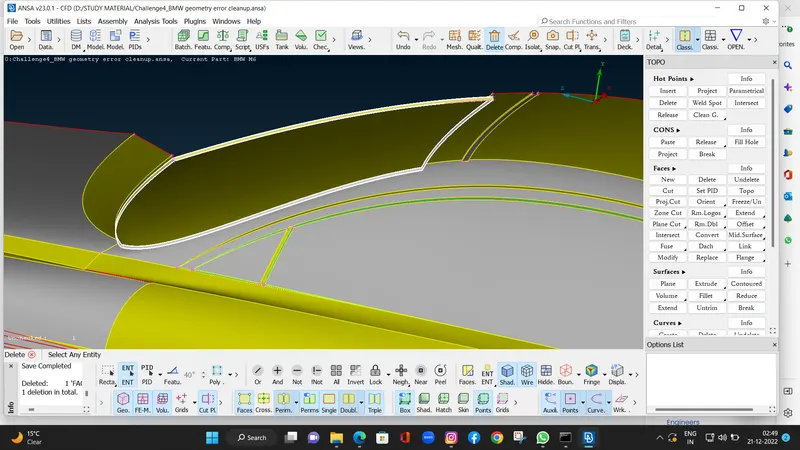
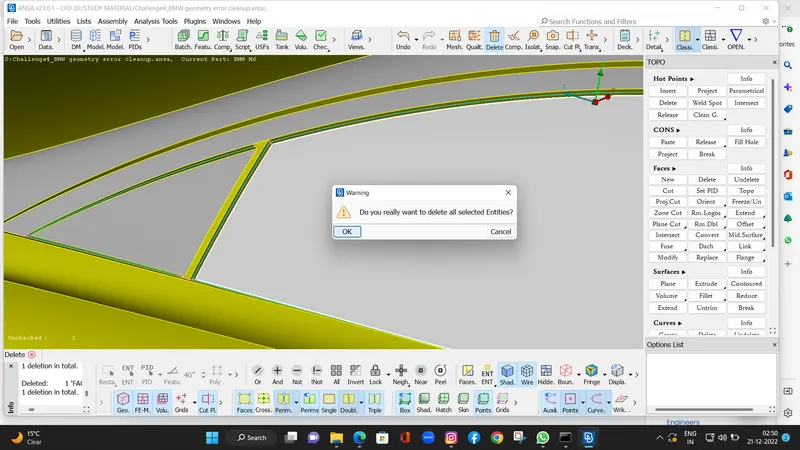
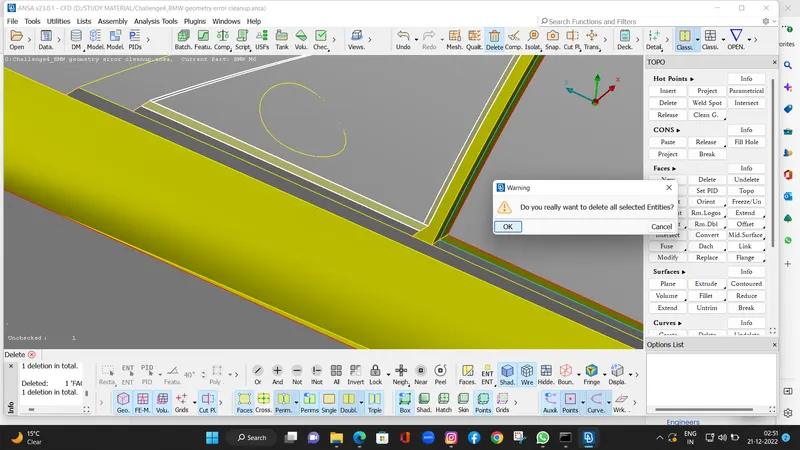
- In the Rear view mirror as we see there is extra faces inside the mirror, so we delete the inside faces and make one face and cover the mirror with one volume.
- And there is intersecting with the window where mirror is joined so wee project the cons and delete them.
CONS > SELECT COONS > MIDDLE CLICK > SELECT FACES WHERE WE WILL PROJECT IT > MIDDLE CLICK.
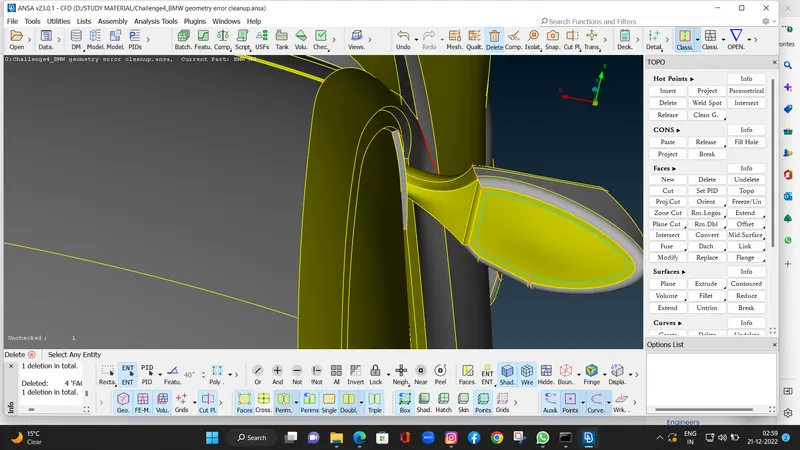
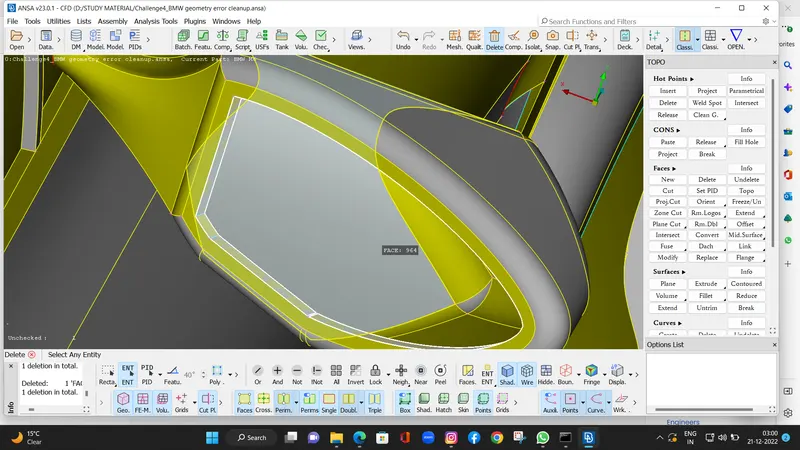
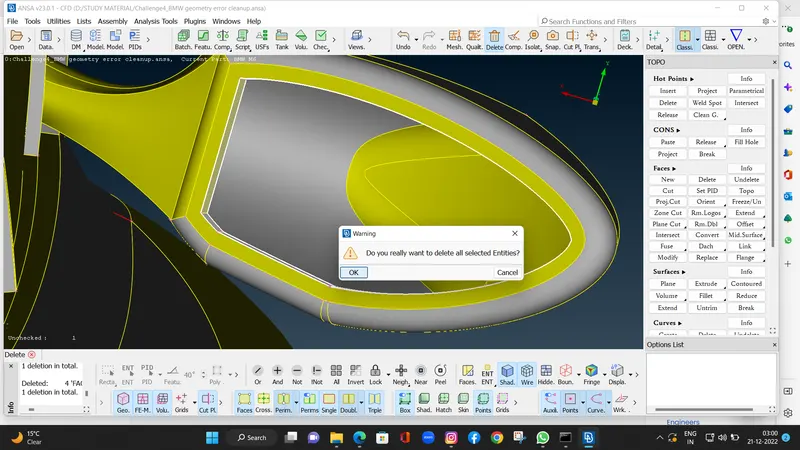
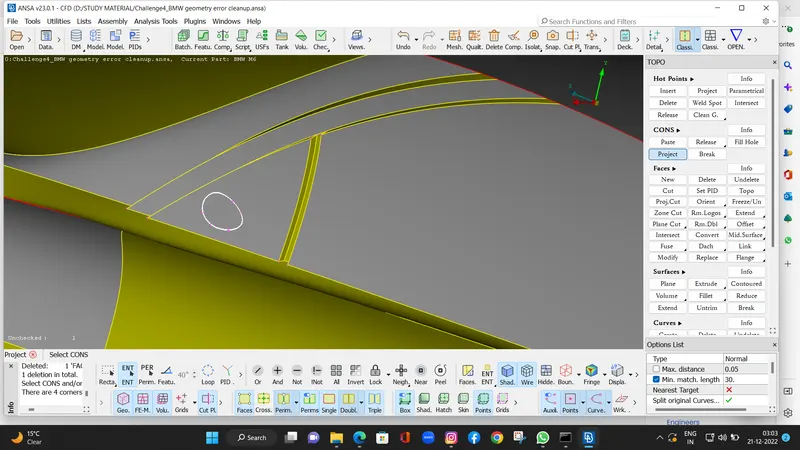
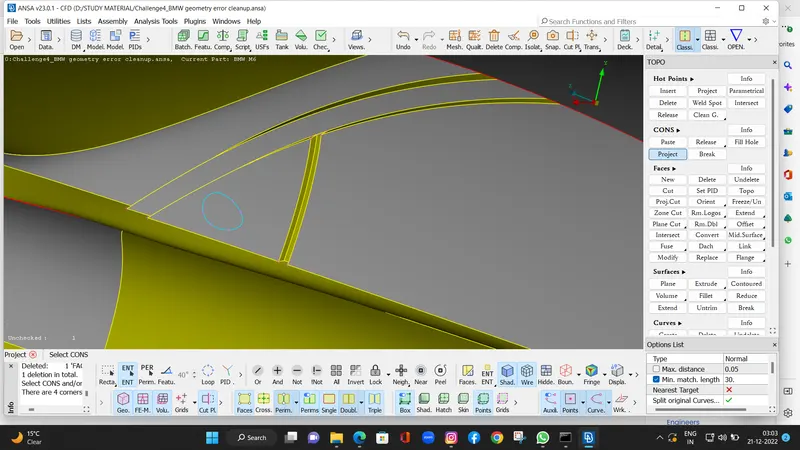
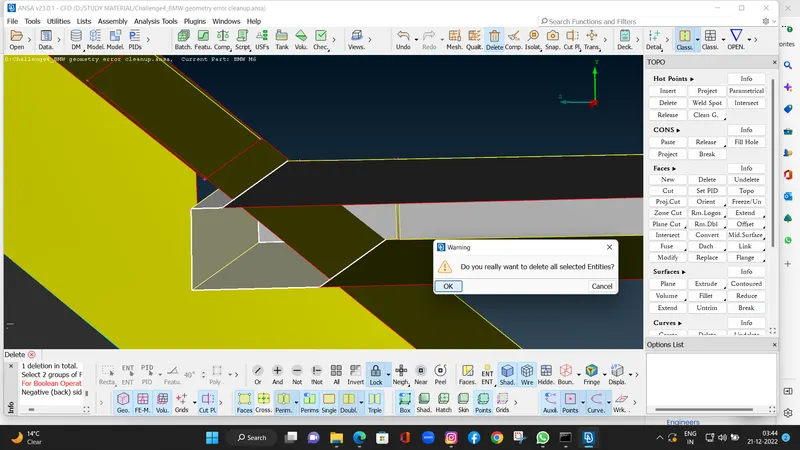
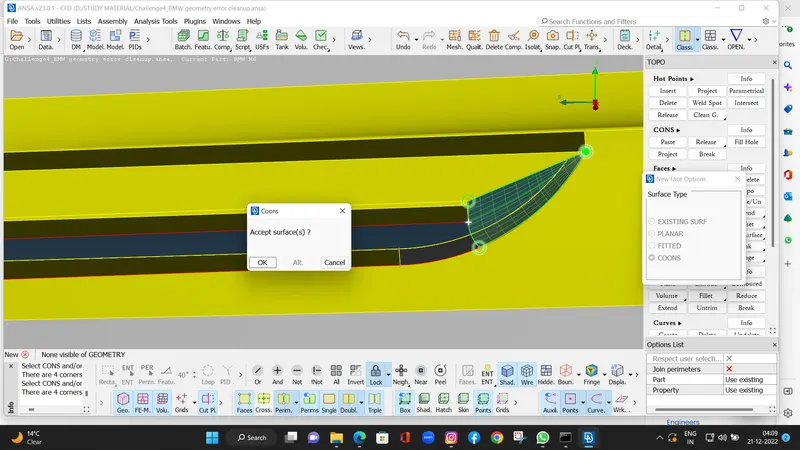
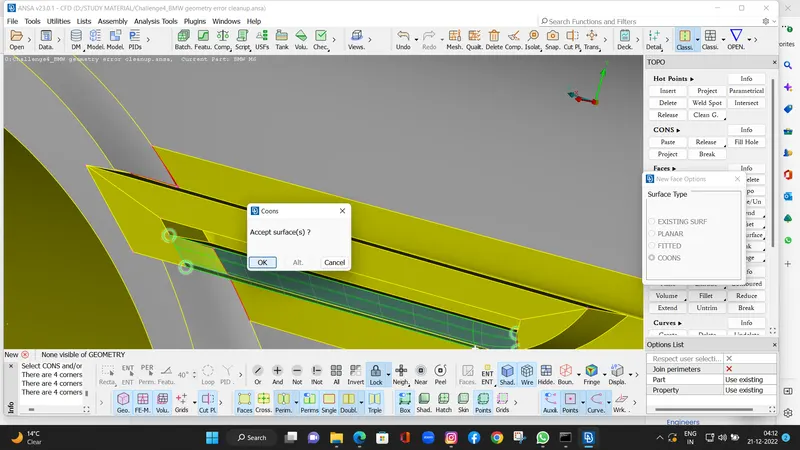
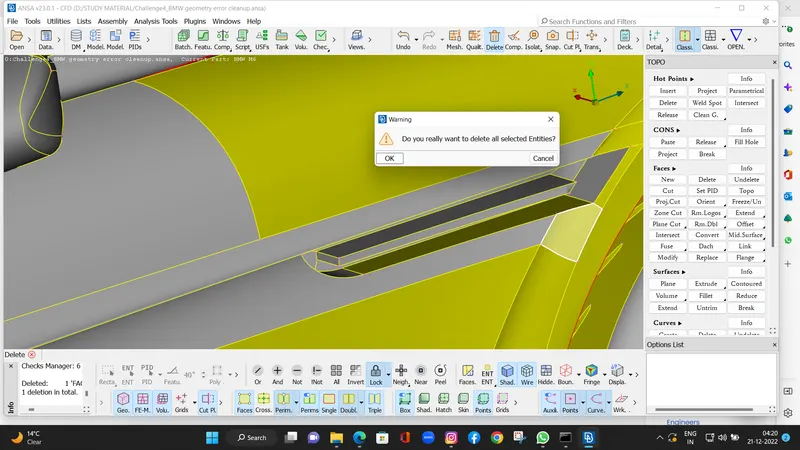
- In this part as we see there is extra faces and single coons are showing so we will clean this .
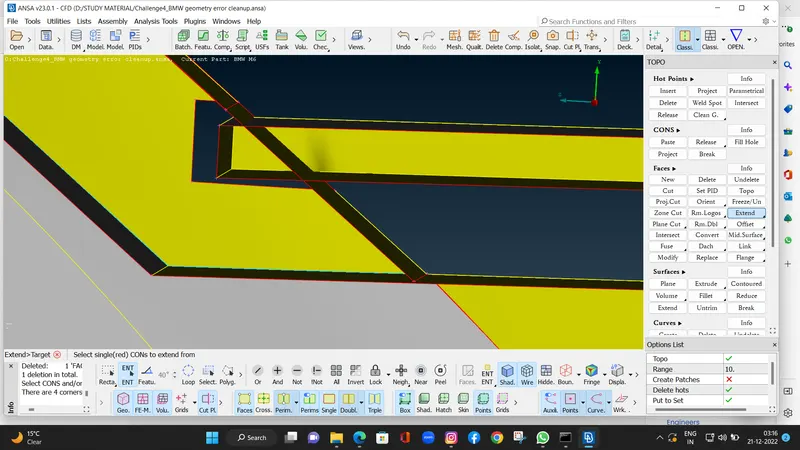
- First we have to extend the angled faces because wee need to make it single volume .
FACES > EXTEND > SELECT CONS > MIDDLE CLICK > ASKING FOR WHERE WE WANT TO EXTEND > SELECT FACE > MIDDLE CLICK.
After that we will go for geometry cleand ass wee rquired we will make it like that.
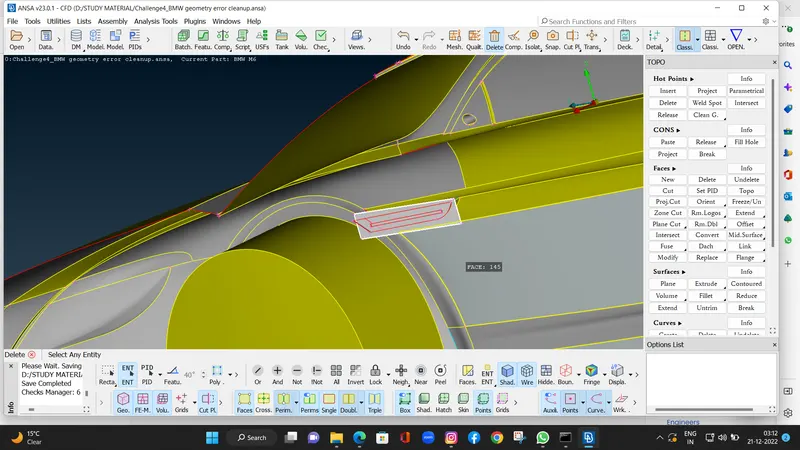
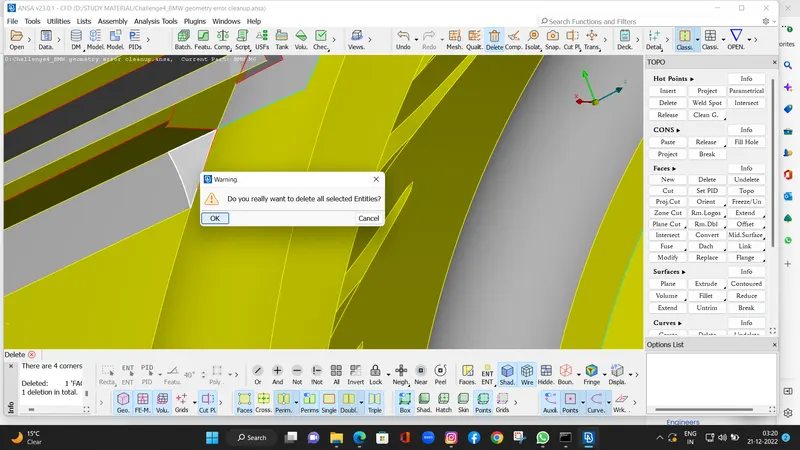
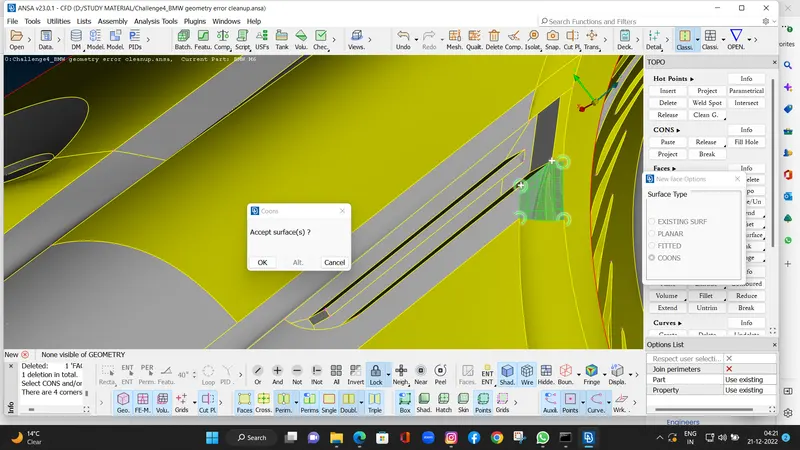
- In the floor part we have to make it better floor ,so using curves coons 2 coons we will make cons at where we deleted the half part of thr whole geometry like reference.
CURVES > COONS 2 COONS > SELECT CONS > DELETE THE FACES .
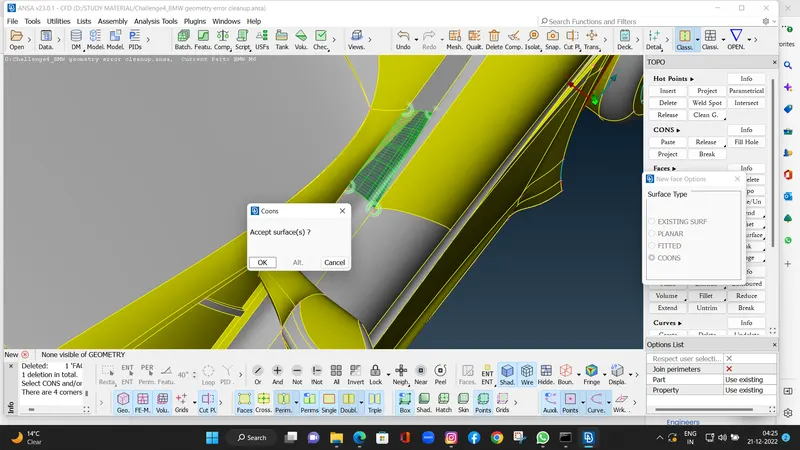
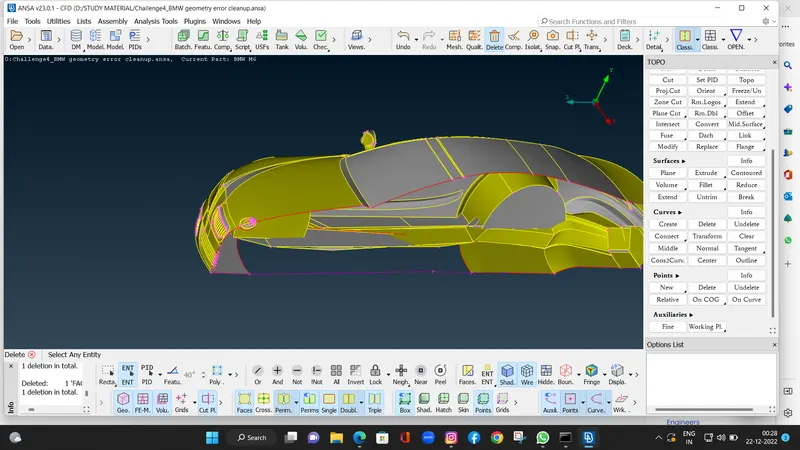
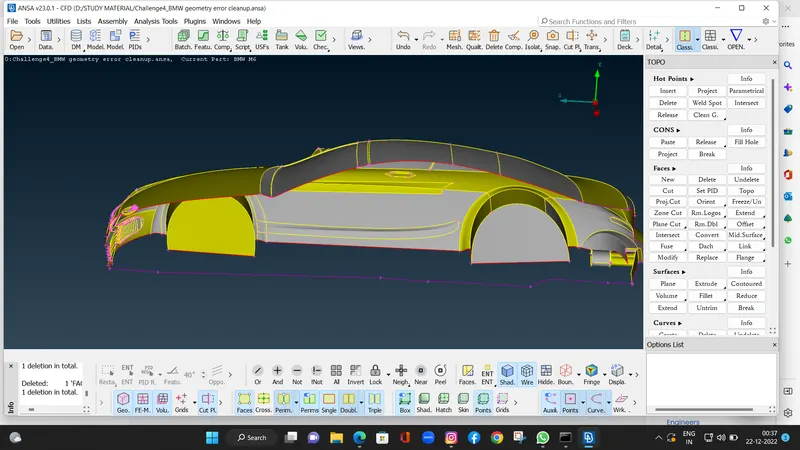
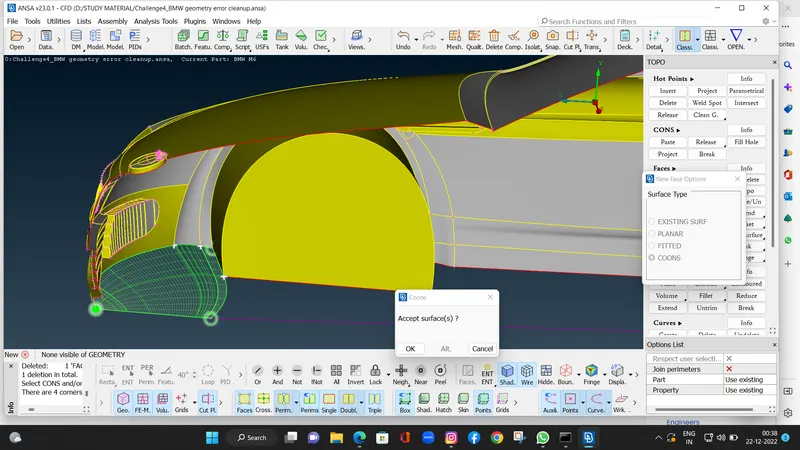
- Here will avoid small faces so we delete the faces near window and make it one faces.
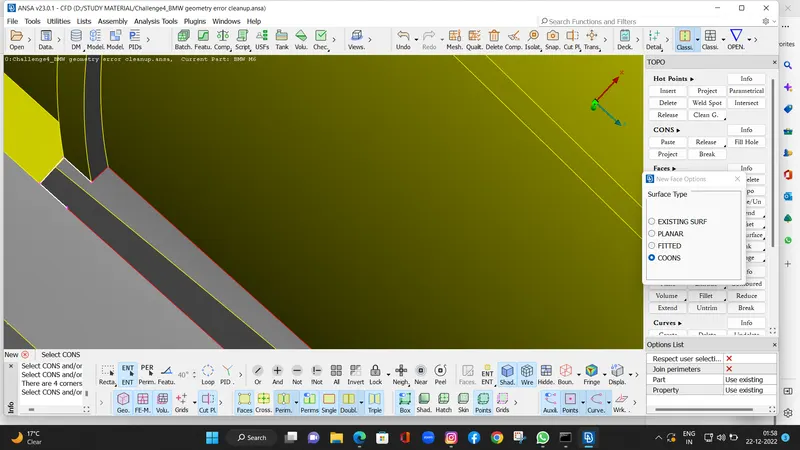
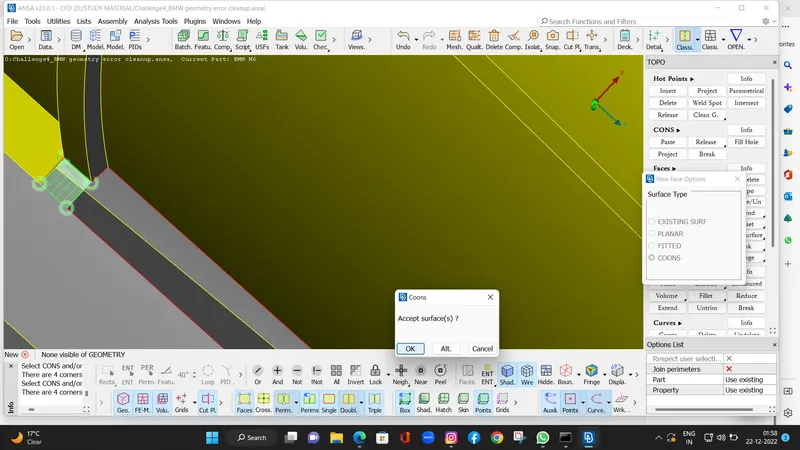
- In wheel and rims there is showing tripple coons and extra faces so we will retify it and delete it aqnd make single volume.
- After that we will check the geometry and there is not showing any extra faces here.
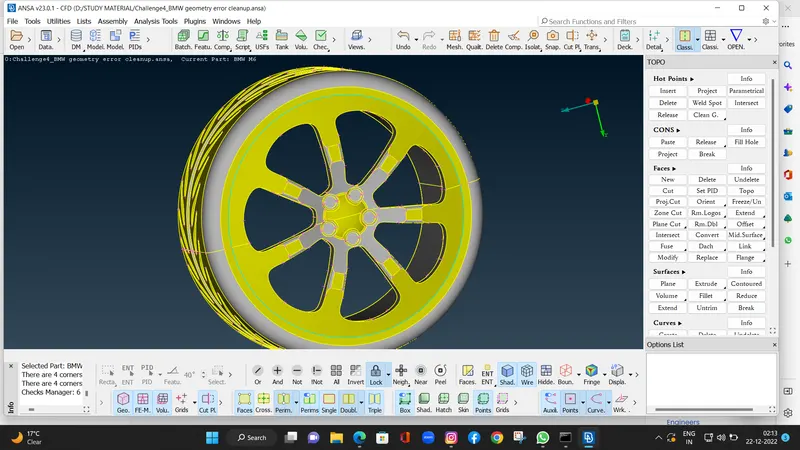
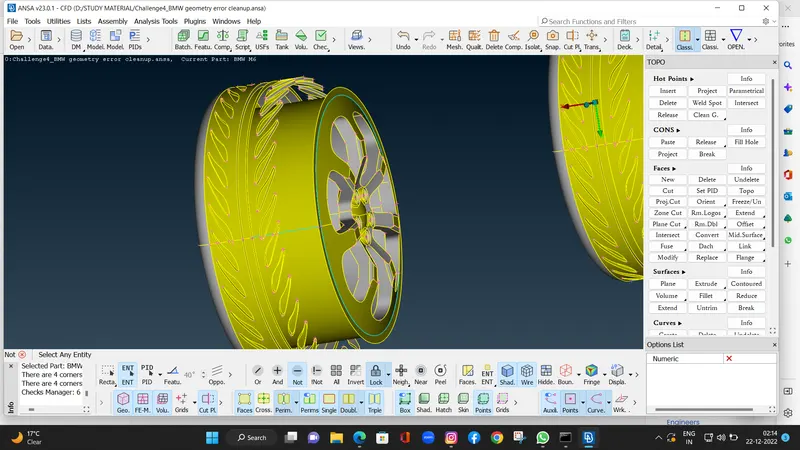
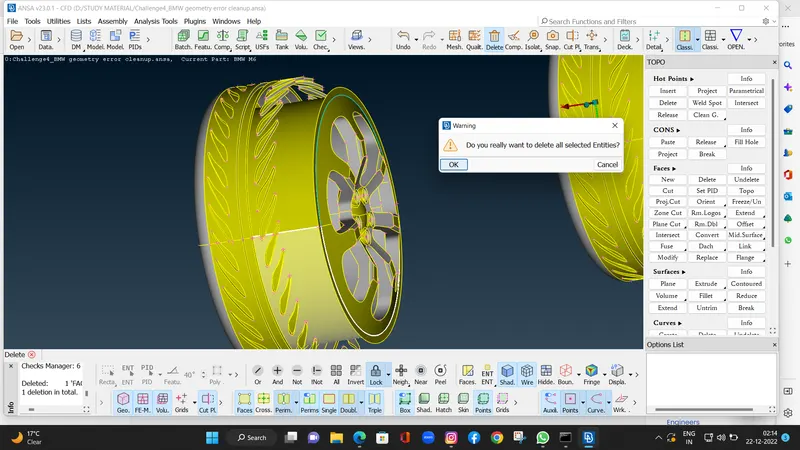
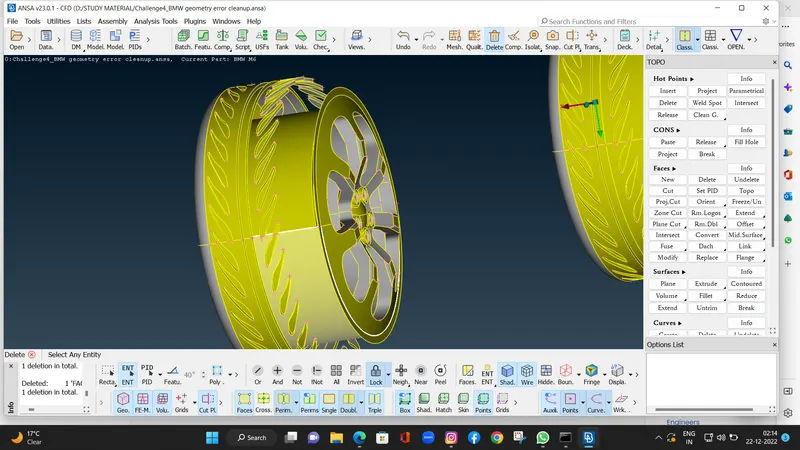
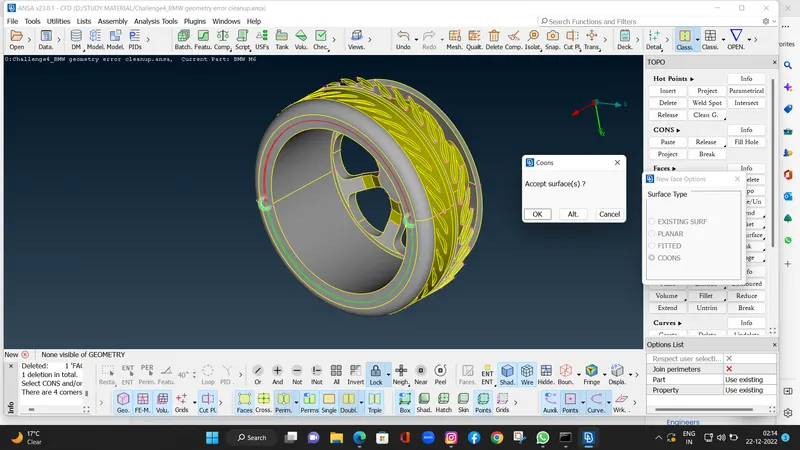
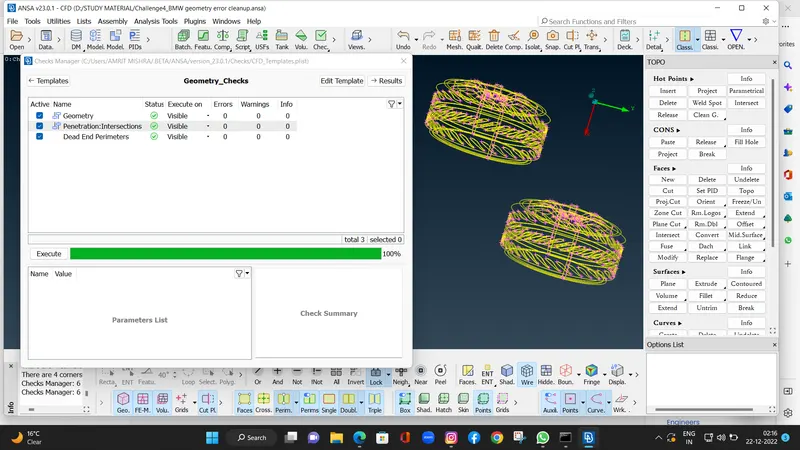
After all geometry cleanup here is our half part of thr geometry. There is not showing any geometrical errors as weell as intersecting errors.
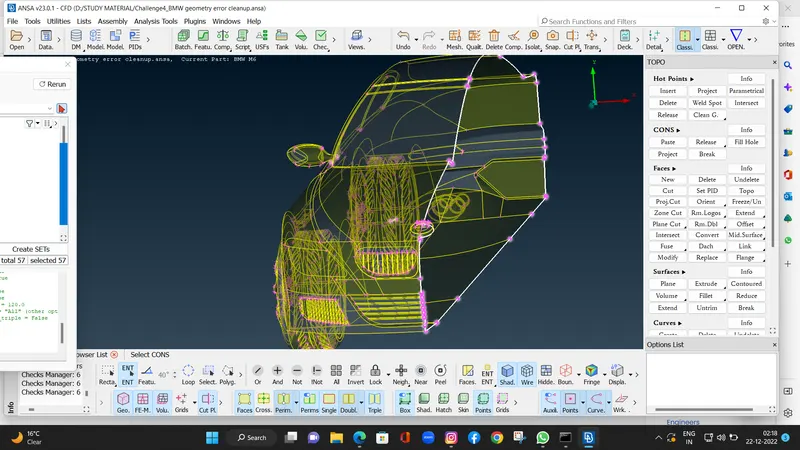
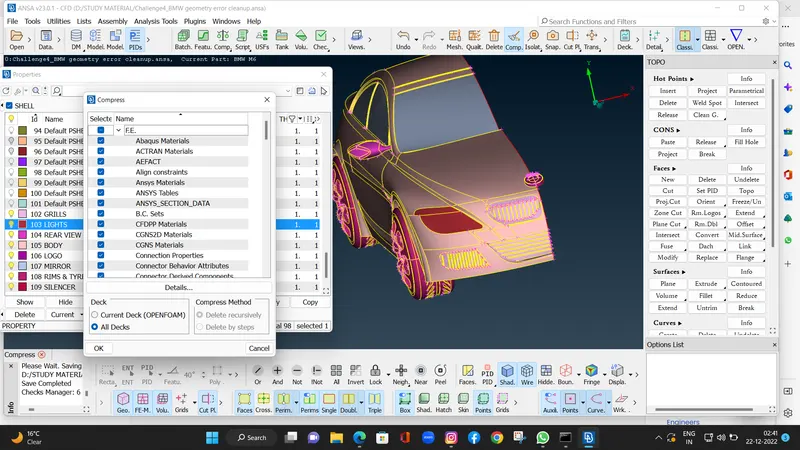
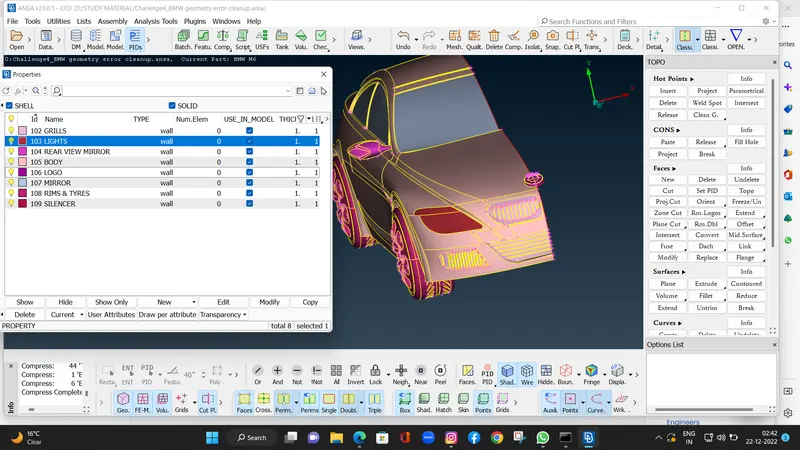
PIDS ASSIGNING
- Ingiven problem there is given pids with there target length.
- Body - 3 mm
- Lights - 4 mm
- Grills - 1 mm
- Rims and Tyres - 2 mm
- Optical Rear view mirror - 2 mm
- Window - 2 mm
- Silencer - 3 mm
- Logo - 1 mm
we will create new pids and apply then with there respecteive part as given in the problem.
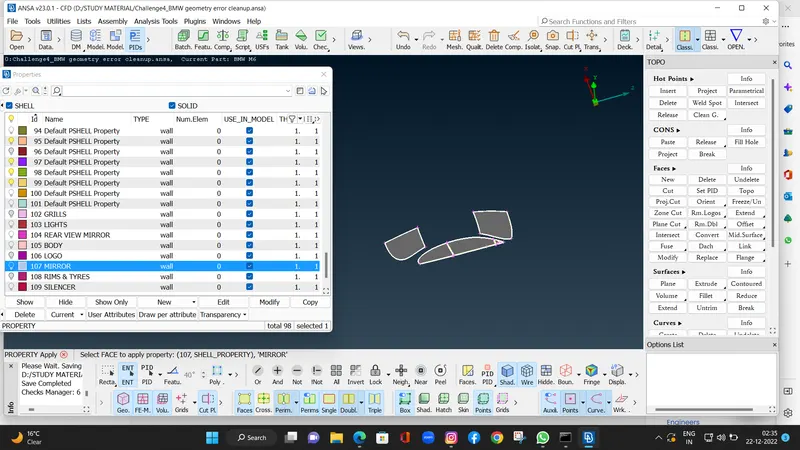
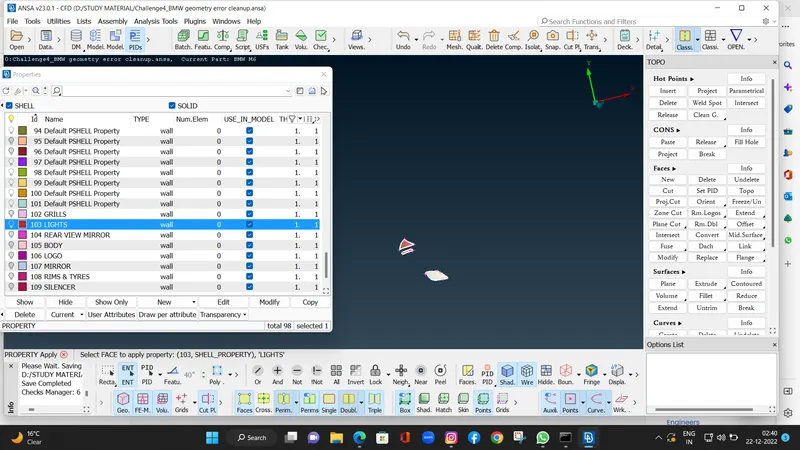
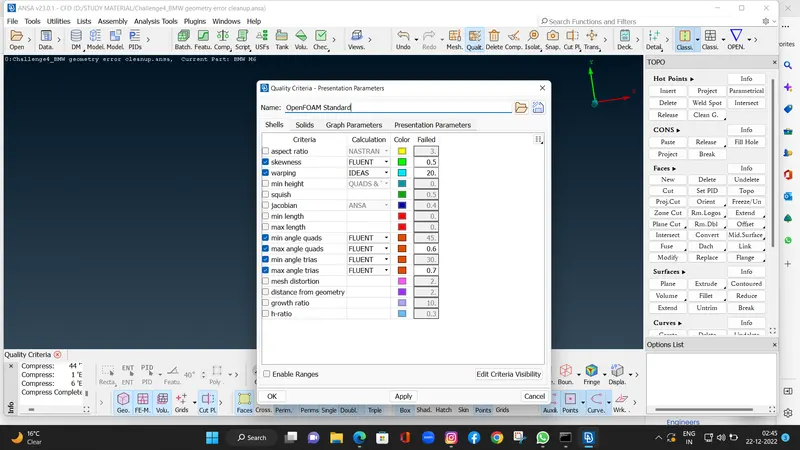
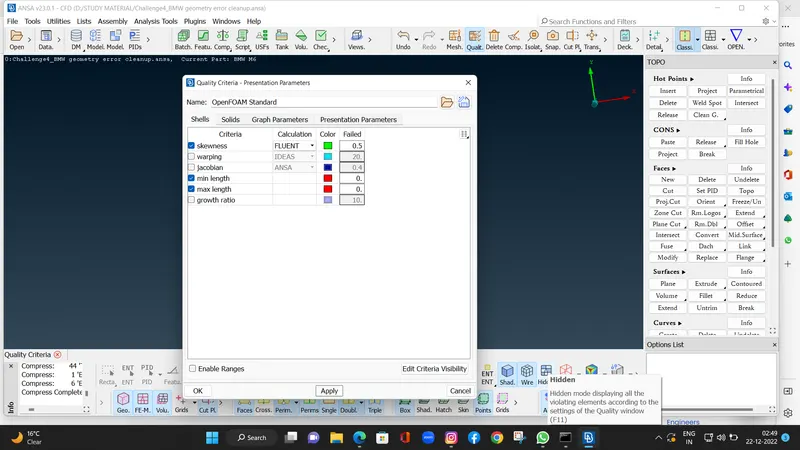
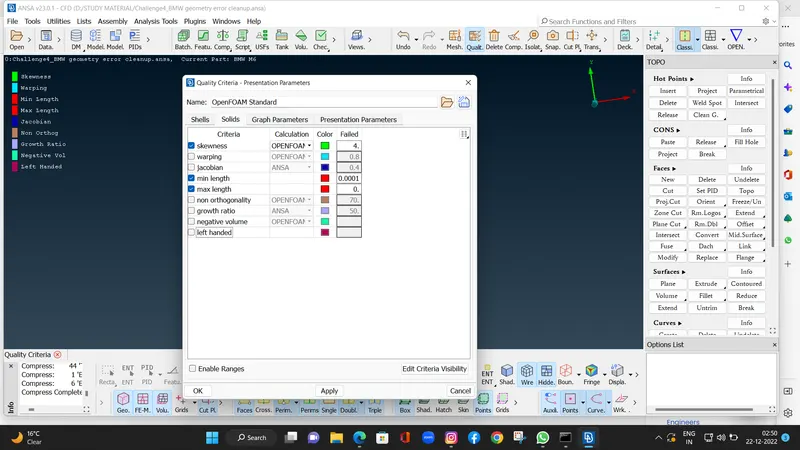
QUALITY CRITERIA - PRESENTATION PARAMETER
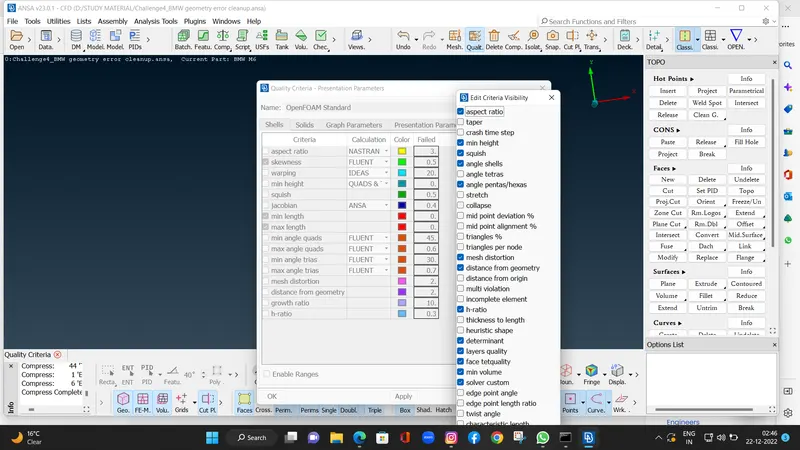
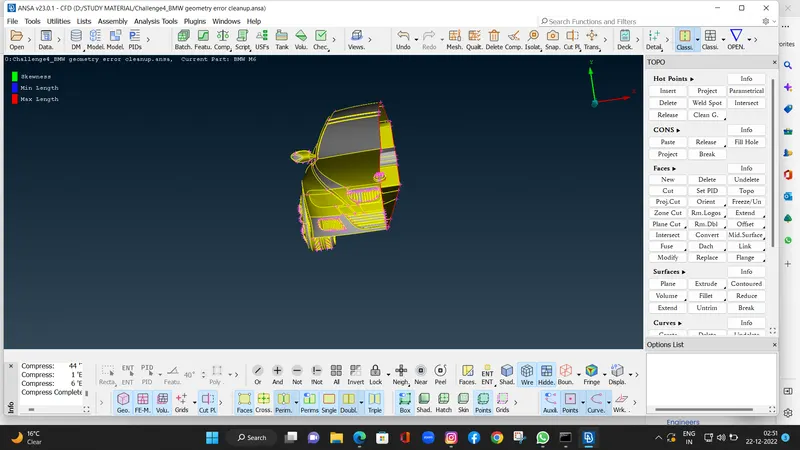
In quality critera we will focus on the SKEWNESS, MINIMUM & MAXIMUM LENGTH.
- Here we will off all the quality criteria except skewness , minimum and maximum length.
Step 2 : Surface Meshing
- In surface meshinf as we assigned pids and given target length we will mesh the part according to that.
- Body - 3 mm
- Lights - 4 mm
- Grills - 1 mm
- Rims and Tyres - 2 mm
- Optical Rear view mirror - 2 mm
- Window - 2 mm
- Silencer - 3 mm
- Logo - 1 mm
First of all we will go for grill and logo
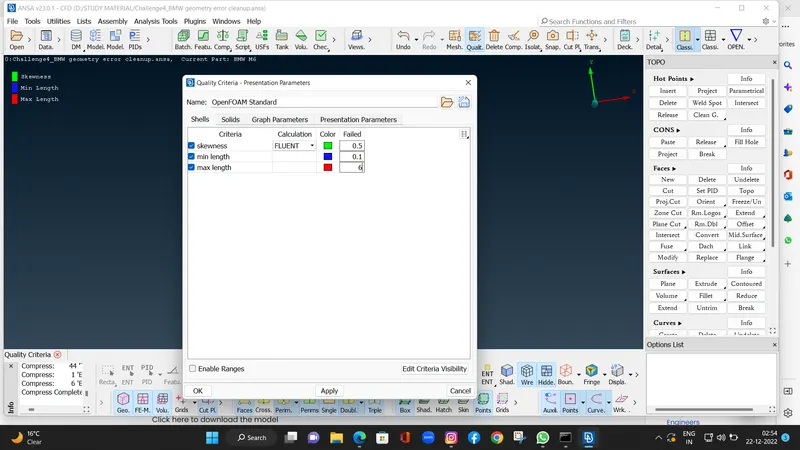
Before that we will set our quality criteria.
SKEWNESS 0.5MM
MIN LENGTH 0.1MM
MAX LENGTH 6 MM
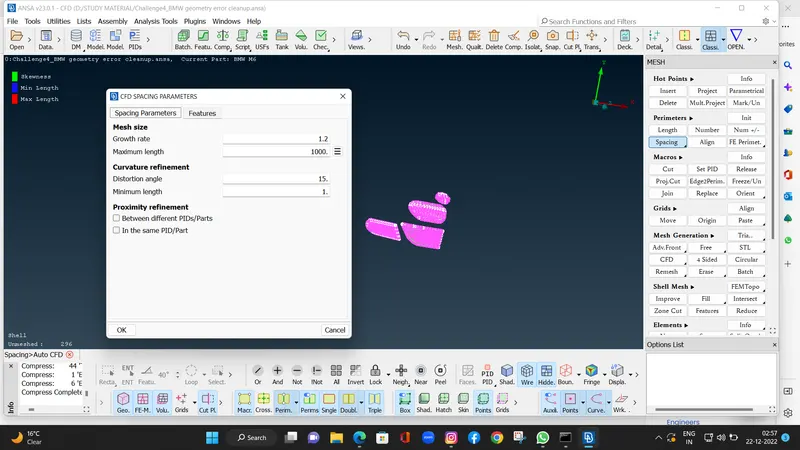
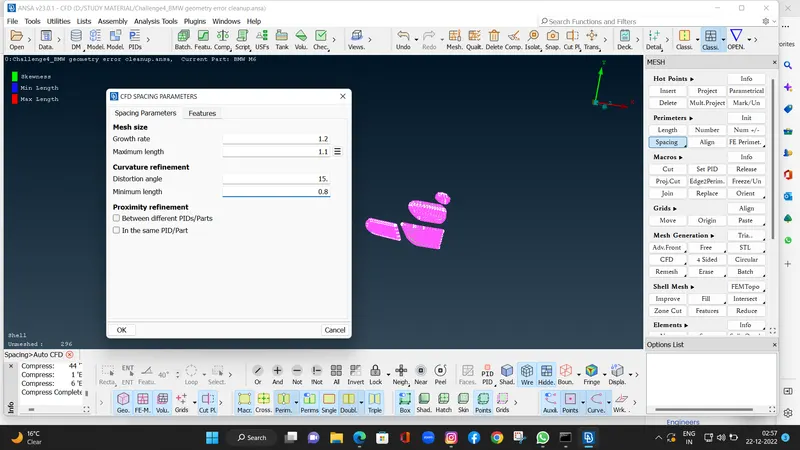
LOGO & GRILLS
MIN LENGTH 0.8MM
MAX LENGTH 1.1MM
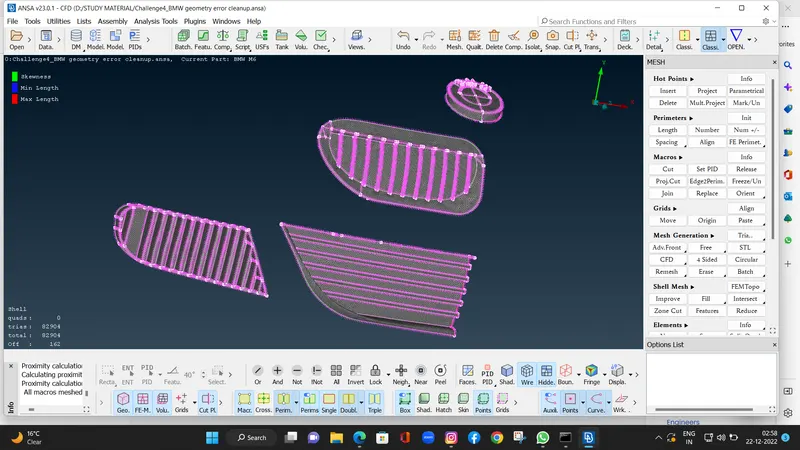
SPACING > AUTO CFD > PARAMETER > MAX & MIN TARGET LENGTH > CFD VISIBLE.
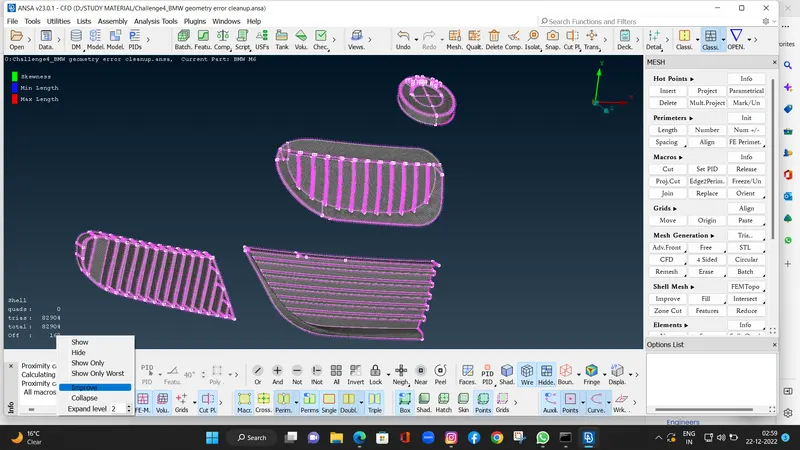
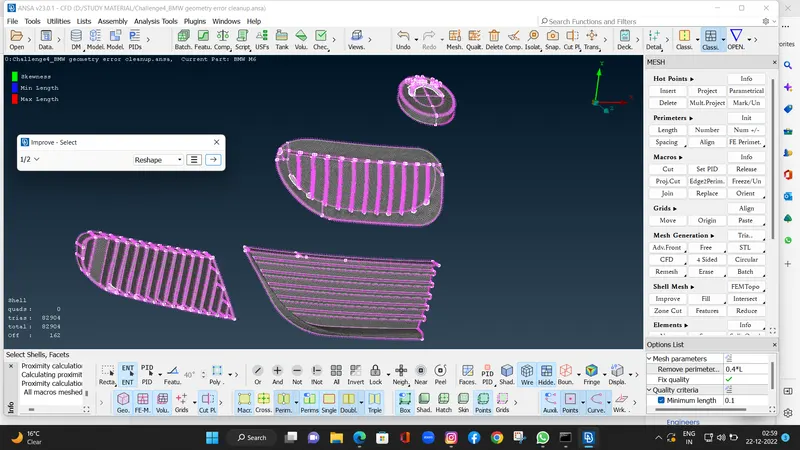
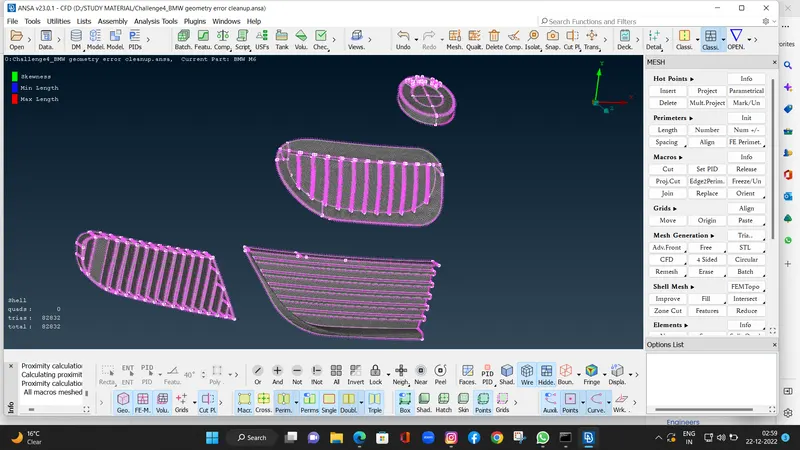
There is showing TRIA ELEMENTS 82904 & OFF ELEMENTS 162.
Right click and reshape it all off elements are gone.
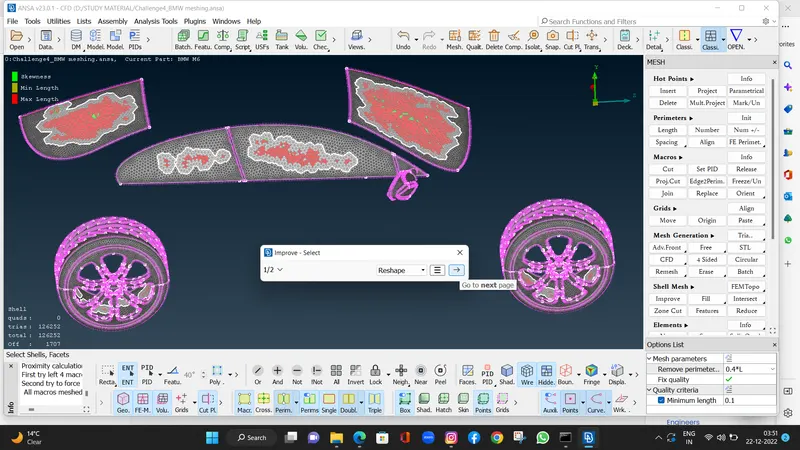
Rims and Tyres ,Optical Rear view mirror & Window
MIN LENGTH 1 MM
MAX LENGTH 3 MM
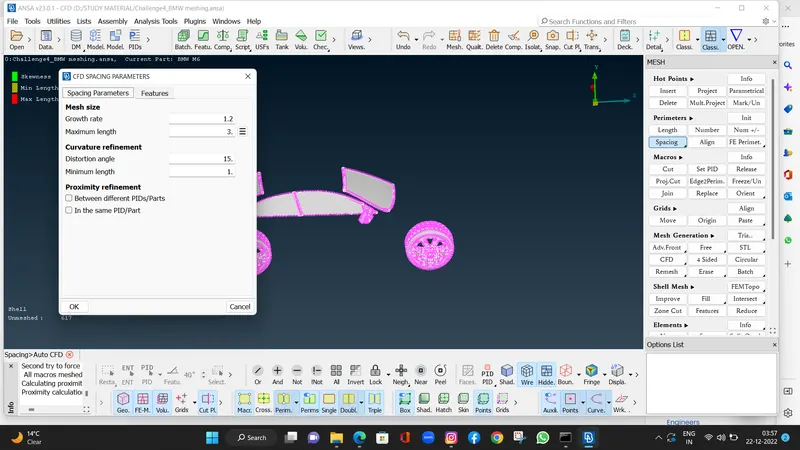
SPACING > AUTO CFD > PARAMETER > MAX & MIN TARGET LENGTH > CFD VISIBLE.
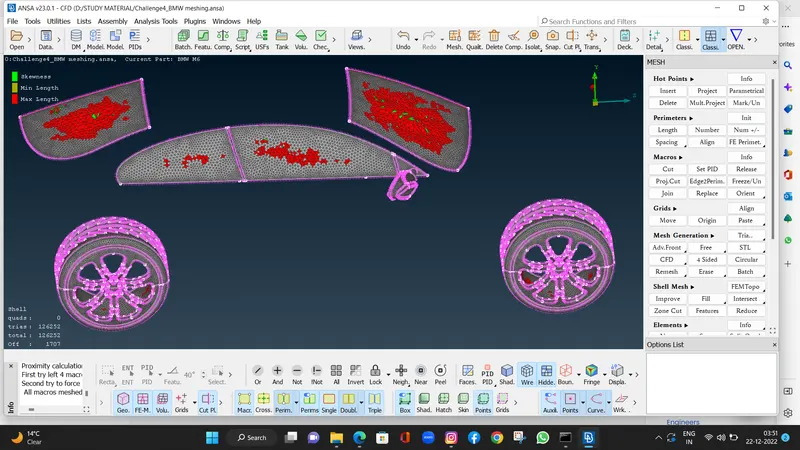
There is showing TRIA ELEMENTS 124252 & OFF ELEMENTS 1707.
Right click and reshape it all off elements are gone
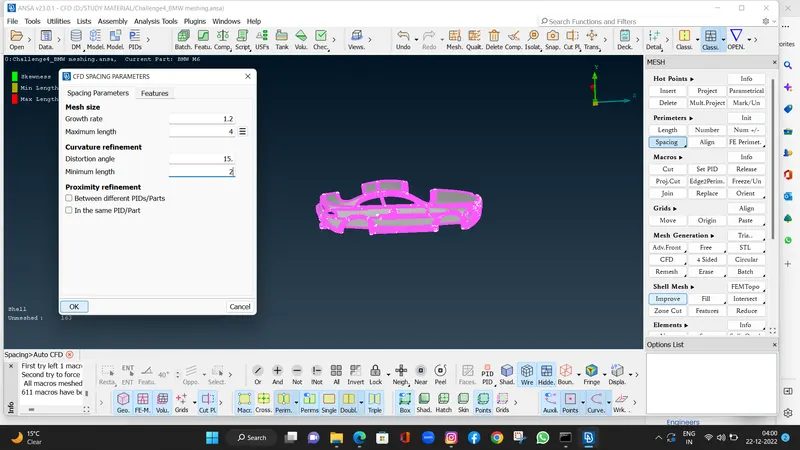
BODY & Silencer (3 MM TARGET LENGTH )
MIN LENGTH 2 MM
MAX LENGTH 4 MM
SPACING > AUTO CFD > PARAMETER > MAX & MIN TARGET LENGTH > CFD VISIBLE.
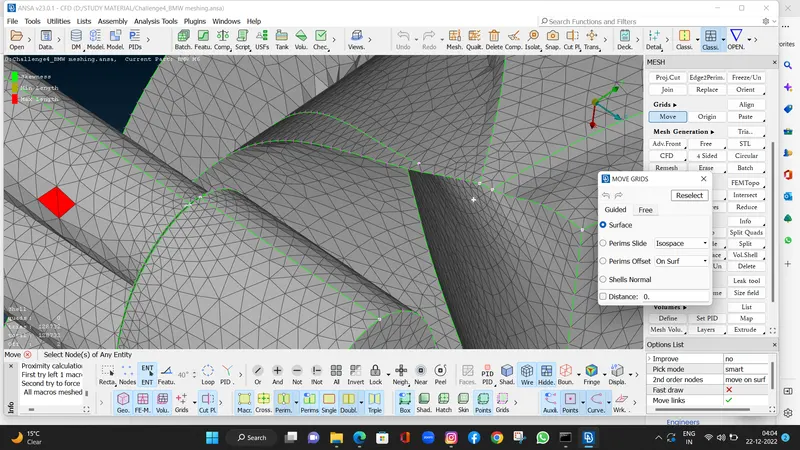
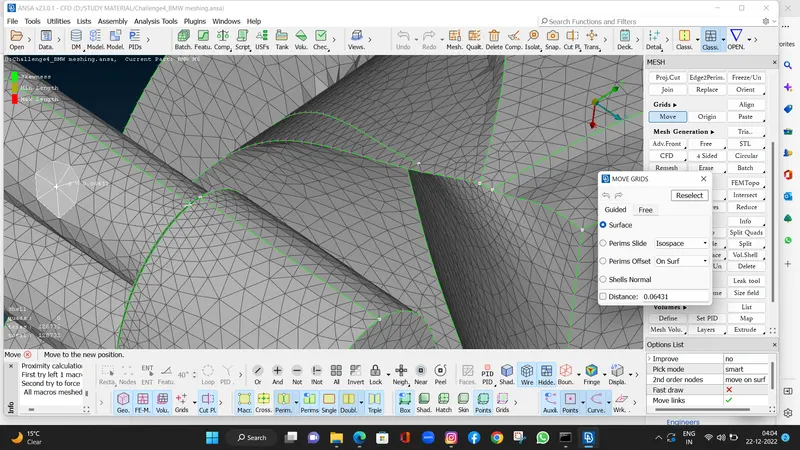
There is showing TRIA ELEMENTS 103367 & OFF ELEMENTS 10767
Right click and reshape it all off elements are gone. but only 2 elements are showing so we can move the grind and sove it.
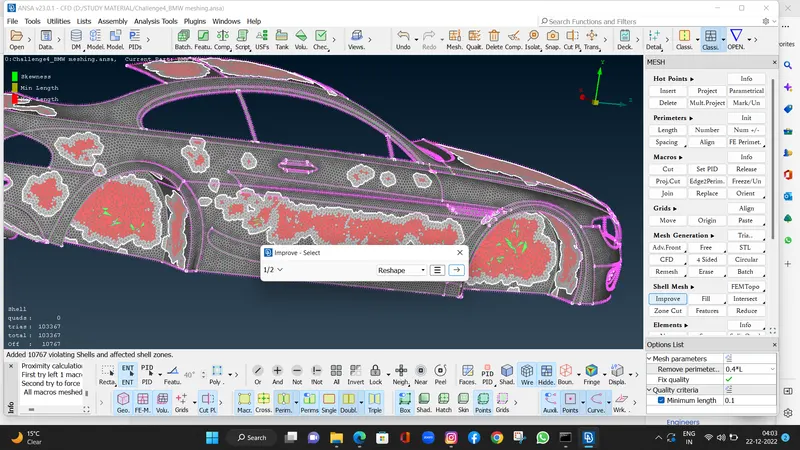
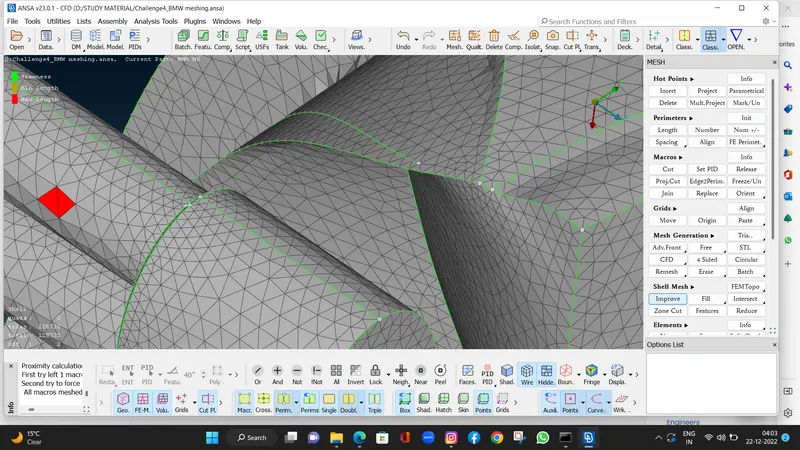
Here well move the off elements grid move and solve it.
GRIDS > MOVE GRIDS < SELECT NODES > MOVE.
- Lights - 4 mm
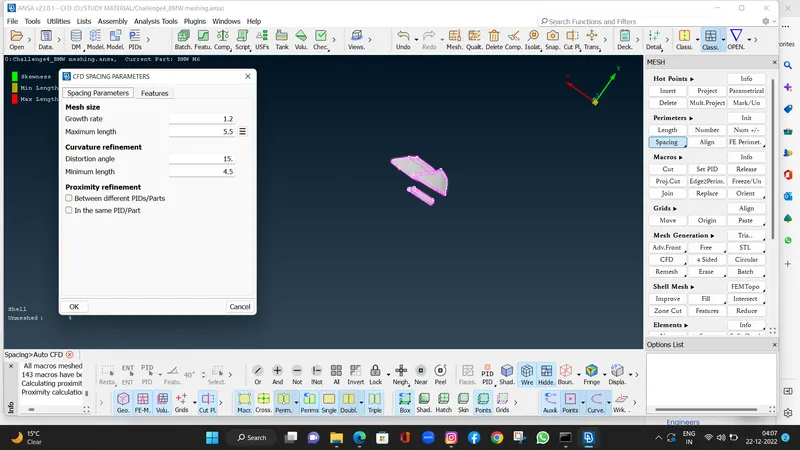
MIN LENGTH 1.2 MM
MAX LENGTH 4.5 MM
SPACING > AUTO CFD > PARAMETER > MAX & MIN TARGET LENGTH > CFD VISIBLE.
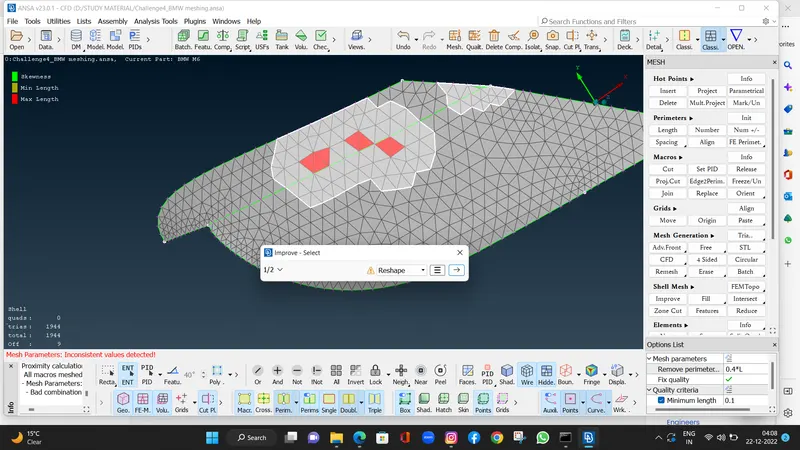
There is showing TRIA ELEMENTS 1944 & OFF ELEMENTS 9
Right click and reshape it all off elements are gone.
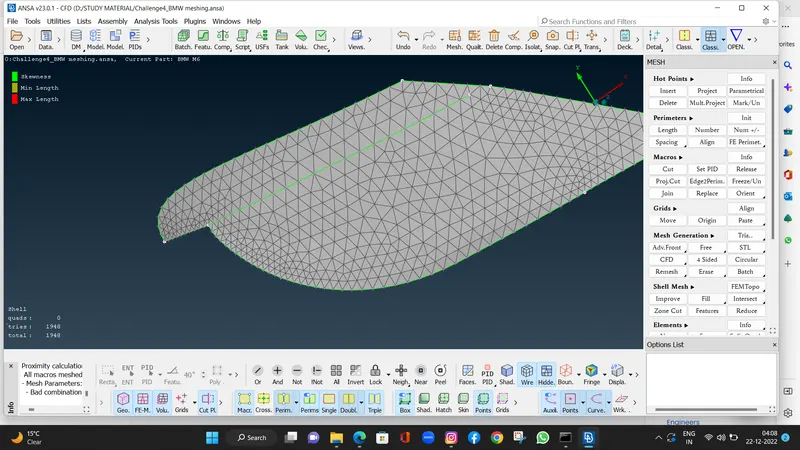
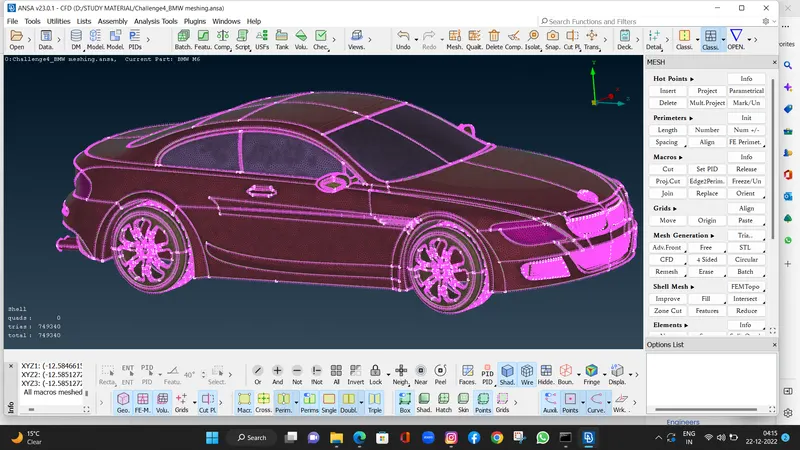
SURFACE MESHING FINAL GEOMETRY
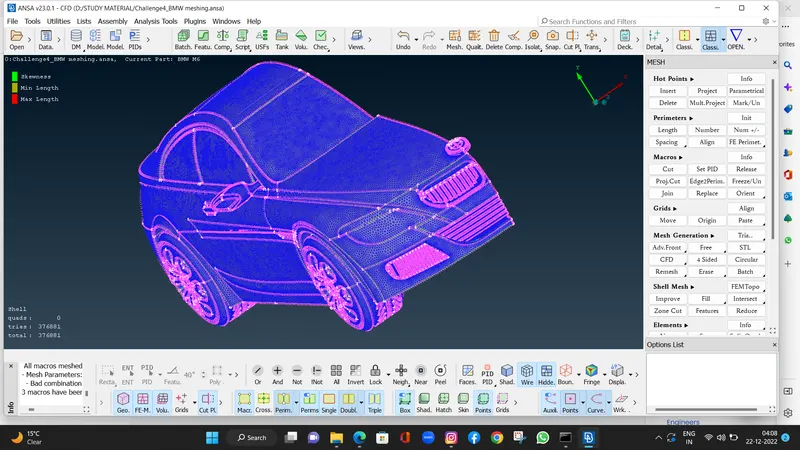
After surface meshing we will transform the half part.
TRANSFORM > SYMMETRY > MIRROR 3 POINTS FACES > SELECT RANDOM THREE HOT POINTS > OK > APPLY > FINISH.
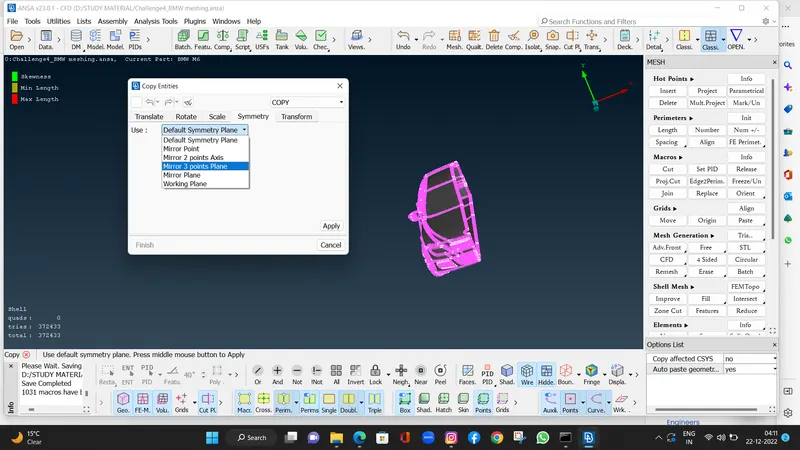
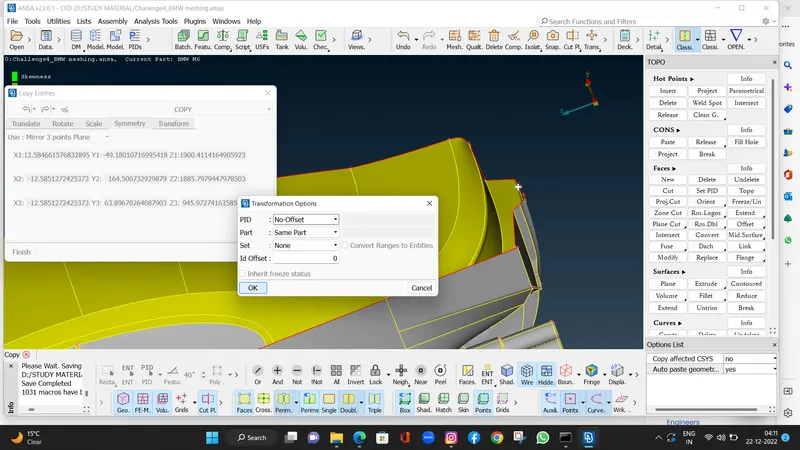
Here there is showing some red cons so we hit TOPO here and now i have final full geometry.
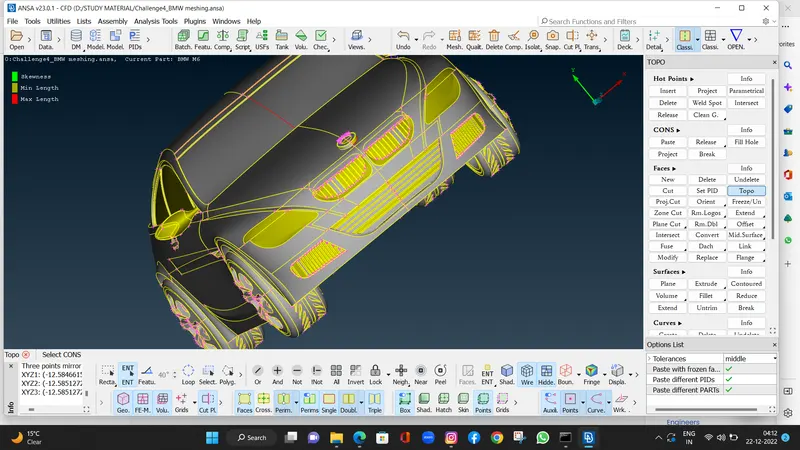
After mirror full Geometry.
Step 3 : Wind Tunnel
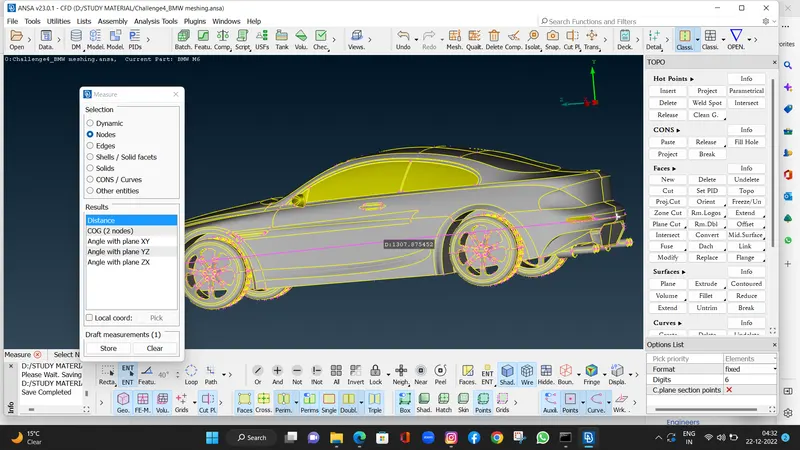
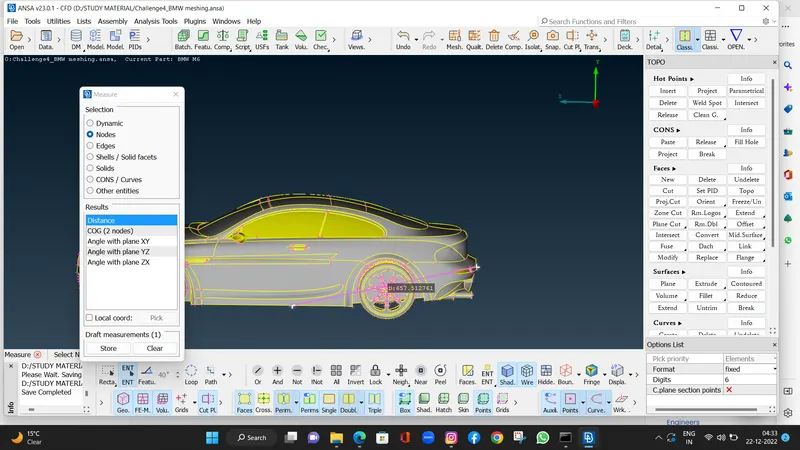
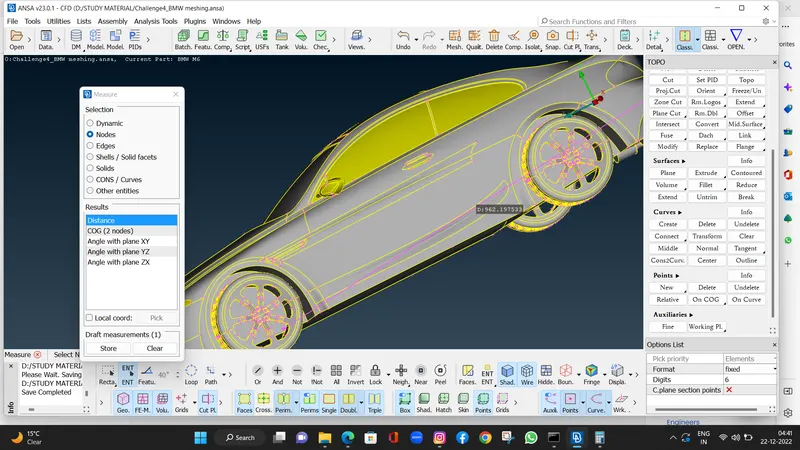
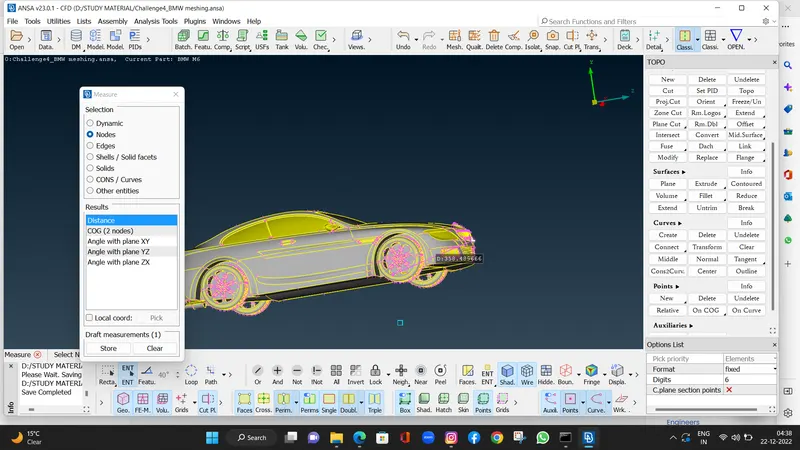
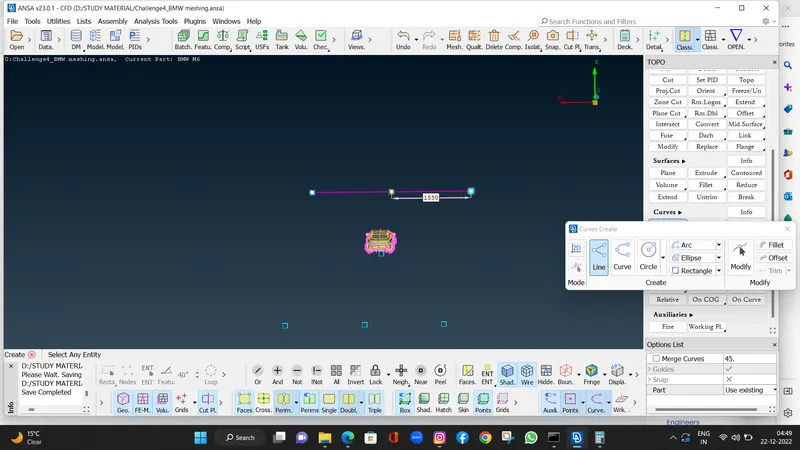
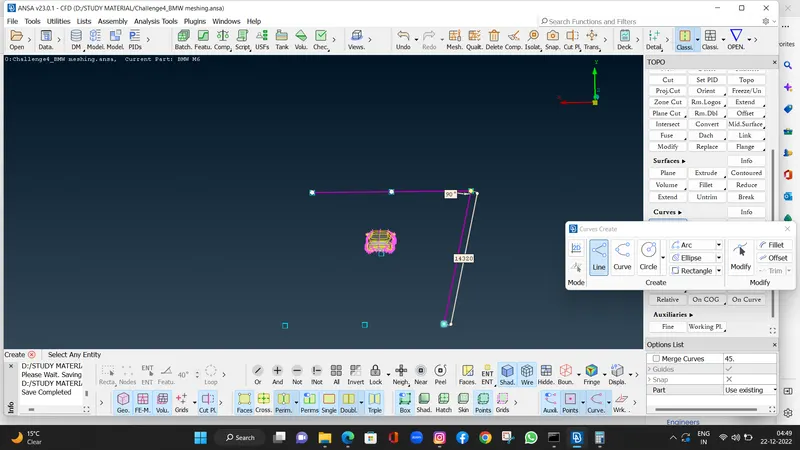
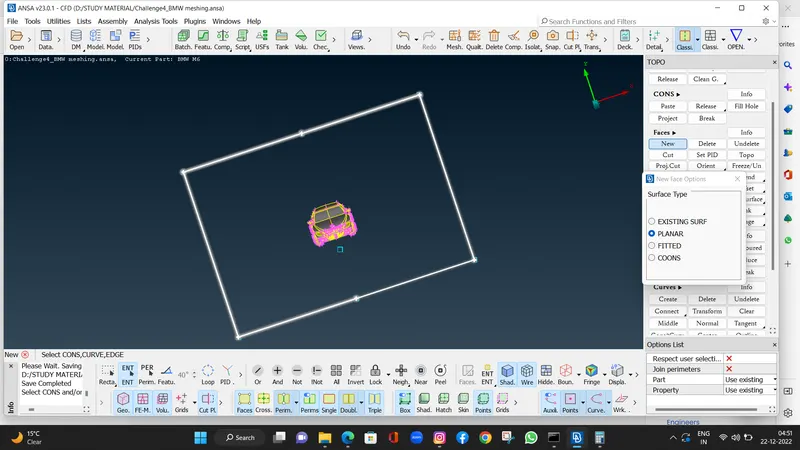
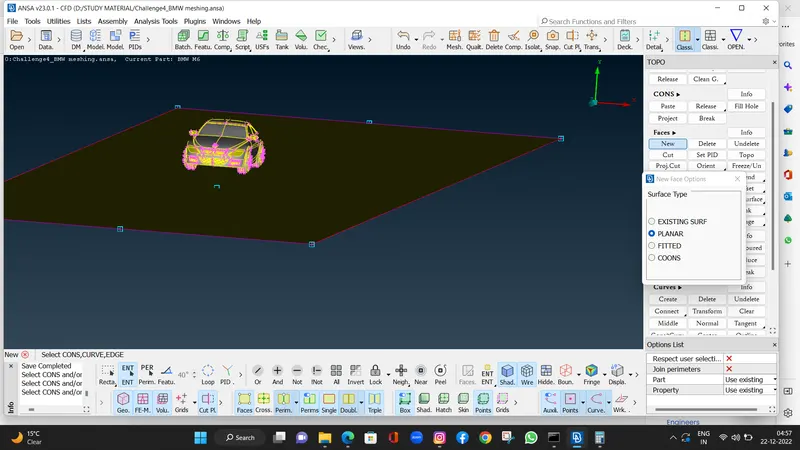
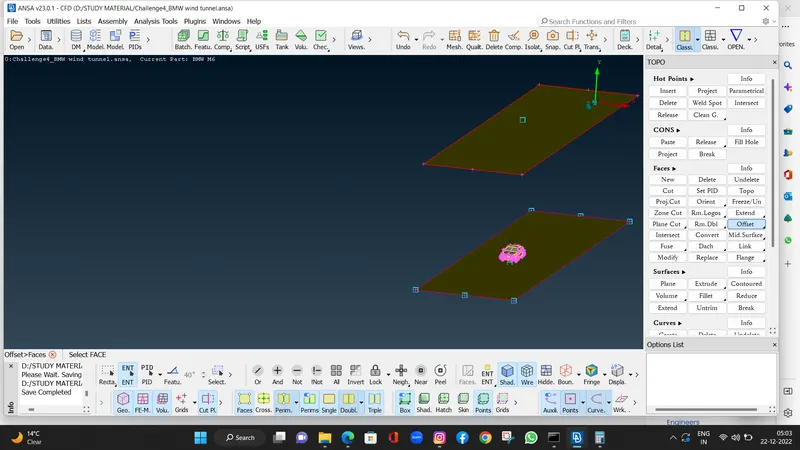
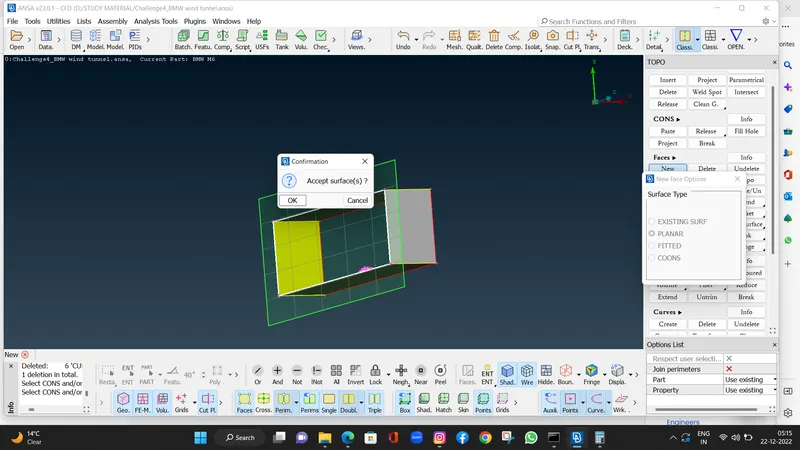
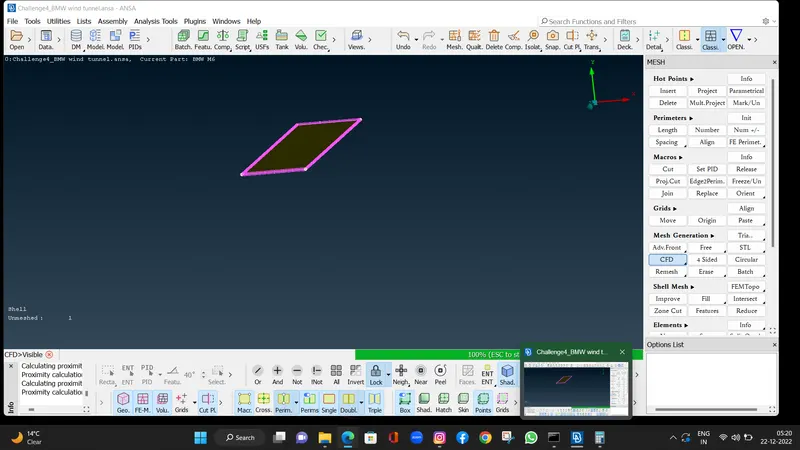
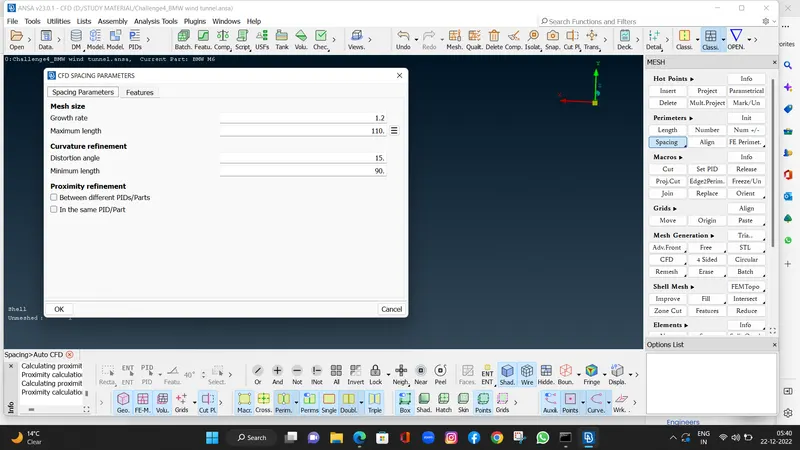
Here we will go for Grown Mesh so.
PERIMETERS > SPACING > > MANUAL > DSTART > 20MM > DLIMIT >100MM > OK .
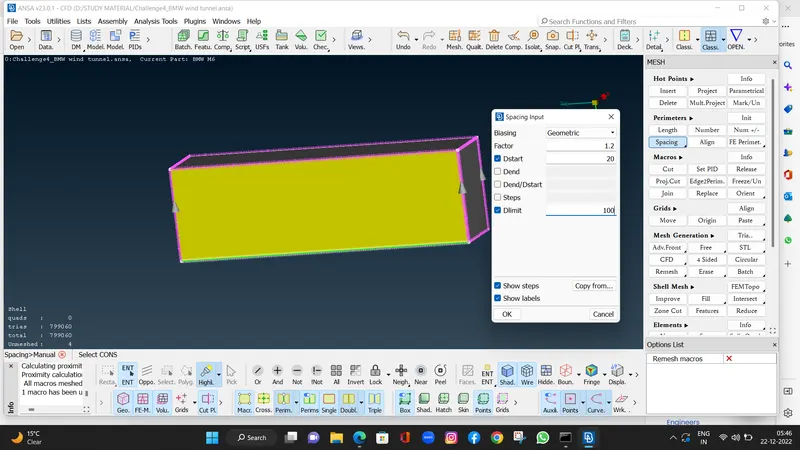
It is grown mesh from 20mm to 100 mm from bottom face to top face.
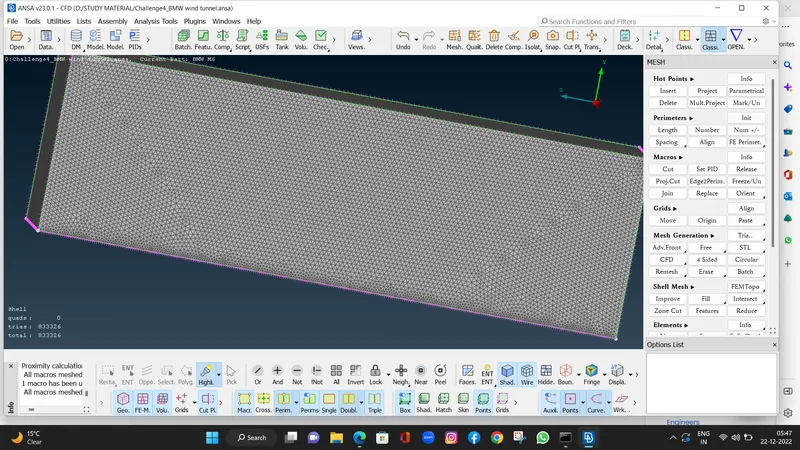
geometry cleanup
https://drive.google.com/file/d/1U08KUWOu5q_gZH3x3FO-kiTZoo3ewikW/view?usp=share_link
surface meshing
https://drive.google.com/file/d/1wwzLB3mOlXrZ8isNV6Fp2eR6i4EUzWG7/view?usp=share_link
wind tunnel
https://drive.google.com/file/d/1b6ITB-9Fu5jJPjC4GsP3keqfbVYXqsC2/view?usp=share_link