Project 1 : CFD Meshing for Tesla Cyber Truck
AIM : CFD Meshing for Tesla Cyber Truck
For the given model, check and solve all geometrical errors and Assign appropriate PIDs. Perform meshing with the suitable Target length and element Quality criteria.
Target lengths for the different parts of a model are as follow:
- Body - 3 mm
- Tyres - 2 mm
- Window - 2 mm
There is a some steps to do meshing in this challenge.
Step 1 : Analyse or Refine the geometry
Step 2 : Surface Meshing
First i will go for geometry analysis and refine and rectify the errors in geometry.
*Before that we will check our geometry and according to the resolution we will fix it by using length perimeter > parameter and macros.
I use 1 mm length perimeter for parameter and macros.
- As we see in this model there is a lot of single cons are reflected in red, so in order to solution of that we have to clear it with the TOPO command.
- After hitting topo command we solved maximum single cons in the model.
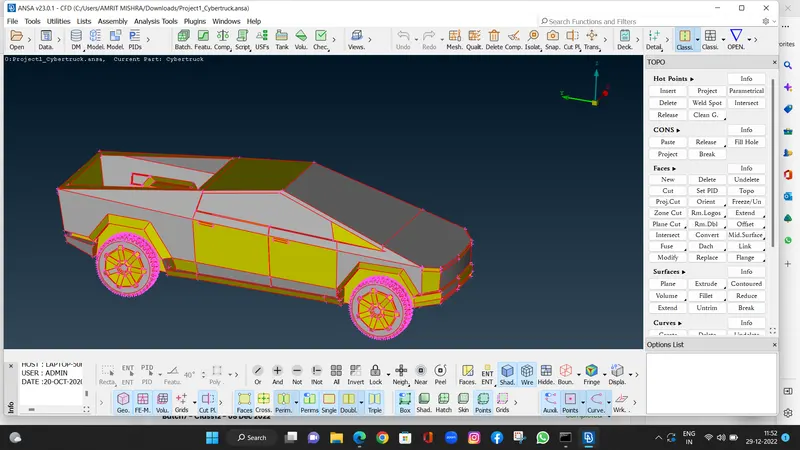
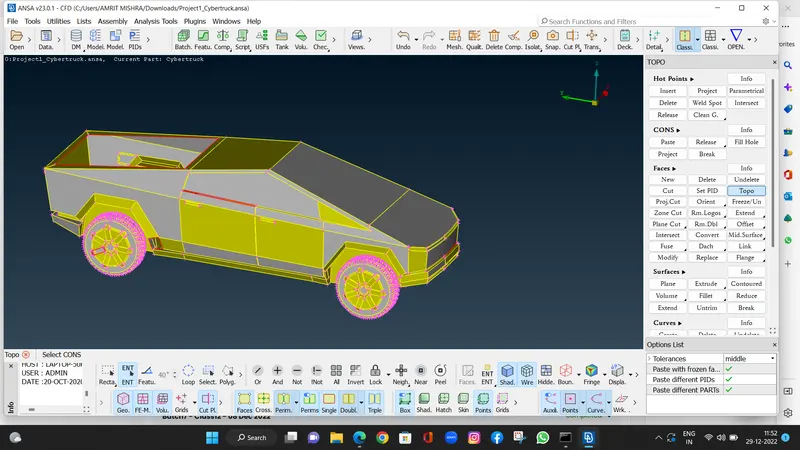
- After clear maximum single cons we will go for the seperate the modle into half that will be easy for our entire geometrical error rectification and as well as CFD meshing.
In order to do that i will use "Plane cut command"
- In this first we use select plane cut coomand and select the single point at the middle of the model.
- Dcommand will reflect a plane cut direction in which direction i want show i do at the middle of the model and do middle click.
- There will be cut at the middle of the entire model.
FACES > PLANE CUT >SELECT POINT > MIDDLE CLICK.
- After that we will delete the other half right hand side of the model and wee will be will on the half other part.
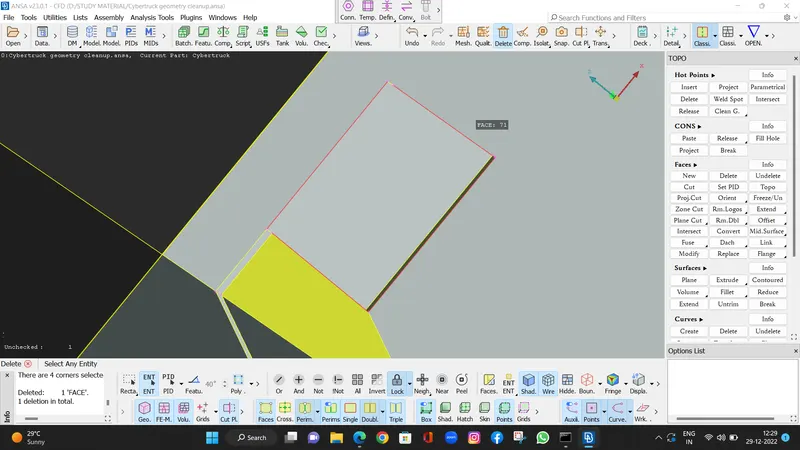
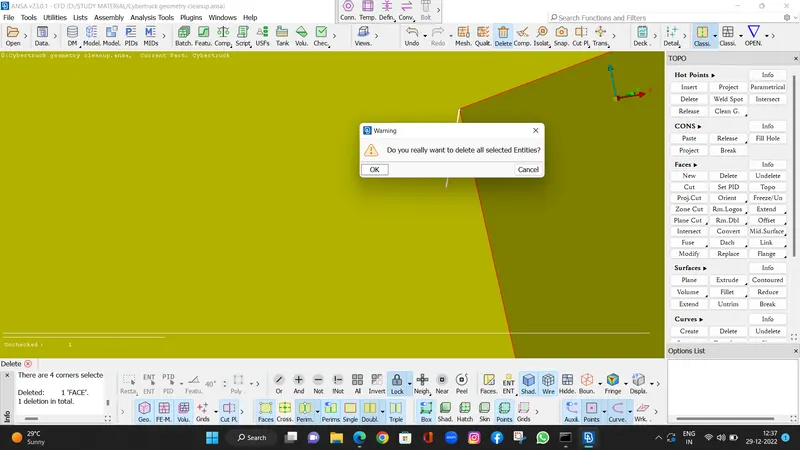
universal delete command > select the face > middle click > ok.
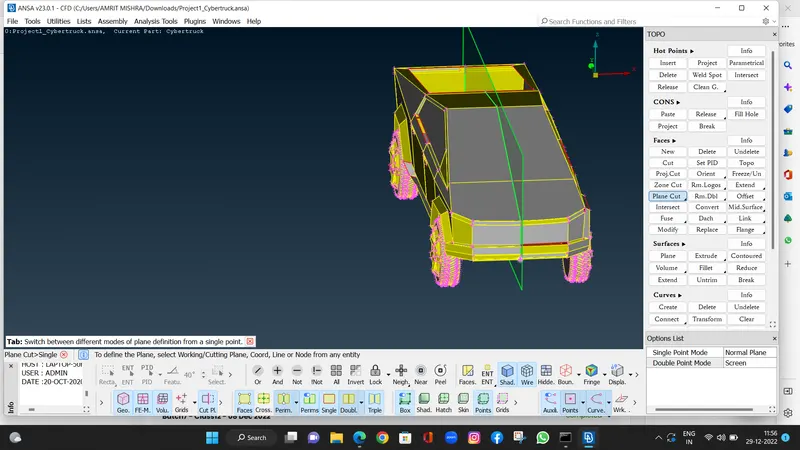
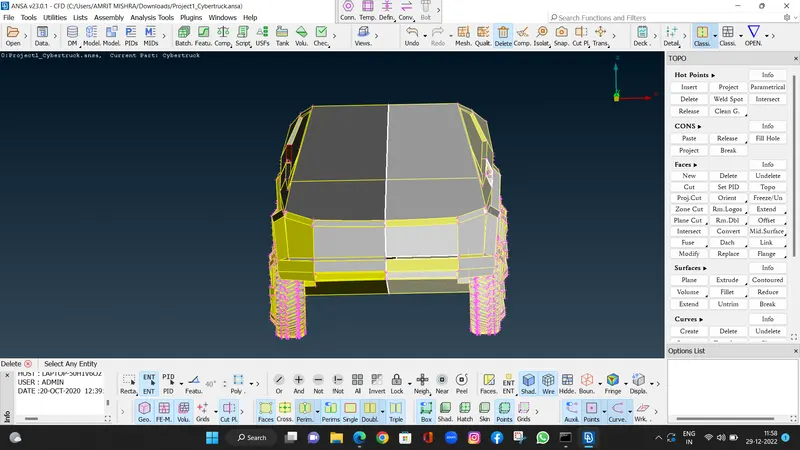
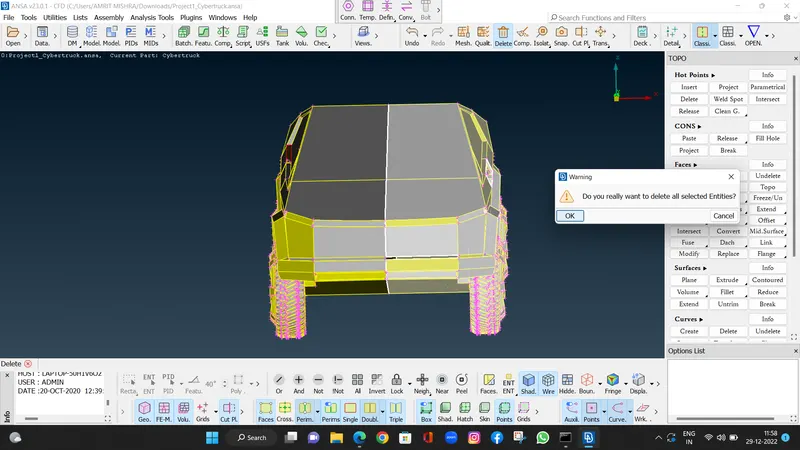
Step 1 : Analyse or Refine the geometry
- In this first step we will rectify the geometrical erros in the whole model.
Here some faces are missing in the body part and ,one face is missing inthe tyre rim part and there is some little small faces which i have to clear it.
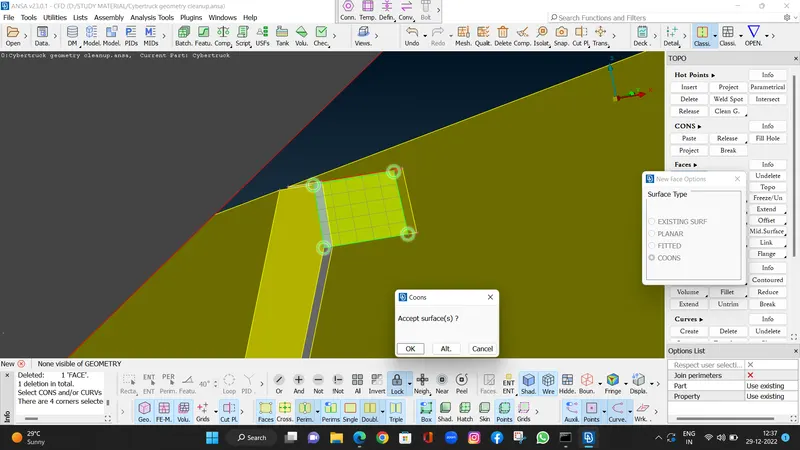
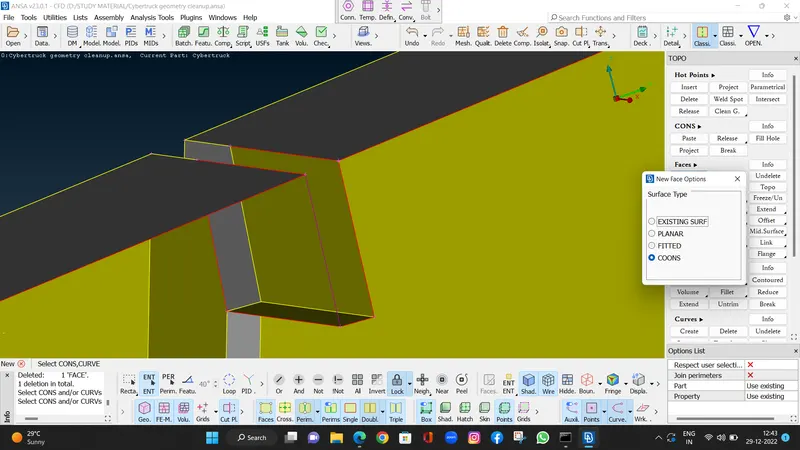
In order to do error rectification we use coons command to clear all the missing faces in the model.
FACES > NEW > COONS > SELECT ENTTITY CONS > MIDDLE CLICK > ACCEPT SURFACE > OK .
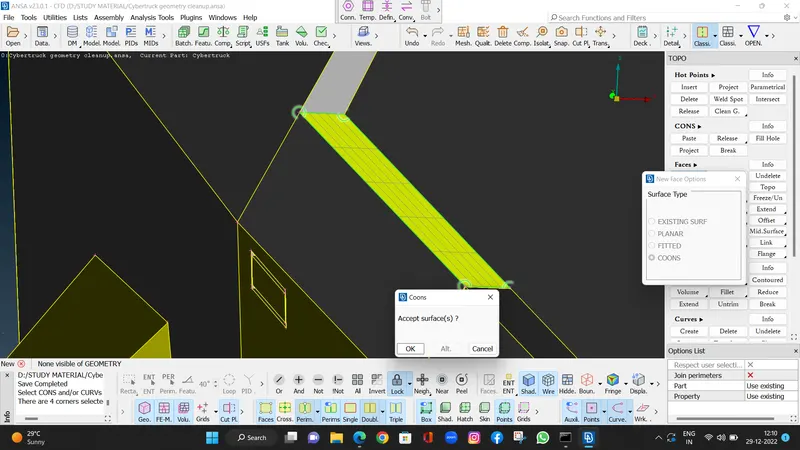
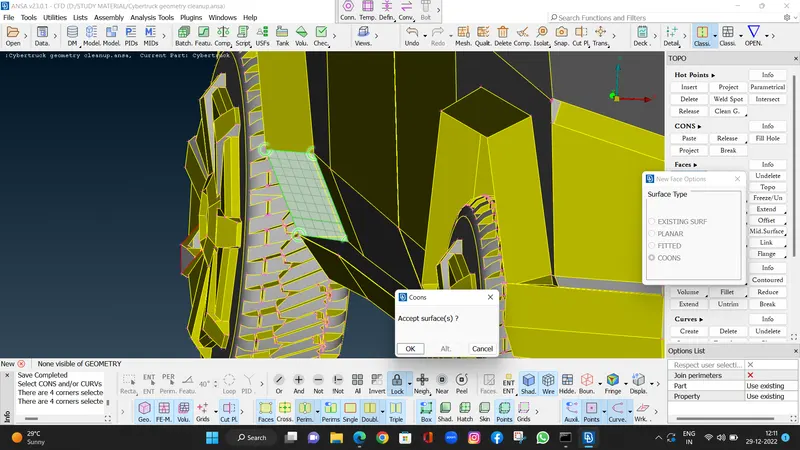
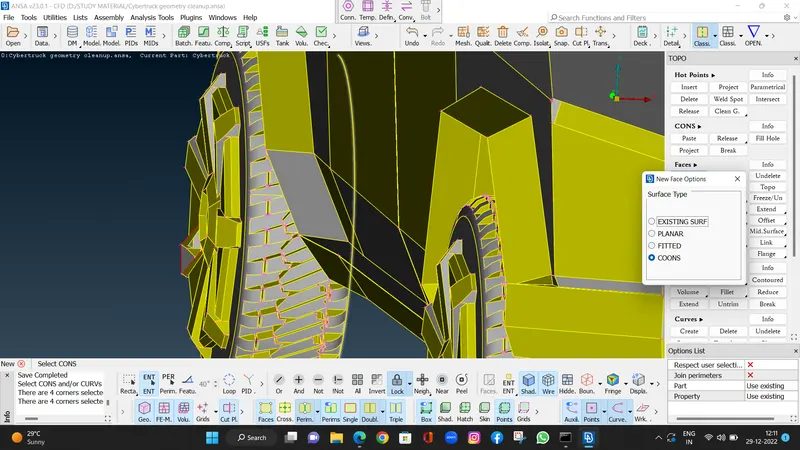
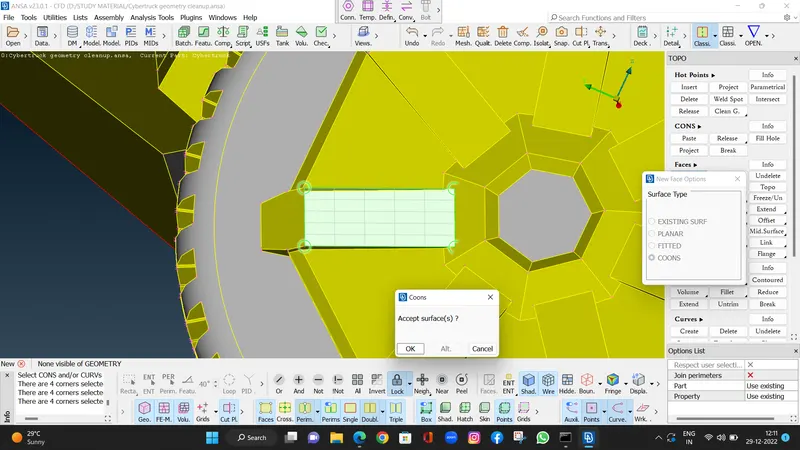
- At the top of the model there is surface missing so we use new face command income option And it will be cleared.
FACES > NEW > COONS > SELECT ENTTITY CONS > MIDDLE CLICK > ACCEPT SURFACE > OK .
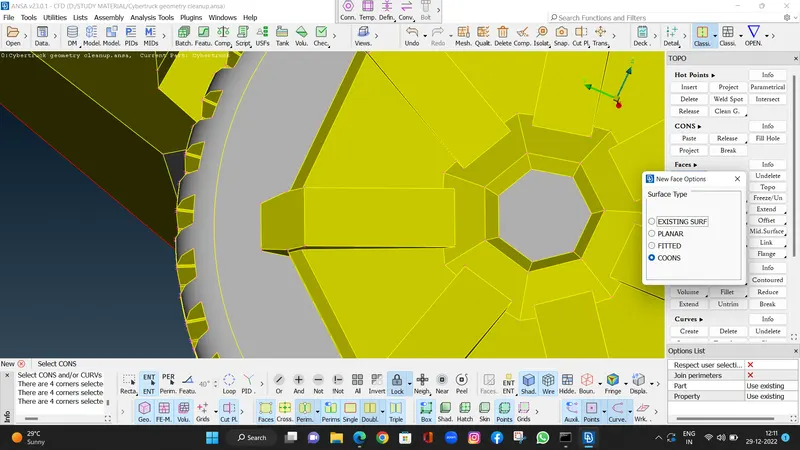
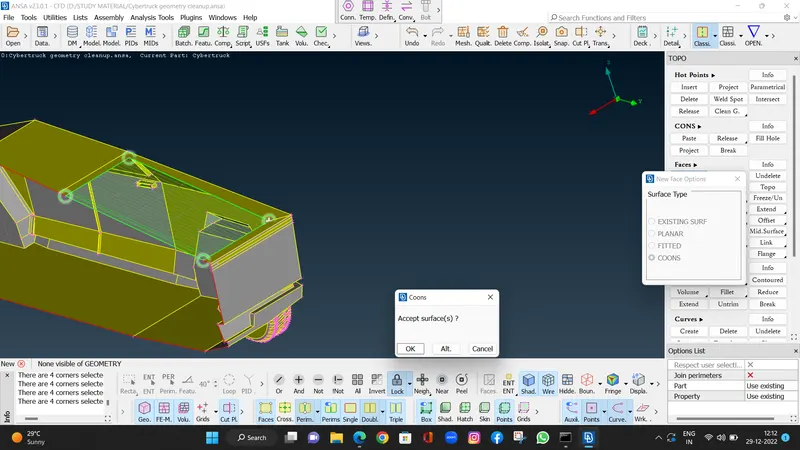
- After clearing some symmetrical errors we will use check manager for checking the left geometrical errors.
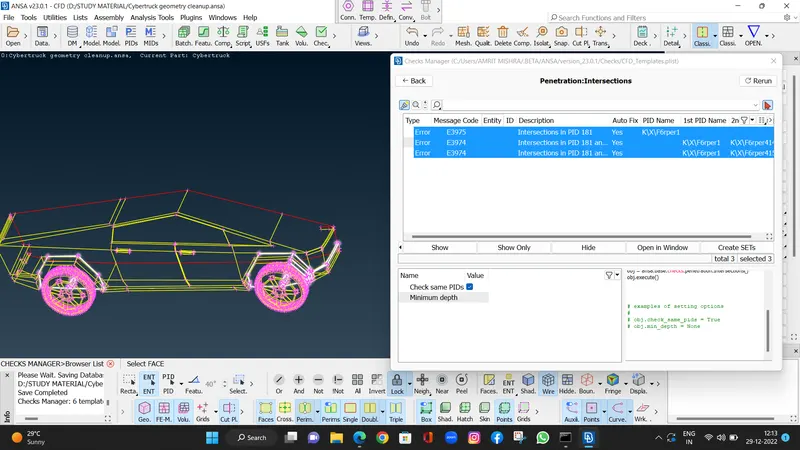
- So we go check managers geometry check in intersections and penetration errors there will be 3 errors which is showing our some parts are intersecting with each other.
- And as well as there are know any single cones accept our deleted half part which is showing single cones.
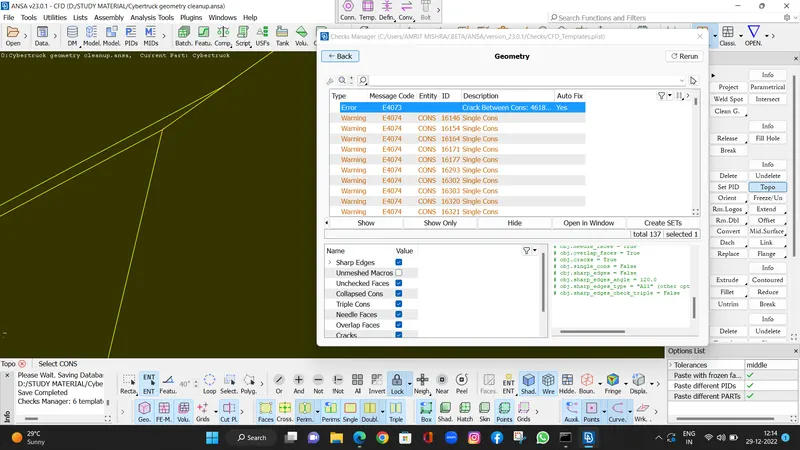
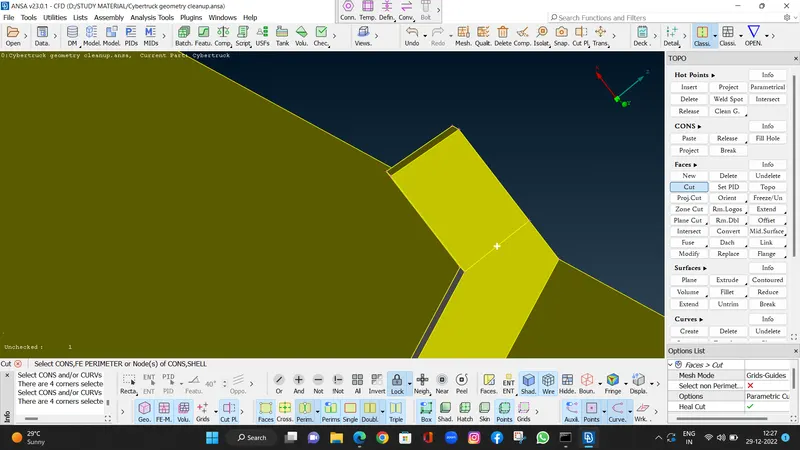
- Here in the window section at the middle part of the window there is a surface extending surface level is not messed by 2 surfaces so we will rectify it and clean the geometry.
- First of all we use cut command and cut the surface from both side because its selecting whole services when we try to delete the services for levelling it.
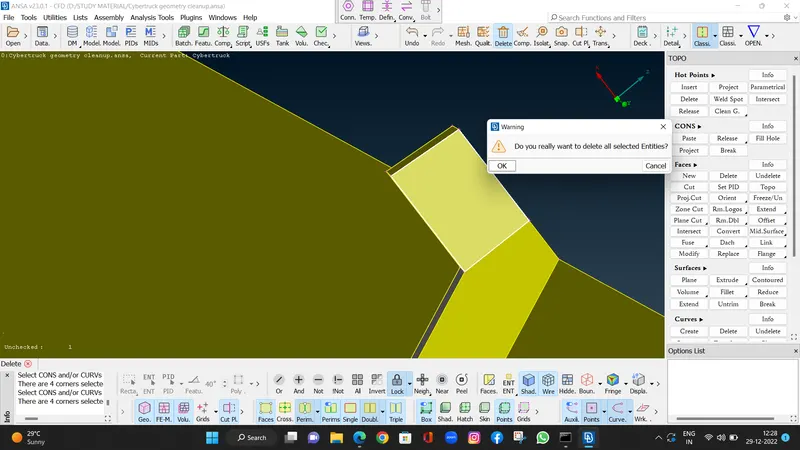
- After deleting the surfaces there is some extra small faces so we will delete it.
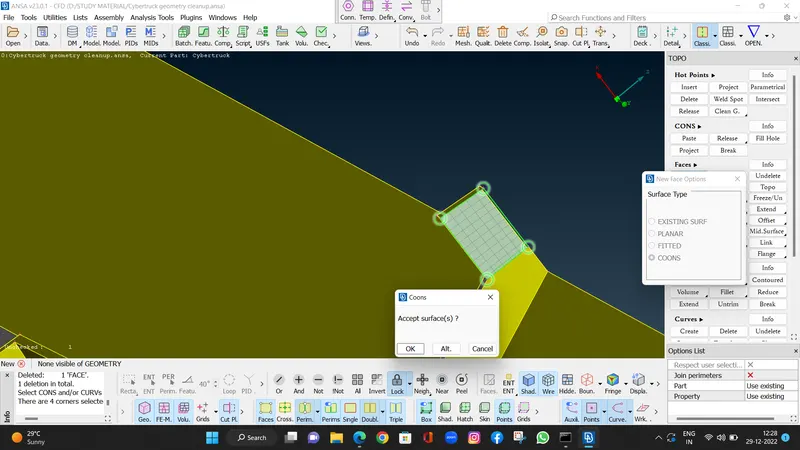
- In the cones command there is curves to cons so we will use it and create extra coins for guiding during creating new face there.
- Then we cancel the note option and do the all option so all hidden faces are come and there is no geometrical errors.
CURVES > CONS2CURVES > SELECT HOT POINTS > MIDDLE CLICK .
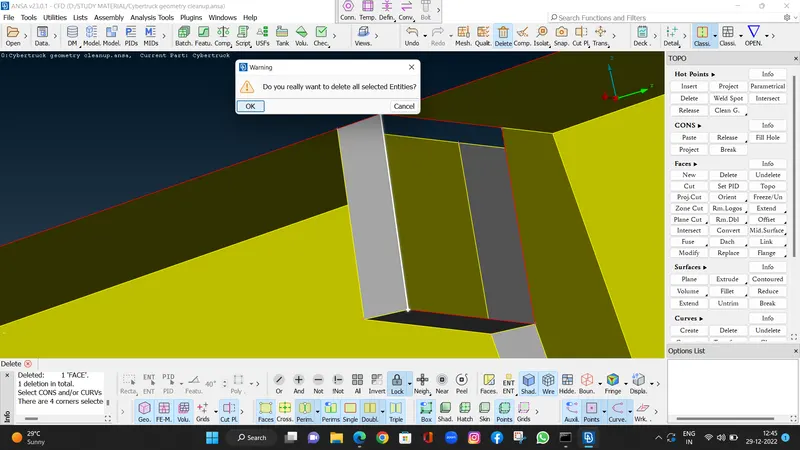
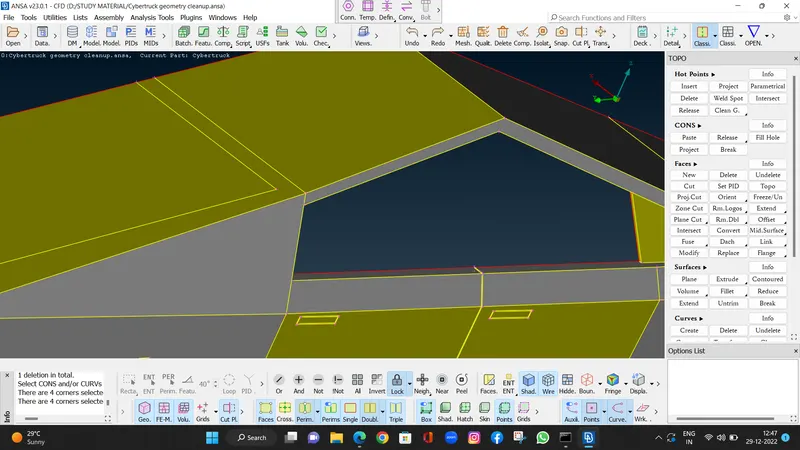
- Here we will go for check manager geometry checks an intersection and penetration errors there is showing 3 intersection errors which is reflecting on tyres and body so we will rectify it.
- Here end at the tires shaft there is showing overlapping faces so we will delete the brown faces over the green spaces so we will select the entity options and universal delete and one by one we will delete it.
- Then we will clear the geometrical errors at the softs we will do this on both tyres.
- After that we will go for the check managers and we will check the geometrical errors.
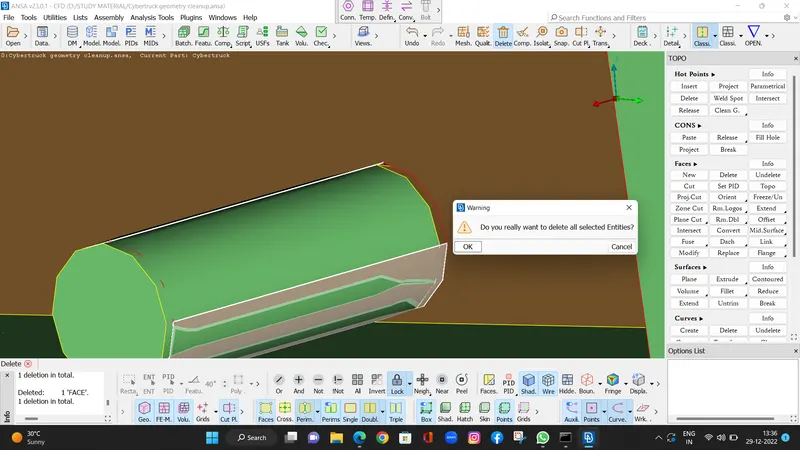
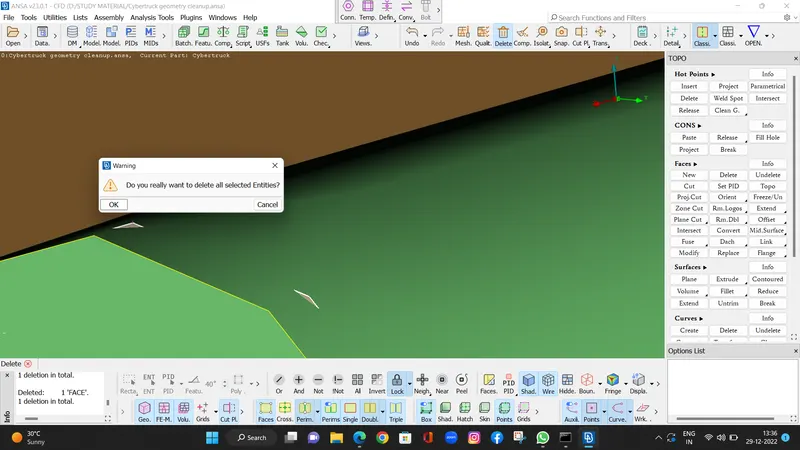
- Here we will go for the check managers and again check the geometrical errors.
- In the geometry as we see there is showing 129 warnings which is single coons where we deleted the half part of the model.
- In the penetration intersections there is no any grammatical errors.
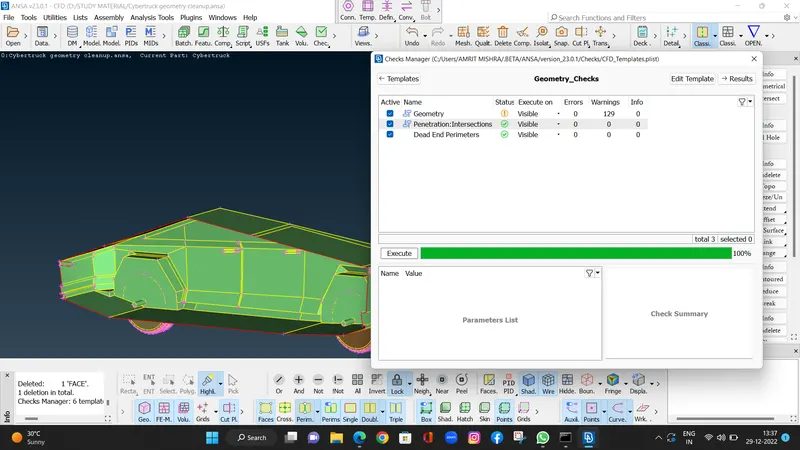
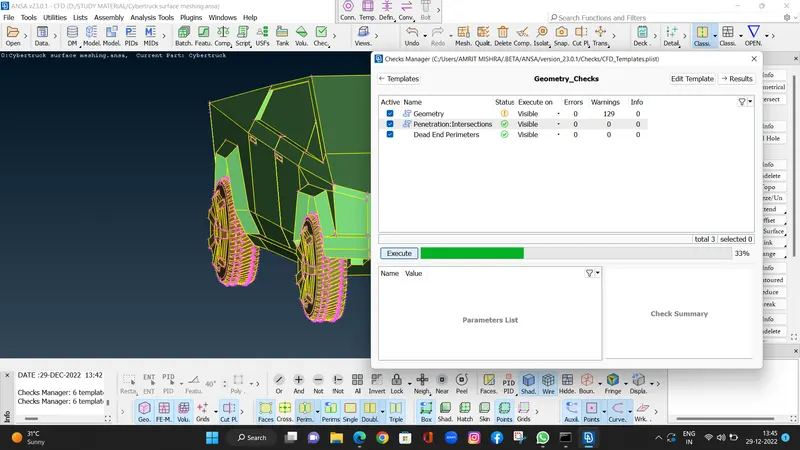
After cleaning the all geometrical errors we will go for the assigning the PIDS.
As we assign pids in 3 parts windows, tyres and body.
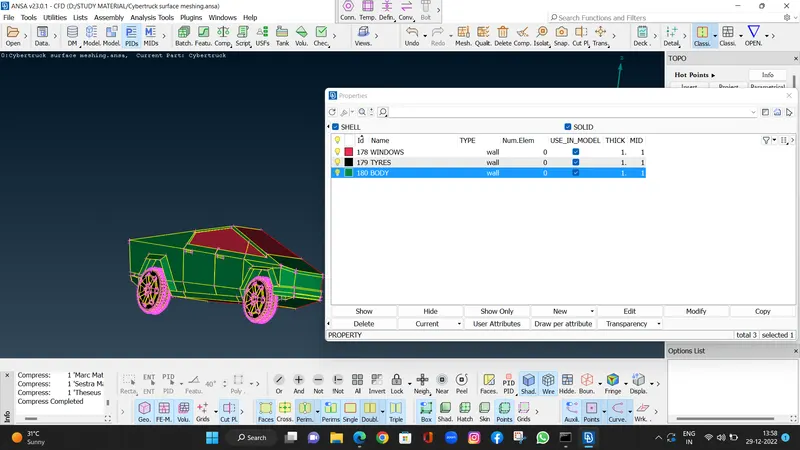
Step 2 : Surface Meshing
- Body - 4 mm
- Tyres - 2 mm
- Window - 2 mm
first of all Here we set our quality criteria.
In the quality criteria we will use skewness min length and Max length.
And all the other quality criteria we will close it except skewness, Min length & Max length .
- In our quality criteria we will set our maximum length 2 mm and minimum length 0.6 mm.
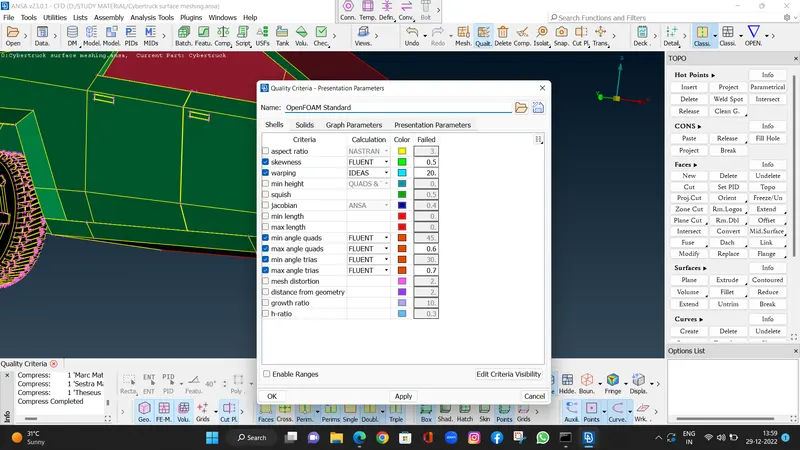
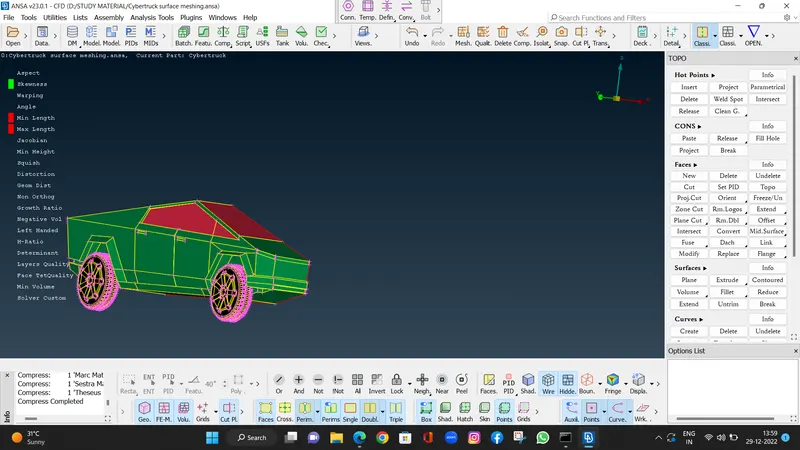
Here is our entire half model with assigned pids and set with our quality criteria.
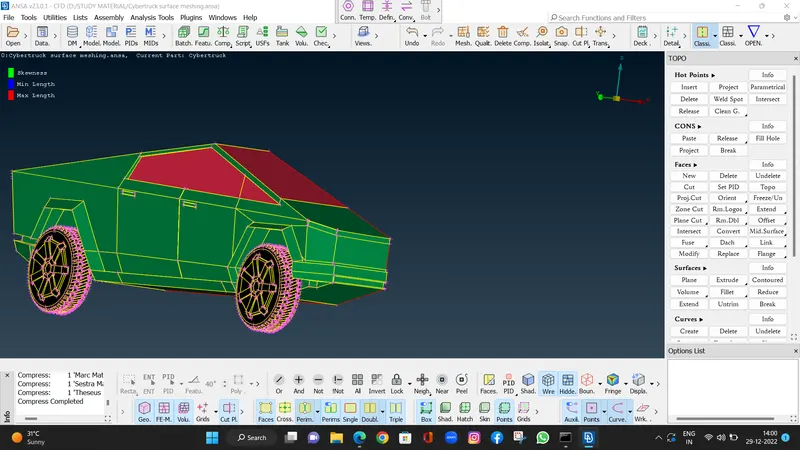
Here first of all we will go for window and tyres.
- First of all we will go for perimeters spacing auto CD we will select the parameters select the window and tires and we will go for the maximum length 2.5 mm and for minimum length we will go for 1.5 mm.
- Same thing we will go with macros.
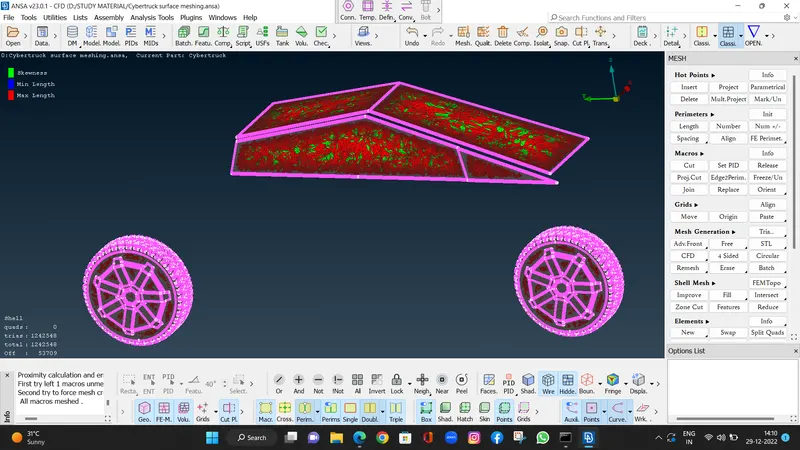
- After setting the parameters we will go with mesh generation command CFD and CFD visible.
- After mesh generation there is showing 1242,548 trias element.
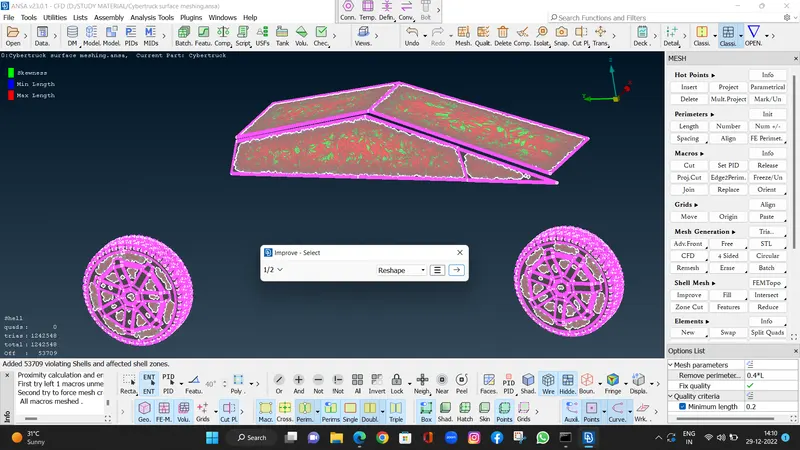
- And there is showing 52,709 off elements.
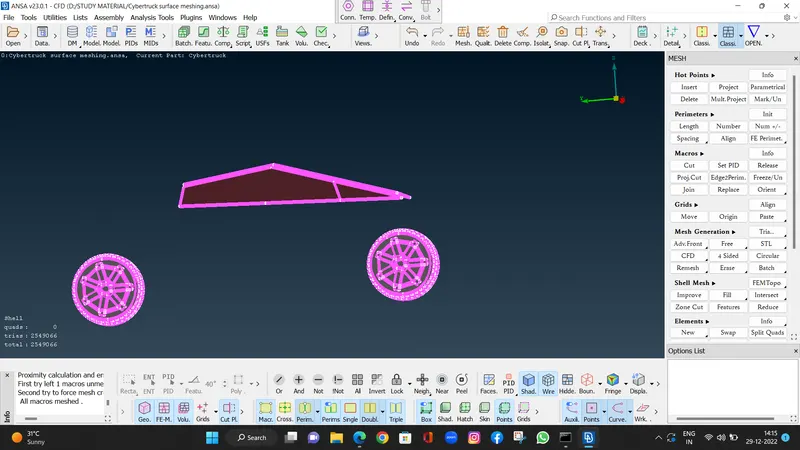
- After that we will double click on the off elements and choose reshape option and enter after reshaping all of elements are disappears end our mesh is generated.
- At the end there is 25,49,066 tria elements.
- Tyres - 2 mm
- Window - 2 mm
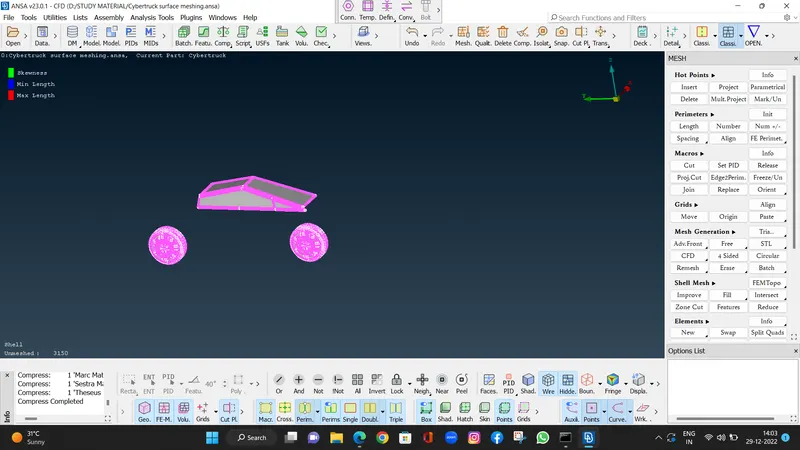
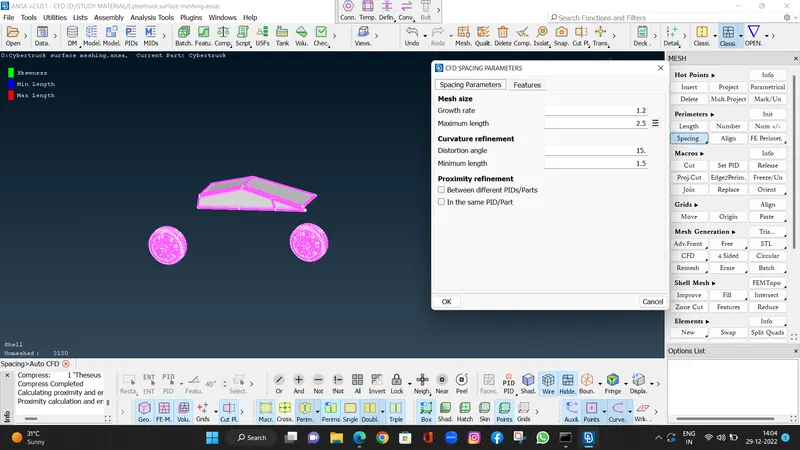
- Body - 4 mm
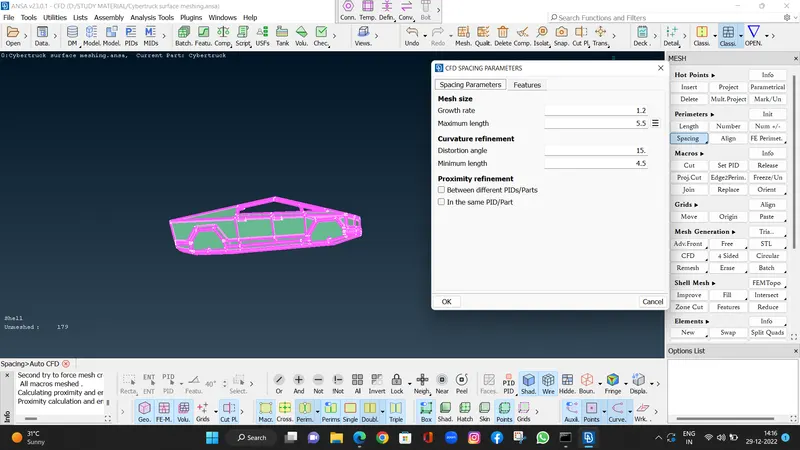
- First of all we will go for perimeters spacing auto CD we will select the parameters select the window and tires and we will go for the maximum length 5.5 mm and for minimum length we will go for 4.5 mm.
- Same thing we will go with macros.
- After setting the parameters we will go with mesh generation command CFD and CFD visible.
- After mesh generation there is showing 5,59,183 TRIA elements.
- There is not any off elements.
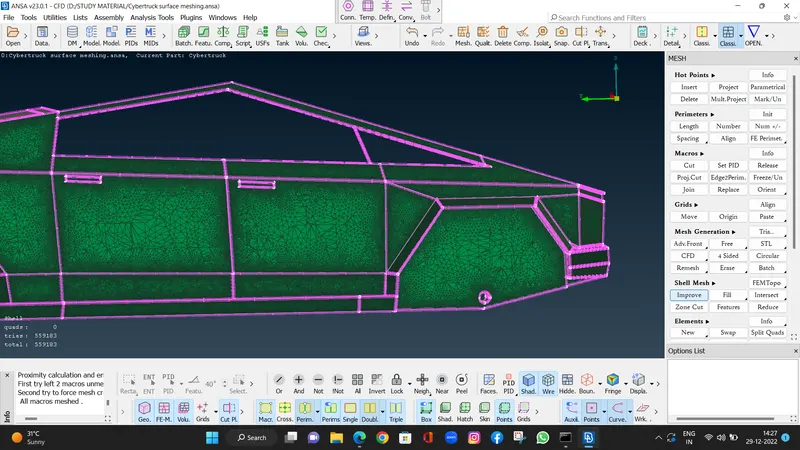
After completing all parts of the CFD meshing we will do the all.
So there is showing some unwashed elements.
Here we will use free mesh.
MESH GENERATION > FREE MESH > SELECT FACES > OK.
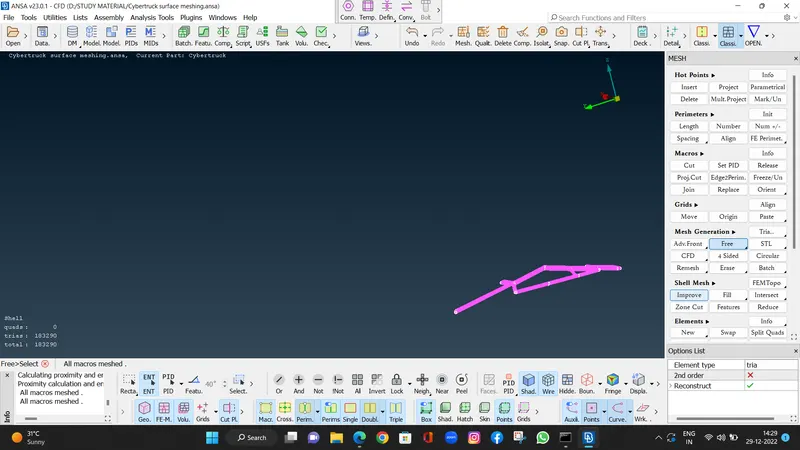
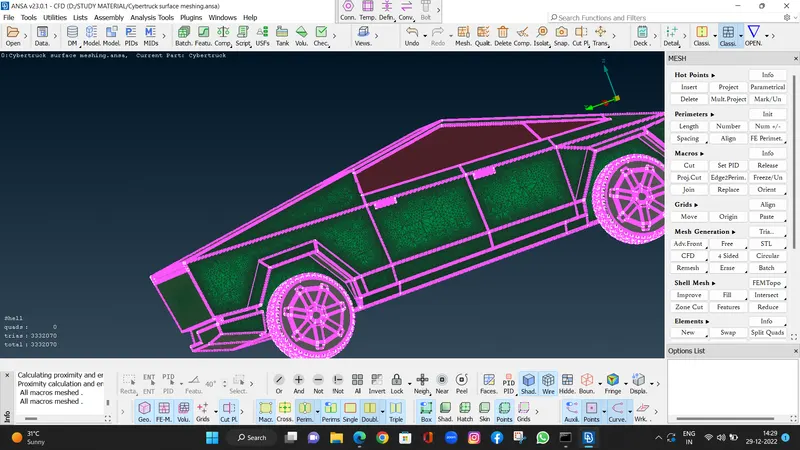
At the end there is showing 33,32,070 elements.
There is not any off and unmeshed element.
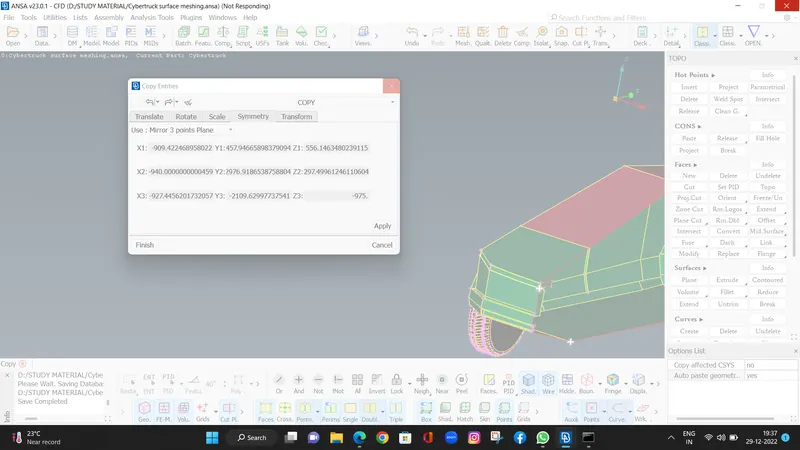
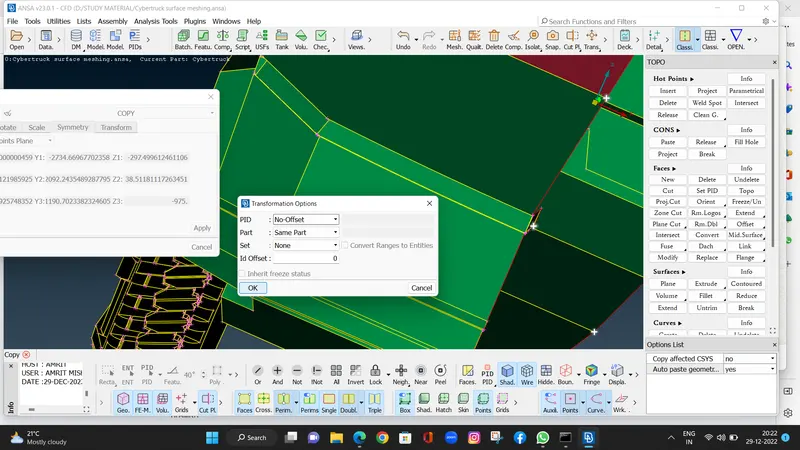
- Here we transform the half geometry which full model.
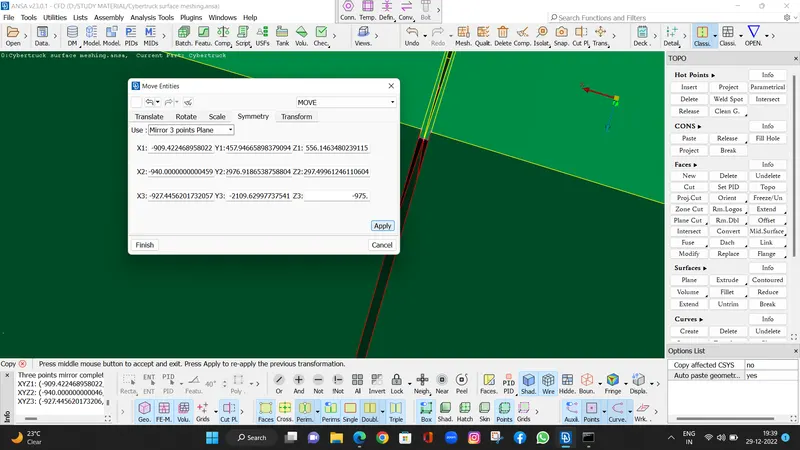
- We will use transform copy entity in symmetry we use mirror 3 points plane.
- After that we choose 3 hot points randomly do middle click.
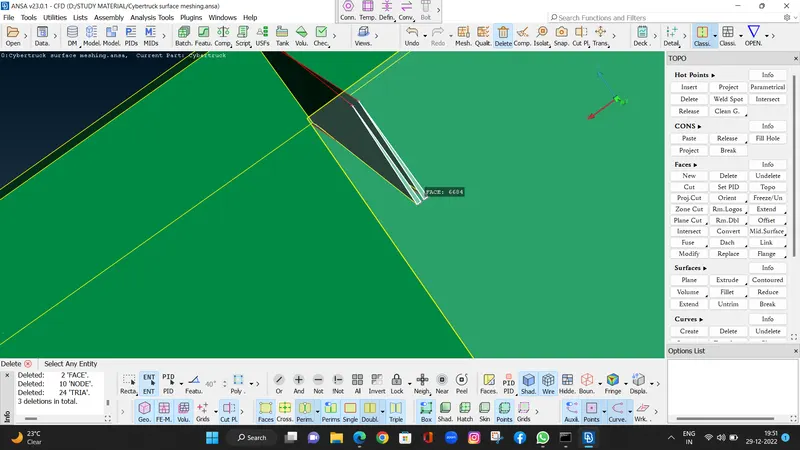
- After that there is showing some single coons for that we select in faces topo command and select the model and do middle click.
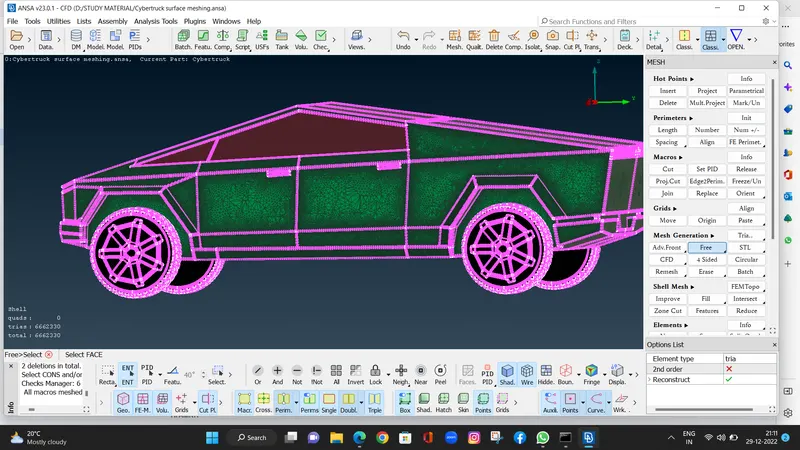
Hey the final result here is our full meshed TESLA CYBER TRUCK model.
Hey after mirroring it there is showing 66,42,330 trias elements.
And there is not any UNMESHED & OFF elements.
GEOMETRY FILES
Geometry clean up
https://drive.google.com/file/d/1-JMAw_VQ1O3S6pLSaI1_lobzTR2uIqE4/view?usp=share_link
CFD SURFACE MESHING
https://drive.google.com/file/d/13HCfCNcfppUQ4SumqhkY-EsJIT0tQapE/view?usp=share_link