Week 4 Challenge : CFD Meshing for BMW car
Aim:
To check and solve all geometrical errors on half portion and assign appropriate PIDs. Then perform meshing with the given target length with a proper quality criteria for fluent meshing (skewness > 0.85 for surface mesh taken from fluent manual). After meshing the half model, perform symmetry to the other side.
Procedure:
1. Open the given model using File->Open
2. Then create the appropriate PIDs in the properties dialog box.
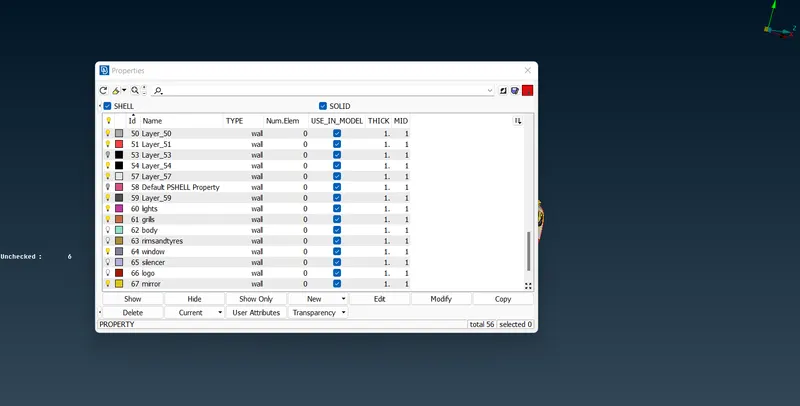
3. Now delete the half of the model by selecting them.
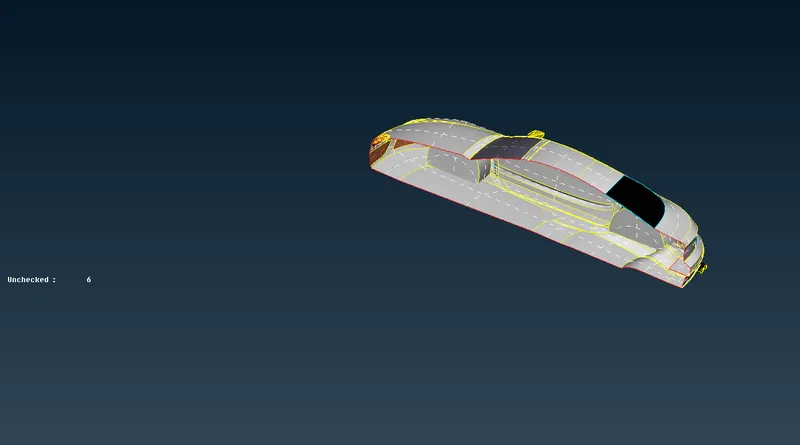
4. In the remaining half start cleaning the model with an objective to clear all the inner surfaces as we are only interested in the outer surface. And eliminate the triple CONS as that is not required. Else there will be more internal volumes created.
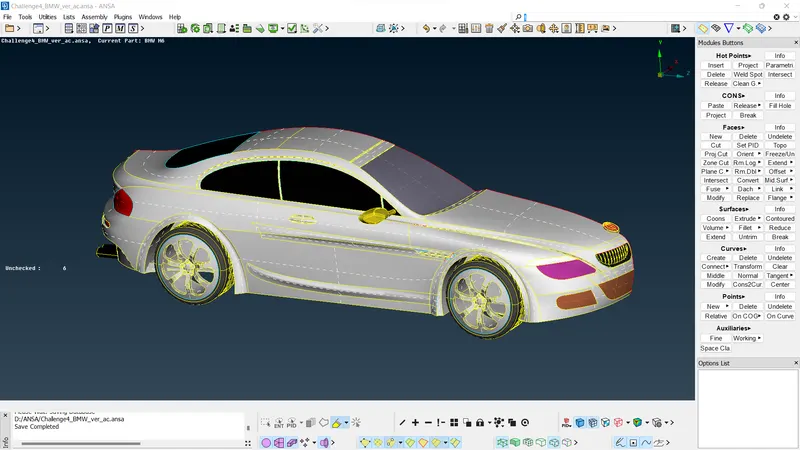
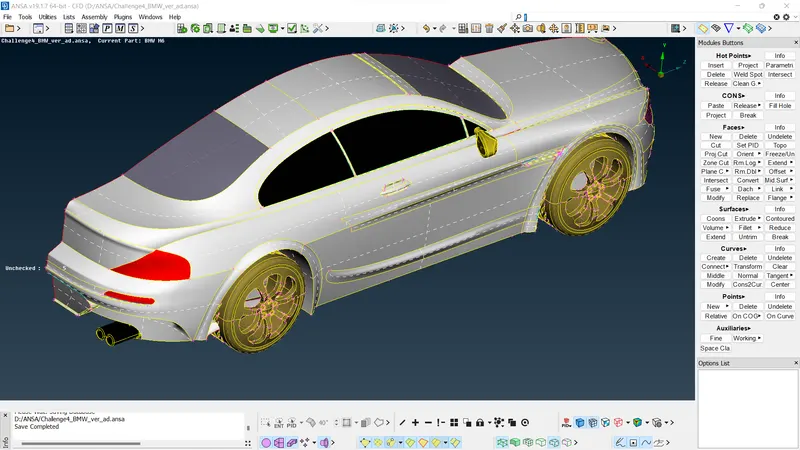
5. After cleaning the windows, tyres, grilles, lights, mirrors assign them to respective PID's using 'set PID' option in Faces option.
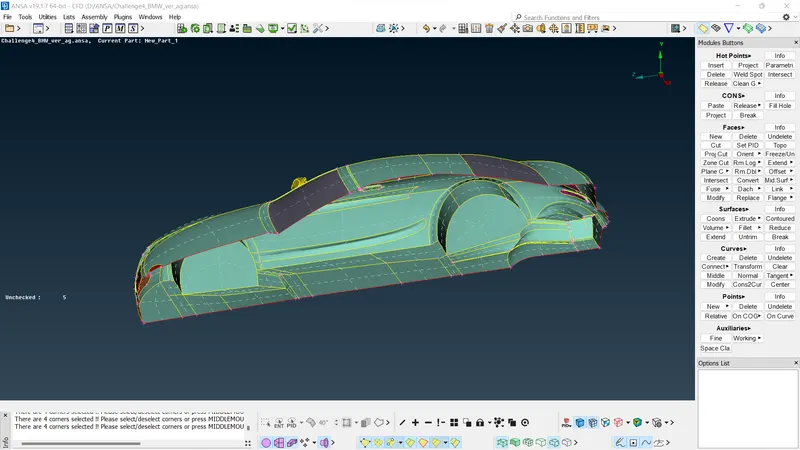
6. Then clean the body underhood where major errors are present and remove the sliver faces and assign PID's to them in above mentioned fashion. After setting all the PID's select compress to remove the remaining PID's.
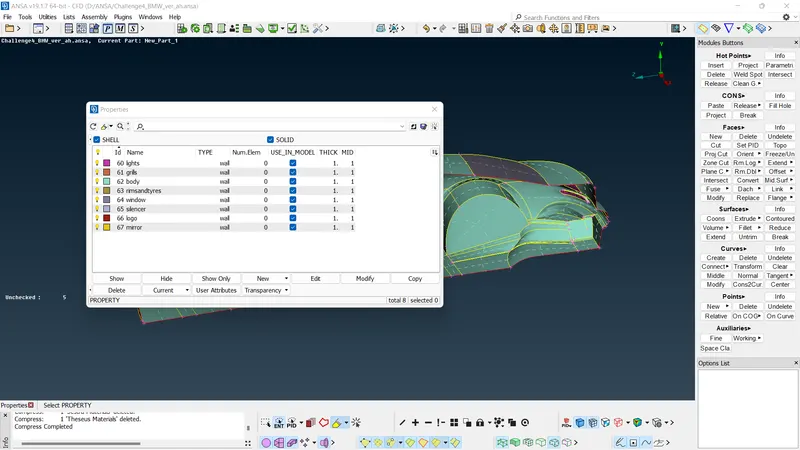
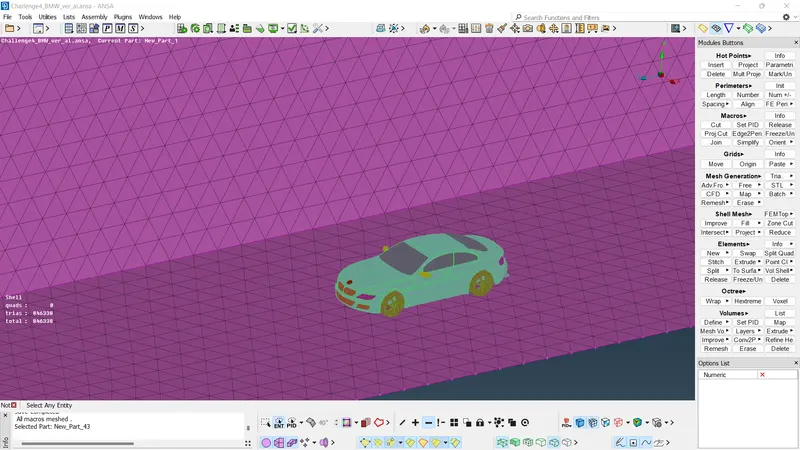
7. Once you set the PID's then go to mesh deck and using perimeter option set the perimeter length based on the given target lengths. Mesh the PID's according to the given target lengths and selected quality criteria. Make sure to improve the failed elements by selecting improve option after right clicking. The surface mesh should have a skewness higher than 0.85. After making sure the quality of elements is within limit, choose Copy option and symmetry with respect to mirror plane to copy the half of the car and mirror it. This will complete the car model mesh. Make sure the connection between the two halves are proper. Eliminate any single cons or triple cons from the interconnection.
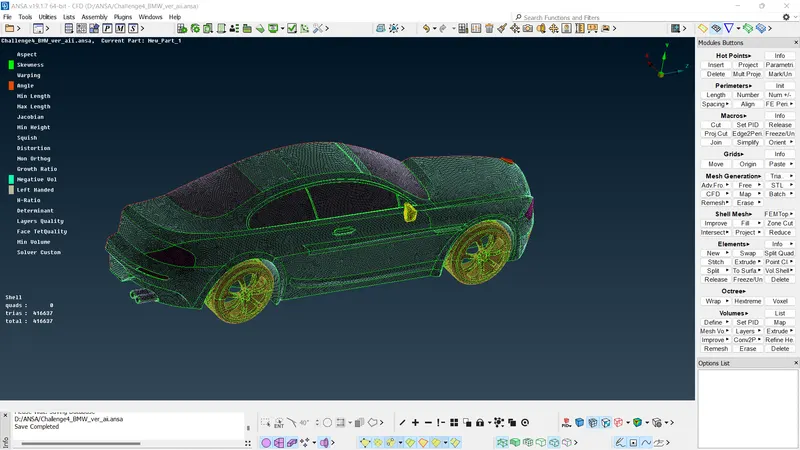
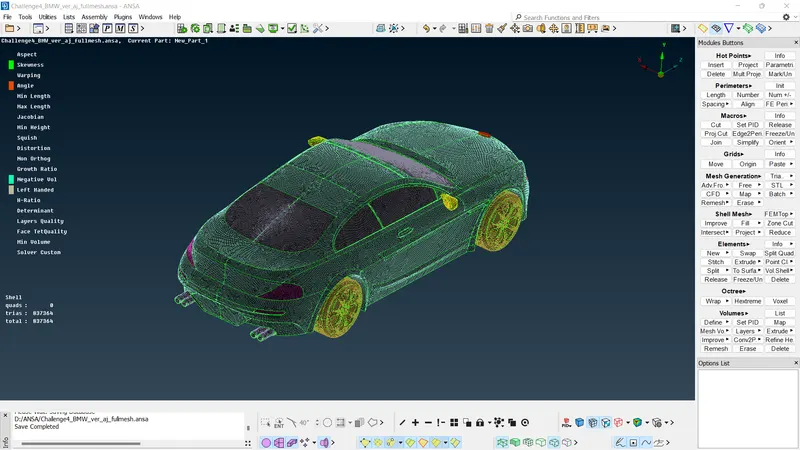
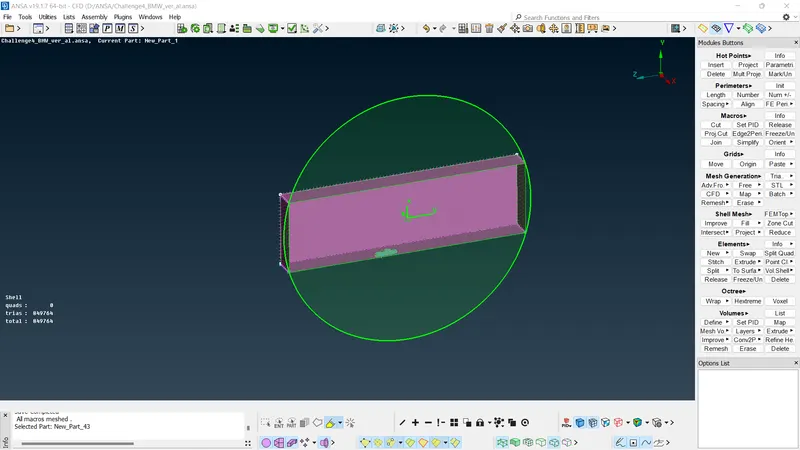
8. After meshing the surfaces and ensuring the quality, create the wind tunnel based on the lengths mentioned in the videos and assign the created wind tunnel to a different PID. Then perform surface mesh for the created wind tunnel.
Learning Outcome:
I have learnt the methods to handle a large number of PID's. I have also learnt how to mesh half of the model, use symmetry to complete it as a whole and combine them together with a wind tunnel for an aerodynamic simulation.
Result:
This surface mesh can then be used to create a volume mesh. Here the wind tunnel surface mesh was selected to be coarse to avoid large file size and reduce computational complexity. When performing real simulations, we should choose a finer mesh near to the car. I have also opted to clean this car geometry based on my decision of which part to keep and which part to remove.
(I am not able to upload the ANSA file to skill lync. Hence I am not attaching any ANSA file. If the file is necessary inorder to grade this test, pls let me know i will forward it through my mail. Thank you)