Week 2 Challenge : Surface meshing on a Pressure valve
Objective:
To check the given model for geometry errors and perform cleanup operations. After cleanup, use three target lengths of 1mm, 3mm and 5mm to generate a surface mesh. Then select a proper mesh size among the three given and give reasons for selecting it.
Procedure:
1. Open the given model using File->Open->Challenge2_valve.ansa
2. Check for geometry errors. Then clear the Single CONS in the geometry. After clearing the Single CONS, close all the surfaces to create a water tight geometry. There might be a Triple CONS but it is not an error.
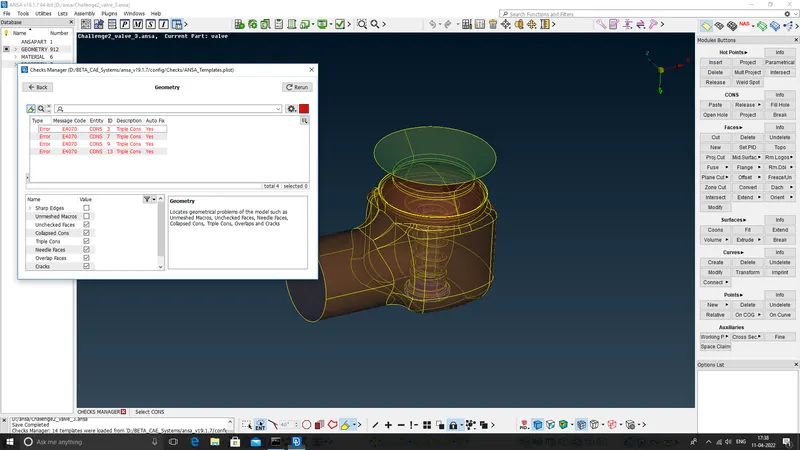
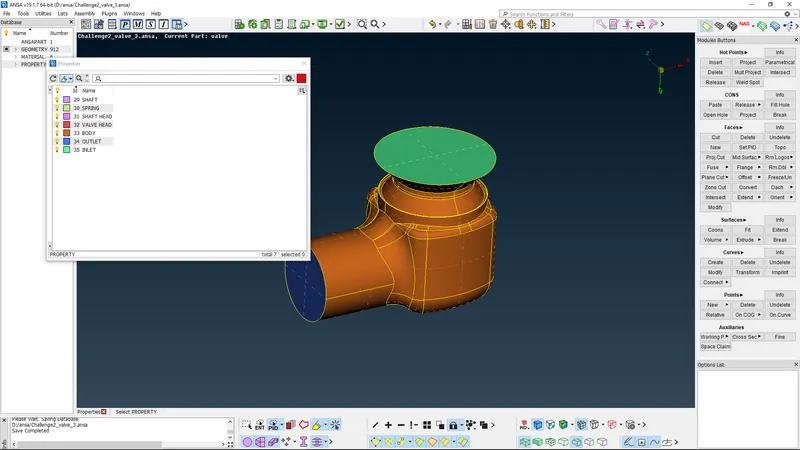
3. After cleanup, separate the surfaces into different PID's.
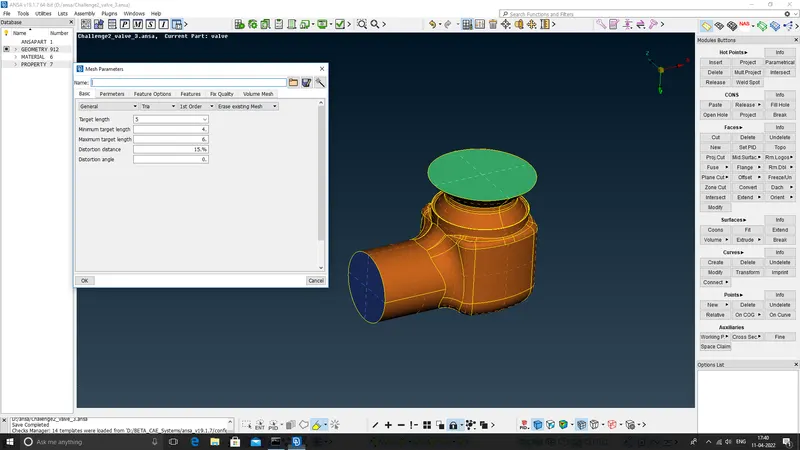
4. Once the PID's are separated, use Mesh properties and Quality criteria to set the target lengths for the surface with Tria as the mesh element option. Also use Length option in Mesh deck to set Macros and perimeter.
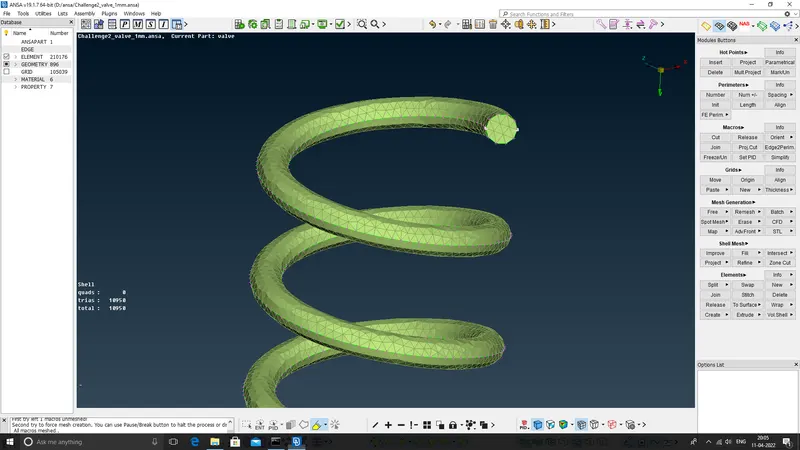
5. For 5mm and 3mm, you can notice that the surfaces like spring and some smaller surfaces are not captured properly. That is the geometry is not captured properly because of the larger mesh size.
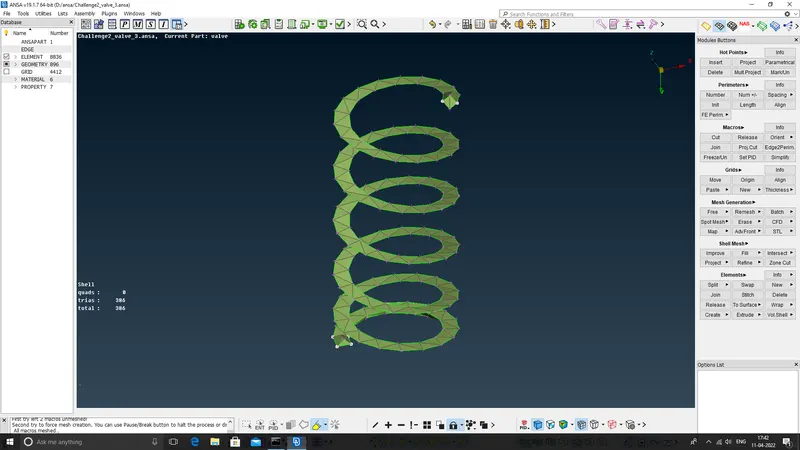
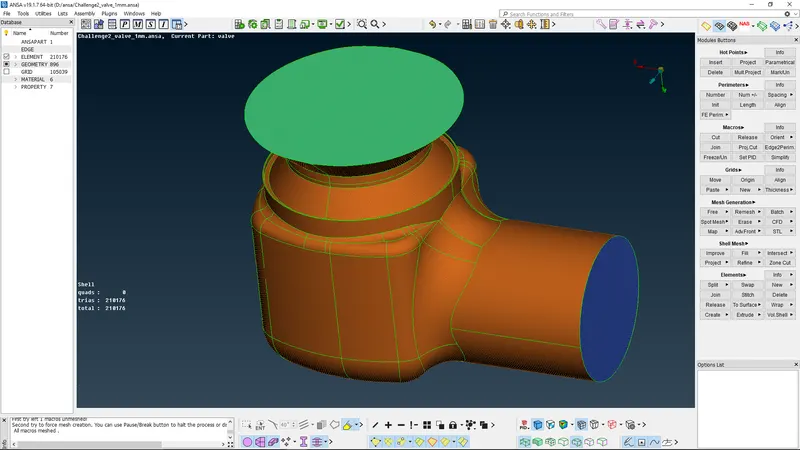
6. When 1mm mesh is used, the same geometries are captured well. At the same time, you can also see that the mesh elements have increased as the target lengths decrease.
Learning Outcomes:
1. To identify the single CONS as errors.
2. To use New faces option and Fill hole option to fix broken surfaces.
3. To use Cut option to remove unwanted features.
4. To separate a single PID to multiple PID's.
5. To mesh with different target lengths and erase the mesh.
Conclusion:
The mesh with 1mm was able to capture all the features in the geometry well. Also the spring was properly captured with the 1mm length. But the trade off is increase in the number of elements. A better way to mesh would be use different lengths for different PID's to minimize the number of mesh elements. Using target length based on the particular PID's length is a better option.