Week 4 Challenge : CFD Meshing for BMW car
AIM :
To check and solve all geometrical errors on half portion and Assign appropriate PIDs. Perform meshing with the given Target length and element Quality criteria.
PROCEDURE :
Import the model into ANSA and we can see the source file of the model where single cons and triple cons are present, as shown below
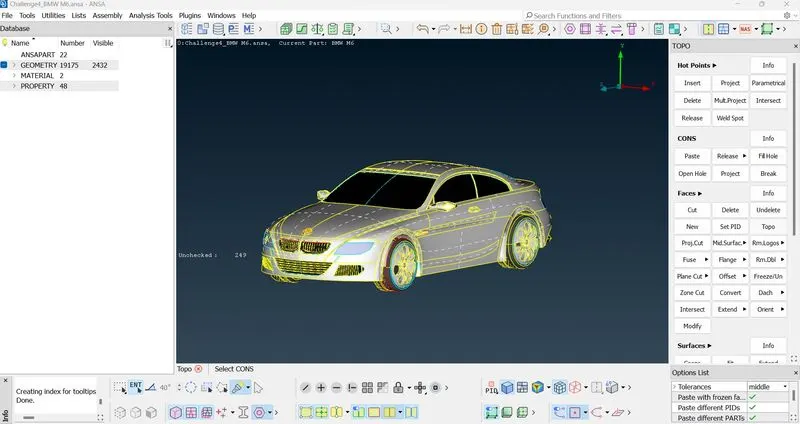
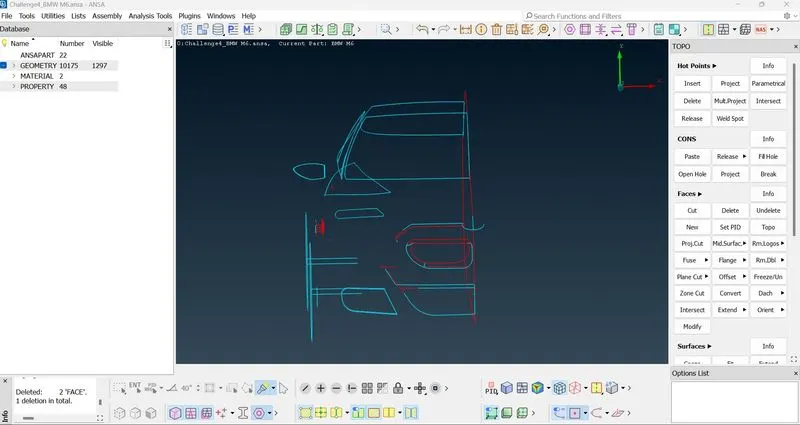
- Given BMW M6 is a symmetry so we can clear half side of the geometry to make it easy to clear the errors and perform surface mesh
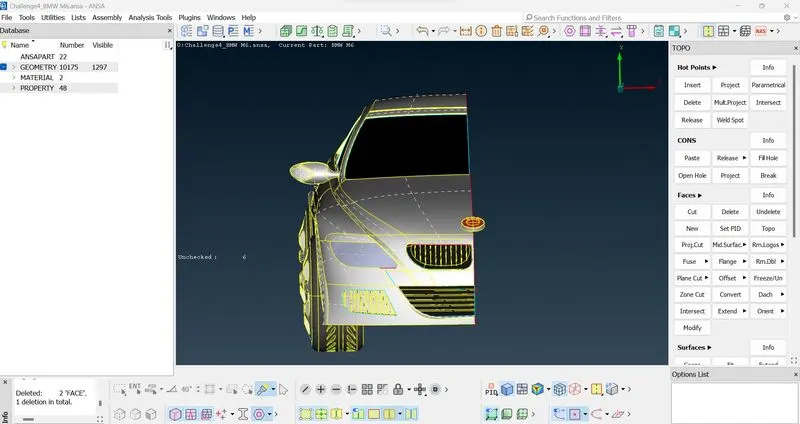
- After that we can mirror that by using symmetry option, this makes the process easy
- Isolate each part and do the TOPO clean up and make sure there are no single con and triple con errors
PART 1:
Isolate the part 1 and remove the unwanted surfaces and create surfaces according to the model
The created part is shown below
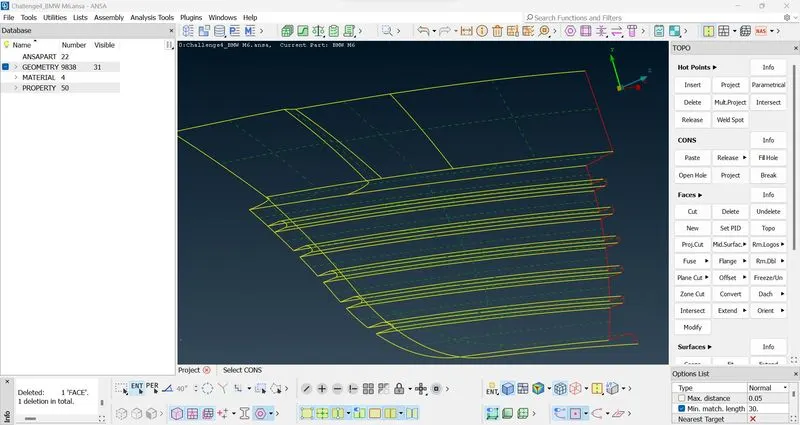
PART 2:
Isolate the part and repeat the above process for part 2
The created part is shown below
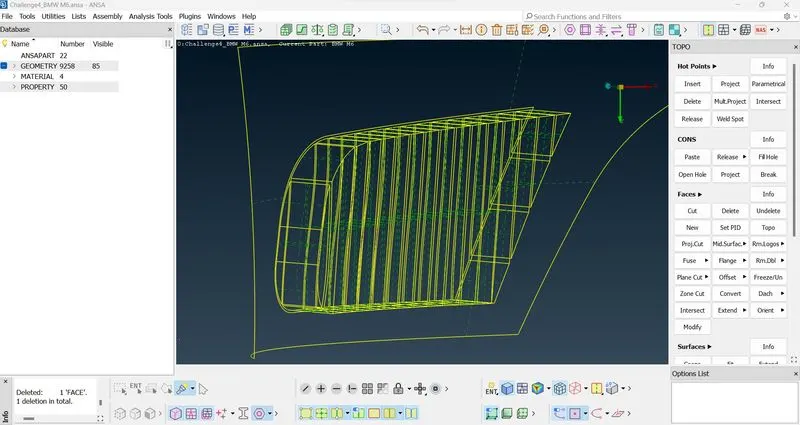
PART 3 :
Isolate the part and repeat the above process for part 3
The created part is shown below
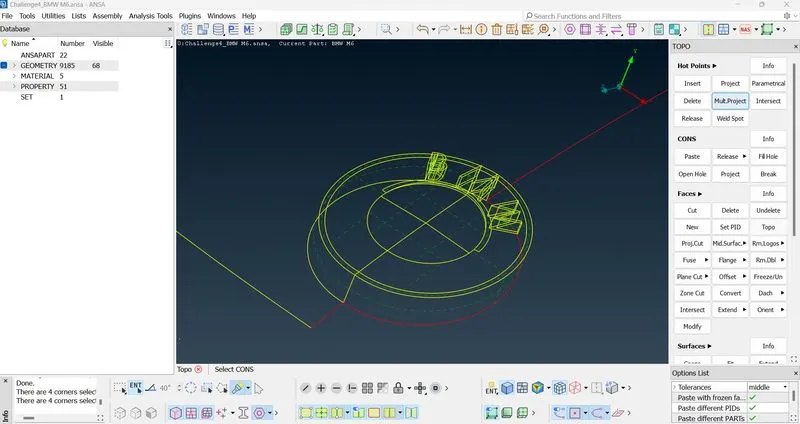
Repest thid process with every part and remove the unwanted volume from the model before performing the surface mesh option
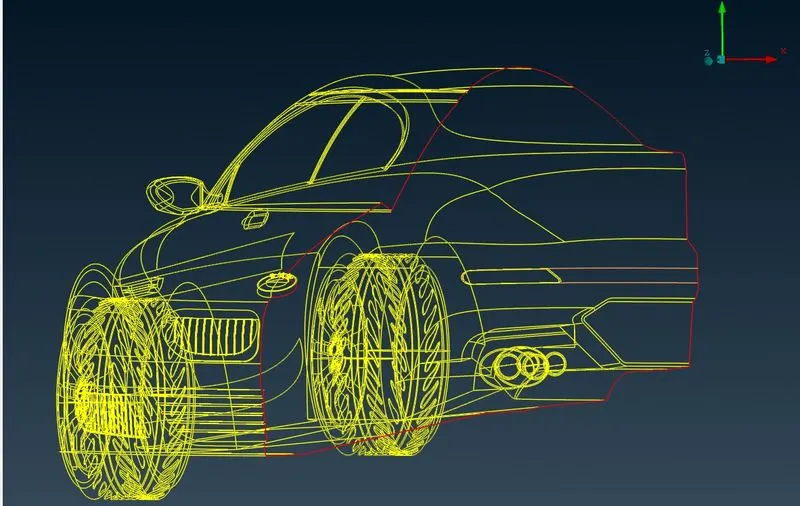
make sure that the model is free from errors and any sinle cons and triple cons, The one single con shown in the below image is rectified after the model is mirrored along the axis.
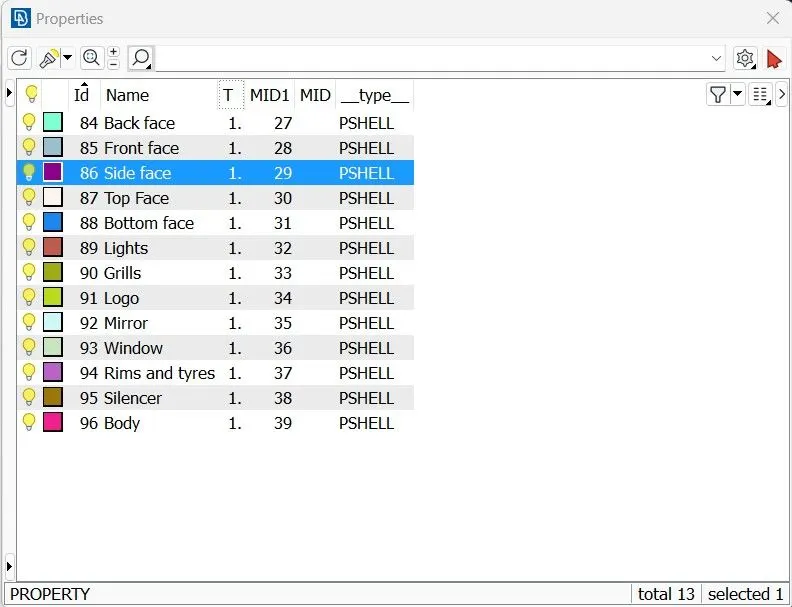
- Assign PIDs for every element with different colours
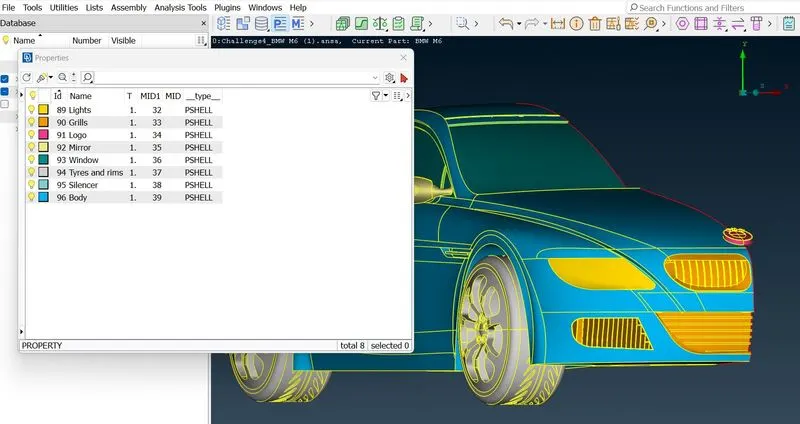
- After assigning the PIDs and clearing all the errors go to the classic mesh option
-
Too start meshing follow the sequence before giving the lenght ( Parameters and Macros )
-
MESH PARAMETERS -> QUALITY CRITERIA -> LENGTH
- Target lengths for the different parts of a model are as follow:
- Body - 3 mm
- Lights - 4 mm
- Grills - 1 mm
- Rims and Tyres - 2 mm
- Optical Rear view mirror - 2 mm
- Window - 2 mm
- Silencer - 3 mm
- Logo - 1 mm
- Isolate each PID and with the help spot mesh tool, mesh each and every element with the given target lengths
- The surface mesh created is shown below
- BODY - 3MM
- Give the mesh parameter as 3mm and check the quality criteria.
- Give the length of parameters and macros as 3mm
- Select the body PID
- Now with the help of spot mesh tool apply 3mm mesh
- The created mesh is shown below
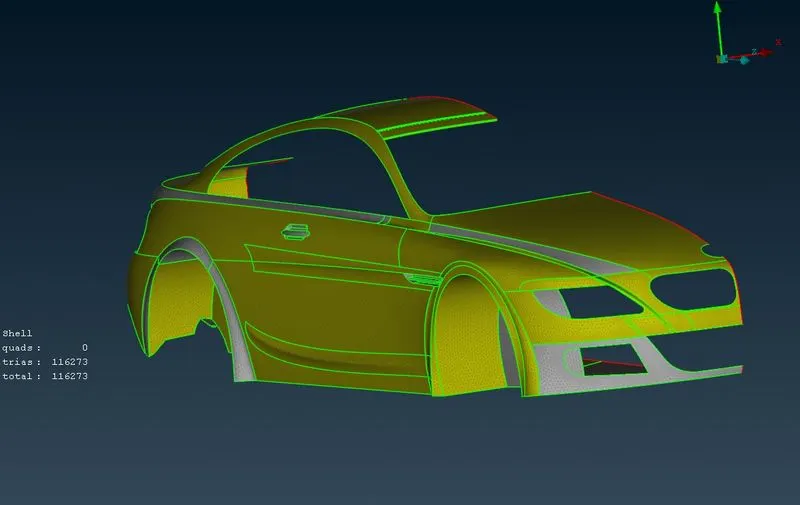
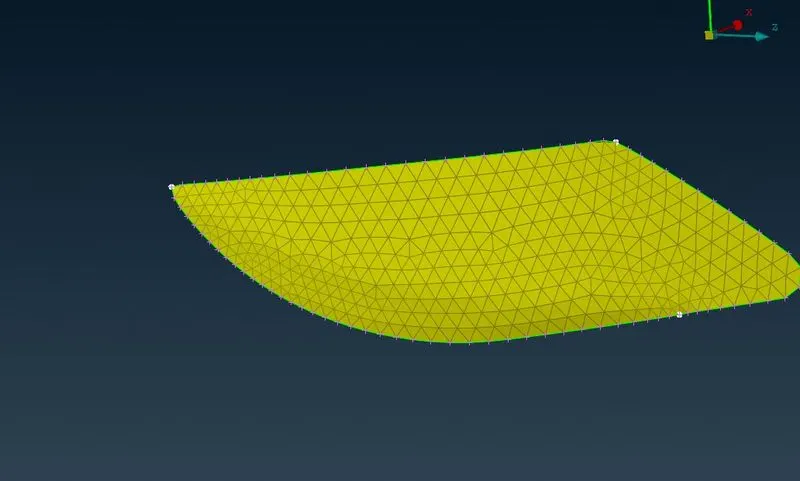
LIGHTS- 4mm :
- Repeat the above process for the impeller with the target length of 4mm
- The created surface mesh is shown below
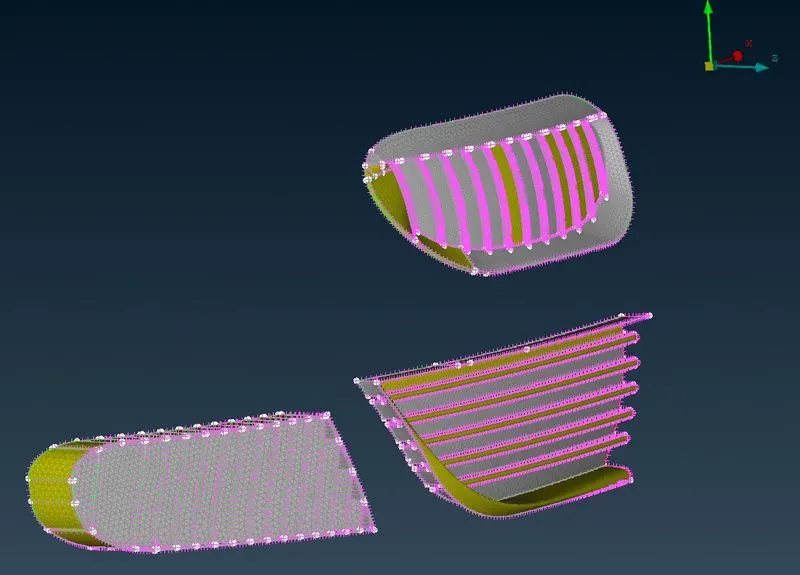
GRILLS - 1MM :
- Repeat the above process for the impeller with the target length of 1mm
- The created surface mesh is shown below
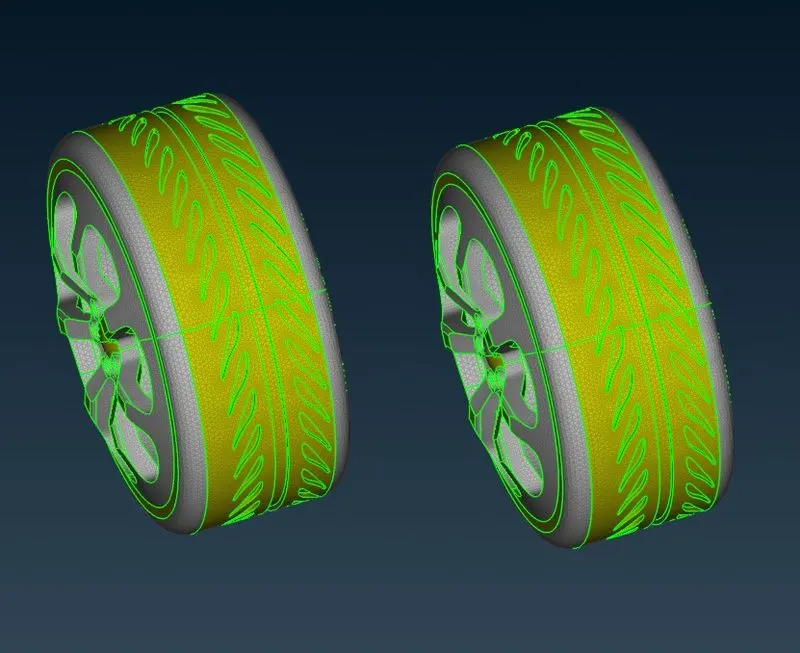
RIMS AND TYRES - 2MM :
- Repeat the above process for the impeller with the target length of 2mm
- The created surface mesh is shown below
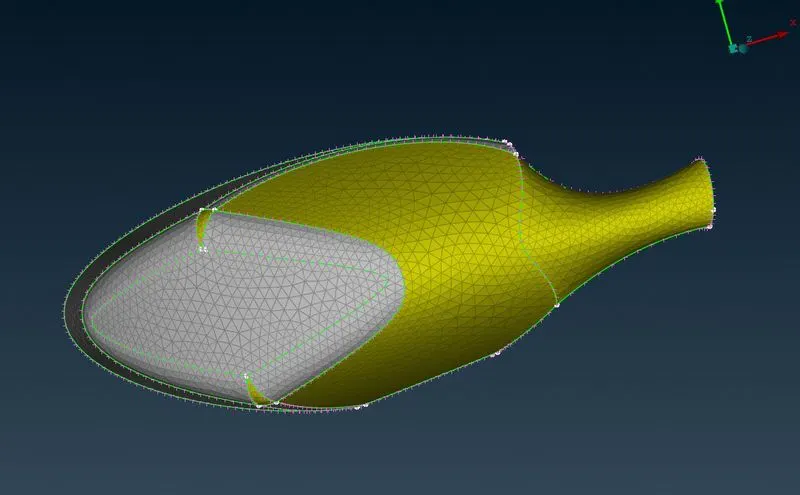
OPTICAL REAR VIEW MIRROR - 2mm :
- Repeat the above process for the impeller with the target length of 2mm
- The created surface mesh is shown below
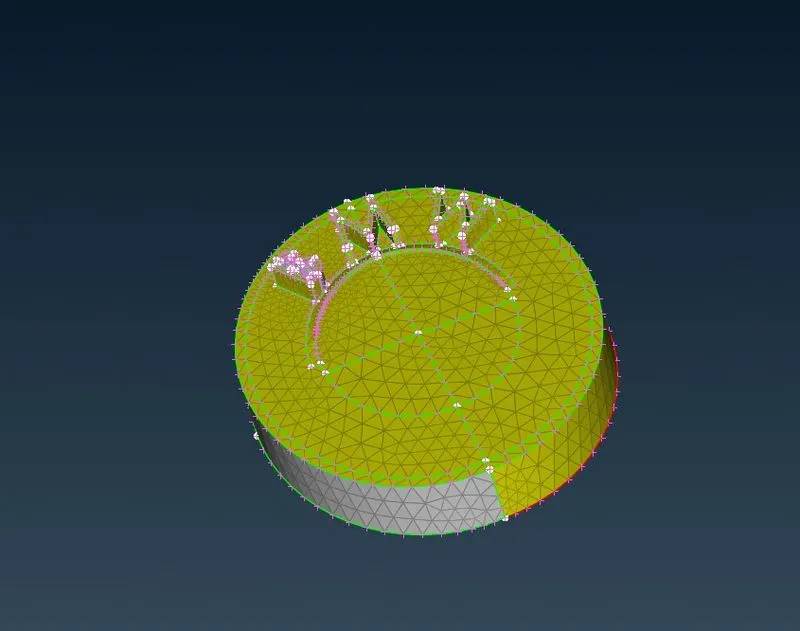
LOGO - 1mm :
- Repeat the above process for the impeller with the target length of 1mm
- The created surface mesh is shown below
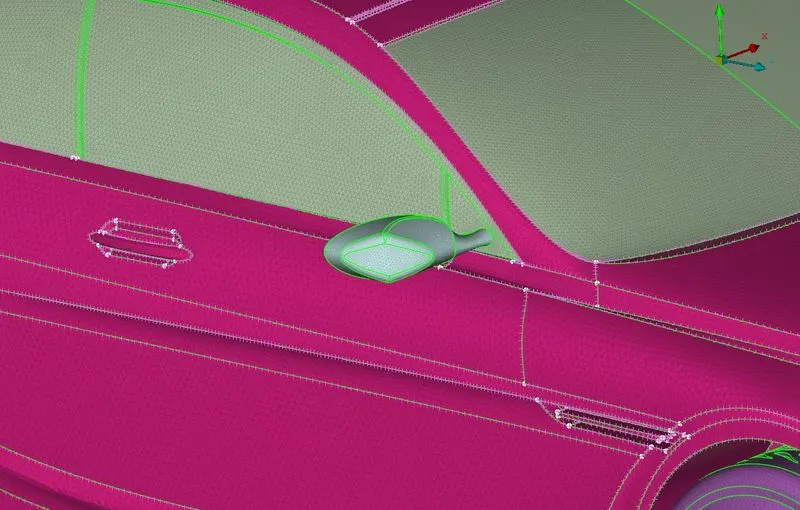
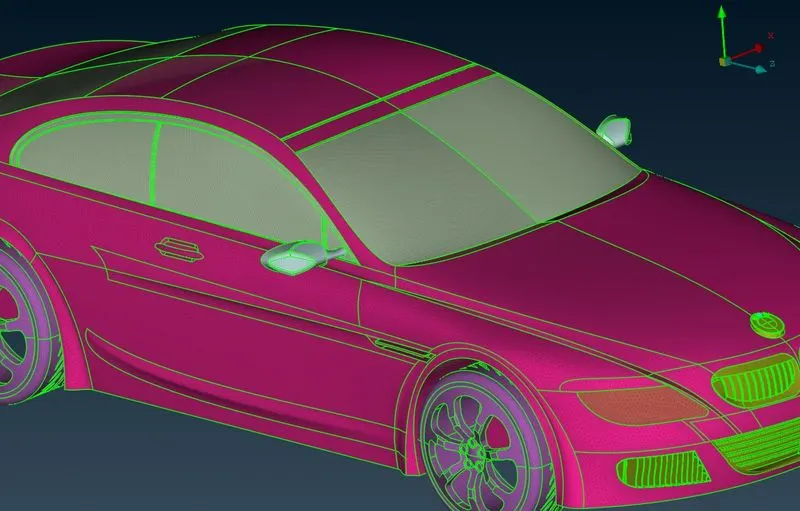
Complete mesh of BMW M6 :
After the mesh generation mirror the half side of the model along the axis by using symmetry option
The created model is shown below
WIND TUNNEL :
After the mesh generation wind tunnel is to be created
Take the reference of the bottom centre of the model create points as per the measurements
Assign PIDs for every face
Surface mesh the tunnel :
-
Too start meshing follow the sequence before giving the lenght ( Parameters and Macros )
-
MESH PARAMETERS -> QUALITY CRITERIA -> LENGTH
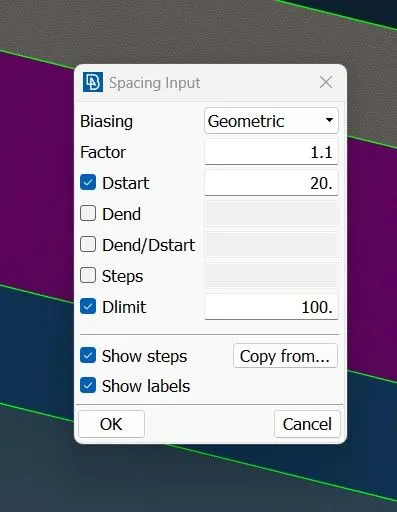
- Do the surface mesh for the both sides of the tunnel by reference of top and bottom surfaces
- The mesh size will increase from top to bottom by using spacing option
VOLUMETRIC MESH :
After surface mesh switch to the volumetric option
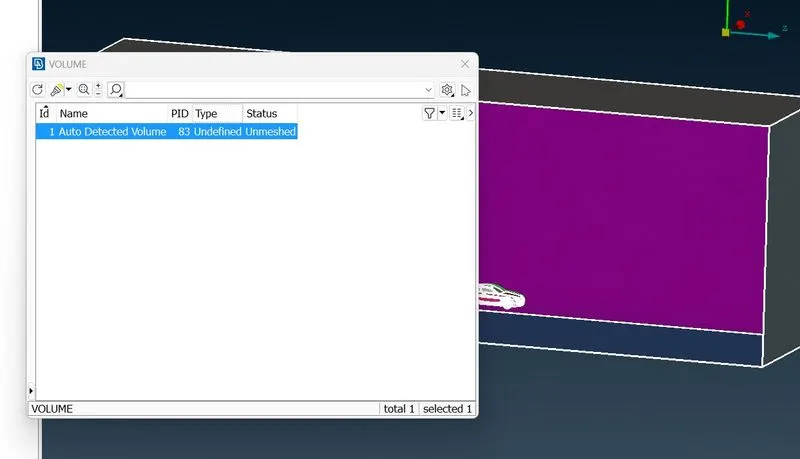
Auto define the volumes
Delete the unwanted volumes
Remesh with Tetra elements