Week 4 Challenge : CFD Meshing for BMW car
Aim/Objective: To get through the lessons learned in live class for Week 4 and go ahead to complete the Week 4 challenge with the required format for the report.
The procedure and learning outcomes:
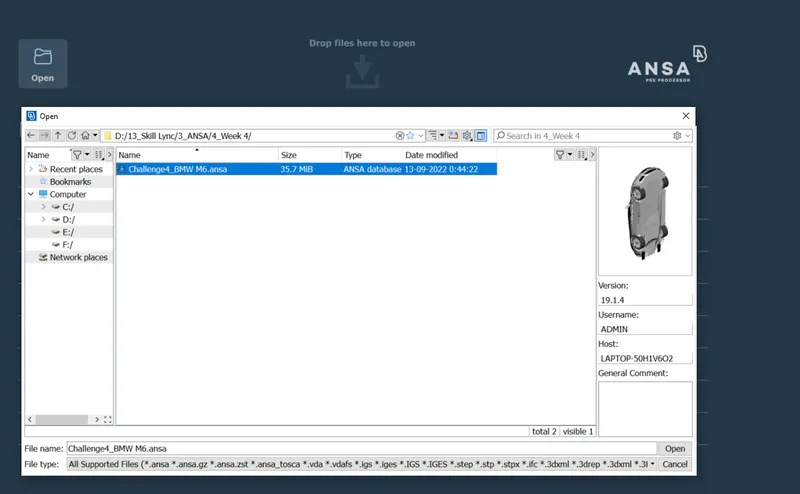
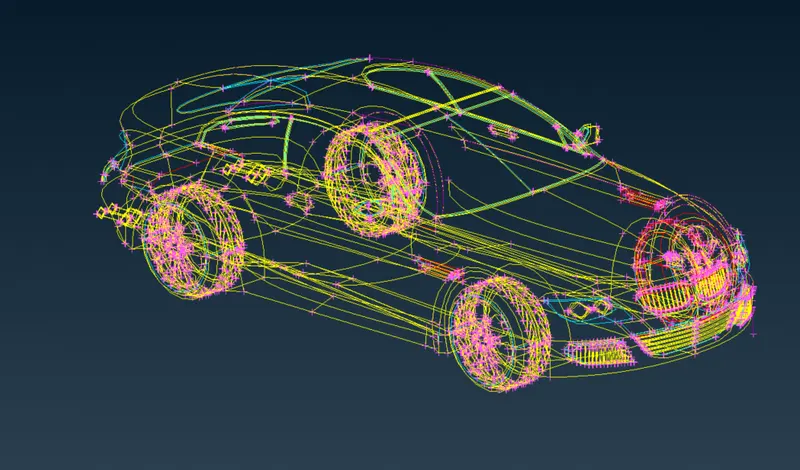
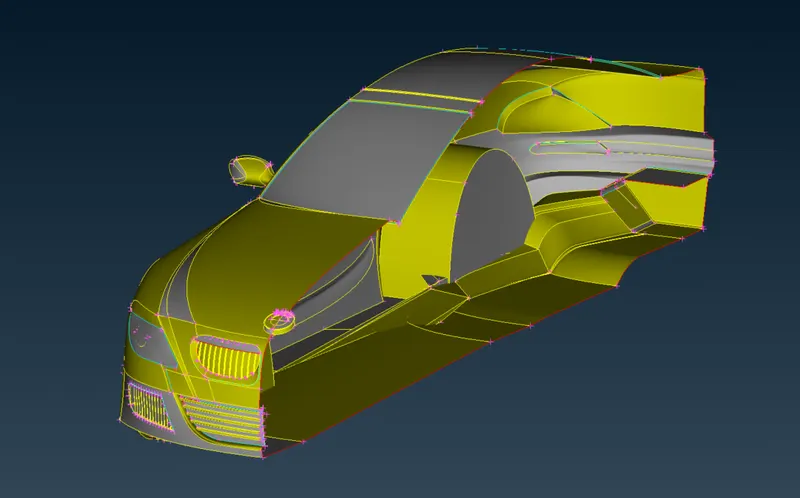
Here is the file which we received as a model.
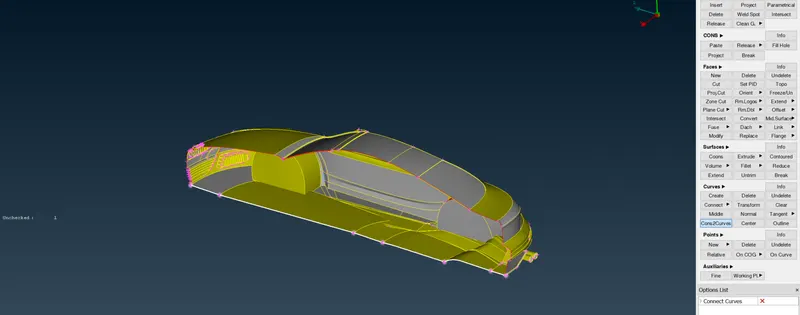
Symmetrical
So we will be doing half part and we will be mirroring that.
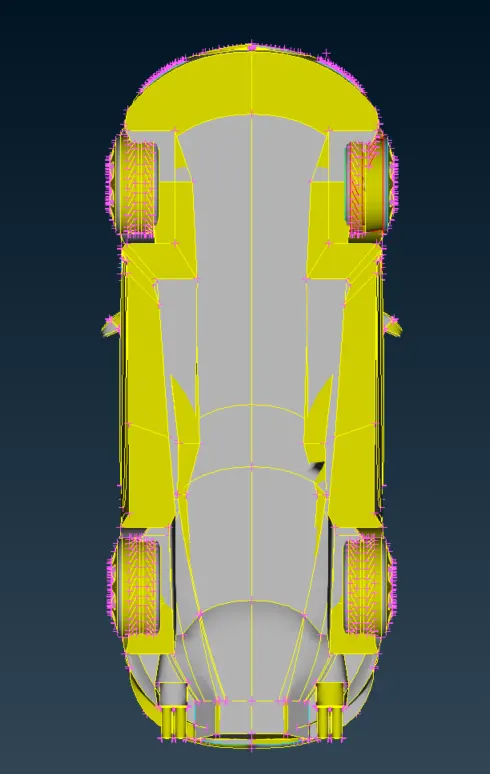
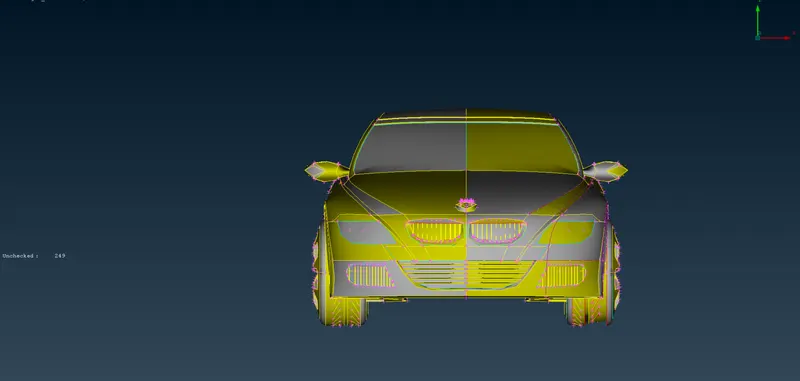
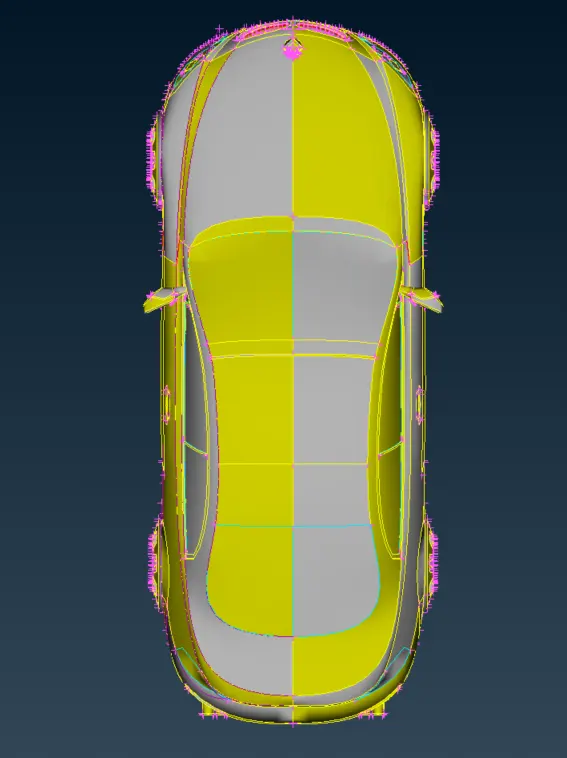
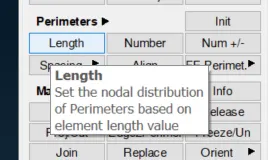
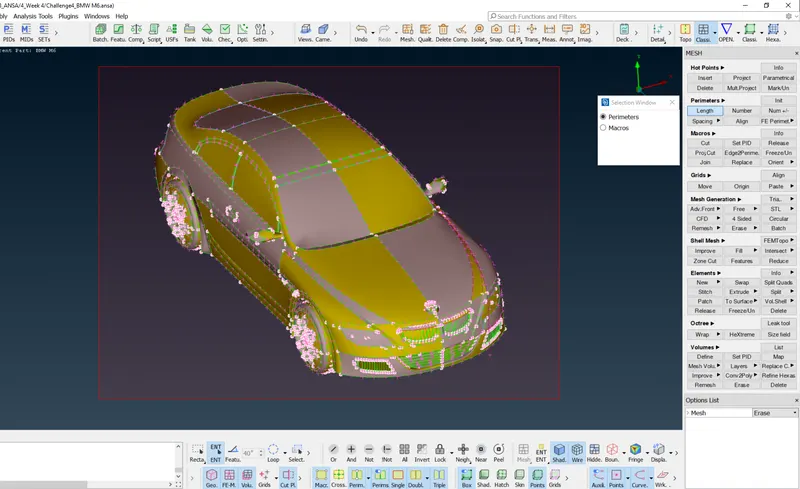
Resolution is not Okay as can be seen the Logo is also not okay.
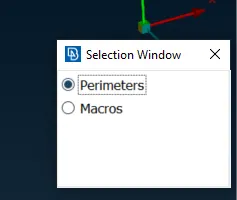
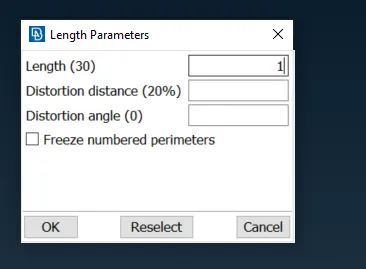
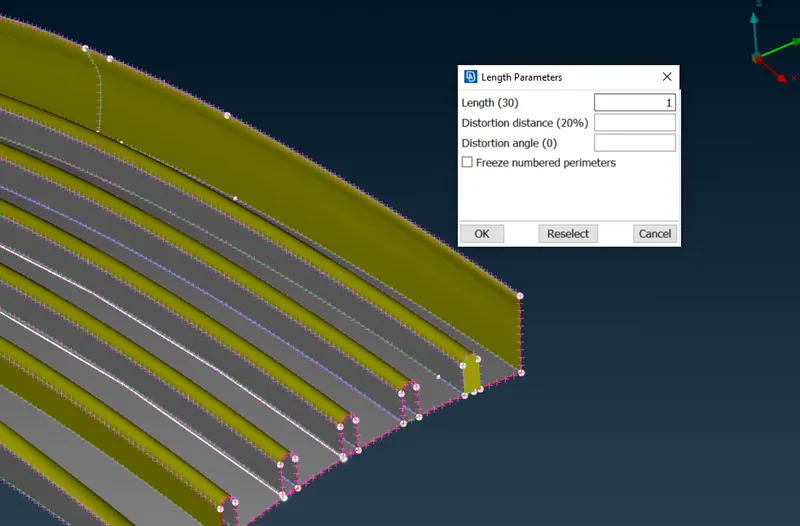
Let's change it to 1
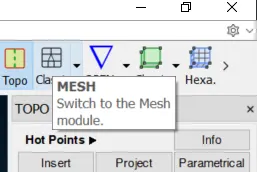
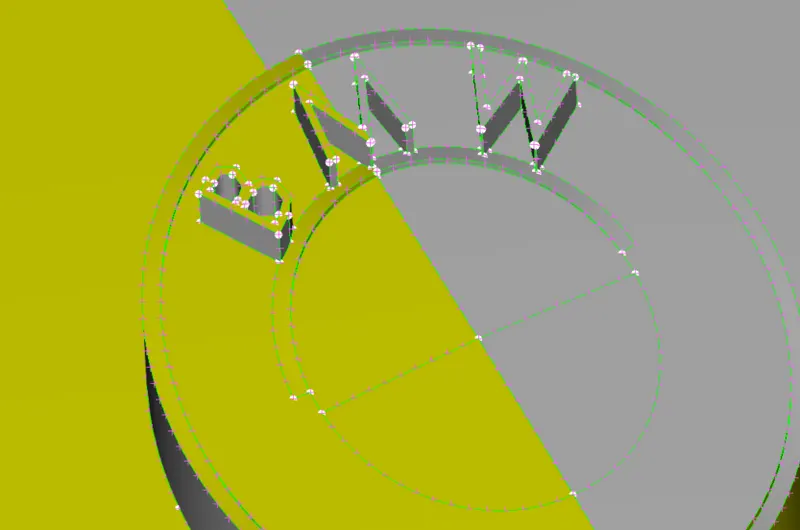
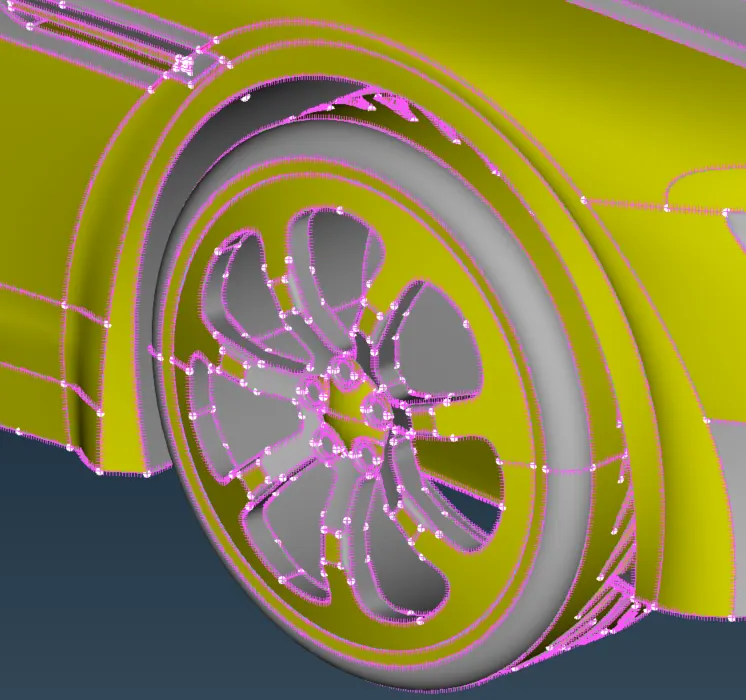
Let's do a TOPO
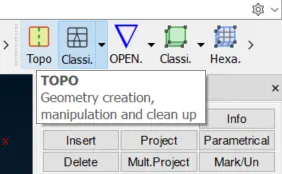
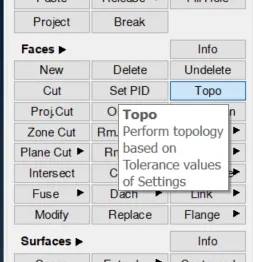
Post doing TOPO
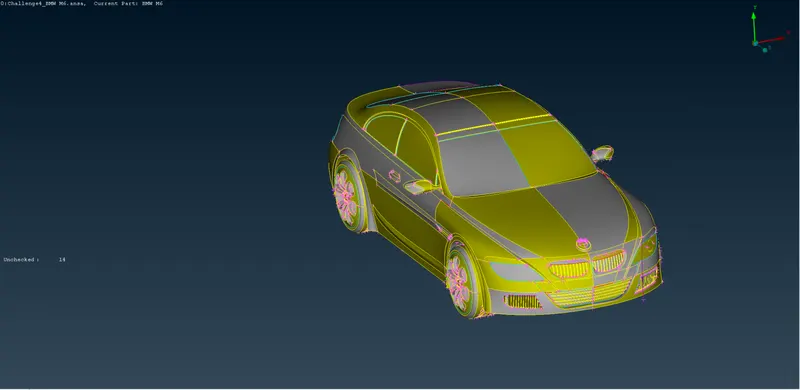
Now we will delete the half part of the geometry
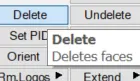
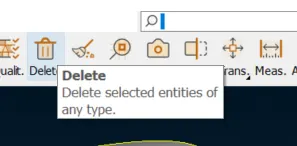
Use the Universal delete button.
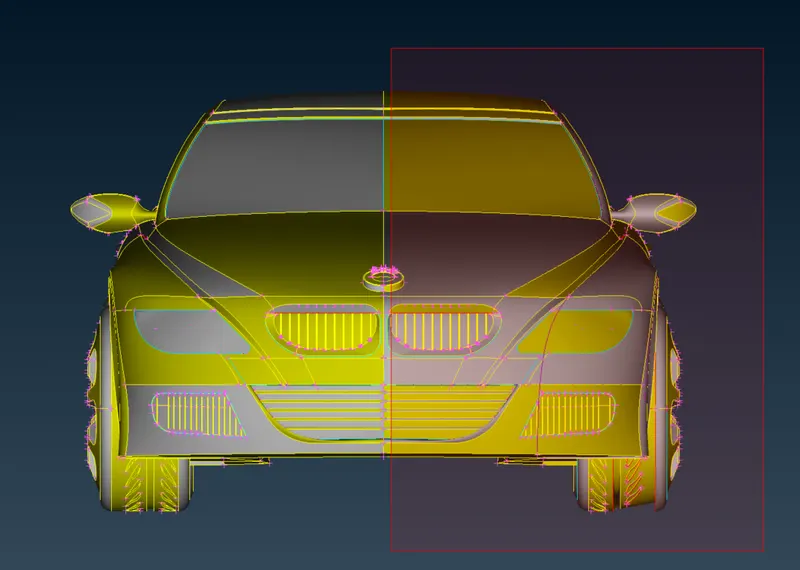
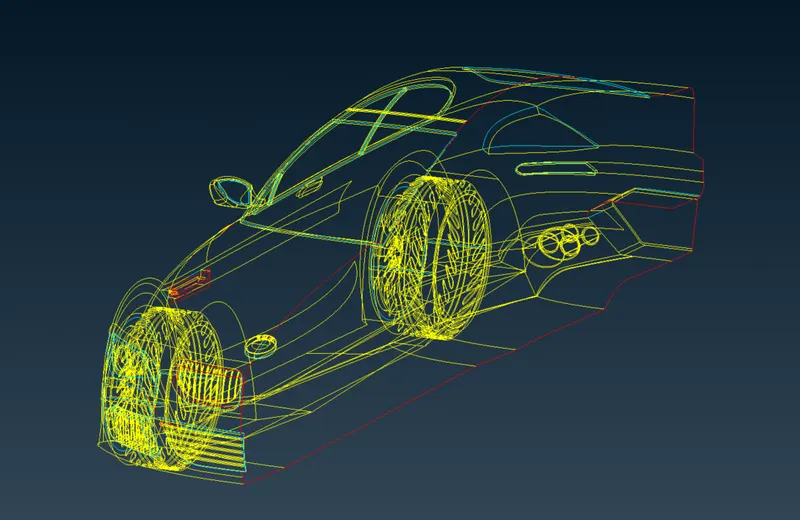
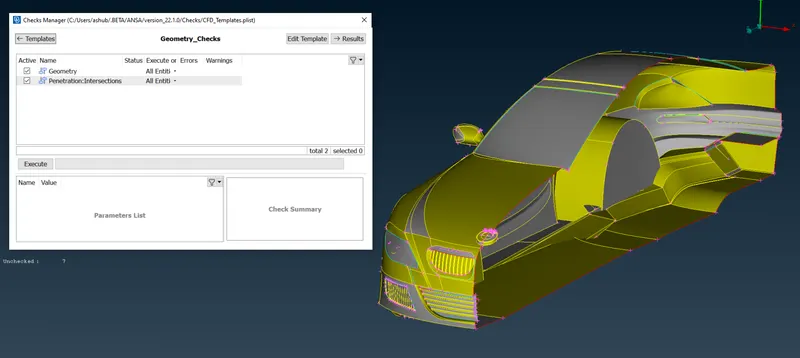
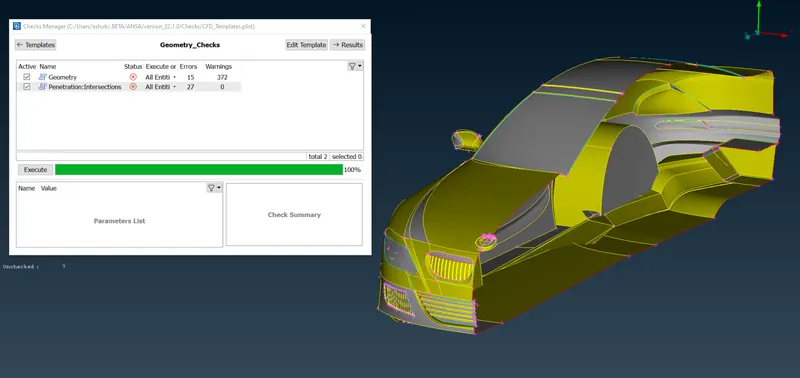
We will be isolating the grill part first and then go ahead,
Lower Grill:
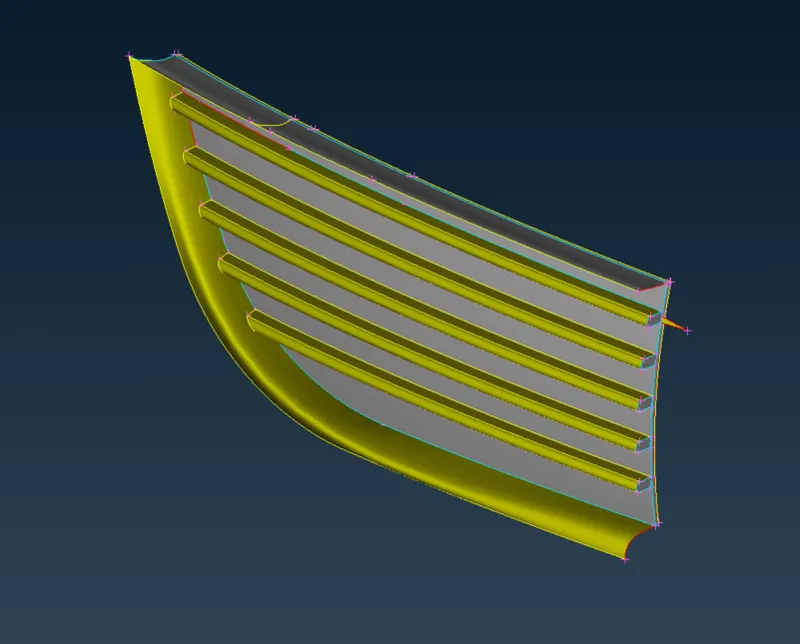
We don't need internal volume or surface:
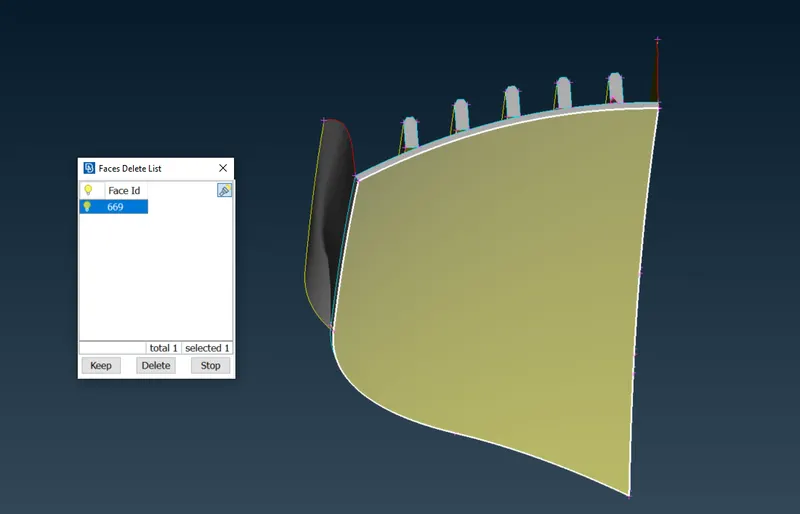
Remove thickness:
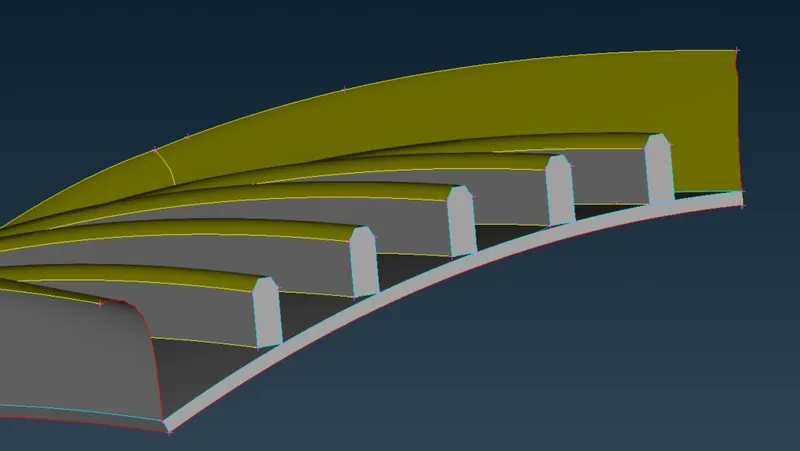
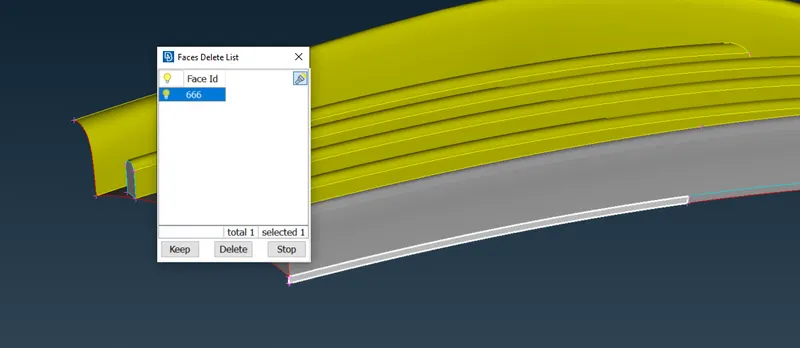
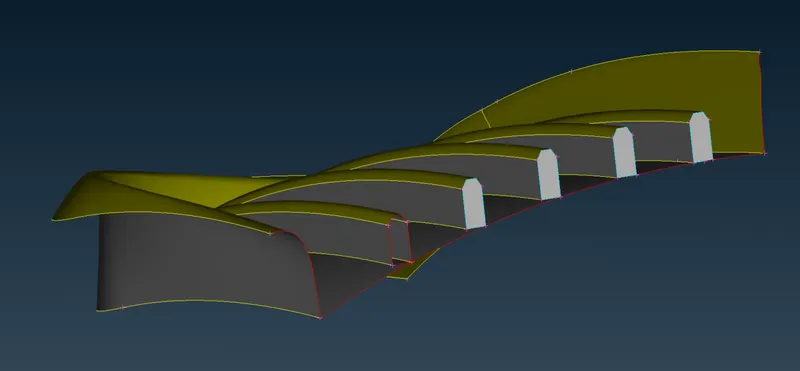
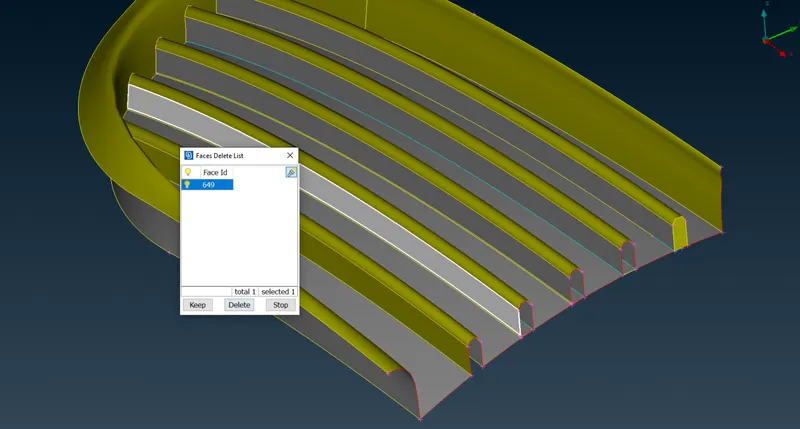
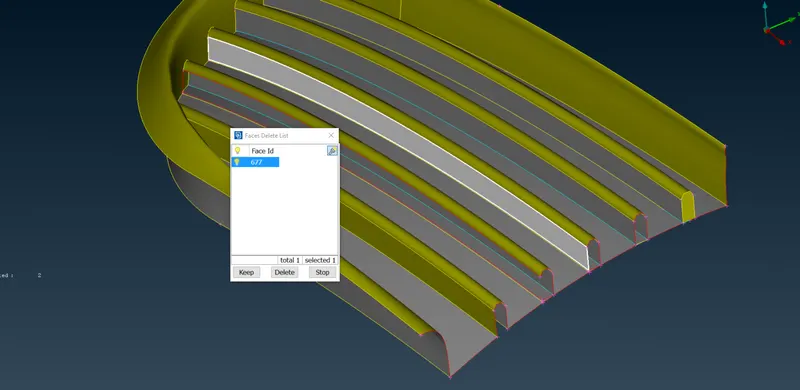
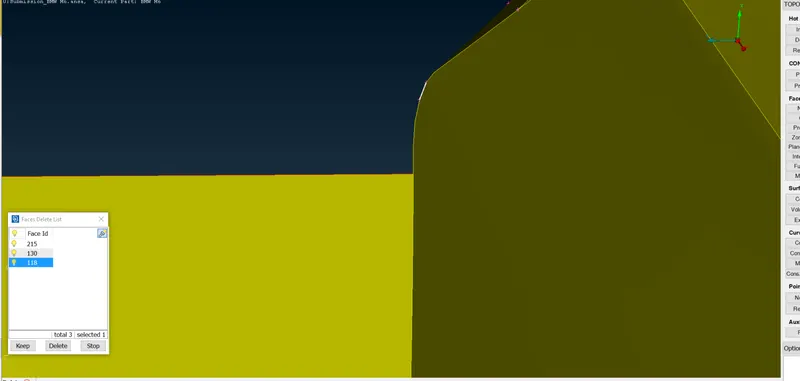
Deleted the face for thickness and also the faces where we need to make one body of the outer dimensions:
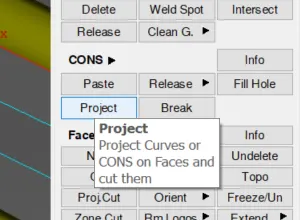
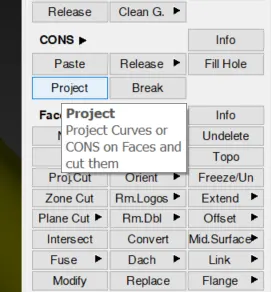
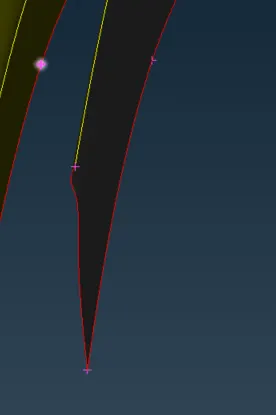
Since the surface is curved, we will be using the Project Cons tool and this entity on this surface.
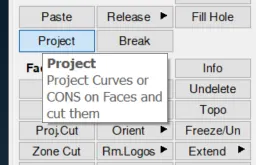
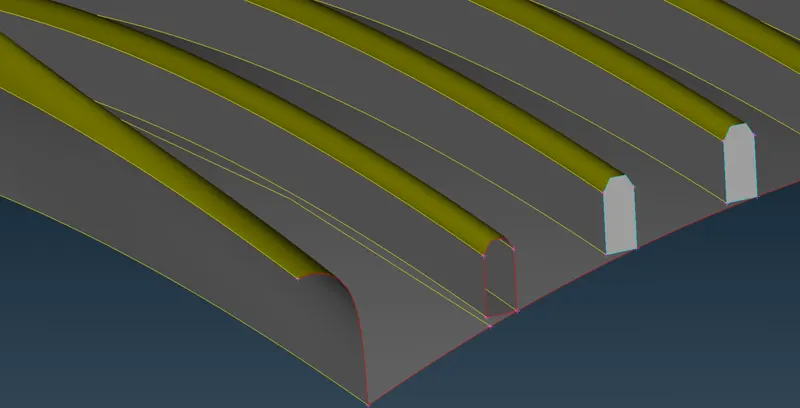
Since it's not looking Okay we will be doing one resolution change to get the projection to look Okay.
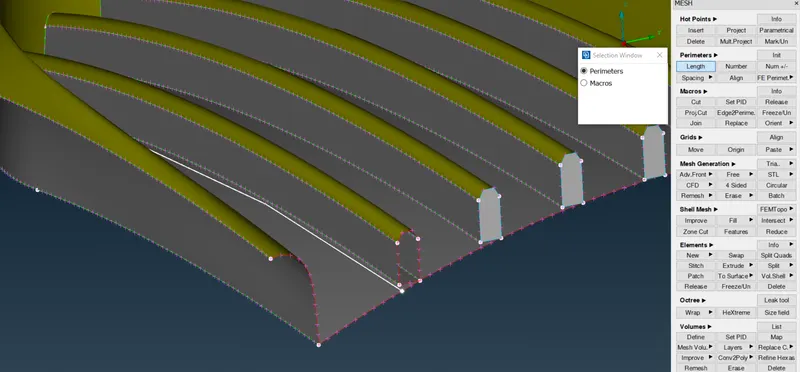
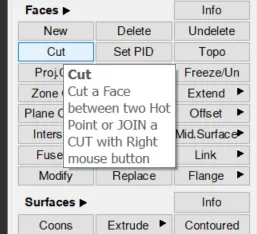
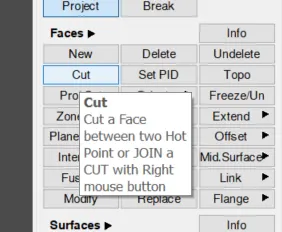
End Points need to be merged using the CUT tool
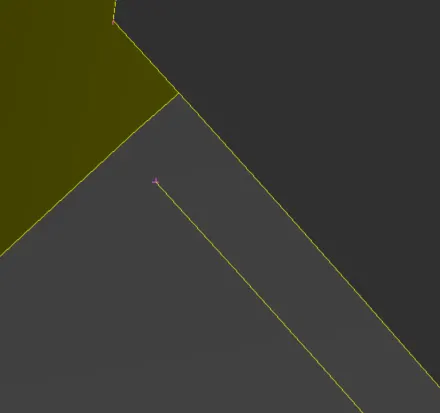
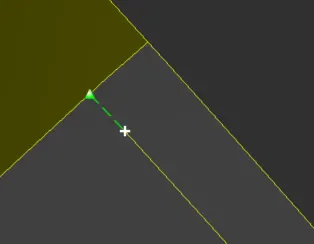
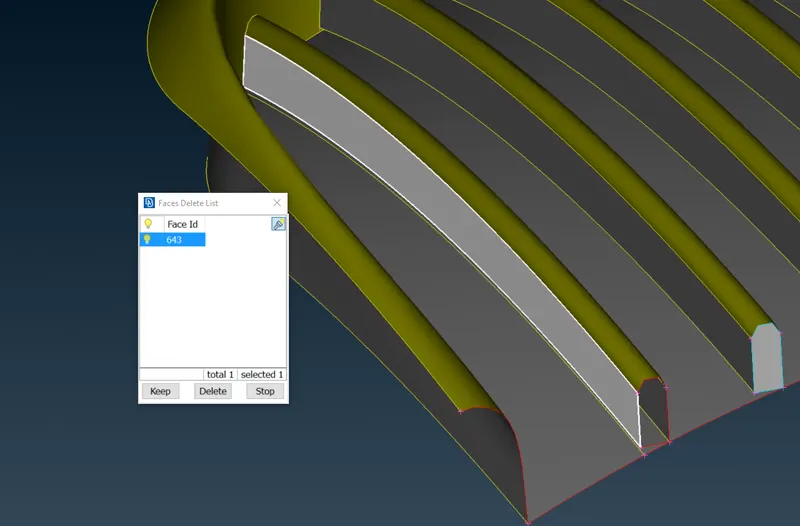
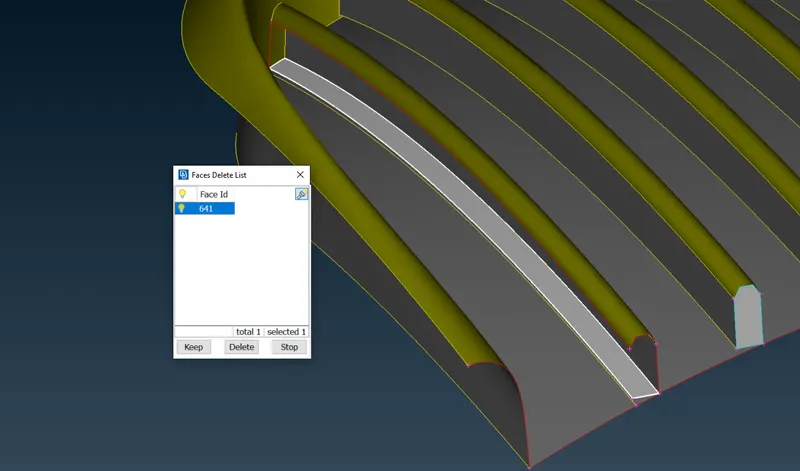
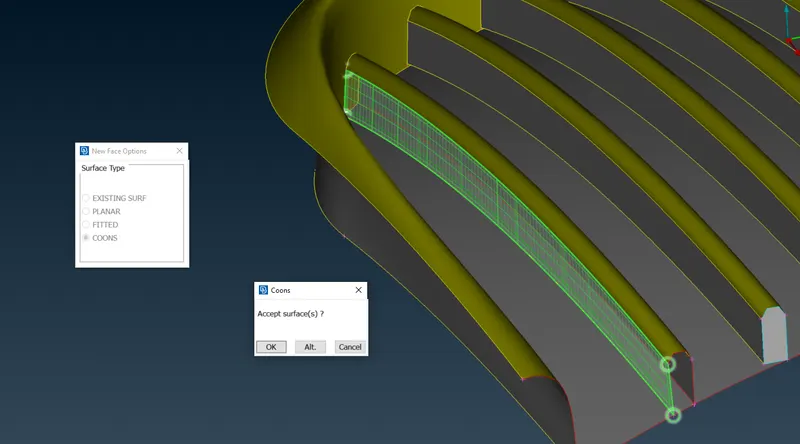
Since the surface is not well connected and we cannot delete the entire surface in one go, we need to create the projection of the character as we did earlier for the above curve for the adjacent curve.
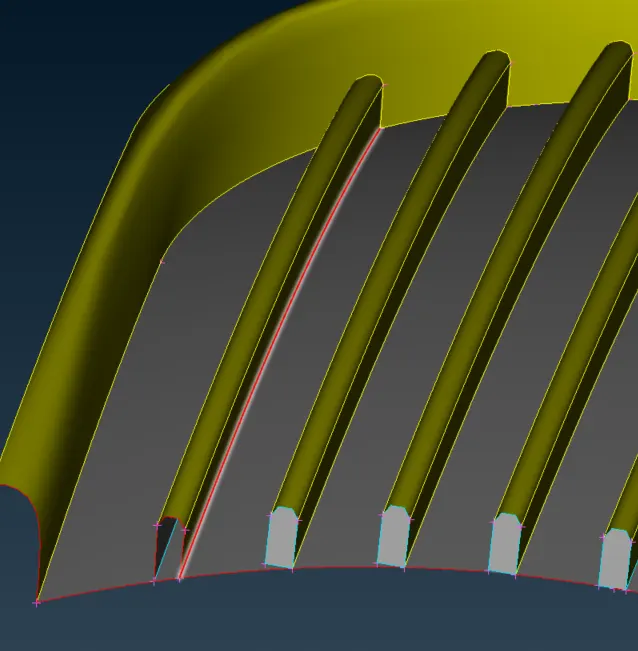
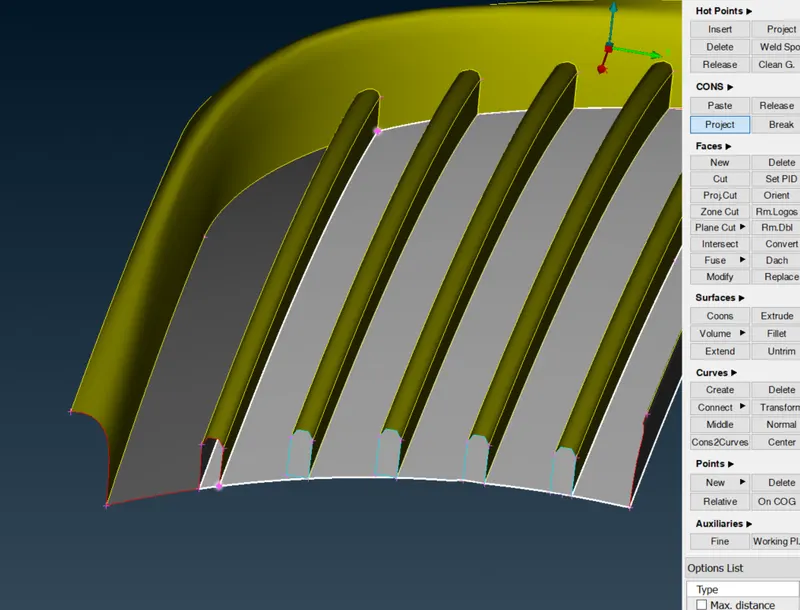
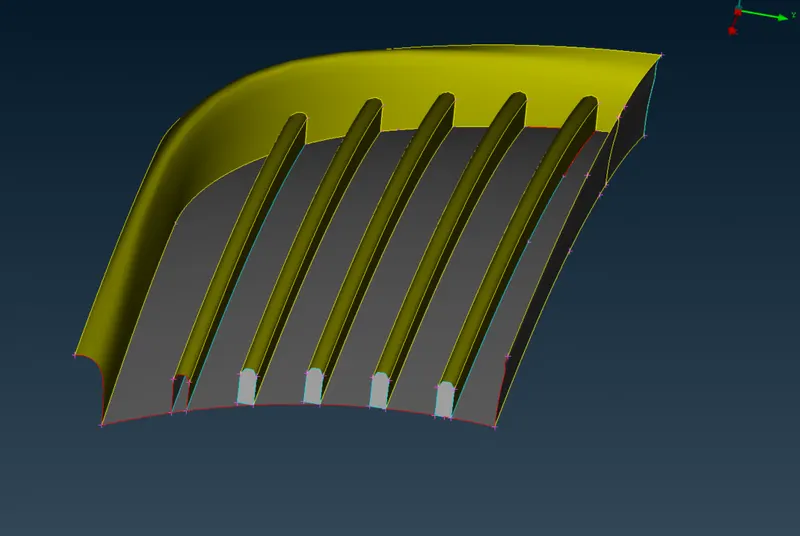
Now we have to blue cons as we created a new projection.
For that let's project the back part also:
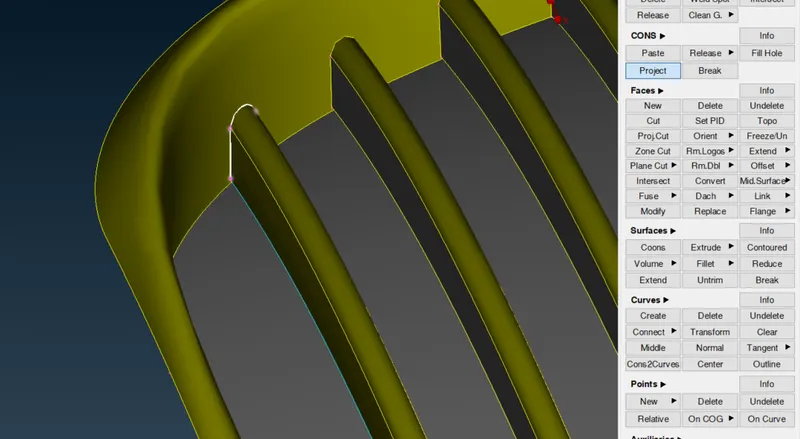
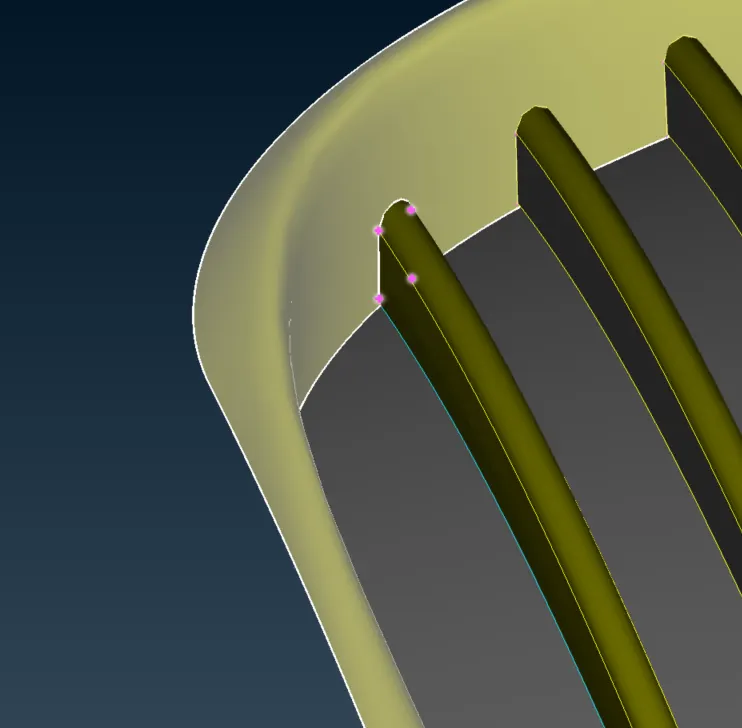
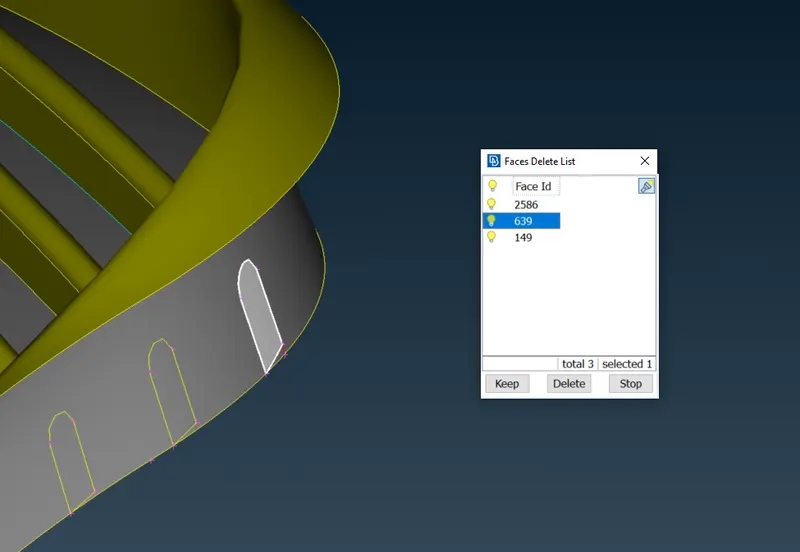
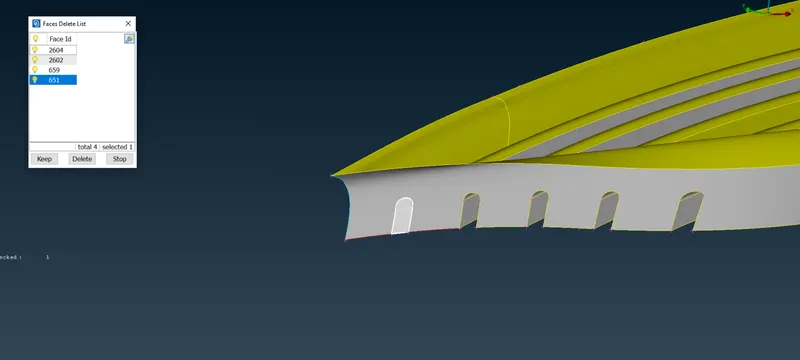
We can also delete the bottom face by deleting two faces at this location.
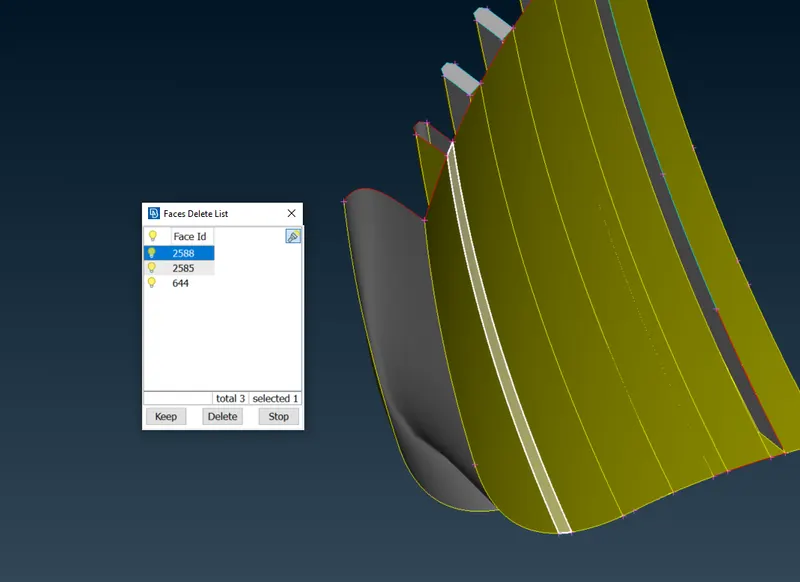
Now the geometry became perfect for this part.
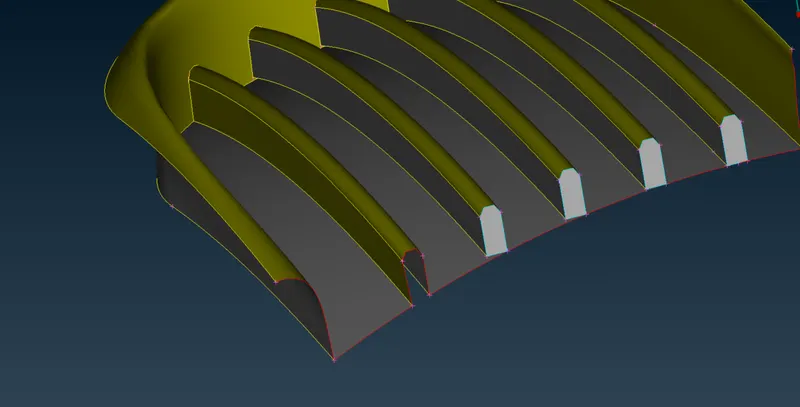
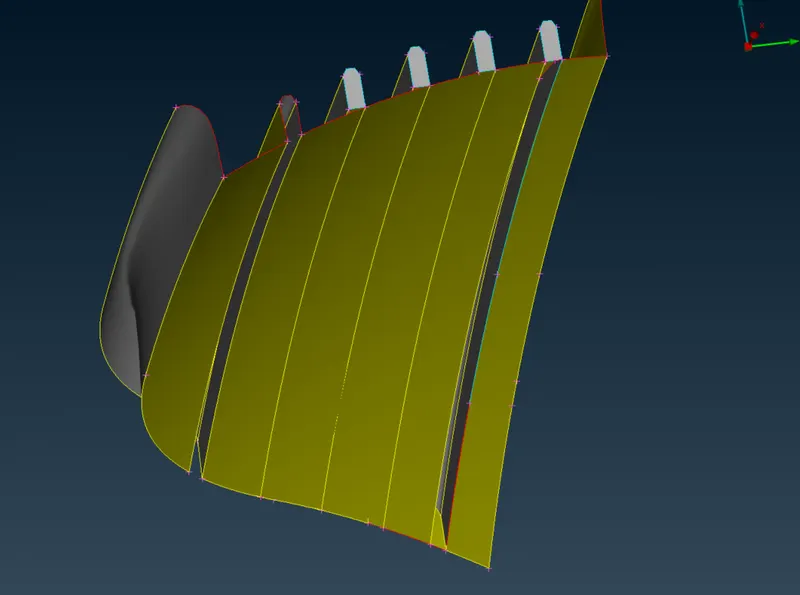
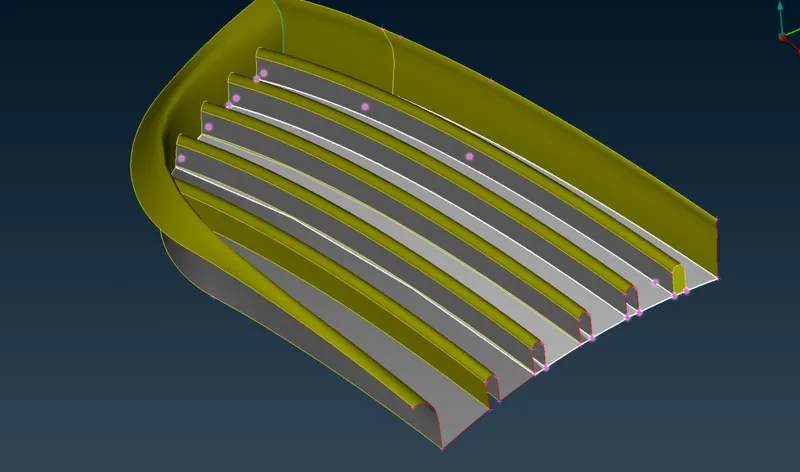
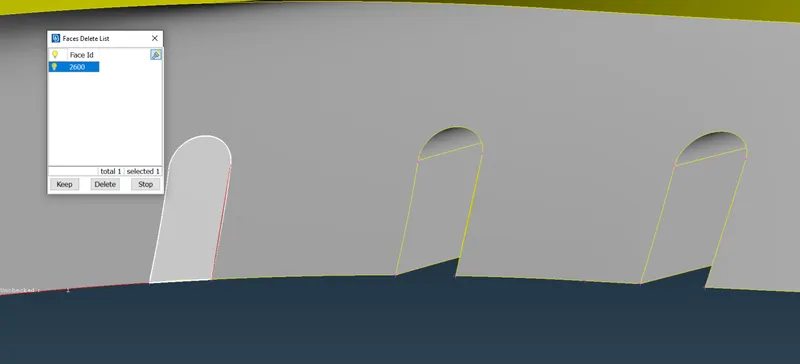
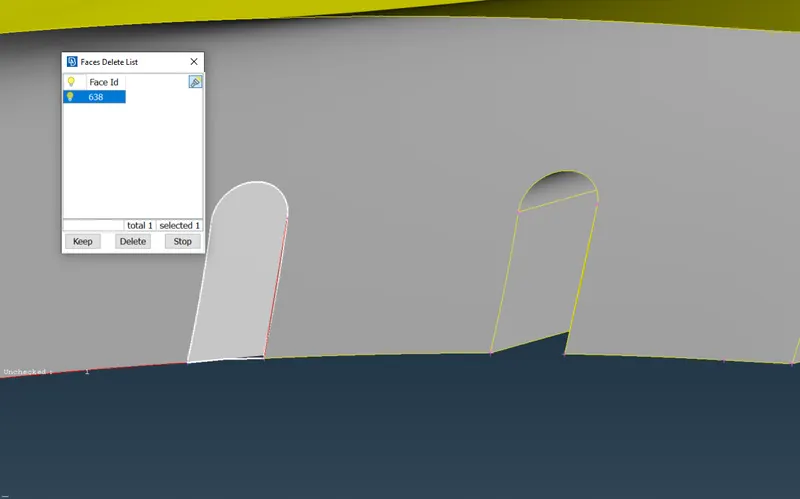
So, we will be moving ahead with doing this same procedure for the rest of the fins of Grill.
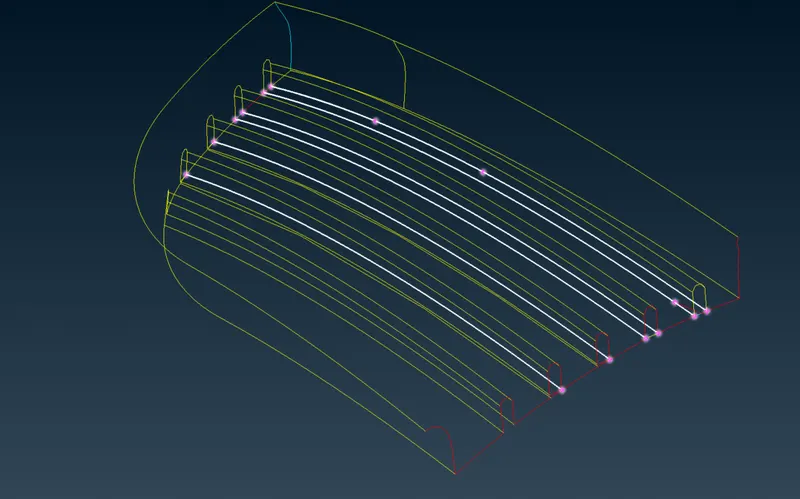
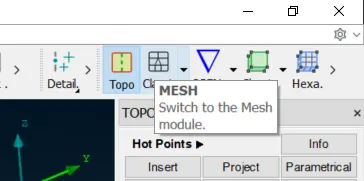
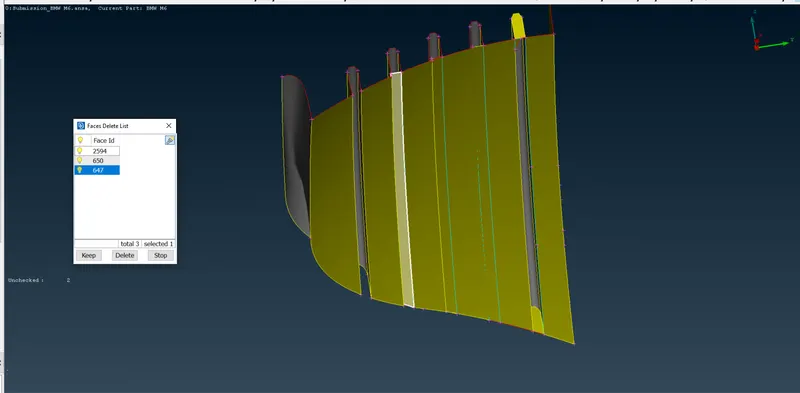
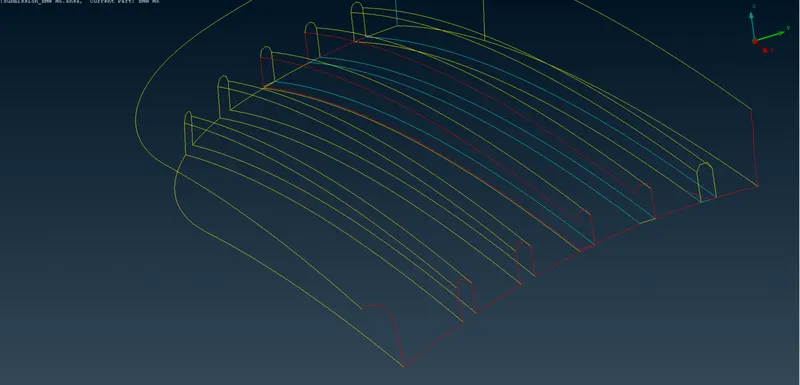
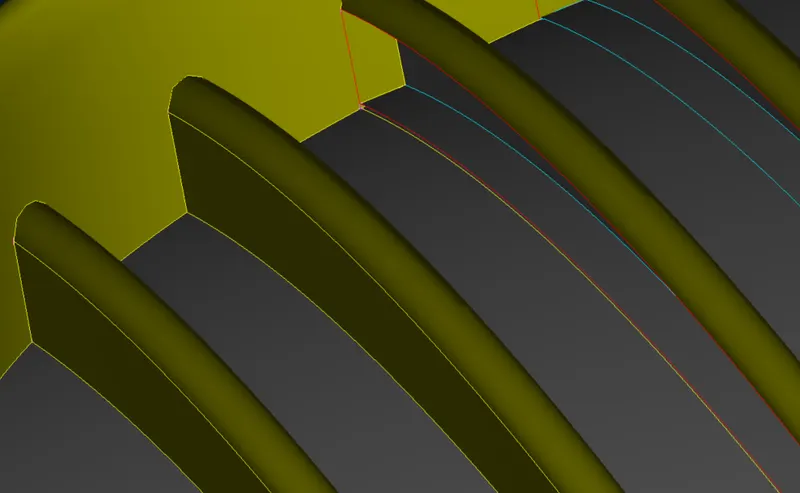
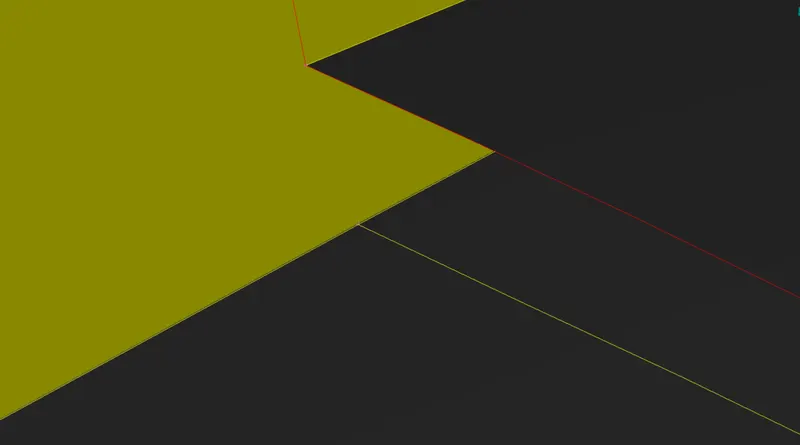
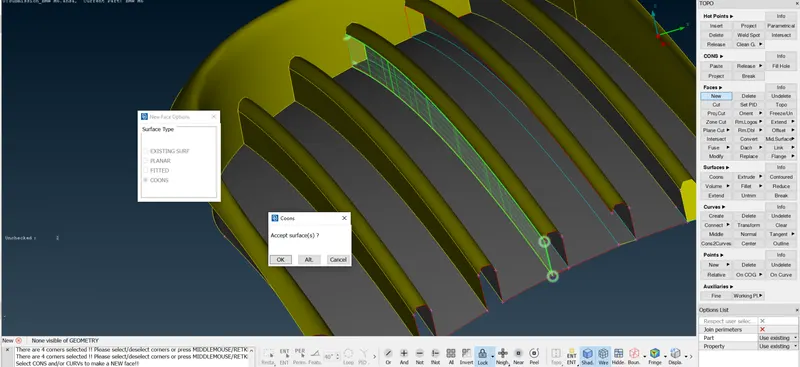
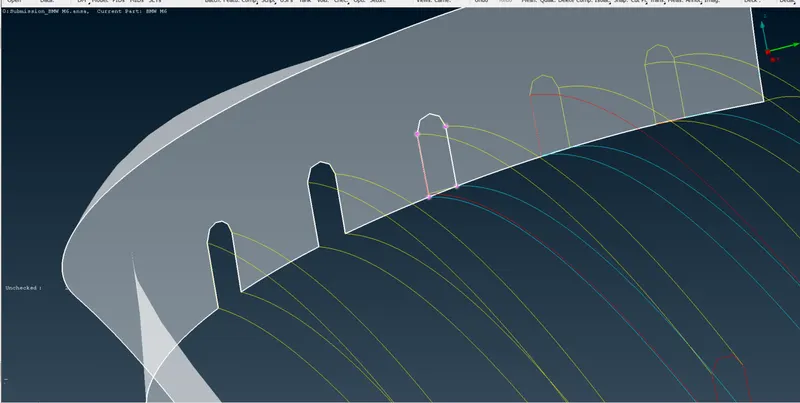
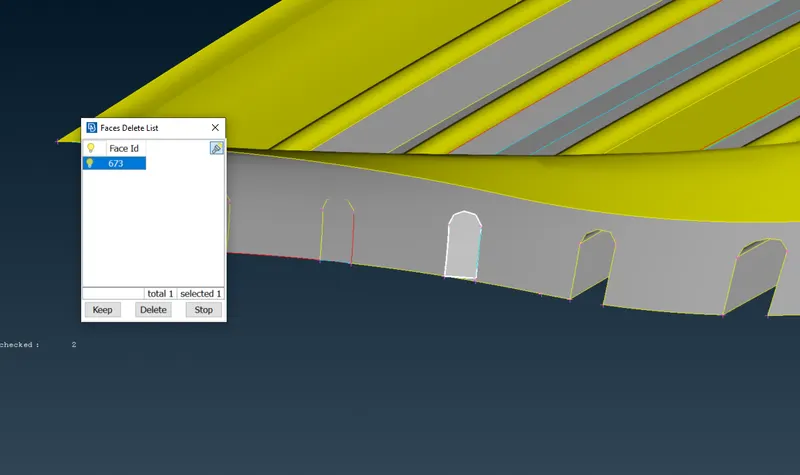
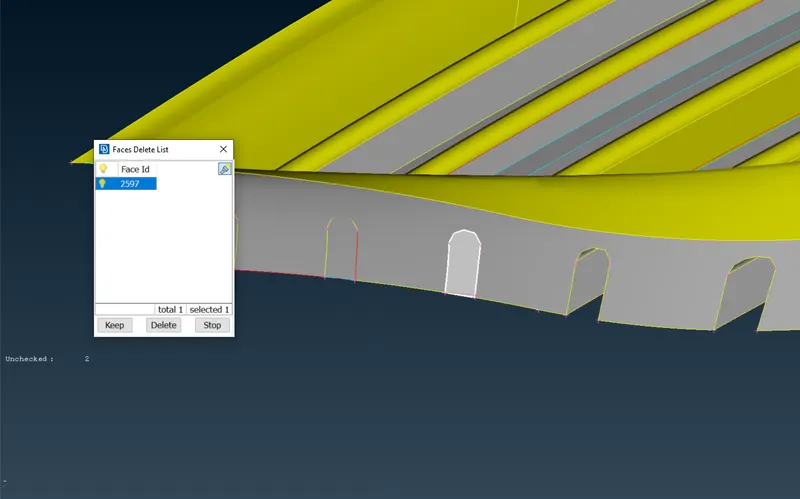
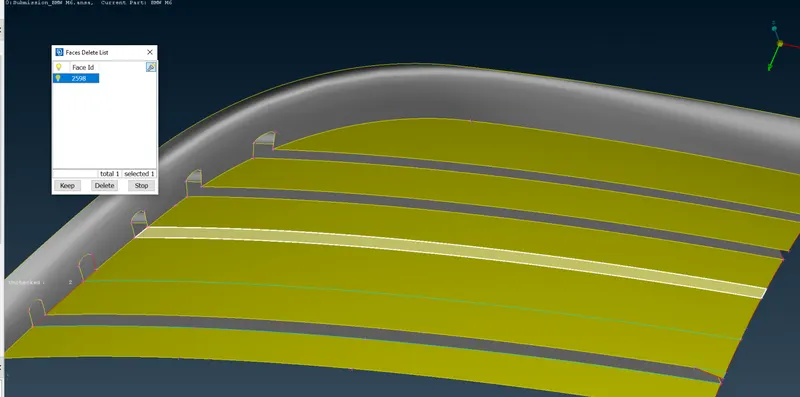
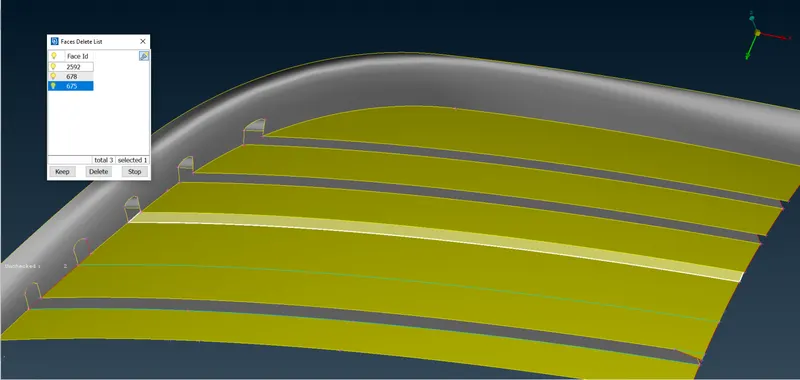
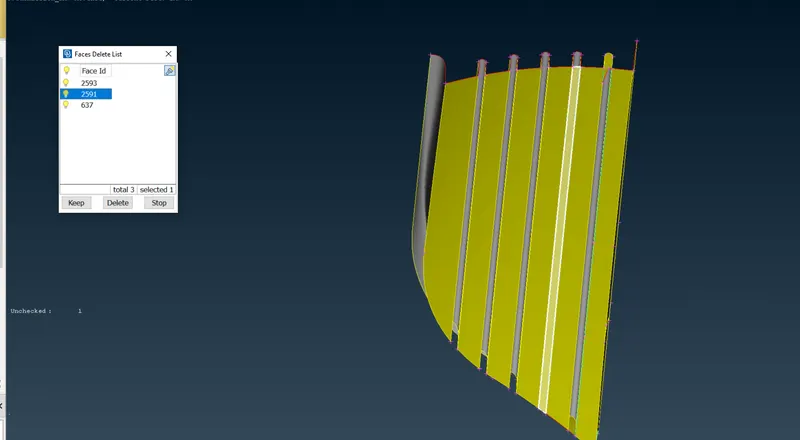
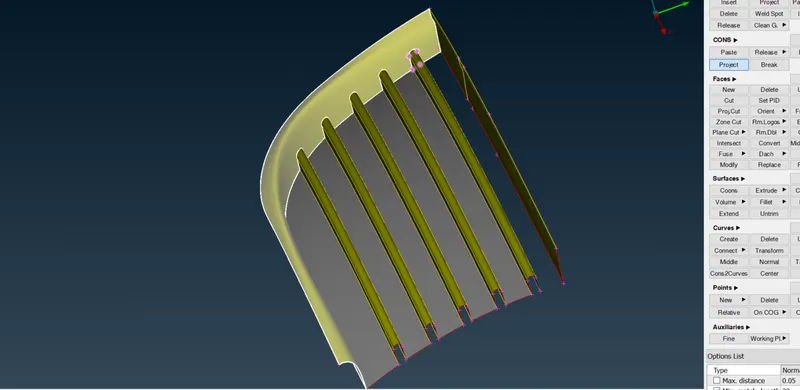
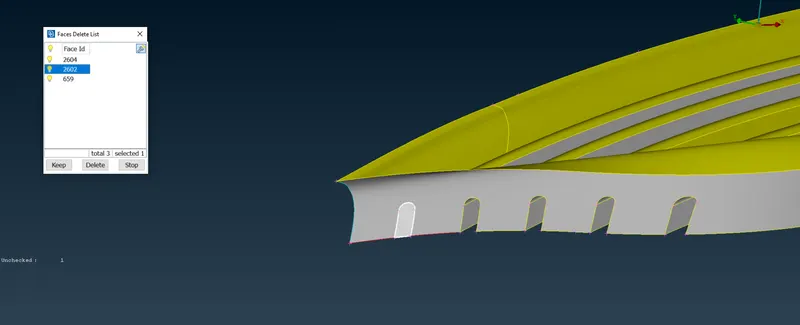
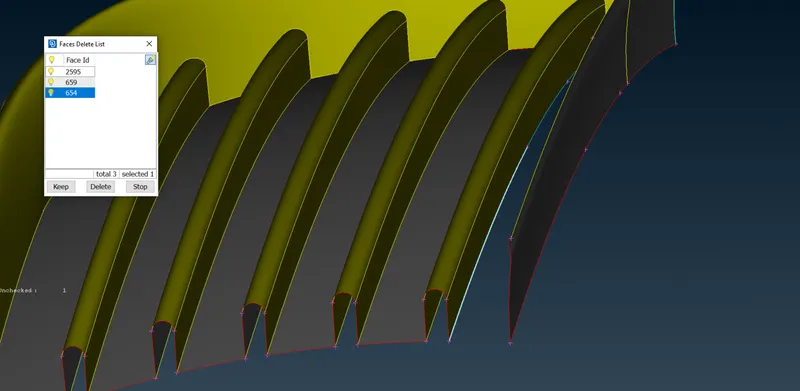
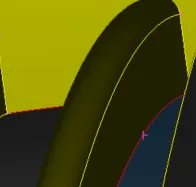
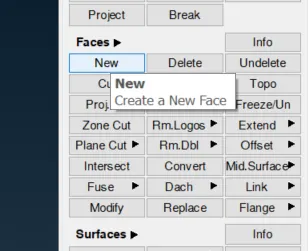
Here are some relevant snaps for the same process:
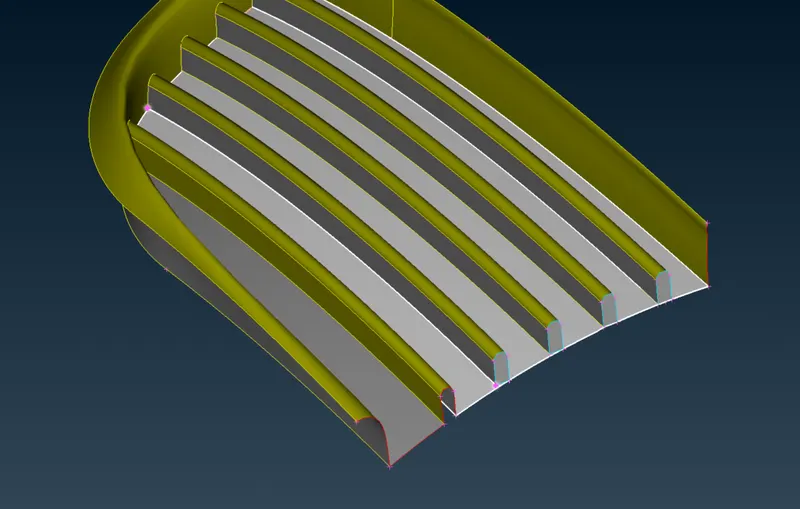
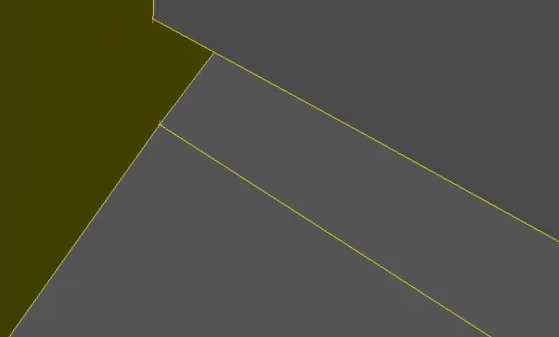
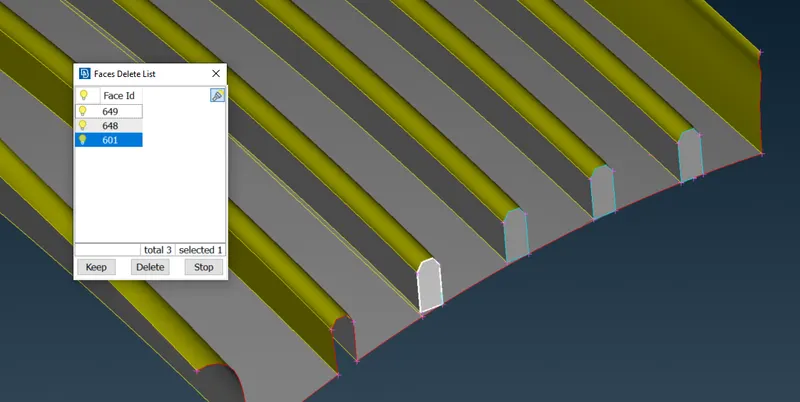
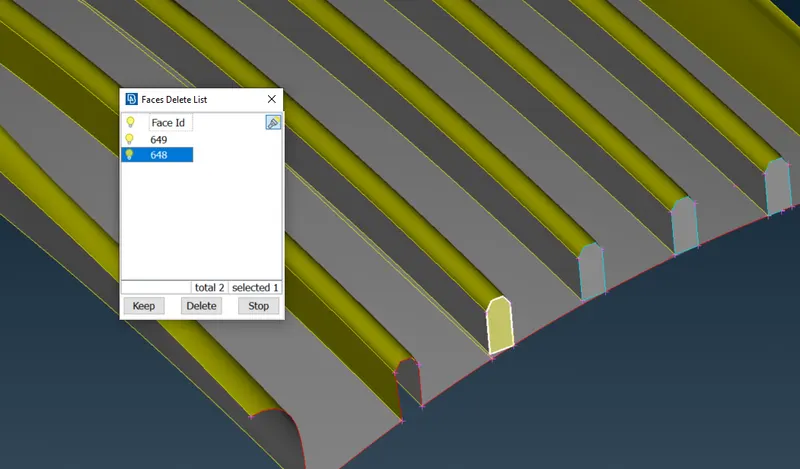
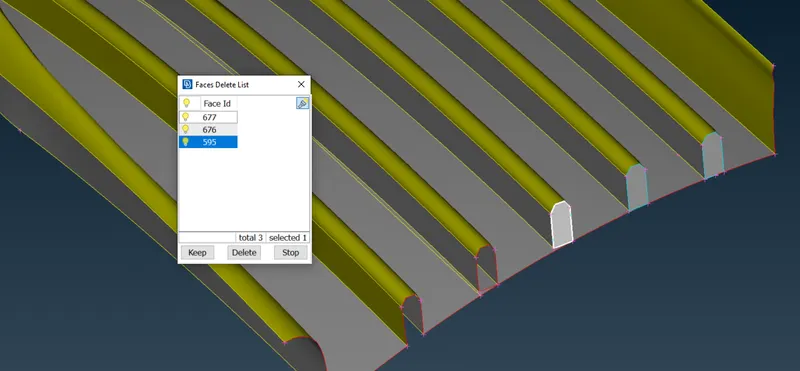
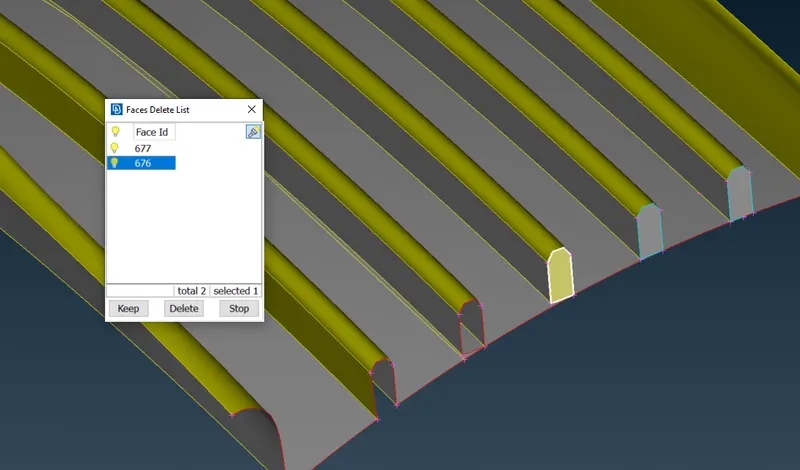
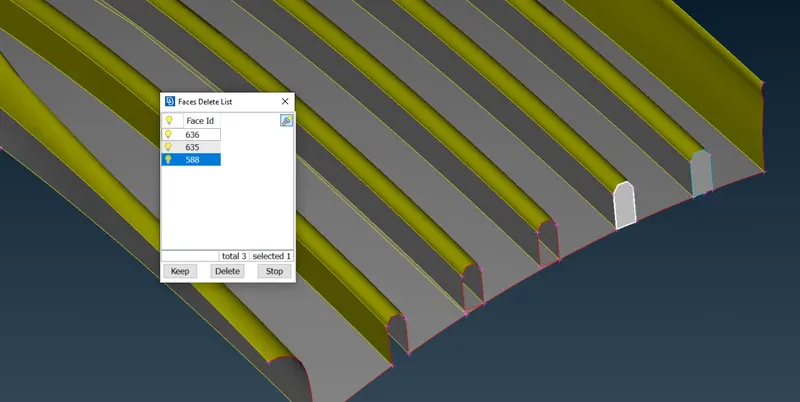
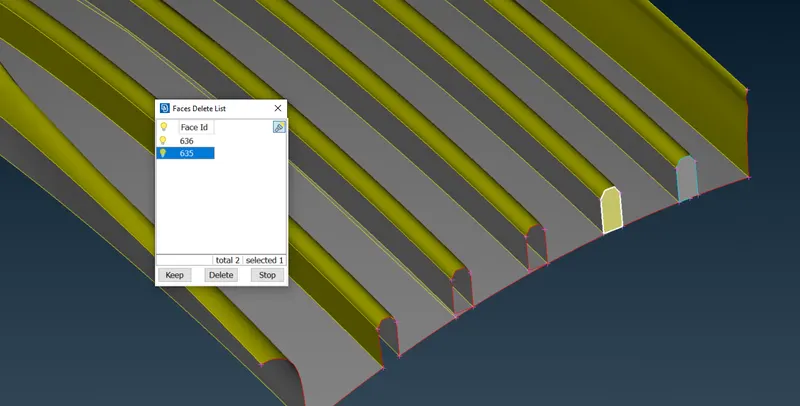
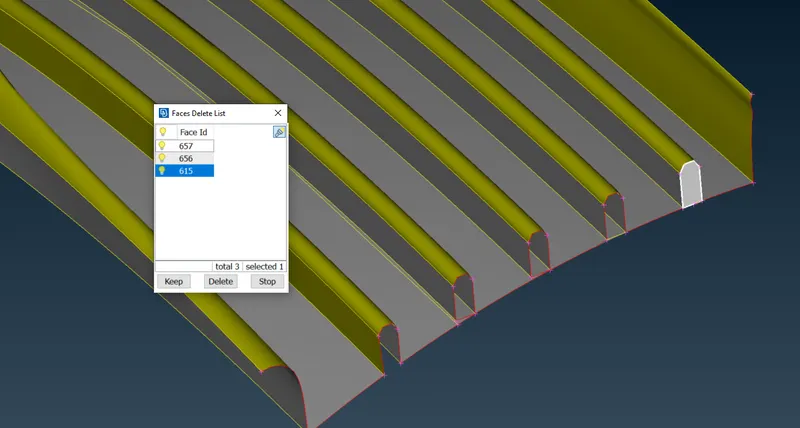
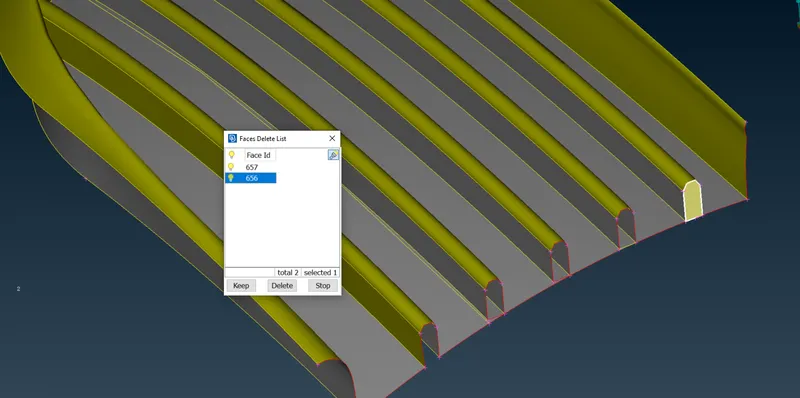
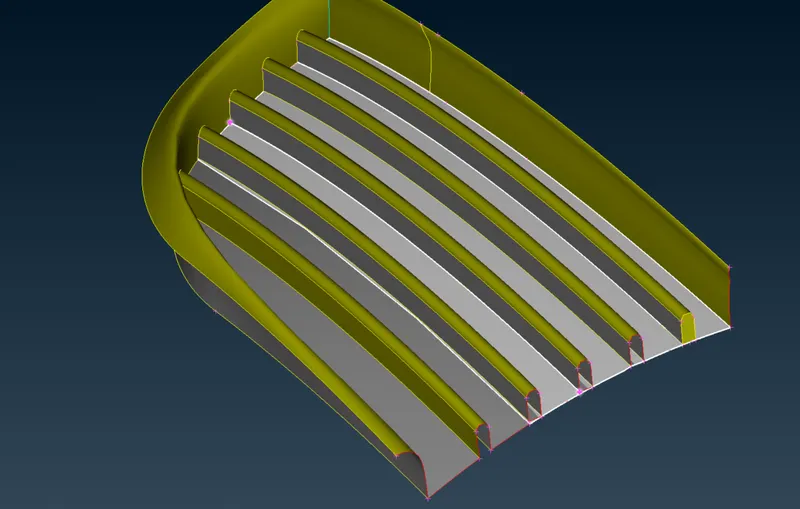
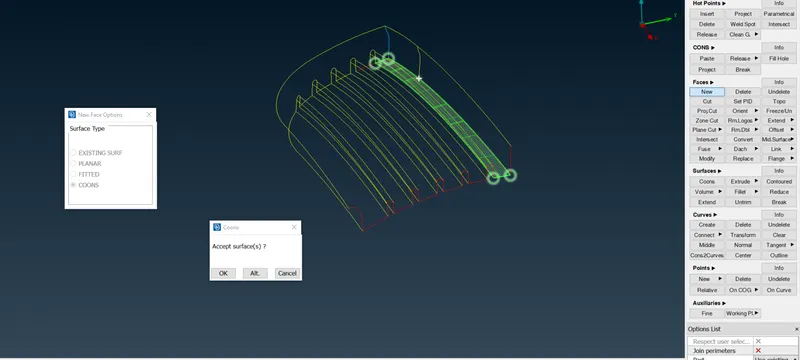
Let's project all the edges in one go.
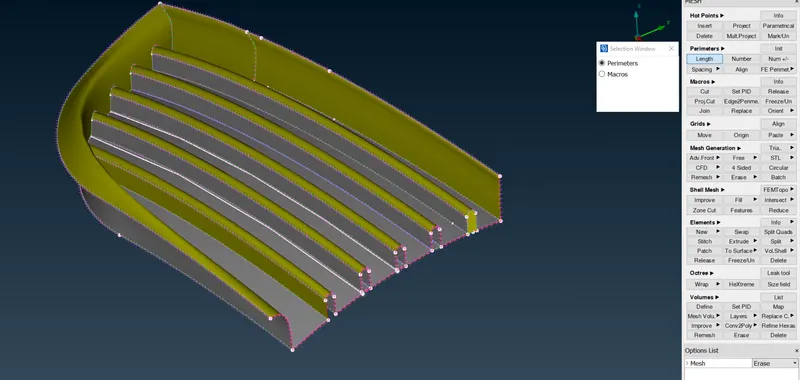
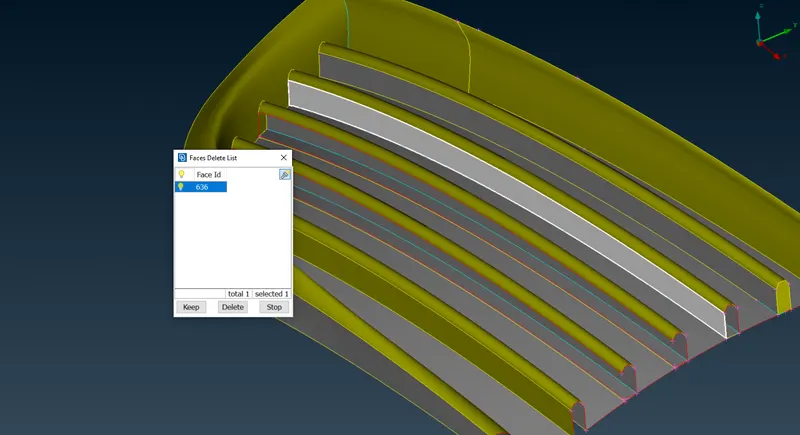
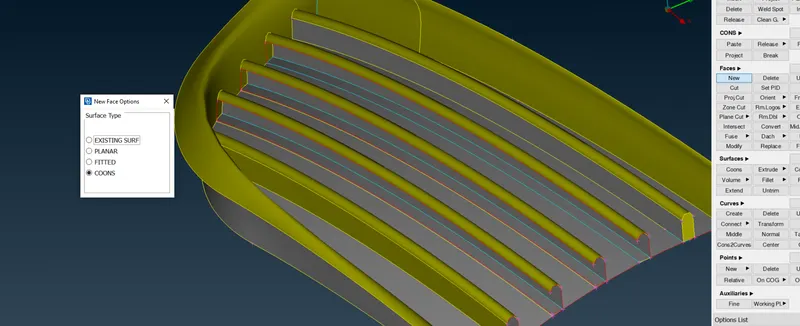
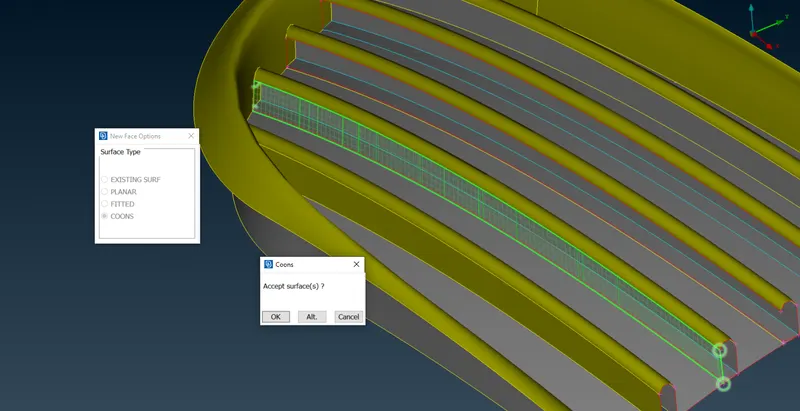
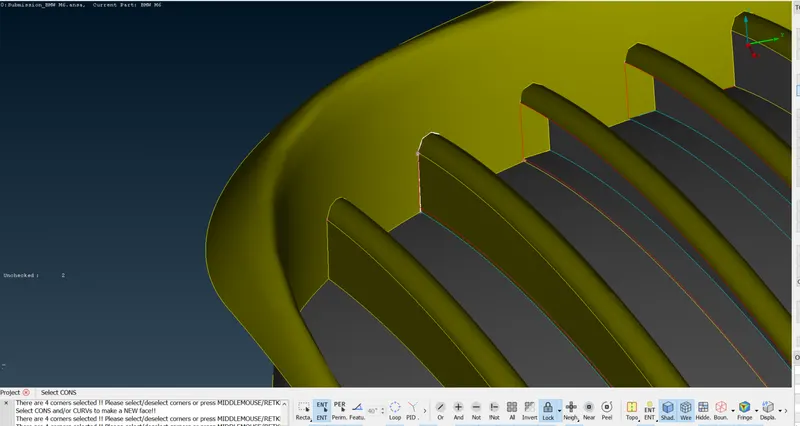
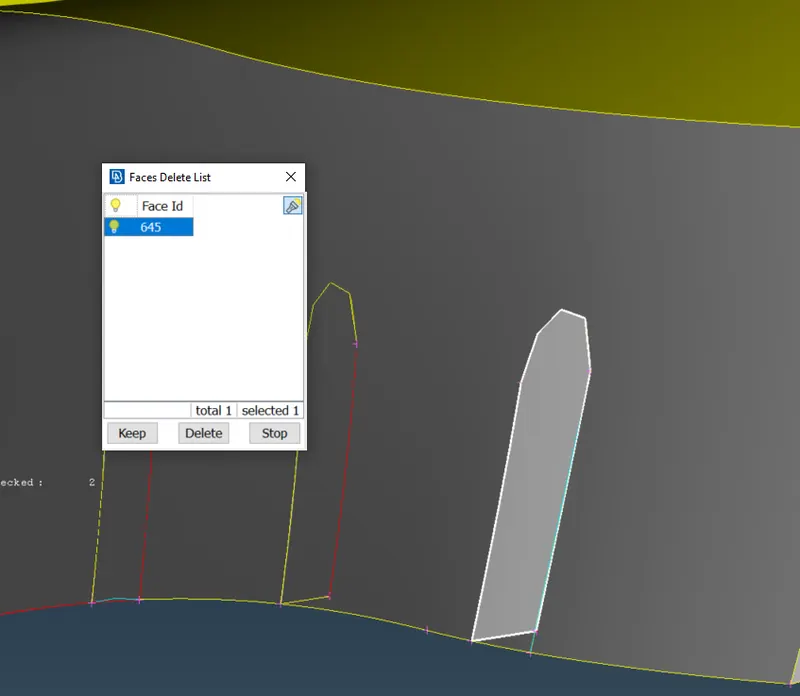
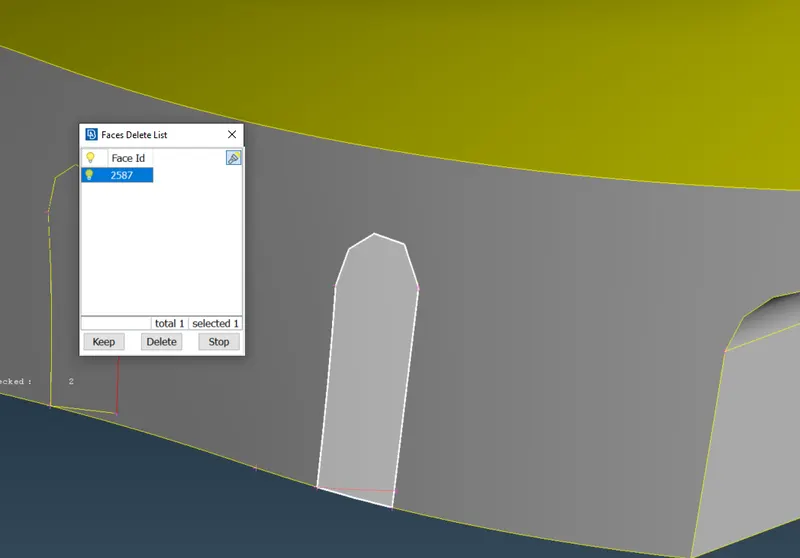
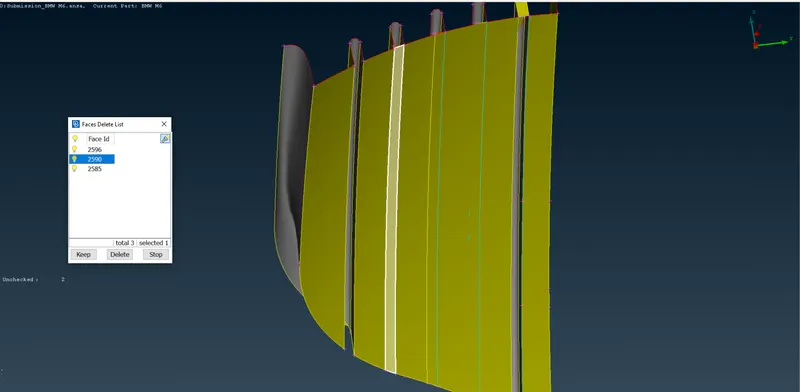
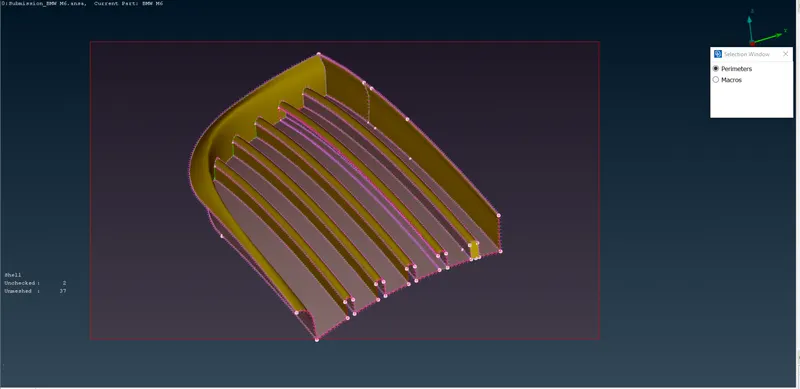
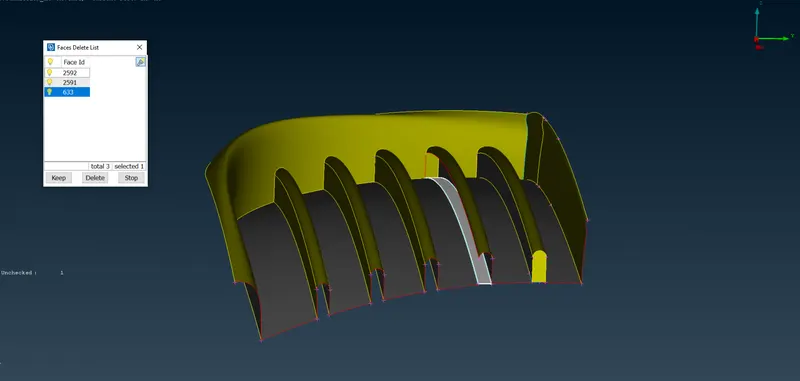
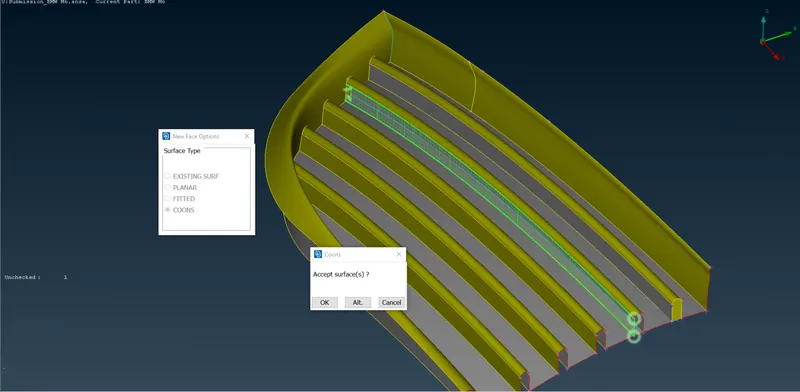
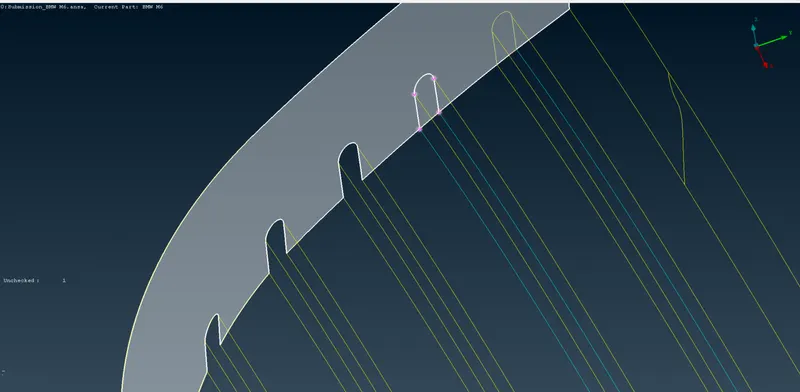
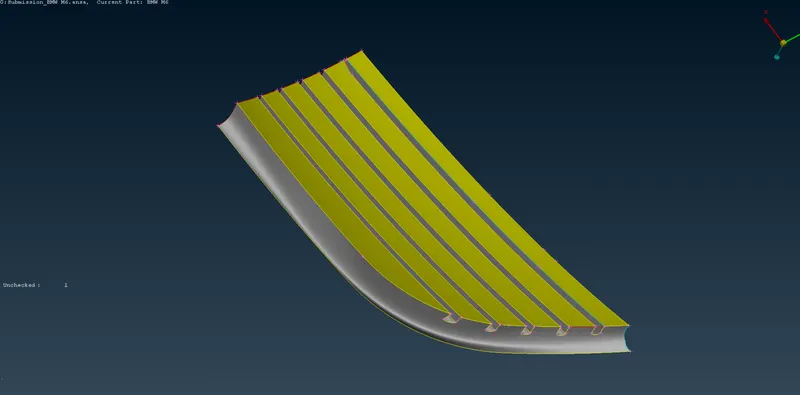
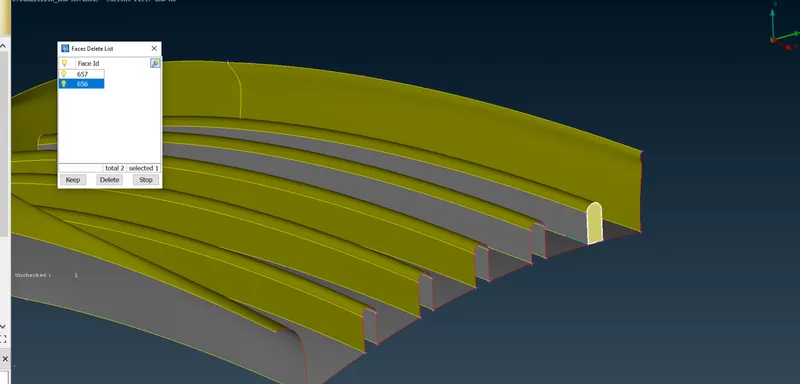
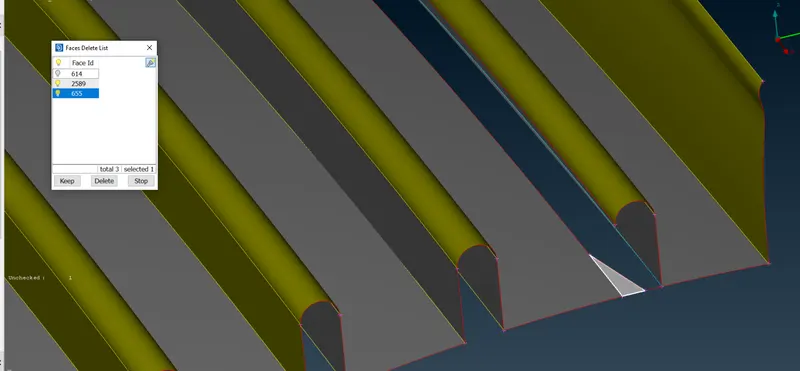
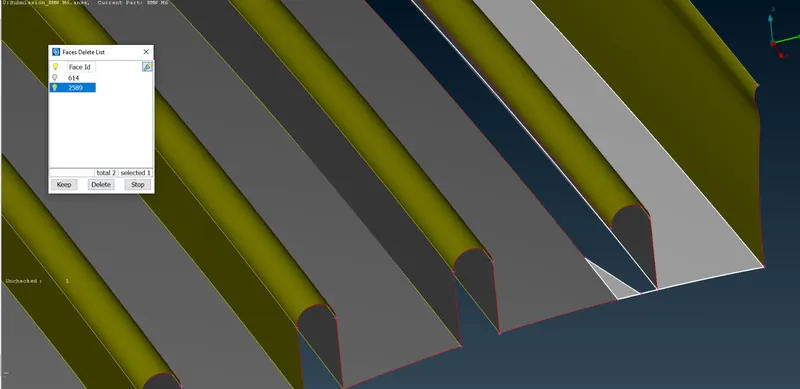
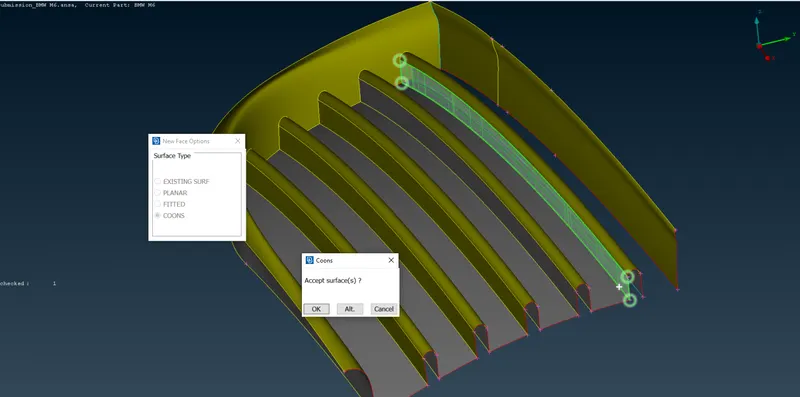
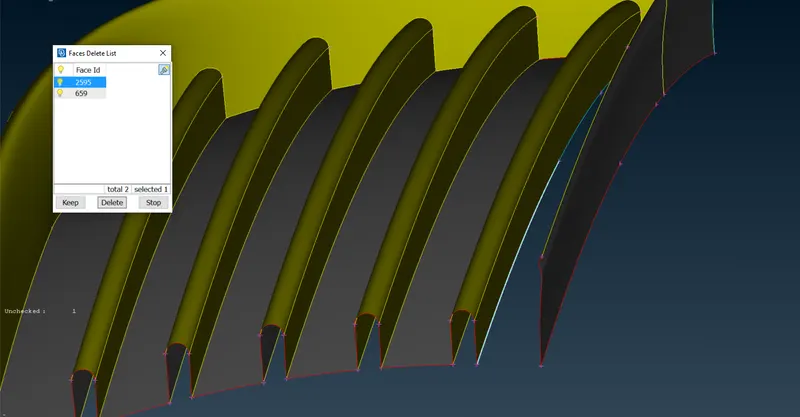
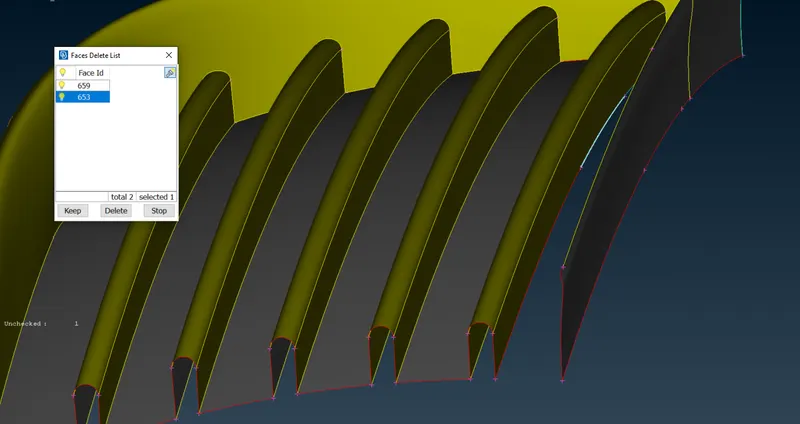
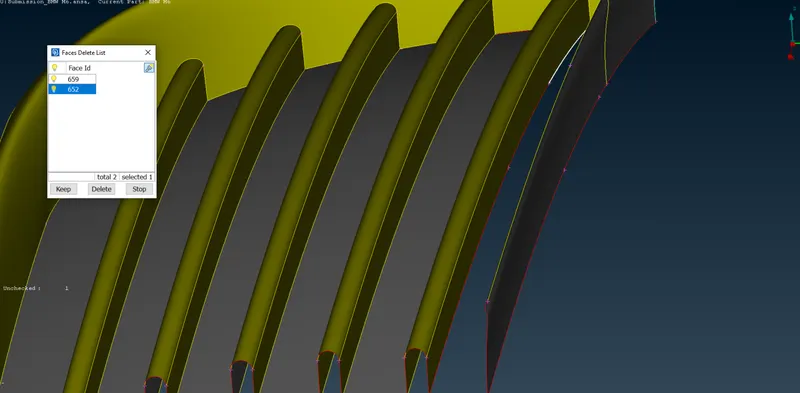
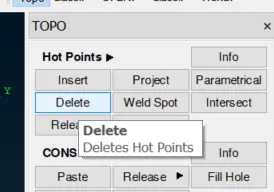
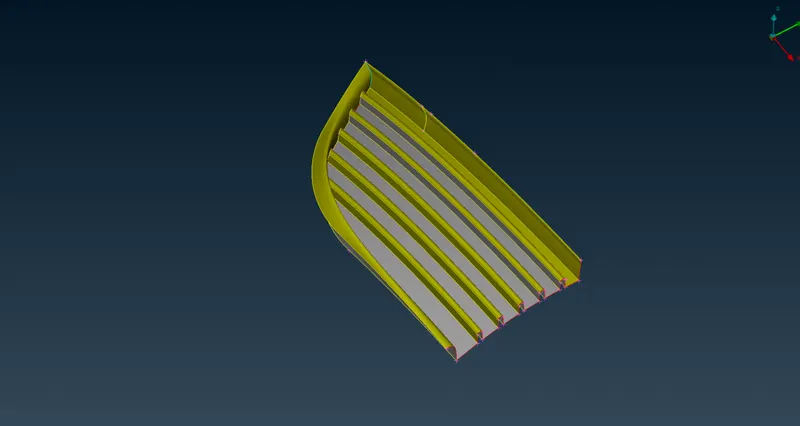
Grill DONE.
We will now go ahead with another grill for the car.
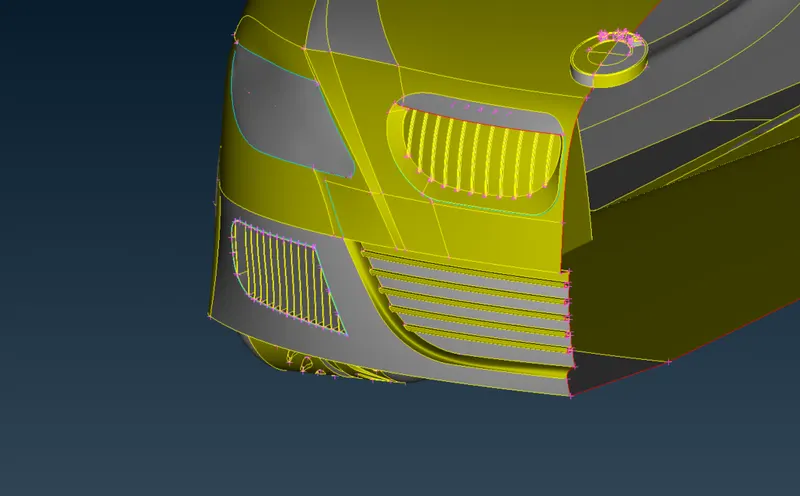
Isolated the grill:
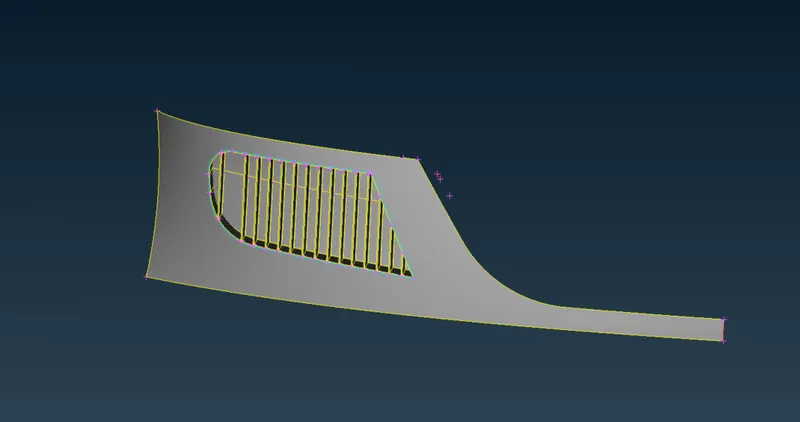
Back view:
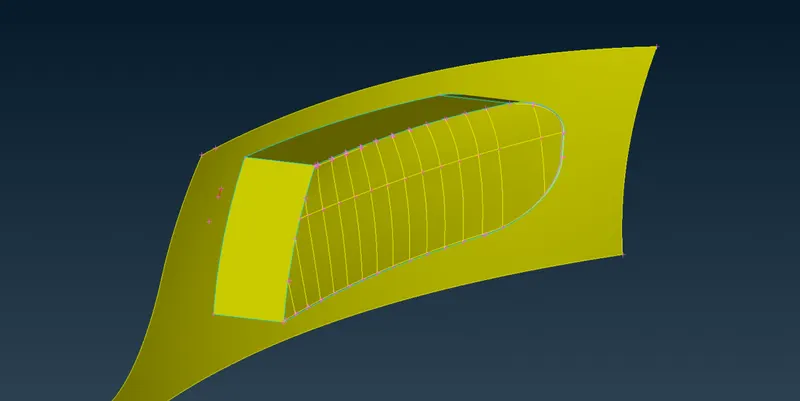
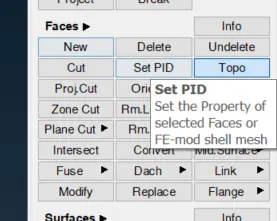
Go to assign PID for this
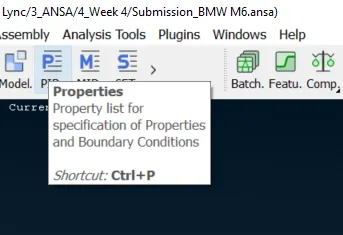
Earlier to this, we can check the overlapping surfaces coming up in the PID mode of the model for this part of the grill.
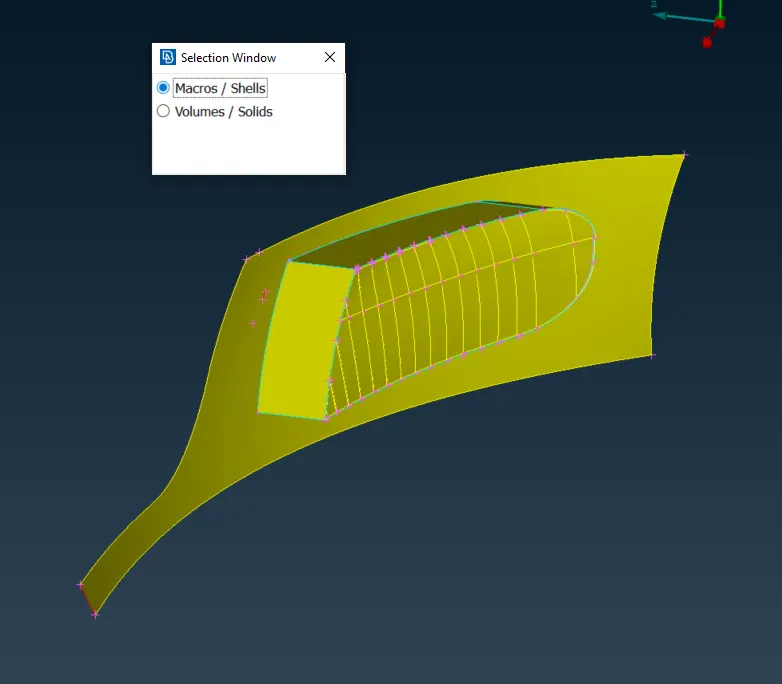
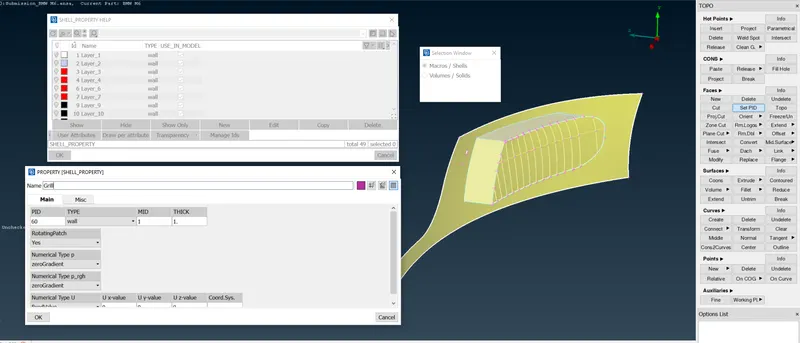
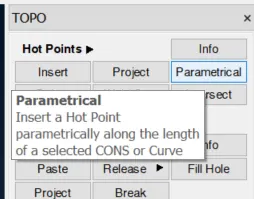
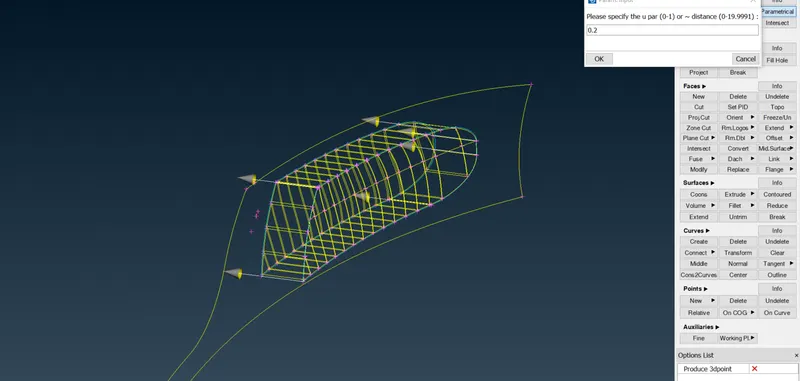
new Hot points are created on the curve at a 0.2 mm distance from the original Hot point and that too in the direction represented by an arrow while selecting hot points.
Use these new Hot points to create a new surface using the CUT tool.
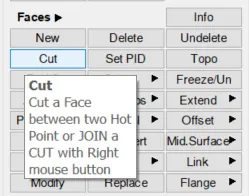
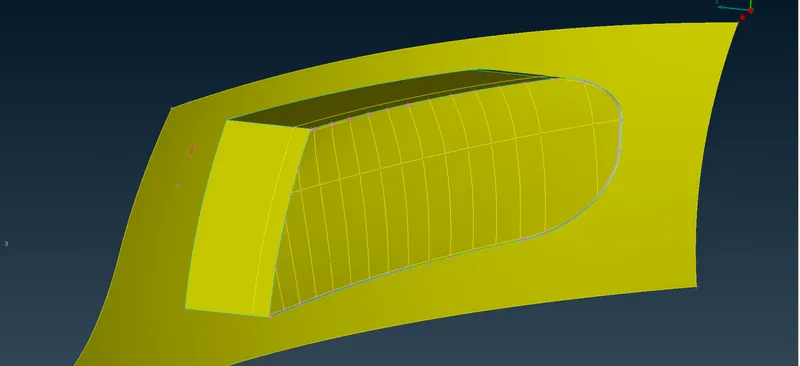
Now post creating one cut for the face we can go for new surface creation.
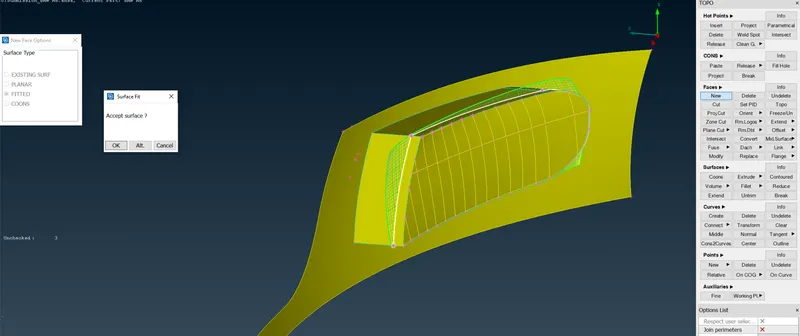
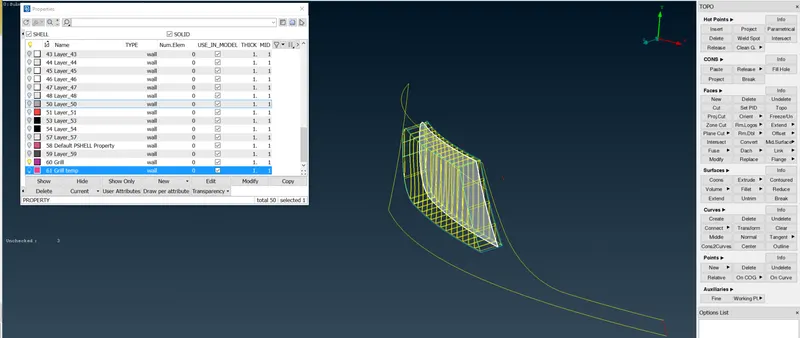
Assign New PID to the new surface which is created here
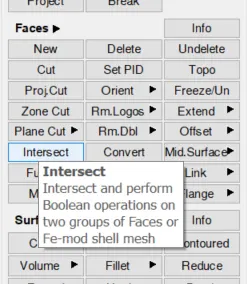
Now, we will use the Intersect tool for going ahead to clear the errors.
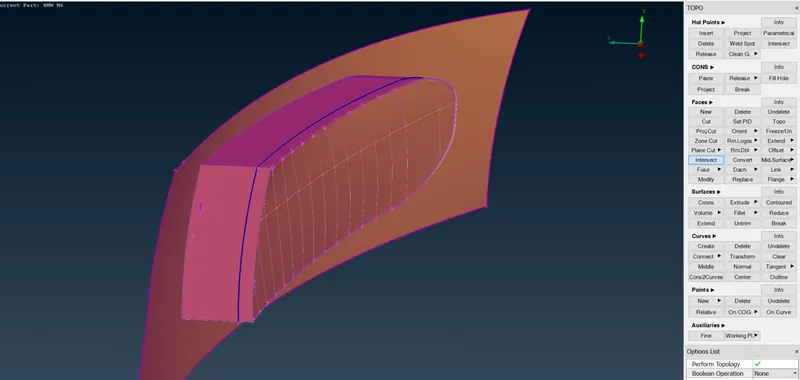
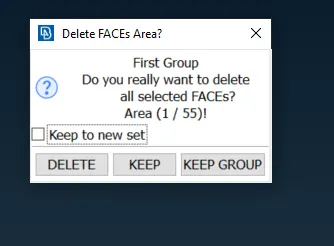
Let's now check and delete the back part that is not required.
So, the faces which are behind the new surface are not needed so we will be deleting them and the faces which are required which are in intersection with the new character created will be kept.
Some snaps of reference faces that are being kept and deleted are shown below.
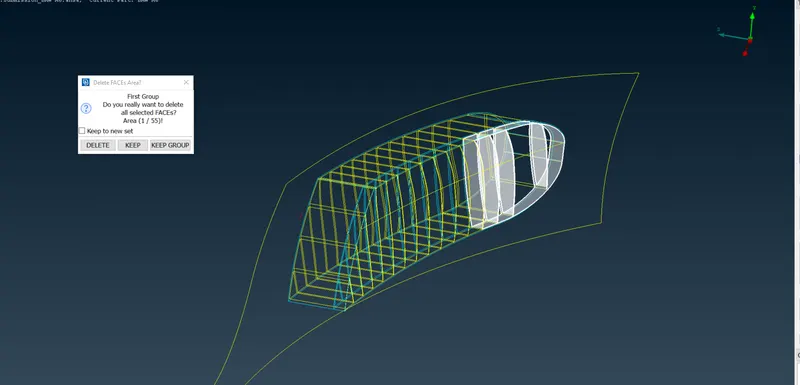
Delete
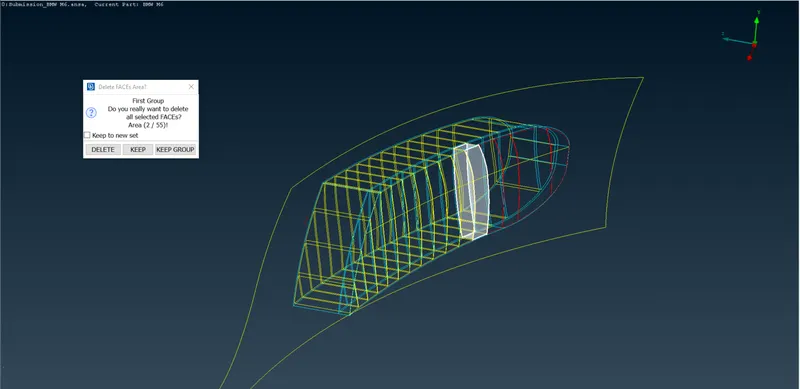
Delete
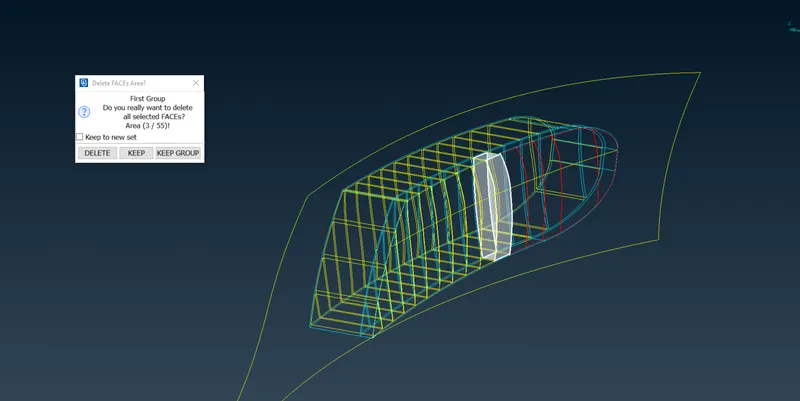
Delete
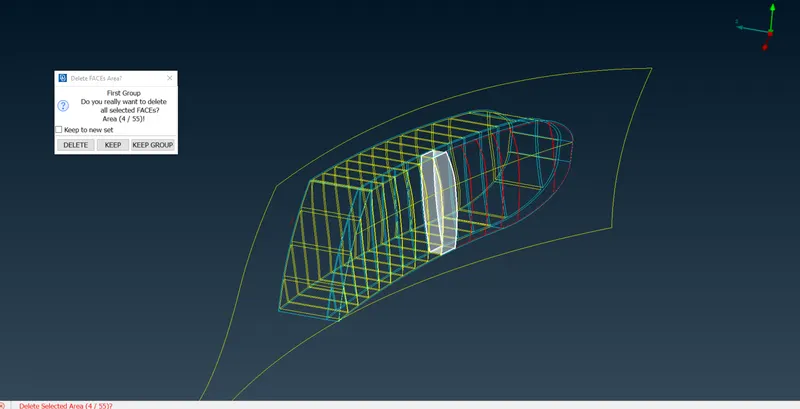
Delete
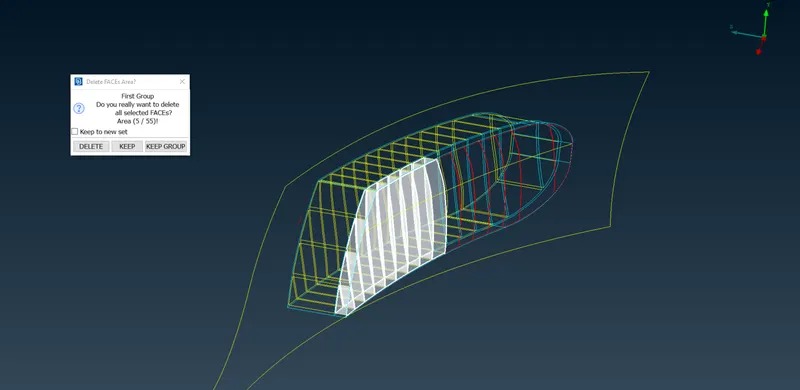
Delete this also
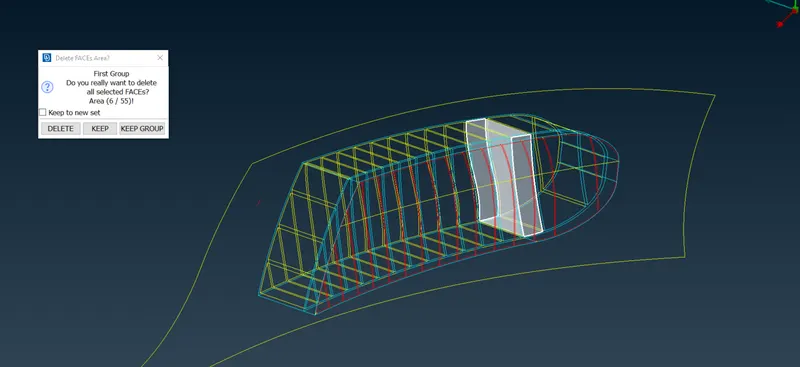
DO NOT DELETE
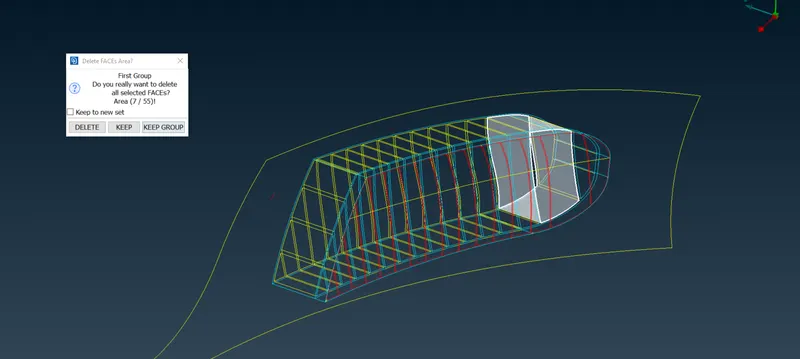
Keep
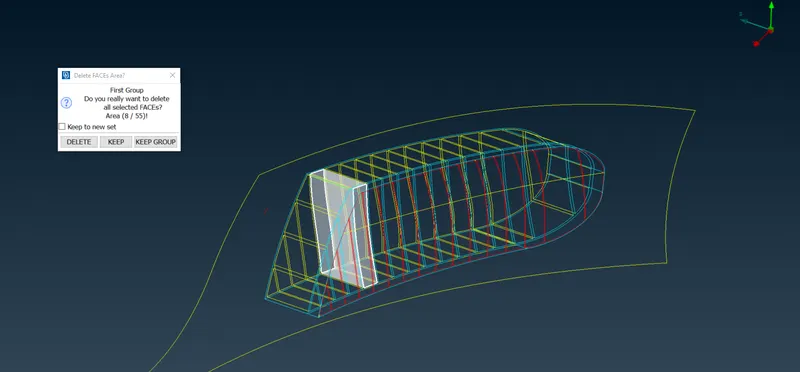
Keep
Post doing let's do a manual delete
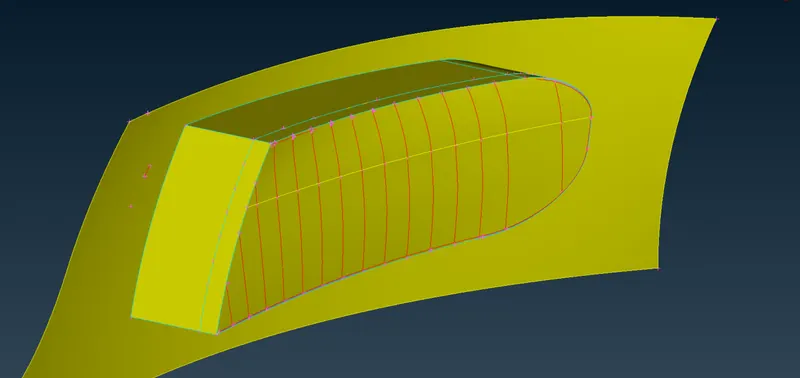
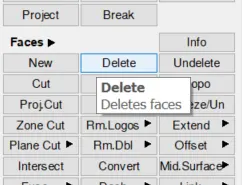
Use PID region
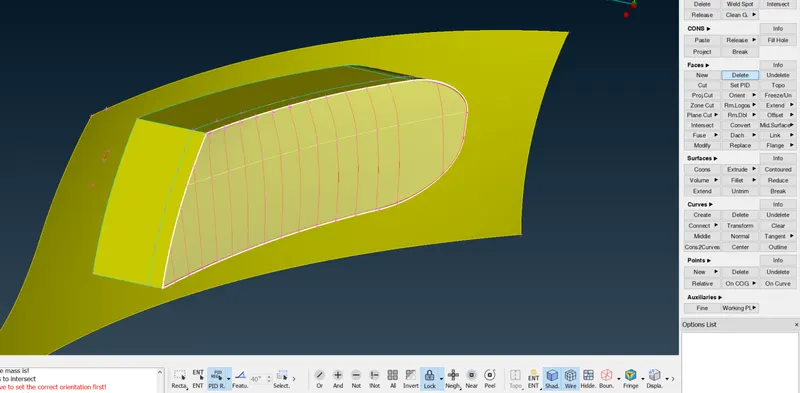
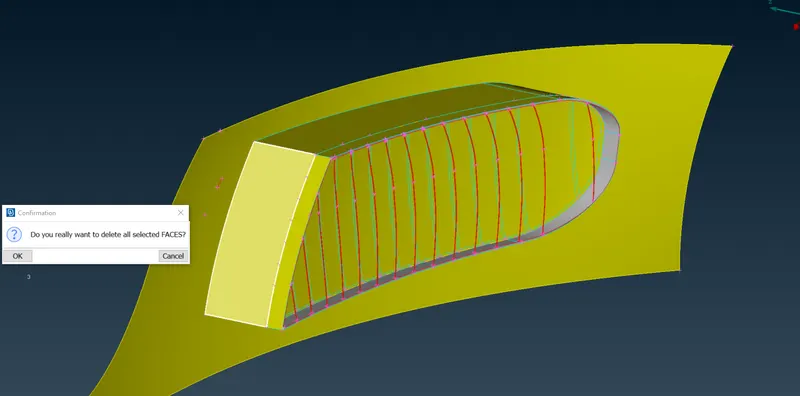
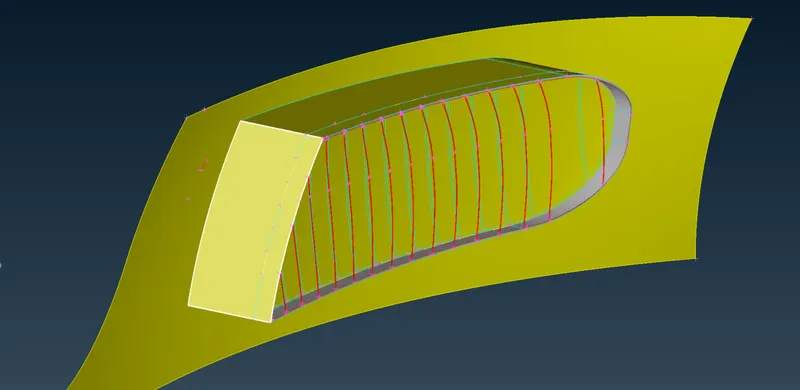
Let's delete the external surface
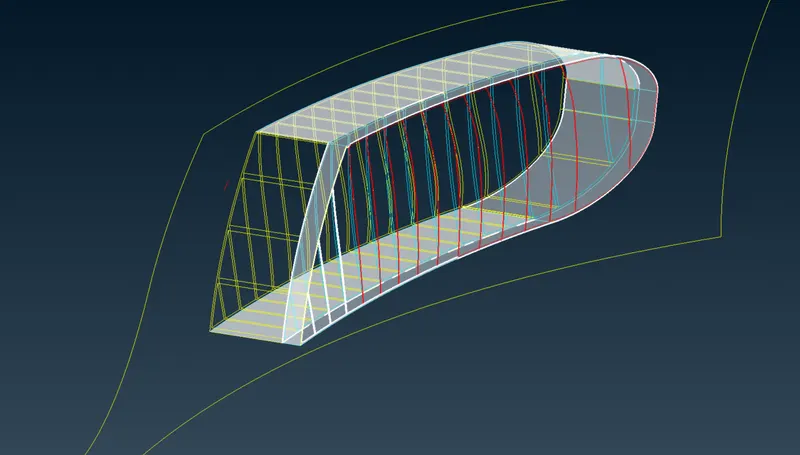
Filter the single cons only and go ahead with red coons and delete the visible part
Go for universal DELETE
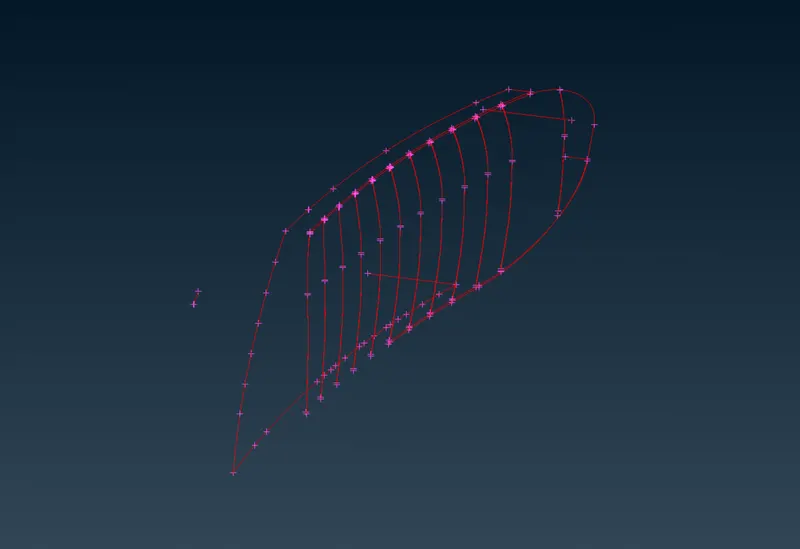
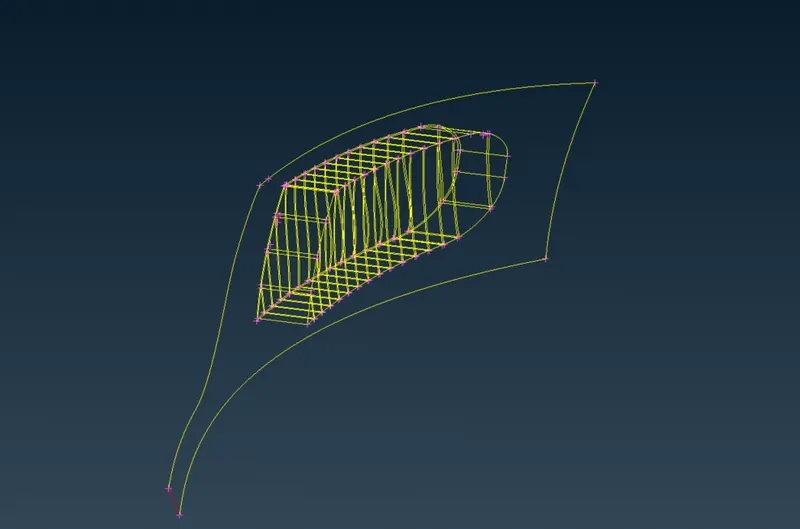
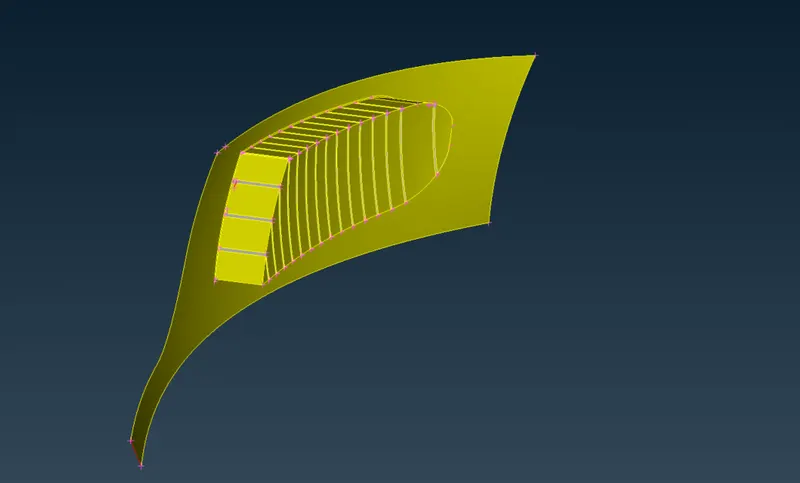
Let's start with the new grill.
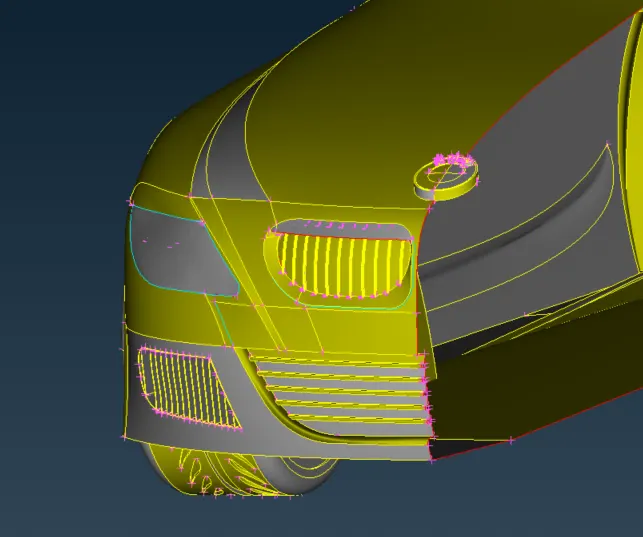
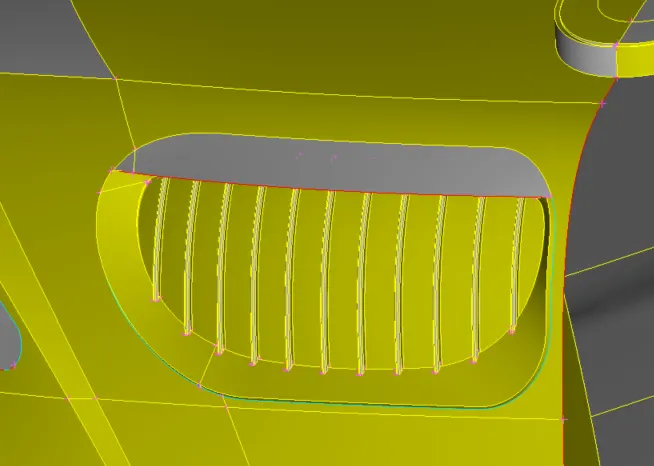
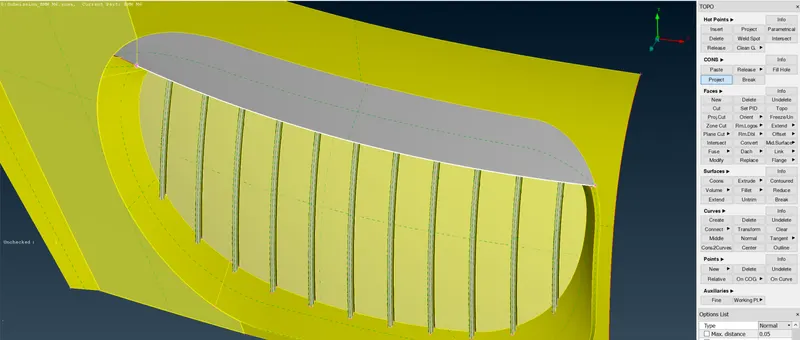
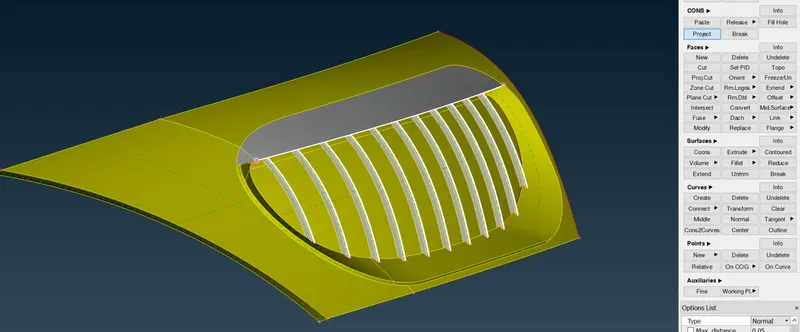
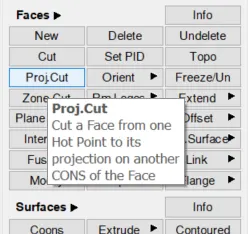
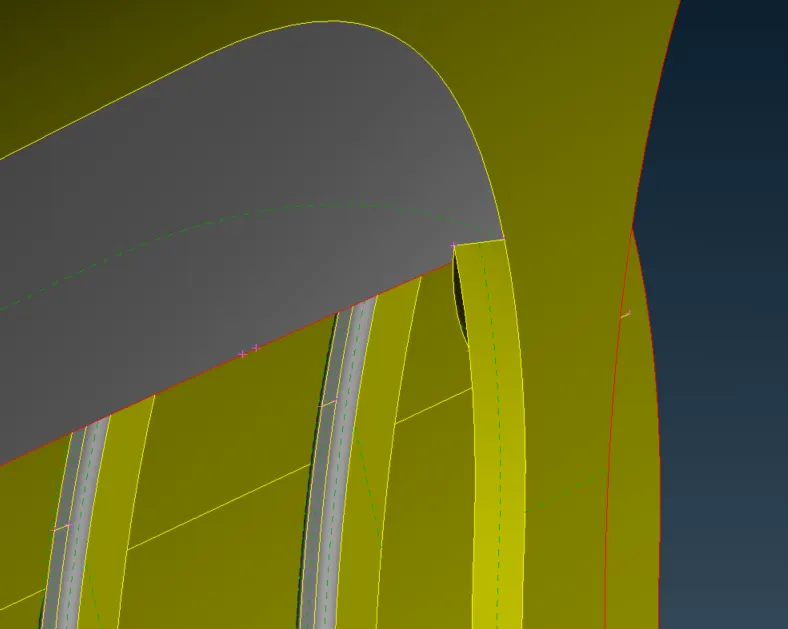
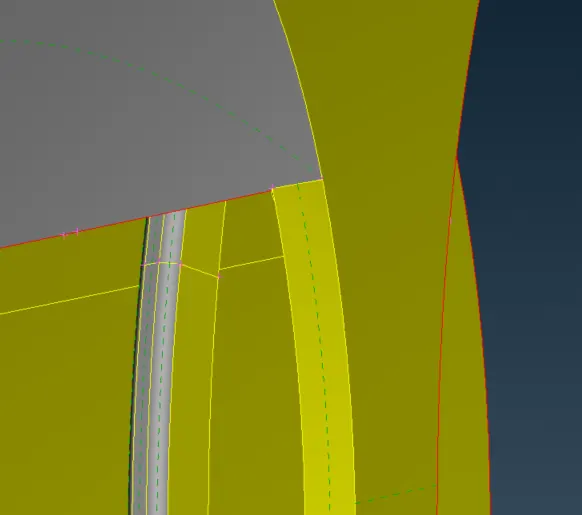
pOST CREATING PROJECTED CUT ON SURFACE HERE IS THE VIEW.
Now we will delete the top surfaces
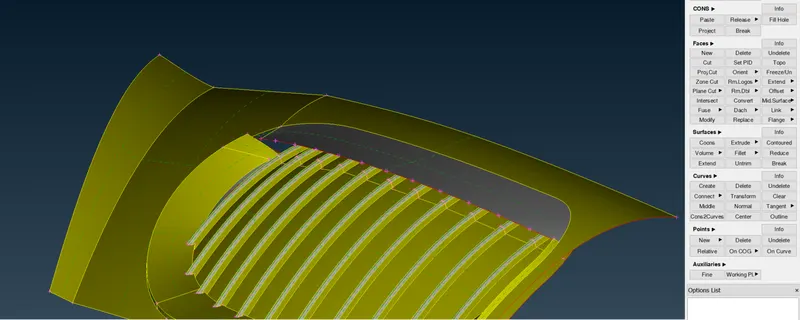
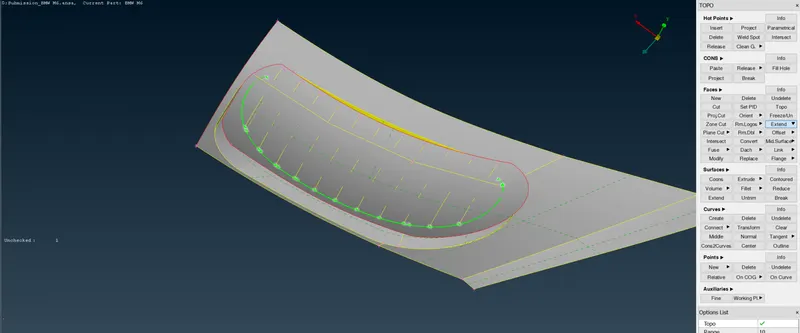
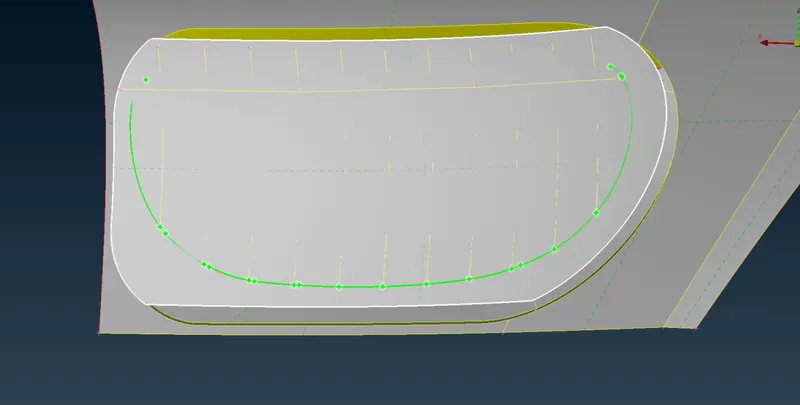
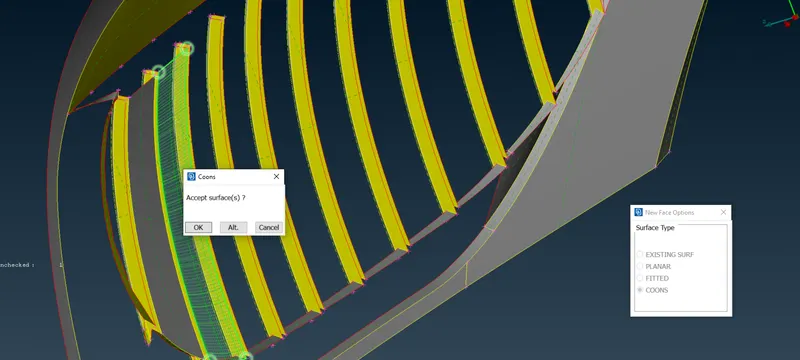
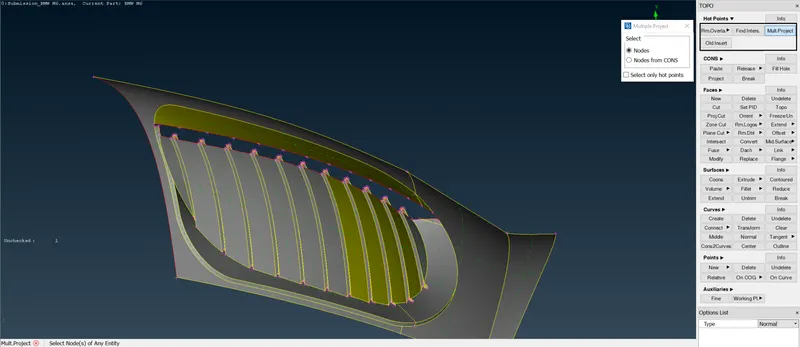
We are using a Multi-project option for creating new hot points and then creating small individual surfaces.
After creation as per video guidelines, we are clear with all the errors which are there in this Grill
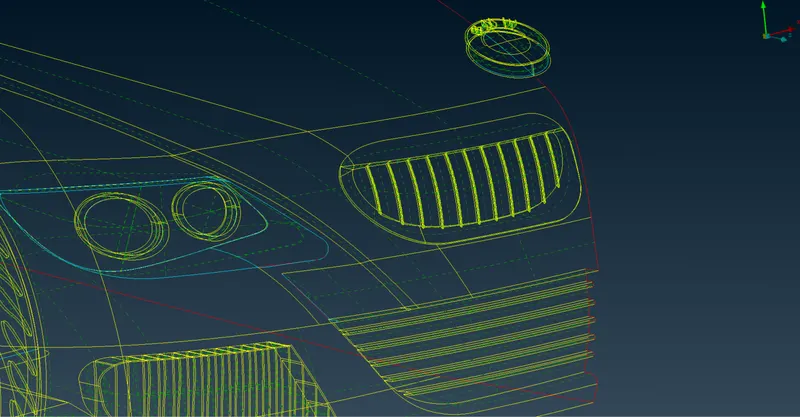
So 3 grills are done now, and we can go ahead with other errors.
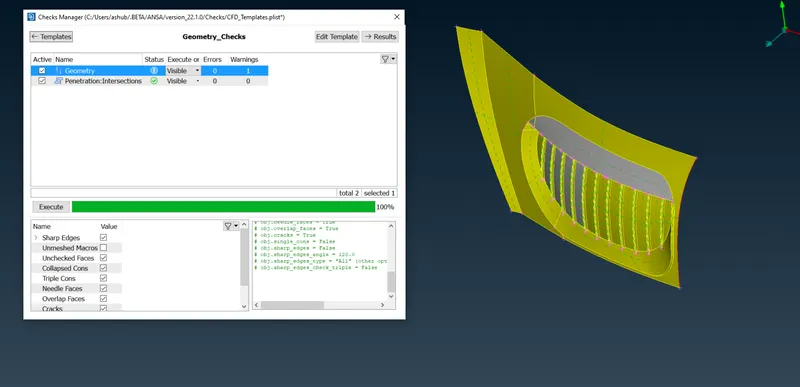
Did the Geometry check, and now we are free from the Grills.
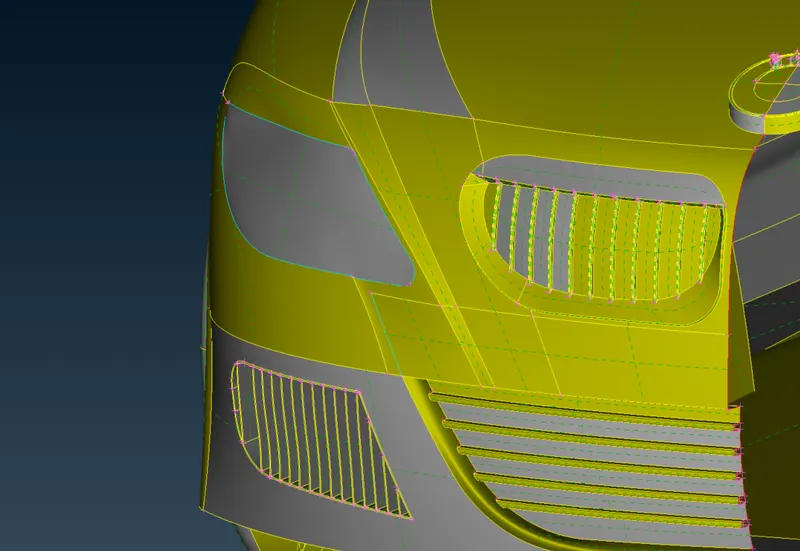
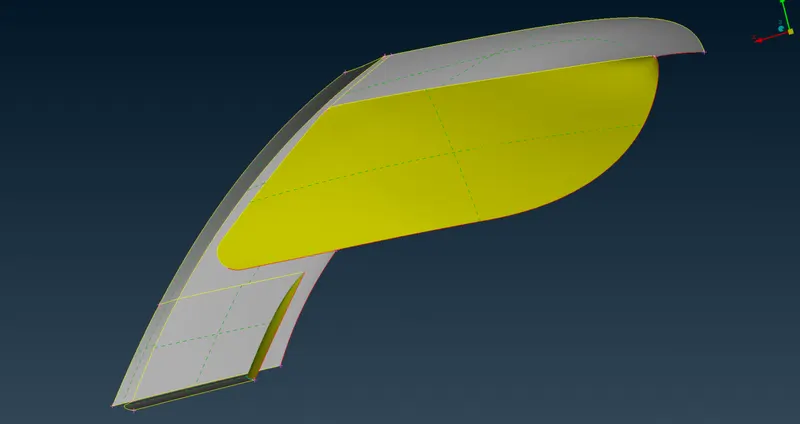
Isolate the side headlight panel part.
Since it's an external flow analysis we don't need inside components to let's delete all of them.
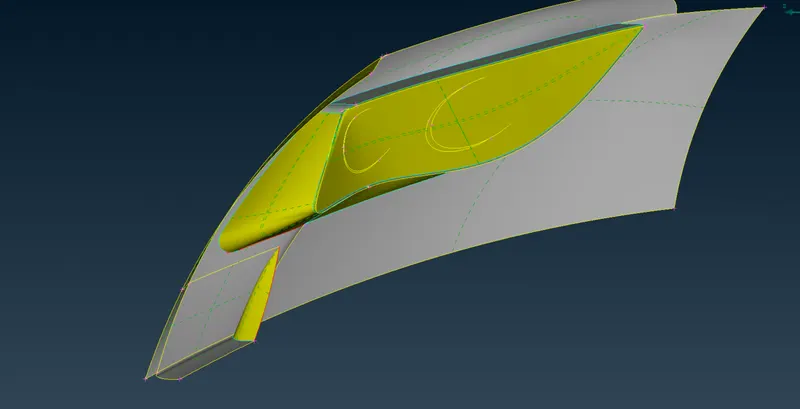
Post deleting
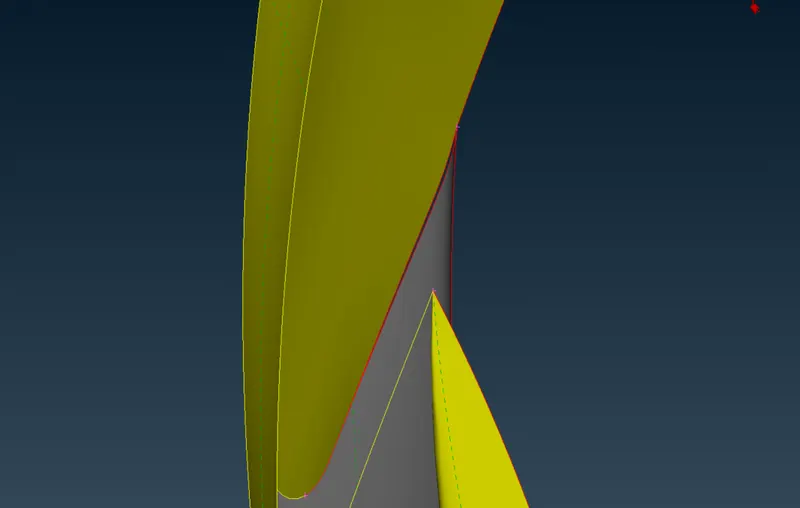
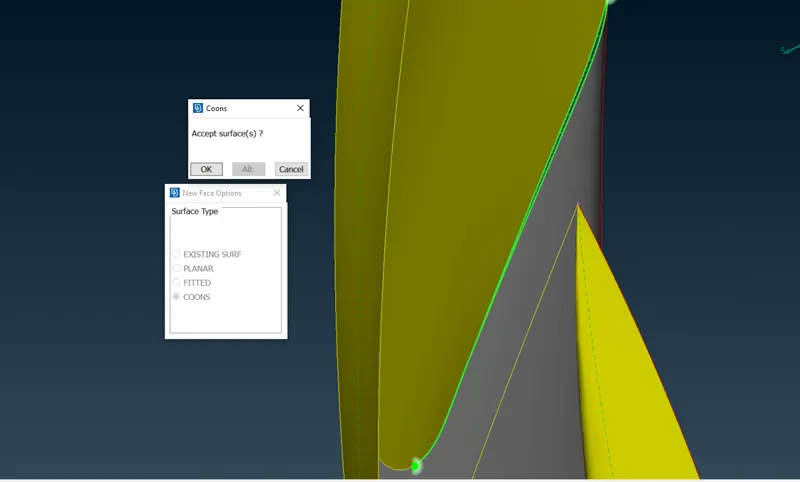
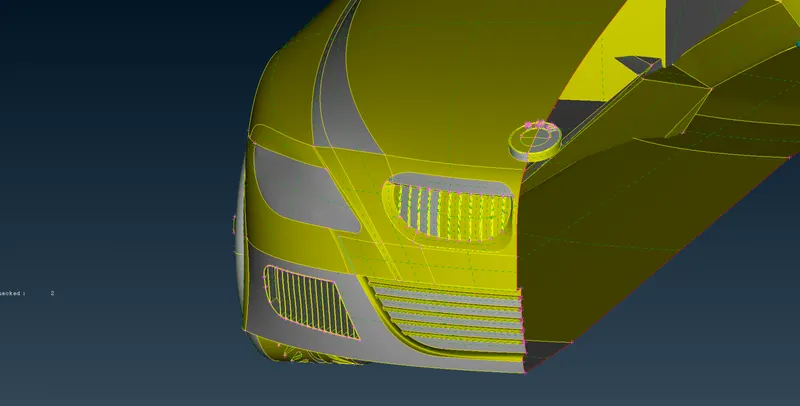
Isolated LOGO part
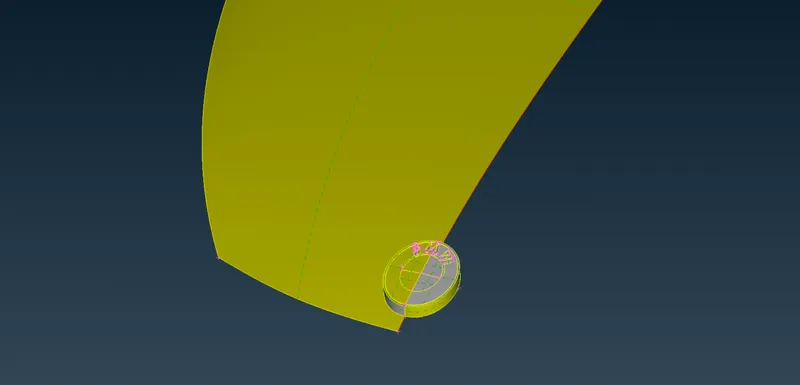
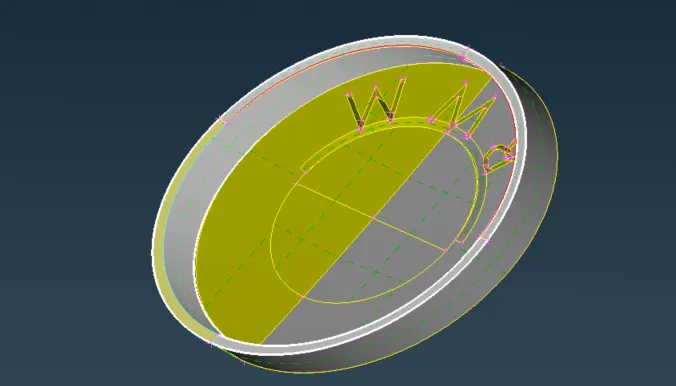
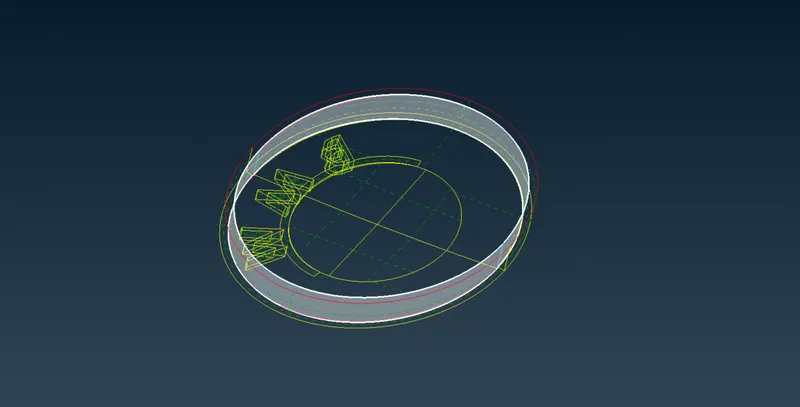
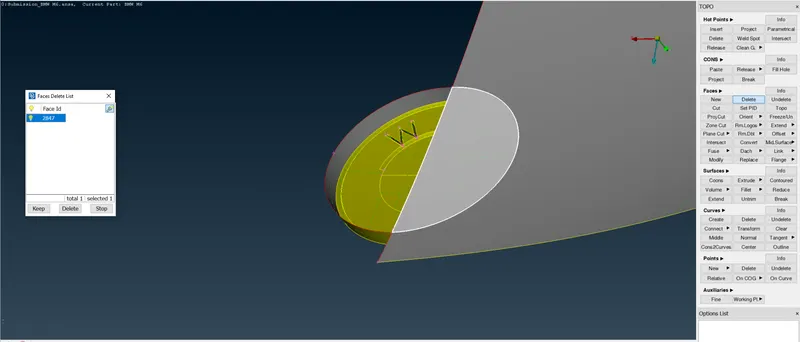
After projecting we can delete the surface
Omne intersection error at M part of BMW logo
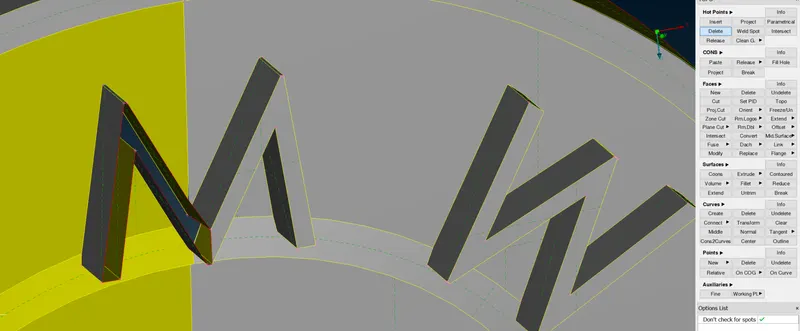
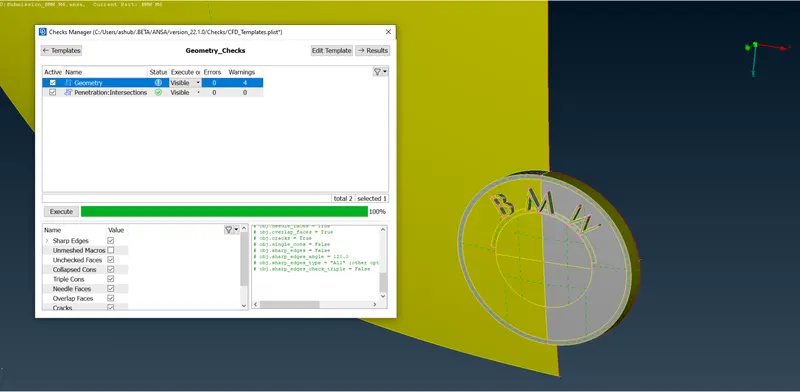
Post clearing all errors, we can see the details in the geometry check.
Successfully done the LOGO part.
Let's go to the grill below the mirror.
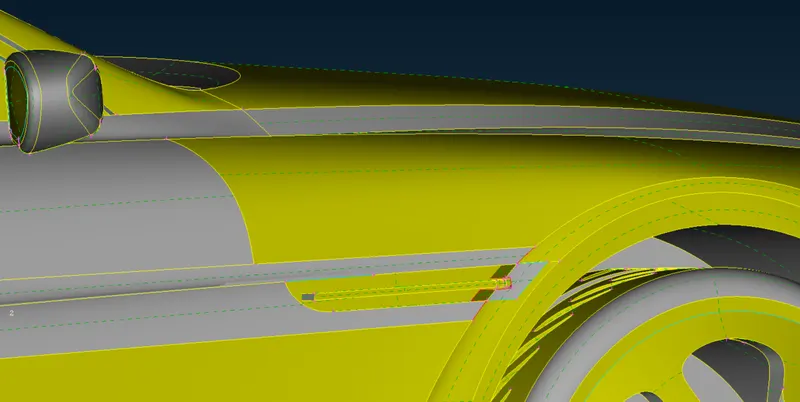
Isolate the part.
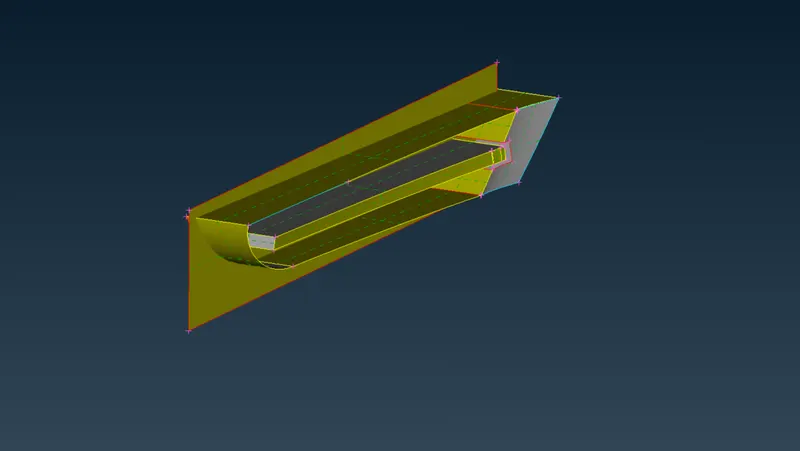
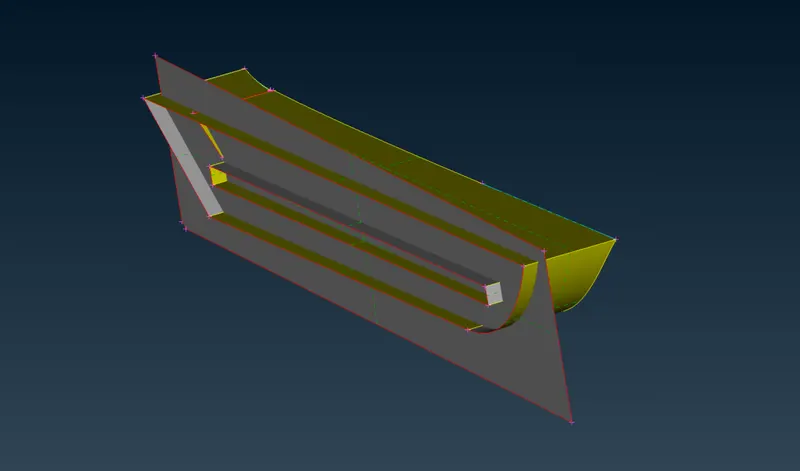
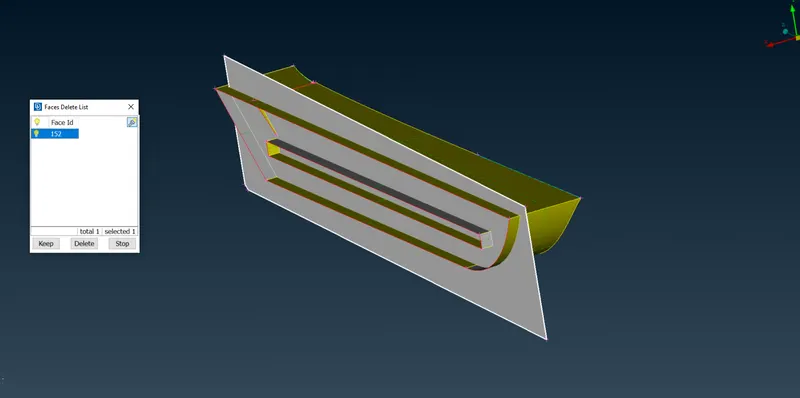
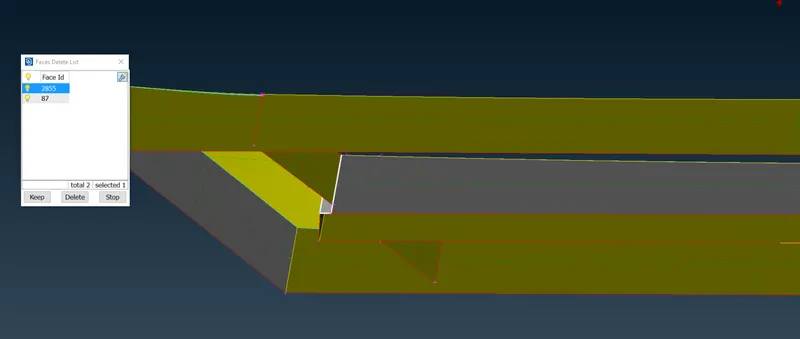
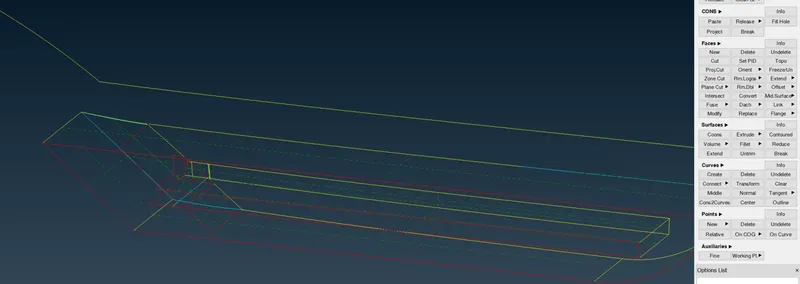
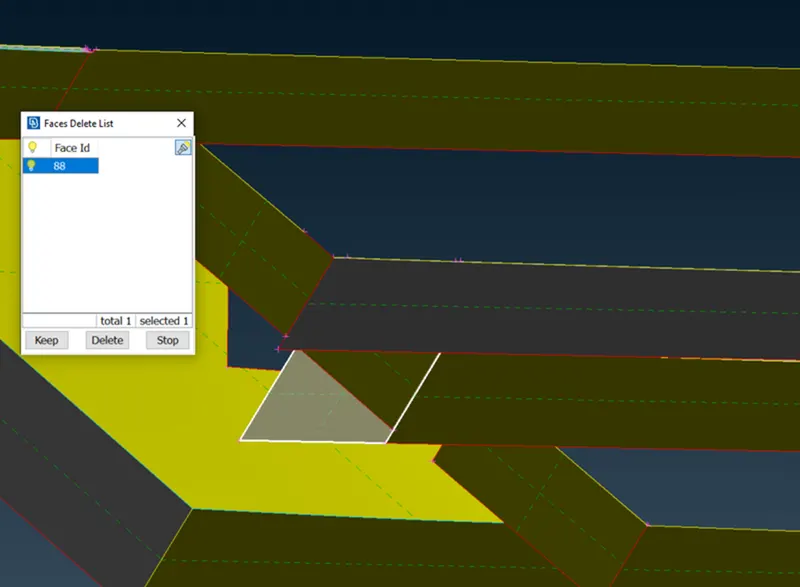
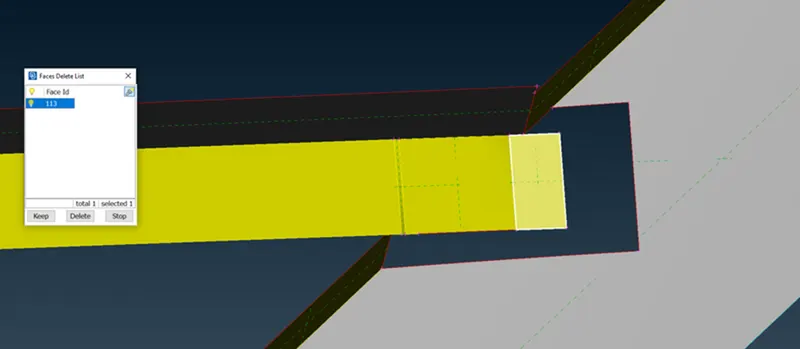
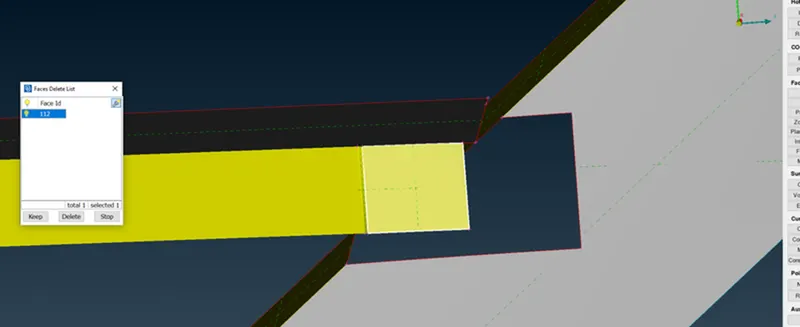
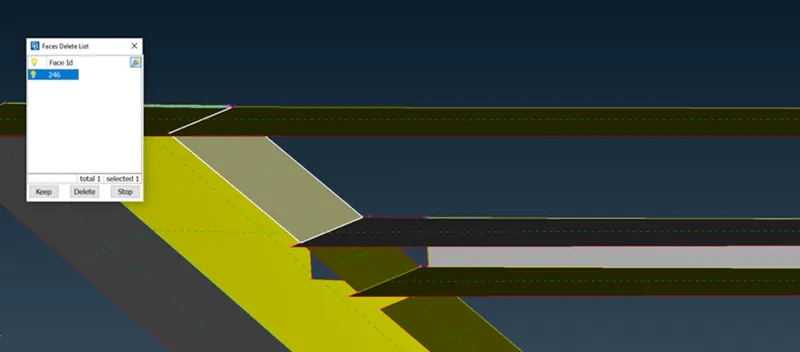
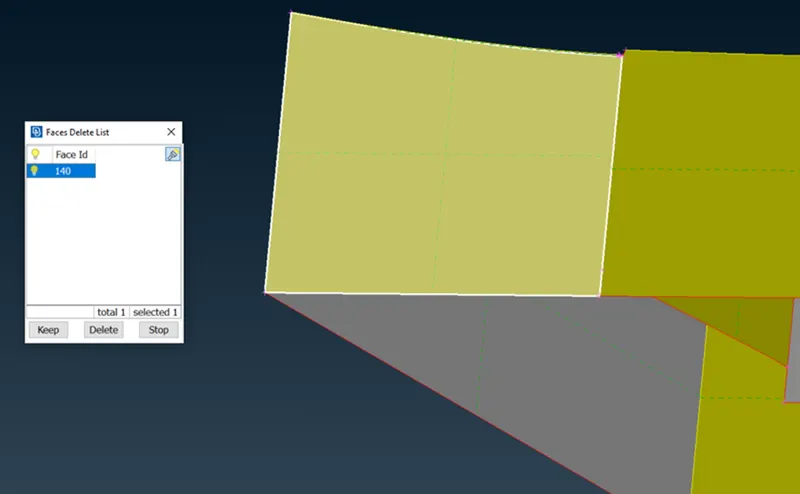
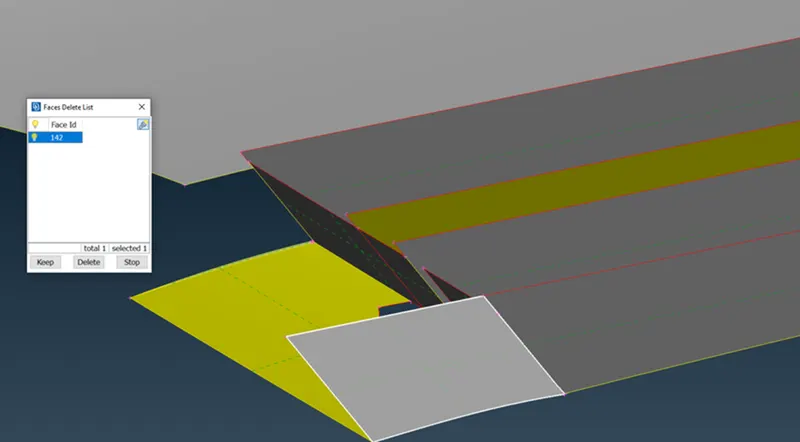
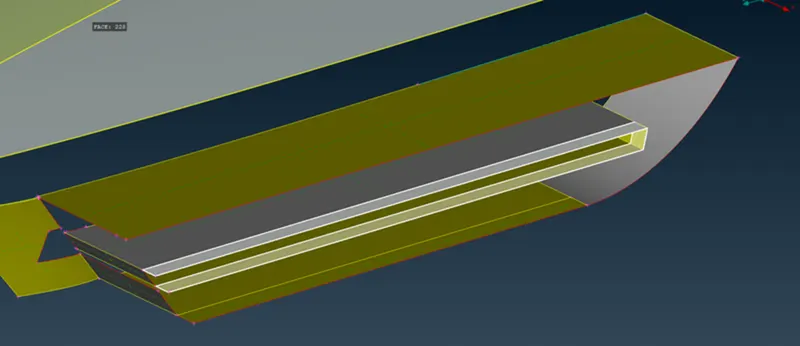
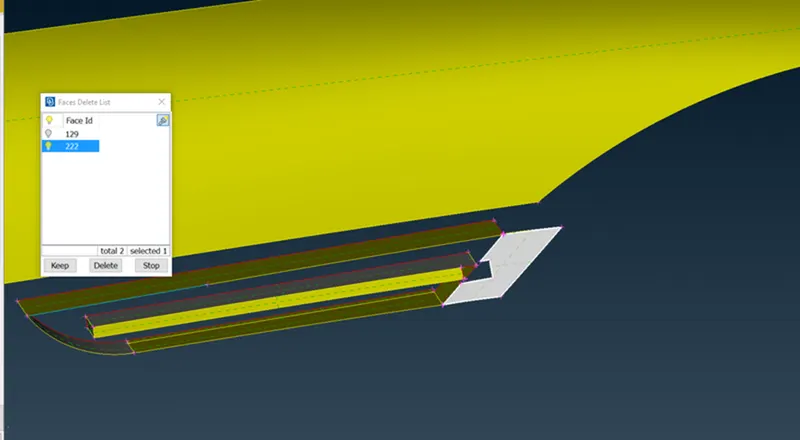
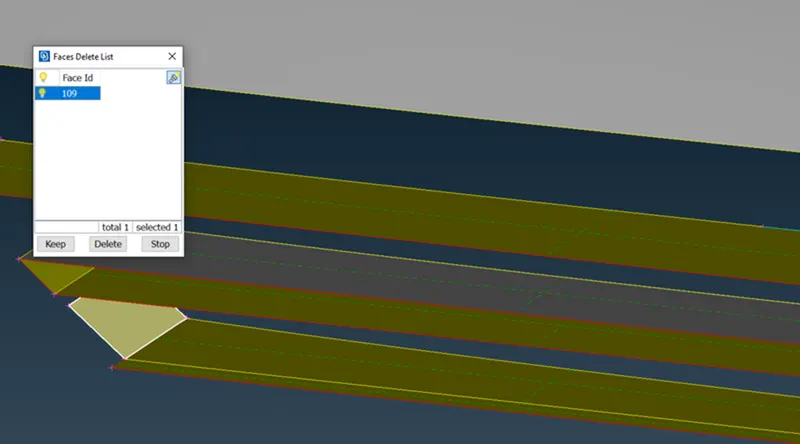
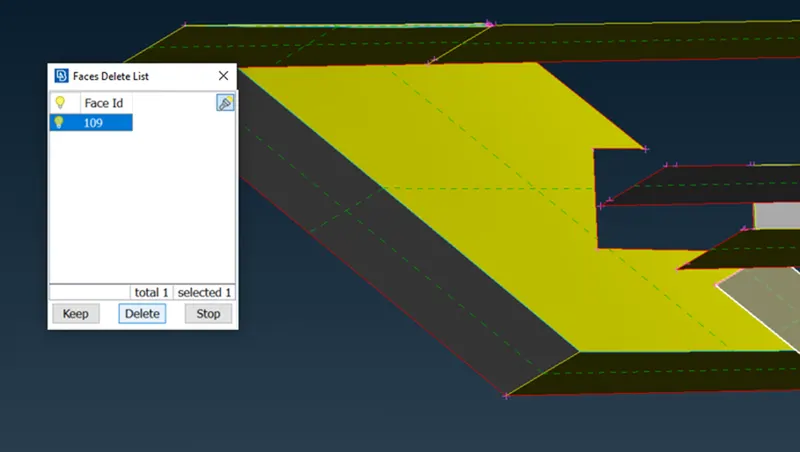
changing strategy
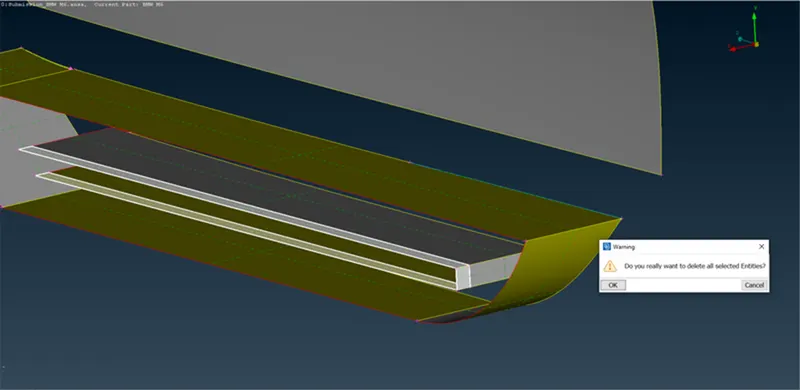
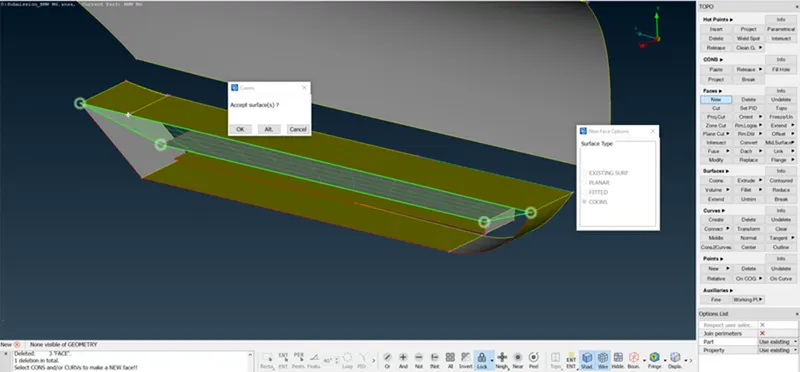
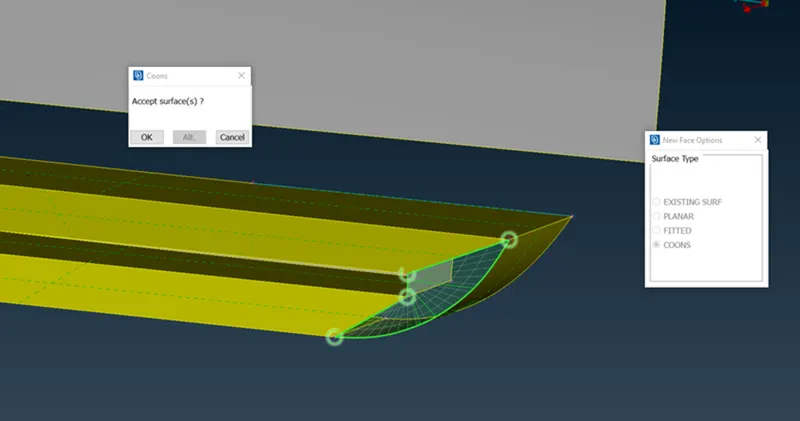
After doing this part we will get the central glass
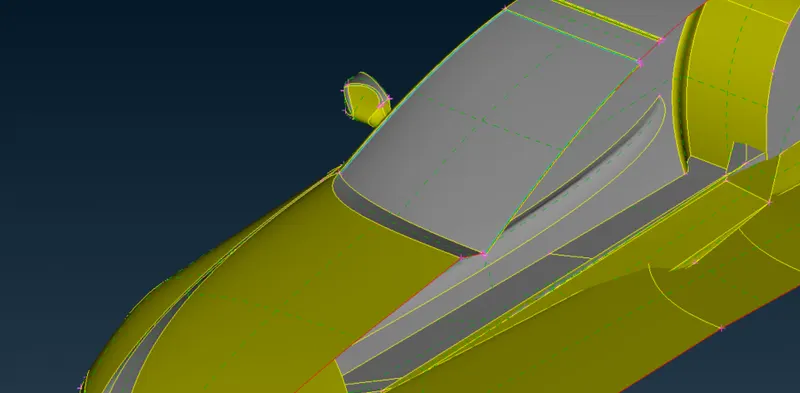
Deleted the above surface
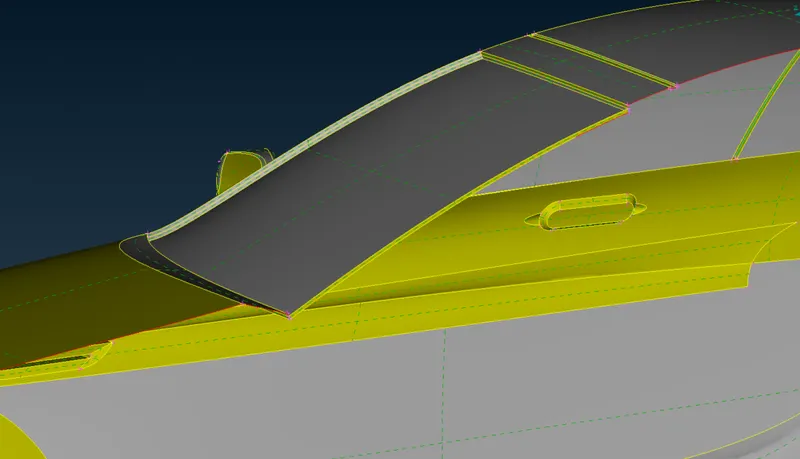
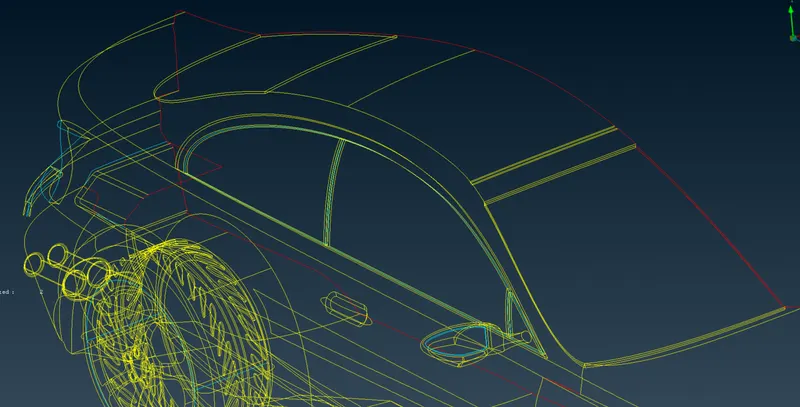
back windshield done
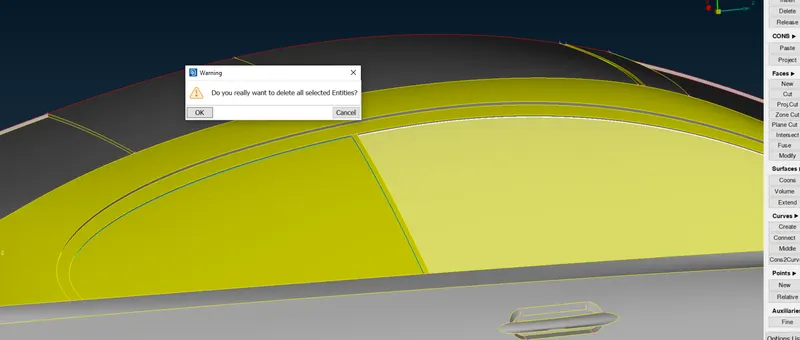
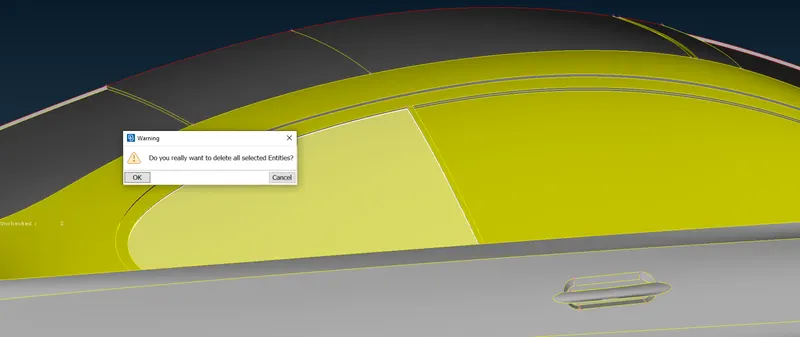
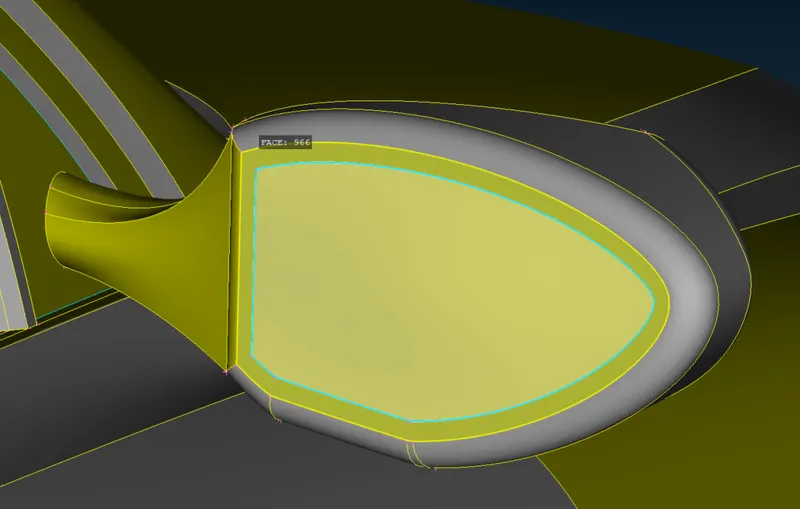
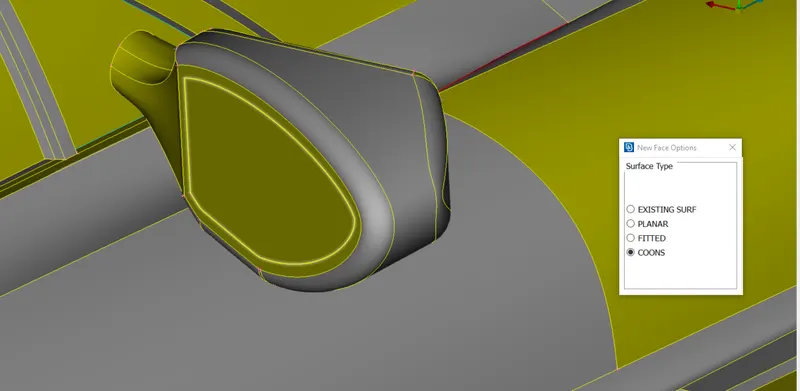
Post creating the mirror addition of the new surface it looks like this
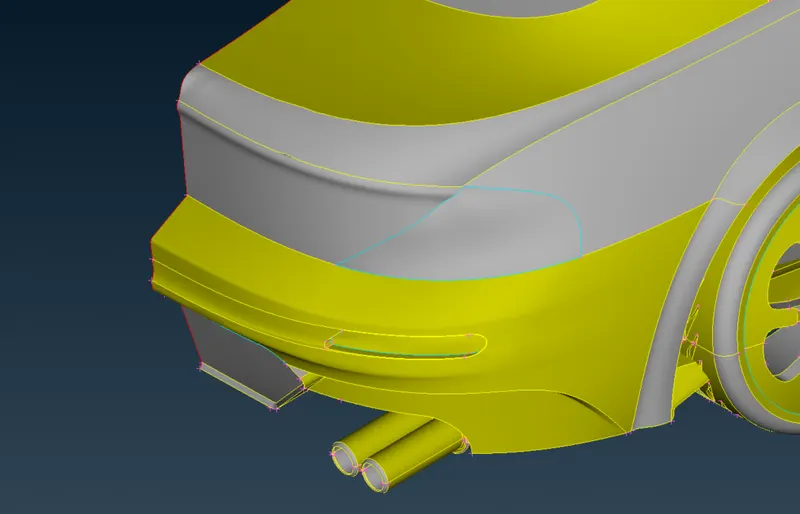
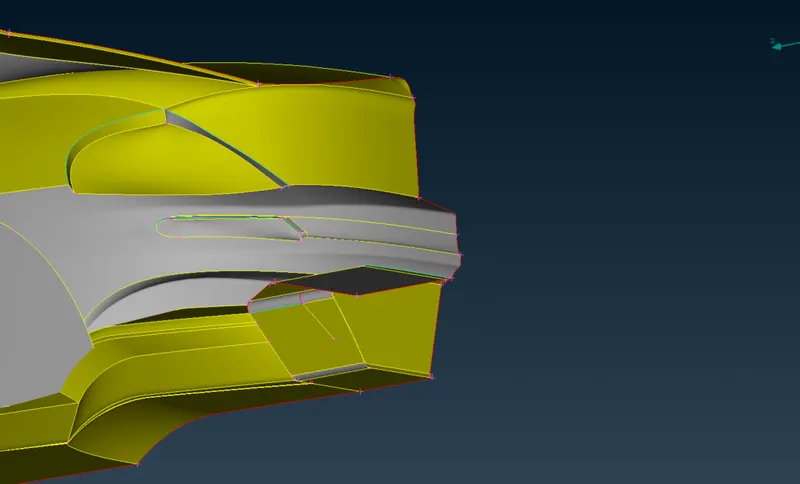
Delete the inside volume
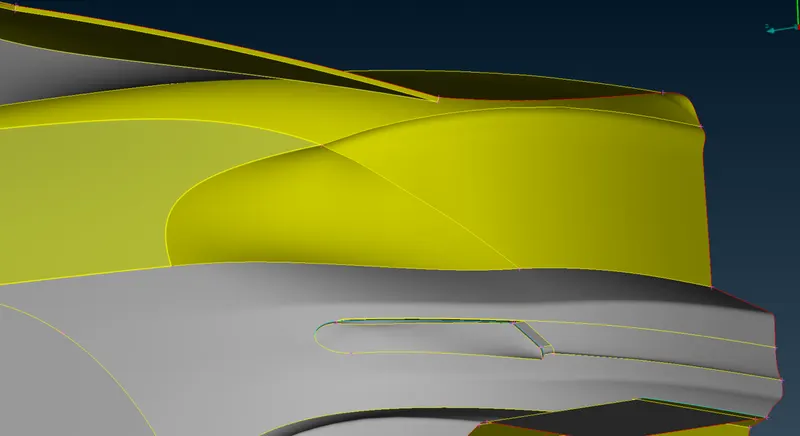
Done
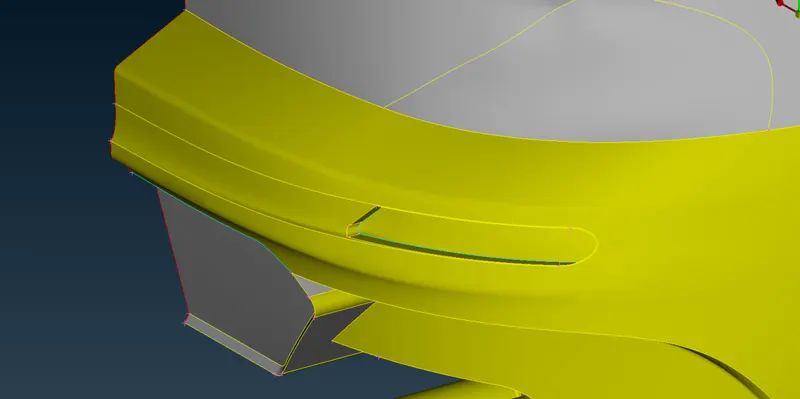
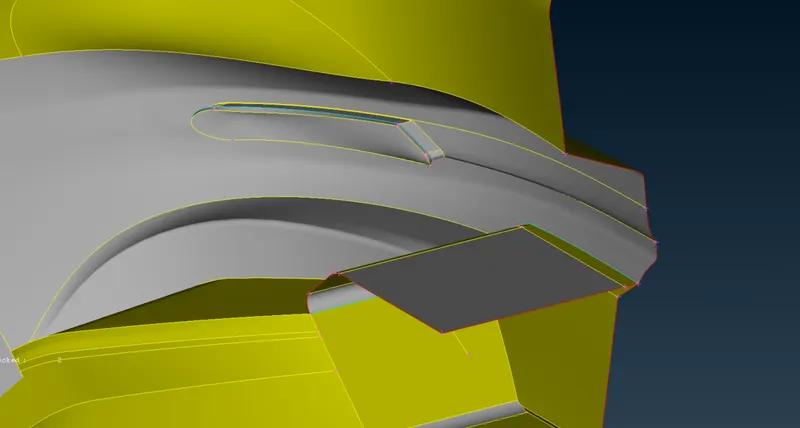
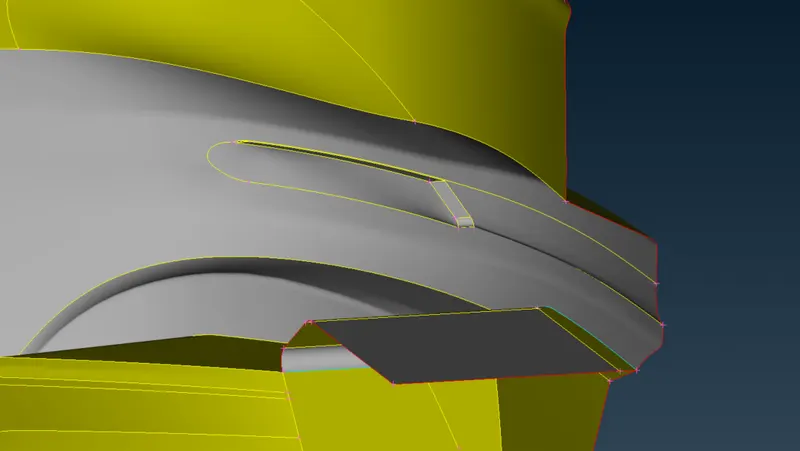
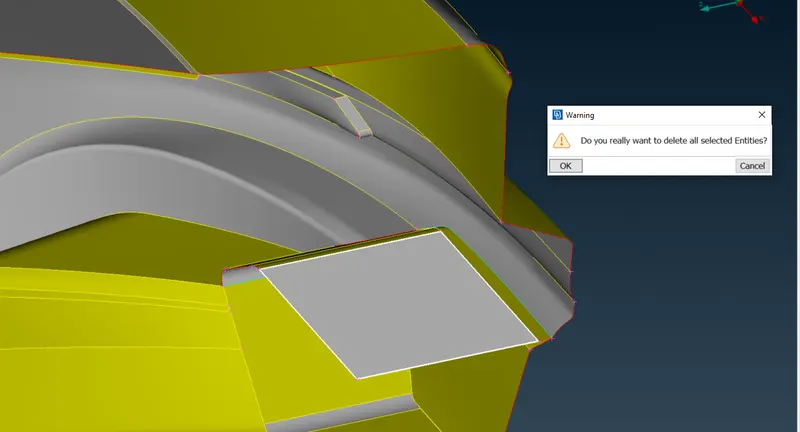
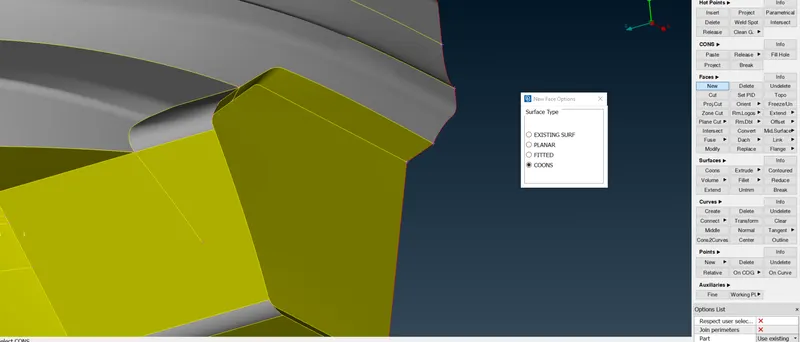
Done
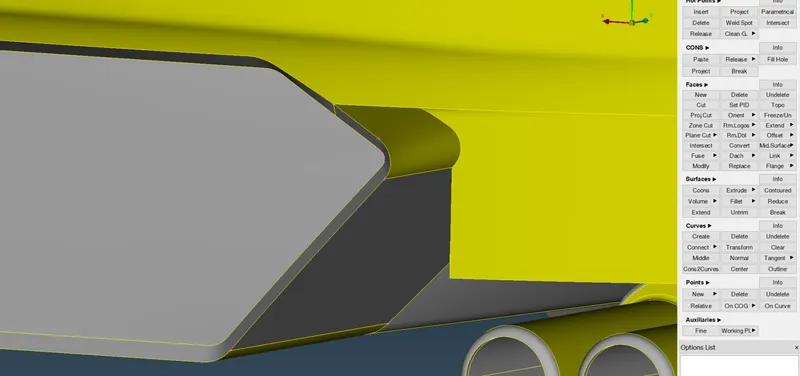
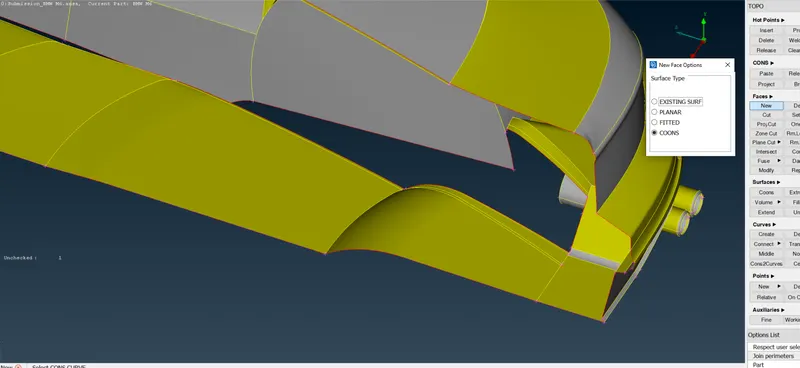
Let's clean the Tyre area.
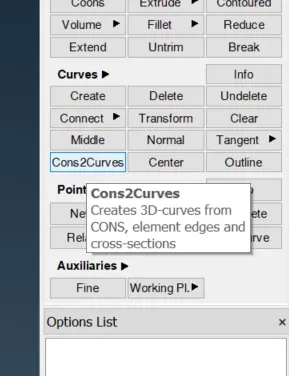
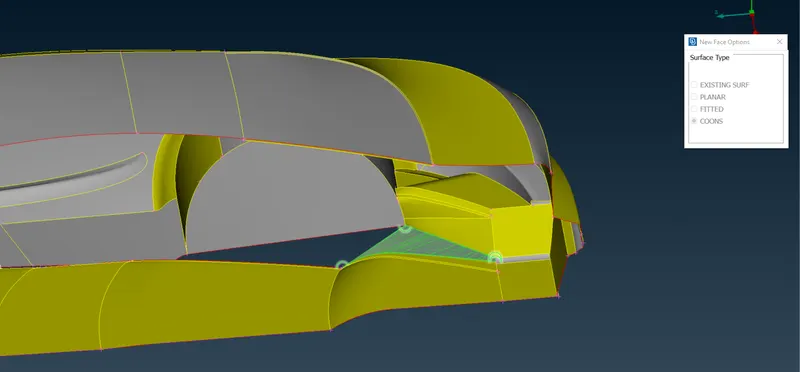
Making Boundary first with Coons to curve tool
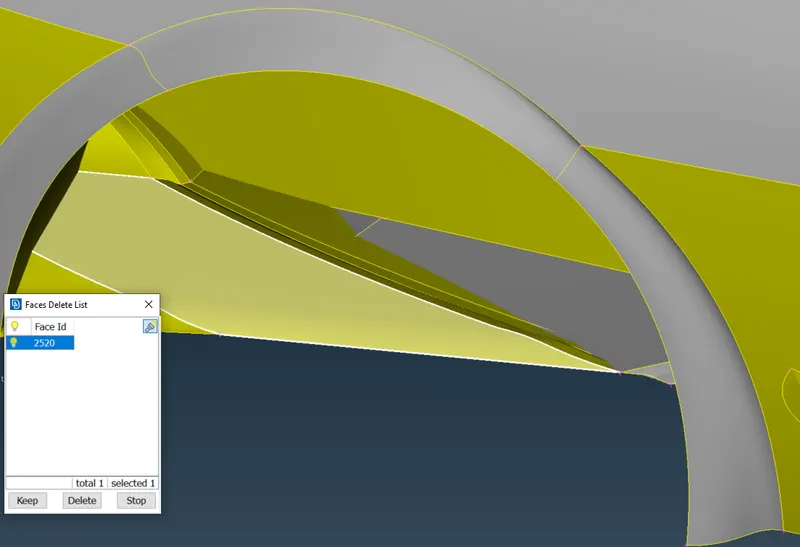
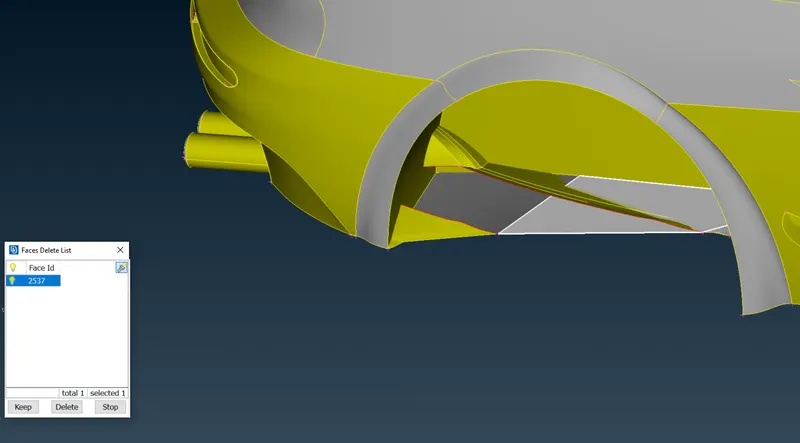
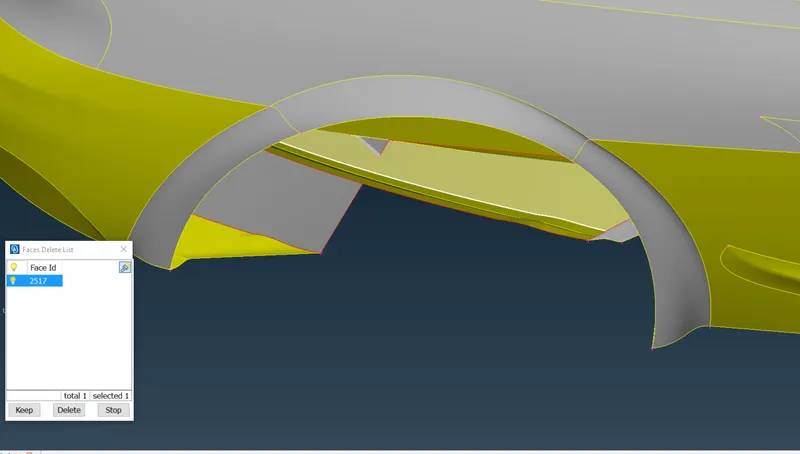
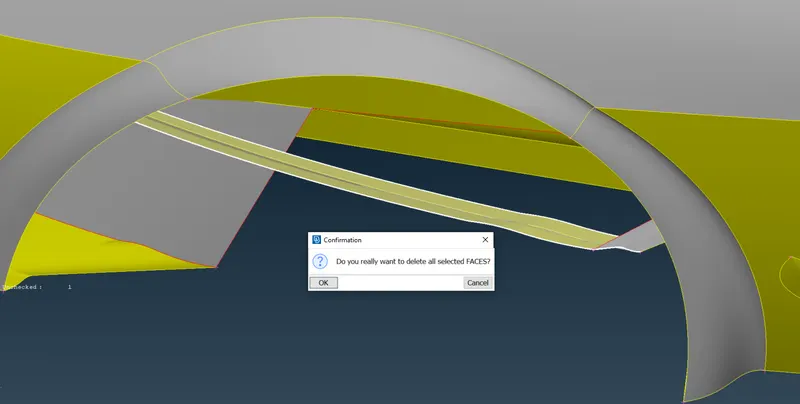
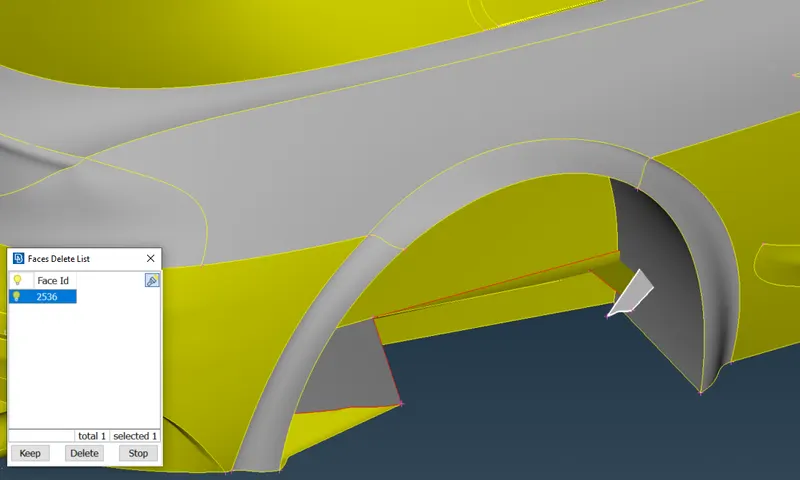
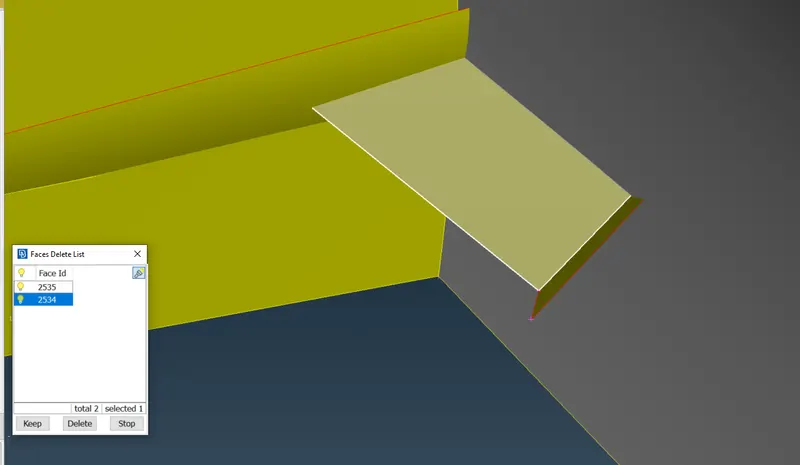
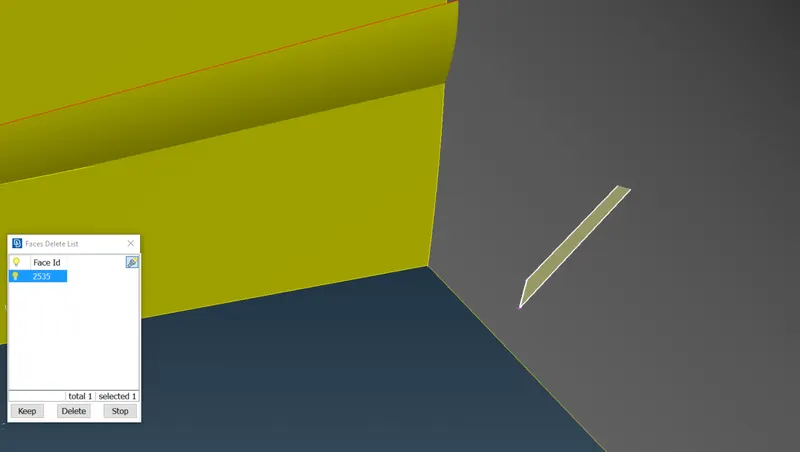
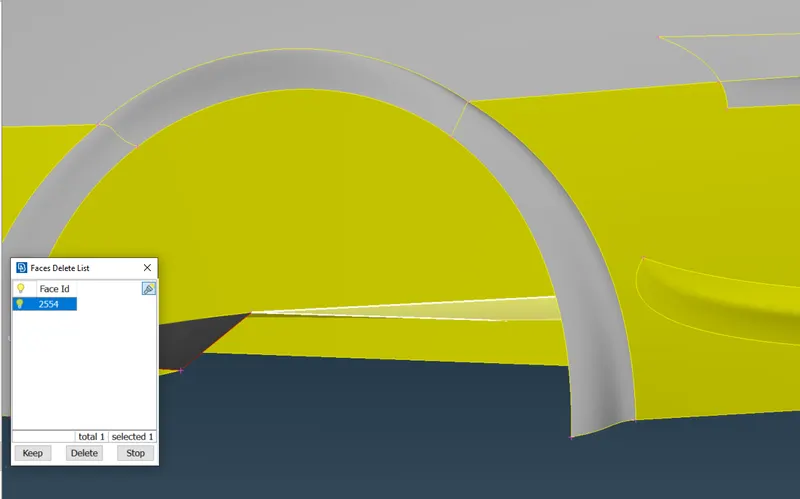
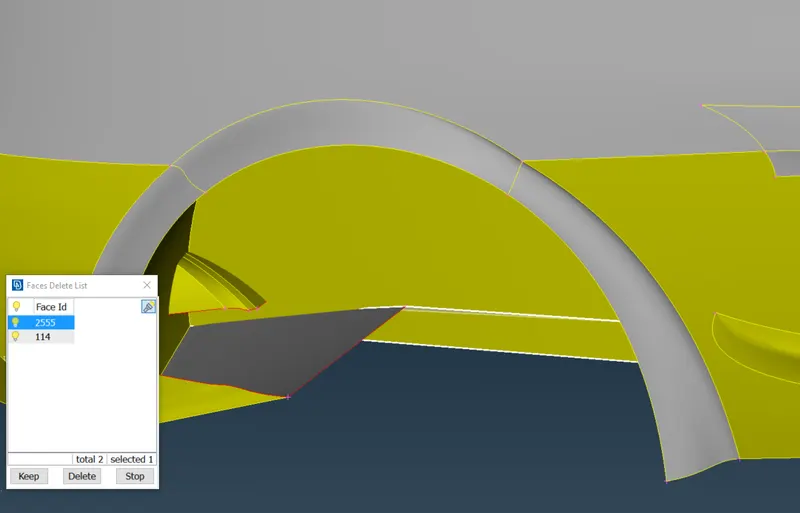
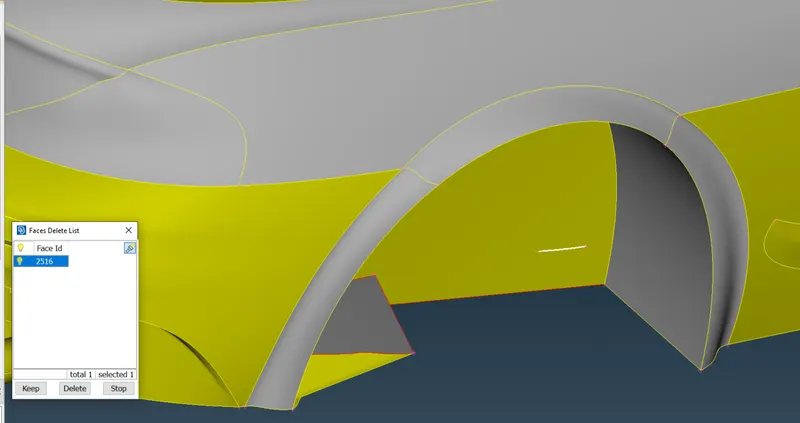
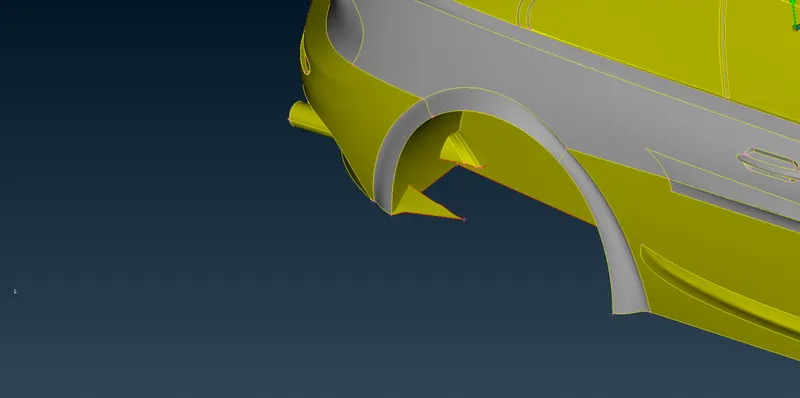
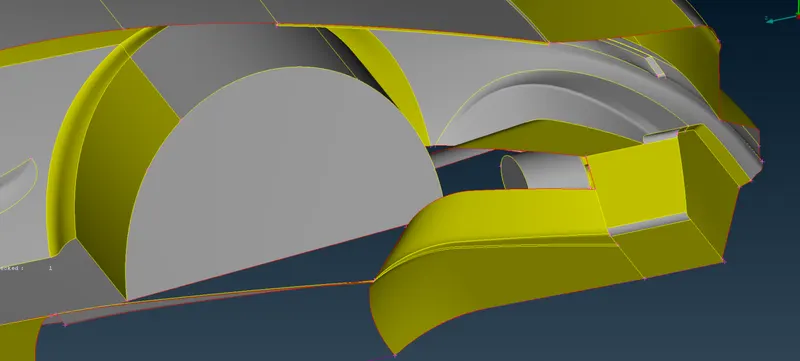
We should not delete these as we will face issues in making new faces. as these are curved surfaces.
We will use the Intersect tool.
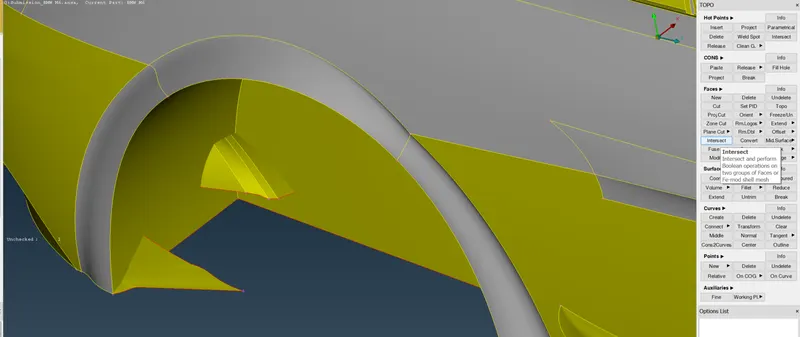
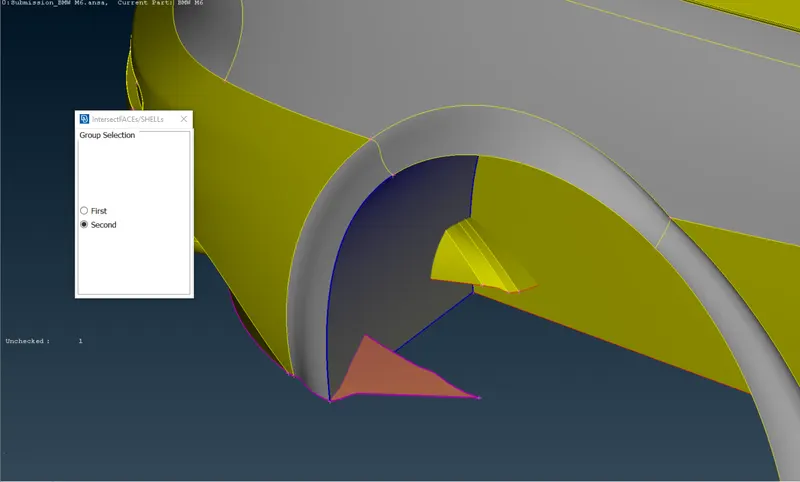
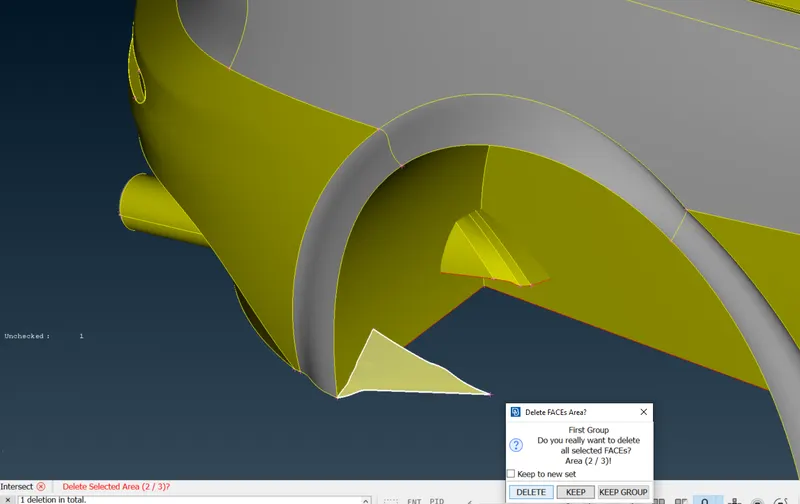
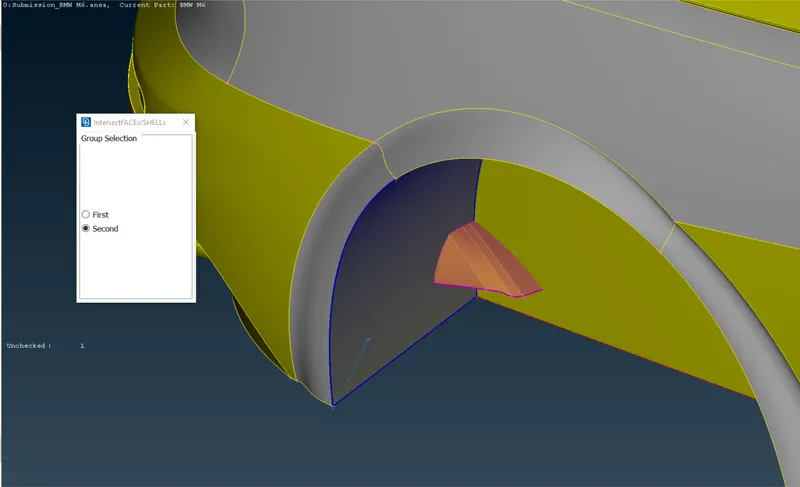
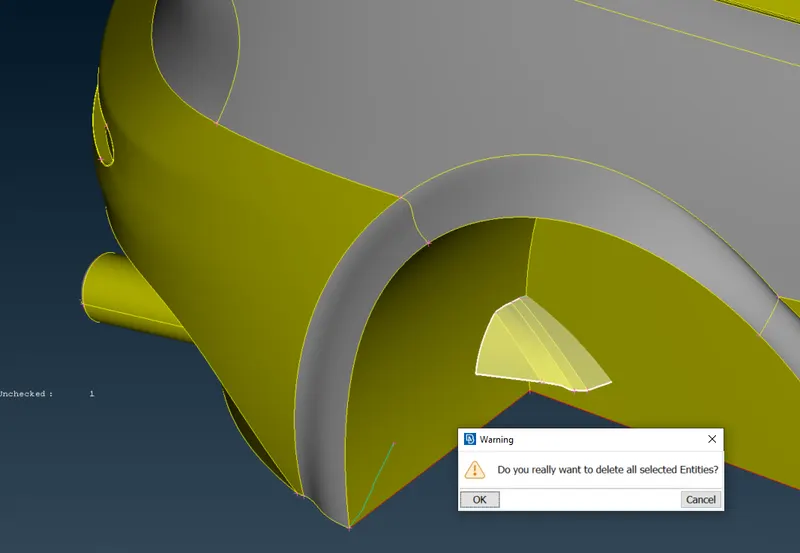
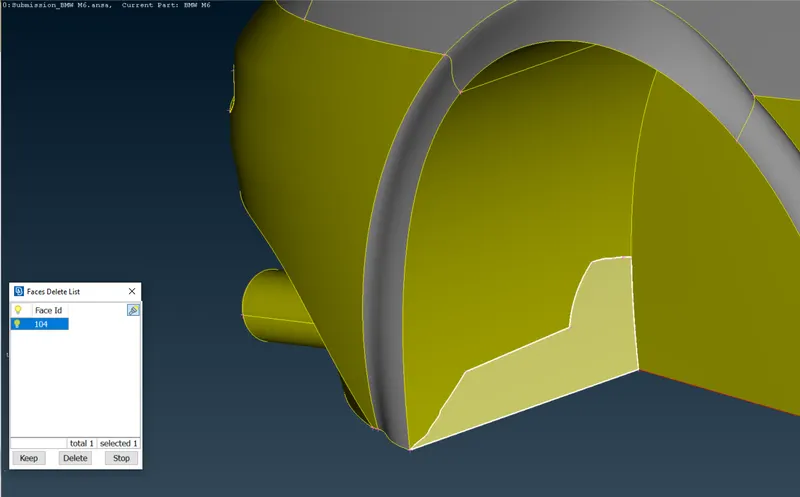
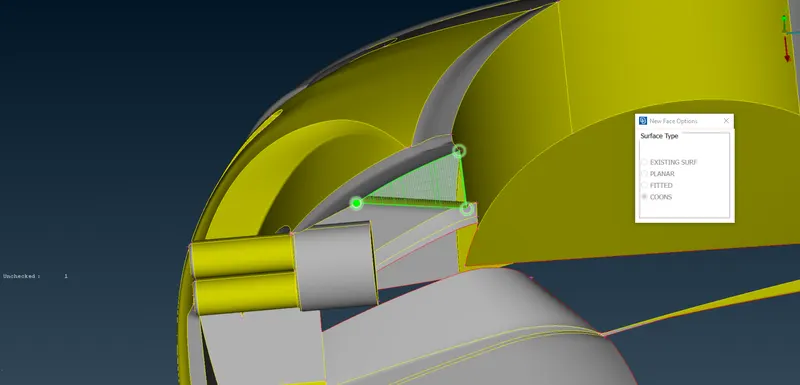
 .
.
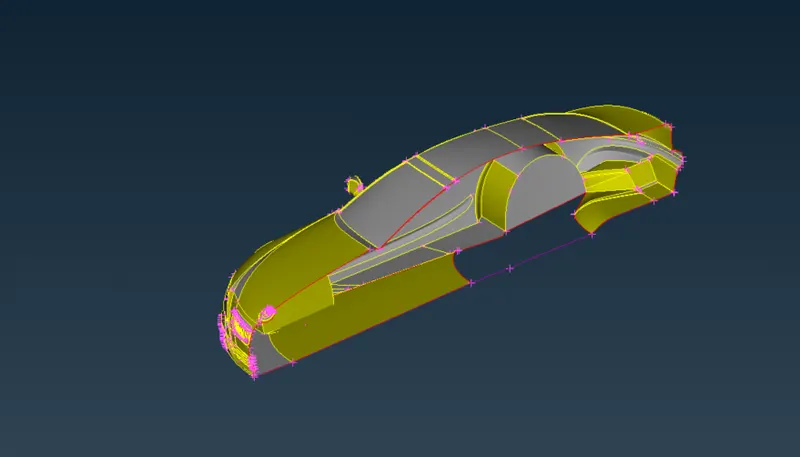
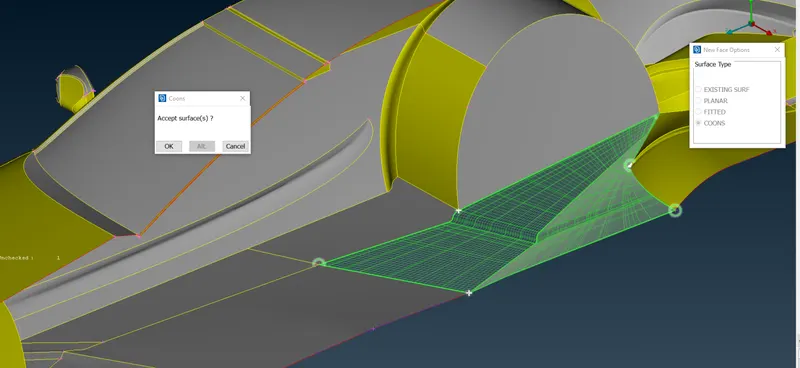
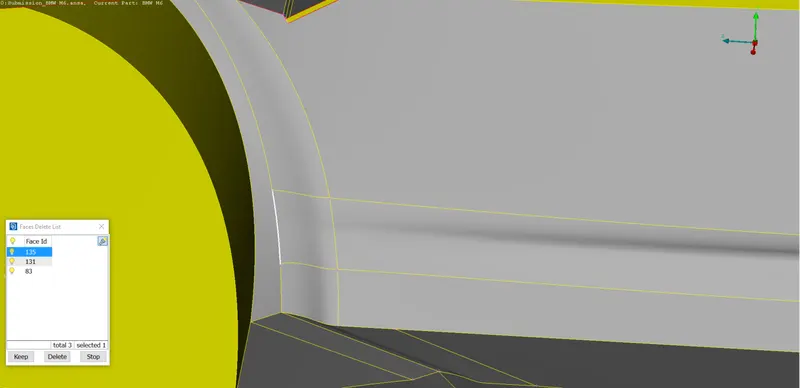
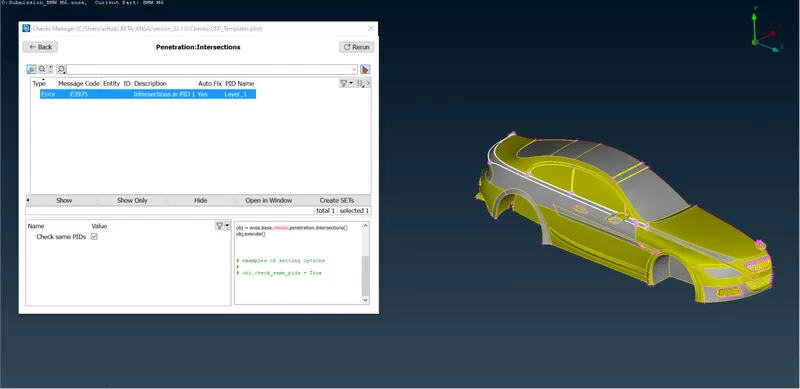
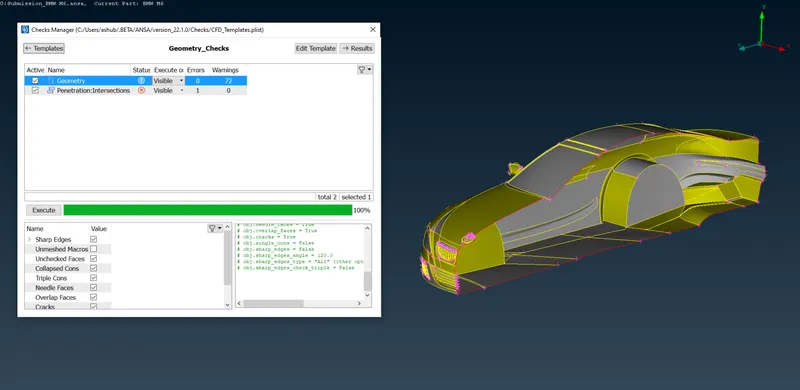
Let's check the section of the tire now.
After clearing
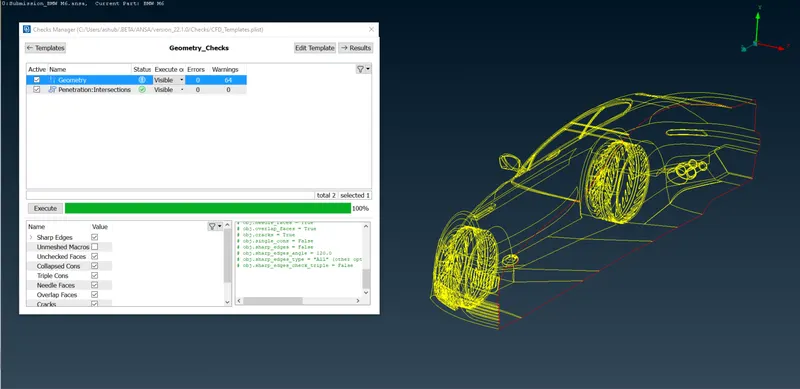
Now let's start meshing
Criteria of meshing to be followed:
Body : 3 mm
Lights: 4 mm
Grills: 1 mm
Rims and Tyres: 2 mm
Optican Rearview: 2 mm
Window: 2 mm
Silencer: 3 mm
Logo: 1 mm
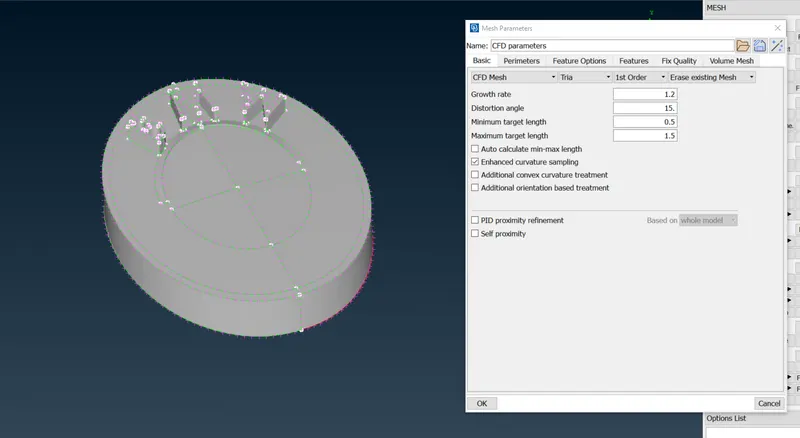
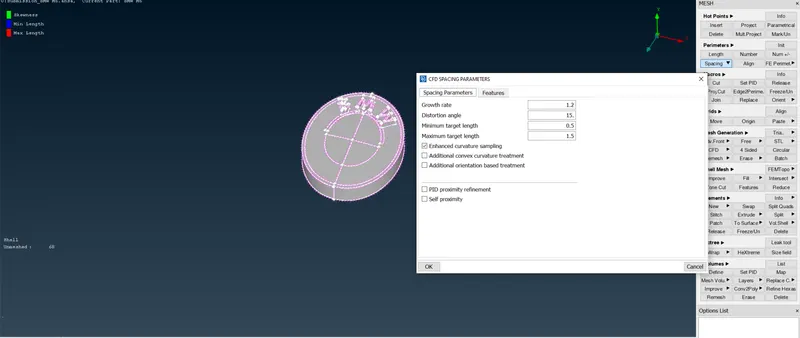
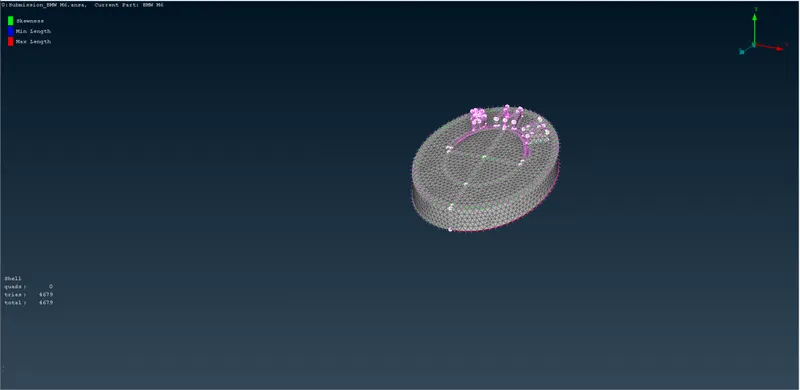
Let's go for a Silencer of 3 mm.
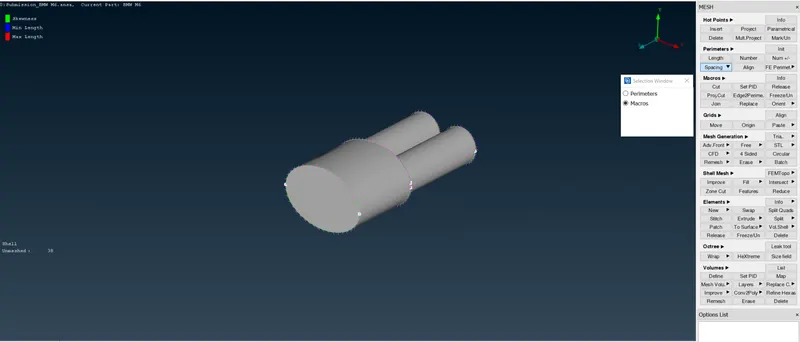
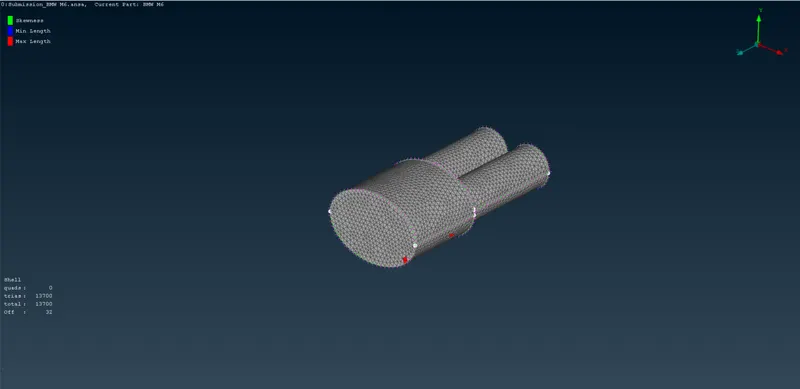
After working on Improve
We will use the same Quality criteria for the complete BMW project
Let's take 0.1 - 7 mm
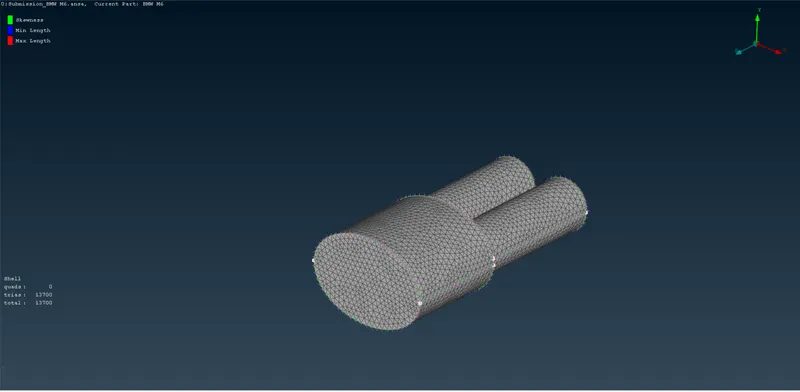
Since the range increased, we will not be getting Off elements.
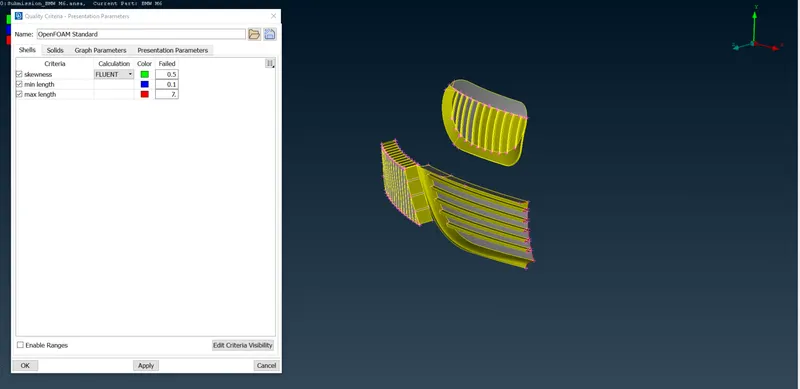
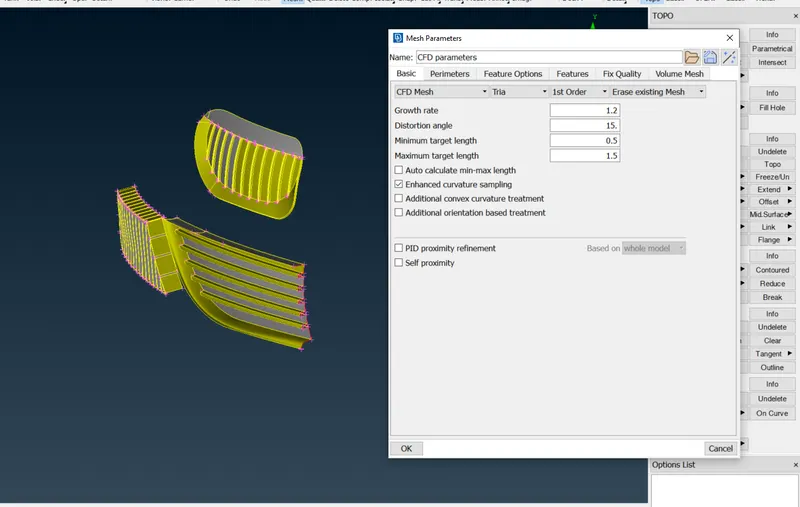
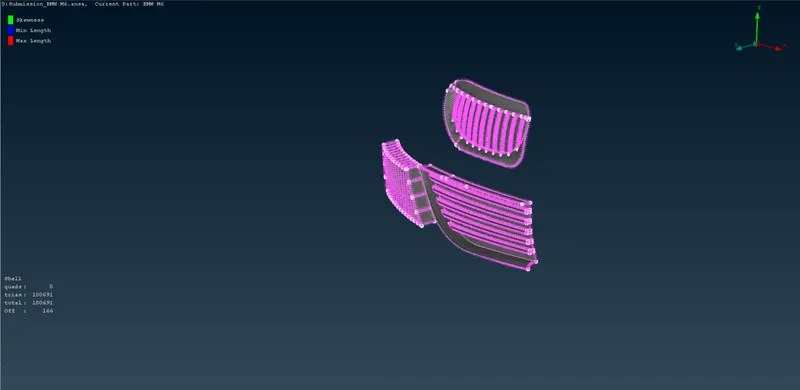
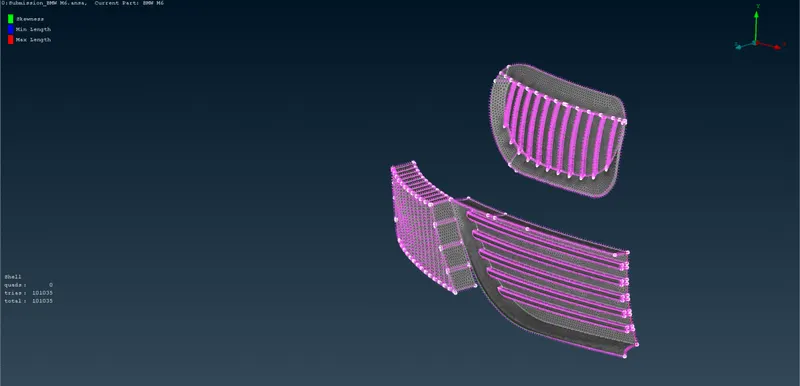
We can improve by using multiple tools though now we can see that no off elements there so moving ahead.
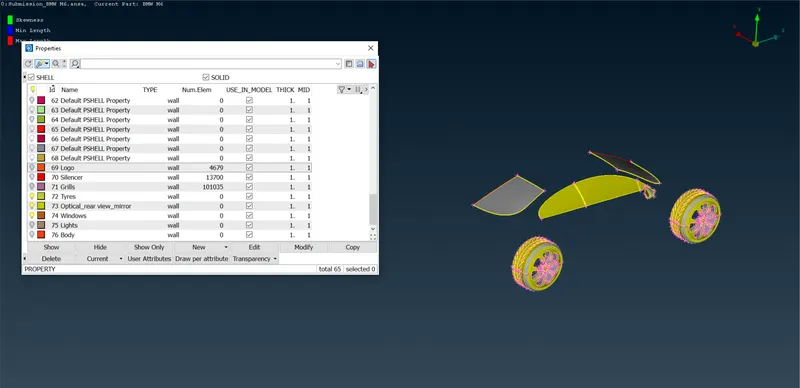
Assigning PIDs and then accordingly combined doing the meshing of Tyres, windows, and Optical rear view mirror.
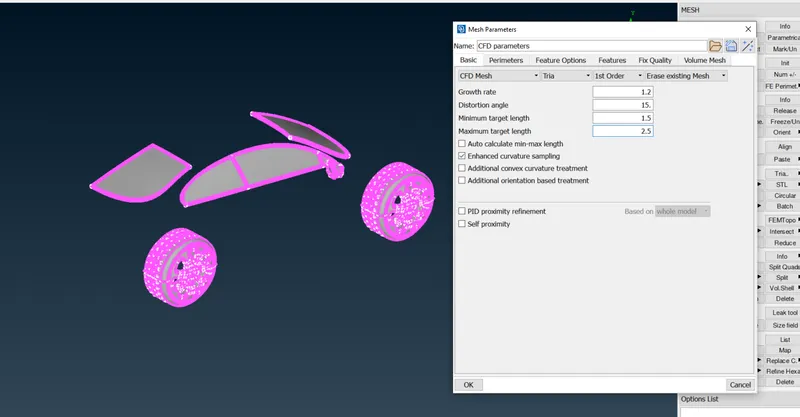
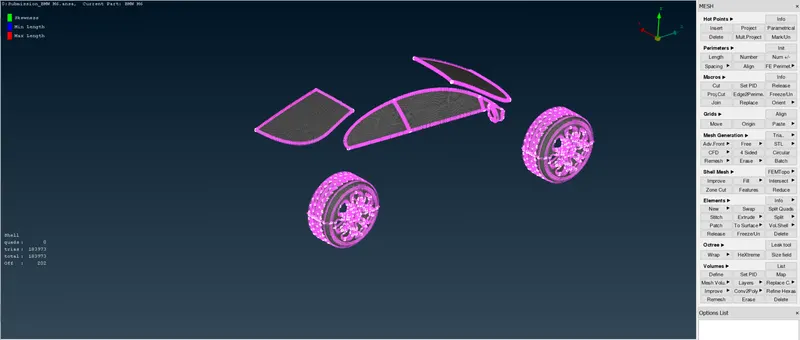
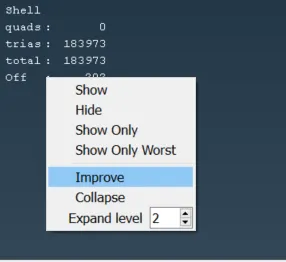
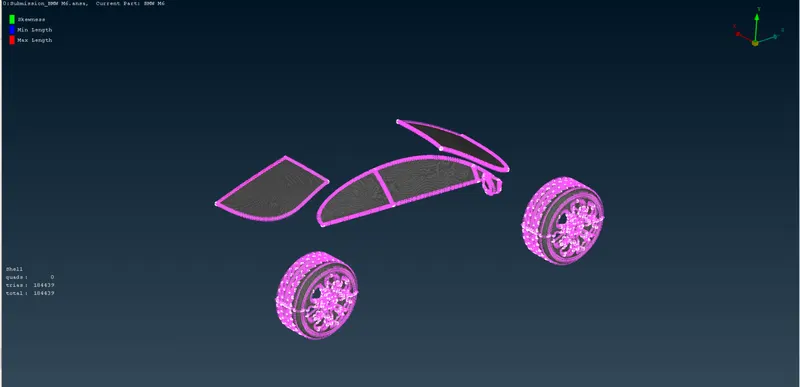
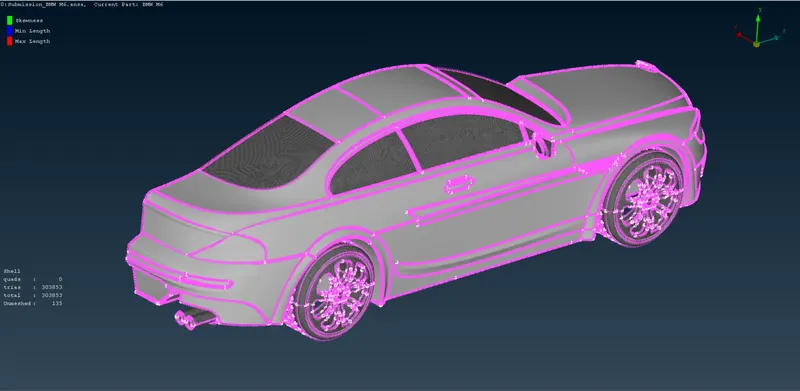
Using the ALL button.
Let's go for the Body parts for moving ahead with meshing.
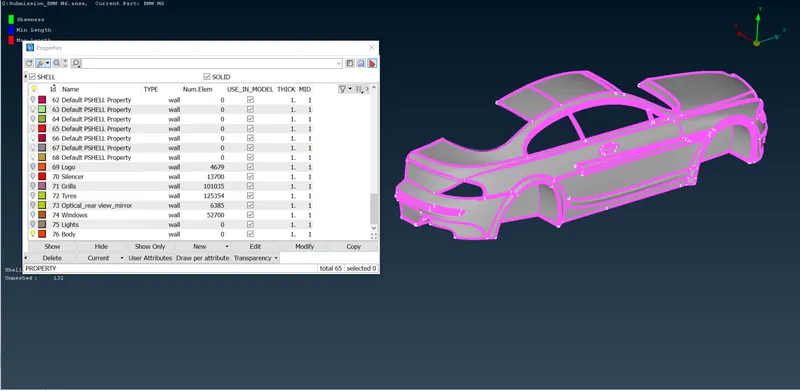
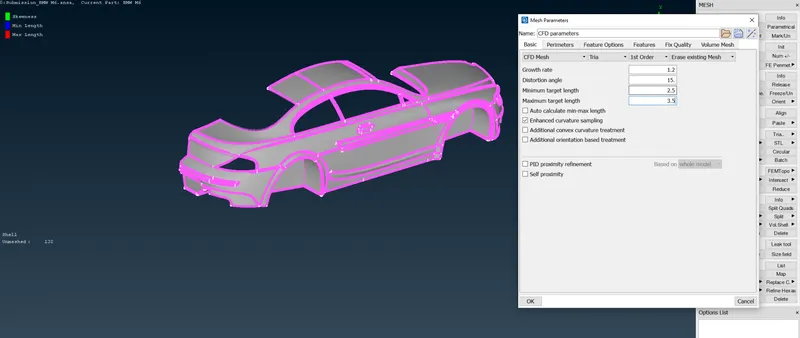
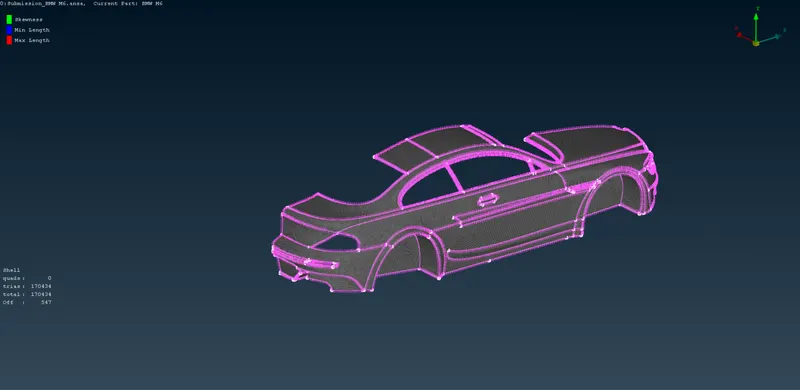
After clearing the error of the unmeshed part, we made a cut and then did the meshing, without deviating from the quality criteria.
After doing the Improve tool for meshing we get the clearance.
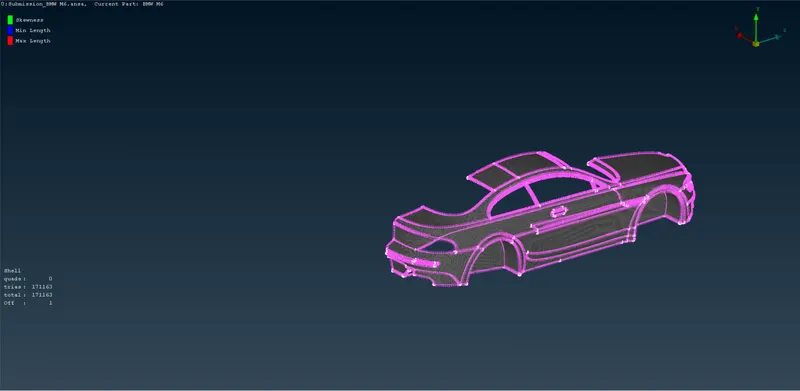
Cleared the off element
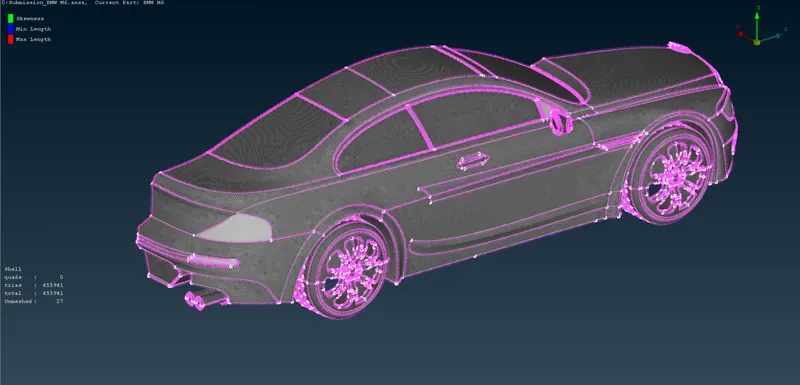
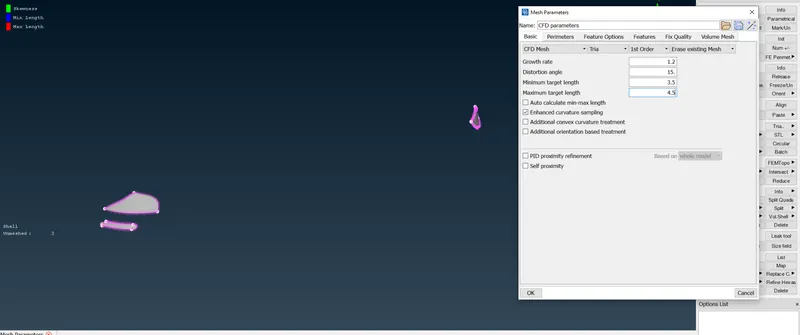
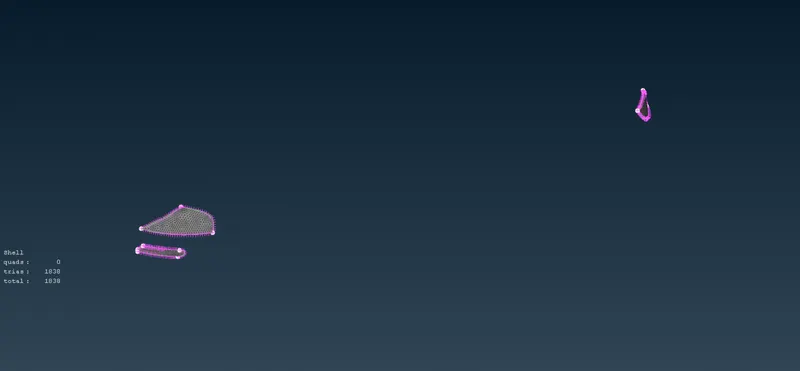
After doing meshing we can see this
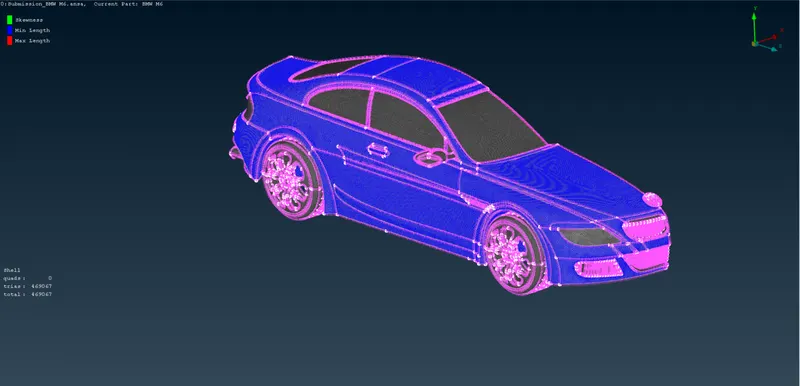
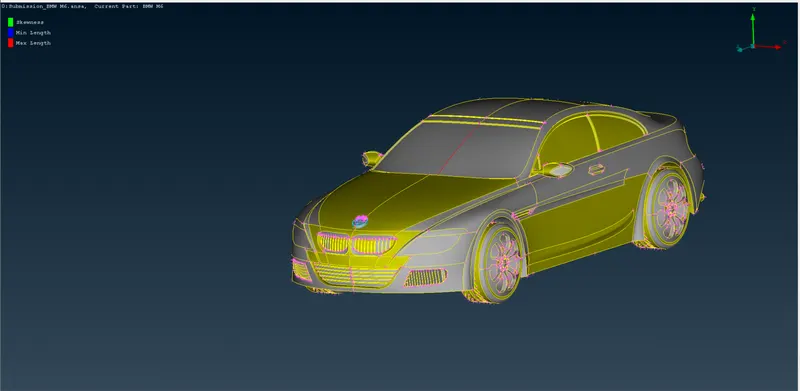
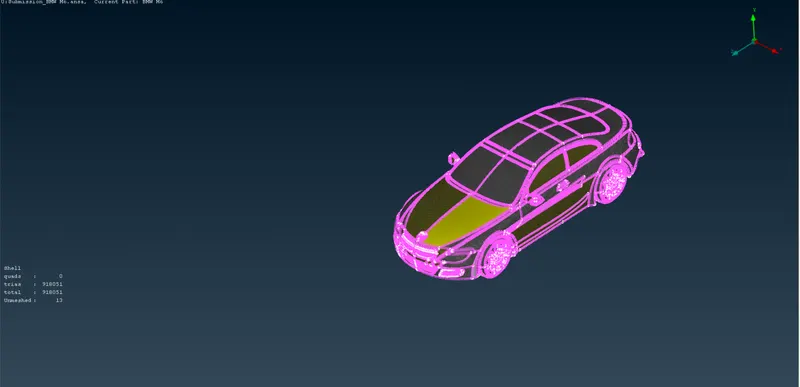
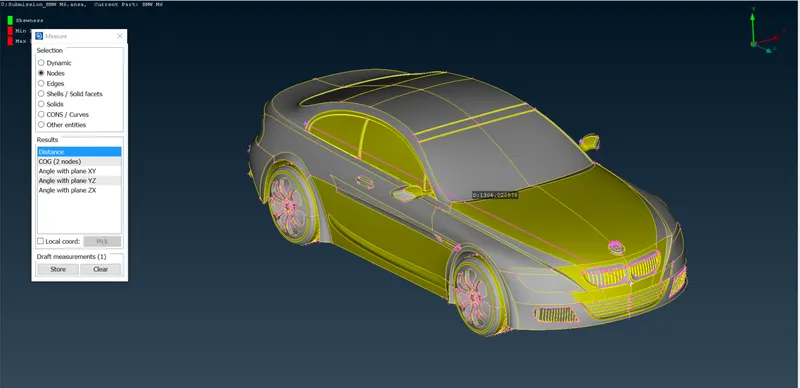
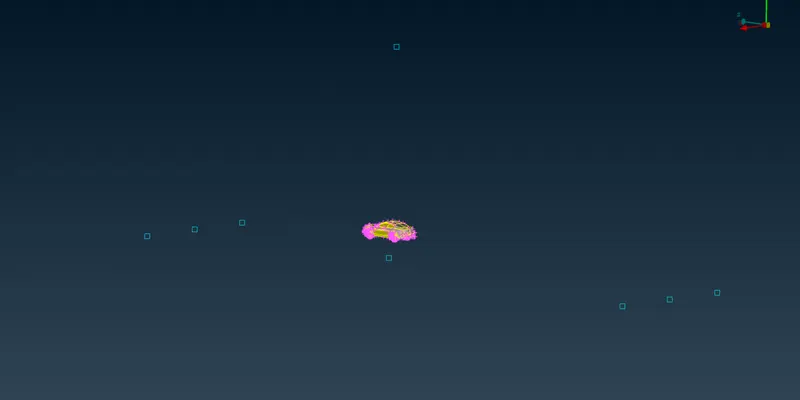
1310 = X
 .
.
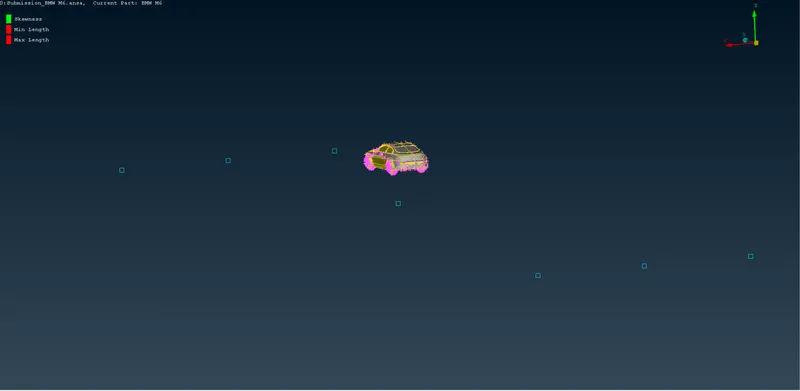
Made surface for wind tunnels and then meshed the base surface
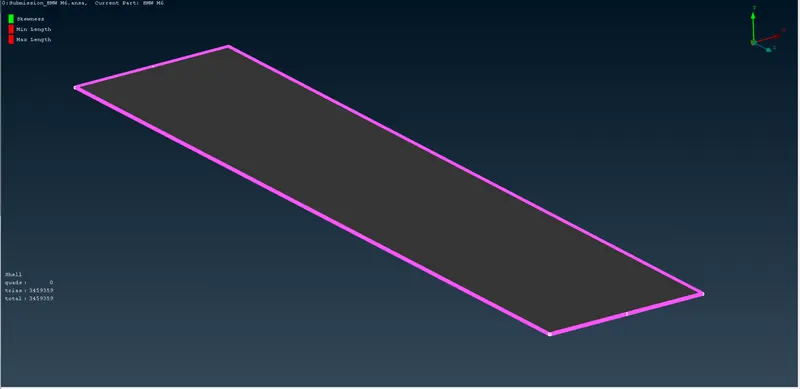
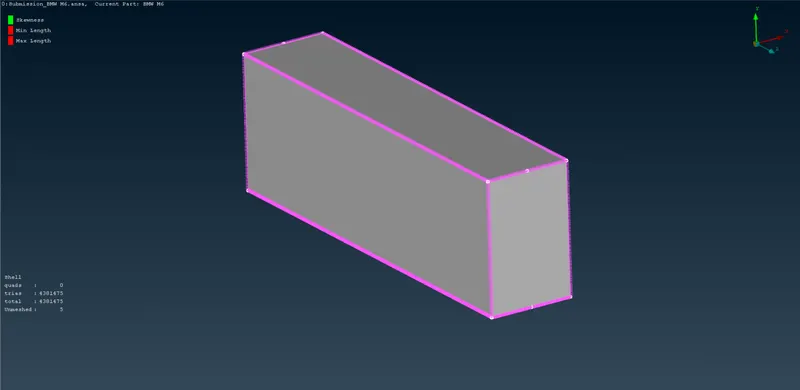
Let's do the top surface now.
After doing we can go for 20-100 level mesh from bottom to top.
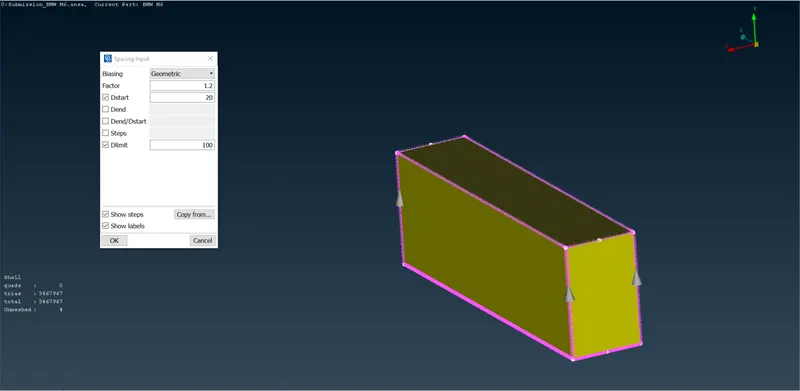
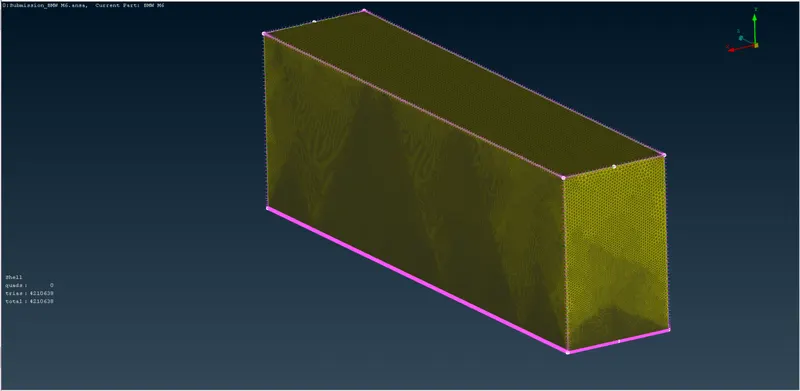
We did the complete meshing now with the surface meshing of both the Wind tunnel and BMW both.
Result:
The file after meshing has been attached to the report via a google drive link. We completed the meshing of the BMW and Windtunnel as per requirement.
Link: Please click on this link to download model
Conclusion: We learned the basics of ANSA software and also did our assignment for Week 4 for the Surface meshing of the BMW car with Windtunnel.
Thank you.