Project 1 : CFD Meshing for Tesla Cyber Truck
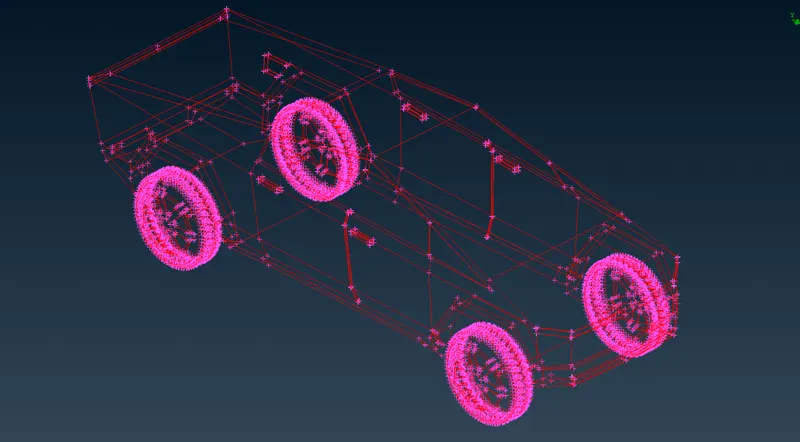
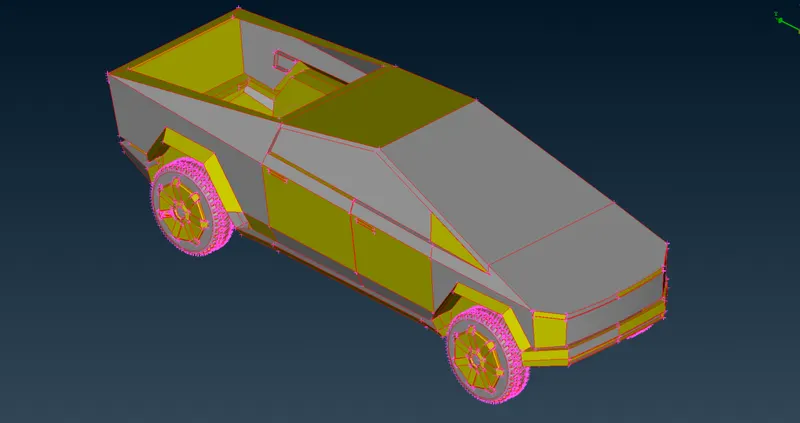
Let's go for a TOPO
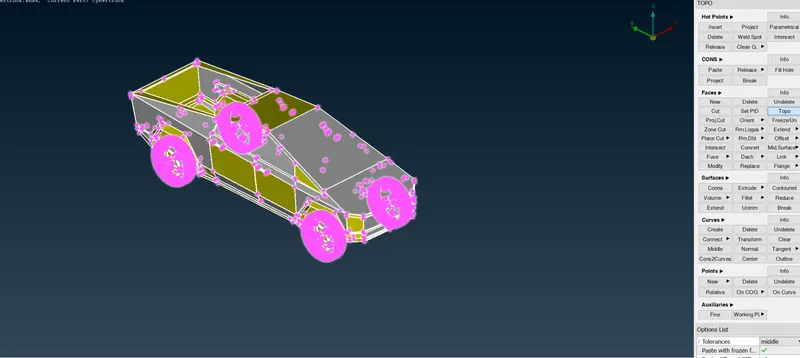
After TOPO we get to see that we can clear the significant errors of red cons.
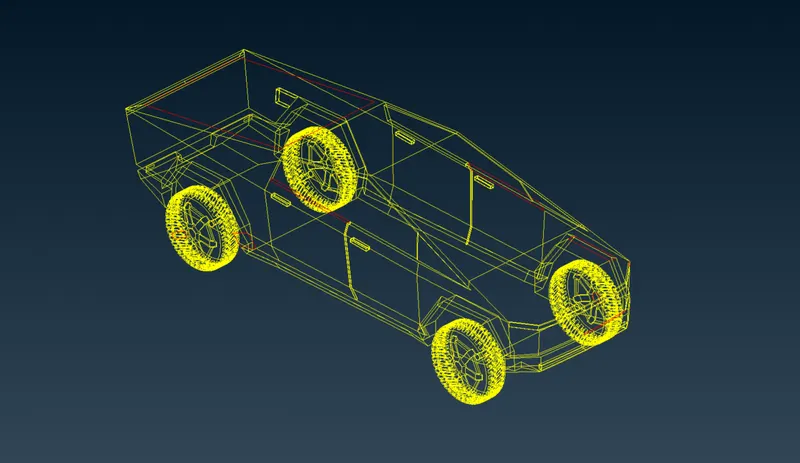
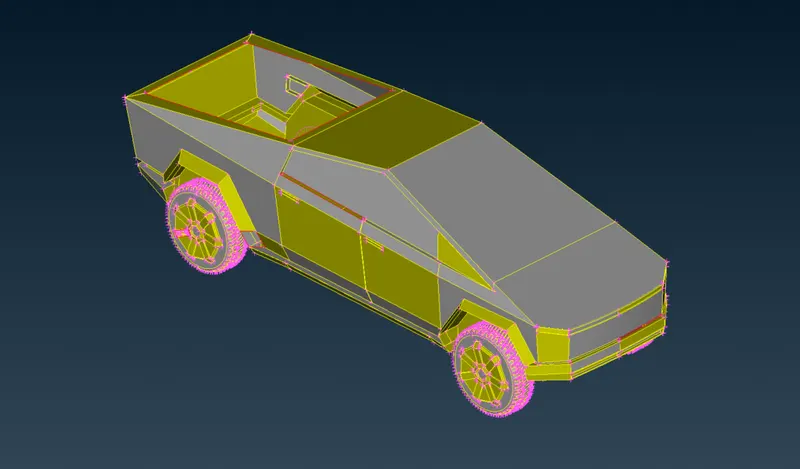
Let's clear the red cons first.
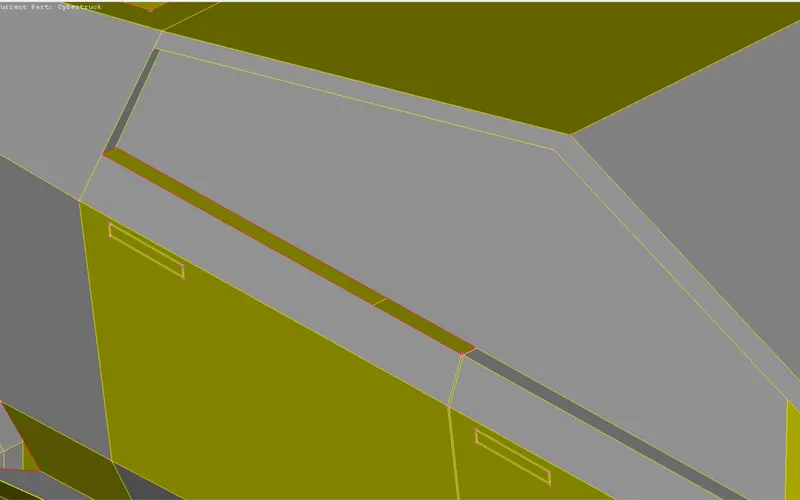
Using the Loop option we can clear the red con.
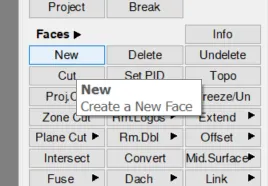
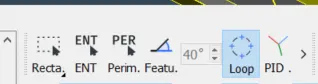
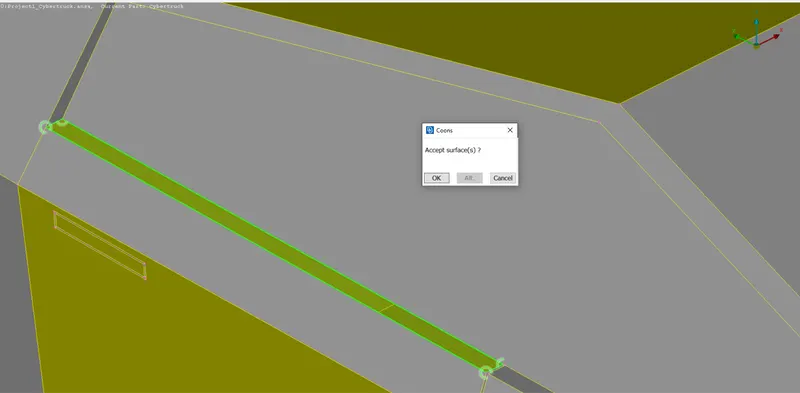
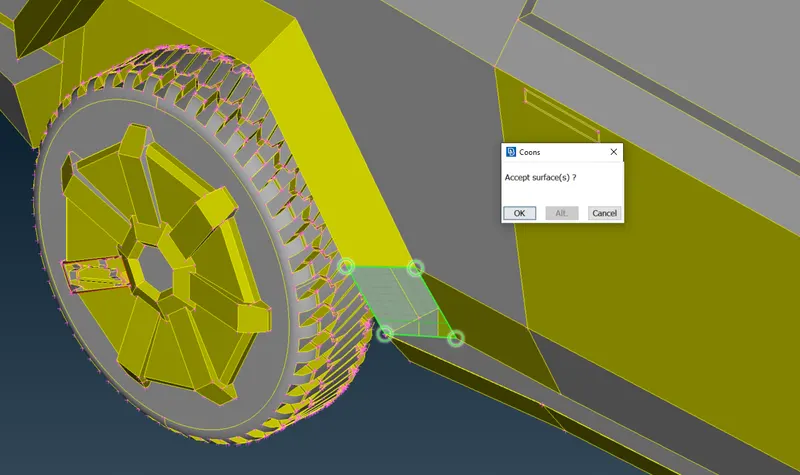
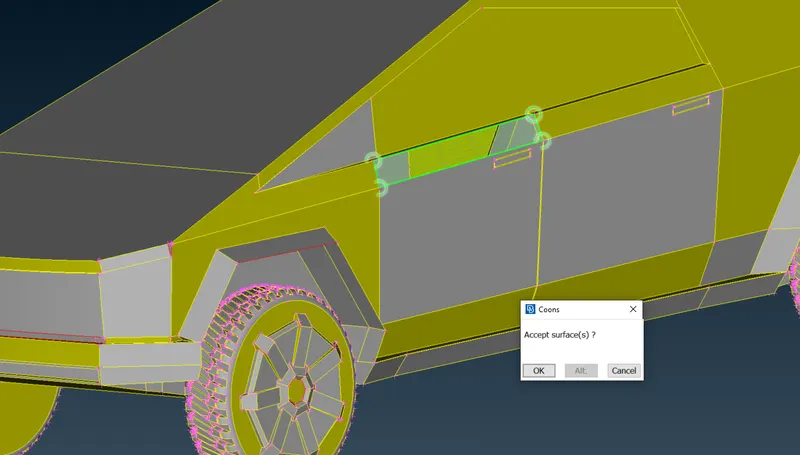
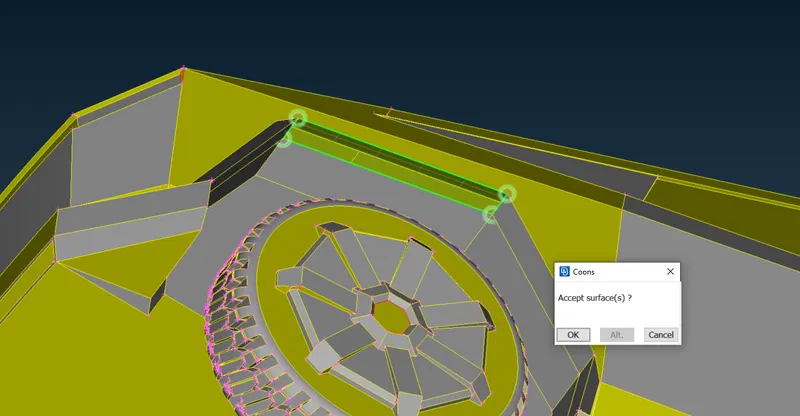
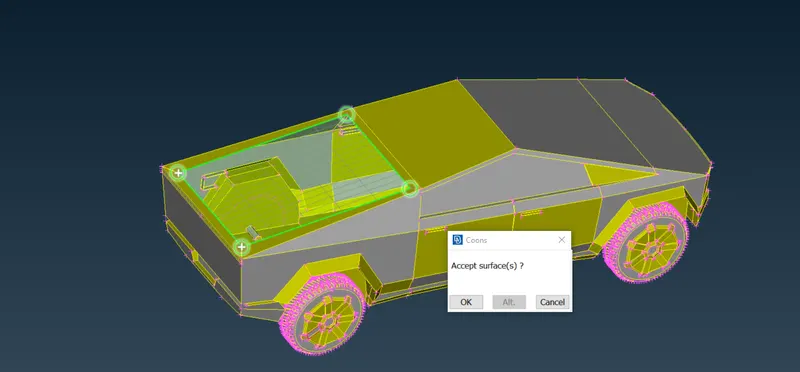
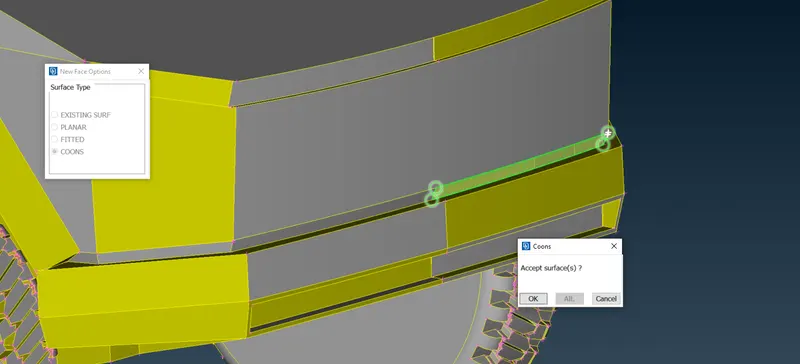
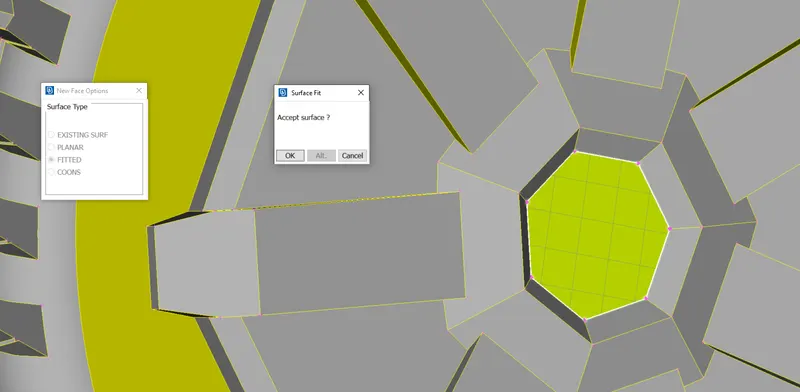
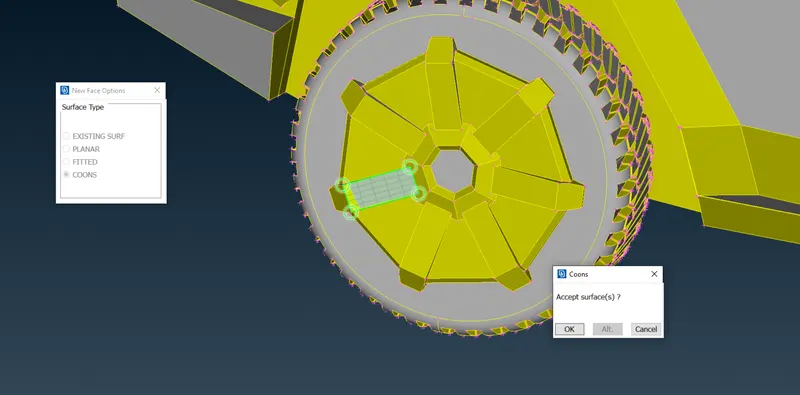
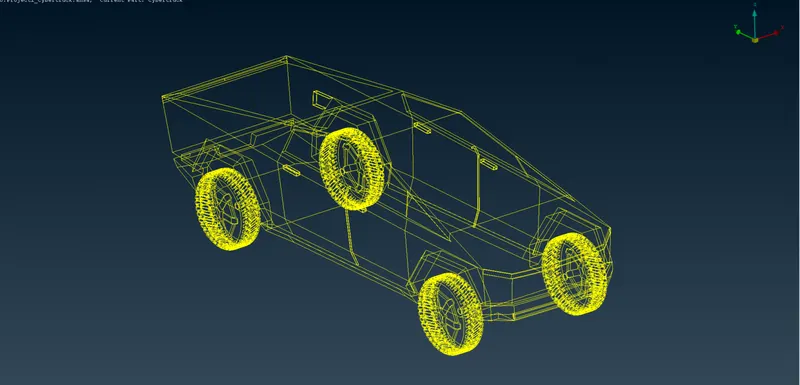
We have cleared all the red cons in this model so that we will move ahead with the resolution change.
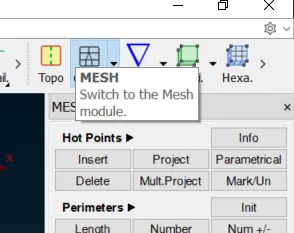
Go for classic mesh mode
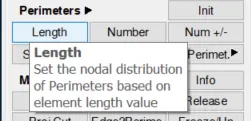
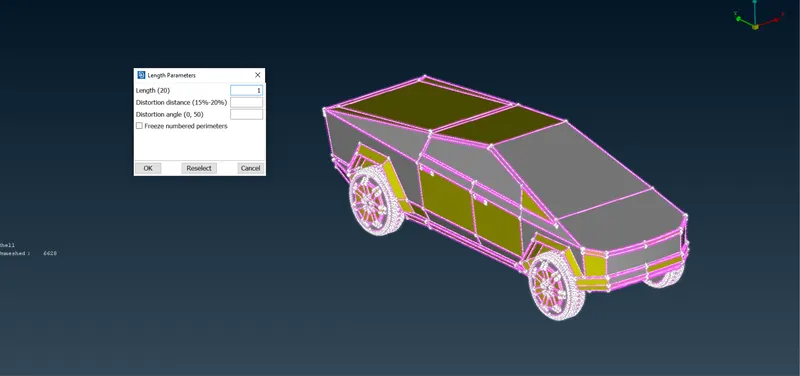
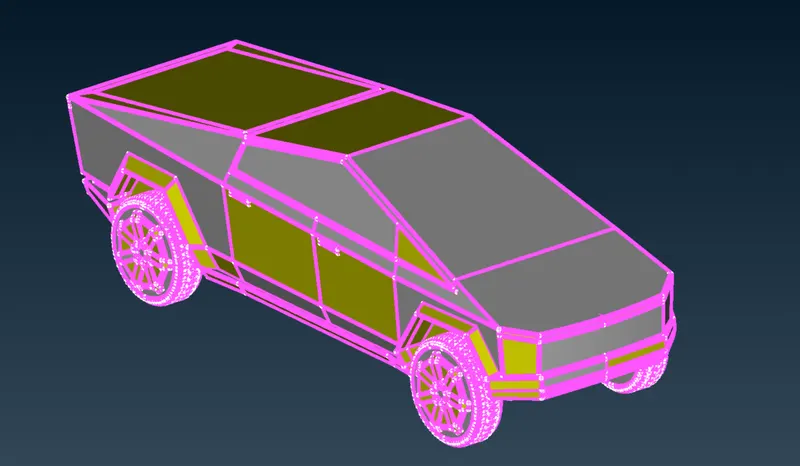
Post doing the resolution change
We did one Geometry check
Cleared the edge part where the single con was coming
Let's clear the Intersection error now
Saved the file and did the geometry check again.
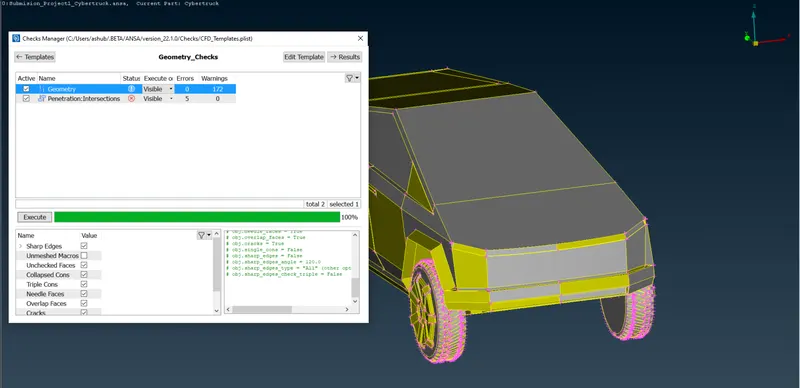
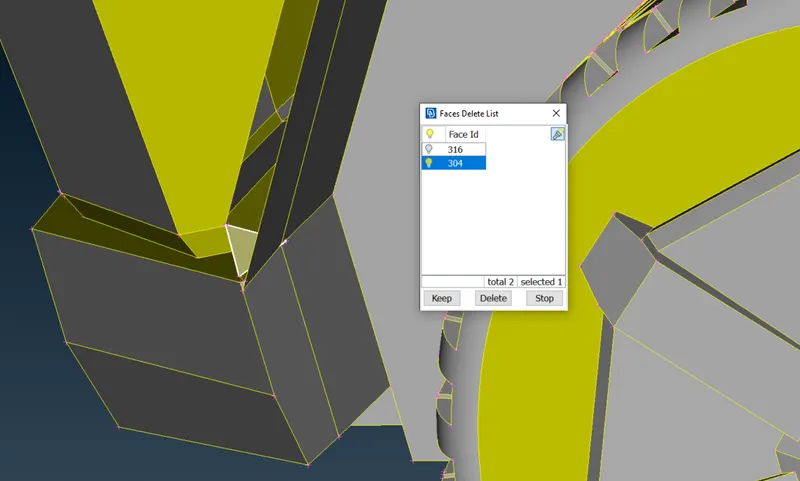
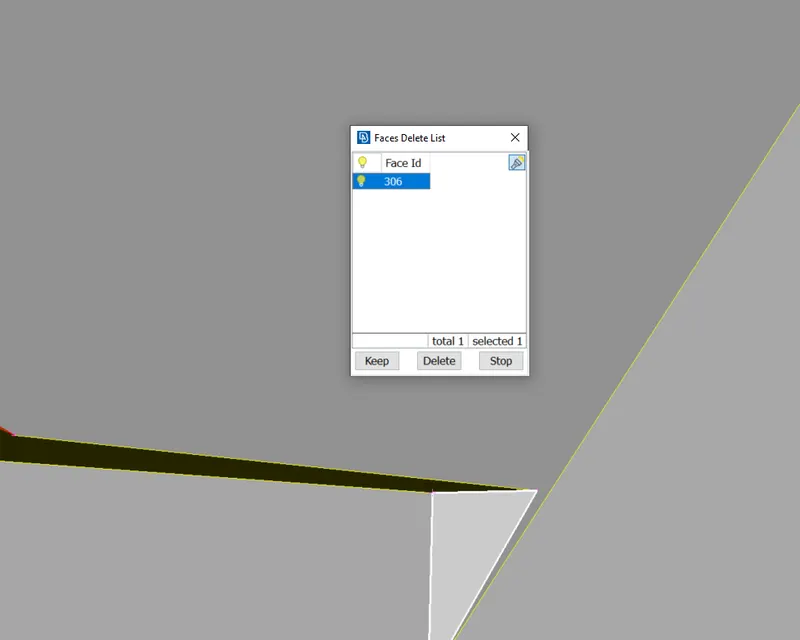
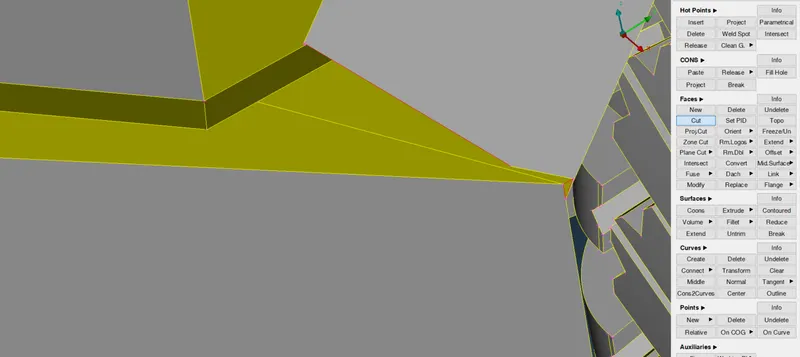
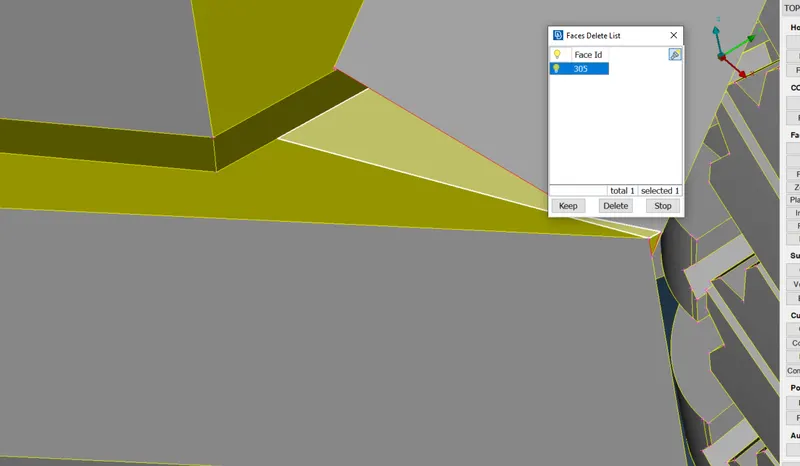
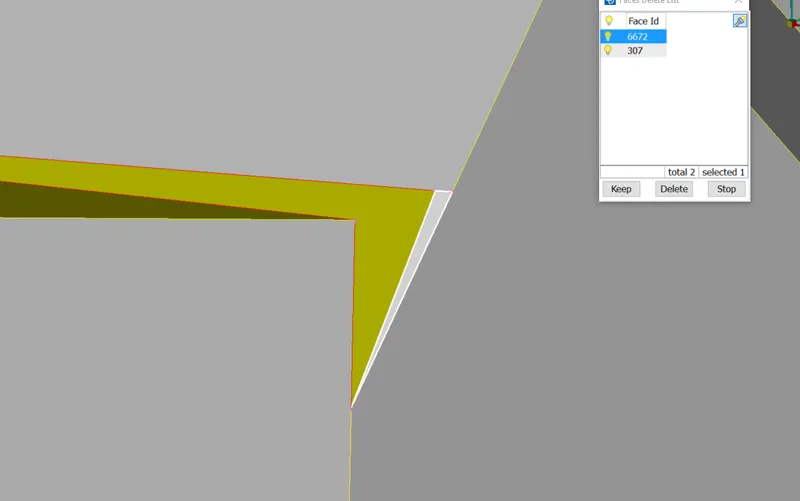
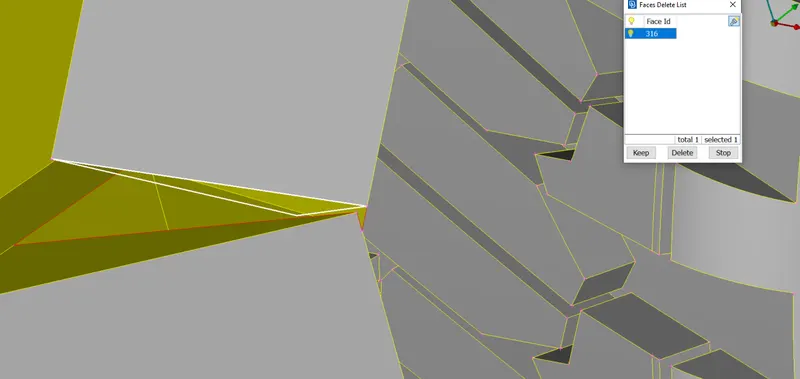
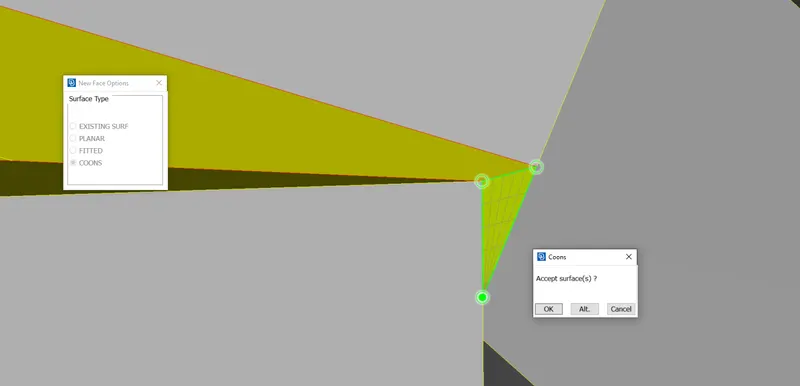
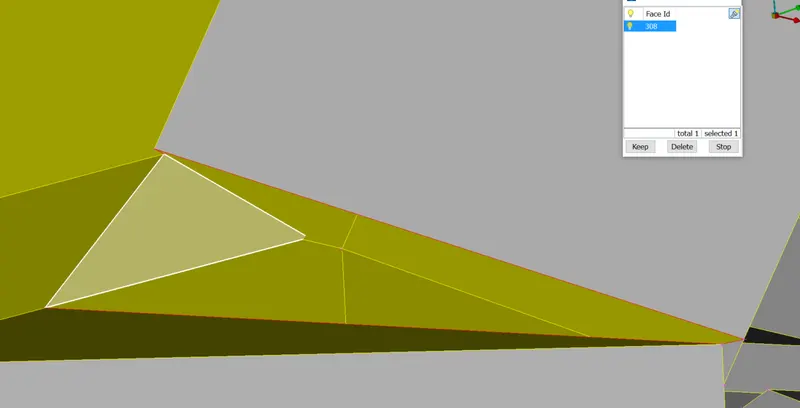
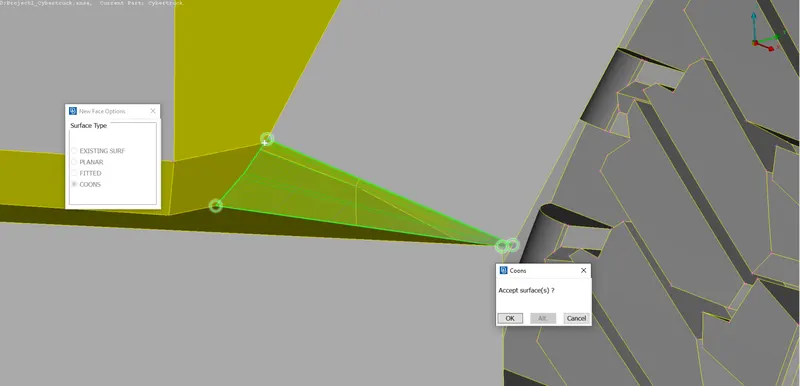
We have cleared the part now.
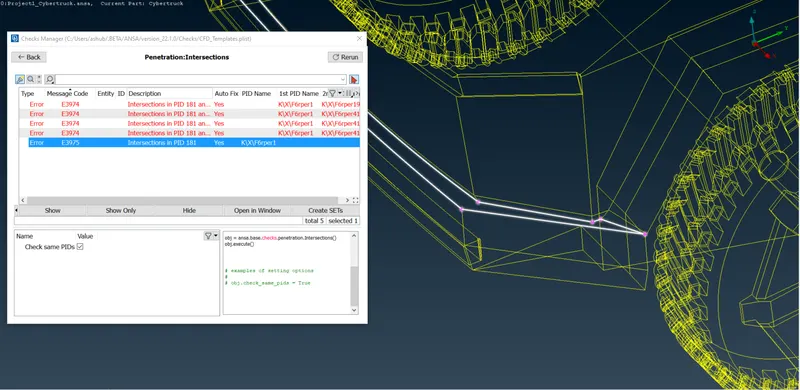
Let's see the other side too.
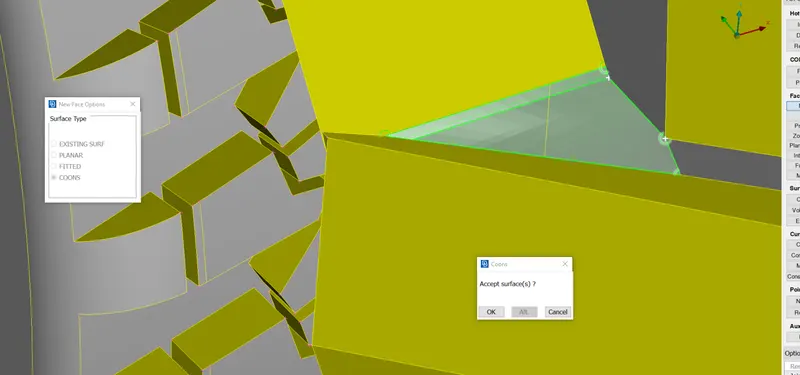
We cleared this error by creating a new surface and using the cut tool only.
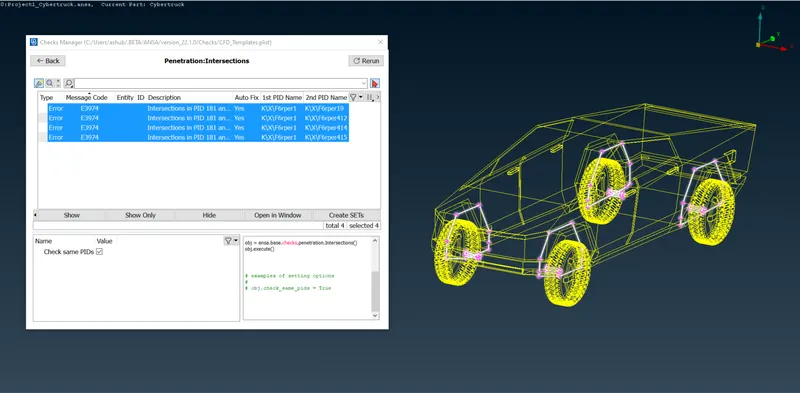
Here is the error.
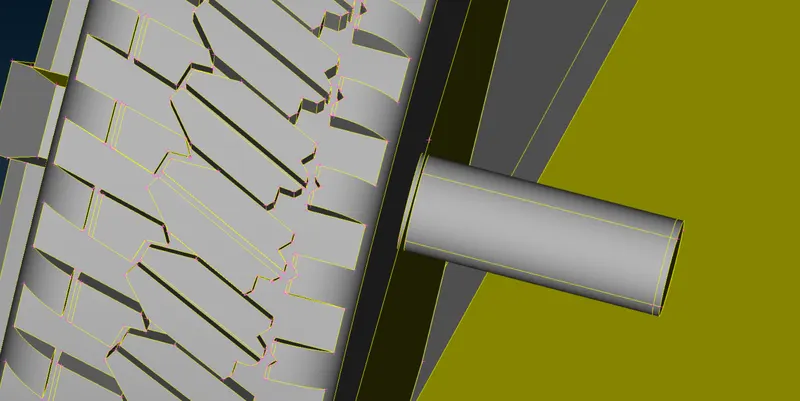
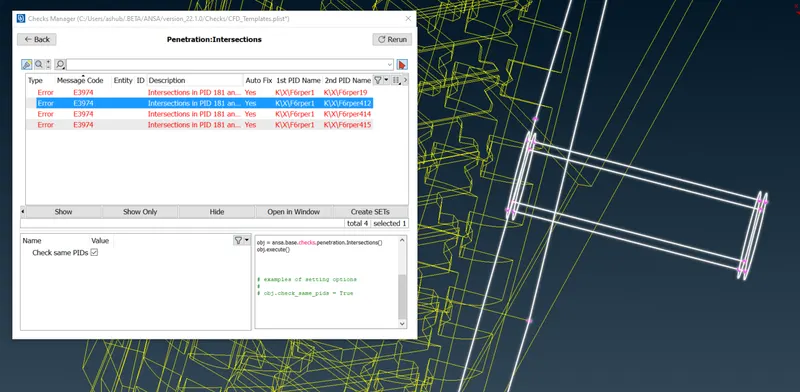
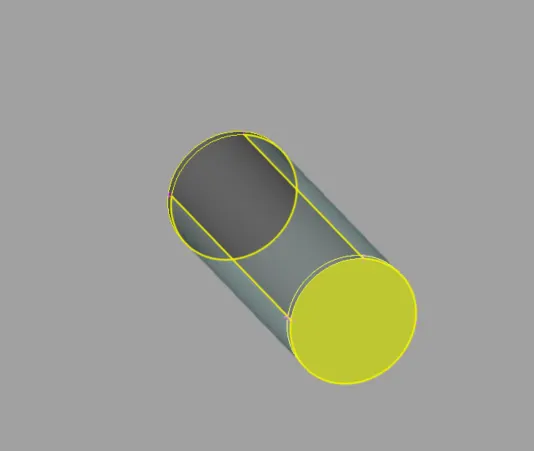
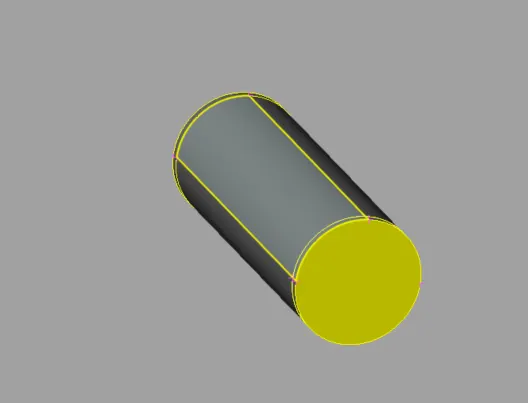
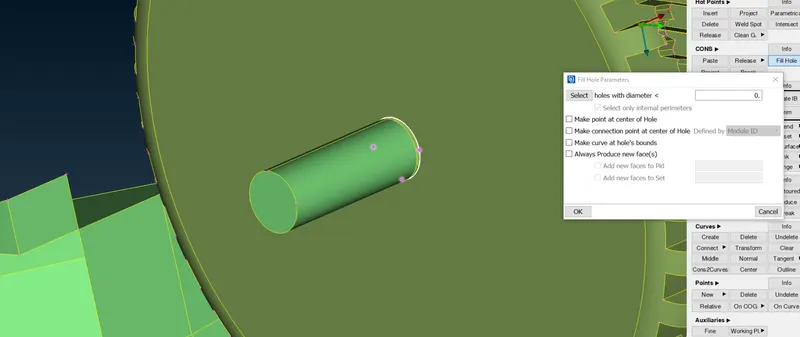
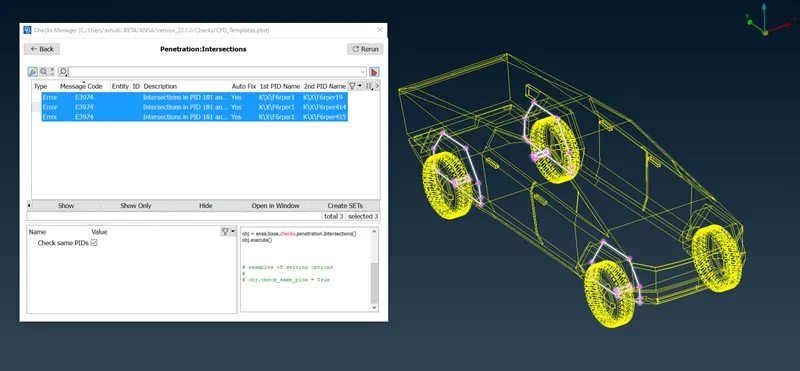
So we have to repeat the process of deleting the overlapping surface and continue to fill the hole the new hole created.
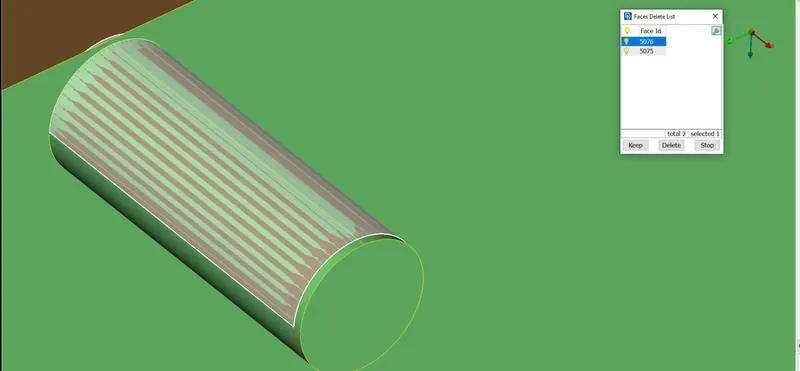
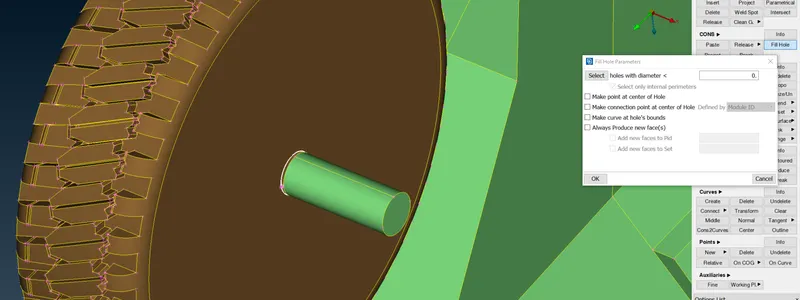
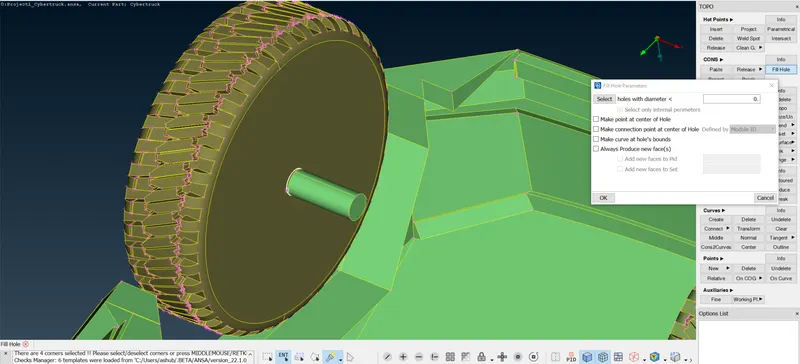
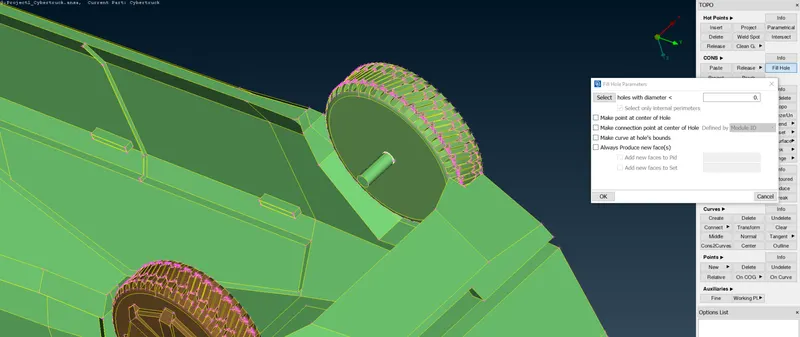
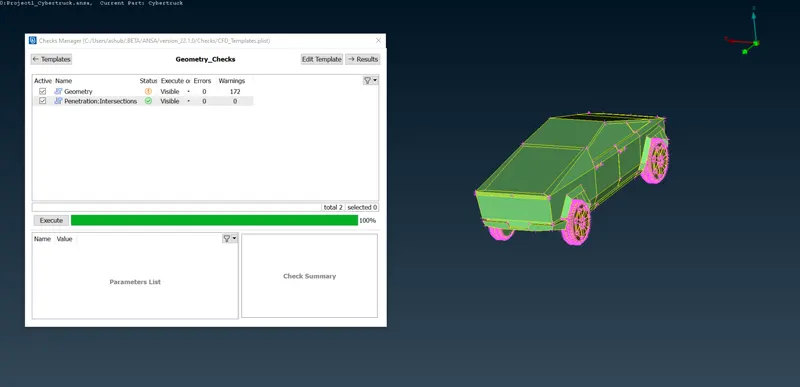
Cleared all the Intersection errors.
Some warnings are there that are due to the shape.
We will make one plane cut and then divide the body.
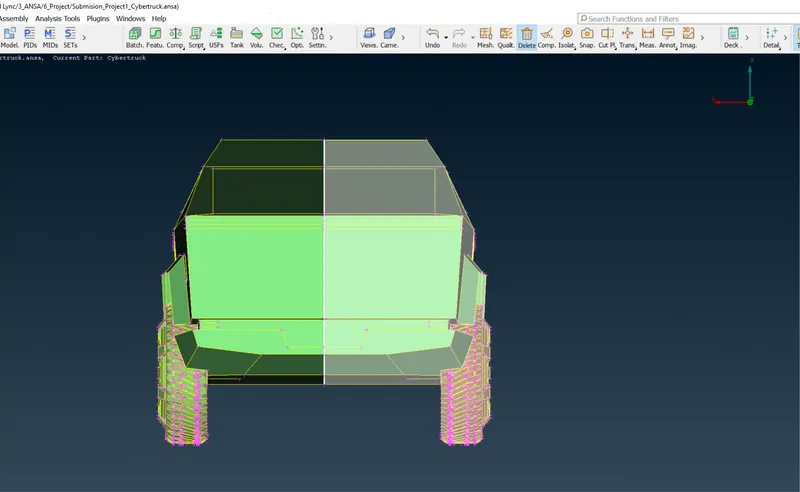
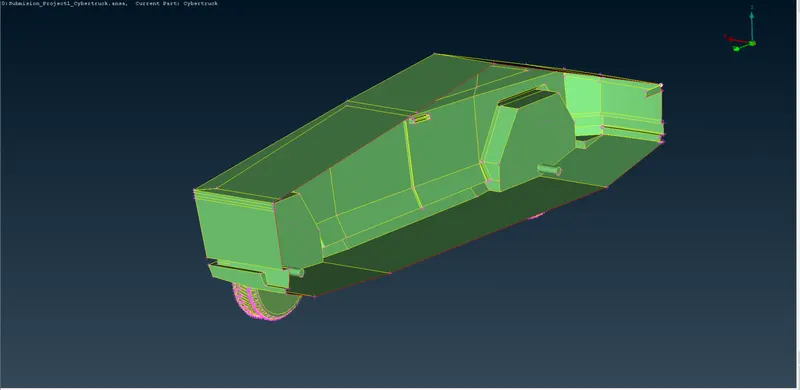
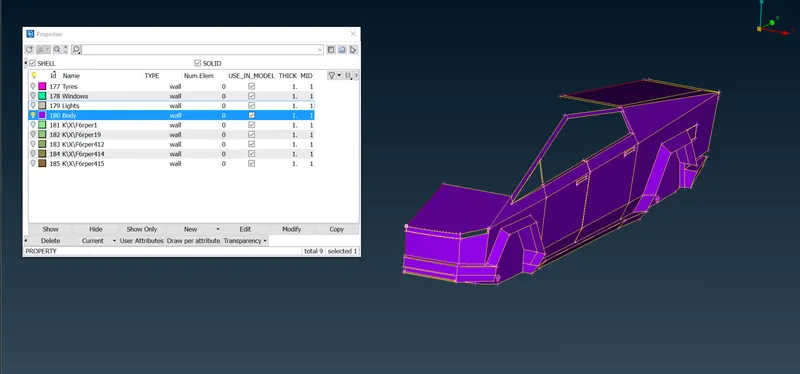
After assigning individual parts PID we have this as our new TESLA ...it's half though :)
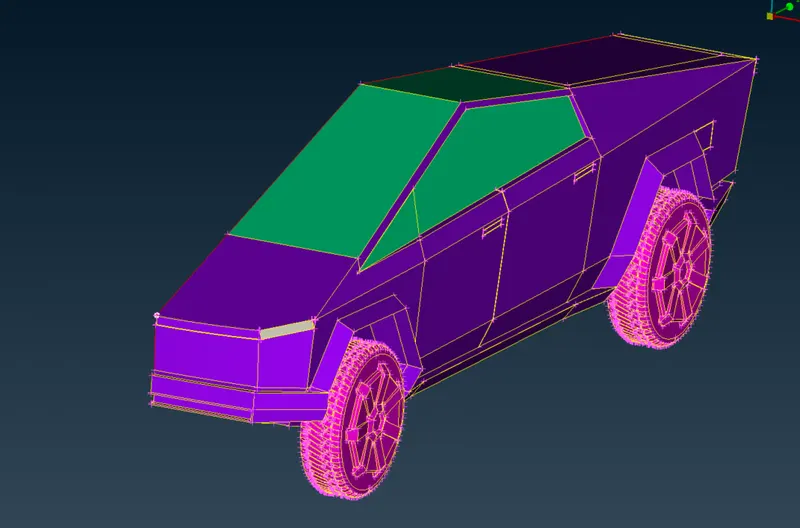
Let's go for 2 mm for tires and windows
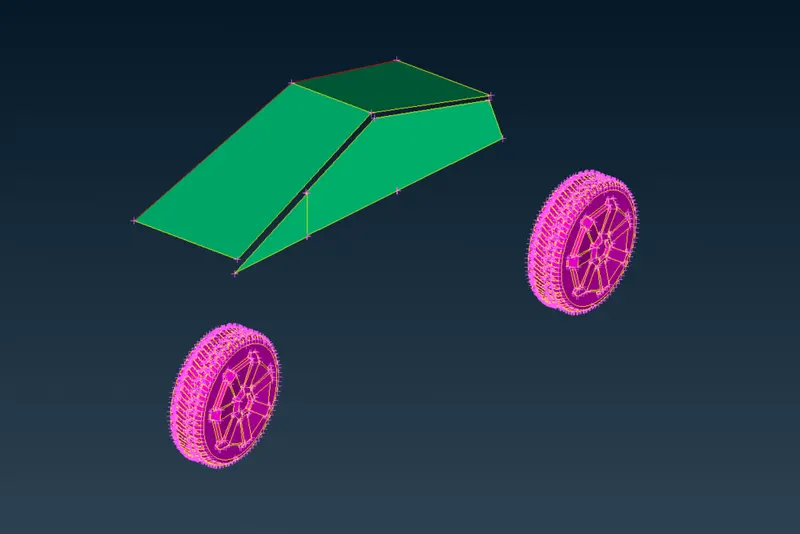
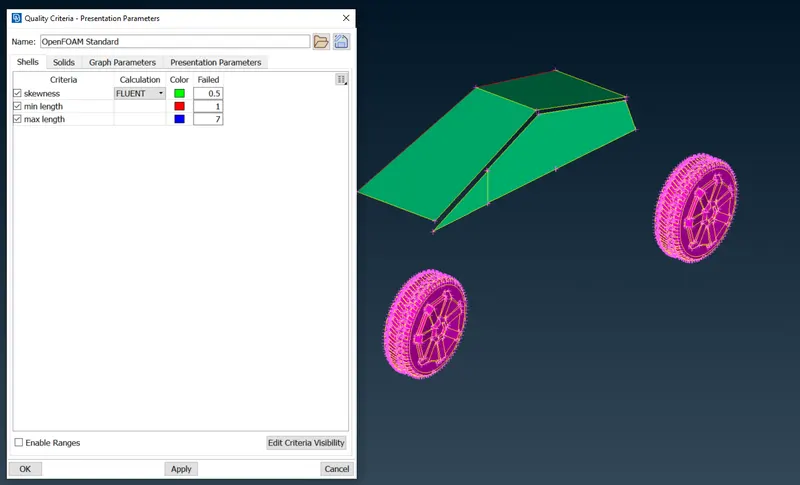
Setting quality criteria
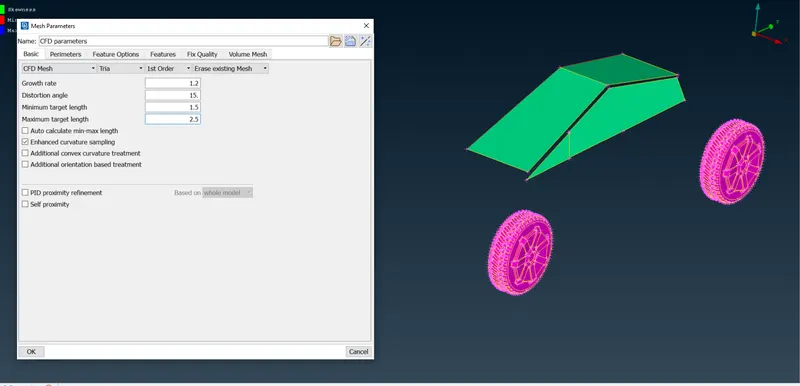
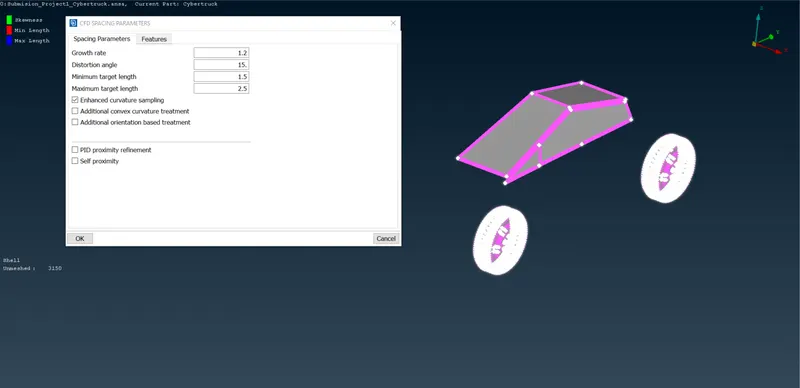
Go for Macros
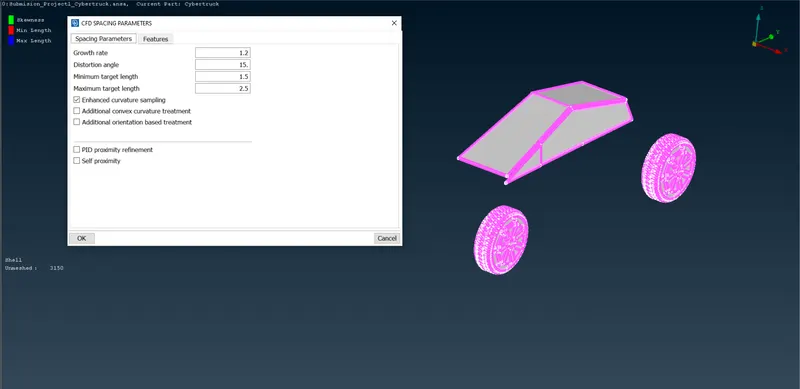
Slowly meshing the geometry.
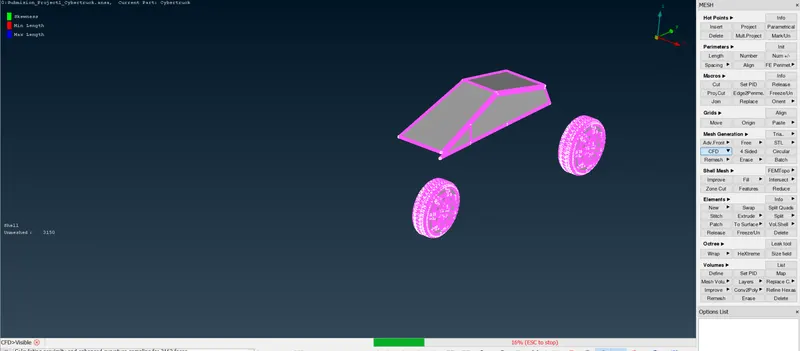
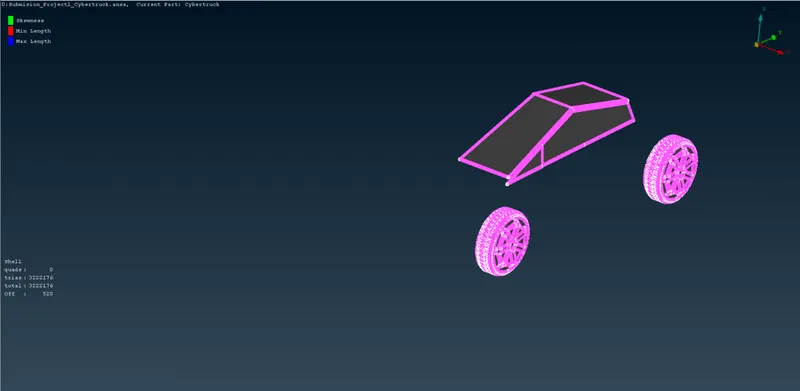
After clearing one acute area error,
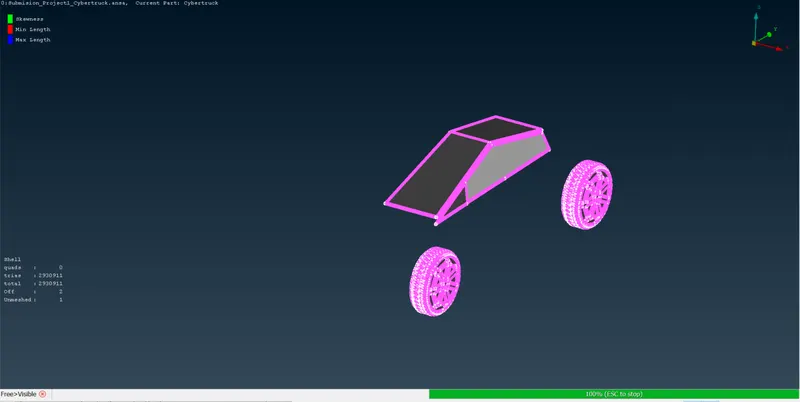
Use the Free mesh tool for going ahead
We did use Cut the small acute element to divide the part so that the mesh creation can be made with new boundaries.
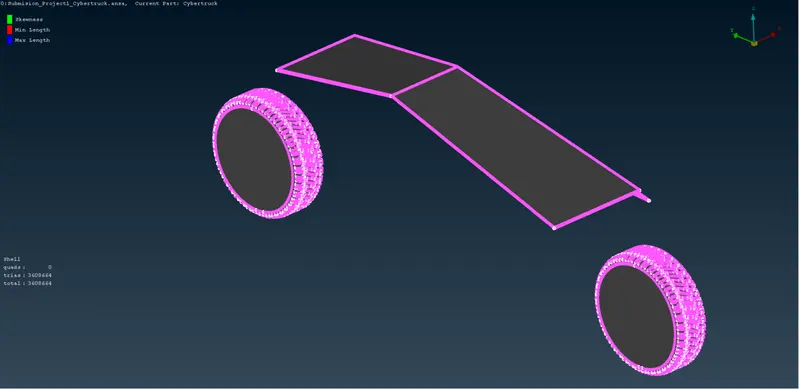
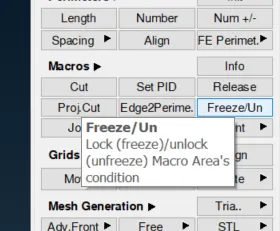
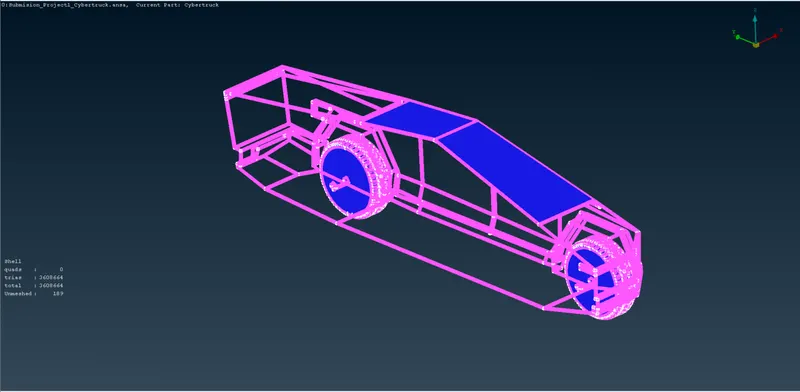
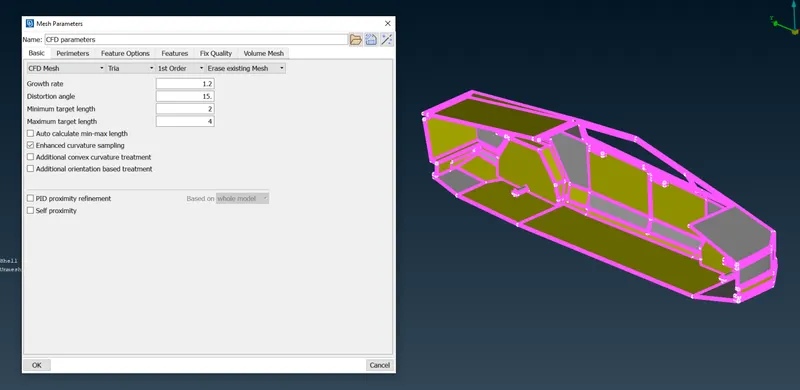
Doing the perimeter and macro for the geometry.
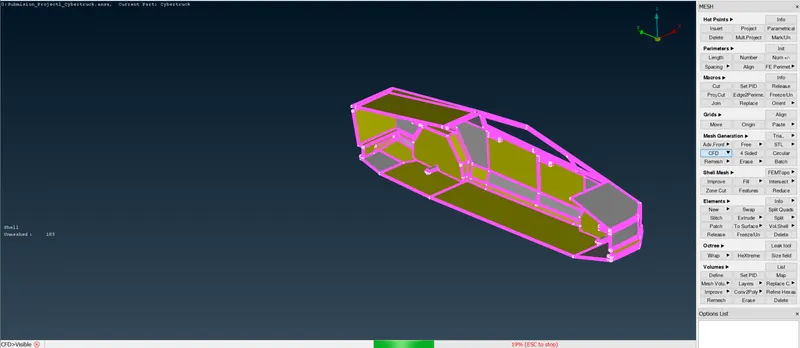
After clearing the geometry errors we have done the final meshing of the Body.
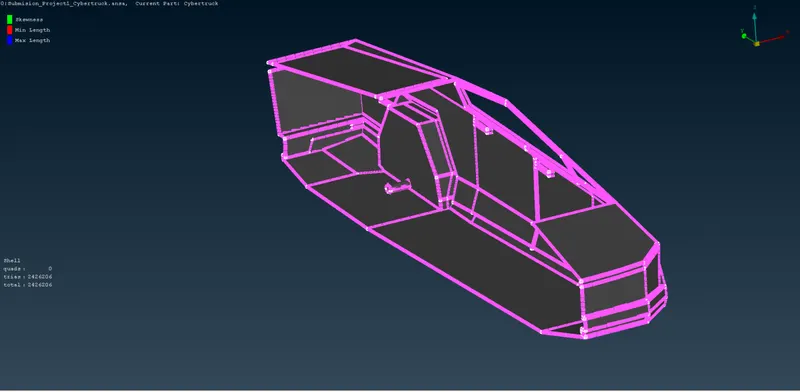
Now we are left with 4 mm of lights only.
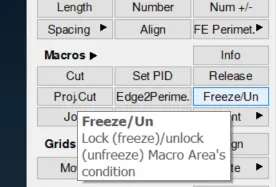
First, let's freeze the Body mesh
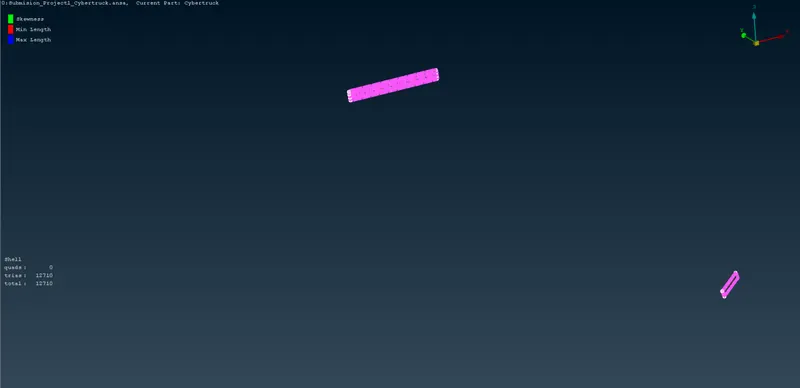
We did the meshing of the complete lights section also without having any off element.
Let's do the mirror.
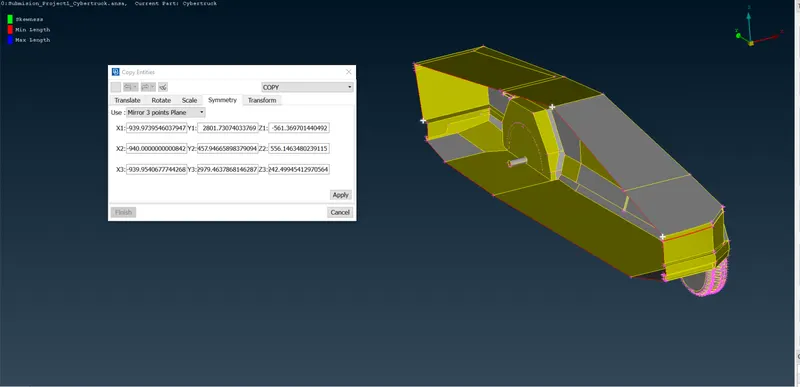
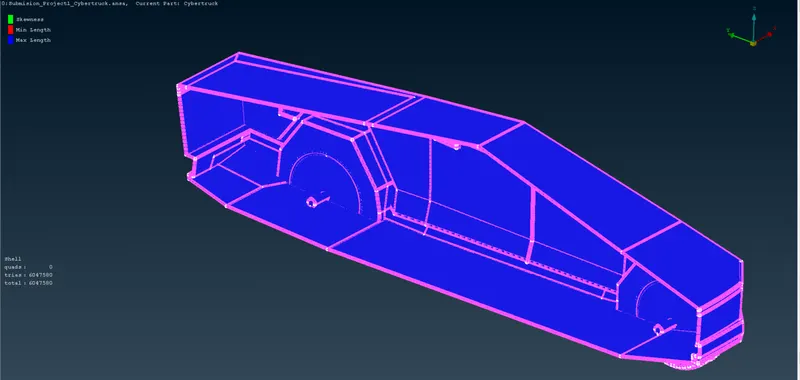
We faced some minor errors doing the mirror so we are going for doing a complete body meshing in one go.
So here is the meshed truck with all the geometry clean-up done in the same way as explained above.
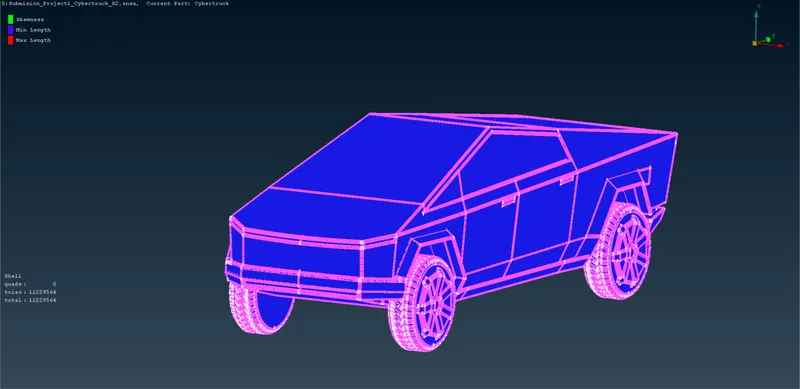
Making points for Wind tunnel
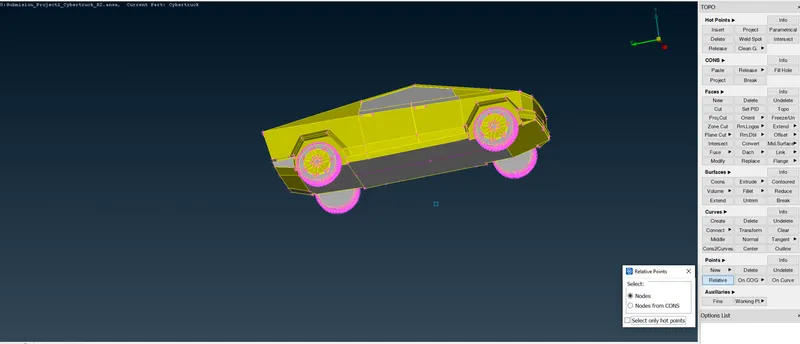
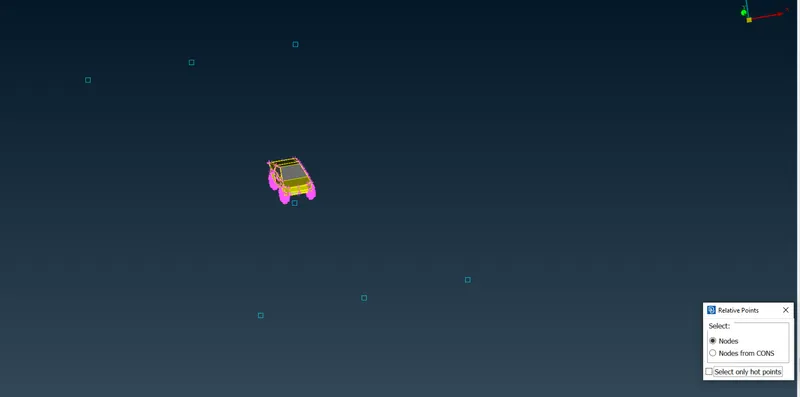
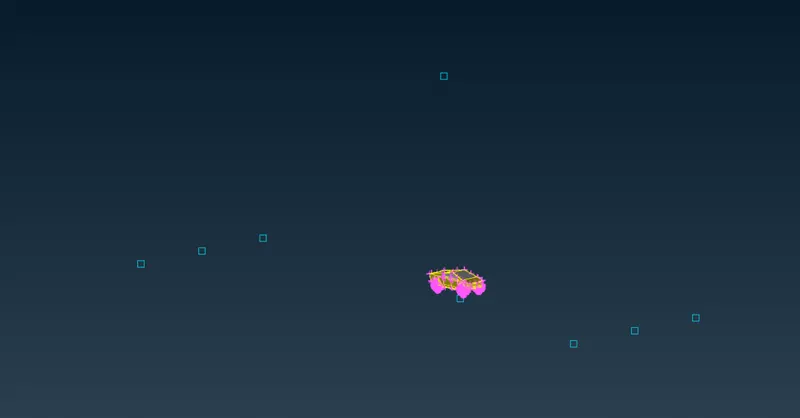
Creating surface.
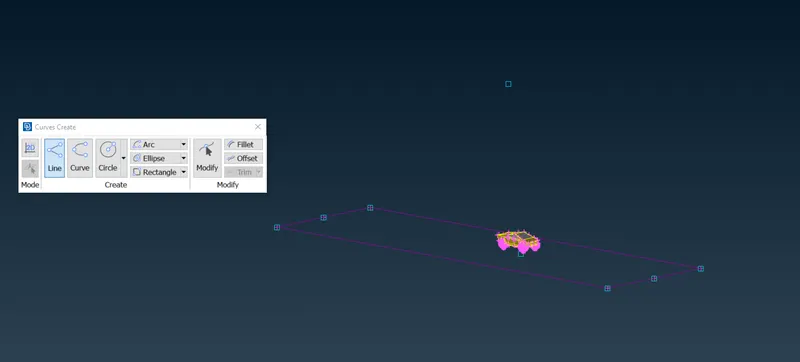
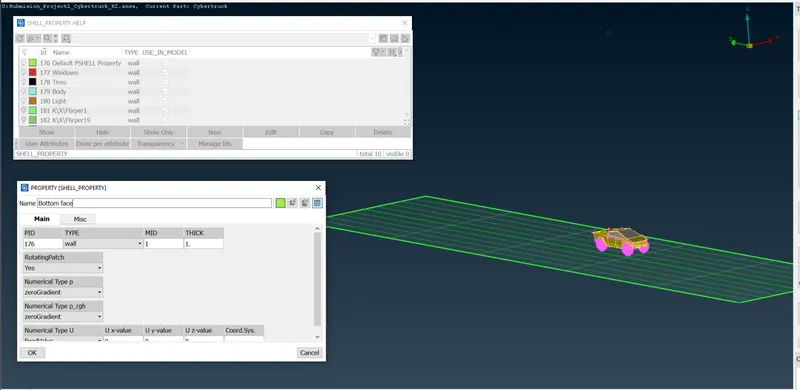
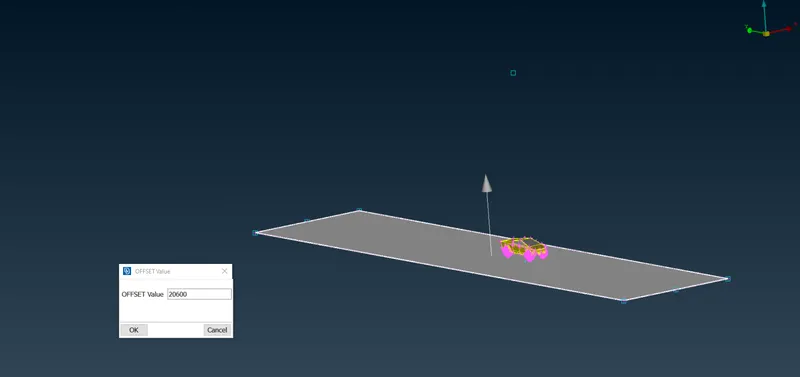
Delete these points and curves
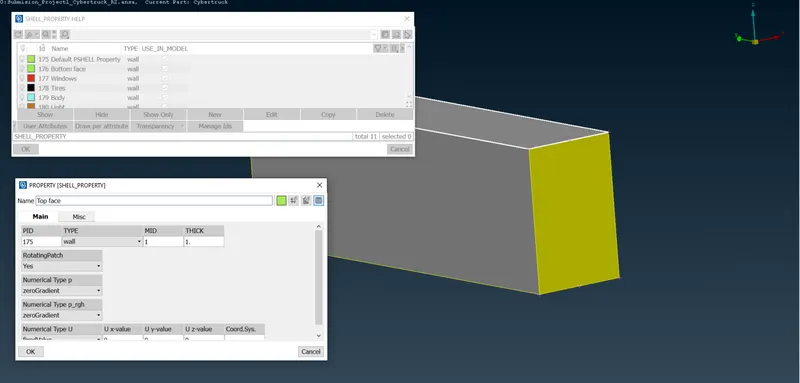
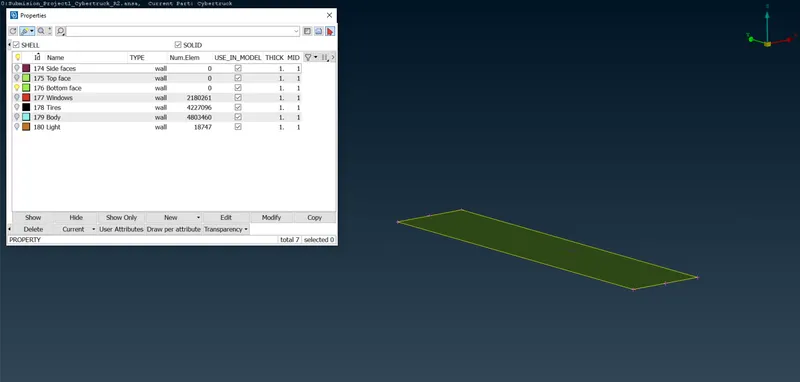
After compressing and getting the base to mesh at 50 and the top at 300 so lets set quality and then do the meshing
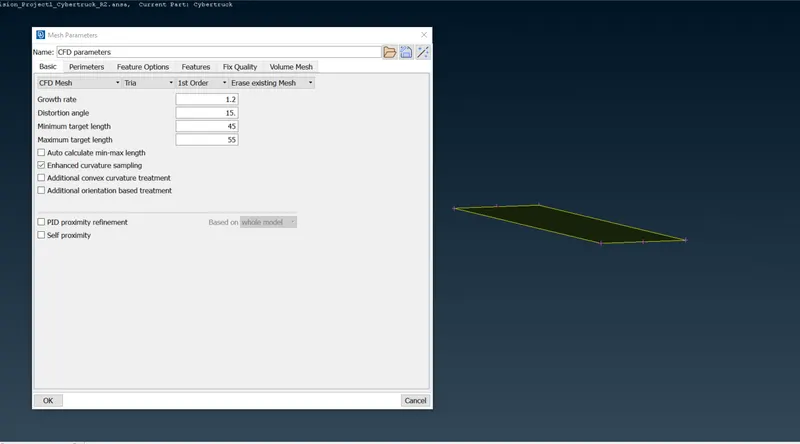
After doing Perimeters and macros go for the CFD mesh
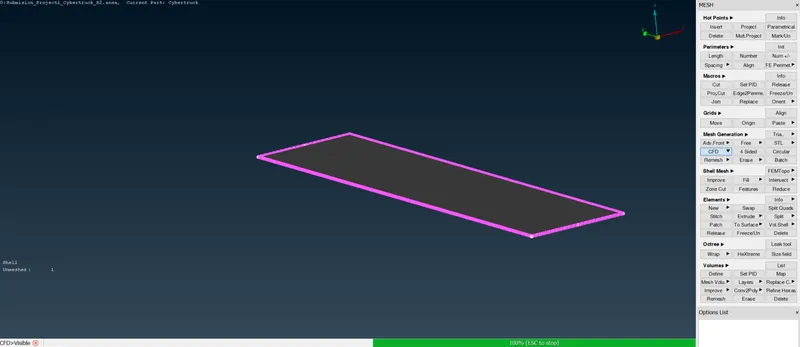
Finally after one restart of the system,
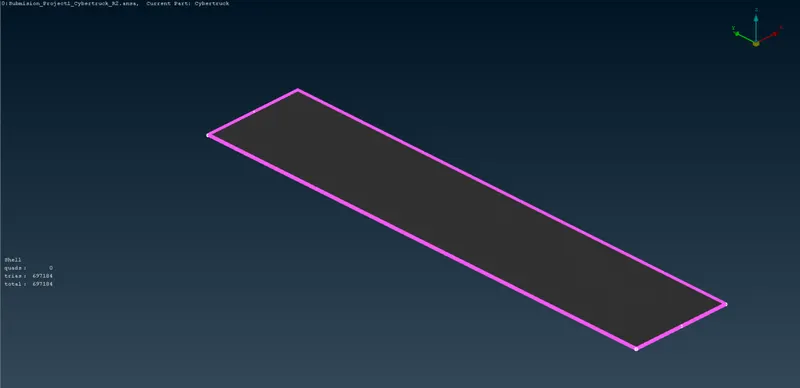
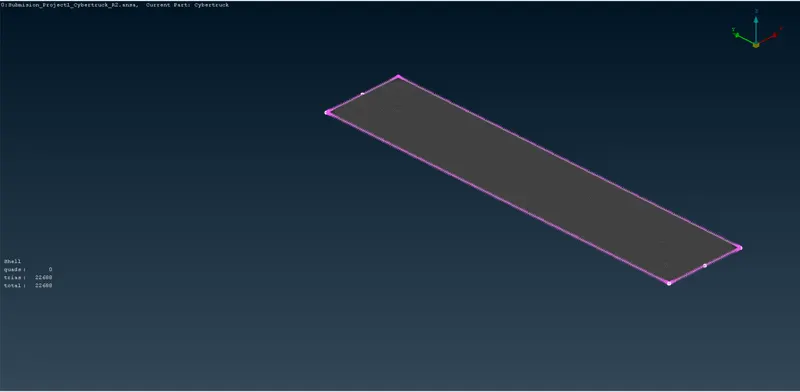
The top surface is done.
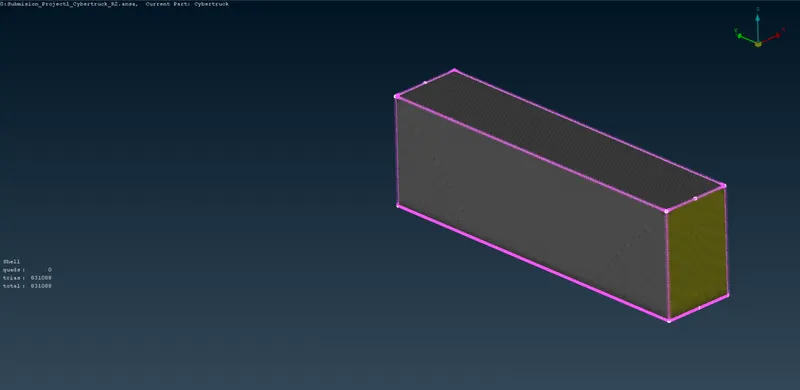
After doing manual spacing with start and D-limit as 50 to 300.
Done.
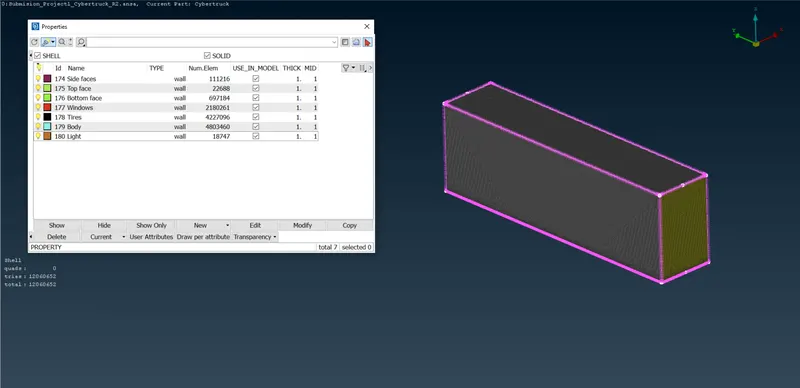
We did the complete meshing now with the surface meshing of both the Wind tunnel and TESLA both.
Result:
The file after meshing has been attached to the report via a google drive link. We completed the meshing of the TESLA CAR and Windtunnel as per requirement.
Link: Please click the link to get to model
Conclusion: We learned the basics of ANSA software and also did our assignment for the Surface meshing of the TESLA car with Windtunnel.
Thank you.