Week 4 Challenge : CFD Meshing for BMW car
Aim:- Check for the geometrical errors for BMW car model. Create and assign PIDs. Perform surface mesh with the given target lengths as per PIDs. Create a enclousre.
Objectve:-
1. Remove all the toplogical error. (include intersection & penetration error)
2. Perform Classic Mesh.
Given Parameters
- Body - 3 mm
- Lights - 4 mm
- Grills - 1 mm
- Rims and Tyres - 2 mm
- Optical Rear view mirror - 2 mm
- Window - 2 mm
- Silencer - 3 mm
- Logo - 1 mm
3. Create a enclosure and perform surface with the spacing(20 to 200)
Procedure:-
1. Load the turbocharger model with .ansa as format in ansa software.
file>open>go to appropiate location>select .ansa file
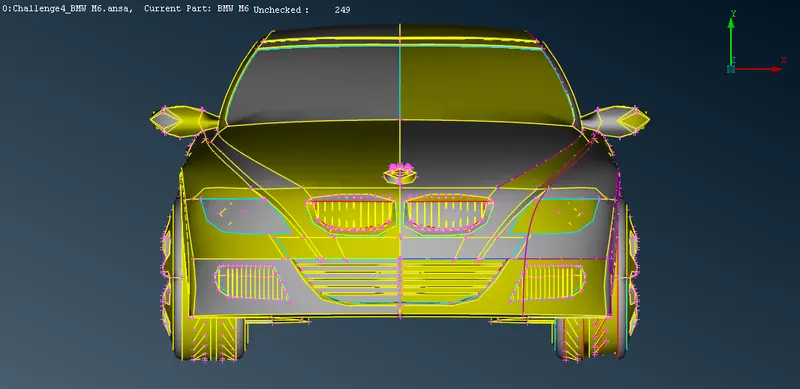
2. Delete the half portion becuase it contain two identical parts.
To delete
select universal delete option>select the surfaces using box selection> press middle mouse button.
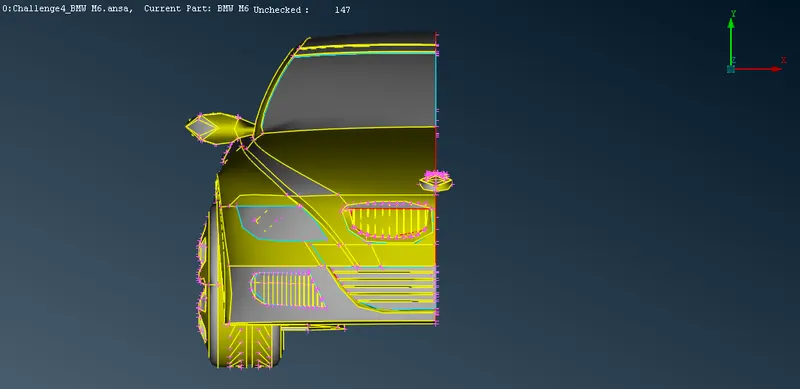
3. Now we use mesh tool to fine all the coons.
to do this
classic mesh module>perimeter>select the surfaces using box selection>middle button to confirm>enter length as 1 mm.
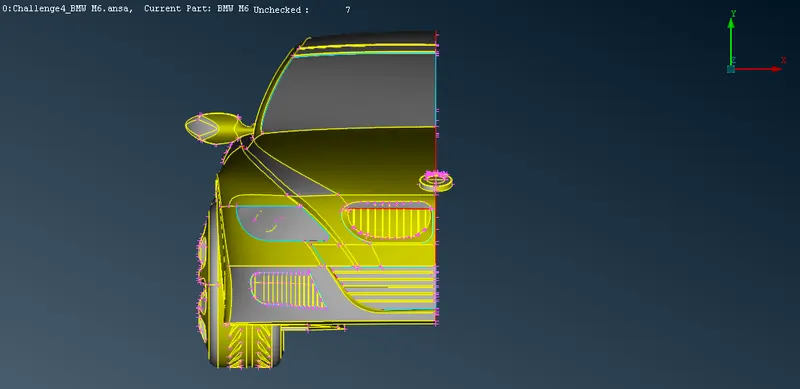
4. Now we can simply switch the wire frame mode to examine the error.
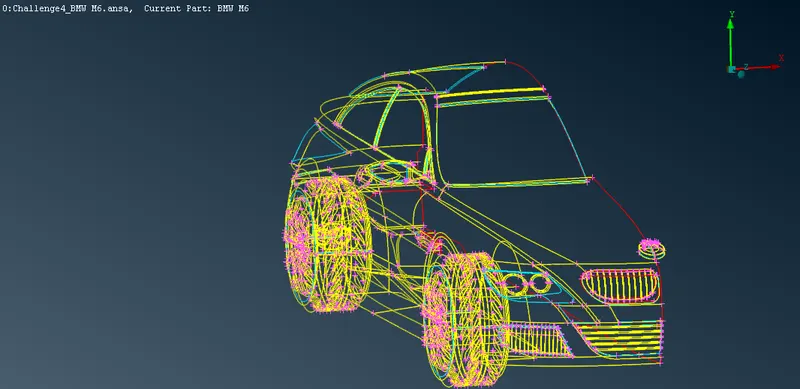
5. Now we can start to eliminates the single coons.
6. We can use focus toolbar to eliminate the error.
7. Frist we remove the error related with the grill parts.
1. to eliminating all the error related with grills
Delete all the unwanted surface. remove all the triple coon.
1st grill
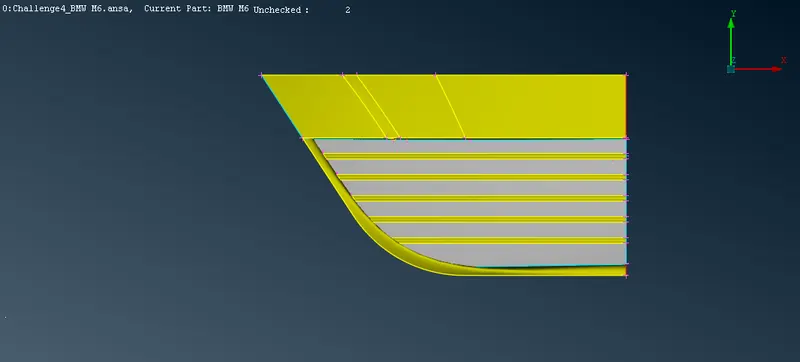
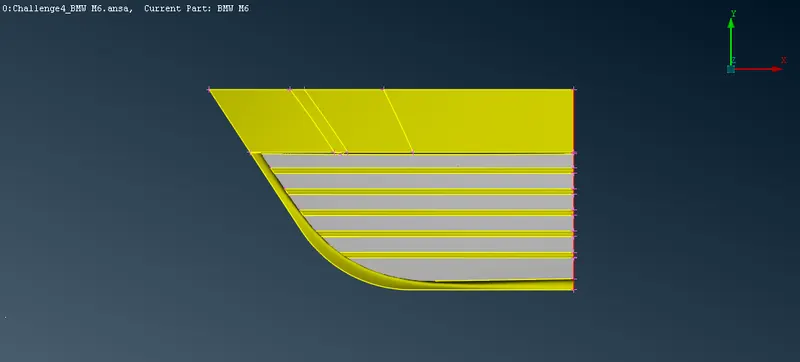
2nd grill
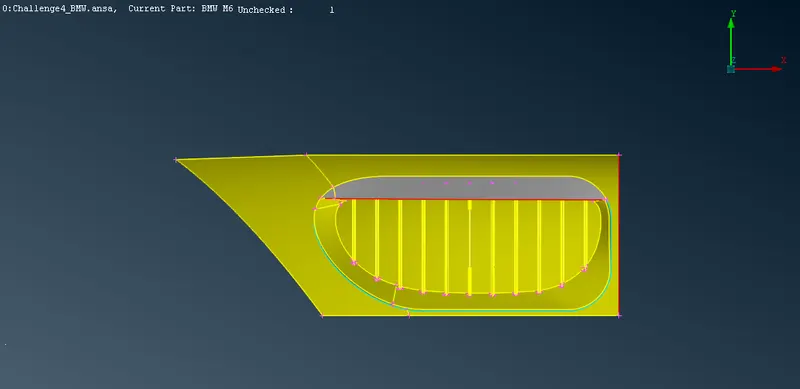
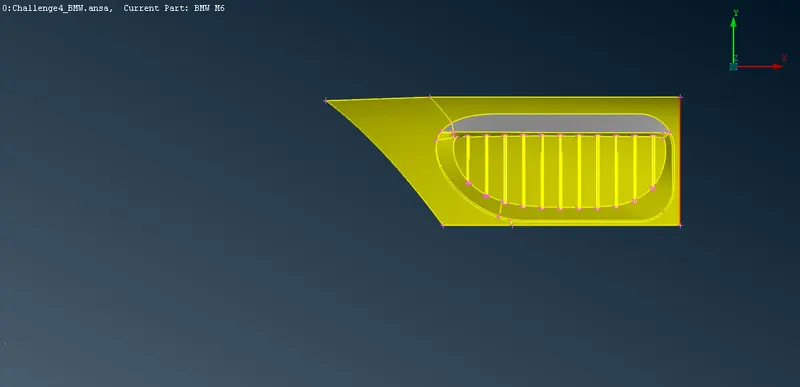
3rd grill
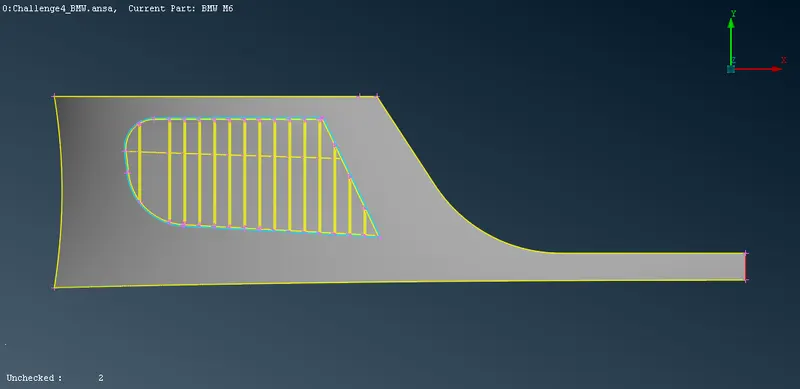
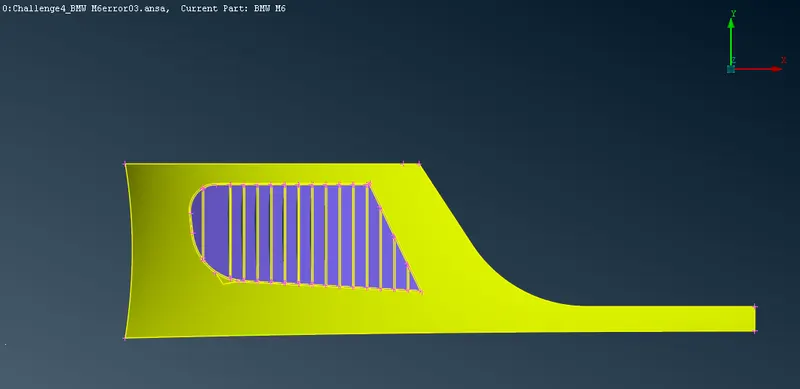
4th removing the error from front light.
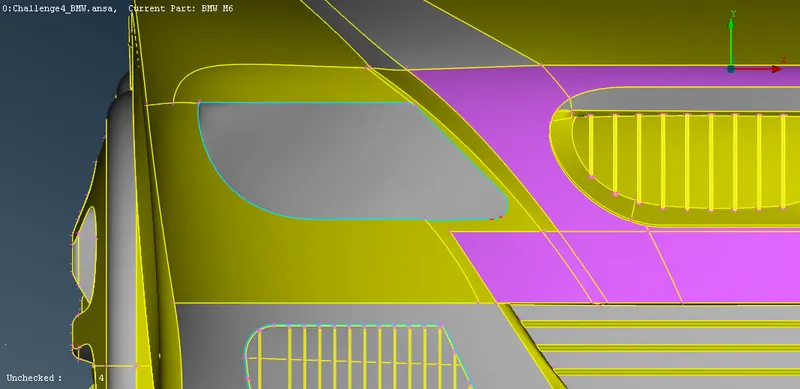
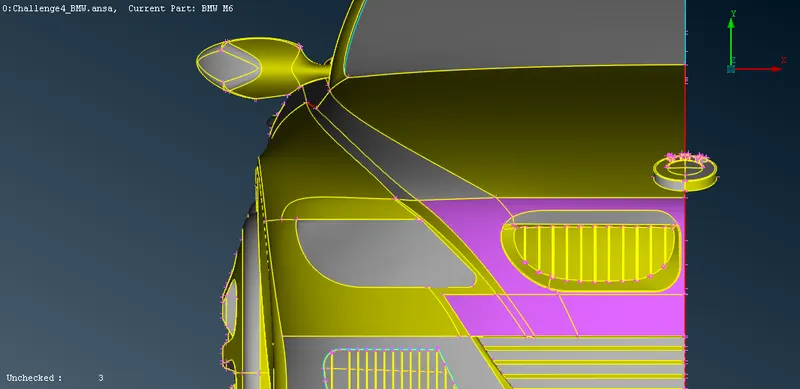
5th removing error from tyres.
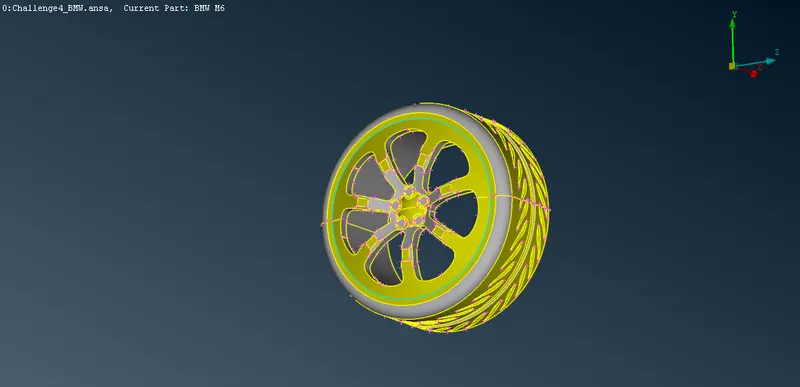
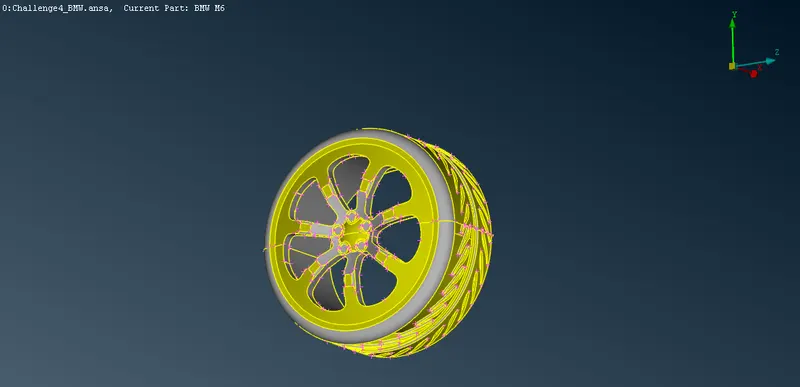
In similar manner we resolve the error related with the 2nd tyre.
6th now we resolve the error related with handles.
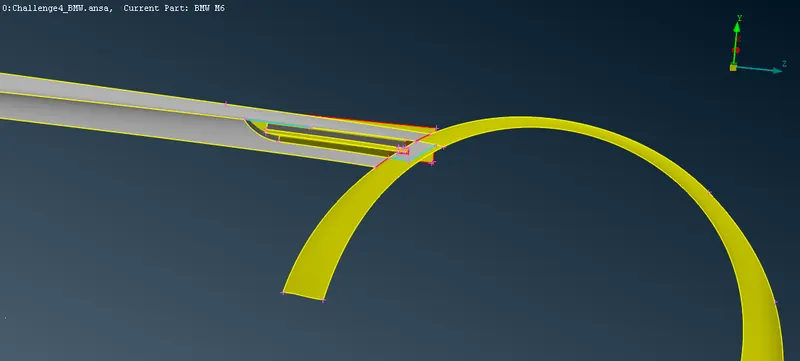
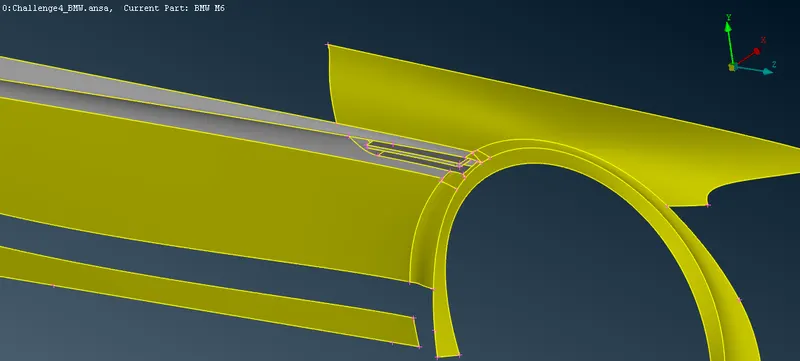
7th removing error related to mirror
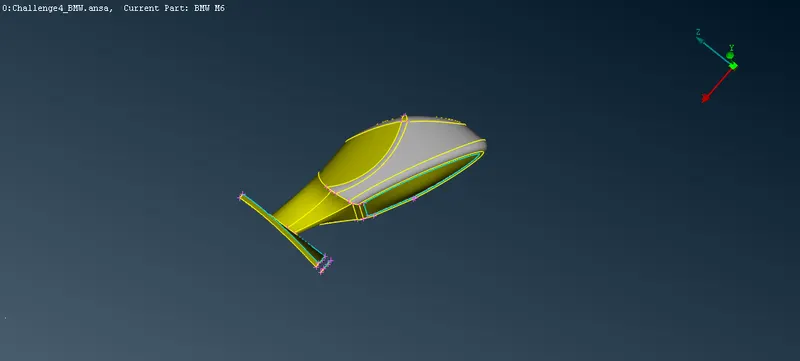
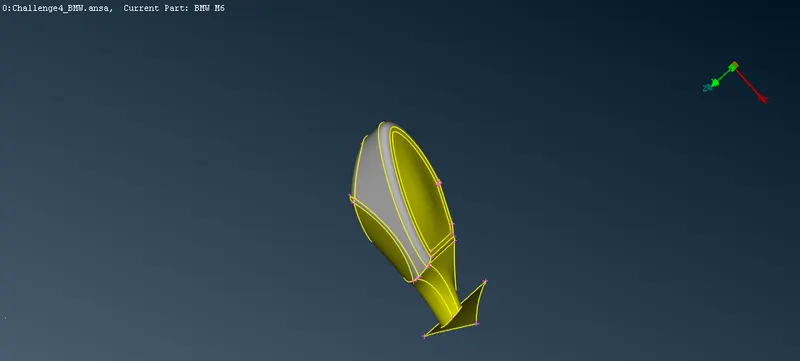
8th removing error regarding windows.
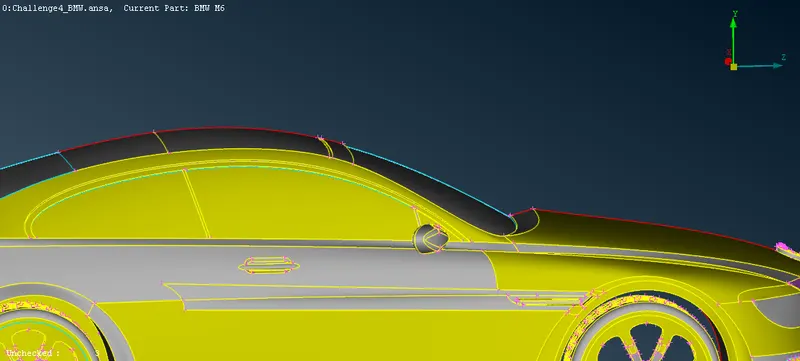
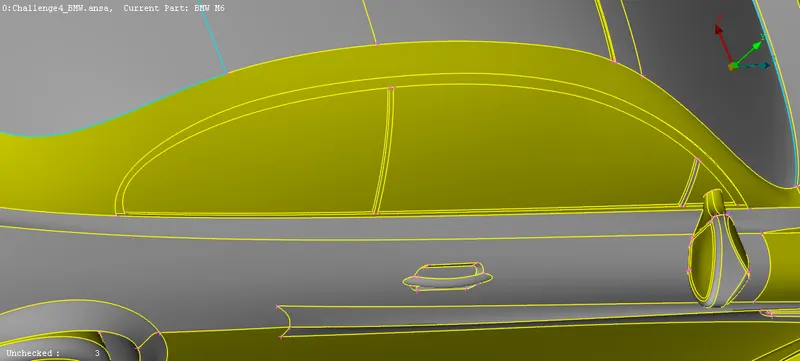
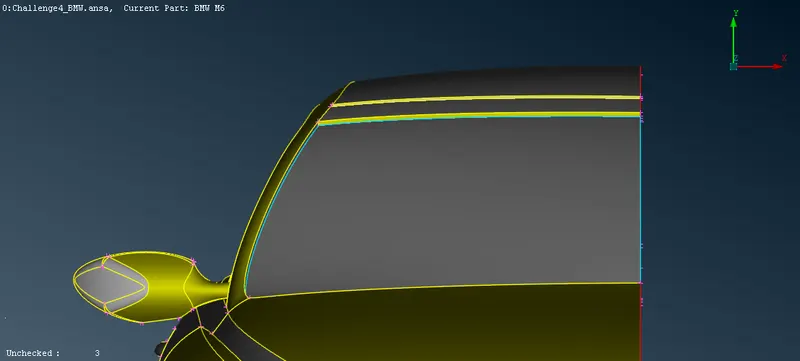
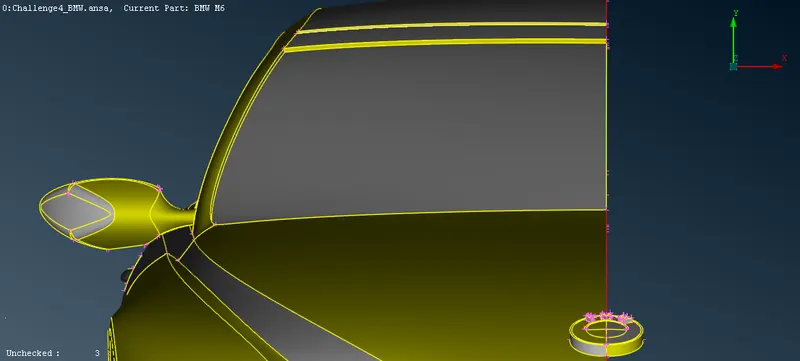
9th removing error related with windshield
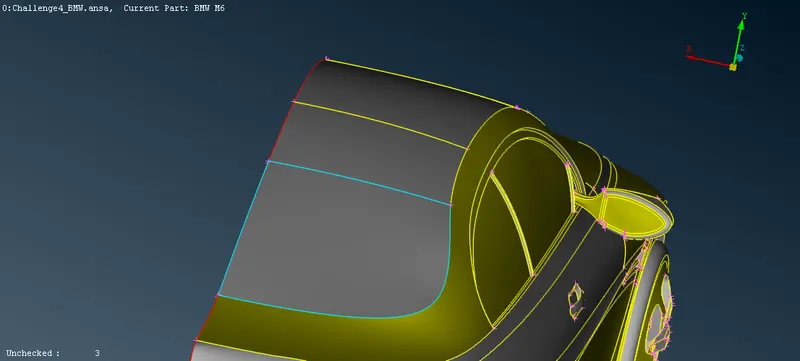
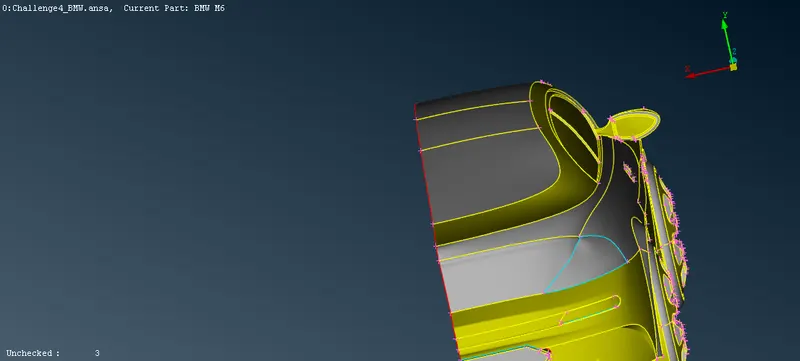
10th removing error related with back glass
11th removing error related with back light
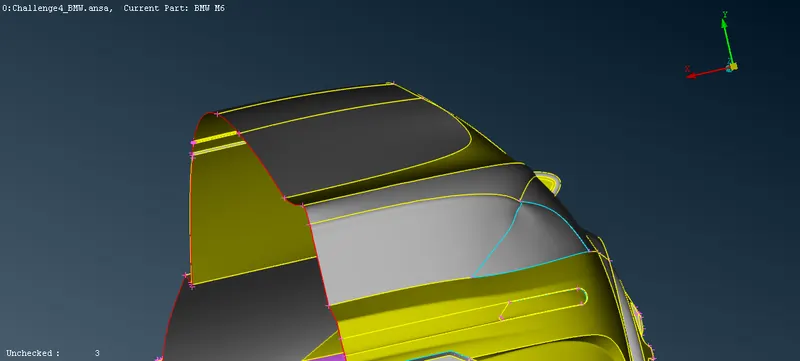
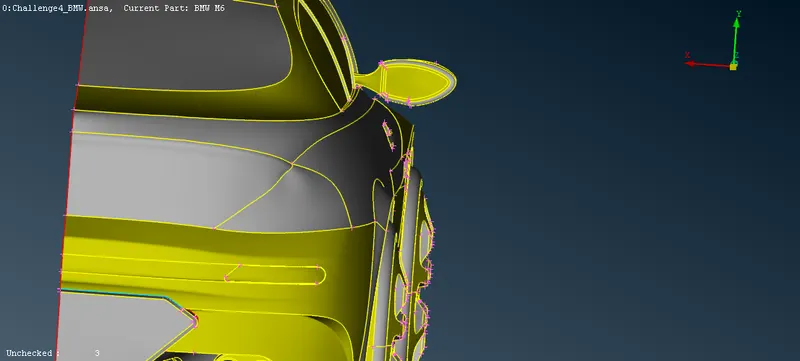
12th removing error related with logo
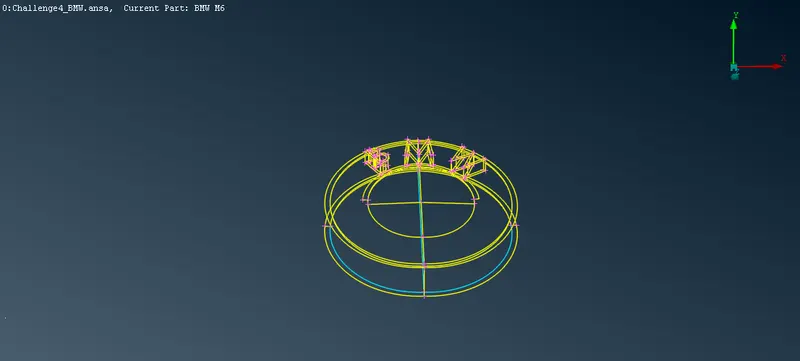
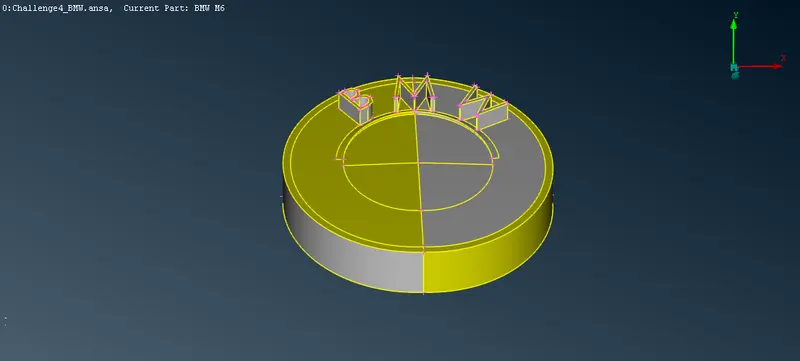
13th now try to resolve all the overlapping and intersection error at the buttom
use coons2curve option to convert coons to curves.
delete all unwanted sections at the buttom of the car.
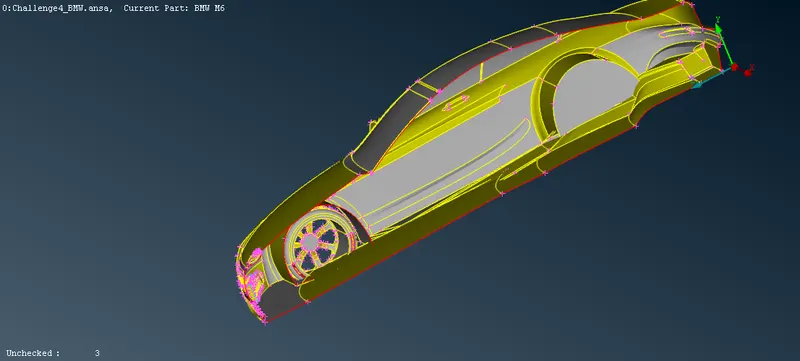
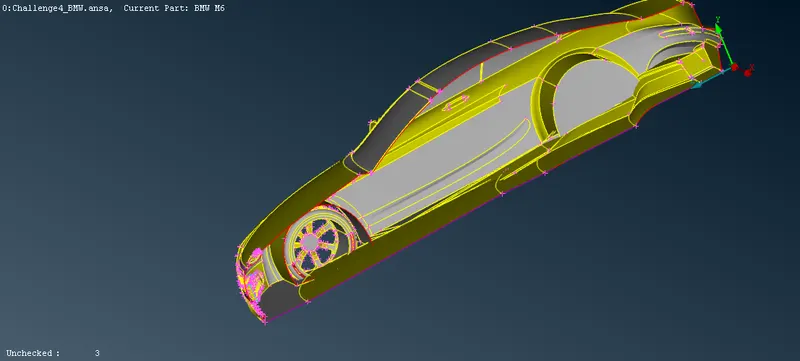
delete all unwanted/overlapped surfaces and create new ones.
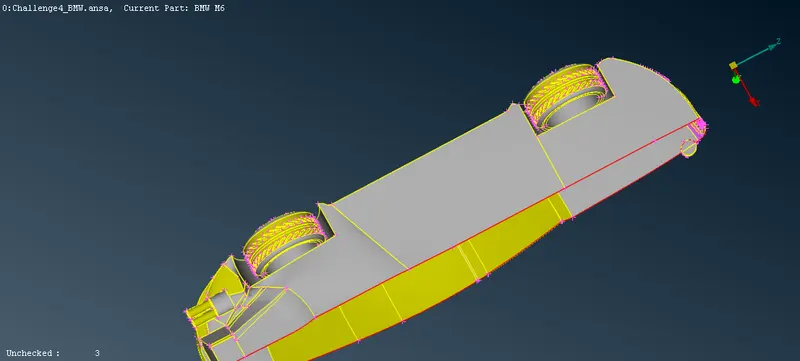
8. Check for error. penetration and all.
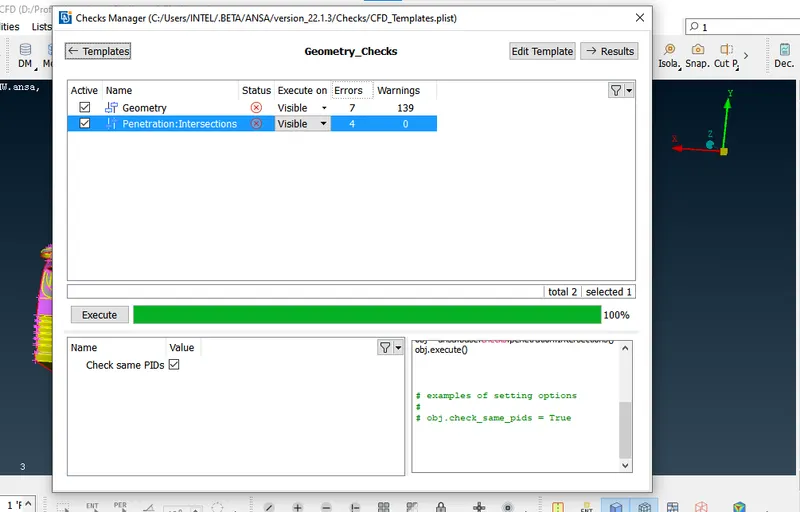
Try to resolve all the error.
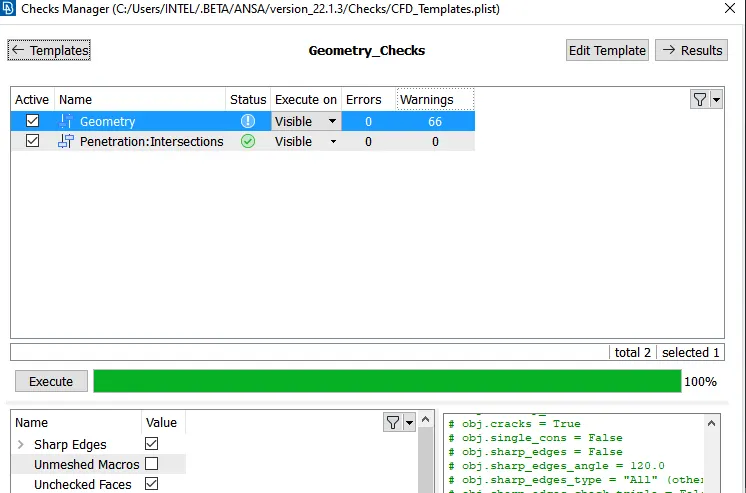
this error due to single coons.
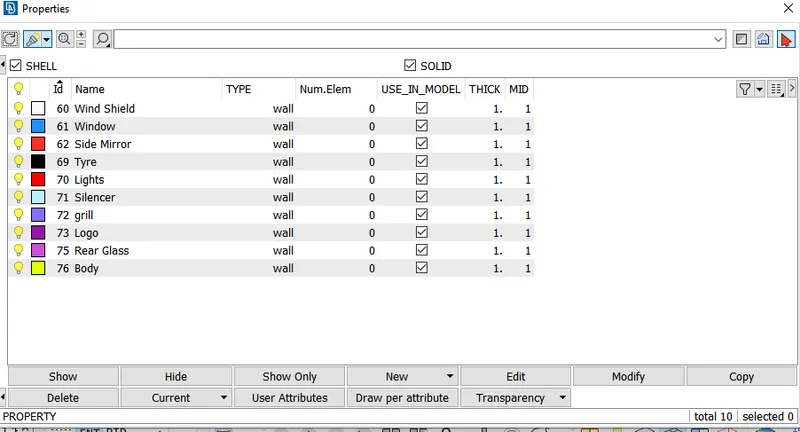
9. we can assign pid now.
10. use transform option to complete the model.
transform>copy>select the entity>symmetry>3 point plane

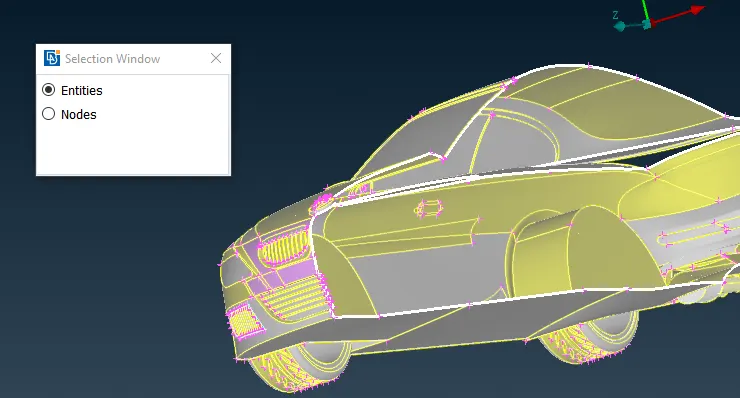
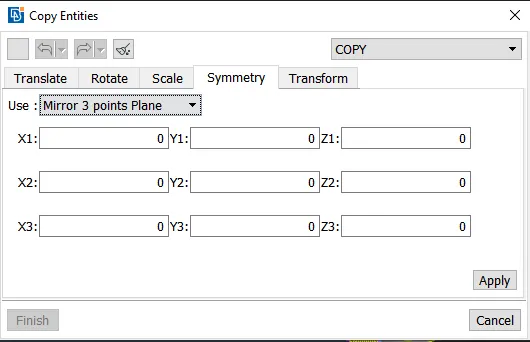
Select 3points.
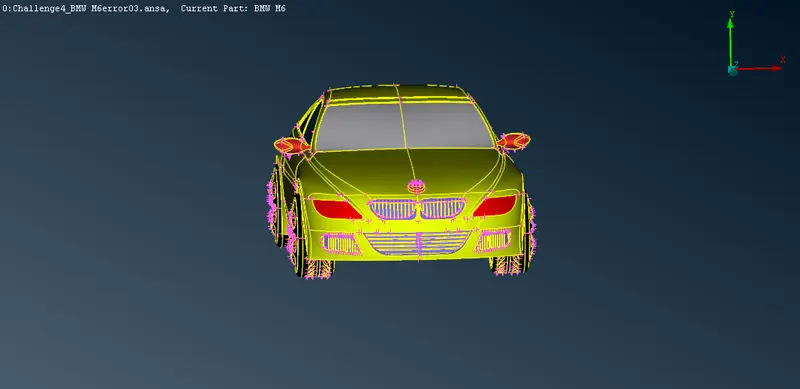
11. Check for the error
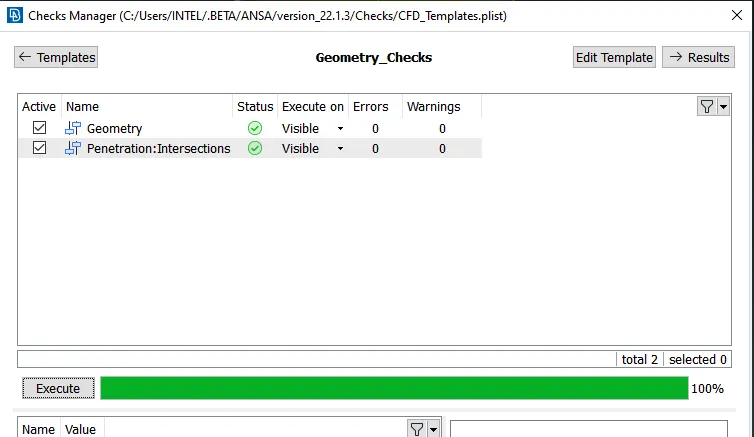
11. Now we can start Meshing.
Meshing Criterion.
- Body - 3 mm
- Lights - 4 mm
- Grills - 1 mm
- Rims and Tyres - 2 mm
- Optical Rear view mirror - 2 mm
- Window - 2 mm
- Silencer - 3 mm
- Logo - 1 mm
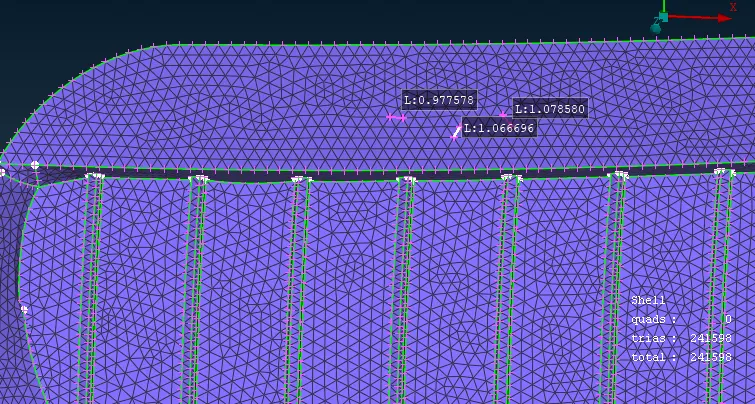
12. Meshing to Logo And Grills
go to pid show grills and logo>mesh>perimeter>select the entity>put legth as 1mm>click macos>select th entity>put length as 1 mm
go to mesh paramenter choose cfd mesh put minimum length .5 and maximun length as 1.2.
go to quality creterion diables all unwanted creterions, put min length as.5 and maximum length as 1.2
go to mesh generation>long press>visible
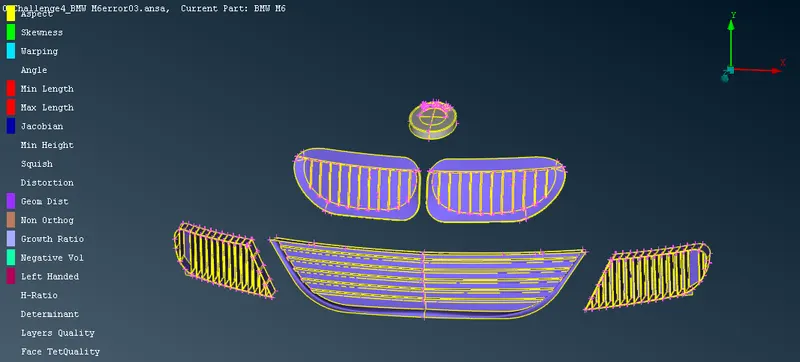
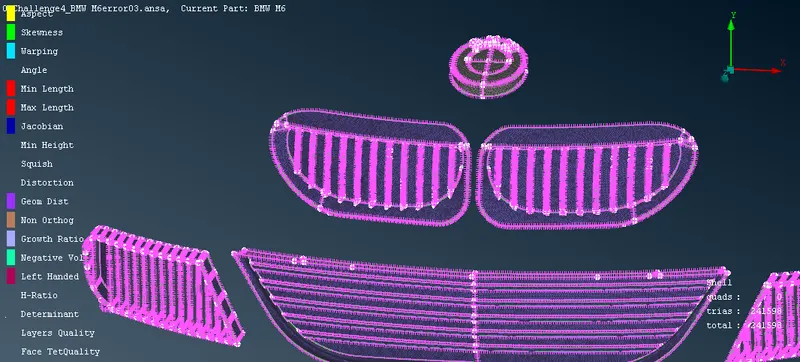
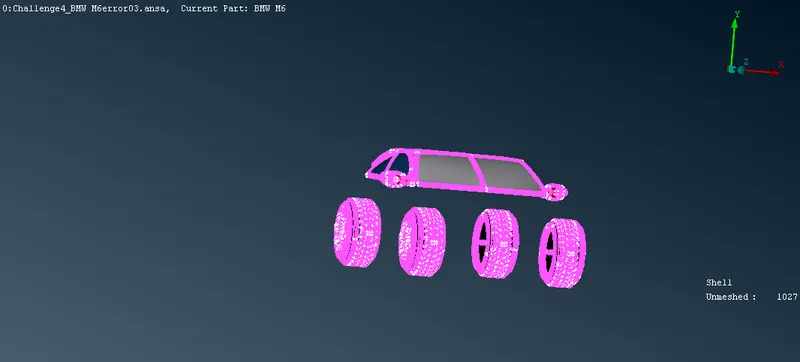
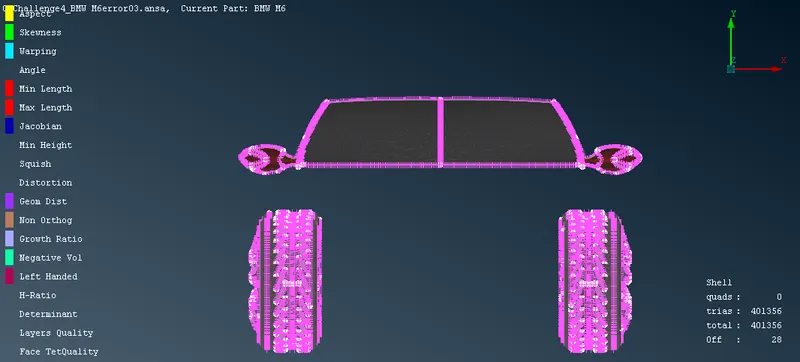
13. Meshing to tyre, optical rear mirror and windows
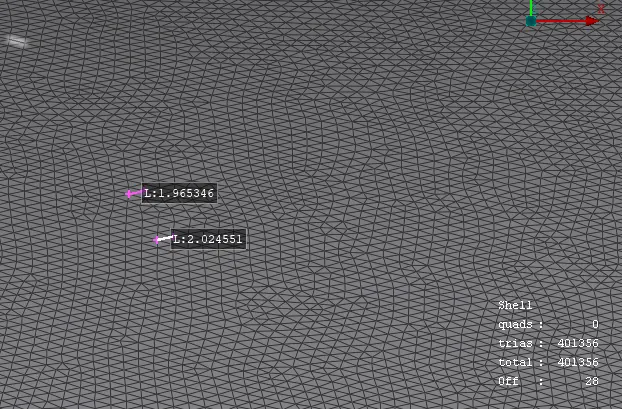
14. Meshing to Main body
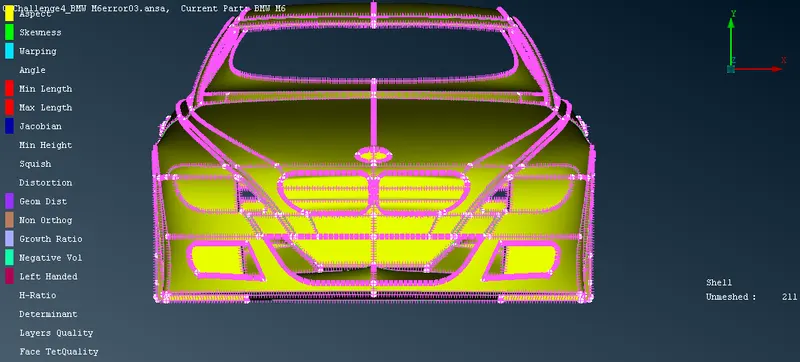
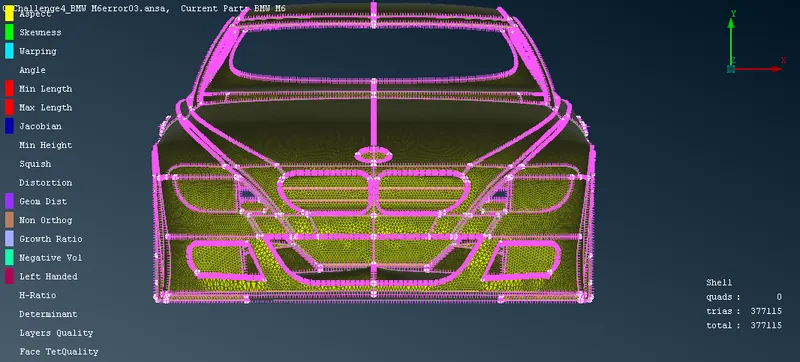
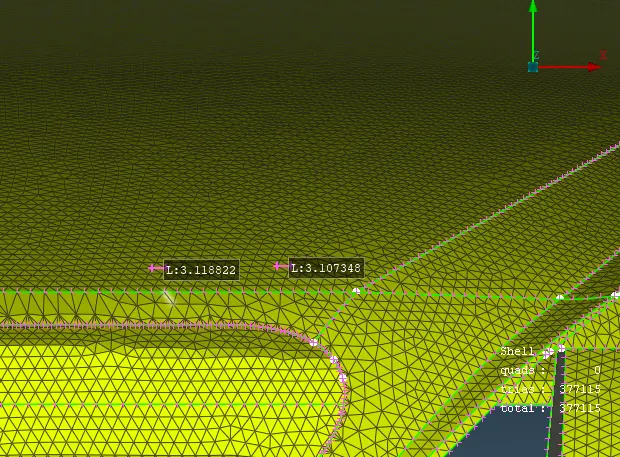
15. Meshing to silencer
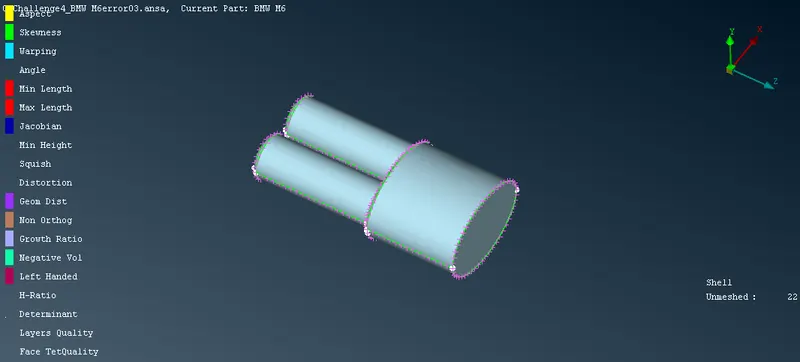
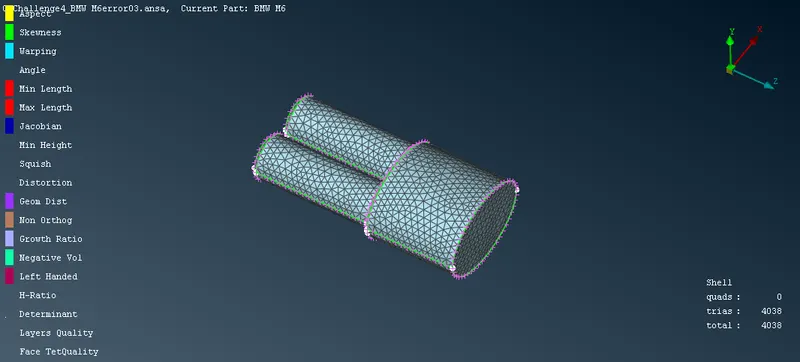
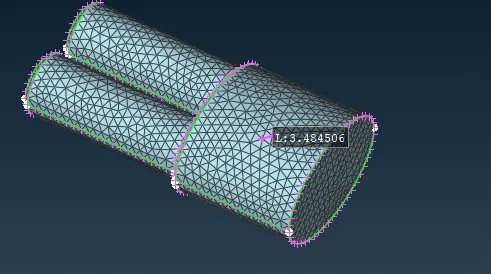
16. Meshing to lights
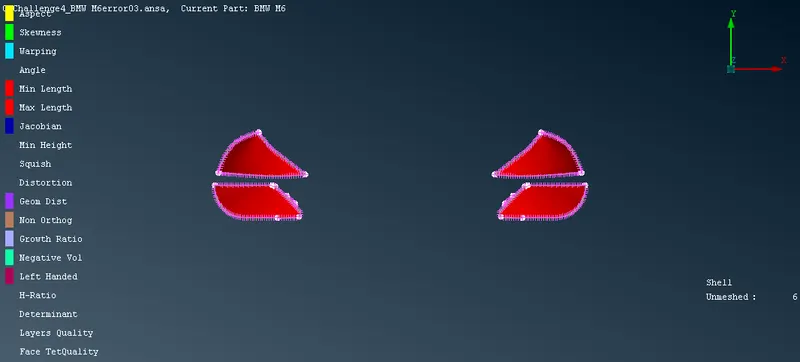
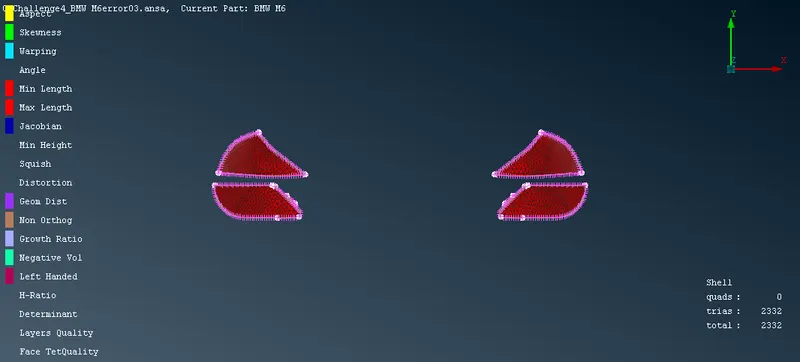
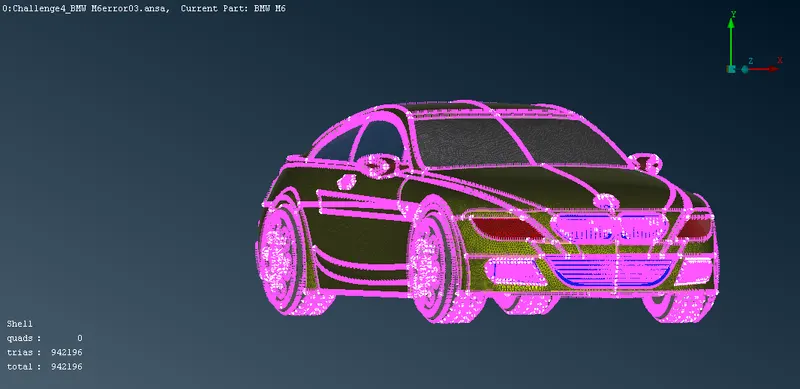
17. final model after performing meshing.
18. now we need to make a enclosure.
we need to measeure basic distance using measure tool.
x = 1300(length of the car)
y = 350(height of the car)
z = 500(width of the car)
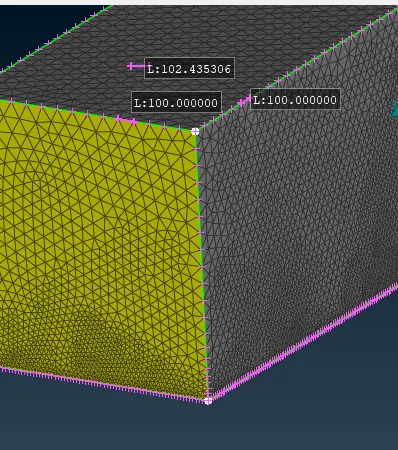
enclosure should be a cuboid 14500*1500*1600
we can make this using 3d point.
create a 3d point from the front part using point>relative
select the node>press middle click.
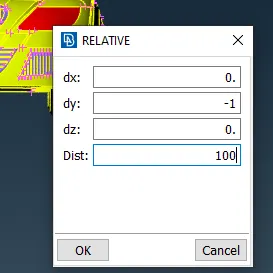
Similary we can create the 3d points on required places.
front distance 3*x, back distance 6*x
left distance z,right distance z
upper distance 3*y, bottom distance 100
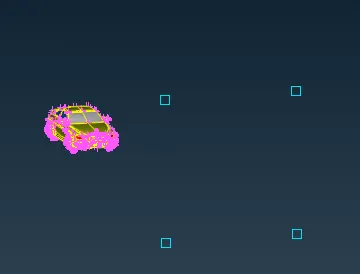
we create a curve using curve>create
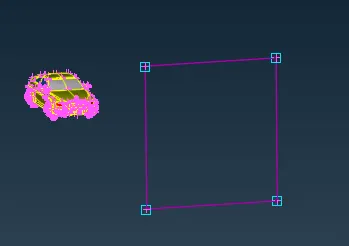
now we create a face using face>new>planner
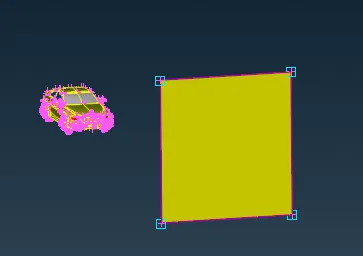
delete the unwanted curves and 3d points using universal delete option.
use offset command to offset the face.
offset>select face>select appropiate direction
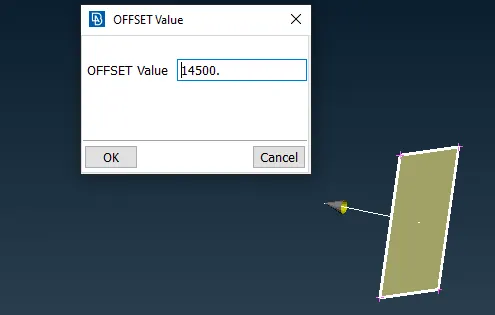
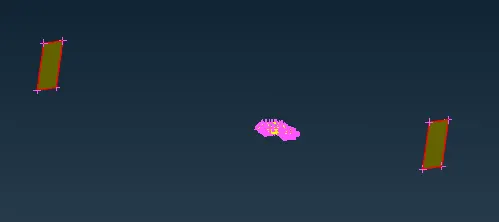
19. Now We use spacing to give the spacing selecting the coons in such a way that the direction are correct
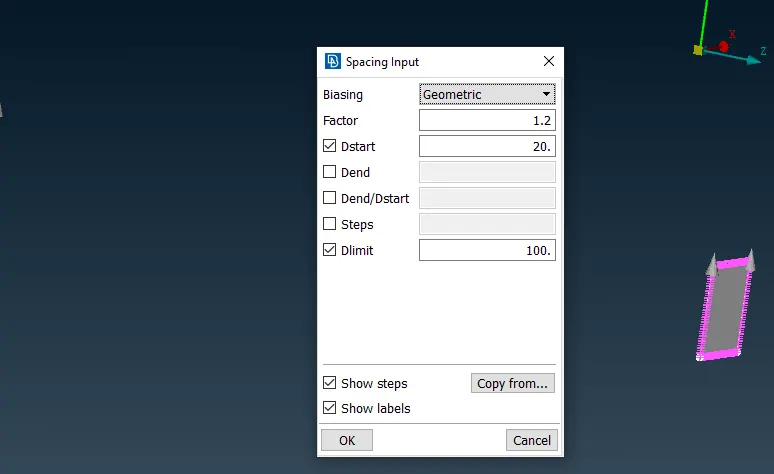
Create the remaining surfaces.
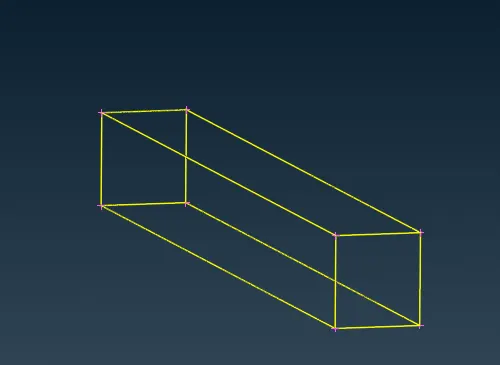
20. Now we can assign the pids

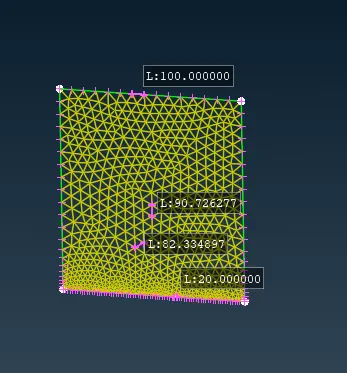
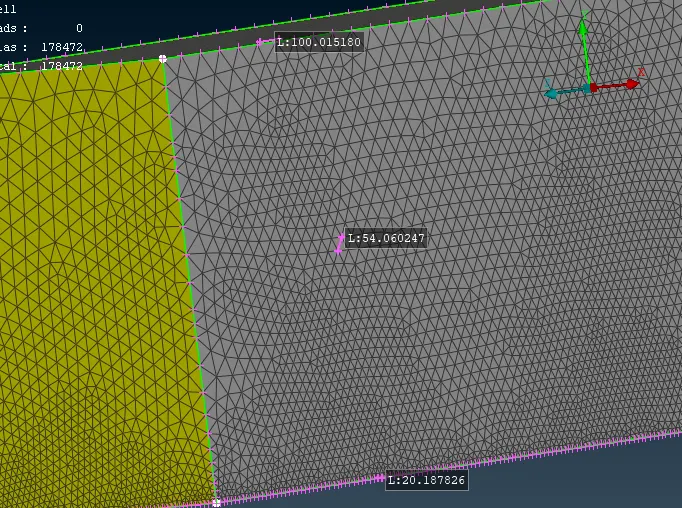
21. Now we can start meshing(20 mm to 100mm)
meshing lower surface with 10mm and upper surface 100mm
we can use spacing option to produce mesh.
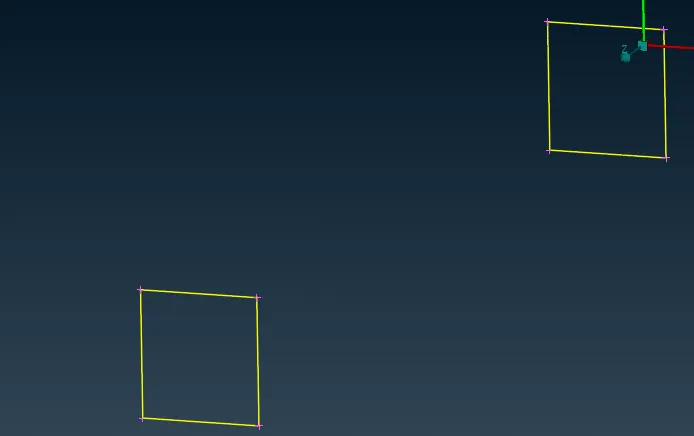
use spacing here.
spacing>select coons>select the coons in such a way that direction is from bottom to top>choose dstart 20mm and dlimit 100
similarly we use spacing for buttom surfaces dstart as 20 dlimit as 20
similarly we use spacing for top surfaces dstart as 100 dlimit as 100
apply meshing
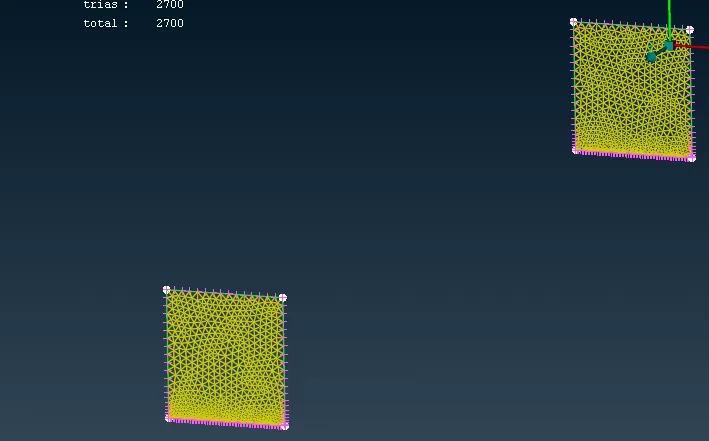
Final Result:-
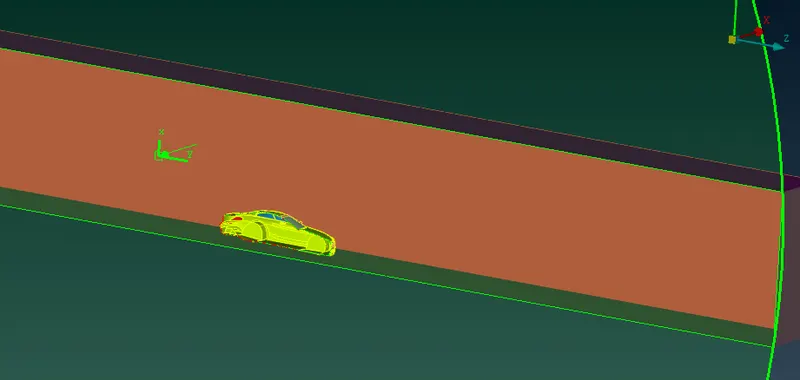
link:- https://drive.google.com/file/d/1hKrrZBPN3DKvFjES9P8xLKDPgcxcm5gc/view?usp=sharing
Learing Outcomes:-
basic procedure of meshing
error solving techniques
paste option used to paste two single coons
split option split the mesh element
move option used to move the nodes of mesh element
regarding quality criterion
regarding mesh parameters.
1. basic procedure for creating volumetric mesh.
2. topological error and to remove them.
3. creating cfd mesh
4. in topo mode
project option
removing operlapping intersection and penetration.
extend:- it extent the surface to the selected coons.
intersect:- to create instersection between to penetrated surfaces.
offset:- to produce a offset
orient:- to change the orientation.
transform:- to copy/move a entity to a fixed destination.
5. in mesh mode
spacing , type of spacing:- linear, geometric, bell curve, bi-geometric
6. in volumetric mesh
define, things to produce volumetric mesh, type of volumetric mesh, generating remesh on required volumes.