Week - 4 - 2D meshing for Plastic components
Report on 2D meshing for Plastic components
Aim:
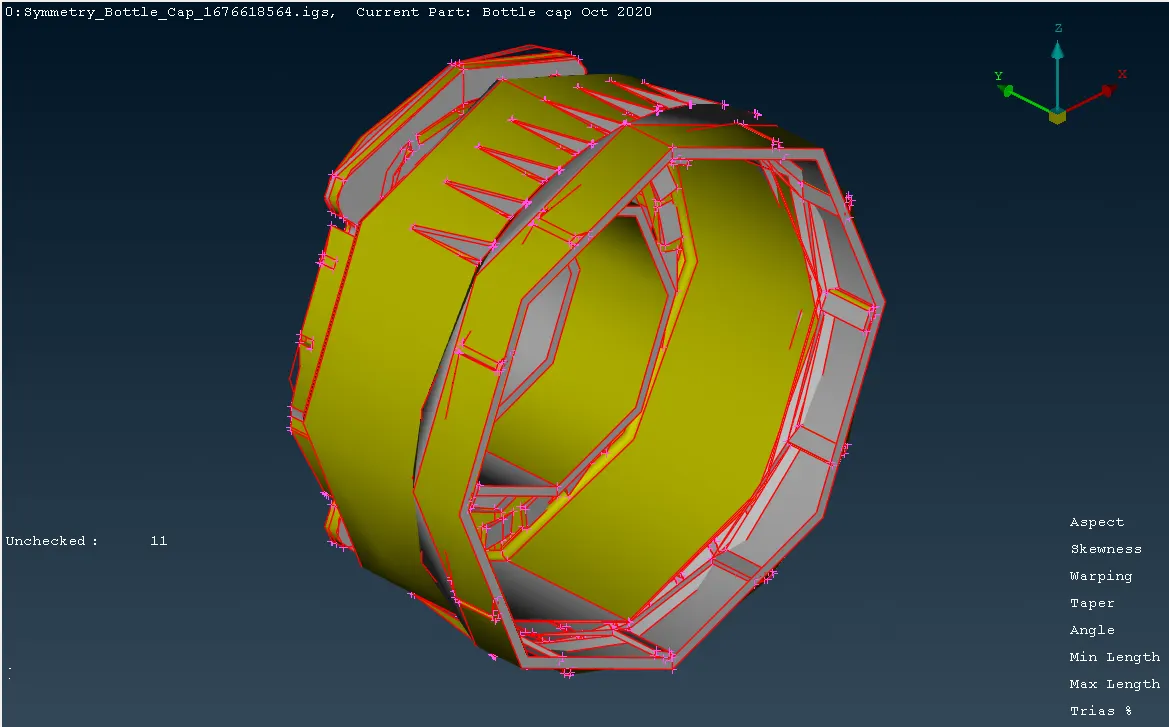
- To extract the mid surface from the given CAD model of Plastic component(Bottle Cap) and mesh the extracted mid surface.
Software Used: ANSA
Given Model of Plastic Component(Bottle Cap)
Pre-Processing:
- Pre-processing involves steps .They are:
- Import the CAD
- Geometry clean up
- Skin/Mid Surface Generation
- Shell/Solid Meshing
- Element Quality Check
- Mesh Improvement
- Boundary Conditions
- Apply load
- Export Input File
Step - 1:
- Cad file is imported in ANSA software.
Step - 2:
- The imported CAD geometry has few errors due to transfer of the CAD model into ANSA.
- Perform geometry check, so that we can find errors such as unchecked faces,needle faces and cracked faces.
- Switch to Classic Topo module.
- we can fix these issues using Topo commands such as insert,delete,paste,release topo,cut,new,fine...
- Following are the errors in the geometry.
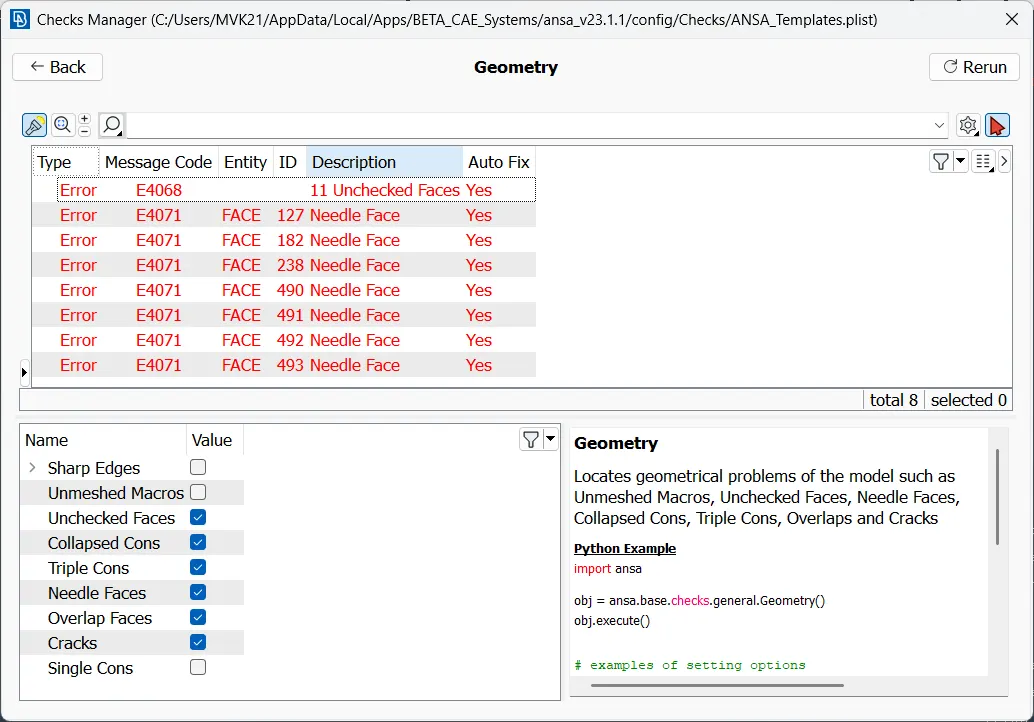
Before Fixing:
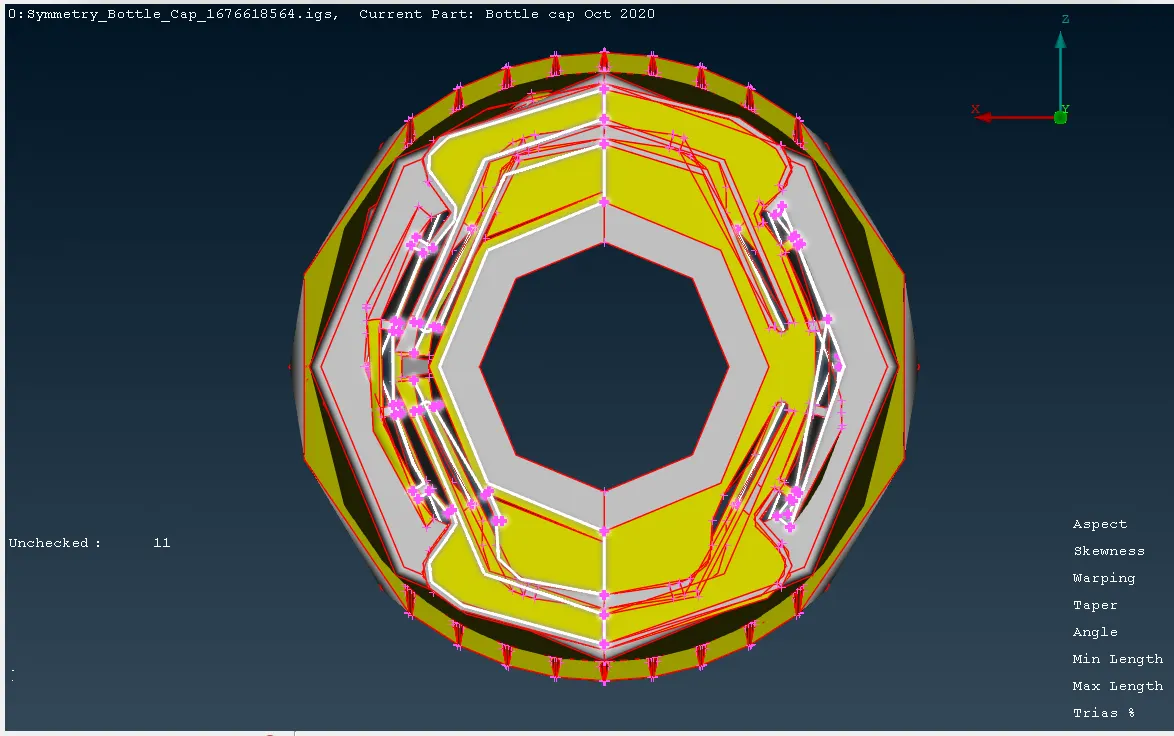
After Fixing
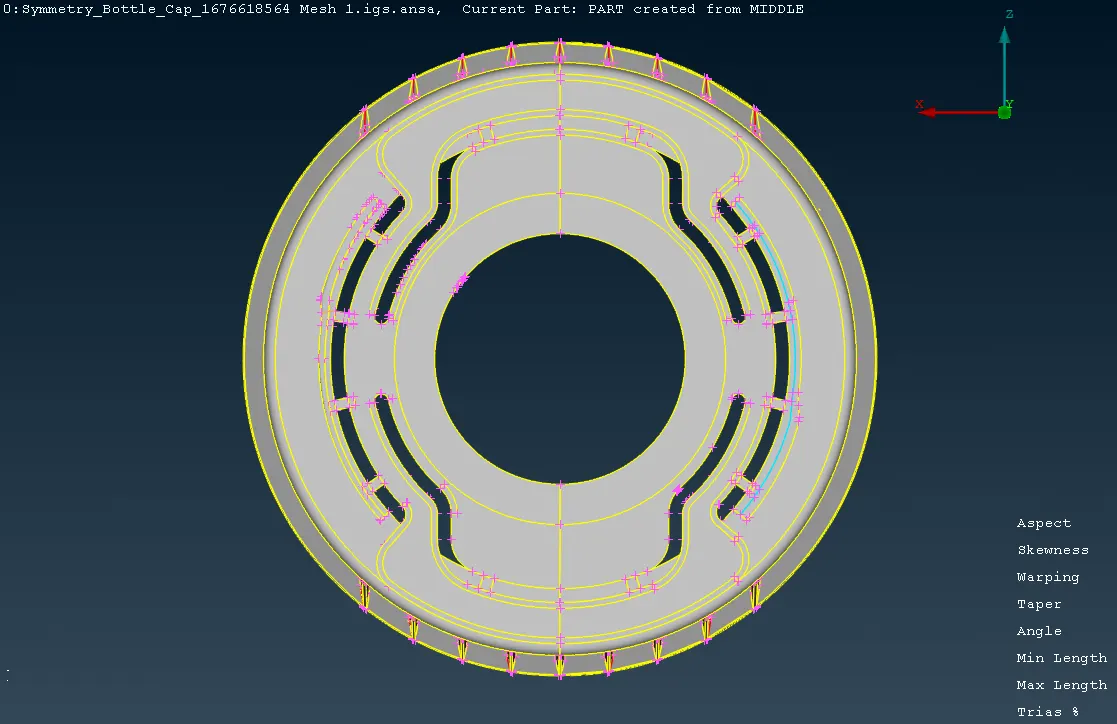
Step - 3: Mid-Surface Extraction
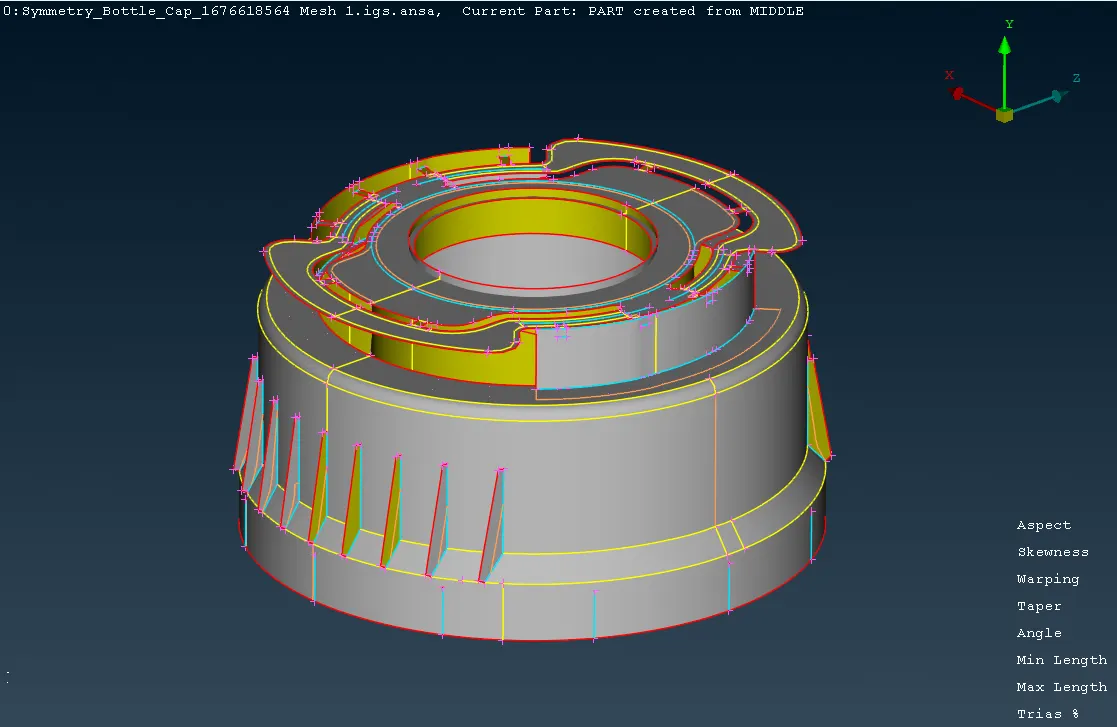
- After cleaning the geometry of Bottle Cap, extract the mid surface.
- As it is a plastic component, the thickness is not the same throughout the model.Split the surface into multiple surfaces.
- So that it is easy to extract. The model is a symmetry component , After meshing we can symmetry it.
- Mid - Surface is extracted for meshing the model.
- Mid - surface is extracted from the Plastic component using offset and middle command.
Step - 4: Meshing
- Now switch to classic mesh module.
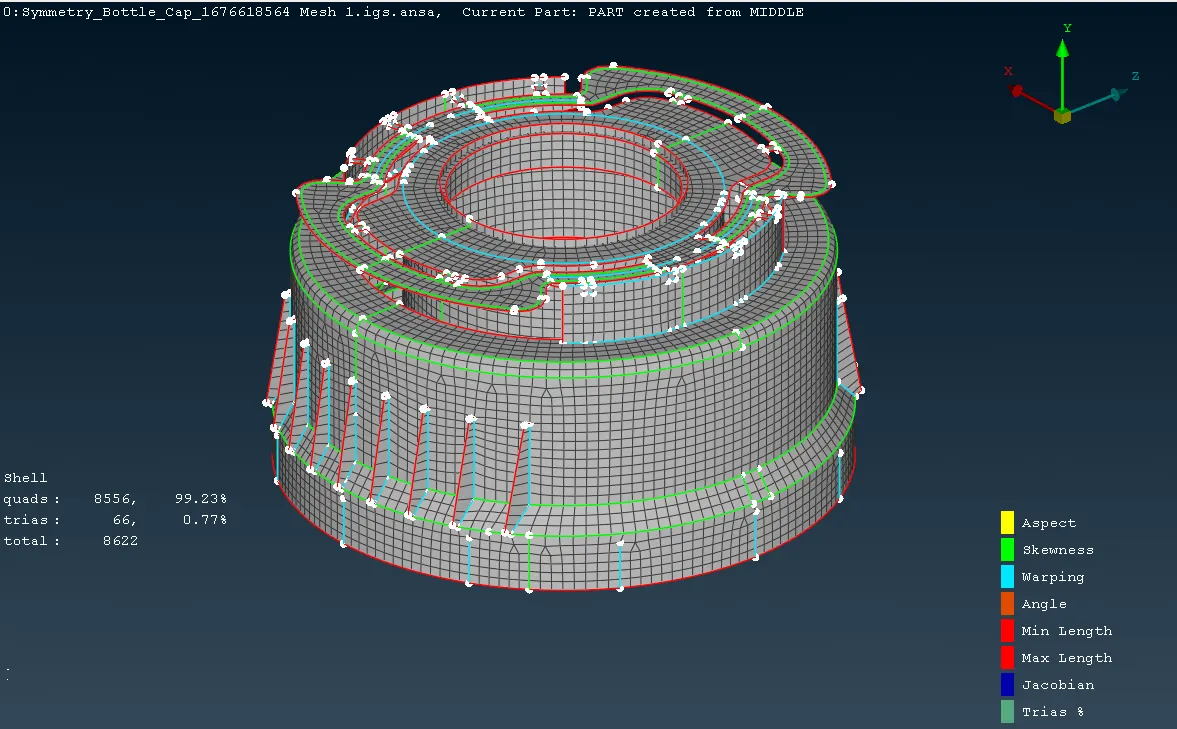
- Meshing of the model is generated using Best command in mesh generation group.
- As Bottle Cap is the complex model mesh should be generated layer-by-layer.
- At complex areas , do not directly mesh, as it makes the mesh clumsy. Instead make some cuts on the mid-surface then mesh.
Step - 5: Element Quality Criteria
- After Meshing , Set the element quality criteria values.
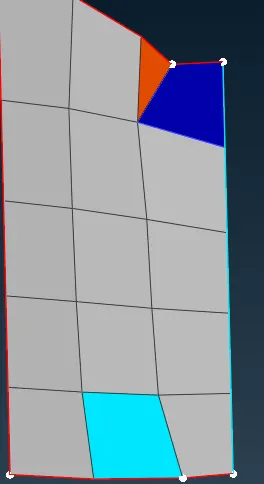
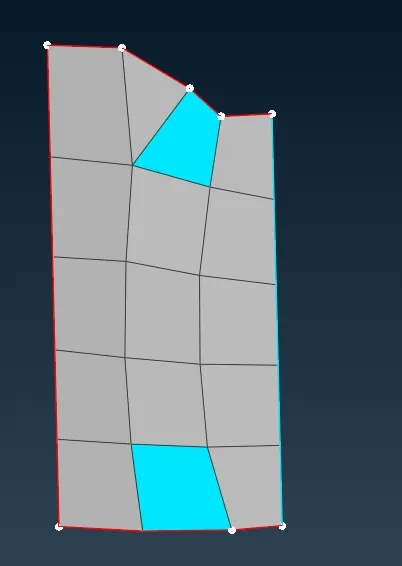
- If the element fails the quality criteria parameters, the elements are indicated with different colour codings.
- Where the quality criteria is failed, there is a possibility of deformation
- Adjust the mesh to pass the element quality.
Step - 6: Mesh Improvement
- After meshing the surface, the mesh has only two types of elements. They are Quad, Tria.
- The mesh should be a smooth flow.
- Mesh can be improved by smooth, reconstruct, improve, Transform...
- There are few Tria rules to be followed for good mesh. They are:
- Opposite trias should be avoided.
- No trias should be perpendicular to each other.
- No trias should be back to back.
- No trias should be on the edge of the geometry.
- No trias should be near to the holes.
- No trias should be on the features(Fillets)
- Less tria concentration
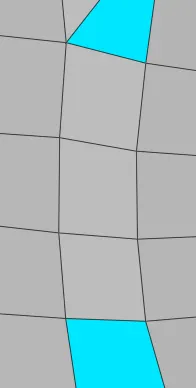
Before Fixing:
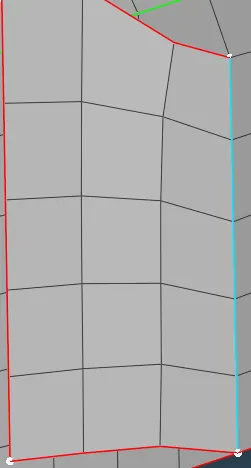
After Fixing:
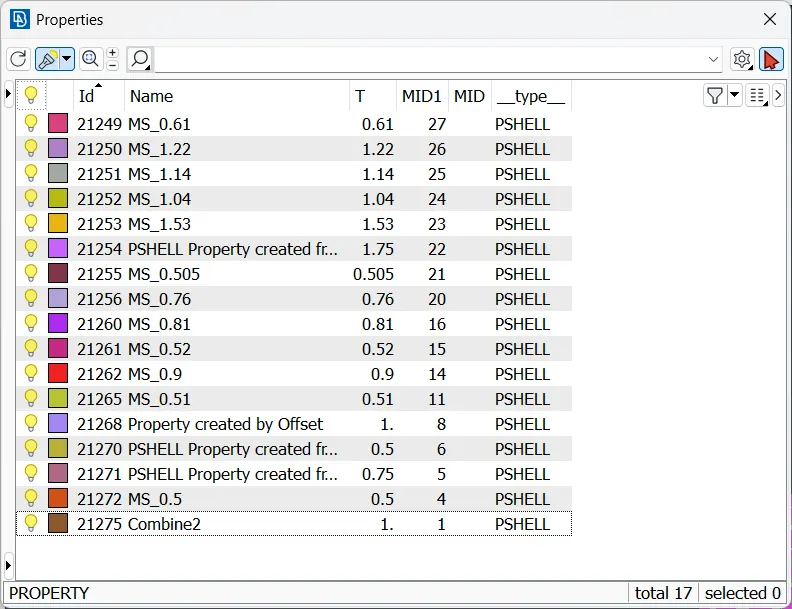
- And assign property for it.
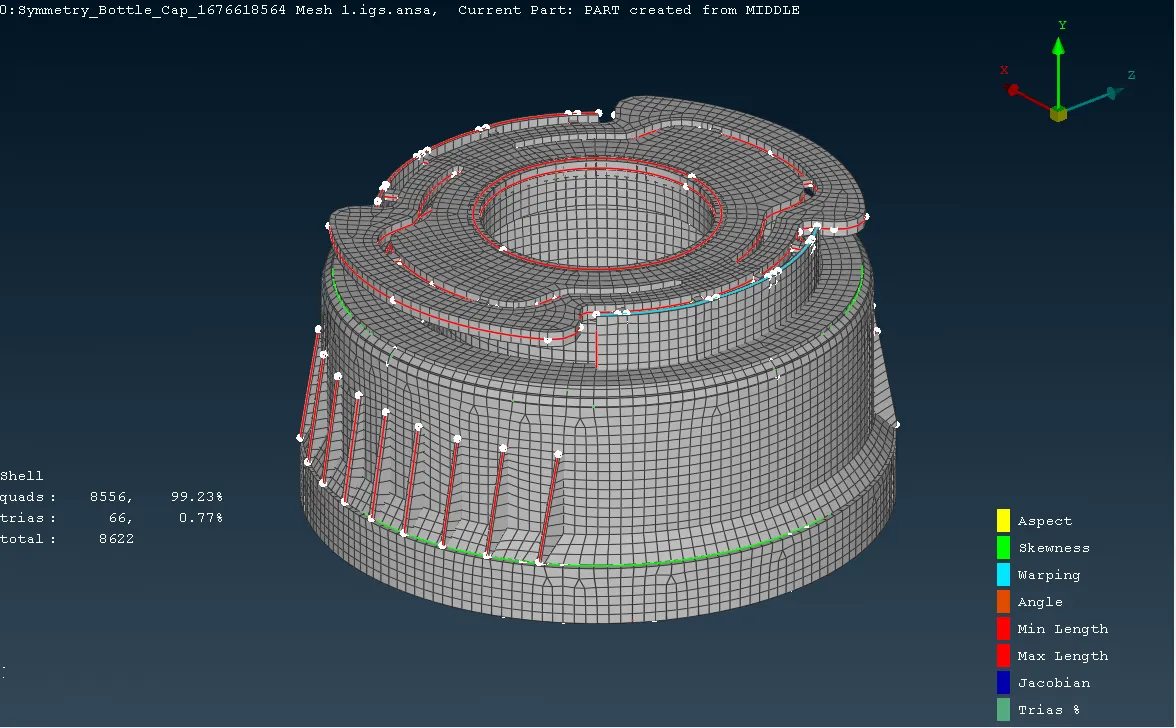
- After performing “Draw shell as solid” in Quality criteria > Presentation parameters.
Conclusion:
- The geometry is cleaned and mid-surface is extracted from the geometry.
- Thickness and material of the model is assigned to the parent geometry.
- The mid-surface is meshed with the required quality criteria.
NOTE:
- As the size zip file is more than 20MB, The file is unable to upload.
- The google drive link for Zip file of Meshing of Bottle Cap is :
https://drive.google.com/file/d/1GVsdWgVcT8pPIeFK2qnm01dq770oXpFe/view?usp=sharing .